Happy Celebrations

Happy birthday James …. belatedly

My cousins son turned 12 a couple of weeks ago and I made him a card and posted it late … as per usual! I am terrible at remembering to post things on time!

I went simple and created the background by repeating the stamp Happy from Happy Celebrations set in different blue inks. Then I took some little star stamps from the stash and embossed those in silver.

Then I took a sentiment from a magazine set and added that onto a couple of pieces of cardstock and stuck this down.

Always find cards for boys hard … especially 12 year olds … but think this looks quite cool.

So anyway… Happy birthday James…. very belatedly. Hope to see him, his sister and my cousin and her hubby in the summer … we managed a quick trip in August last year to see them but obviously not seen them since.

Happy crafting!

Catherine

Design Team, Happy Celebrations, Stitched framelits, Tim Holtz

DT: Back to Basics and Beyond: colouring on vellum

Hello… I have another design teteam contribution to share today… this is for Back to Basics and Beyond challenge where the theme for this fortnight is “stamping and colouring on vellum”.

So I actually made this a few weeks ago for my hubbys birthday card. I was heavily inspired by a YouTube video I had watched (Link) and made this cocktail themed card.

I used Tim HolHoltz blueprint cocktail stamps in a few colours of SU inks and made the background. Then I made the topper.

Next I embossed the sentiment onto the vellum panel and used SU write markers to colour the reverse which gives a more muted effect … perfperfect against the busy background.

I wrapped that round the panel and then added the rest of the sentiment and the embellishments to finish off.

So big credit goes to xxx for the inspiration… and now off to see what others have done with vellum for the challenge.

Happy crafting!

Catherine

Art and crafting styles, Distress oxide ink, Embossing Folders, Happy Celebrations

Artful ATCS… the Beatles

So this month it was my choice of theme and for a reason I don’t really understand now, when I was asked to choose a theme, I chose the Beatles! Am I big fan? Nope not really. So not entirely sure what made me choose that. So I had to make two ATCs based on this theme.

I first went with a song I know my parents liked… Here comes the Sun.

I used a Tim Holtz embossing folder as a stamp using distress stain to create the impression in spiced marmelade onto the base I coloured with the fossilized amber stain.

I inked it again, this time with versamark and lined it up to stamp again. I used clear embossing powder and heat set it. I then did it again and used gold embossing powder. I love the faint impression this gave and all the texture.

Next I inked the edge with versamark and added the gold to give it a nice border.

I stamped the words onto book print and added them to the front and when dry I went in with some watercolour pencils to add some further definition.

Next I went for another song inspired by the dancers stamp.

I started with the splodges stamp from Happy Celebrations and stamped it with a few of the blue distress oxides until it was nice and solid. I then used the black soot oxide to stamp the dancers. I edged the card with black and stamped the song title.

Next I added versamark across the whole panel and clear embossed it. I did it a few times to end up with a lovely thick glossy card.

So why I chose this theme I will never know but happy with my creations none the less.

Happy crafting!

Catherine

Designer Series Paper, Happy Celebrations

Making Cards magazine pop up

I made another pop up box card and I loved it so decided to make another using the papers and an image from Making Cards magazine.

Again I started with the same Tranquil Tide cardstock base making the rectangle pop up box.

This time I added die cut flowers and clouds from my stash. The sentiment I embossed on vellum and then fussy cut it out before adhering it onto the box front.

Love how cute this is.

The theme over at the Paperartsy blog challenge is boxes so entering this into the challenge.

Happy crafting!

Catherine

Art and crafting styles, Distress oxide ink, Happy Celebrations

Aloha… it’s the princess’ 12th birthday

… and for my pineapple mad girl… a pineapple themed card!

I bought the Aloha stamp set with coordinating dies from Lawn Fawn just to make her a card and to decorate her invites to her party… and so I stamped a pattern with them using a mixture of black ink and embossing in silver and white glitter powder.

Then I went a little mad with tropical coloured greens and turquoise distress inks and smooshing.

I then used the Happy Celebrations stamps to create the greeting in the same way… and then a single pineapple die cut out too.

Then I went back in with the pine needles ink and added some colour to the leaves and to the Happy. Next I assembled and added plenty of wink of stella. I also added the glossy accents to the embellishment pineapple to add more texture.

I can’t believe my baby girl has turned 12… although given she is already taller than me… I sometimes wonder if she is actually a lot older!

As for the invites… I kept these more simple… six of these… I used the main pineapple image and coloured it with oxides and water before diecutting them. I also stamped and die cut the sunglasses and then added the pineapples to the cards with foam dimensionals. Then added the glasses and added a layer of glossy accents to the glasses.

I found the Let’s Party stamp in a magazine set and thought it worked well.

And so it’s time to celebrate … Happy birthday to my gorgeous girl who has always been super cute!

Happy crafting!

Catherine

Alcohol Inks, Badass Chick, Happy Celebrations, Petal Palette, Treasure Gold

52 mixed media cards… week 5… Clear and transparent

The prompt for this week’s playing card challenge was clear and transparent.

I knew immediately I wanted to play with my alcohol inks on acetate and to create a window/frame. But it was yesterday before I got the chance to start.

I did a little playtime first and then remembered to film the process …

Here is the link.

And the final piece…

I love the texture and depth I got on this. And that lovely colour on the acetate layer too.

Happy crafting!

Catherine

Affection Collection, Butterfly basics, Dies, Distress oxide ink, Handcarved, Happy Celebrations, Sheet Music, Stitched framelits, Swirly Scribble thinlits, Timeless Textures

Background swap arty session 

Tonight there are a few of my friends coming round for a crafting session.  Originally this was pre Christmas but it ended up being a date no-one could make…so instead it’s tonight for us to have some fun with Distress Oxides. 

I decided that we could all make some pretty papers and then make cards from them… but with a twist… once we’ve made the paper we cut it into pieces and then swap so we have some of each other’s papers. 

I did however need to make a couple of samples to see if we could design cards regardless of the style of the papers we made… with similar elements…. 

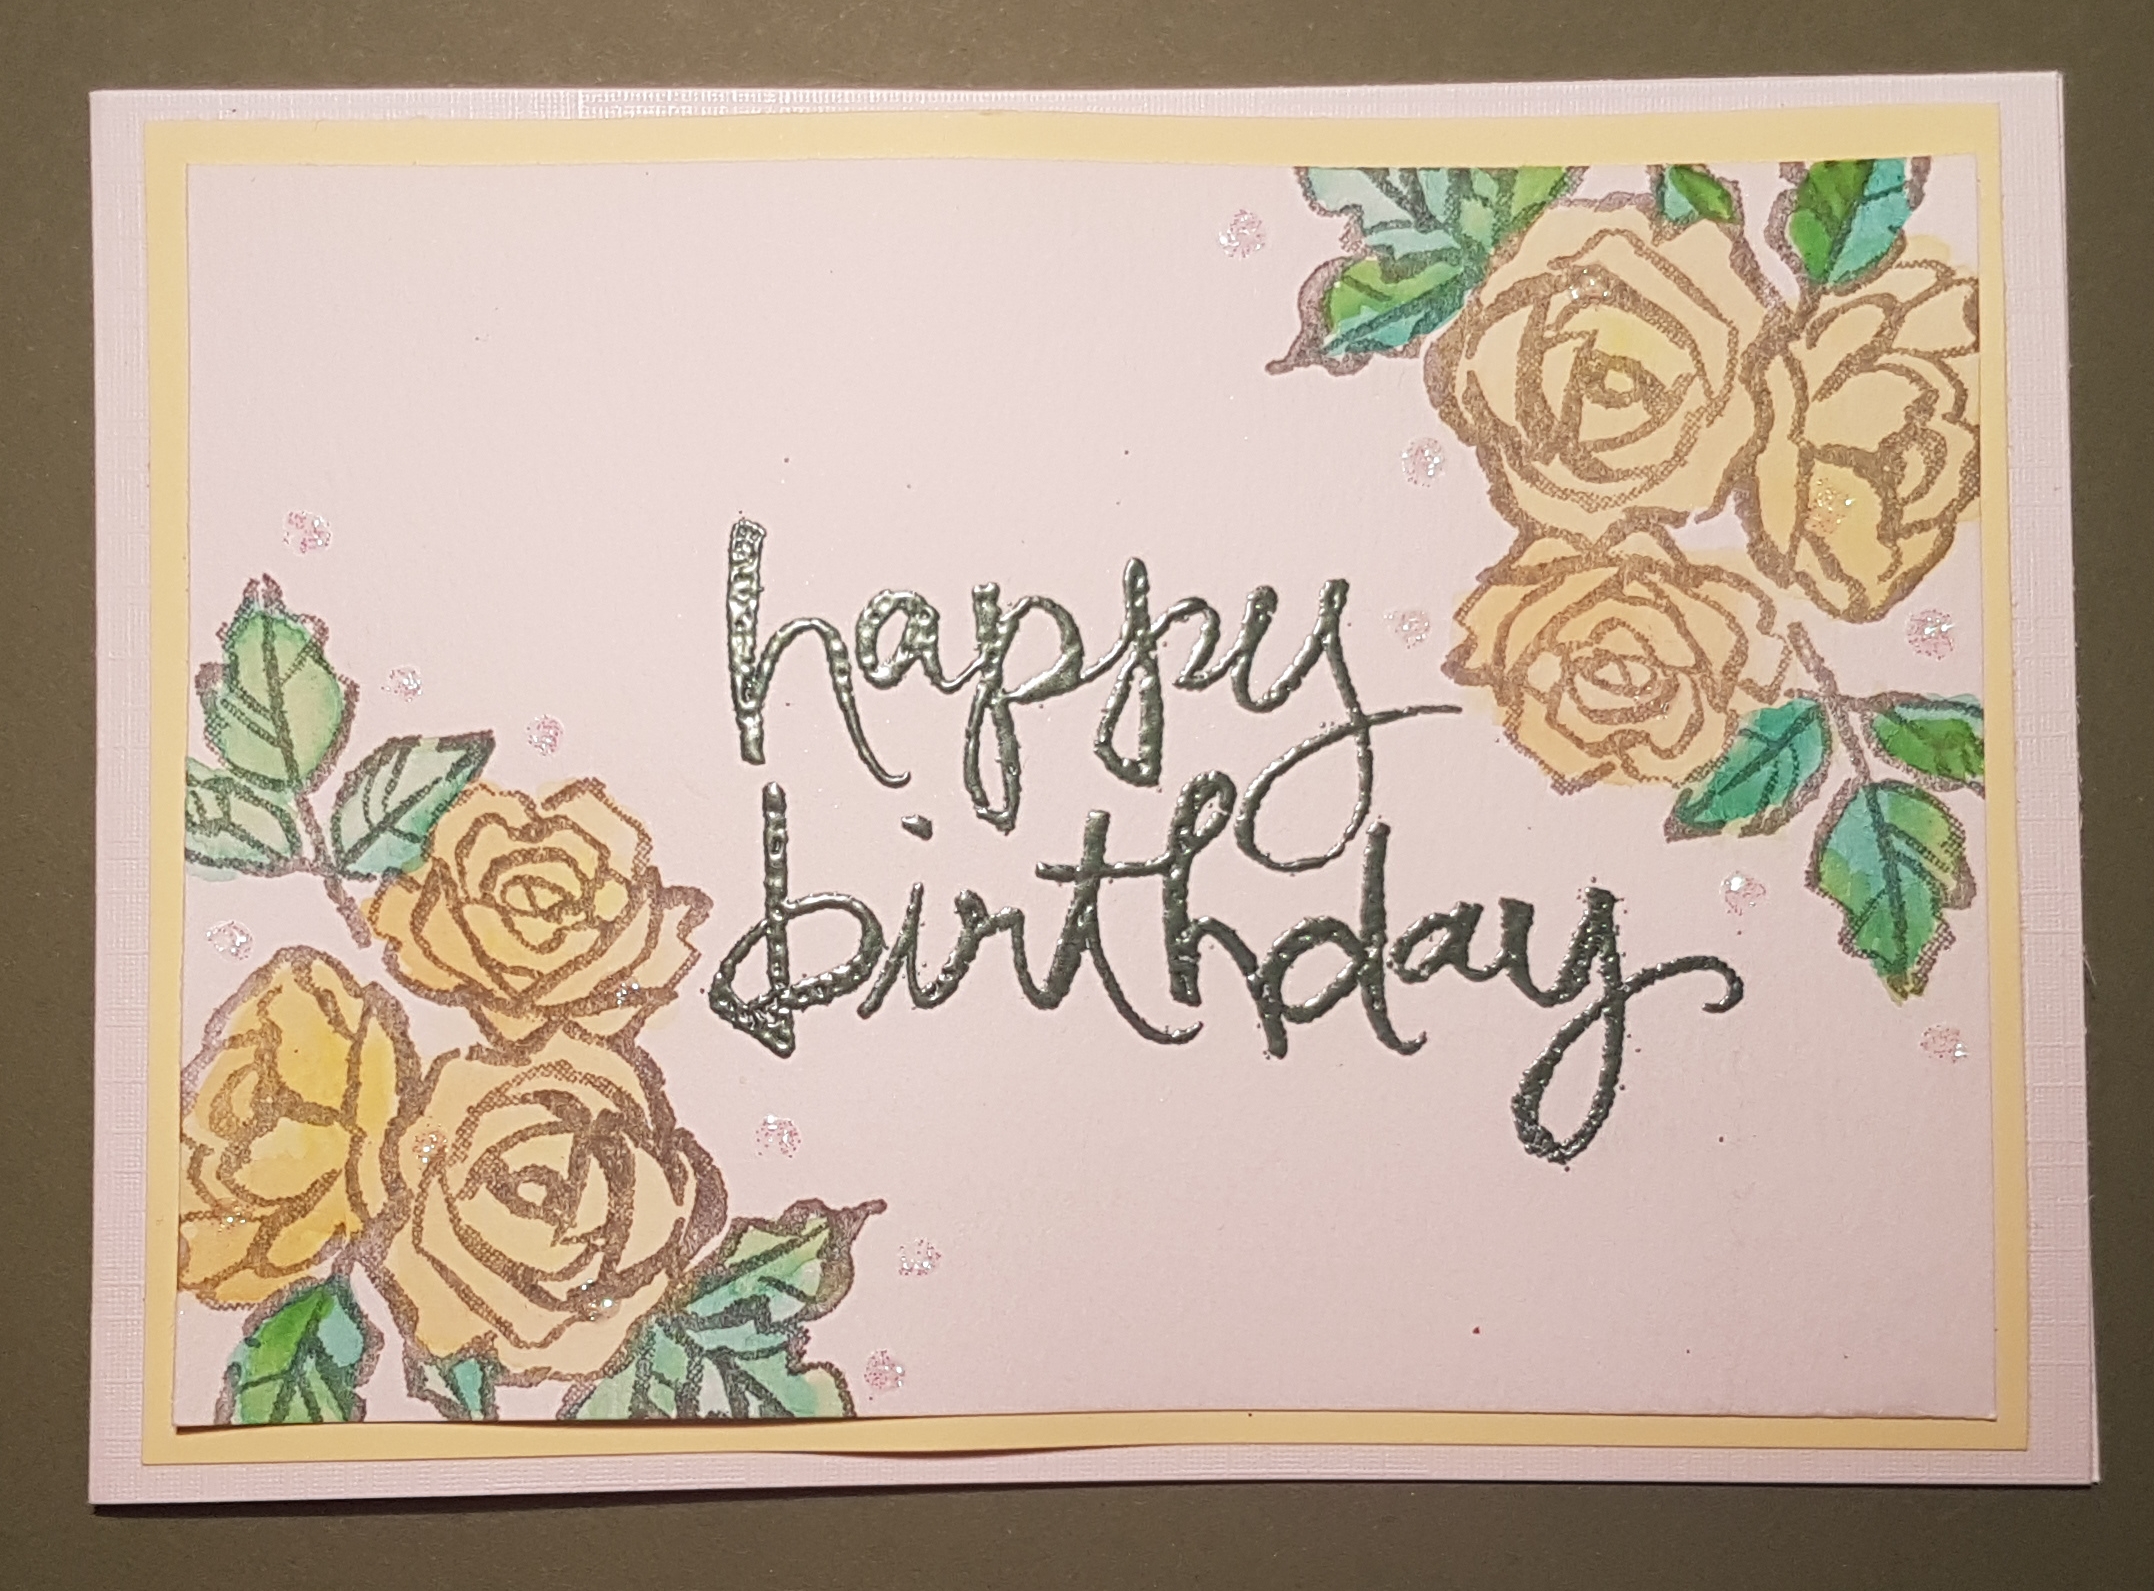
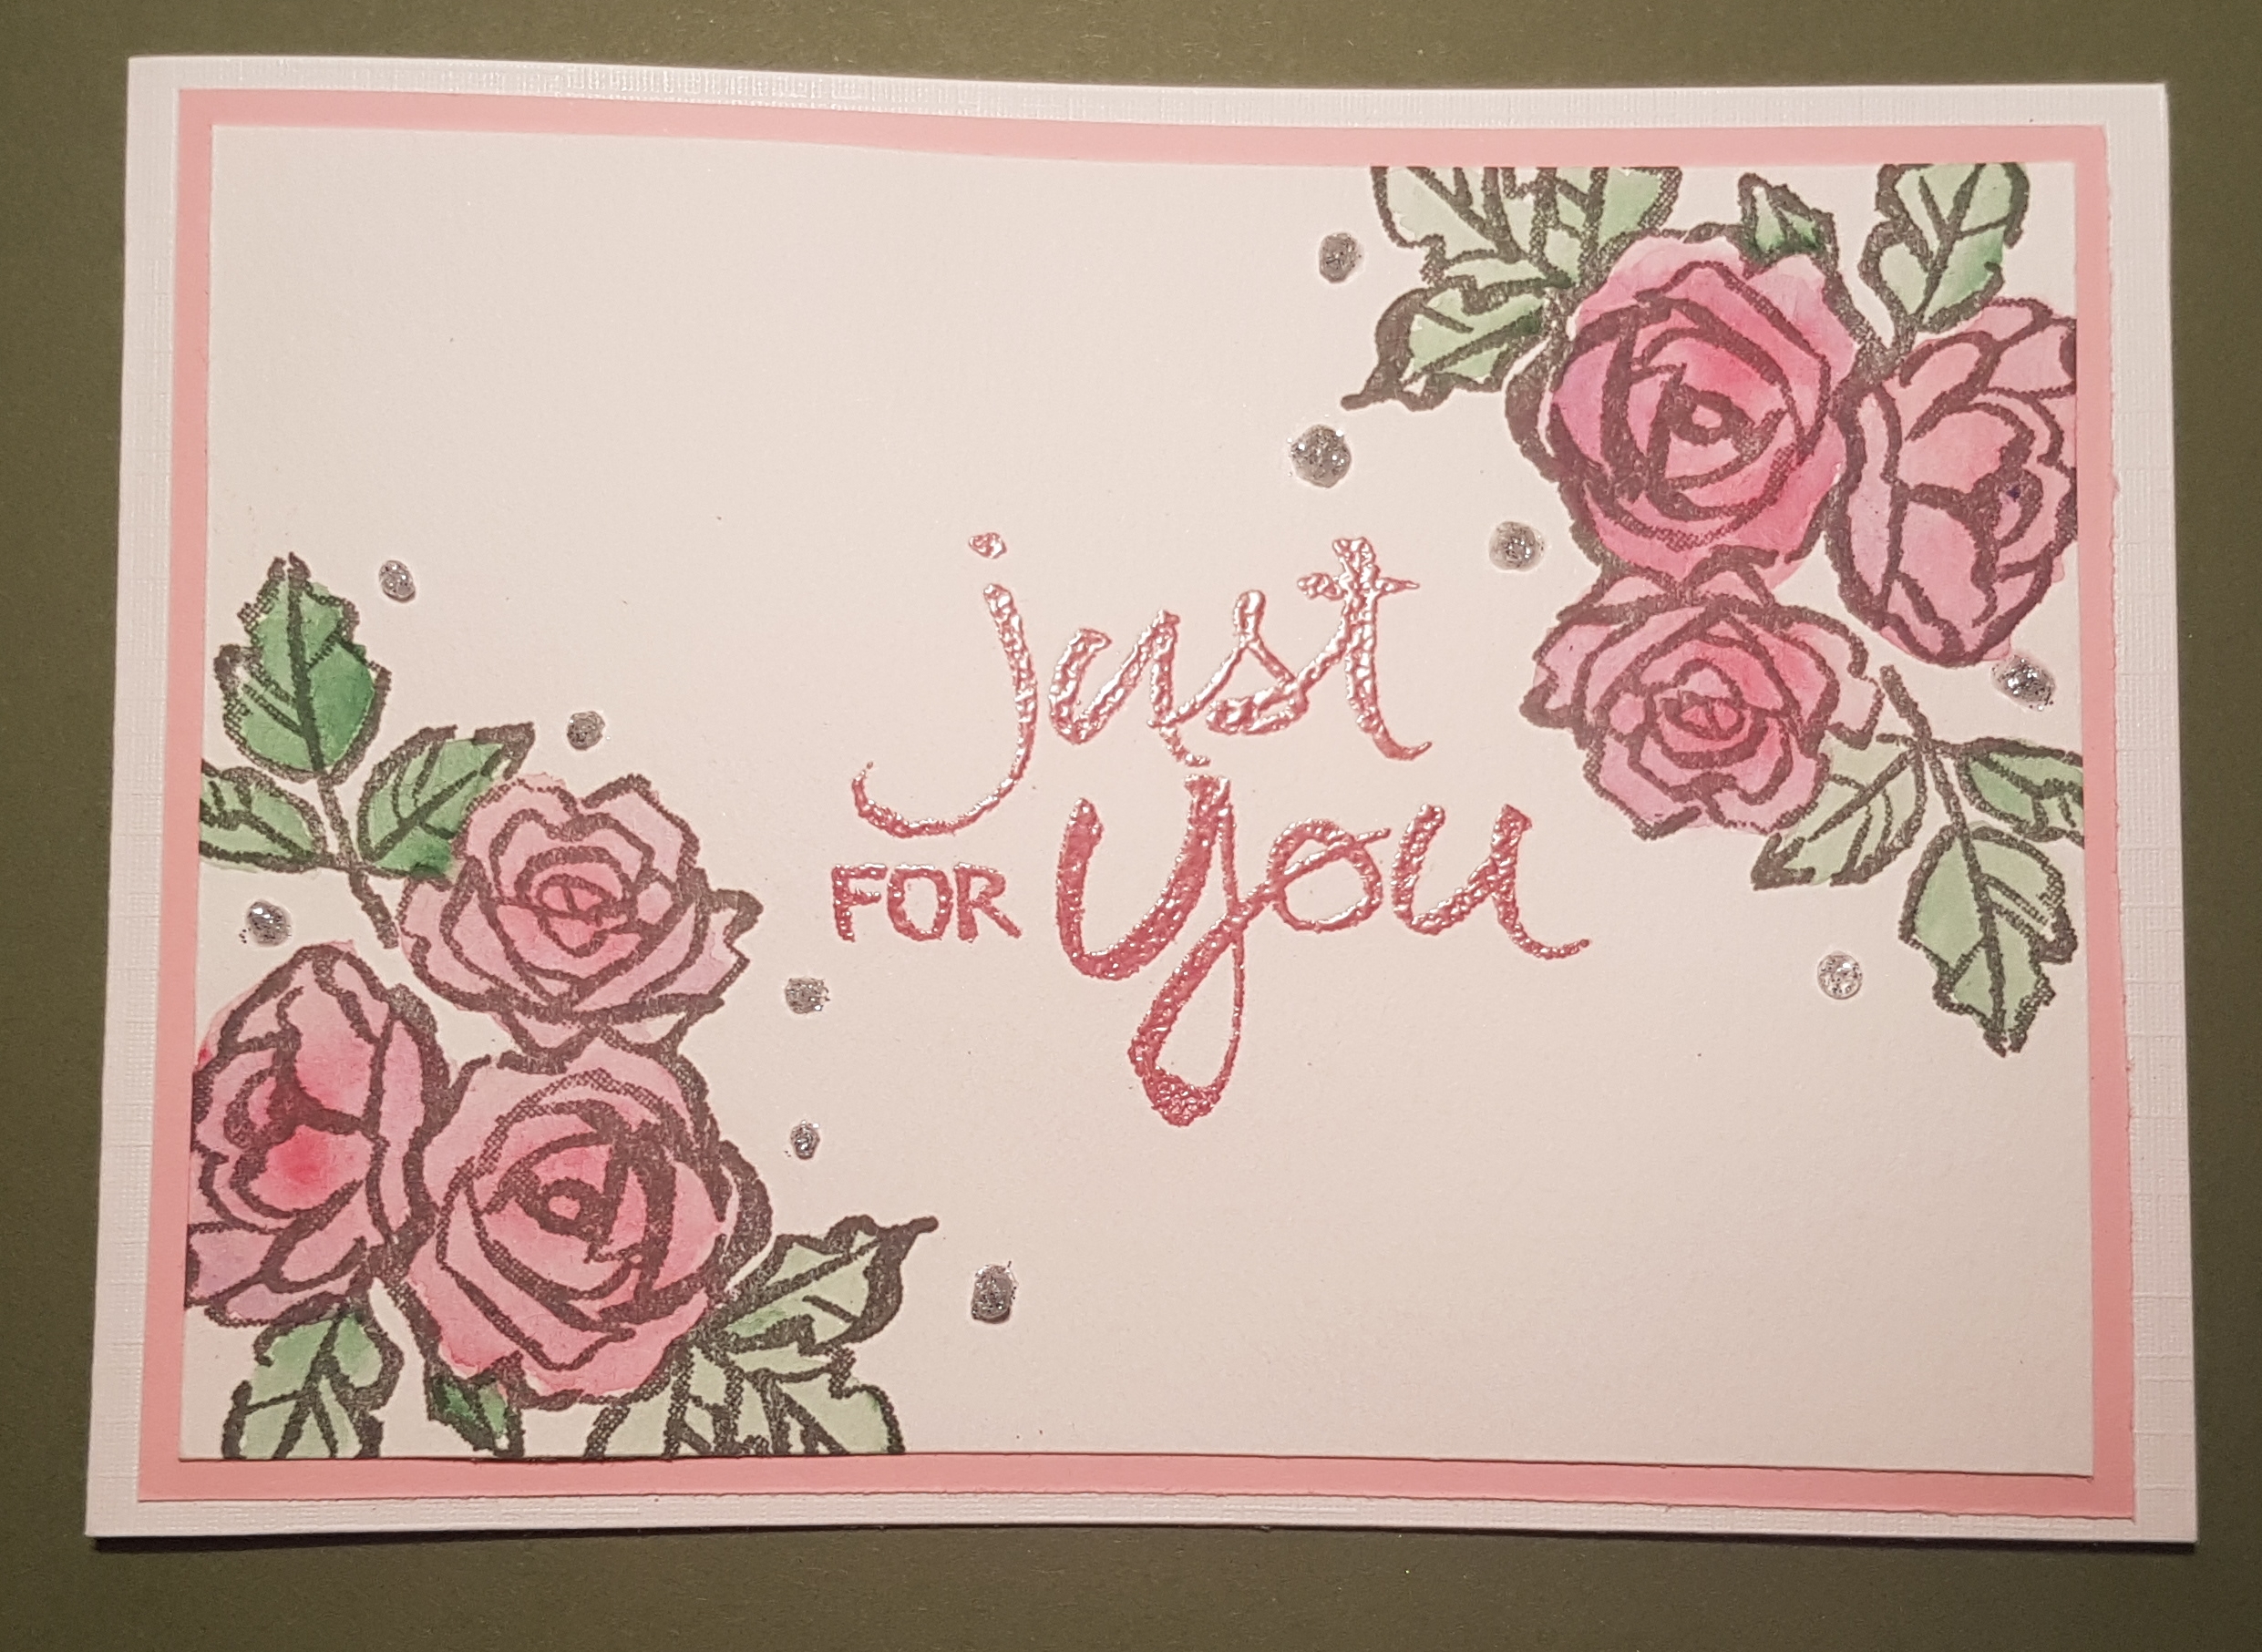
… so I first made a vintage themed background with Peeled Paint, Faded Jeans, Vintage Photo, Frayed Burlap and Walnut Stain. 

I used a selection of stamps… Timeless Textures, Affection Collection, Butterfly Basics, Sheet Music.

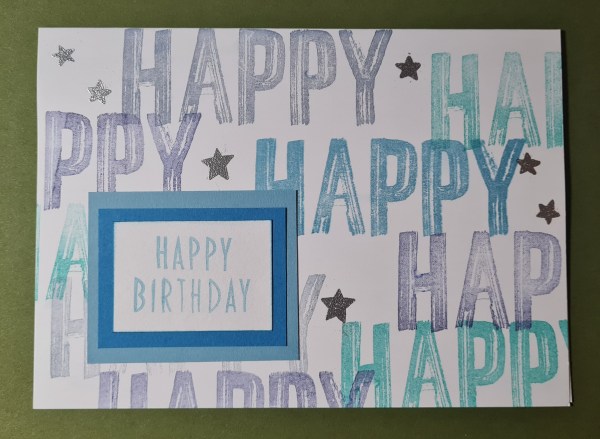
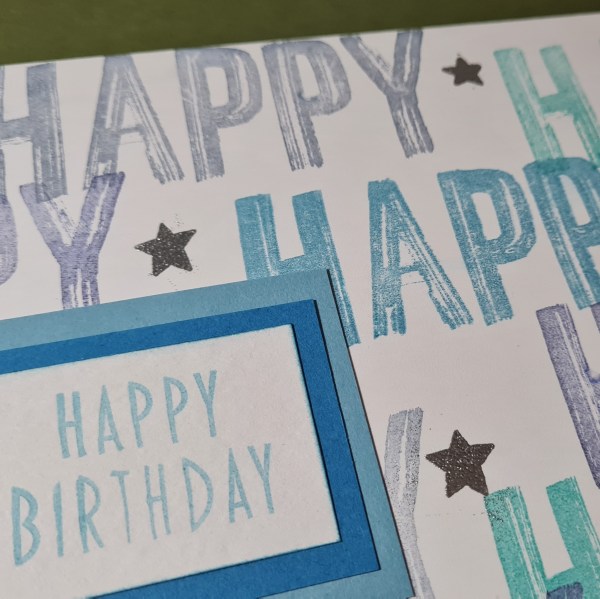
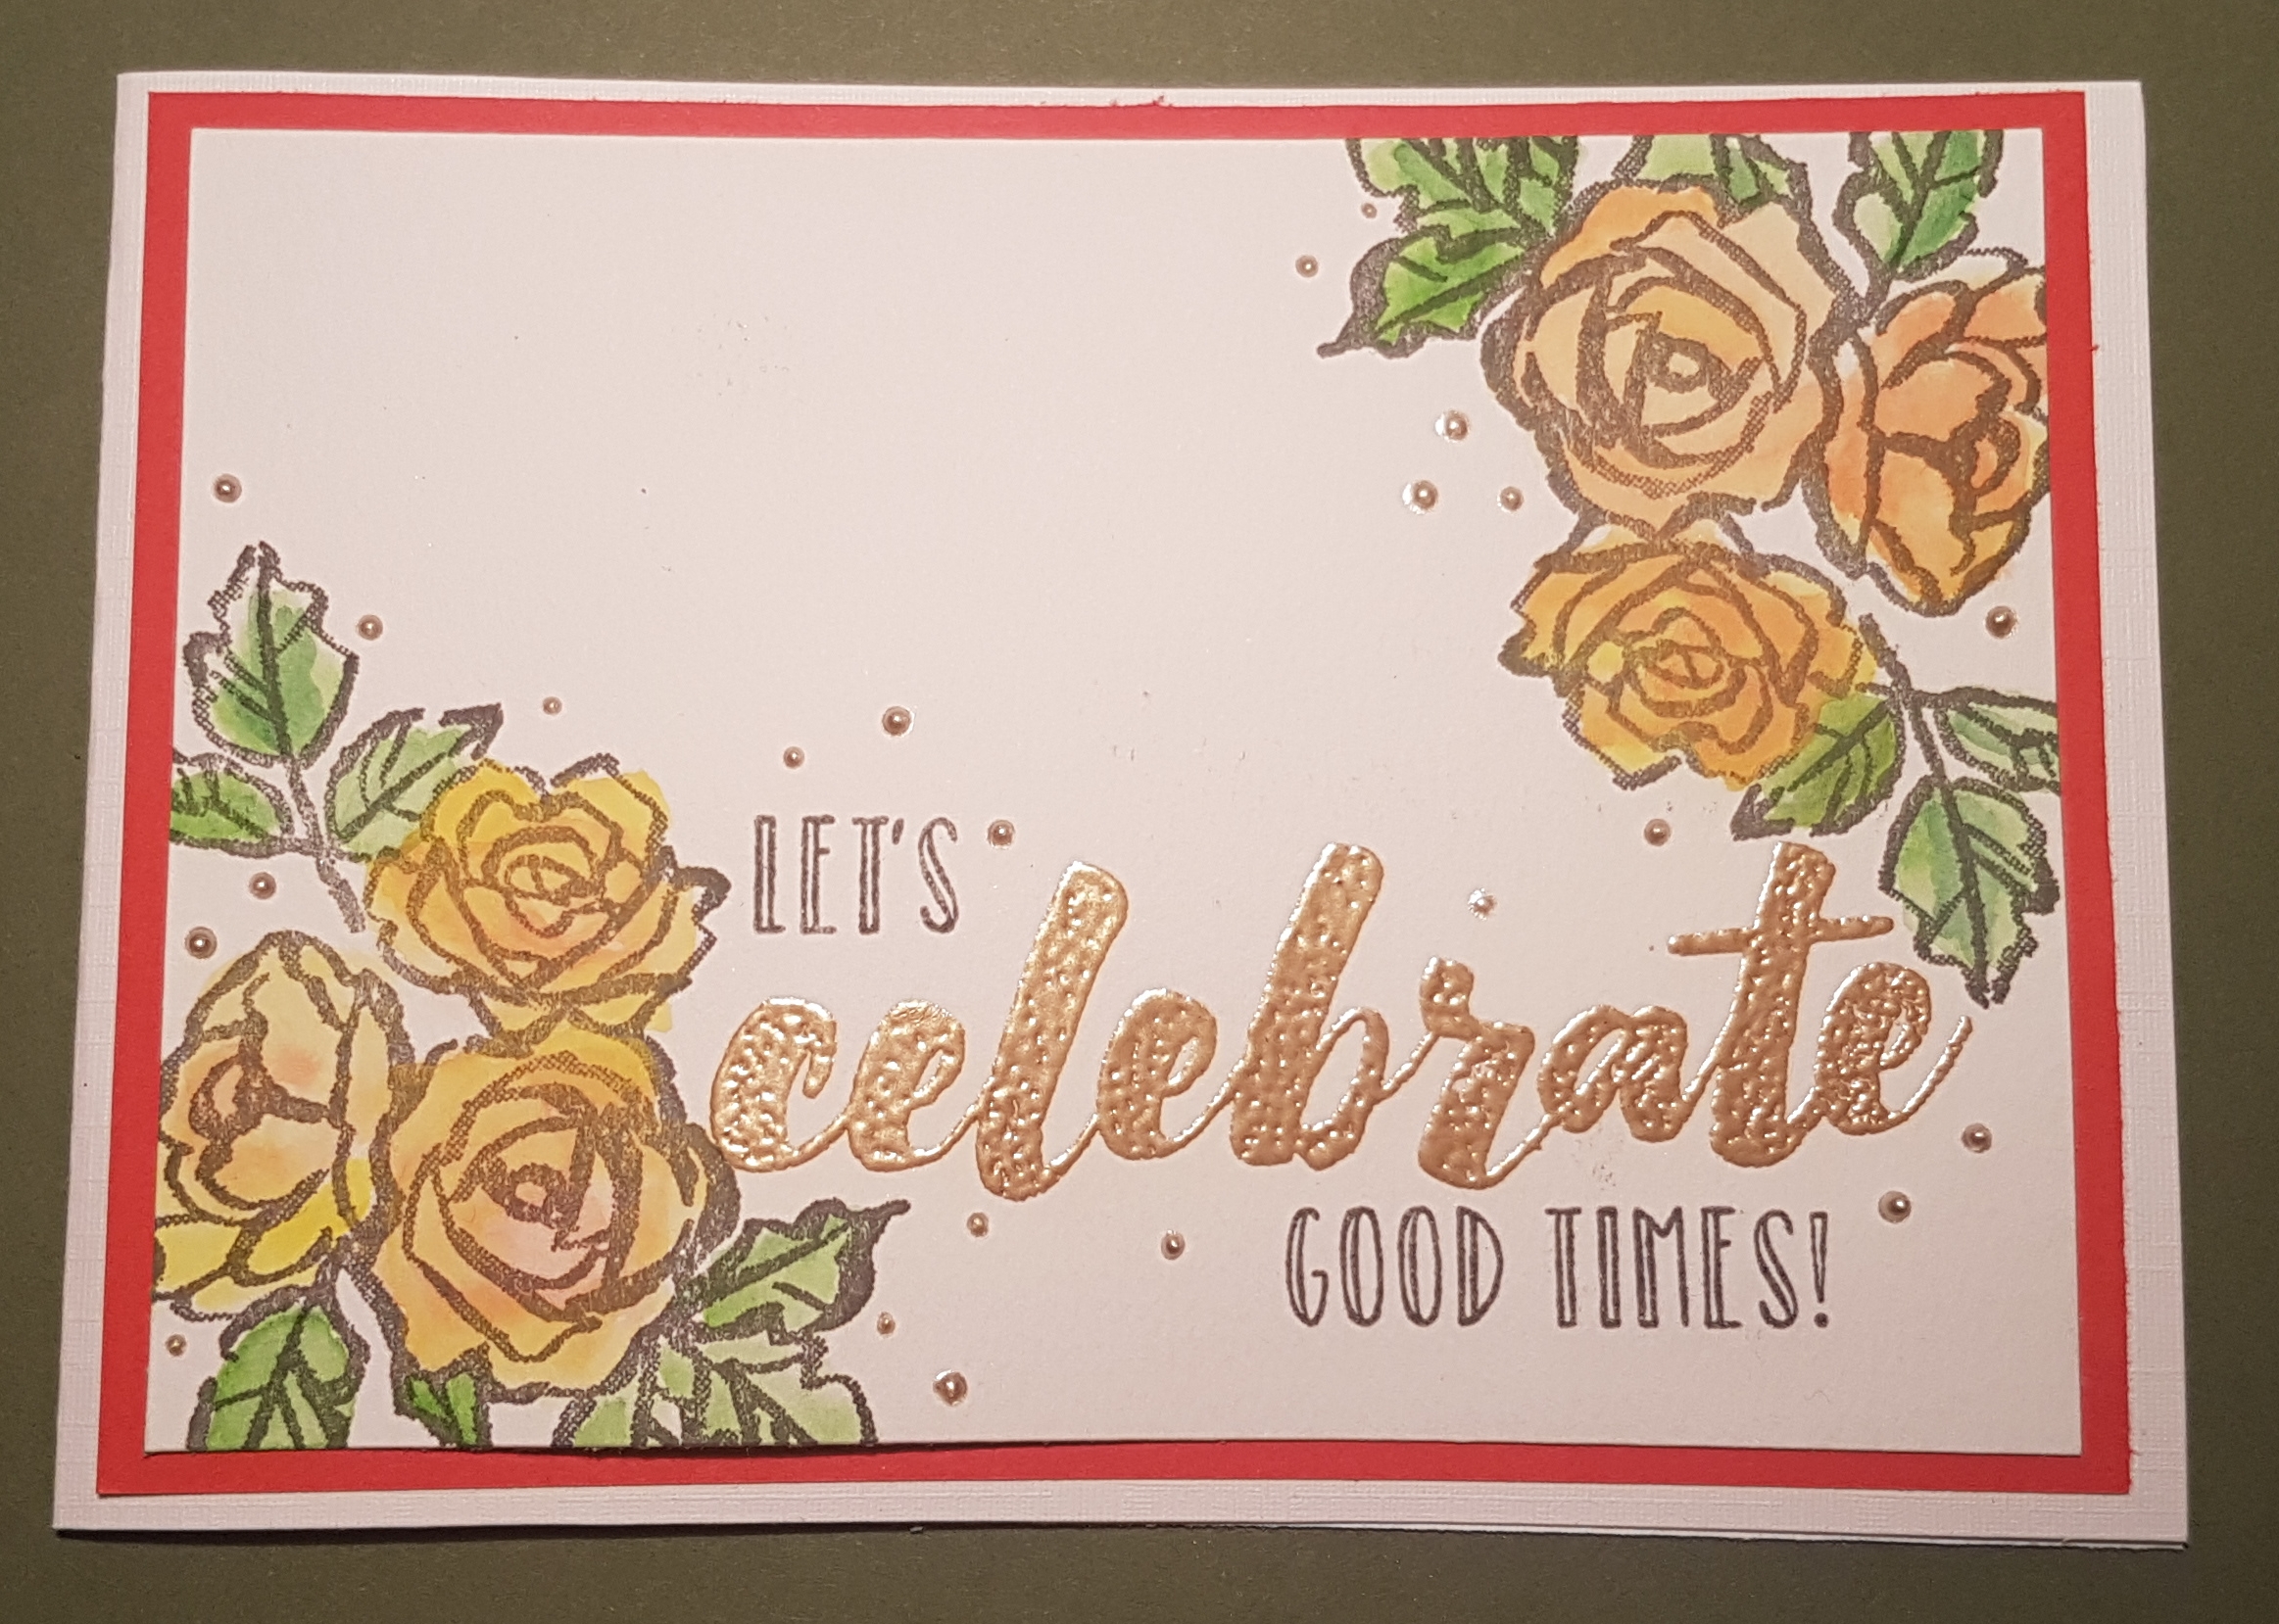
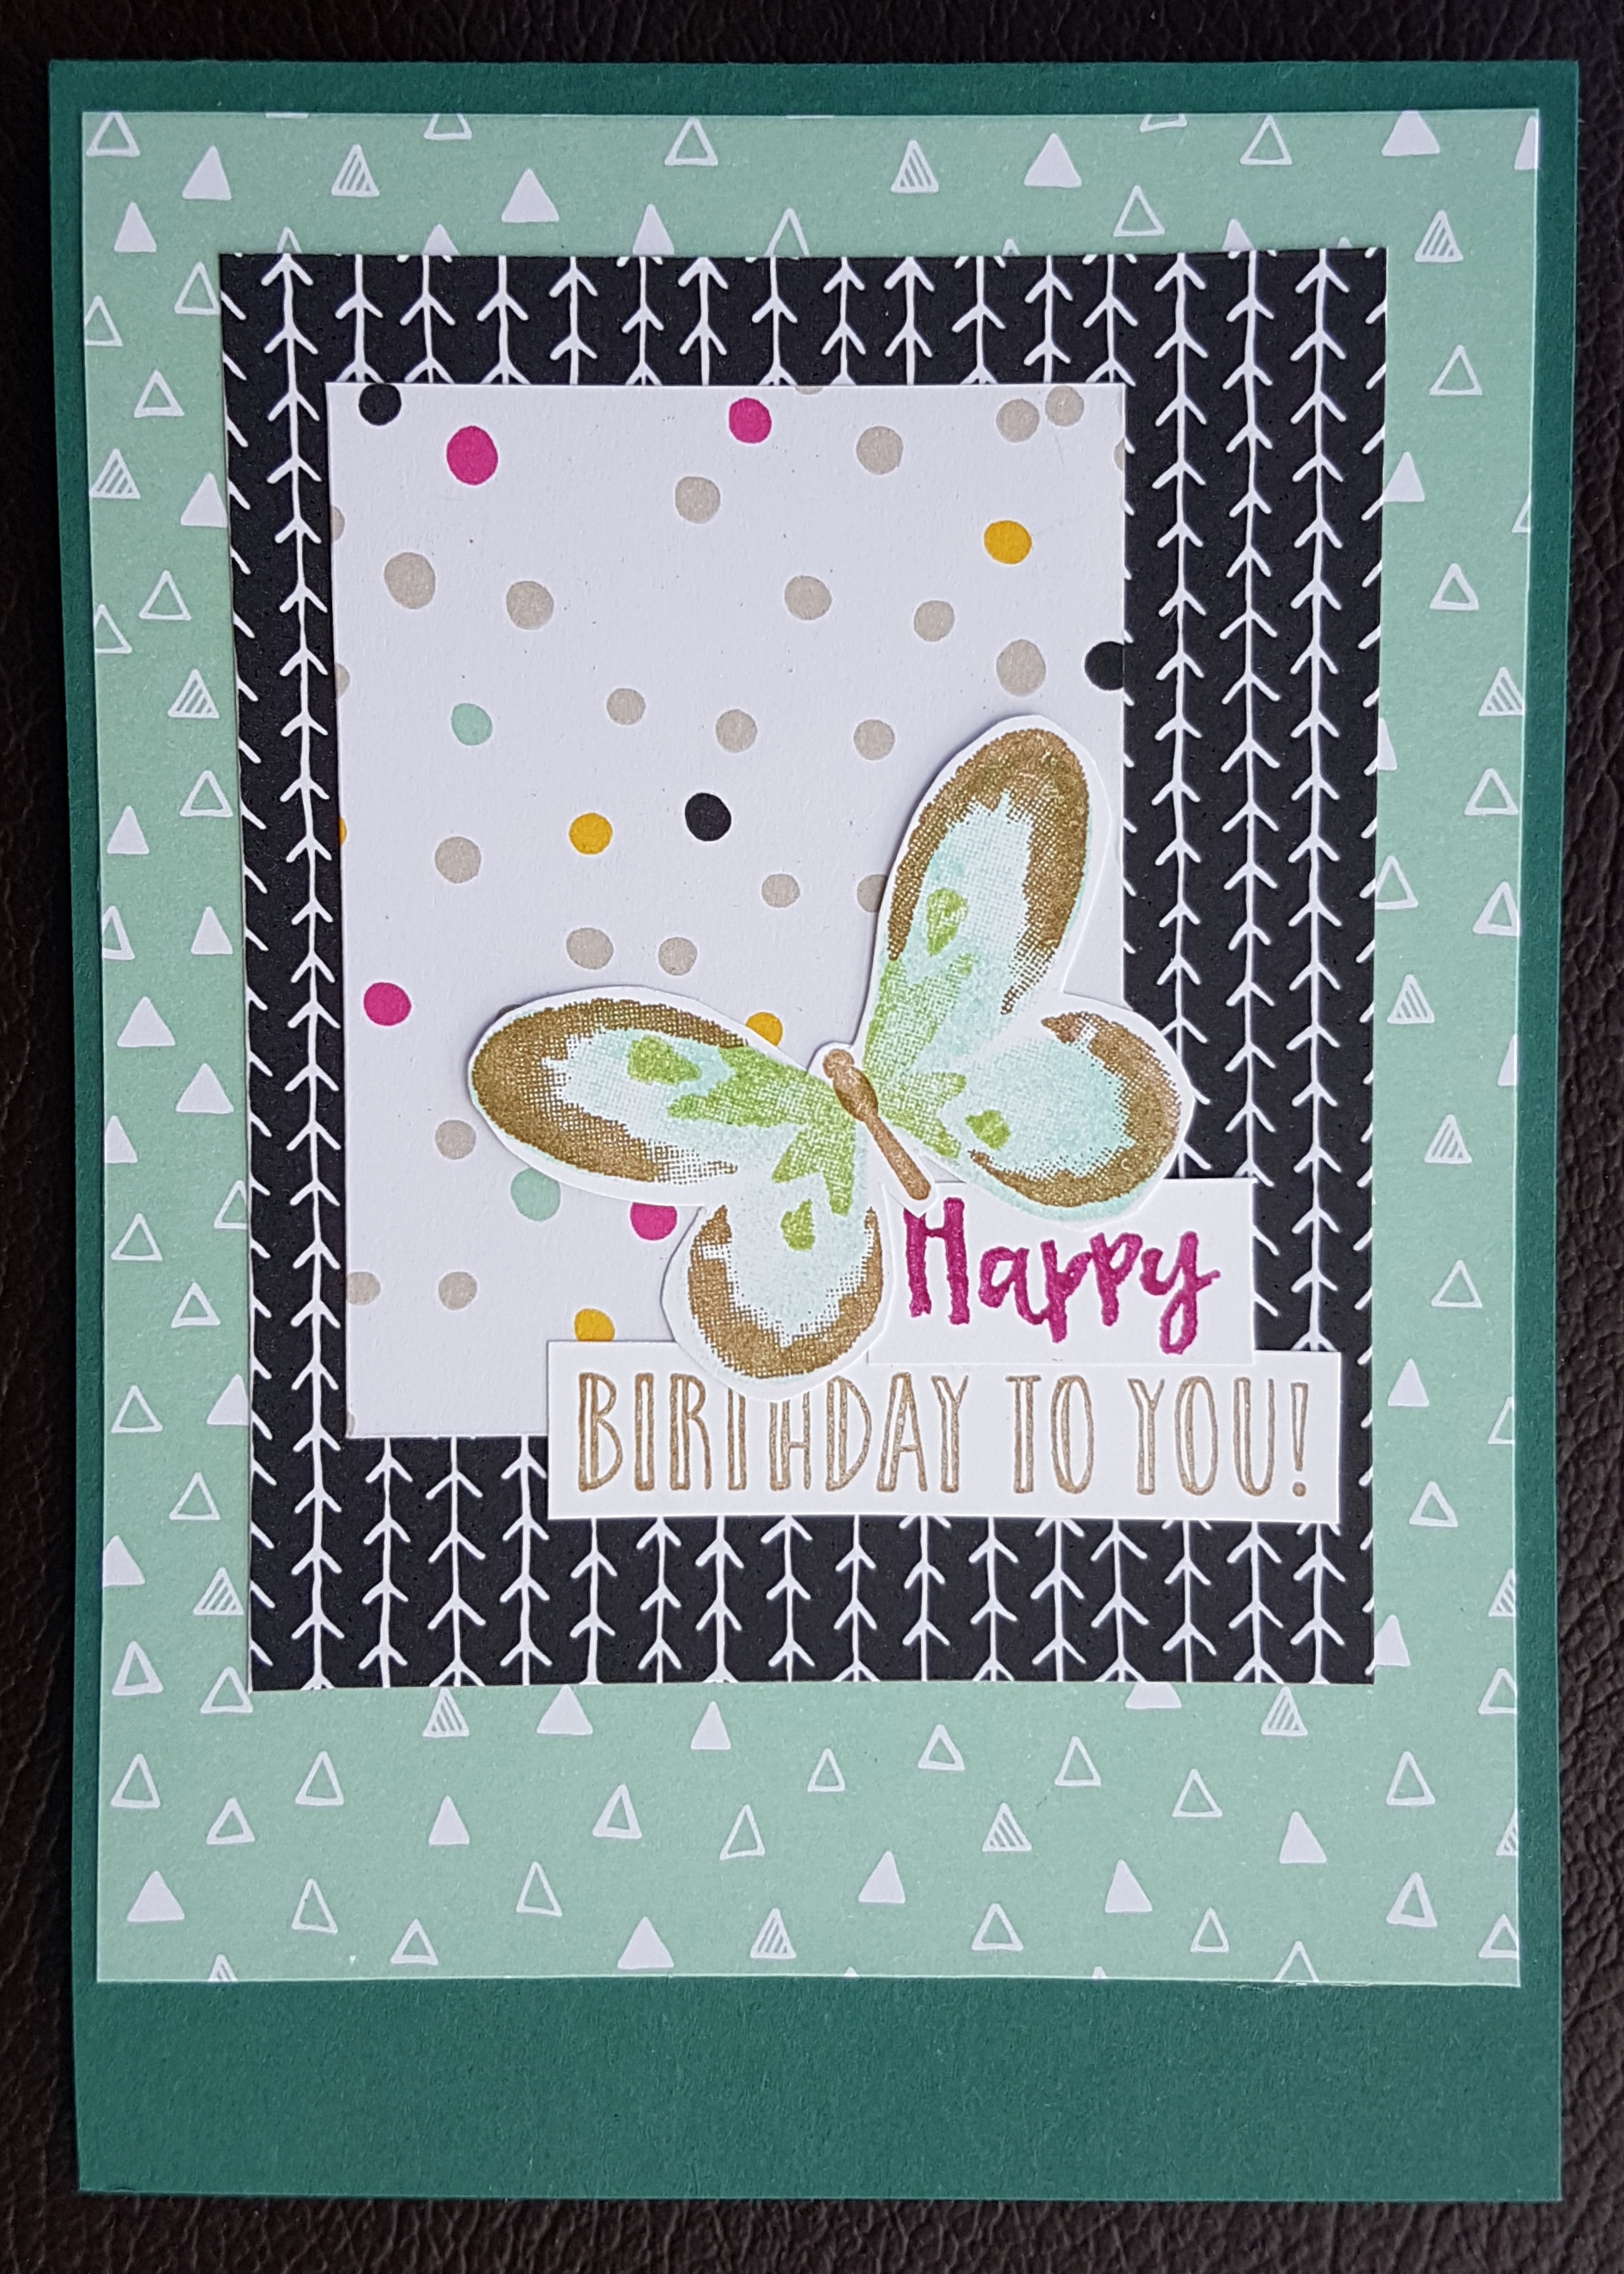
Next I made a bright and funky one… Picked Raspberry, Twisted Citron, Spiced Marmalade, Cracked Pistachio, broken china.  And stamped using stamps from Tap Tap Tap, Handcarved, Happy Celebrations, Butterfly Basics.

Then I cut them into panels… 

… And then started to put together cards based on the same sketches that I put together (whilst eating lunch at work I managed to get some ideas down on paper! 

I started with an inlay die cut using the swirly scribble thinlits die. This provides a lovely finish and needs very little to finish it off.  I just added a stitched framelit oval and a sentiment to each of them and changed the orientation of the cards.

Next I took the other larger panels and I die cut a frame effect using two rectangle dies.  I popped the frame up on foam pads and then added the diecut birds to the middle panel before sticking it back in place.  I added some wink of Stella to the bids and a die cut sentiment label and added twine to each of them … one the linen thread and the other the bakers twine. 

I decided to change the orientation for each of them again to show two possibilities for the card design.

Next up I wanted to use die cut sentiments.  As I was layering two panels of the cardstock I did add a little ink to the edges to give them more definition.  I felt one needed a white sentiment and the other a black.

So onto another layered layout.  I couldn’t resist using this dragonfly die cut for both of the cards.  I just adjusted the position of the bottom panel for each card and chose a different placement for the sentiment.  I die cut both dragonflies from white adding colour using my clarity brushes to keep it gentle.

And finally I gave both of the final cards a mount of black and on one I tore an edge and the other I left it straight.  Then I layered two flower die cuts that i had done in black and white and reversed the order to give them a different look.  I added lots of wink of Stella to the black top level on the bright card as it needed some shimmer.

I am really happy with how these came together as samples… wonder how the session will go and if we will manage to do something different? I’ve diecut loads of bits and pieces and so it will be interesting to see what people use! 

Happy crafting! 

Catherine 

Happy Celebrations, Petal Palette, Watercolor words

Petal Palette cards

Whilst I had the water colours out to play I made three cards using the lovely Petal Palette new stamps from SU. I did the stamping using the stamp platform to make stamping all three panels super easy and then coloured the images using watercolours. 

I then chose to finish each with a different sentiment.  This one is a gentle happy birthday using the Watercolor Words stamps and then I added the glitter dots to add some shimmer.

Next I chose to do another with the watercolor words stamps.  This time I chose a different colour embossing powder and stickles. 


The final card I chose the happy celebrations stamps and embossed the large celebrate and then stamped the rest of the sentiment in the same grey archival as the flowers.  I also chose liquid pearls for the dots for this.

This is a beautiful stamp to use and I can see me using it lots and lots in future for these simple but beautiful cards.

Entering these into the watercolour anything goes challenge at happy little stampers and the embossing challenge at stamp ink paper

Happy crafting! 

Catherine 

Beautiful You, Confetti Celebration, Design Team, Happy Celebrations, Watercolor wings, YouTube video

DT Craftyhazelnuts patterned paper challenge 

Well hello! And happy start of advent. I have a very non-christmas card to share today that I made for my contribution to Craftyhazelnuts patterned paper challenge. I actually stuck the video on to record the process… you can check this out here

And here is the card I made… 

I love these funky papers and the contrast with the delicate butterfly from Watercolour wings. Adorable. 

So now off to see what others have got up to with their stash of patterned paper over on the blog

Happy crafting! 

Catherine