

So a few weeks ago I made a master board and then a few projects from it. Randomly I videoed them and then popped it up on You Tube but never got round to writing up the blog posts and just realised! So here you go…
I made this master board …
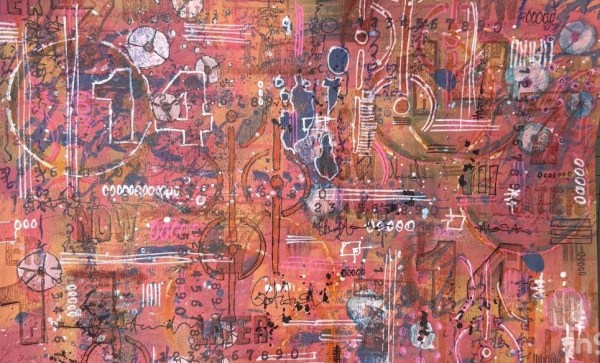
Lots and lots of fun making it, completely lost track of time and just played and it was great! If you want to see the video here it is.
Always difficult to do it but I did cut it up … first a 6×6 square for a frame I have had empty on the wall for way too long… more on that in another post. Then I cut the rest into panels suitable for cards. I made two cards immediately and then have two pieces saved in the pouch of ready made backgrounds for future play time.
So here is card number one…
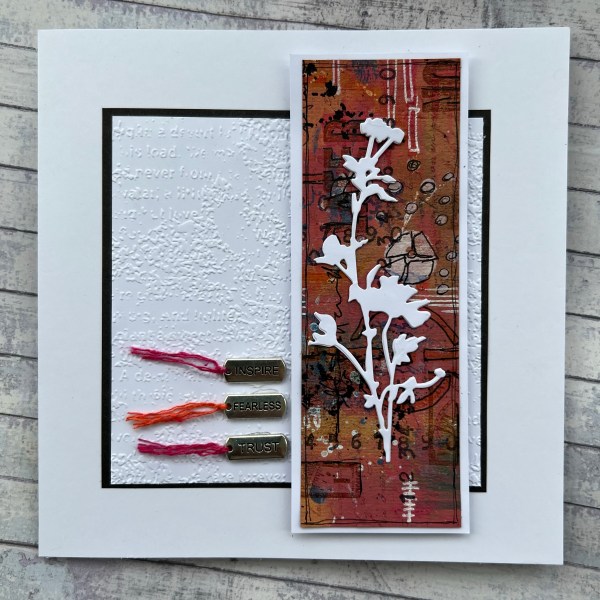
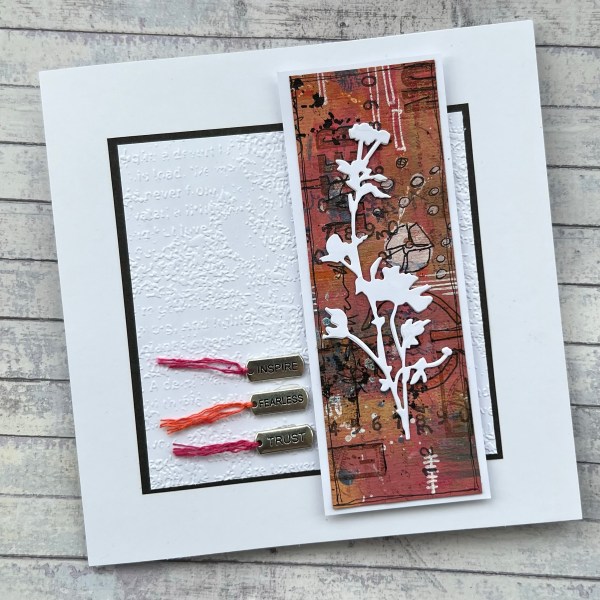
A slimline panel mounted onto white with a white die cut flower on the top (stacked three layers of die cuts to give it strength). Kept the background quite simple with an embossed panel using the Old Paper embossing folder. Mounted that onto black.
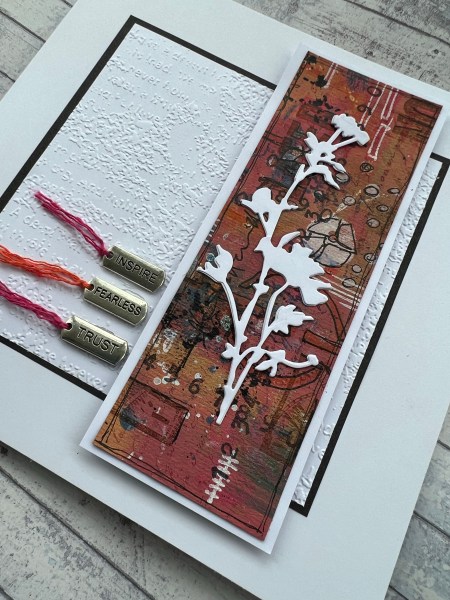
I then found three charms, added coordinating thread and added those.
Simple and elegant I think! I say simple clearly this took quite a long time to make the background but it was all good fun!
Next a smaller card with a smaller panel of the master board.
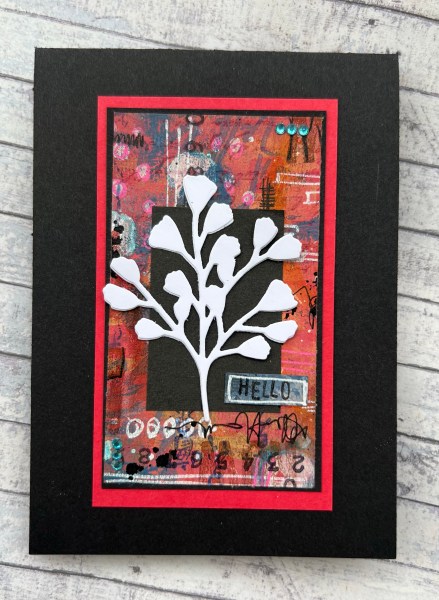
Whilst the theory was the same with the white die cut using black as the. Base and then the pop of the bright card stock mount completely changes the feel of the card.
Also added some gems to this in the blue to draw out that colour from the background.

Just love playing with a master board like this … whilst the background is super busy with lots to look at it changes when you add a bold focal image and becomes a background again.
So happy with my creations!
I did also do something with the piece I put in the frame but not go round to blogging that either … watch this space.

Happy crafting!
Catherine
Ps the video for the making of the cards is much shorter than the video for the making of the master board
