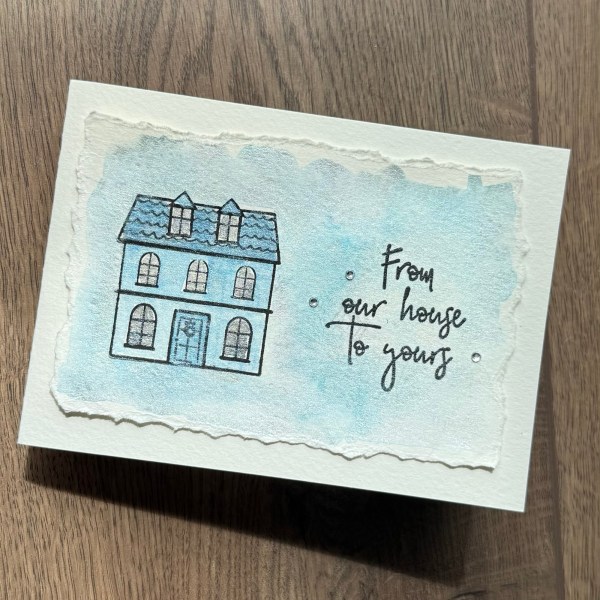
Right straight back into the normal challenges – starting with using up the patterned paper stash … in this case the cute otter themed papers I got given by the lovely Tricia … so off we go with Kendras Card Challenge. I’m a bit behind so this is my first play with number 22 but I know 23 is already available – so that will be next months!
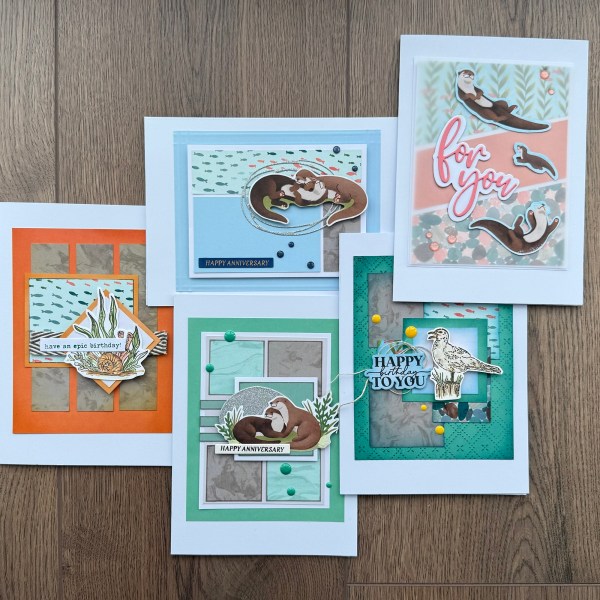
Today I have just the first five cards … but the video has the cutting and organising for all the cards on it!
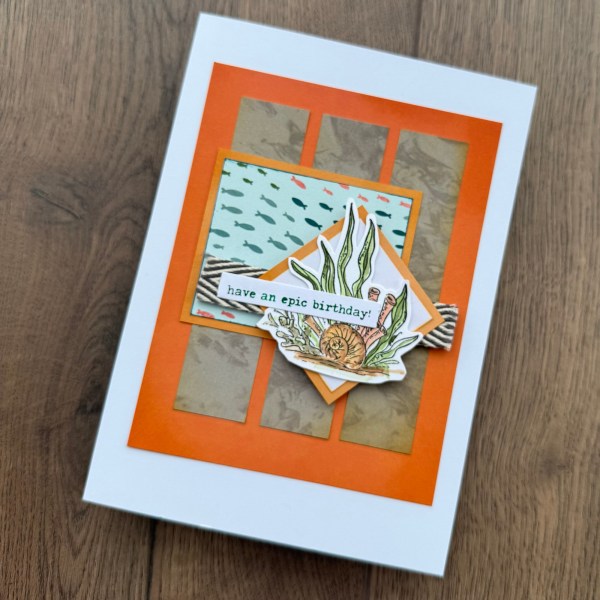
Card 1:
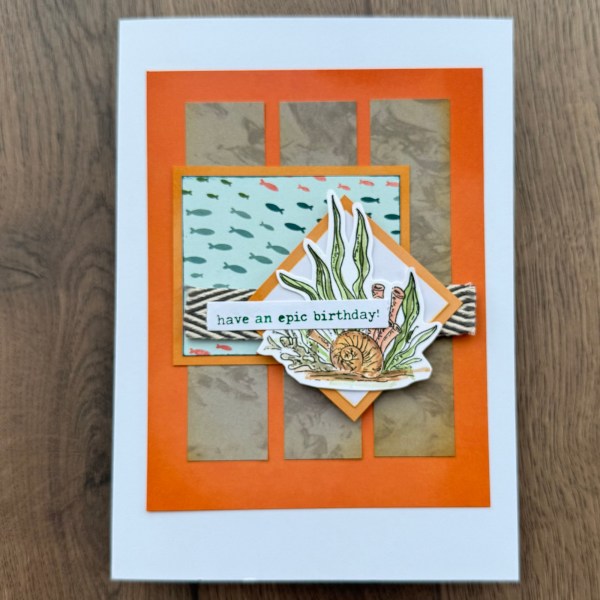
I did some stamping of seaside elements prior to making the cards and fussy cutting of the otters from some of the leftover papers. These became the focal points ready to add onto the card.
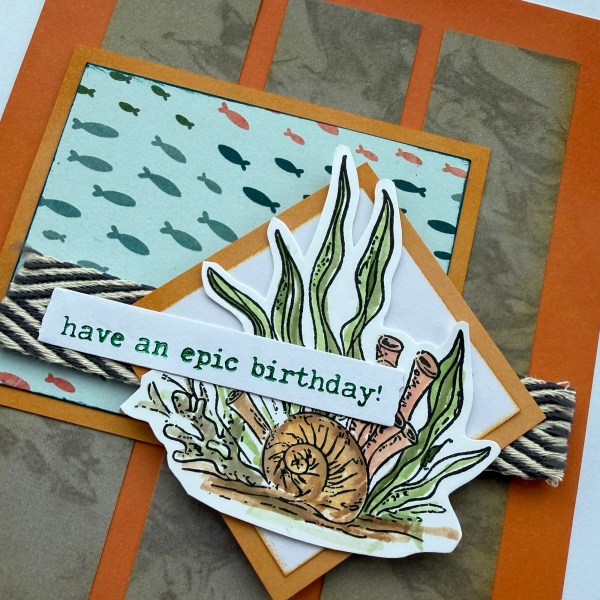
I also pulled all my sentiments for these five from the ready made stash I have! I inked up the panels to give some depth of colour.
Card 2:
I decided on a mix of birthday and anniversary cards.
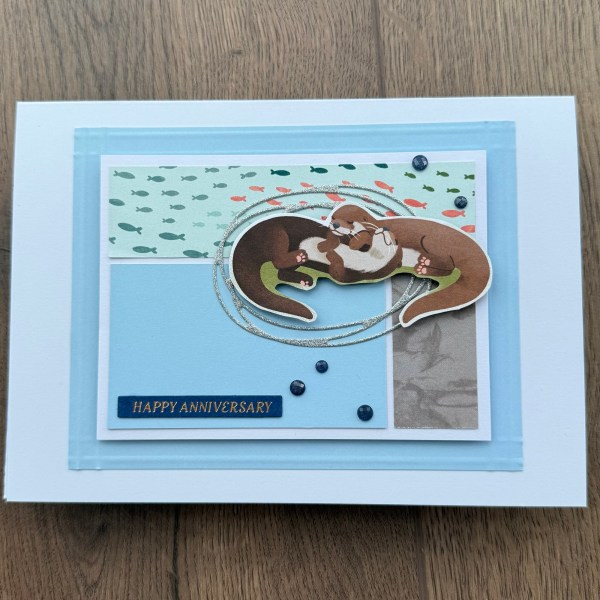
This one I twisted the sketch as I wanted the fish to go left to right not up and down!
I also added in the die cut from the silver glitter cards stock.

I added some dimension for the panel to be lifted above the background panel – and also under the otters.

For all the cards I added them to 5×7 card blanks as toppers as the templates are for US sized cards not UK 6×4 card sizes.
Card 3:
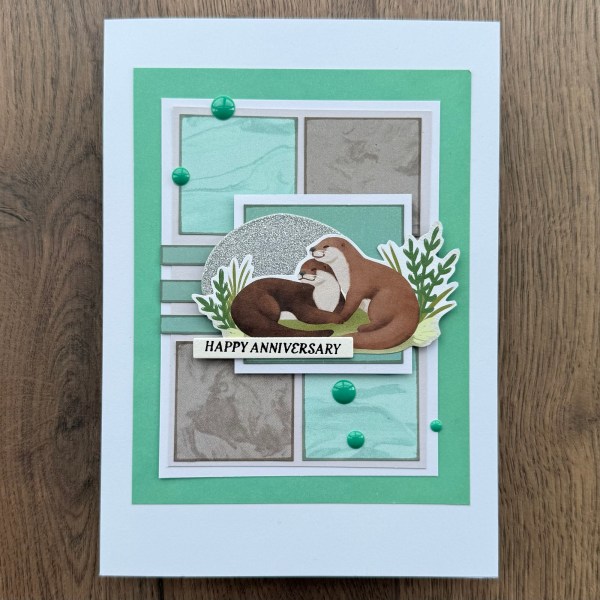
This one is probably my favourite of the first five … I added edges to each bit using a promarker pen and then added foam under the otter cluster too.
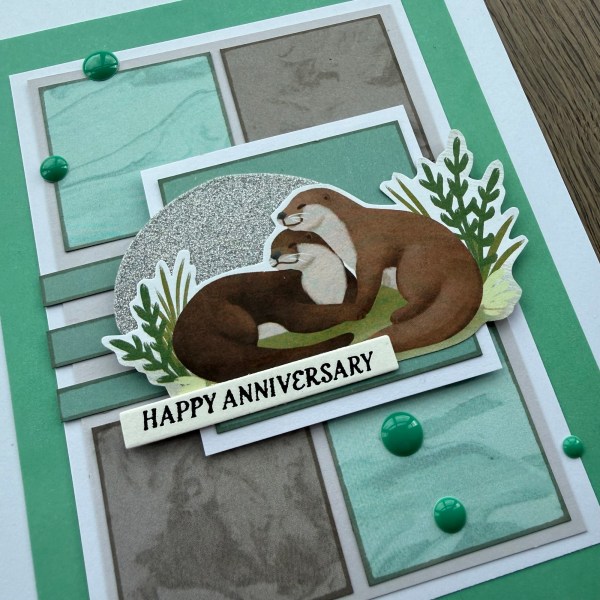
Love the colour and the sketch and of course those cute otters!
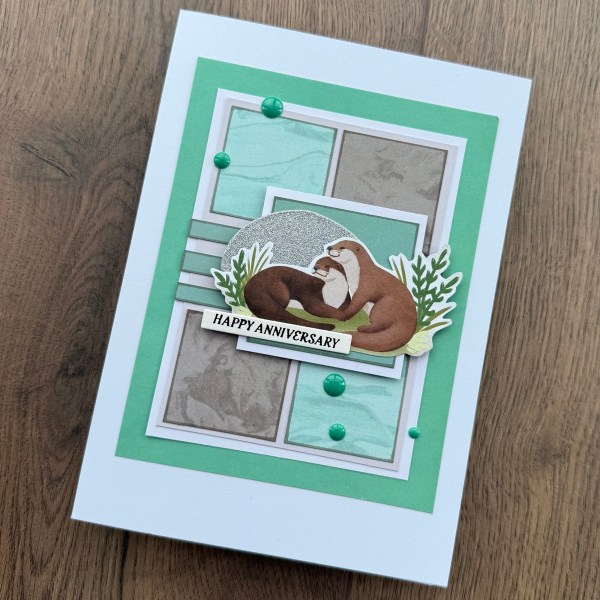
It was fun to get the gems out too and scatter them across the cards with some different colours!
Card 4:
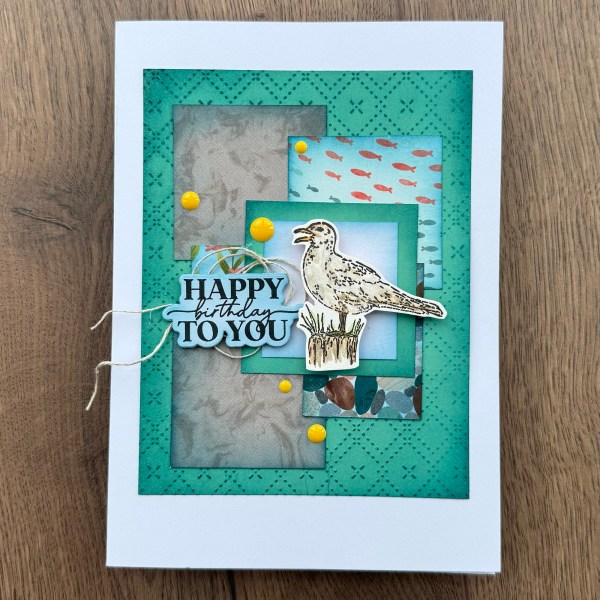
This one I went to town inking to bring out the embossing on the background and to make sure the panels of paper worked well together.
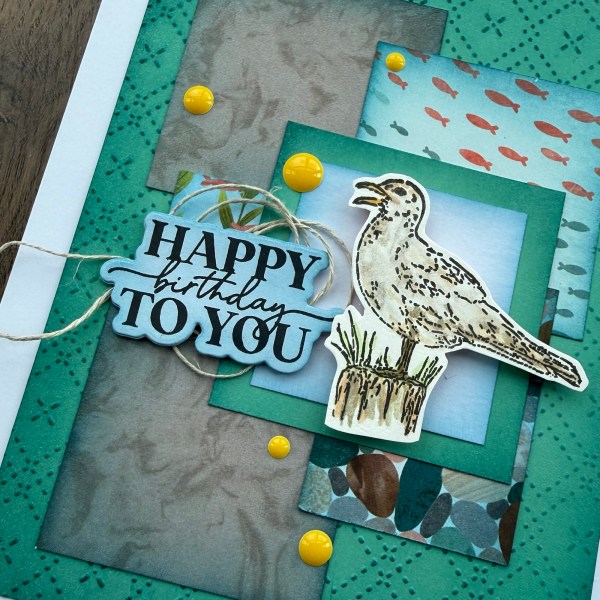
And then that seagull is so fun!
Can imagine him grabbing your ice cream at the seafront! 🤣

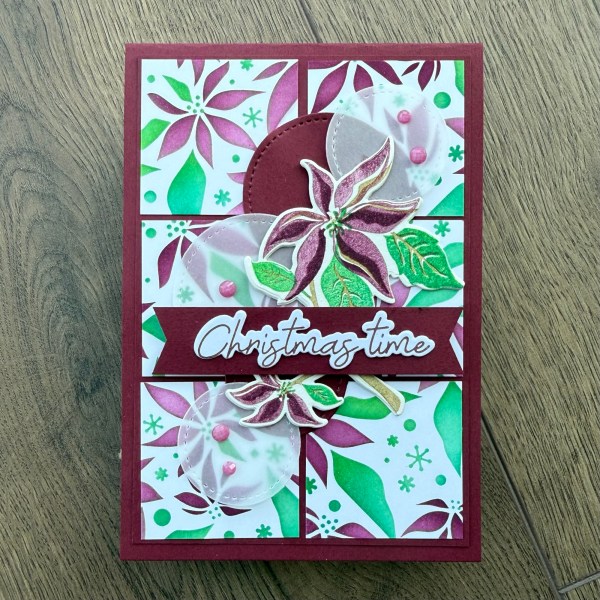
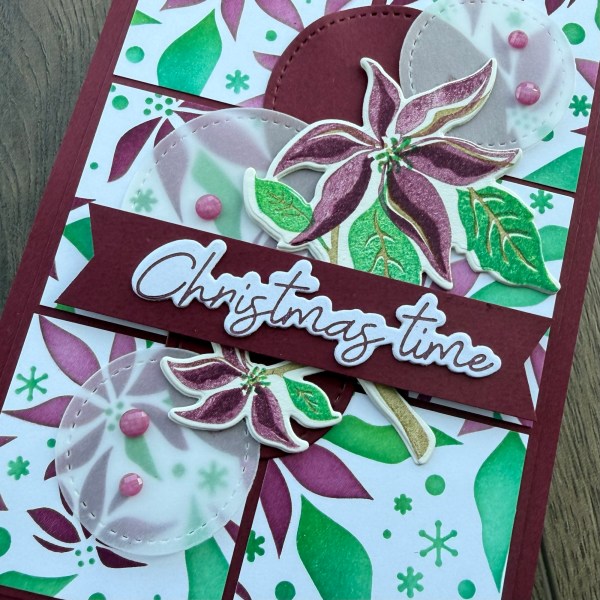
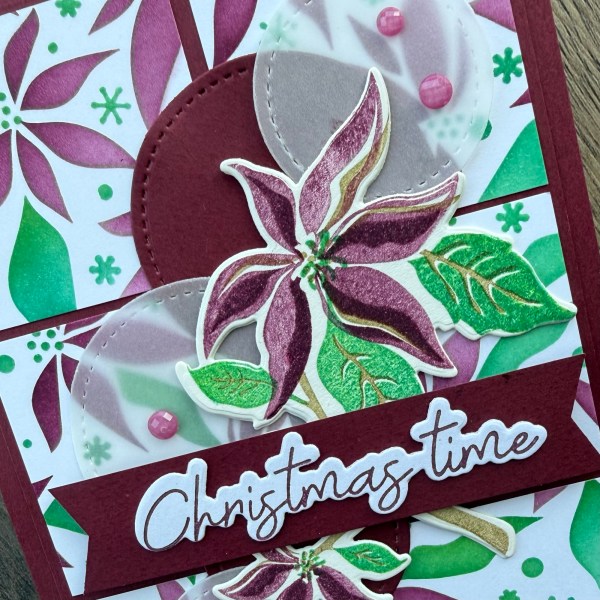
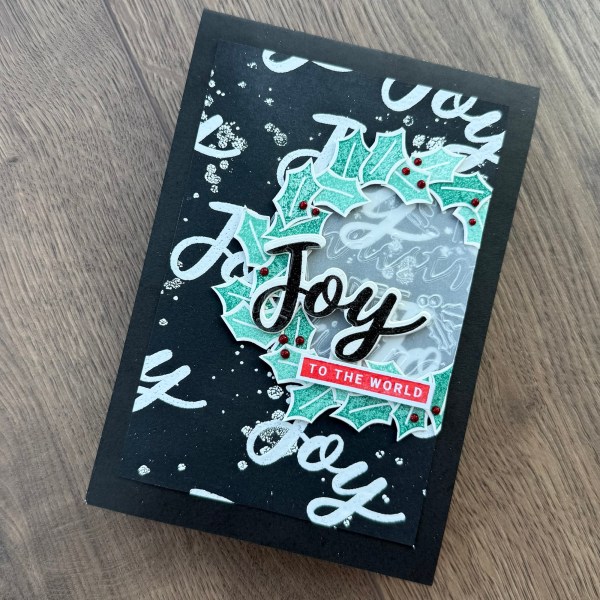
Finally … card 5:
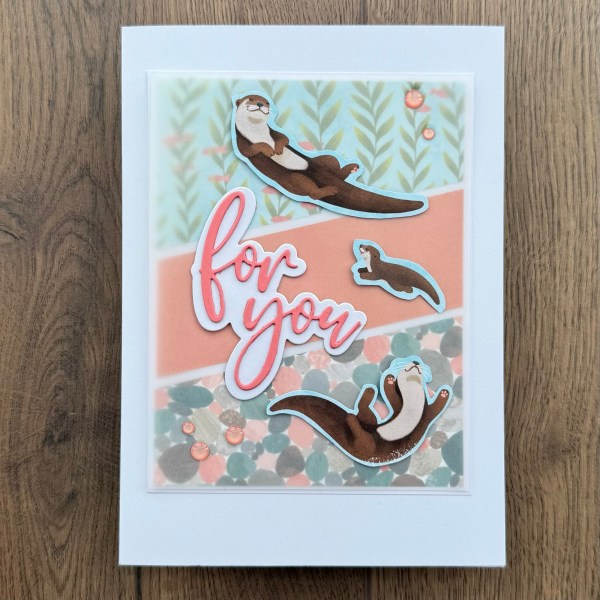
I wanted the otters to stand out more than they did against the bold patterns and so added the layer of vellum between the top elements and the background.
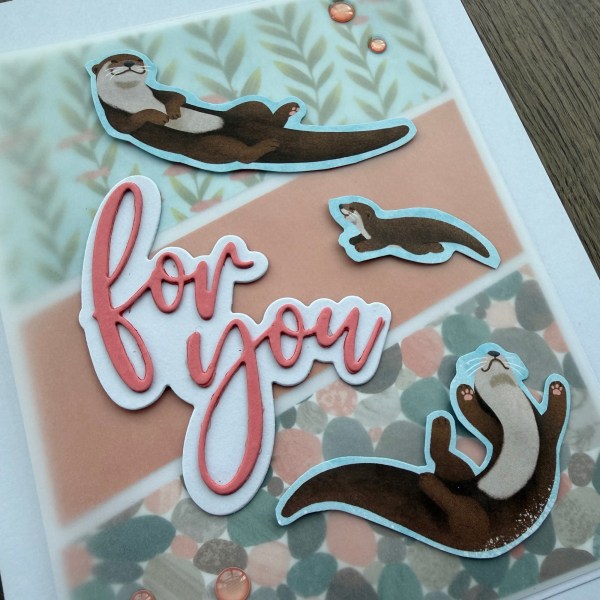
This worked perfectly to tone down the background but still have the patterns and colours coming through!
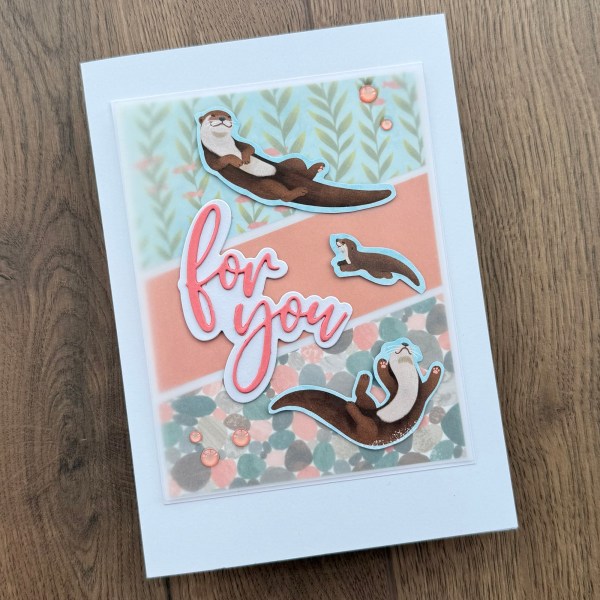
I used the placement of the top elements to choose how to adhere to the background so the adhesive is less obvious!
All in all a fun set of five cards – looking forward to making the other ten but I think the five in one go was more than enough for one day!
Happy crafting!
Catherine