

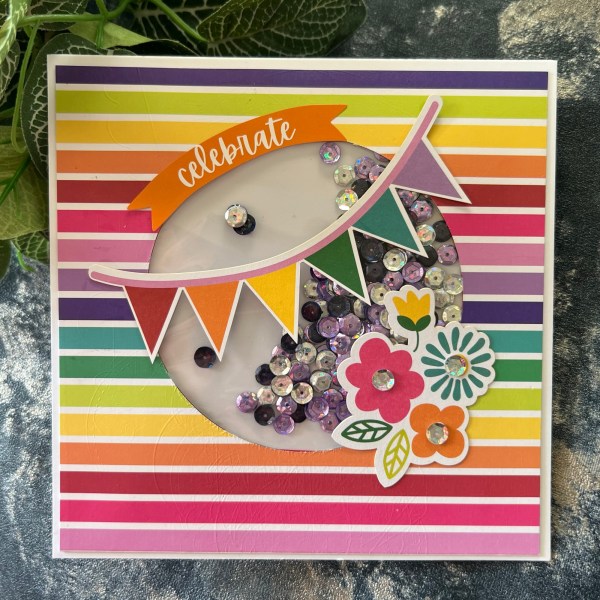
Earlier tonight I showed a shaker card I made with the flip its – well I didn’t stop at one and made a second one! This time slightly easier as I didn’t have to worry about the mechanism being seen as I didn’t make it into a ‘see through’ card.
So this really is such a simple thing to do (5 steps!) and no messing around with trying to get foam adhesive to go round corners or anything. And because it is quite flat it doesn’t mean you have a really bulky card that doesn’t fit in the envelope.
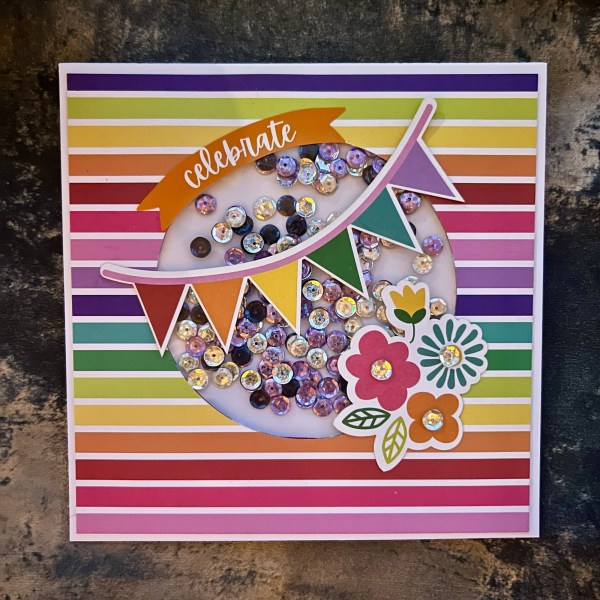
Step one – die cut a shape from your top layer – in my case the fabric rainbow patterned paper!
Step two – Add sequins or shaker bits into the flip it.
Step three – Use the adhesive to adhere the flip it to the back of the die cut layer so the shaker elements can be seen through the aperture.
Step four – Grab some redline tape or double side tape and seal the flap on the flip it so the sequins are sealed.

Step five – Adhere the panel to your card blank and then you can decorate.
I learnt my lesson from last time and reduced the amount of sequins in the shaker so it is a little slimmer – but still packs a lot of fun with the movement and the shine.
Like last time I used the die cut and stickers from the Rainbow kit to finish off the front of the card – such a fun kit.
But when shakers are this easy I might have a new obsession for making shaker cards about to start – I’ve got so many sequins and little beads and things I never think to use – I suspect they might get grabbed quite often now to make some more fun shaker cards.
Happy crafting!
Catherine

Brilliant! I always struggle with shaker cards in getting a good seal around them – this idea looks perfect!
Yes definitely easier and perfect for flatter cards than ones with loads of foam adhesive