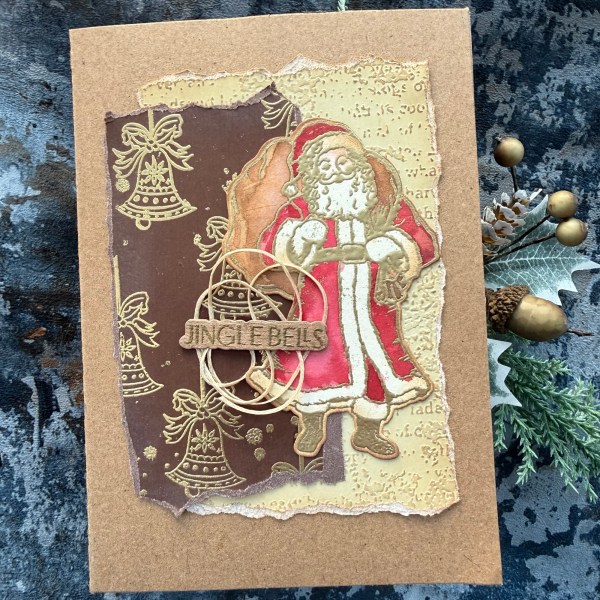
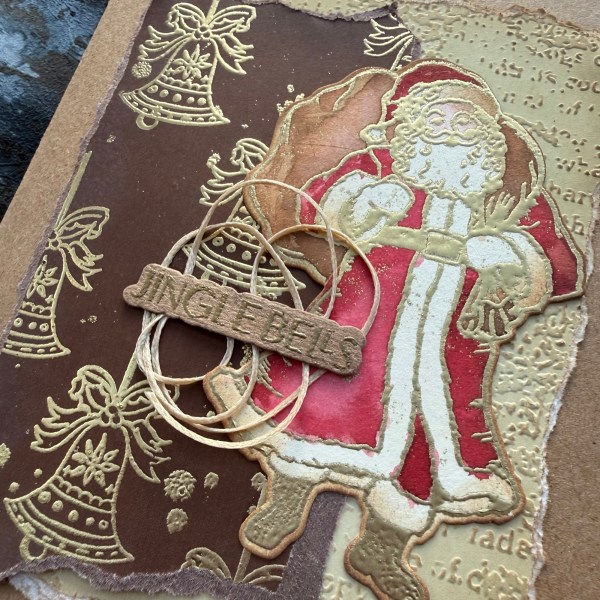
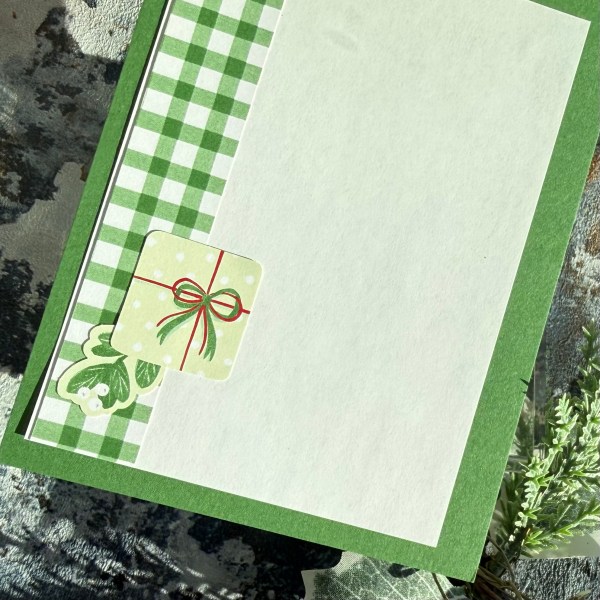
Today’s post has a lot of cards – because I wanted to use up lots of scraps that had accumulated using the Kingston Crafts paper kit – I just wanted the pouch of bits done with so I could start to clear the decks and make some different things. So I videoed the full process for putting together all the cards!
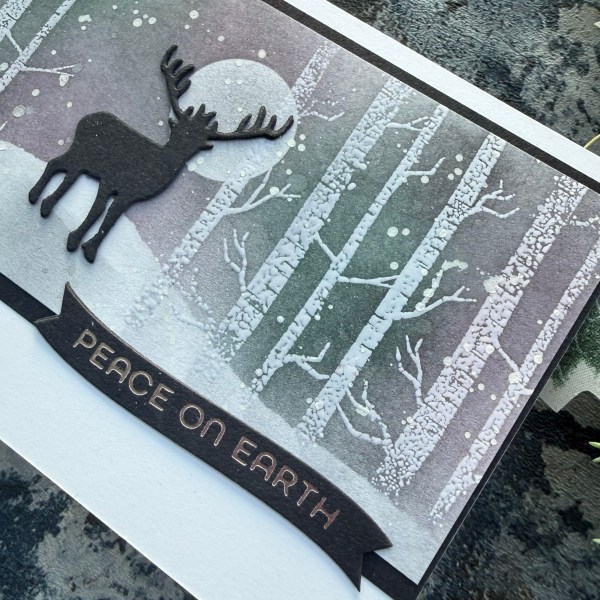
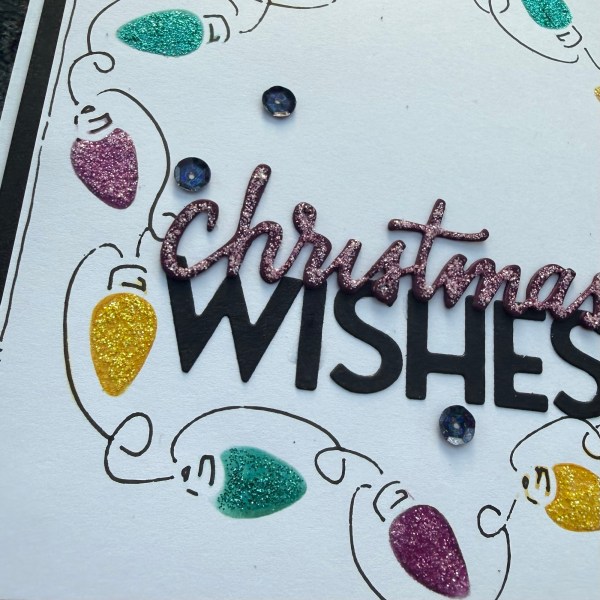
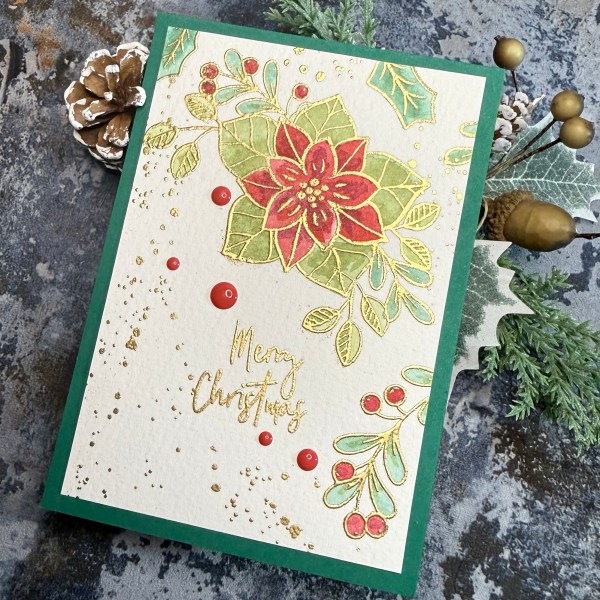
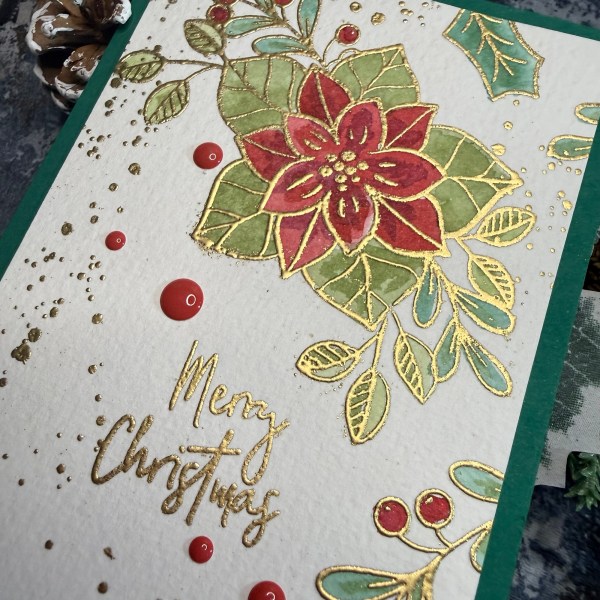
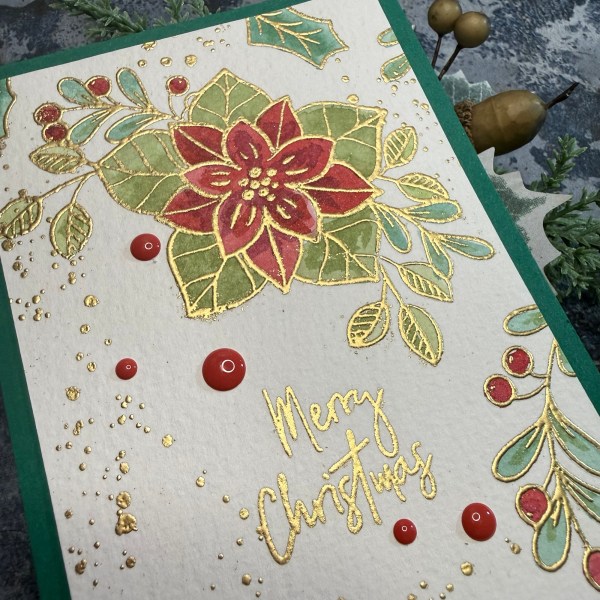
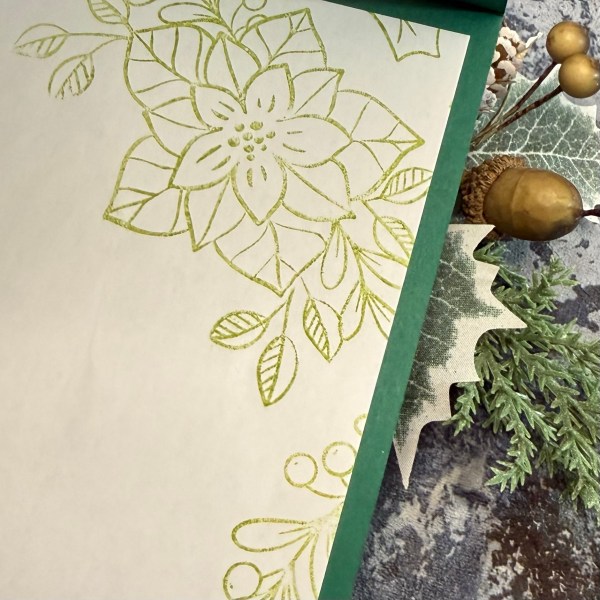
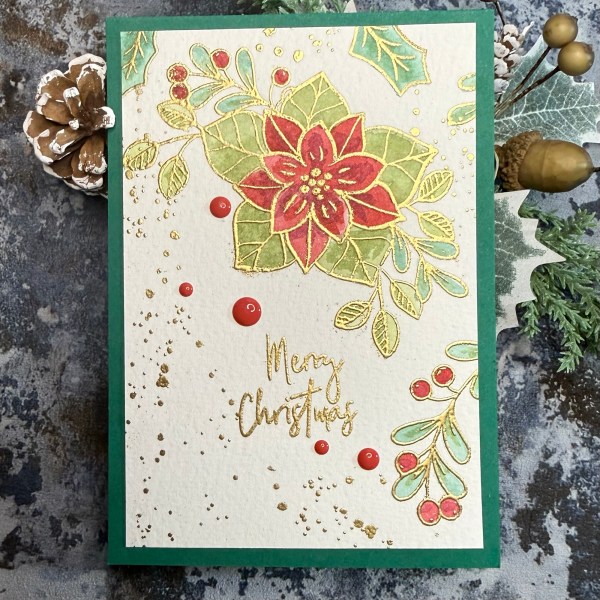
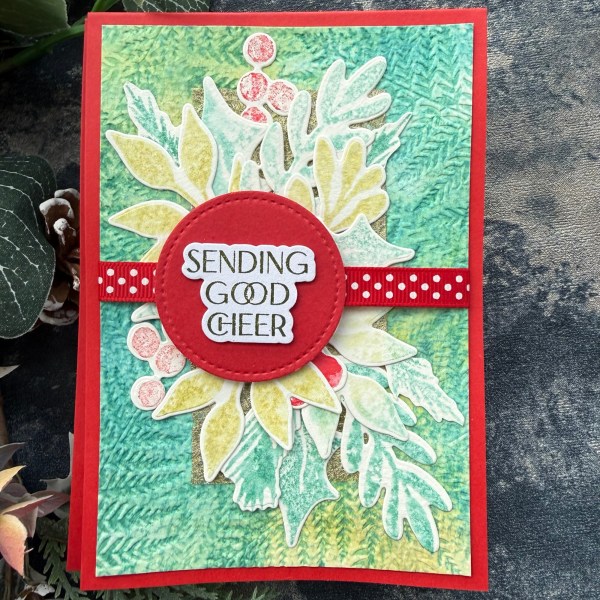
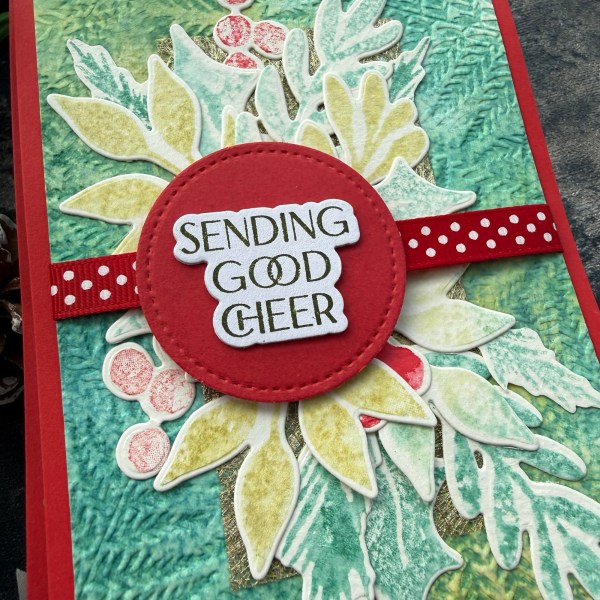
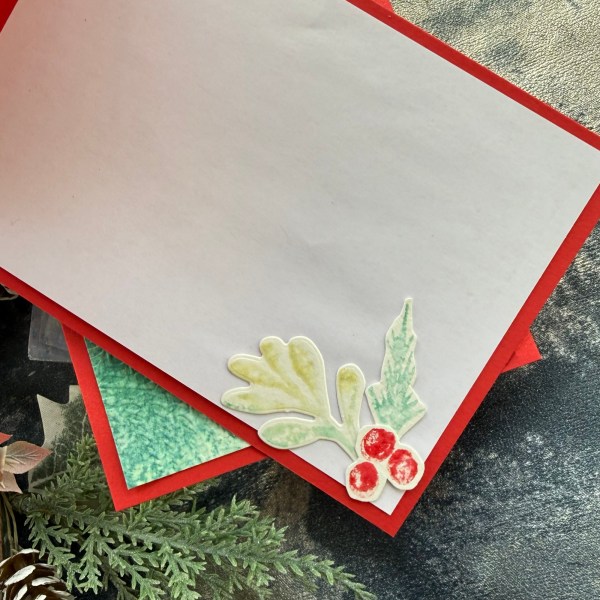
I kept them all pretty simple and followed my usual rules of making them in stages – panels first, then chose the sentiments, then made the card blanks and then one by one went through and put them together!
A fun few crafting sessions were had – and by the end only a small pile of scraps left!
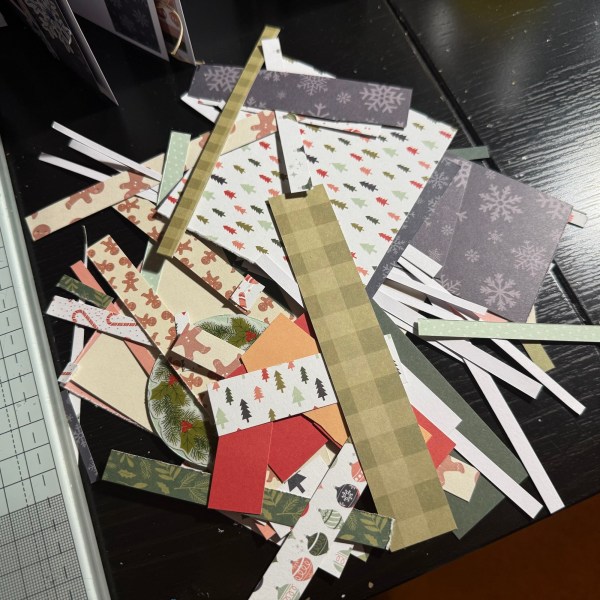
So a big pile of cards made – and a bit of a tidy up of the stash done! Didn’t get around to taking pics of all the photos individually – so instead just the big pile of them here…

And yesterday I said I had about 50 cards too many … guess that number has gone up quite a bit now! 🤣
Happy crafting!
Catherine