I am an on-the-side and increasingly up front papercrafter who loves nothing more than getting inky and creating pretty things with paper and stamps!
I am also a wife to lovely hubby and mummy to a wonderful 14yr old princess.
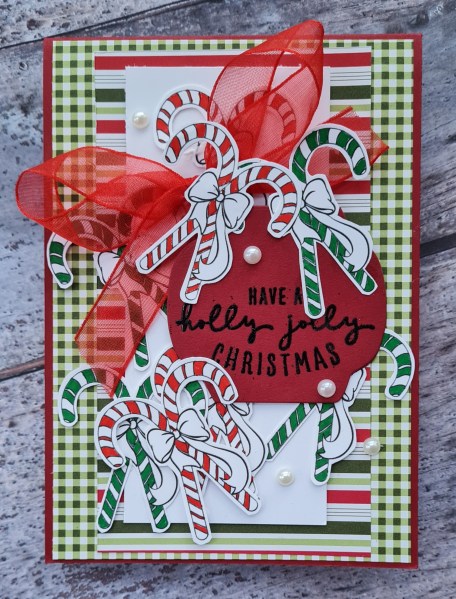
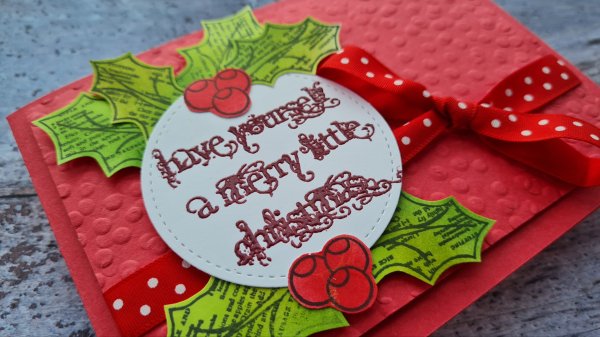
I have another design team contribution for Creative Knockouts and this weeks theme is Christmas Delight.
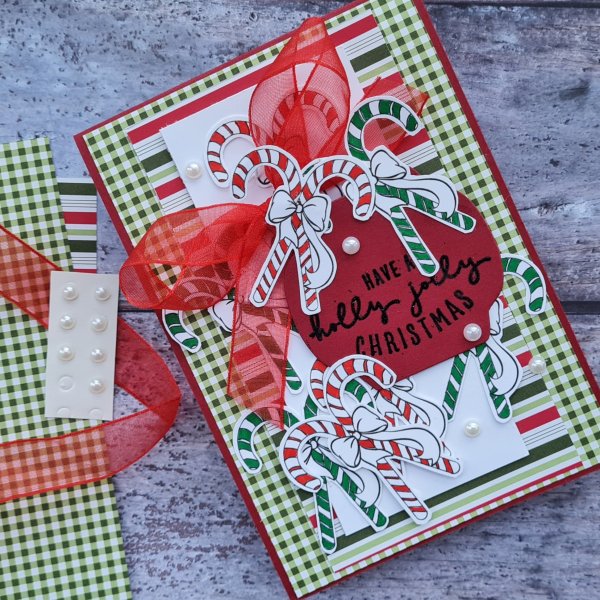
I chose to use the Candy canes with bow image from Patties Creations which I printed off 9 times and then coloured them in green and red. Then I added them all over the background and then some panels of the Heartwarming Hugs dsp.
I then added a die cut label and the sentiment adding a few of the candy canes and the organza bow on the top. I then added some pearls to the top.
Hope you like what I made. I enjoyed fussy cutting those candy canes out and adding them.
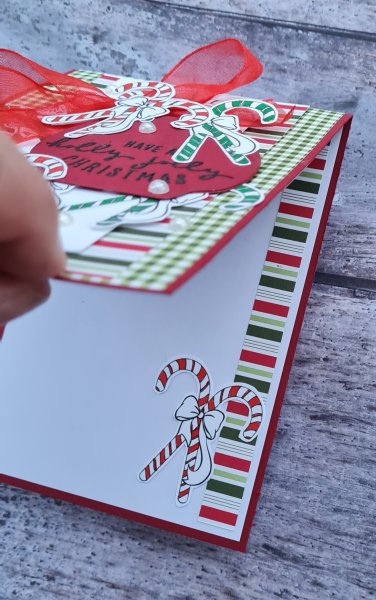
I also added a little bit of decoration to the inside too.
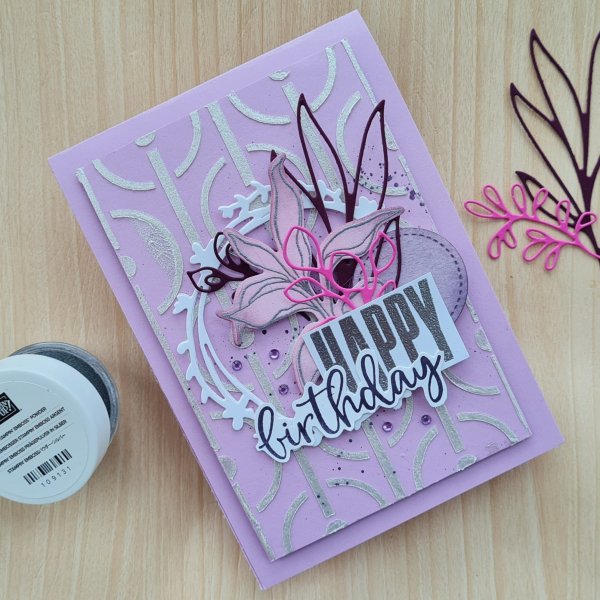
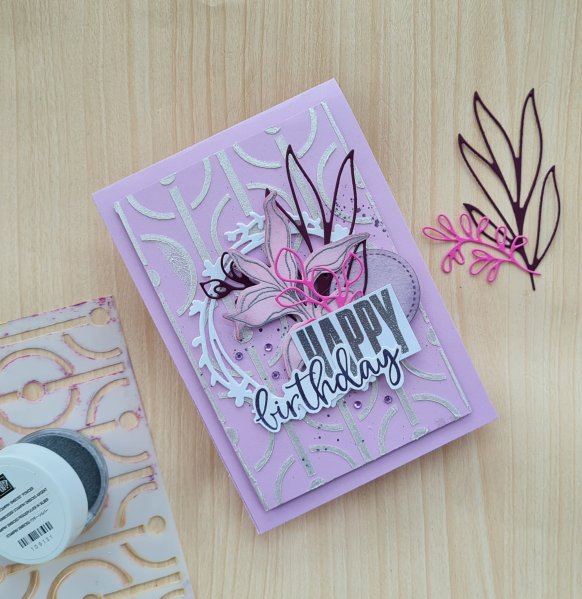
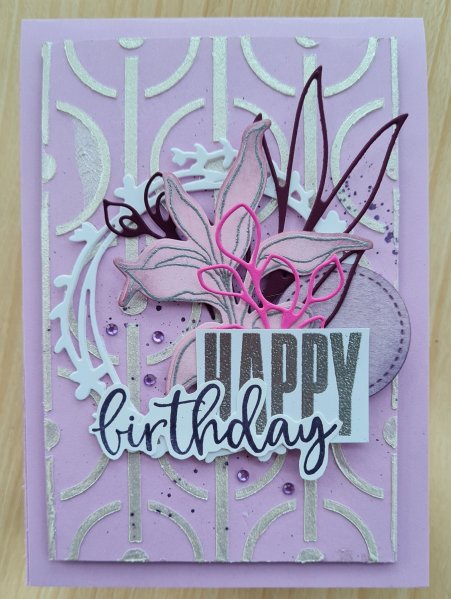
Todays card I used the gorgeous iridescent medium through a stencil I got a long time ago (no idea of brand sorry!) But haven’t used for a while.
I used a palette knife but wasn’t exactly careful so it did seep through the stencil in a few places but as the iridescent finish is so pretty I don’t care!
I had cut the panel to be 15mm smaller than my card blank as I wanted it to have a good border around plus this meant it fit nicely in the stencil area.
I had to let that dry for a while so I didn’t smear it or lose the dimension so I started creating the top cluster I wanted for the card.
I stamped and embossed in silver both the larger leaf image from Splendid Thoughts and the Happy from Biggest Wish. The die cut leaf I then added some colour to using a few colours of pinks and purples and the blending brushes.
I had a die cut circle on the desk already so I decided to ink that up too with the purples.
I stamped the birthday in Perfect Plum and then fussy cut that. Then I grabbed some die cuts from scraps in pinks and purples for adding to the cluster.
I felt it needed something else though to ground it and so die cut a Wreath from white using a spellbinders die. I die cut it twice to give it some more dimension.
Then I clustered them together and adhered them to some foam so they would sit nicely above the texture of the background.
Before sticking them down, and once the texture medium was dry I splattered some purple ink as I felt it needed some splatters to finish it off!
I added the top panel onto more foam to then add it to the card blank and then added the gems I found in the stash.
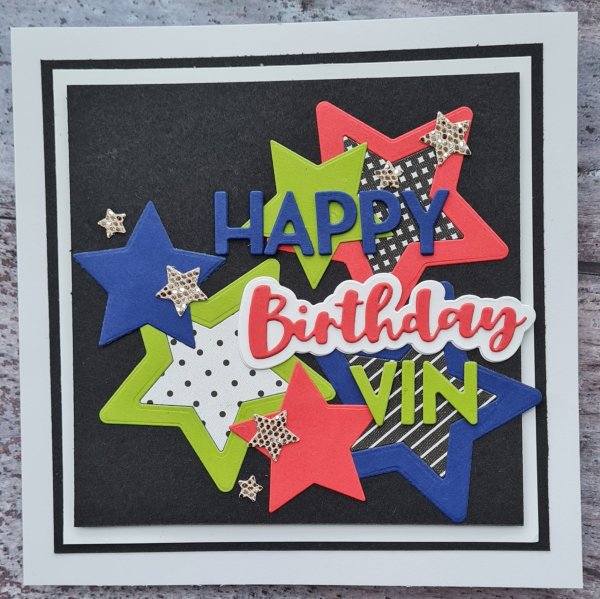
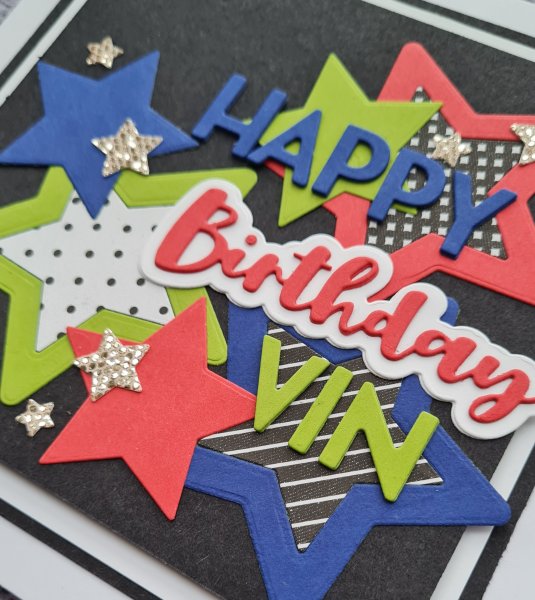
Today is my lovely husbands birthday so I had to make a card for him of course.
I decided to go star themed and bright colours against the black and added in some pops of graphic dsp (the reverse of the True Love dsp) too.
This was lots of die cutting and stacking for the main sentiment and of course all the stars too. I added in a bit of sparkle with the die cut small stars from the glimmer paper too.
Given I’m joining in on Martin’s challenge you would have thought I would have had enough of Christmas crafting but nope… I’m still going with my own challenge!
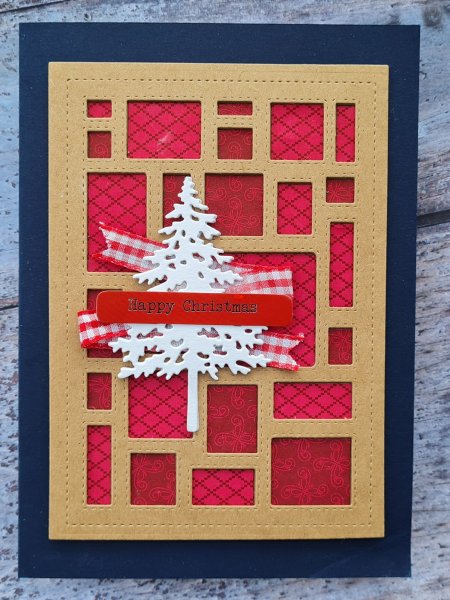
This weeks theme for the challenge is tree. Now one of my favourite things about Christmas is decorating the house and the many trees I have. I also went through a phase of having lots of tree stamps in my craft collection but recently I’ve reduced the selection a lot and rarely grab tree stash. I do however love the In the Pines bundle (now retired) and still love die cutting the tree images out.
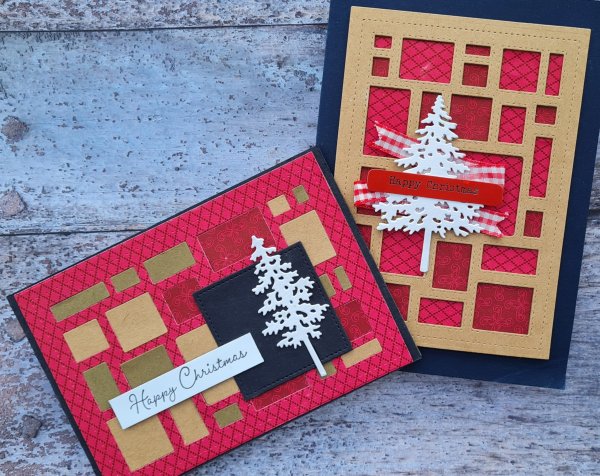
So those are the supplies I grabbed and die cut a few white trees and stacked them up but then couldn’t decide how to use them.
Then I spotted the background die and though why not use that to create some fun backgrounds using some of the patterned paper I’ve got and some scraps of brown cardstock…. ta daa!
Love how the white trees pop off the patterned backgrounds.
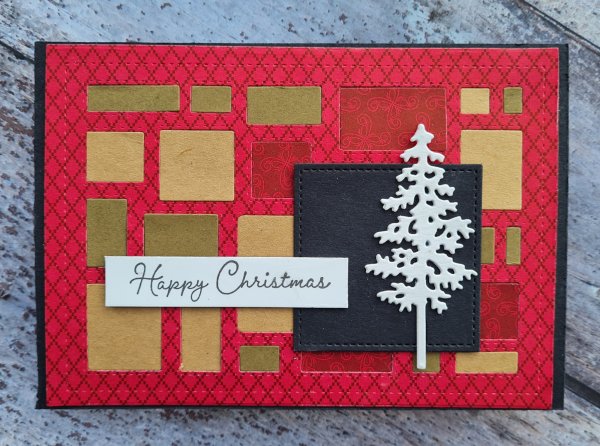
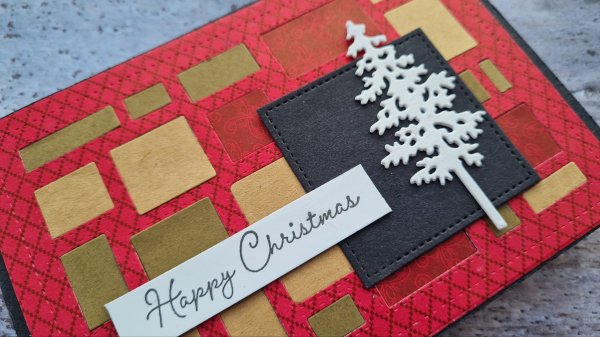
This first one has slightly less dimension as the frame was 2 sheets of dsp but the window pieces were cardstock so it came out quite flat. I added the black square die cut to frame the tree and found this sentiment strip in the stash to finish off. I did add it to a black card blank so I’ve added a white panel on the inside so it’s good to write inside.
The second one is on navy cardstock and its a larger card at 5×7.
This one has lots of dimension. I cut the frame three times from cardstock whereas the inserts are single sheet of dsp so much lower down than the frame. I also die cut the tree three times so it’s very chunky.
Added a scrap of ribbon and a printed sentiment popped up on foam at either side to go over the top.
Cute cards… not admittedly my favourite of the ones I’ve made using this set… but cute regardless!
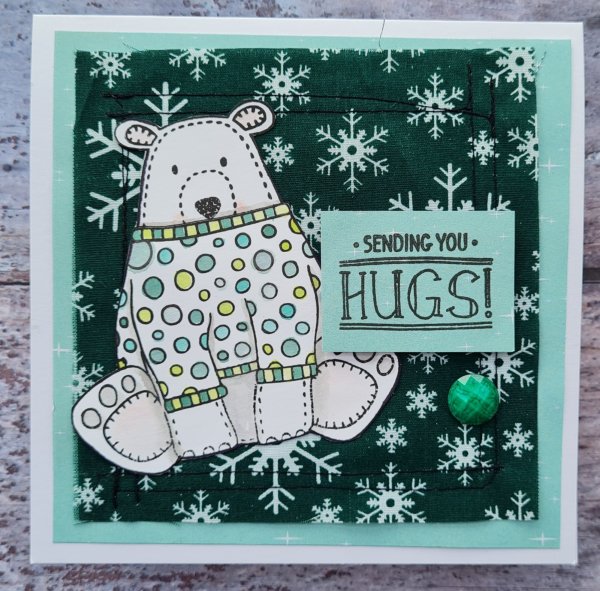
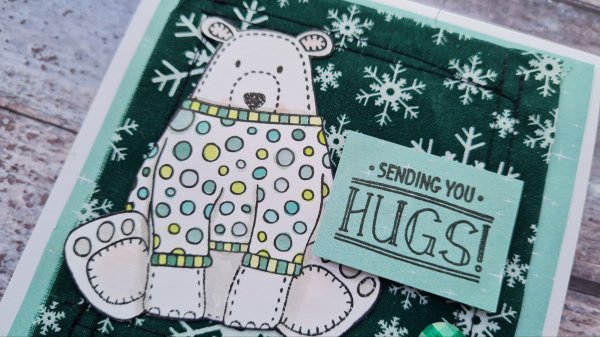
Day 3 of Martin’s challenge was Warm & Cosy so I grabbed these old favourite stamps from Creative Stamping magazine and stamped the bear in his lovely woolly jumper.
I added some ink to the image using a waterbrush and then cut him out. Then I added a fabric layer to the patterned paper and sewed around the edge … I figured the fabric would give the Cosy element. I added the sentiment to the patterned paper and raised it up on foam to add dimension.
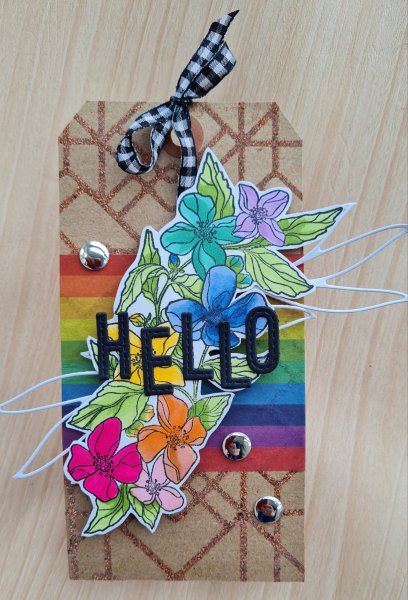
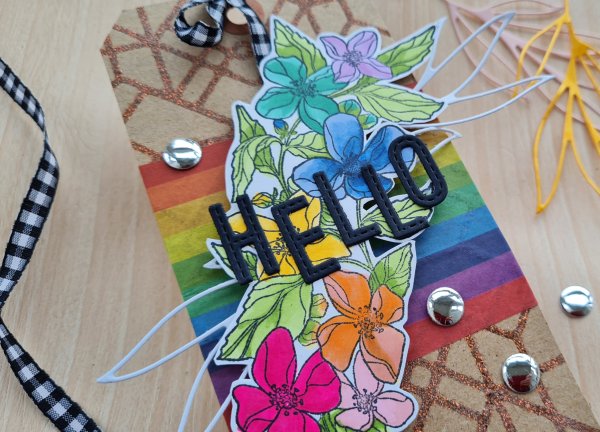
Hello… I played with some Creative Stamping magazine stamps and die cuts and made a rainbow themed floral tag for this months UK stampers forum tag swap and I love it! ❤🧡💛💚💙💜🤍
I started with a kraft tag that I had previously embossed with the Baked Texture embossing powder using versamark I had added to a stencil and then popped through the big shot to apply the ink. I’ve had this on the desk for the last few months as I actually did this way back in July! I decided however I wanted to play bright rainbow so added the wide rainbow washi tape, then decided on what image I wanted to use. I actually ended up using an image from Creative Stamping magazine kit that the stencil came from as it had the right number of flowers to make a rainbow of flowers.
I coloured the flowers in using a mix of Promarkers and Stampin Blends and then fussy cut it out. I added foam underneath and added the long thin die cuts from Splendid Stems underneath cut from white to add contrast. Then I decided on a simple die cut Hello for the sentiment.
For embellishment I chose some mirror card candi … if you closely enough in the photos you may glimpse me taking the pics because they are that shiny! I also chose the black and white gingham ribbon for trim as again it ties in the black and white for on the tag against all that bright colour!
Because I am a little mad I’ve joined in on another Christmas challenge …. this time the one Martin is hosting.
Day 1 was … Something Red … so here is my card using the lovely Paperartsy stamps my friend Darcy designed. Coloured them using ink blending, embossed a layer and added a ribbon. Sentiment heat embossed with a dark red colour powder.
I raised the sentiment circle and the leaves up on foam to give dimension. Cute! Well I think so.
Will be unlikely to do every day for the 30 day’s but will share what I do/did make.
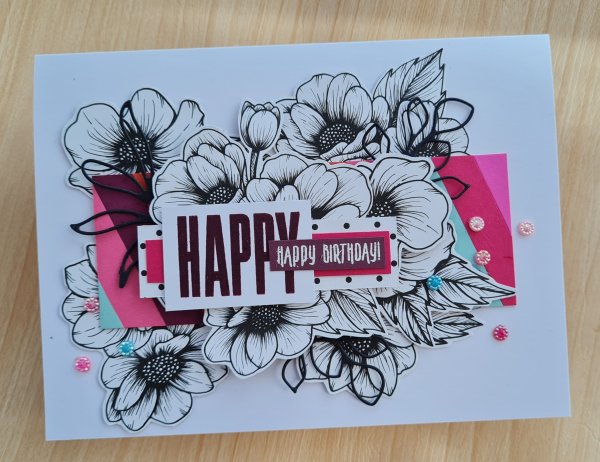
This one came from looking at a little pile of scraps of coloured cardstock …
I decided to make all the strips 3\4 of an inch wide and then cover a panel that was 2″ wide… this made the central panel for my card.
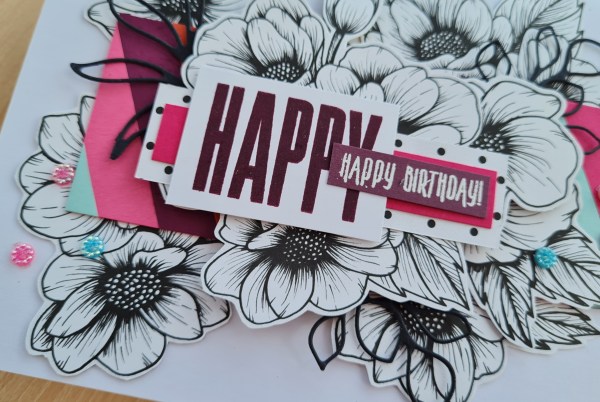
Then I grabbed all the leftover paper I had from True Love dsp with this kind of flower on it. I fussy cut them all out so there were lots of flowers to surround the sentiment and the colourful panel. Then I added them all.
All of the flowers were ‘edge’ pieces but this kind of design is perfect as just just tuck them behind and create layers.
I also added in some black die cut pieces from the Splendid Stems set as this works perfectly to add in a bit of contrast without overwhelming.
I then added a cluster of the dsp and cardstock around the sentiment … for which I used both the Picture Perfect sentiment and the Biggest Wish for the bigger Happy.
I then found some cute gems in the stash and added those around the card for some bling!
I’m a little sad I actually covered up most of the strip panel with the mixed colours but still love the final effect on the card of the pop of colour.
Hello there! Time for another Craftyhazelnuts patterned paper challenge blog design team contribution… once again I delved into the old Making Cards magazine stash and made these two cards…
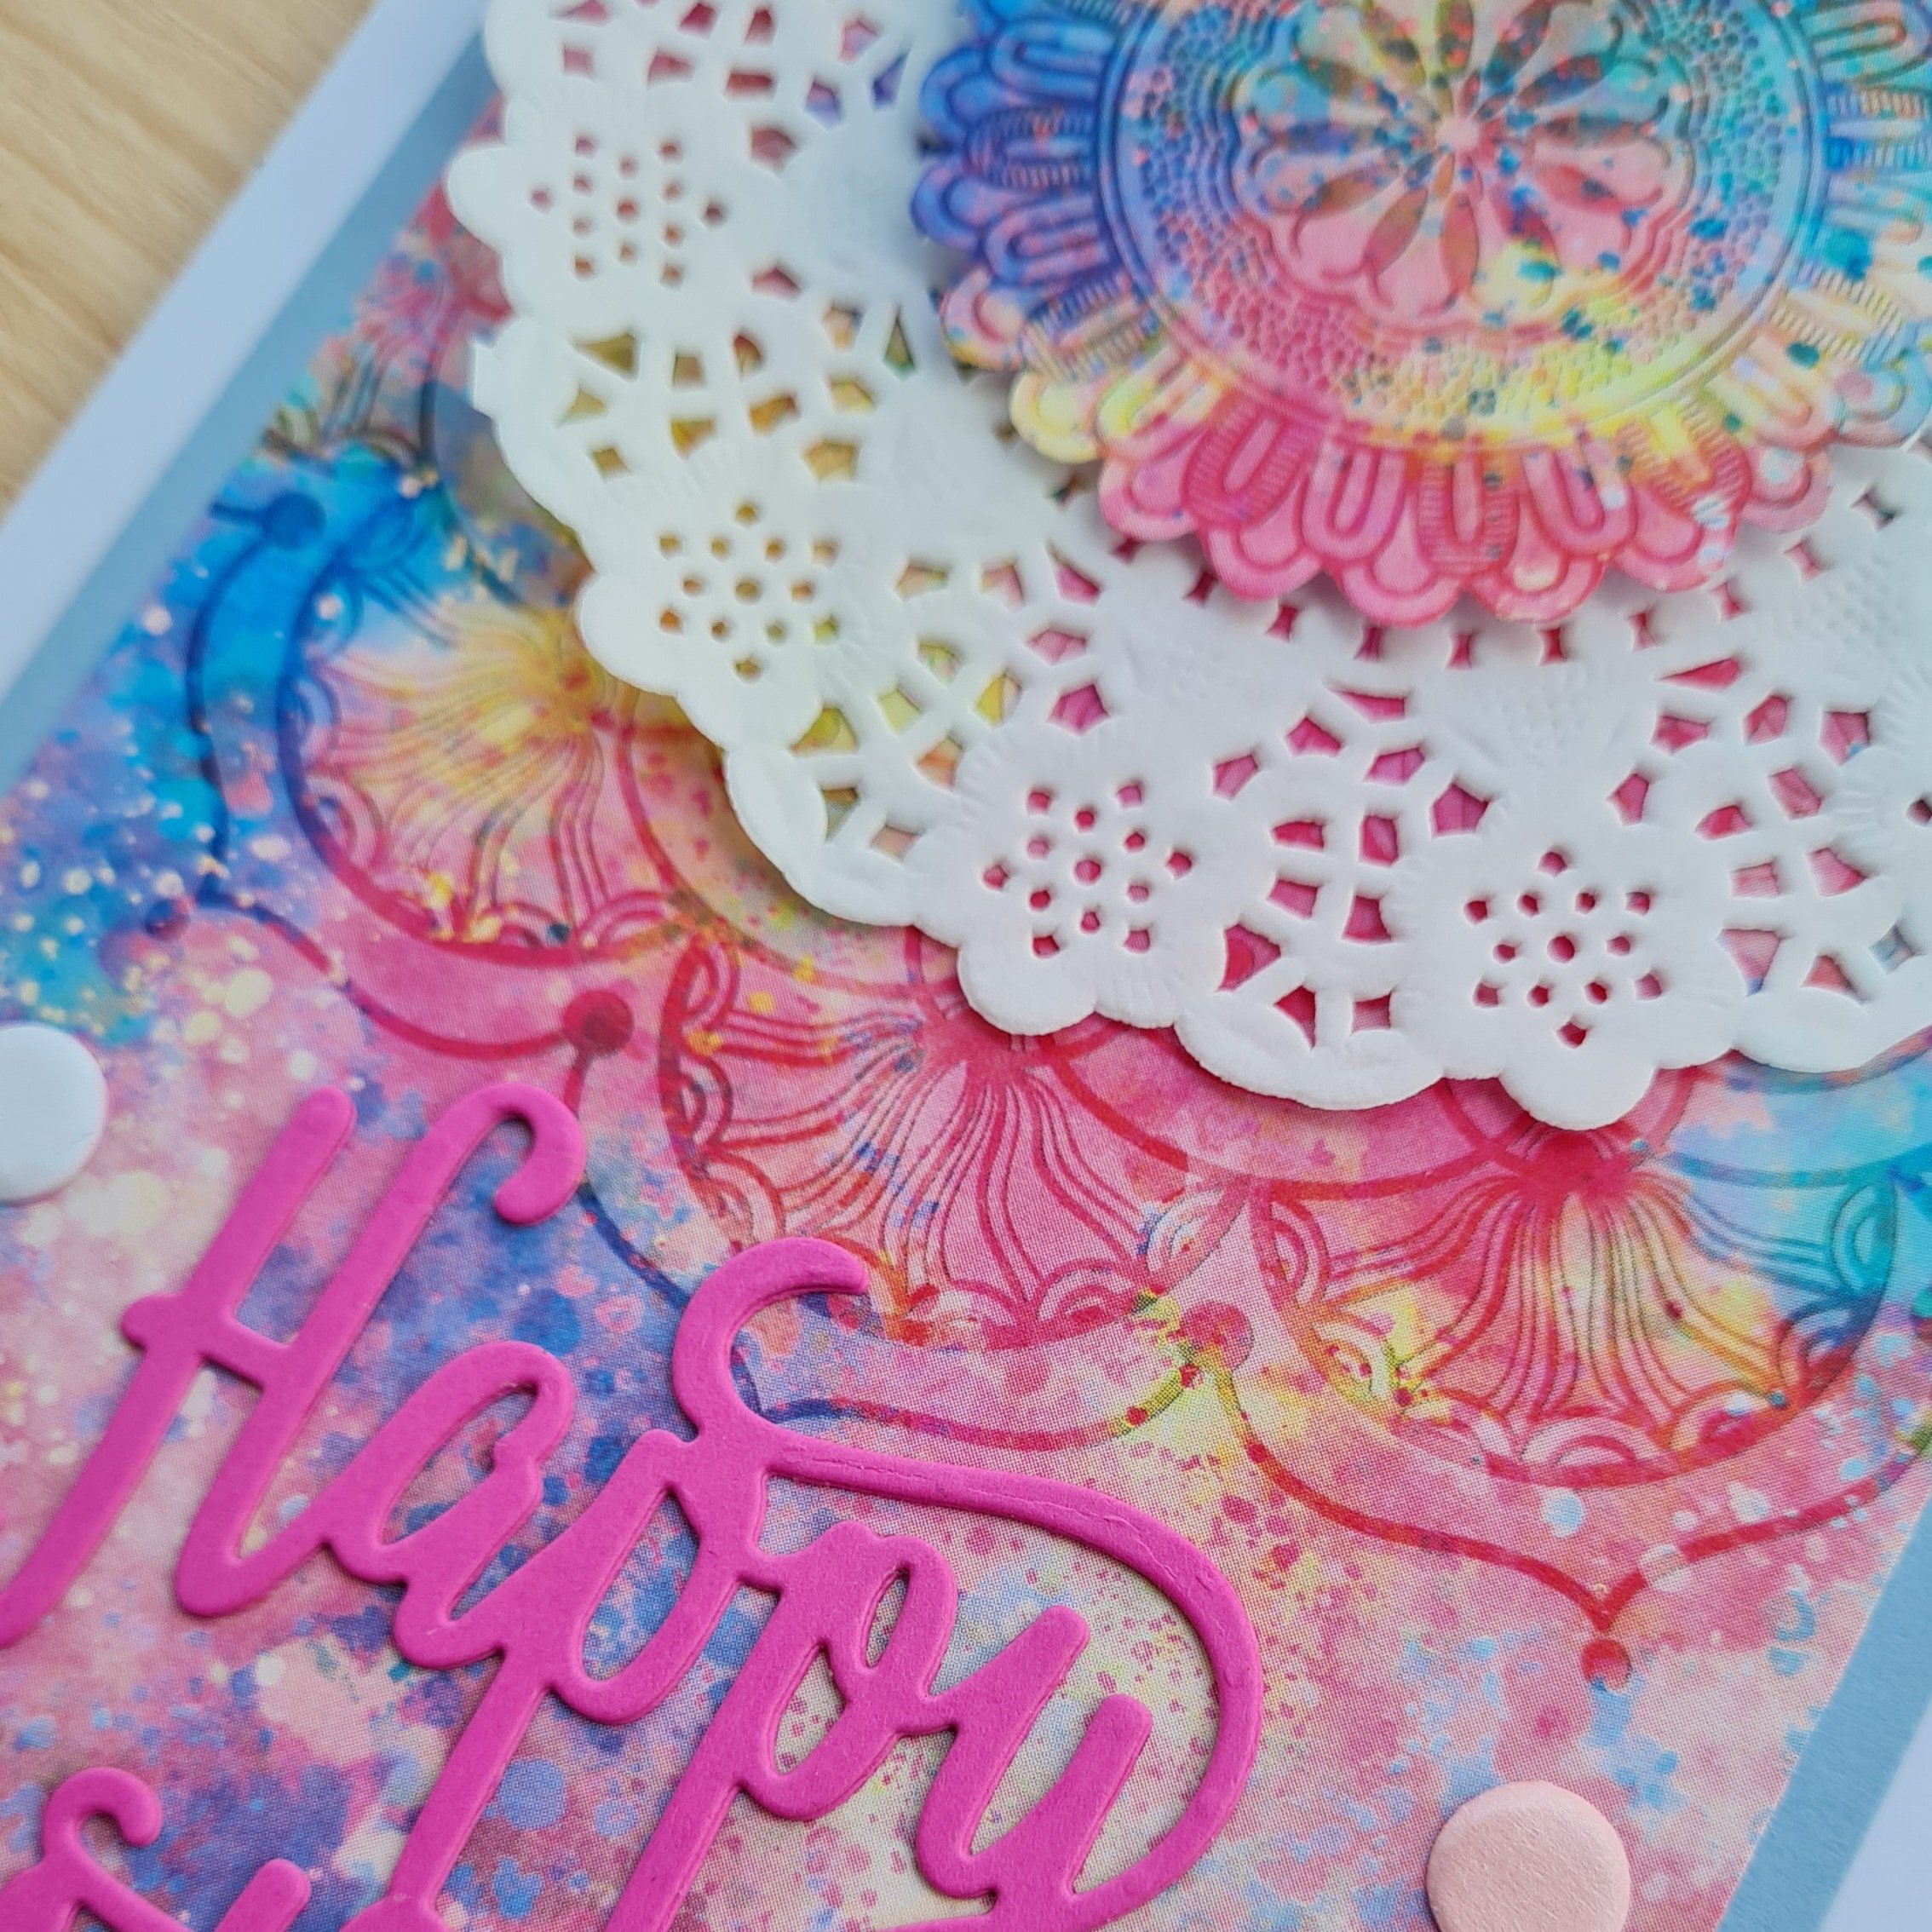
This kit was a difficult one to use as the patterned paper was actually 2x a5 pieces of dsp which had a mandala of sorts on it… so I played with layers and added doilies to make it a bit more special and then added the Happy Birthday sentiment die as the focal feature.
Each card I added a whole panel of the paper and then fussy cut part of the mandala out and added the doily as an extra layer. Then the sentiment I cut from the pink cardstock. One of them I added pearl embossing to the top layer and off set the white background… the other I kept as plain pink (Magenta Madness).
Both card I added card candi as embellishments and with the bold patterns taking over I called them done!