I am an on-the-side and increasingly up front papercrafter who loves nothing more than getting inky and creating pretty things with paper and stamps!
I am also a wife to lovely hubby and mummy to a wonderful 14yr old princess.
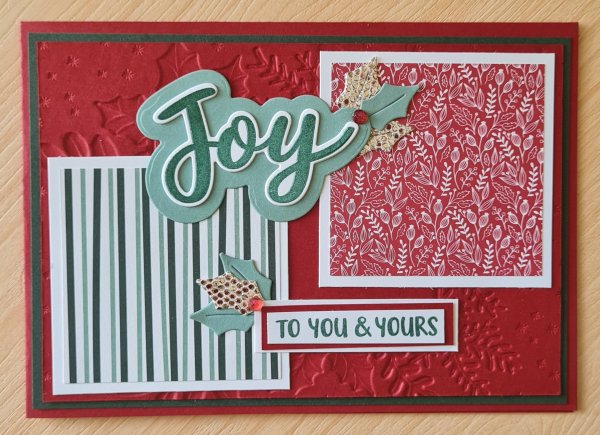
Howdy! Stumbled across a template for making 6 cards using 3 pieces of 6×6… #sheetloadsofcards by CALL ME (CRAFTY) AL … and I had to play along… so here are another 6 Christmas cards done and dusted!
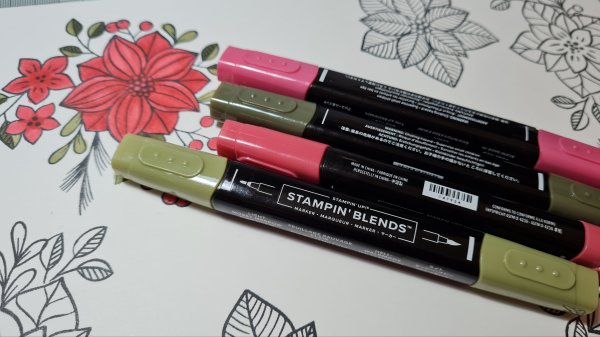
Used the fabulous Creative Stamping magazine stamps I’ve had for ages but LOVE! Lots of colouring in done! Lovely and chilled.
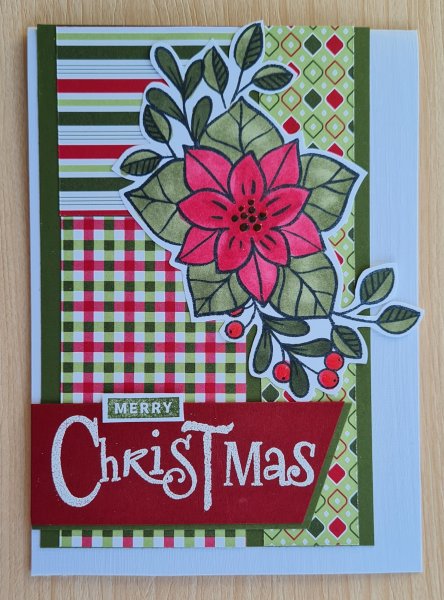
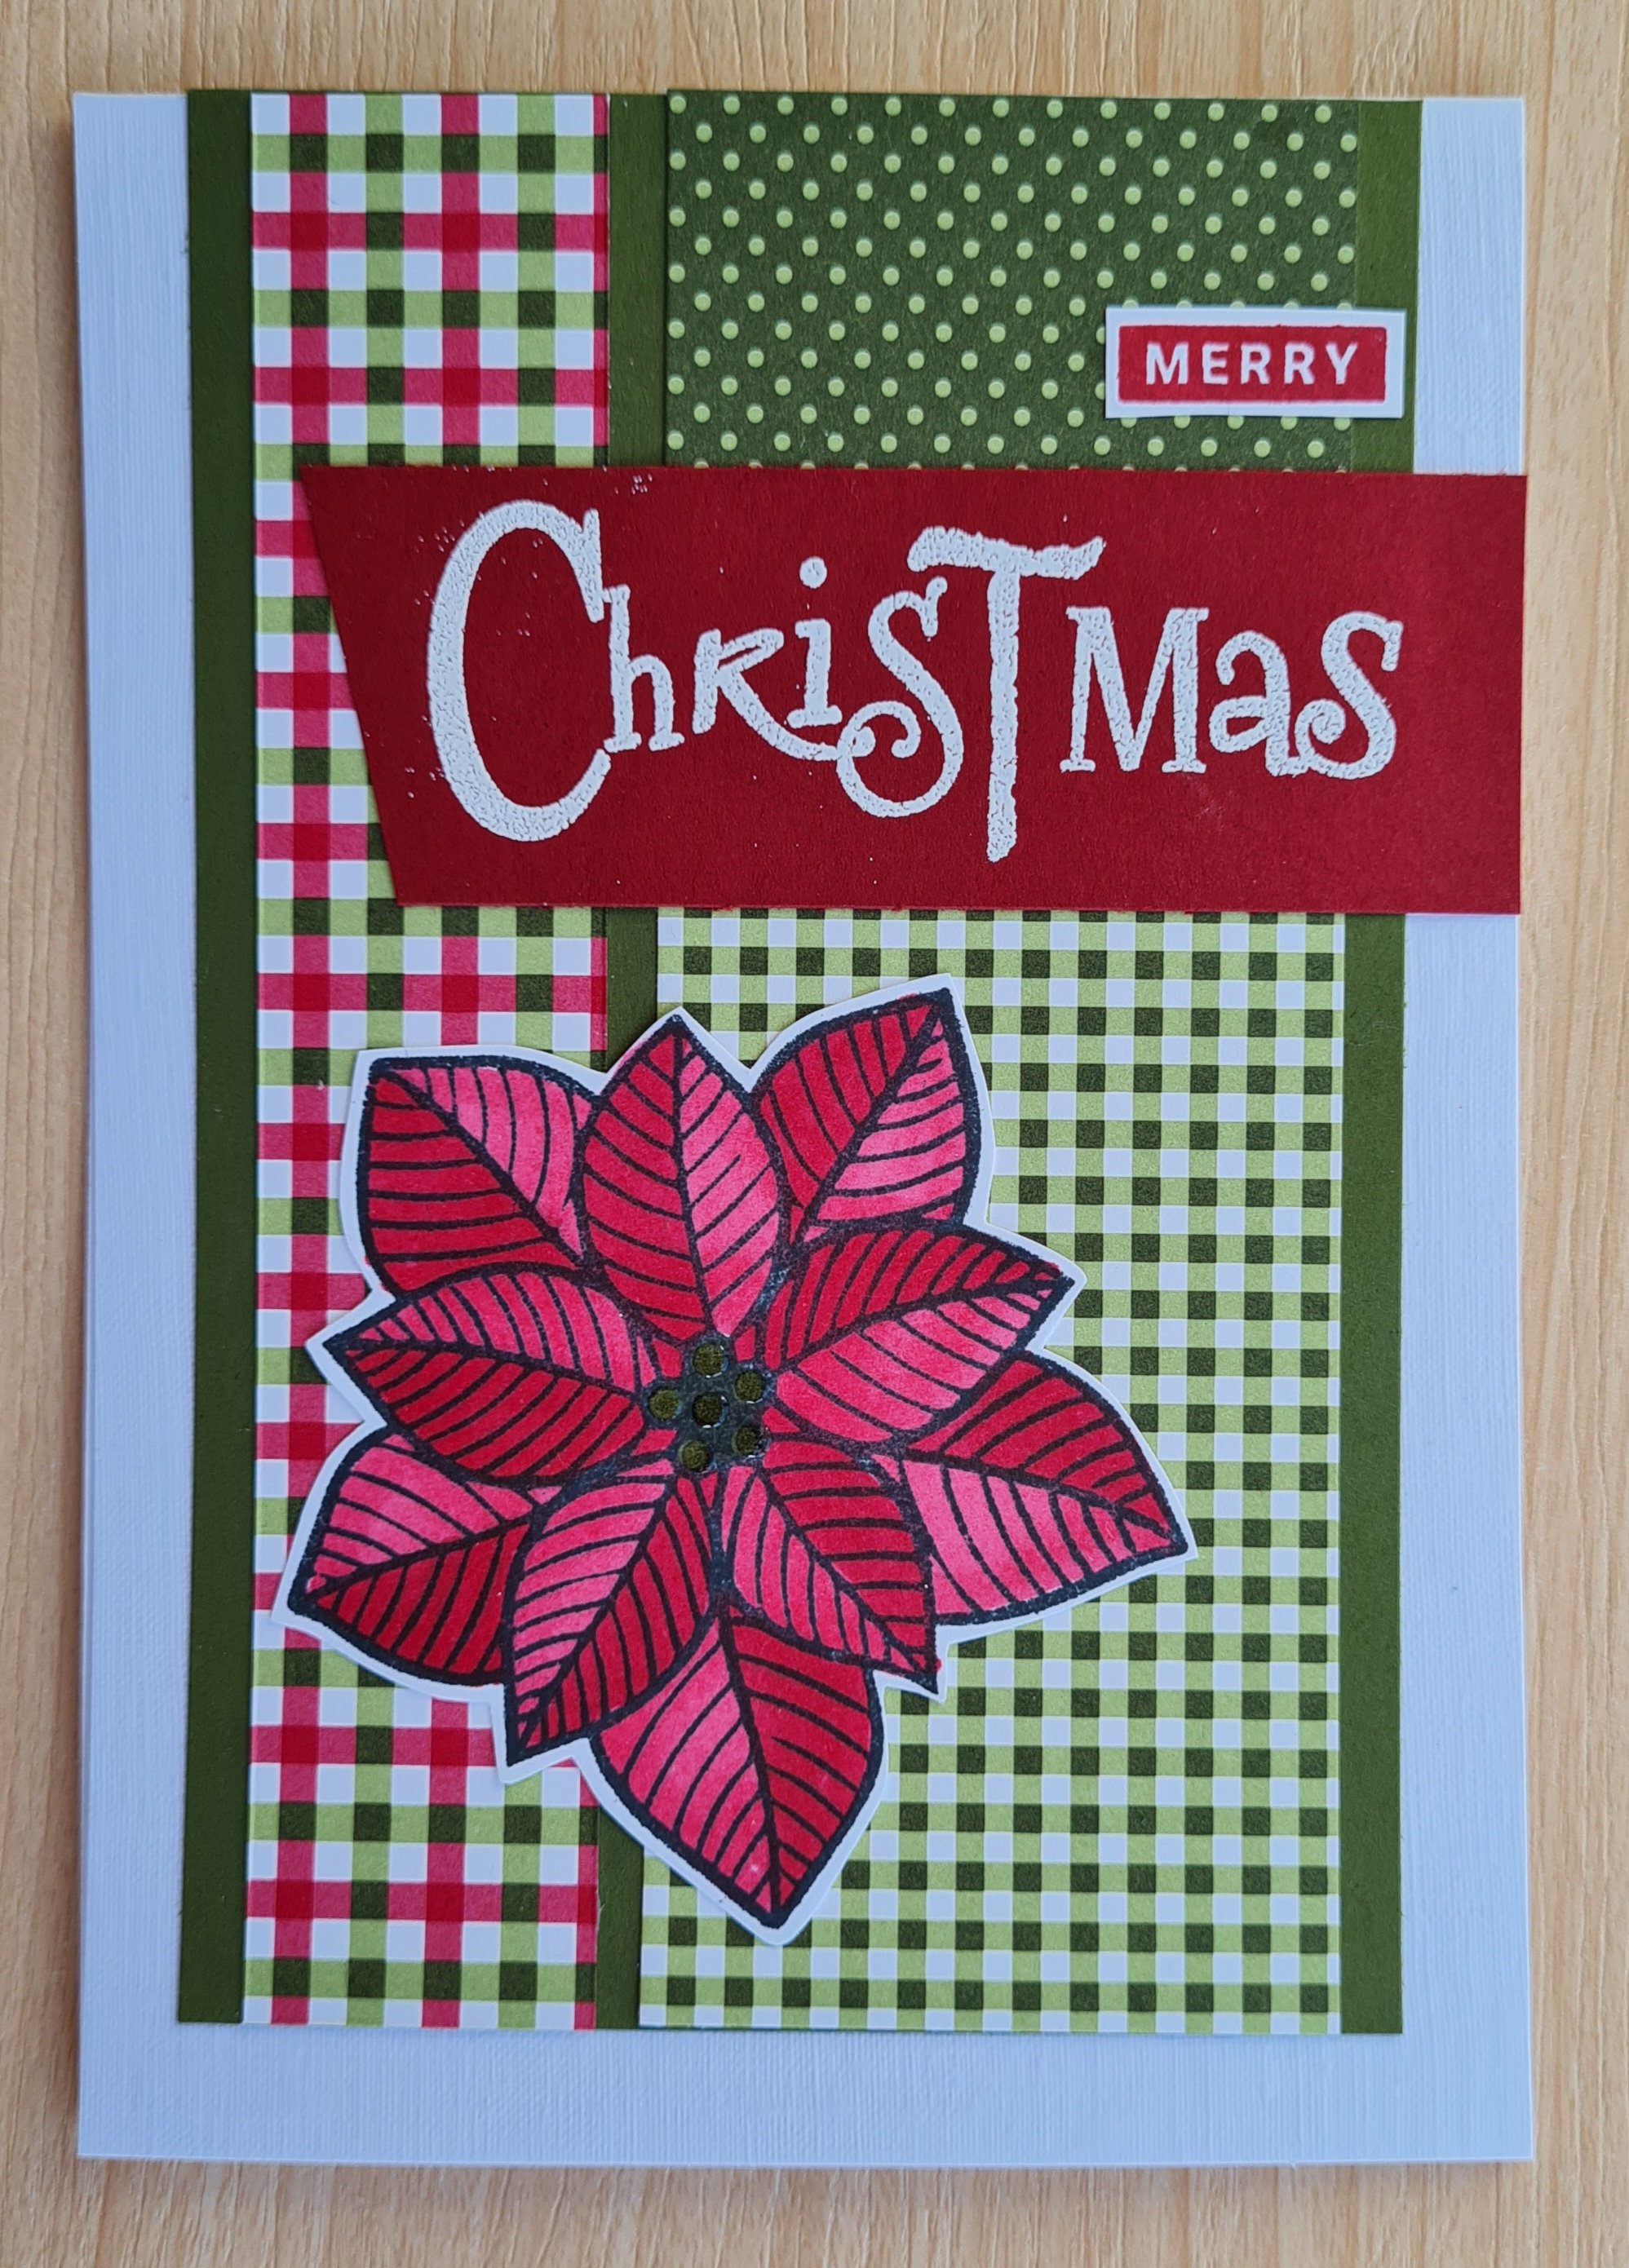
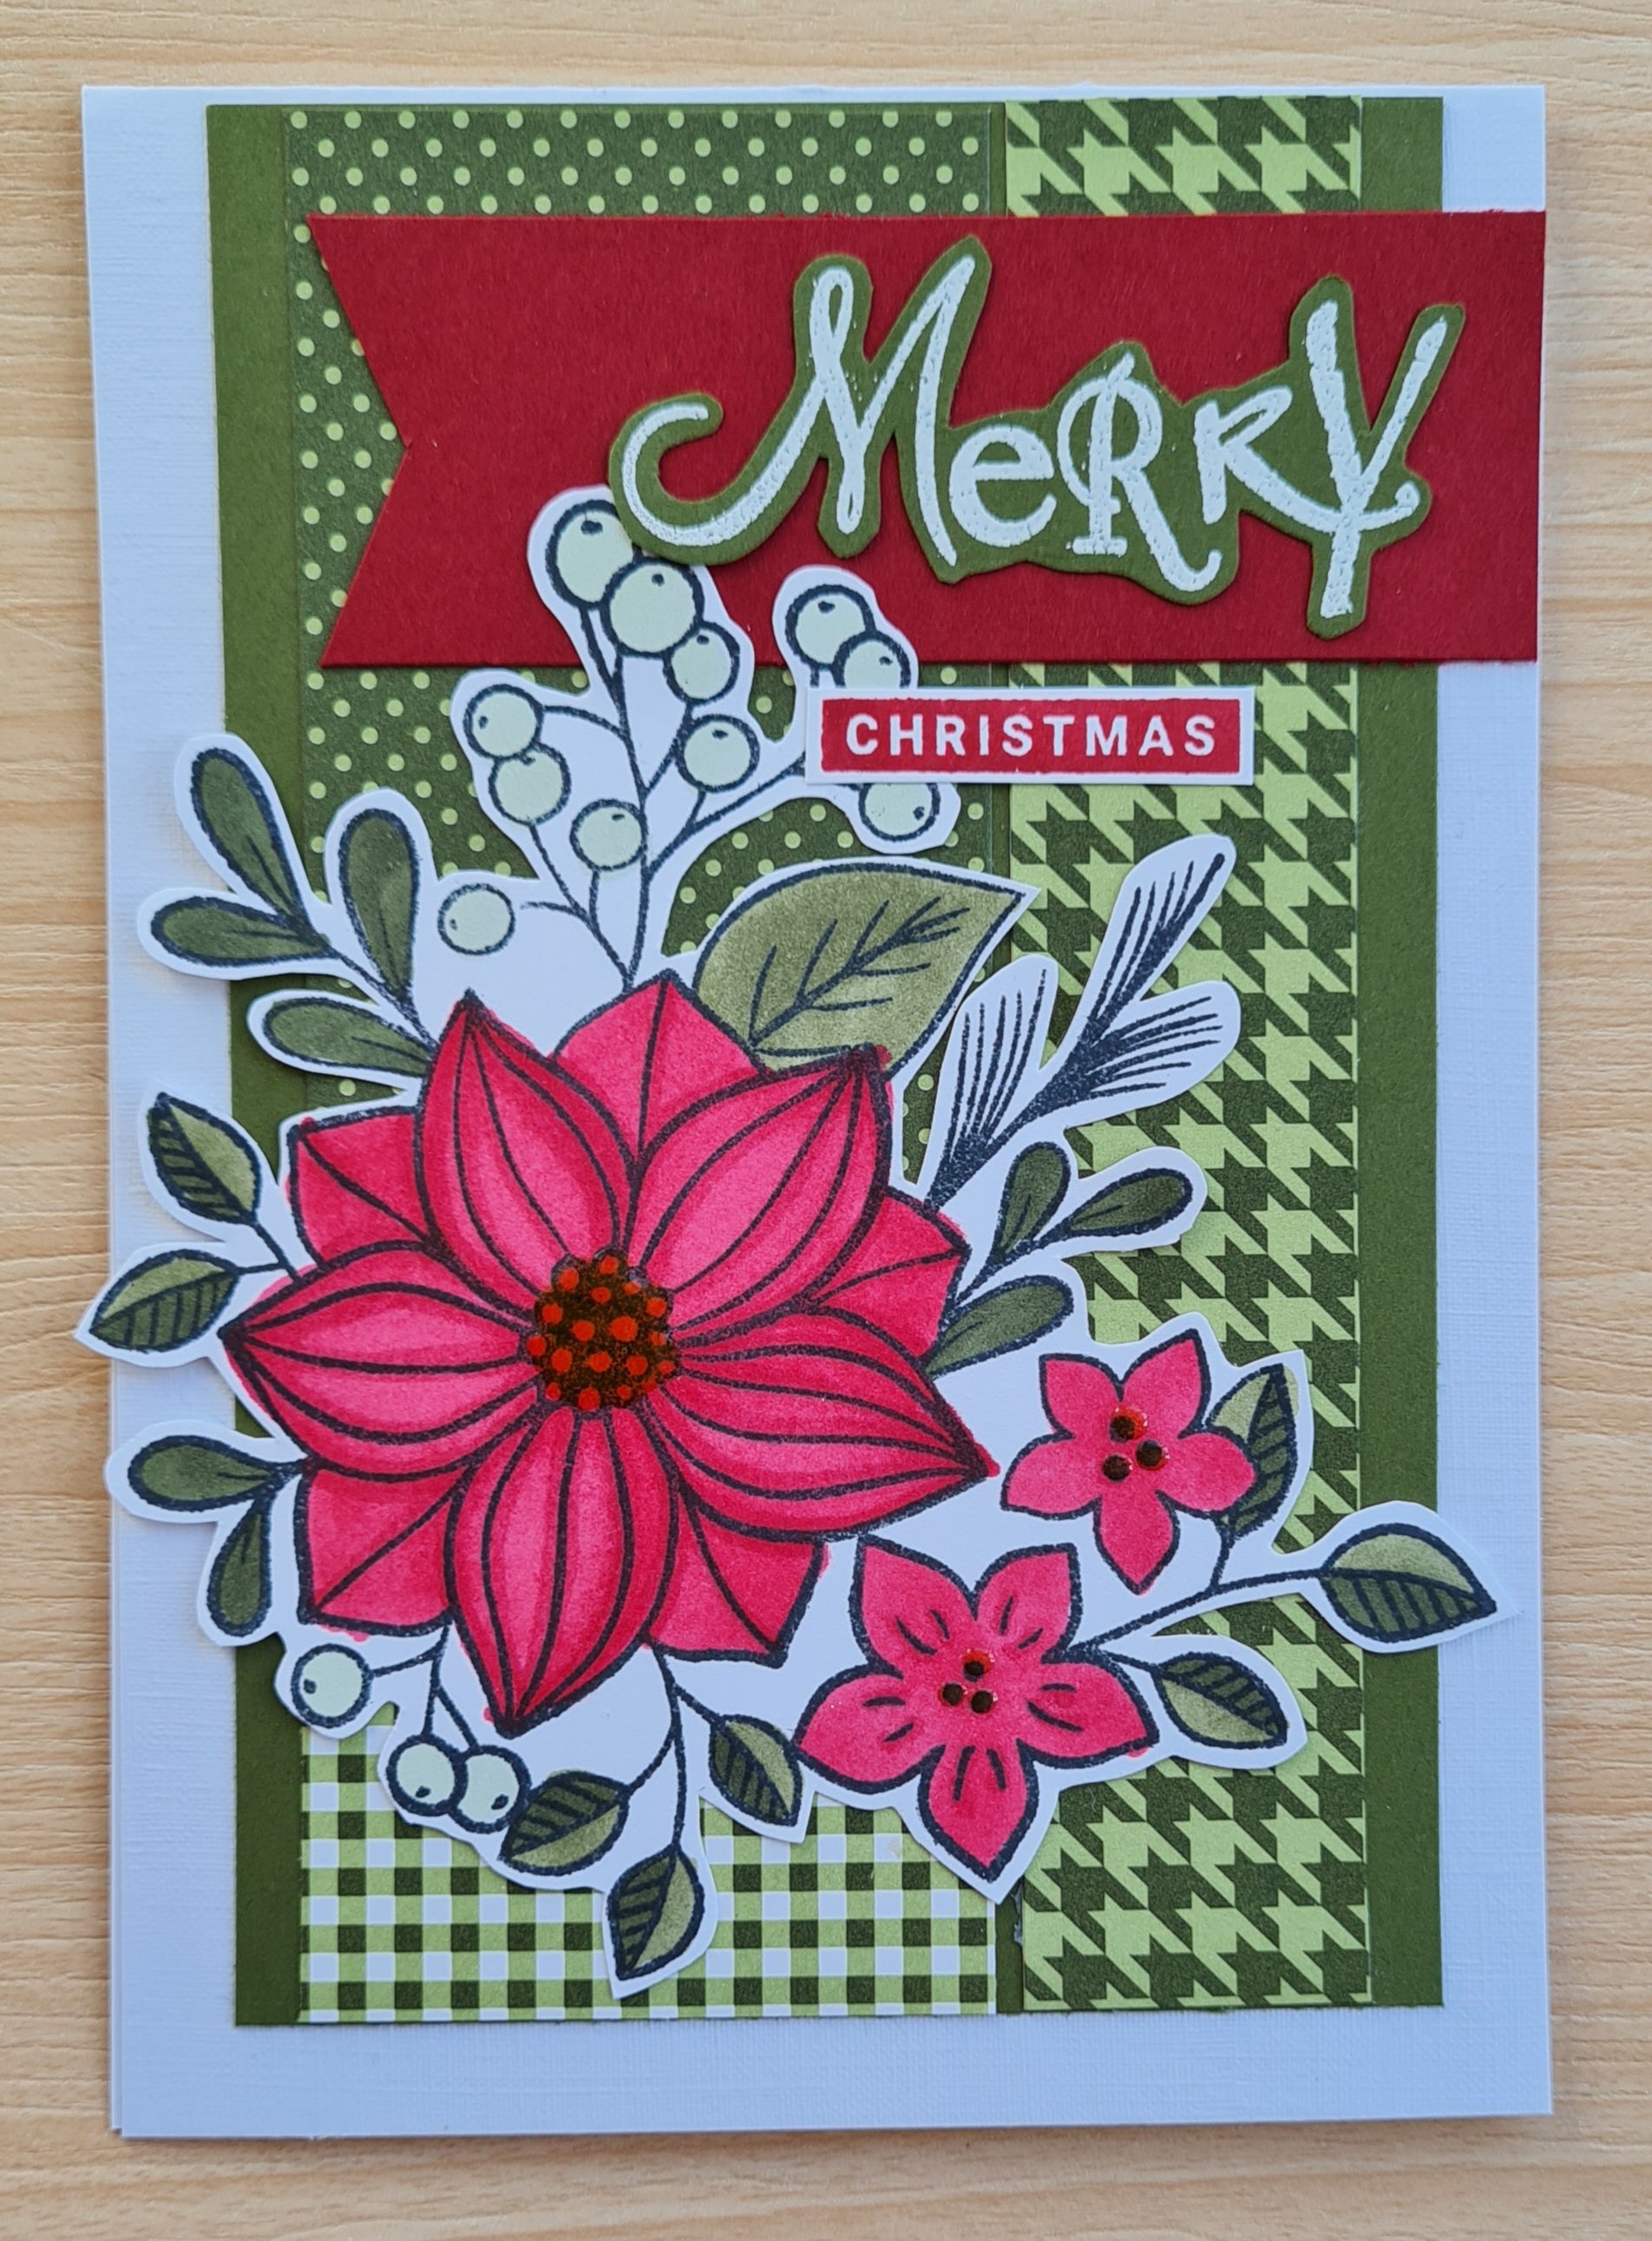
I chose to cut down some of the Heartwarming Hugs dsp into 6×6 and then teamed it with Mossy Meadow cardstock and real red. Chose to mix a Claritystamps sentiment with the Peace and Joy stamps to finish off.
Added either glossy accents or some stickles to finish off.
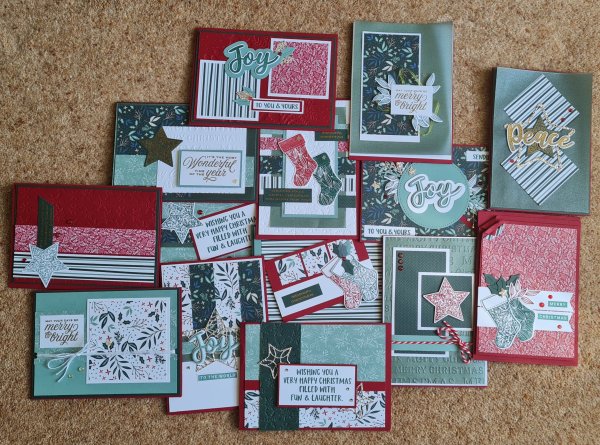
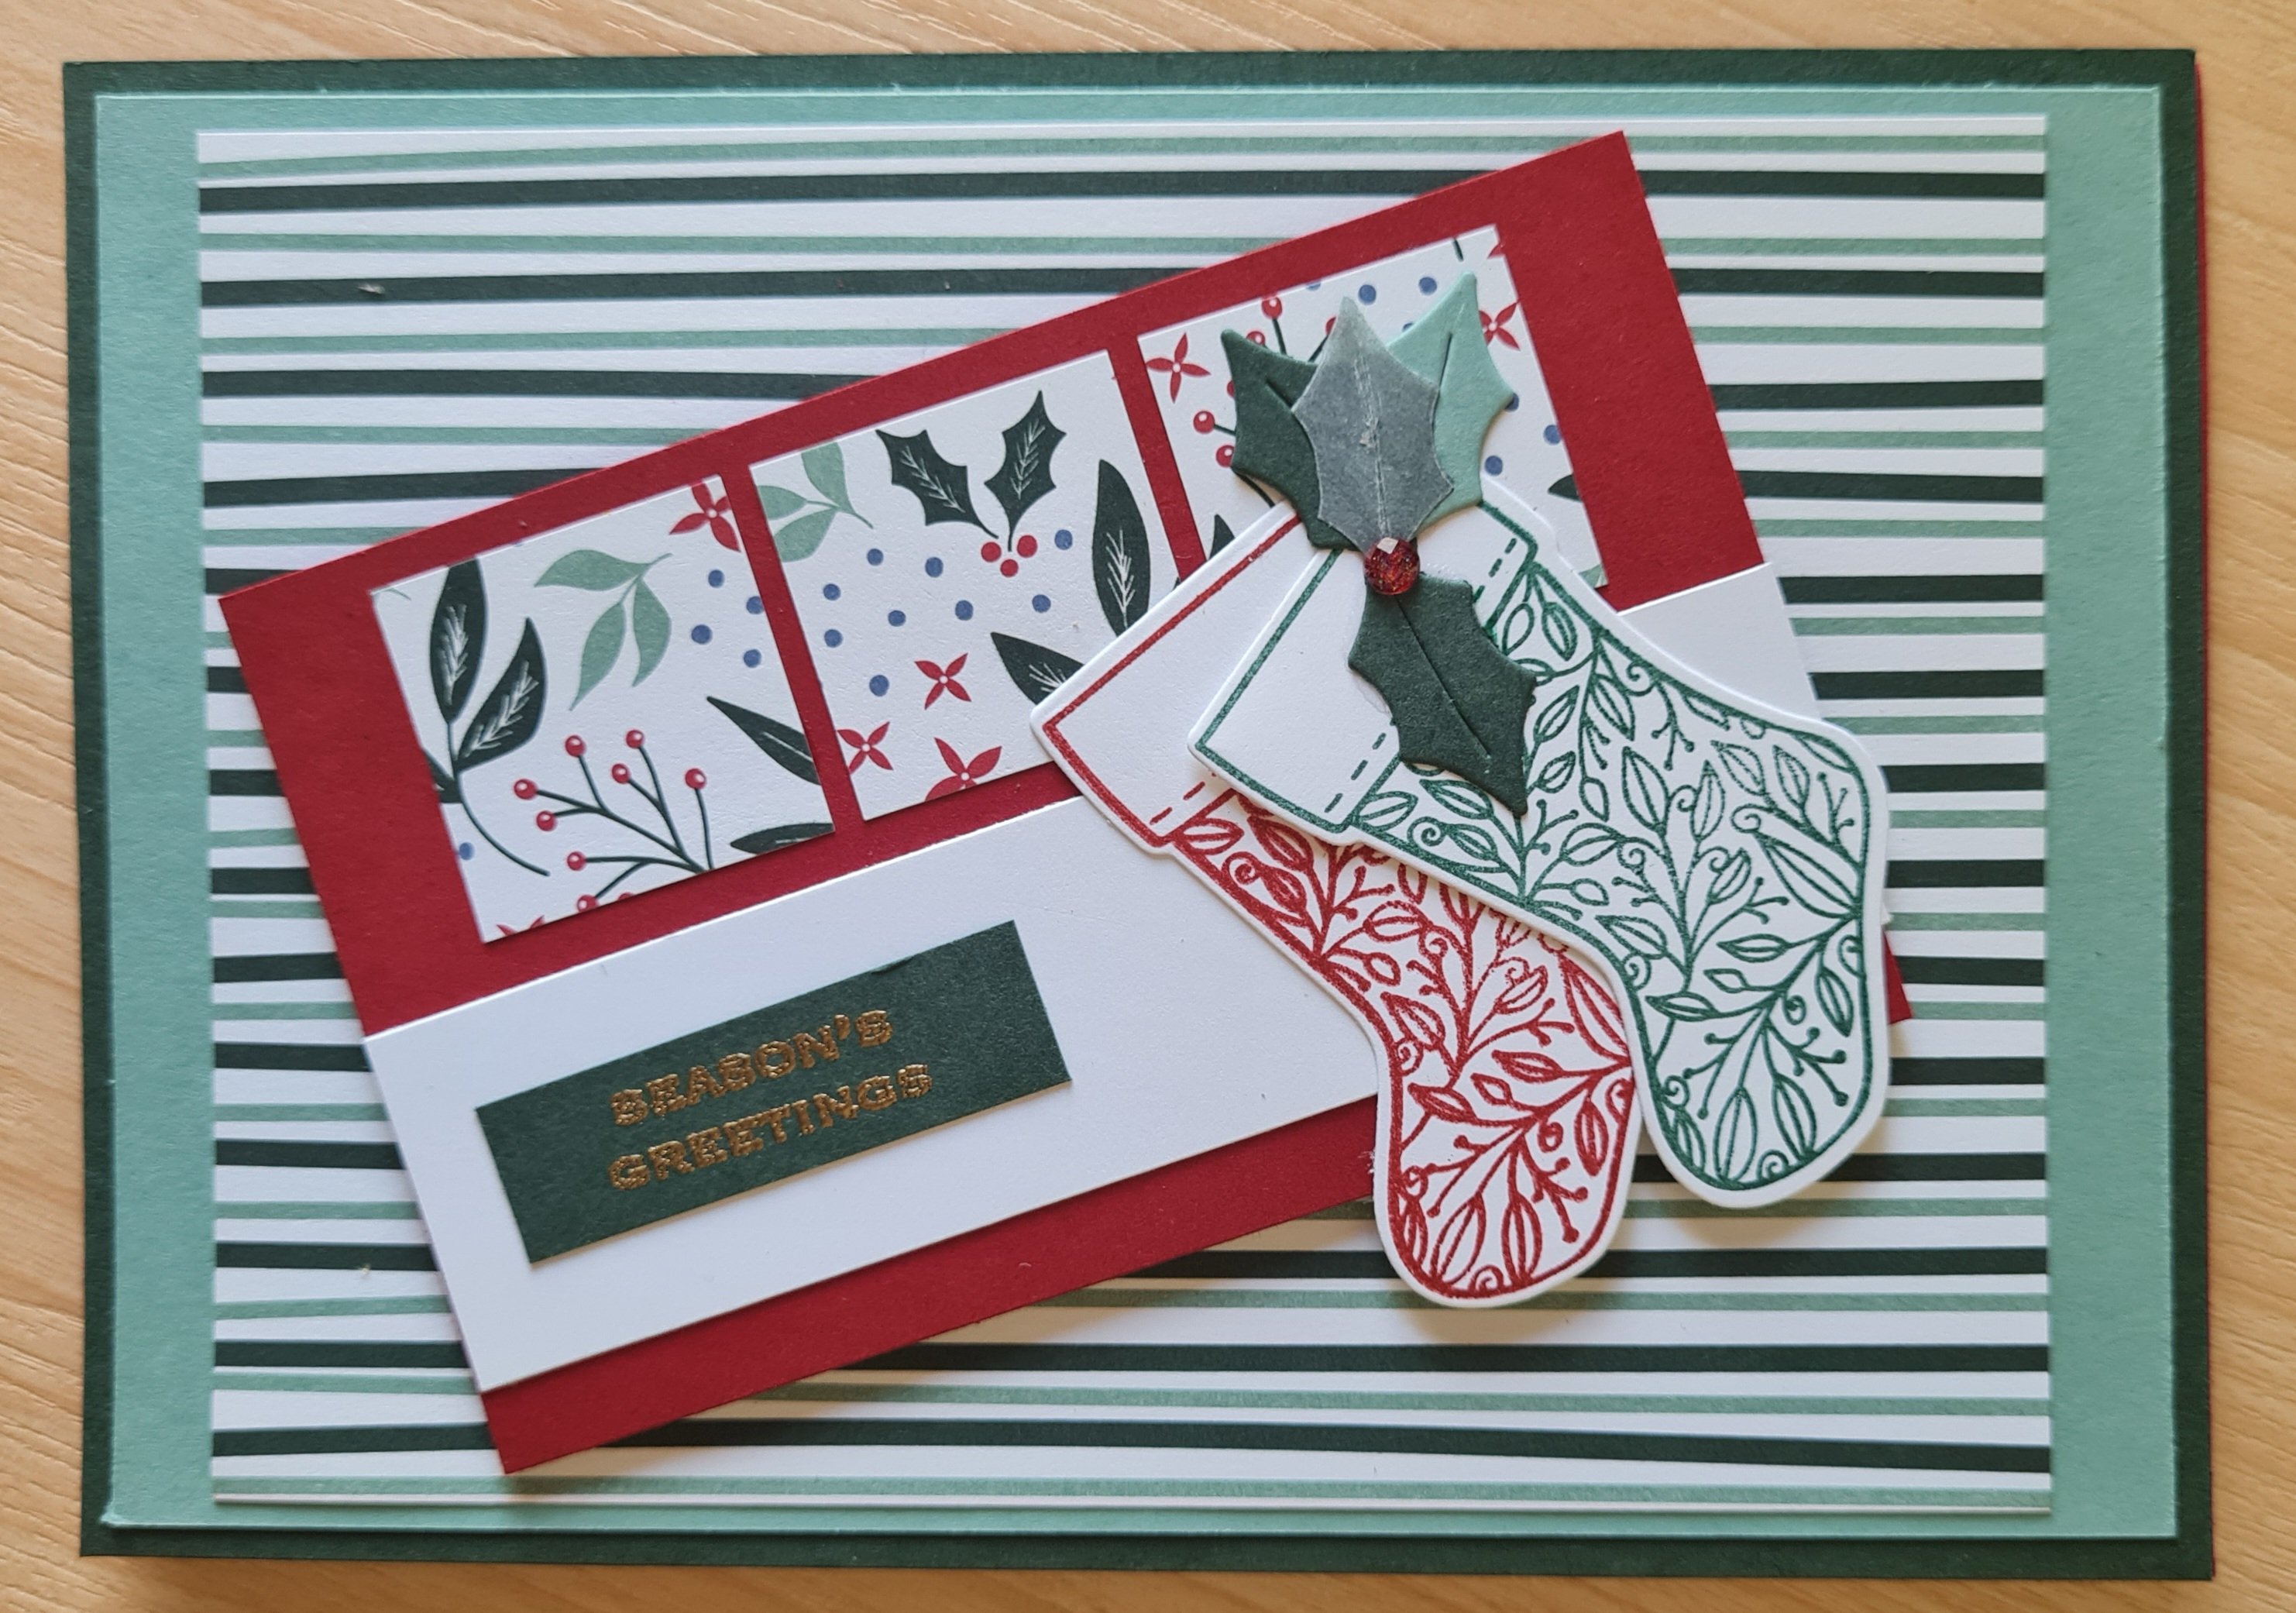
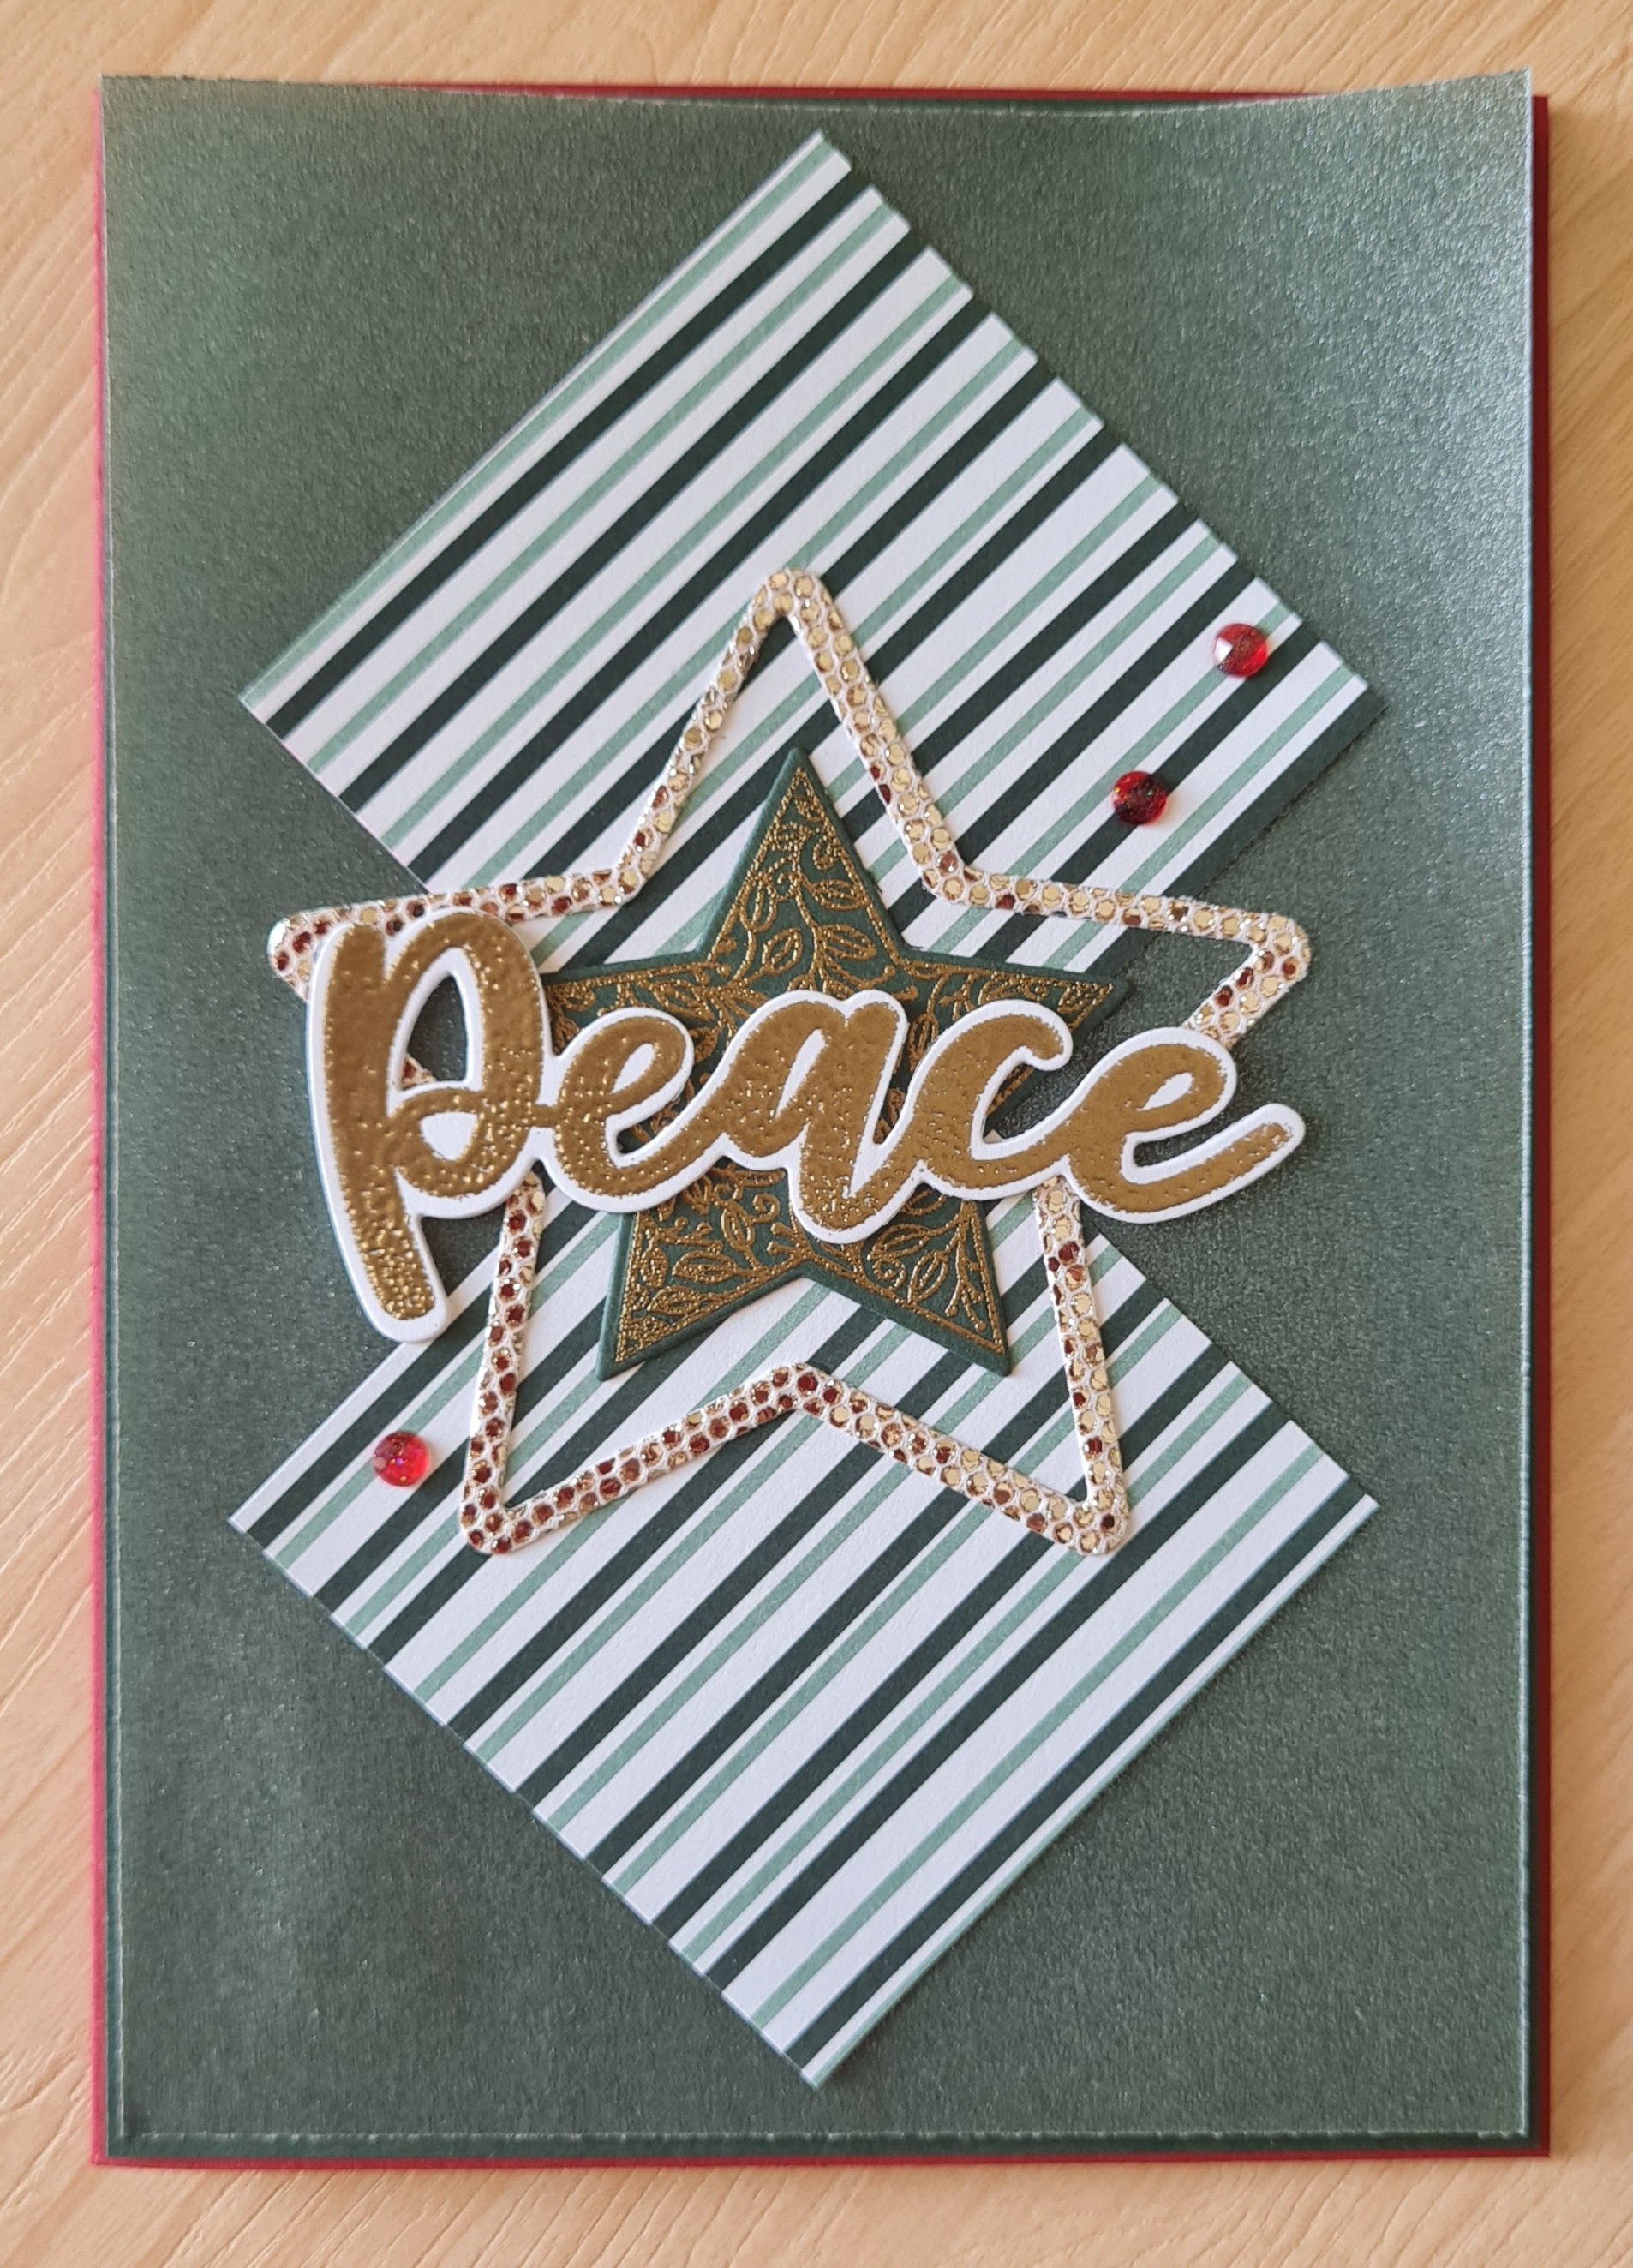
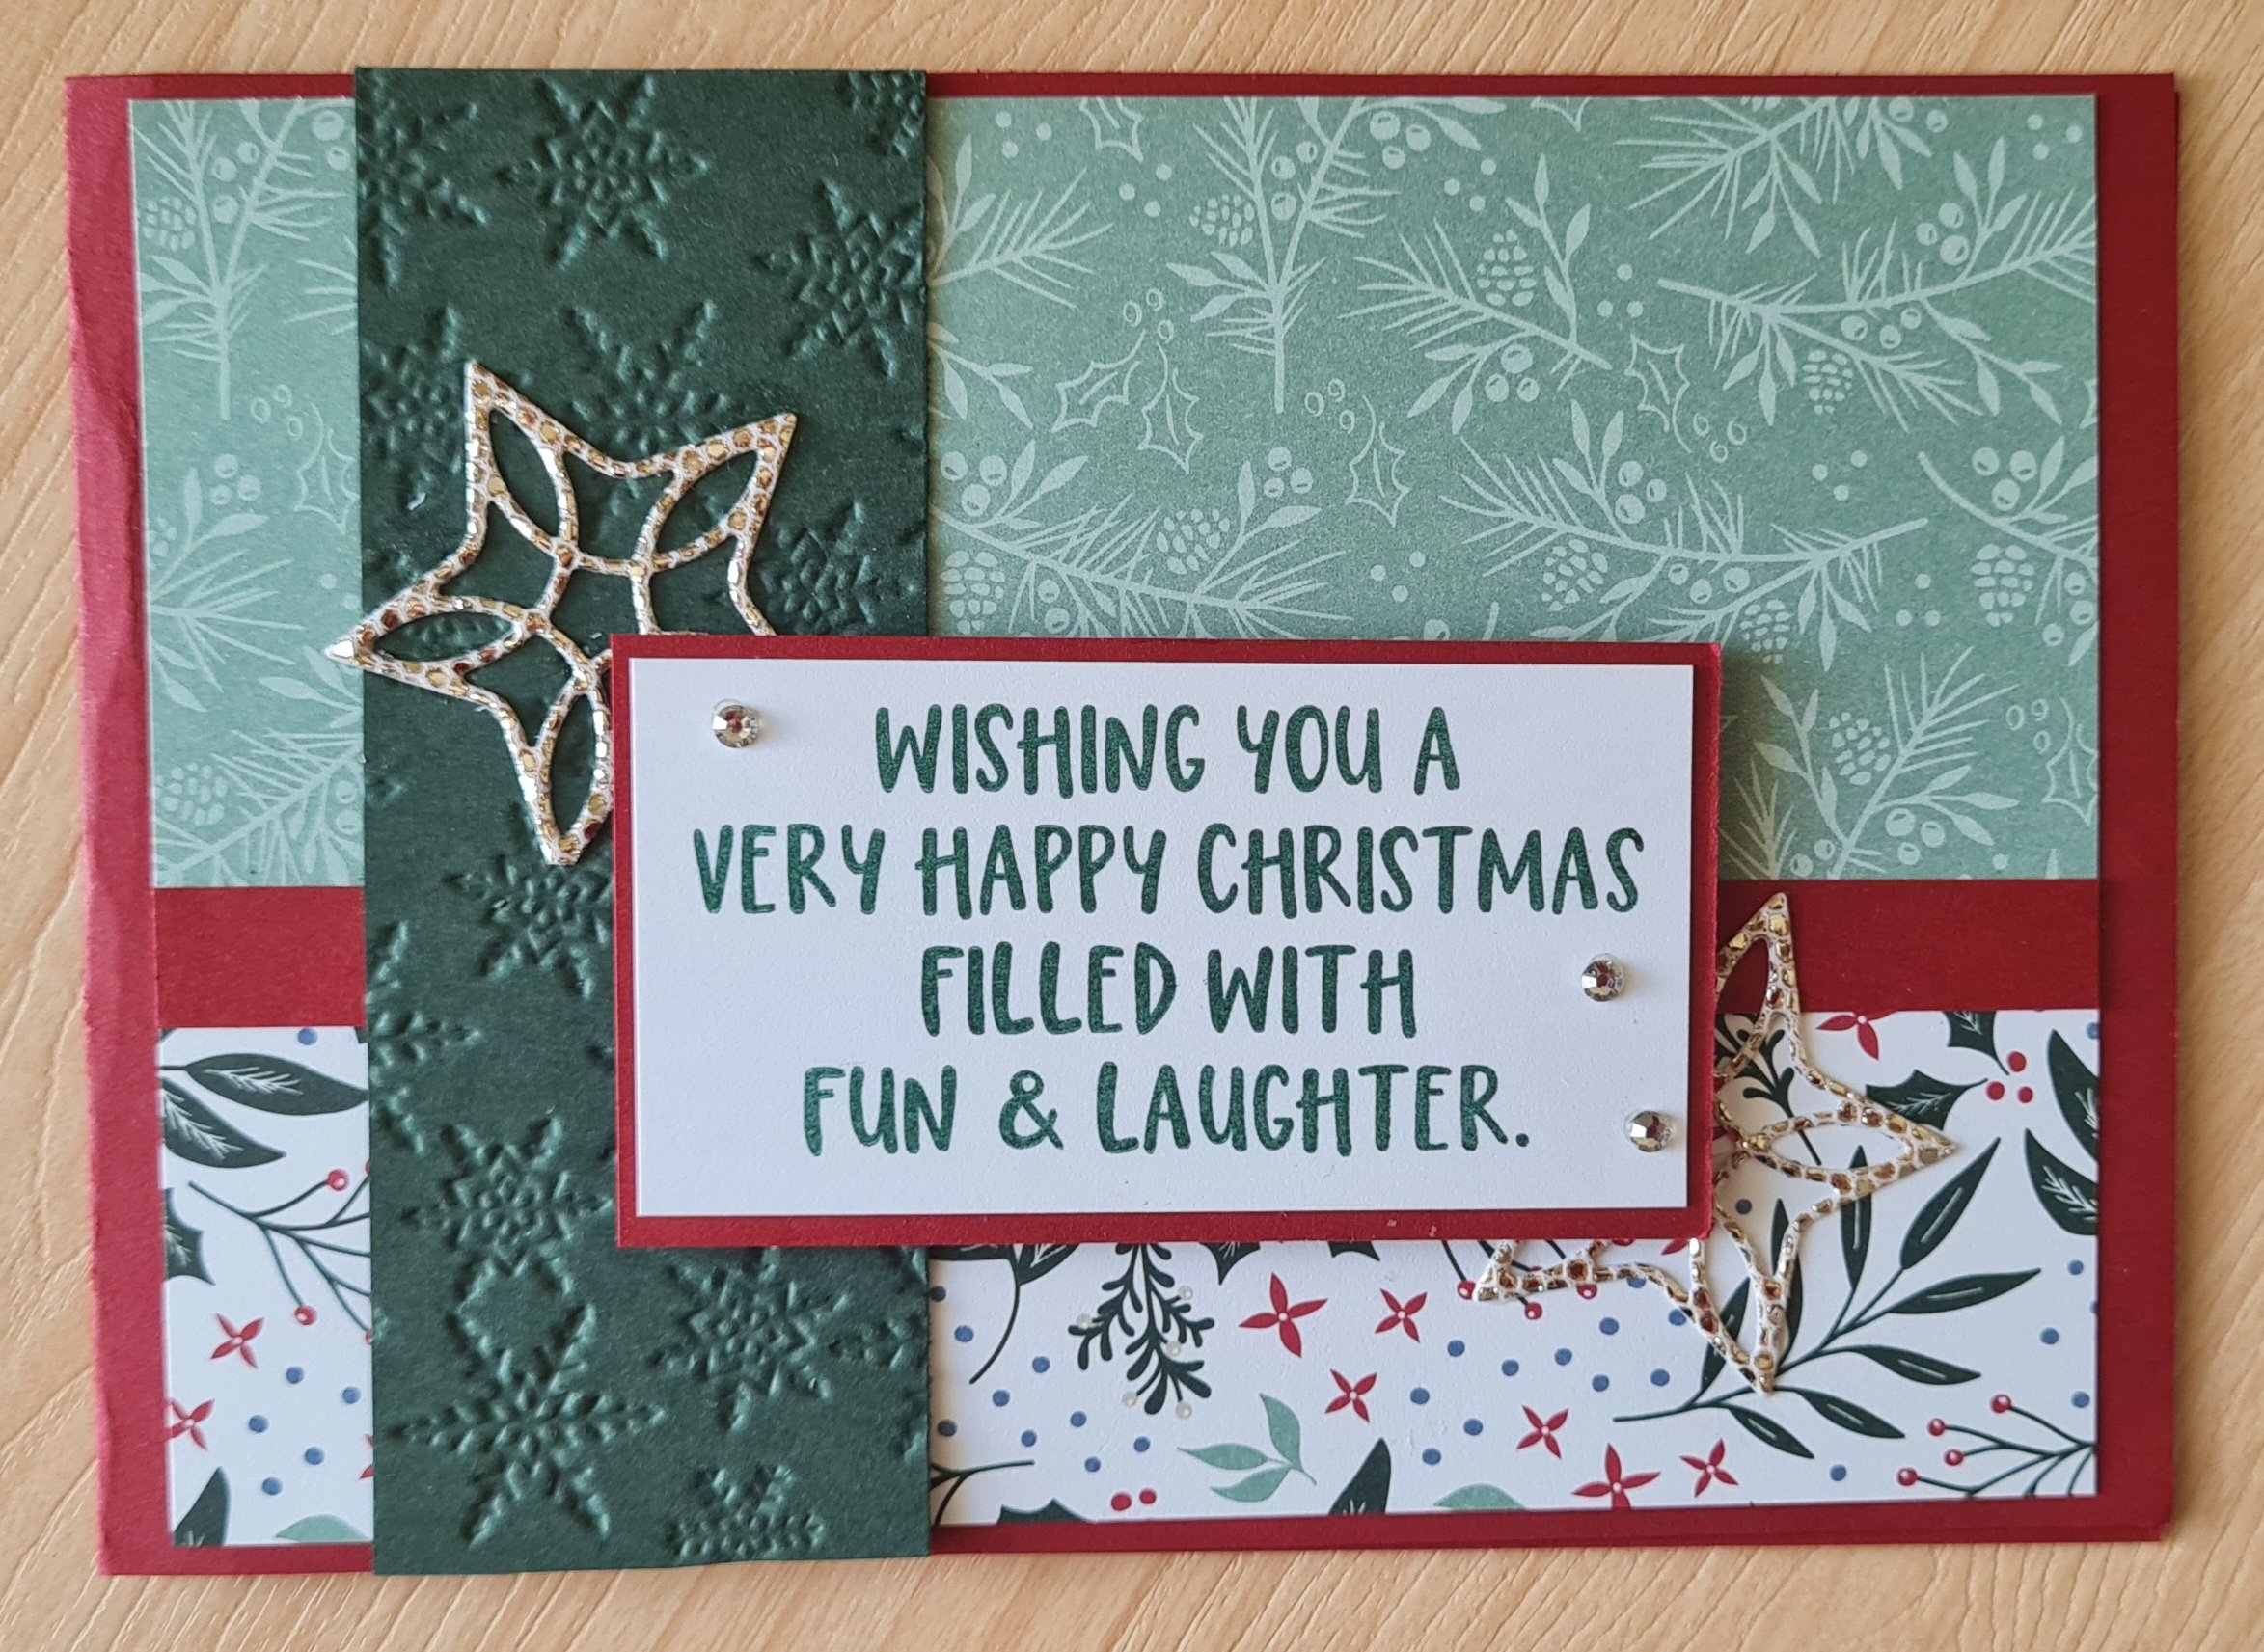
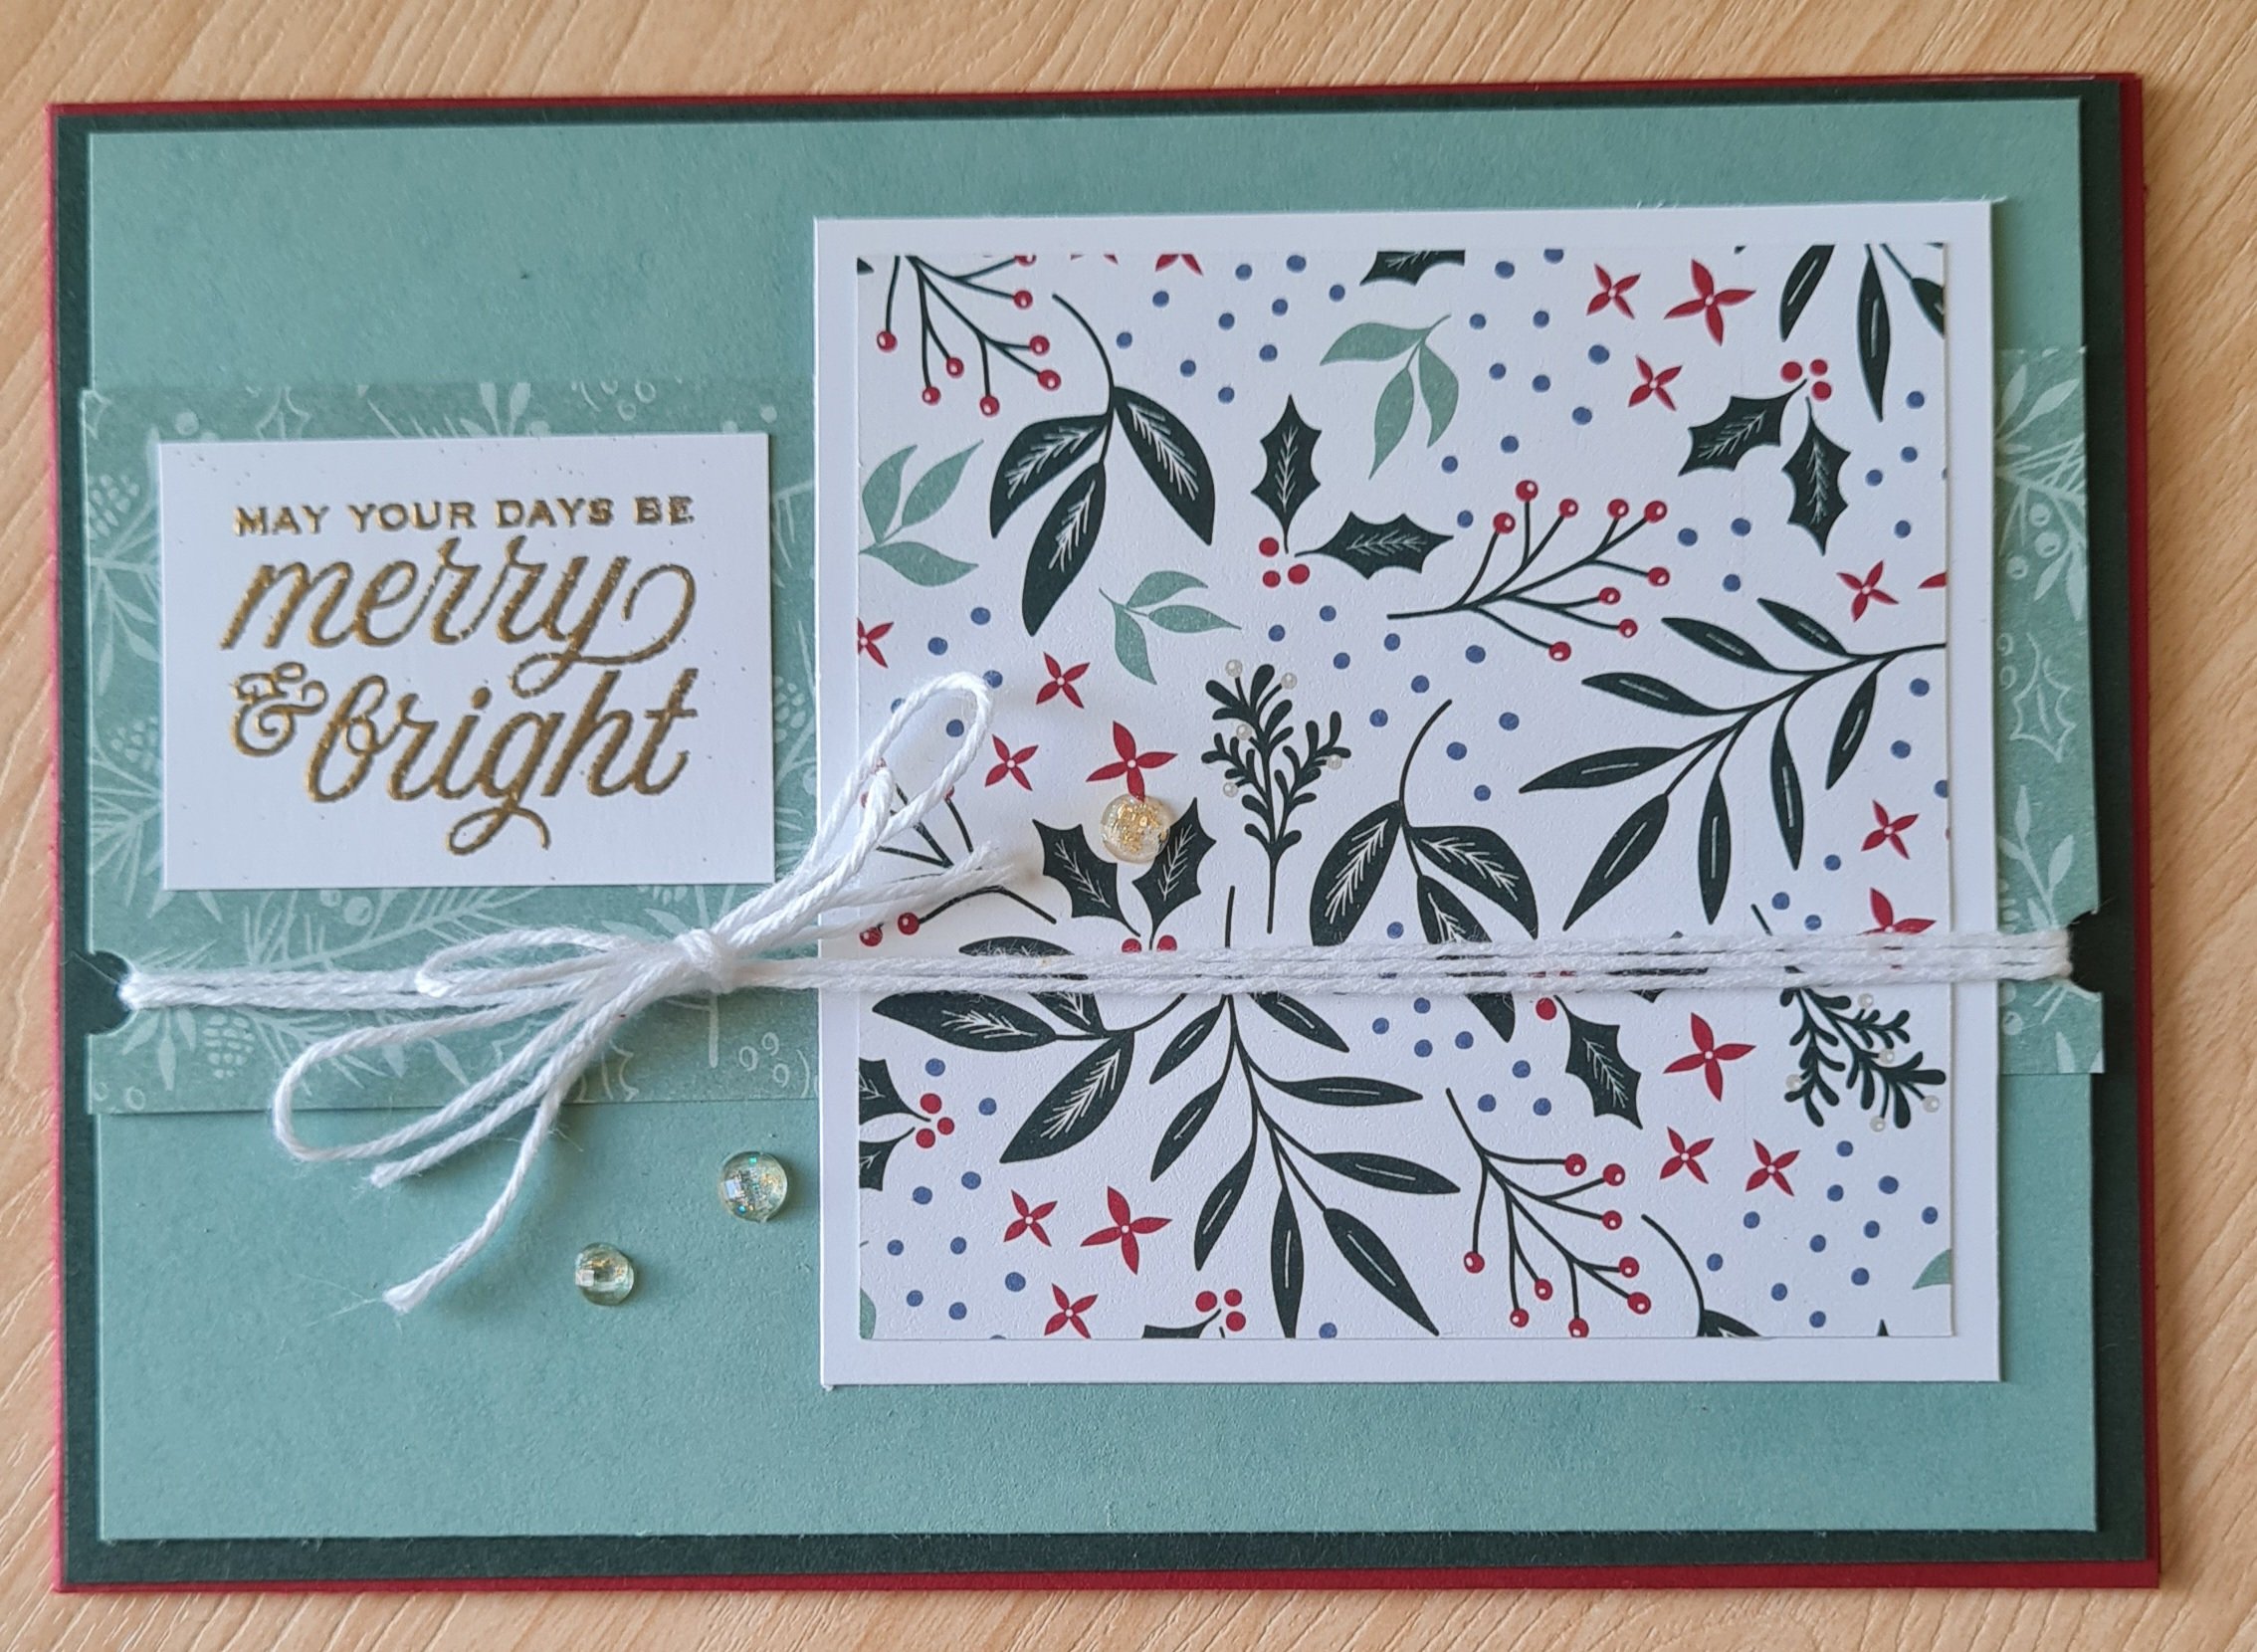
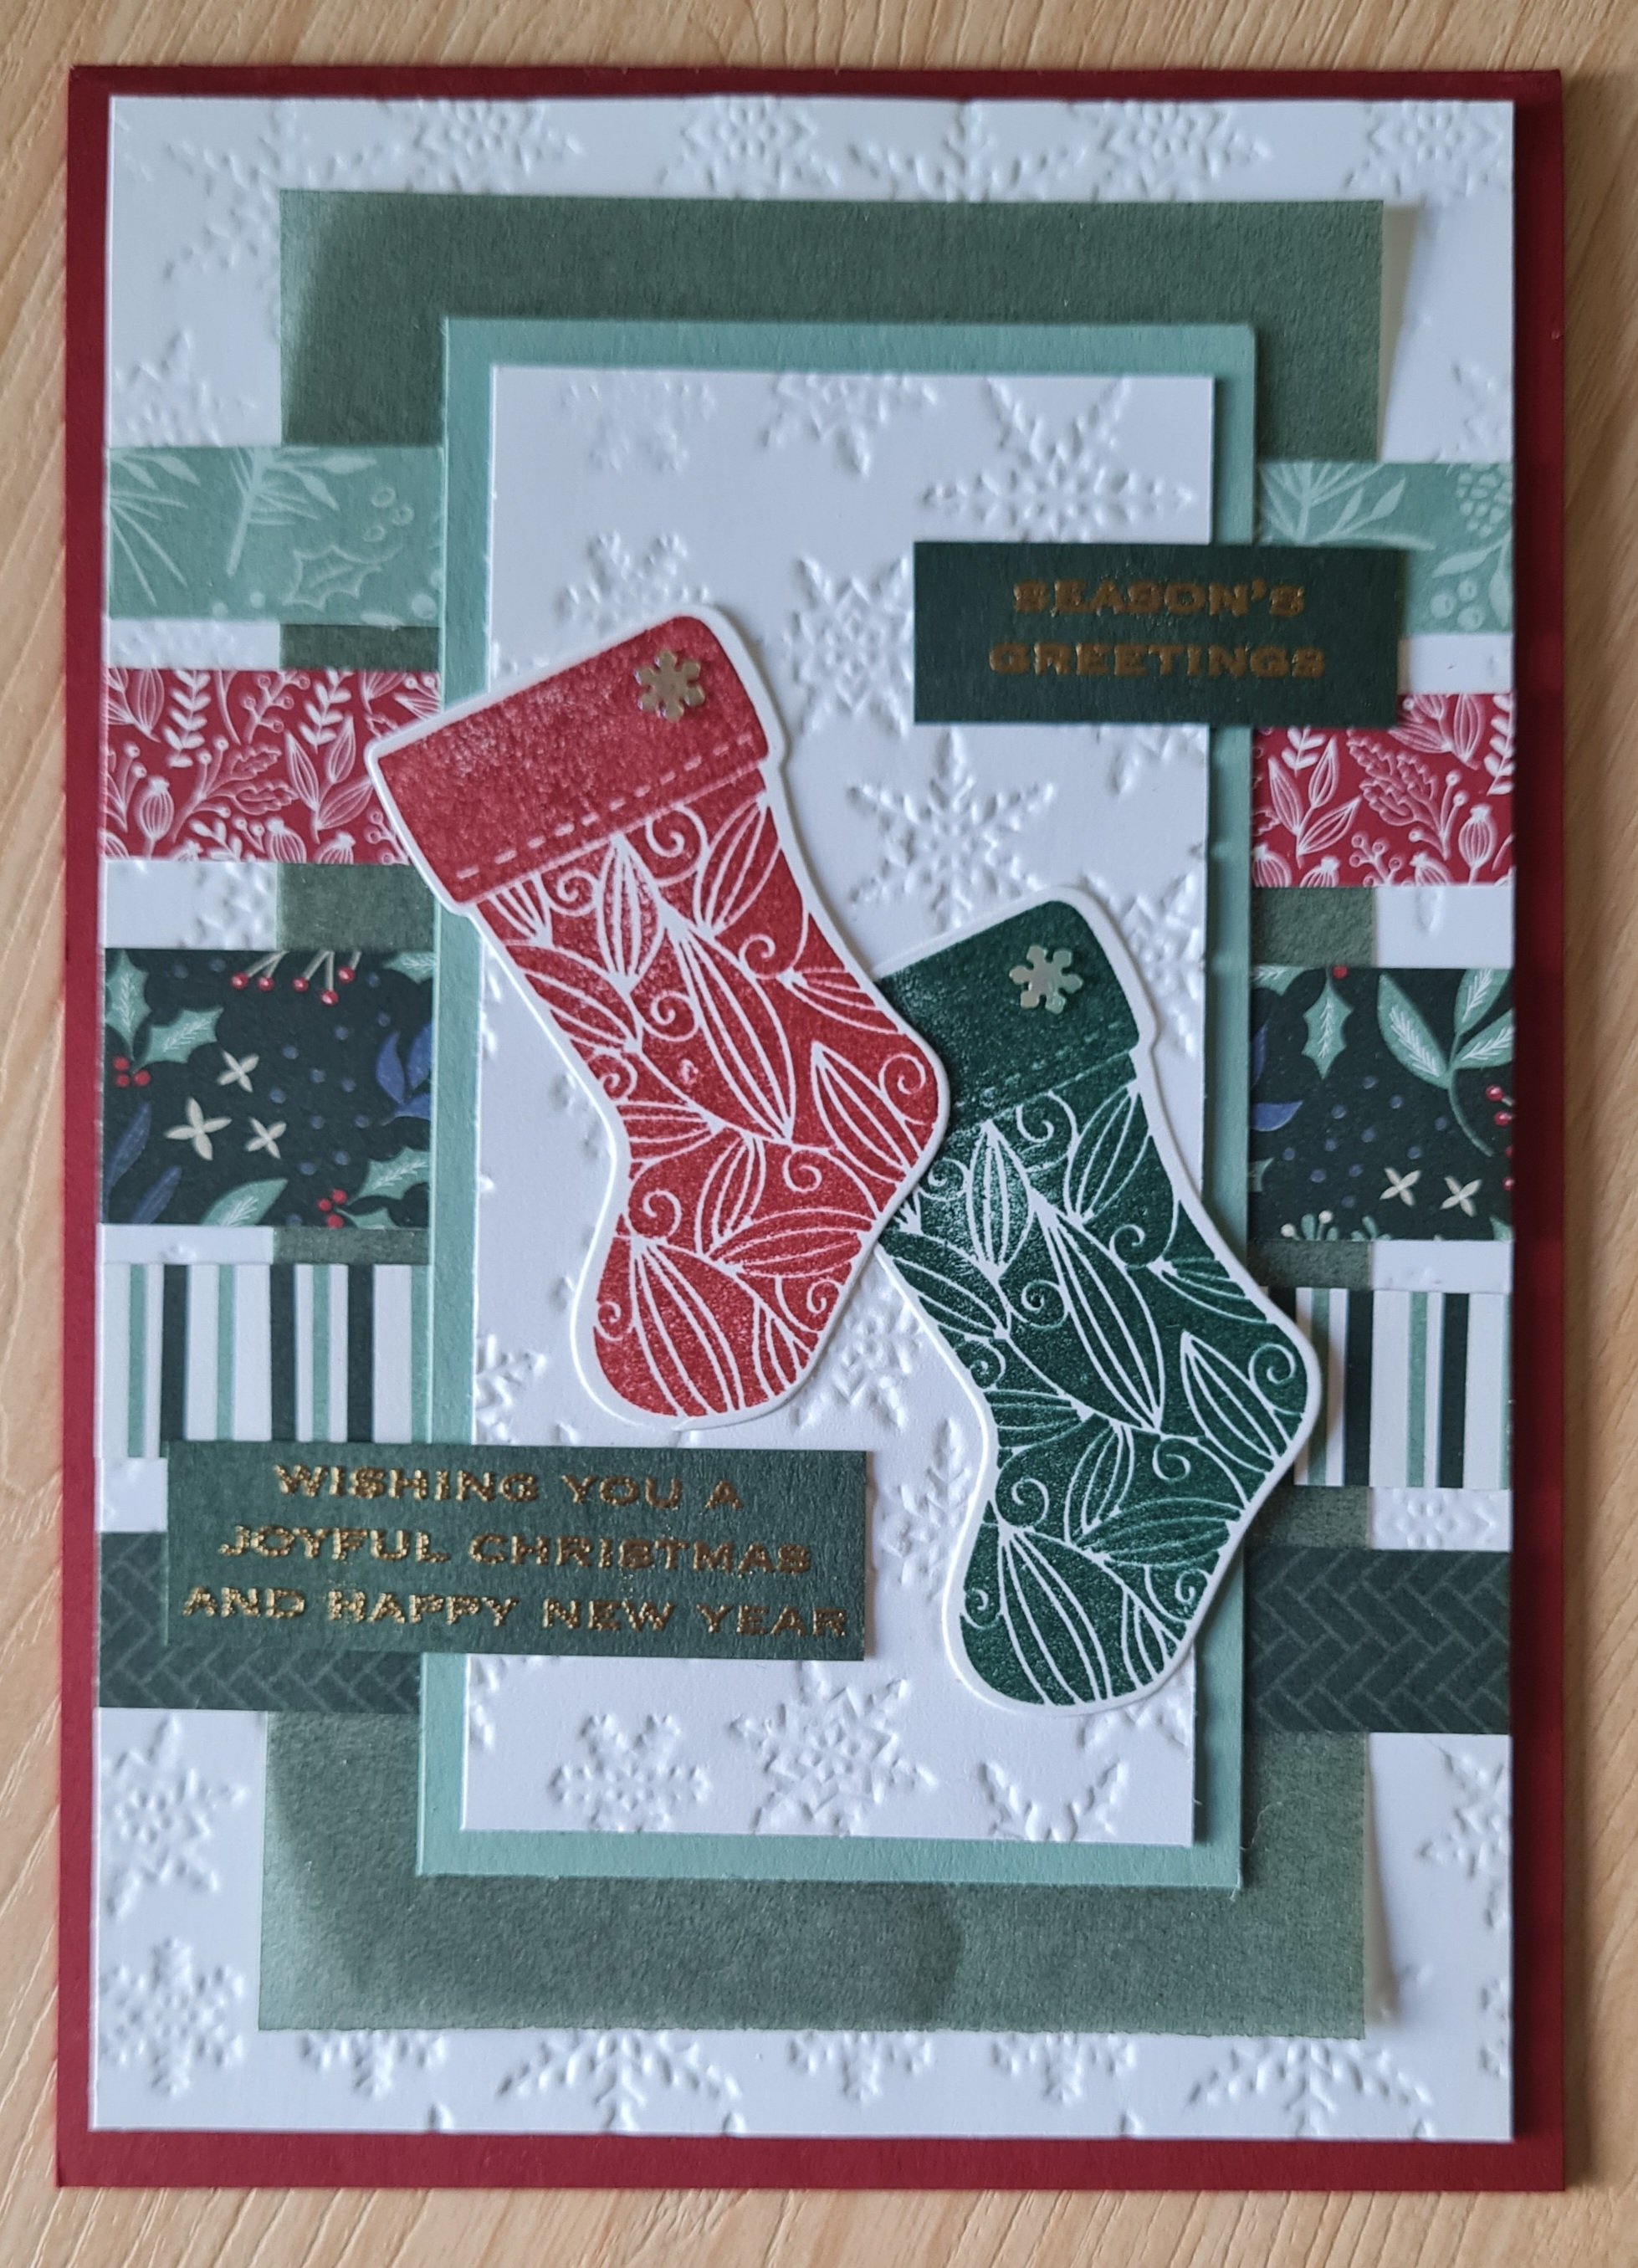
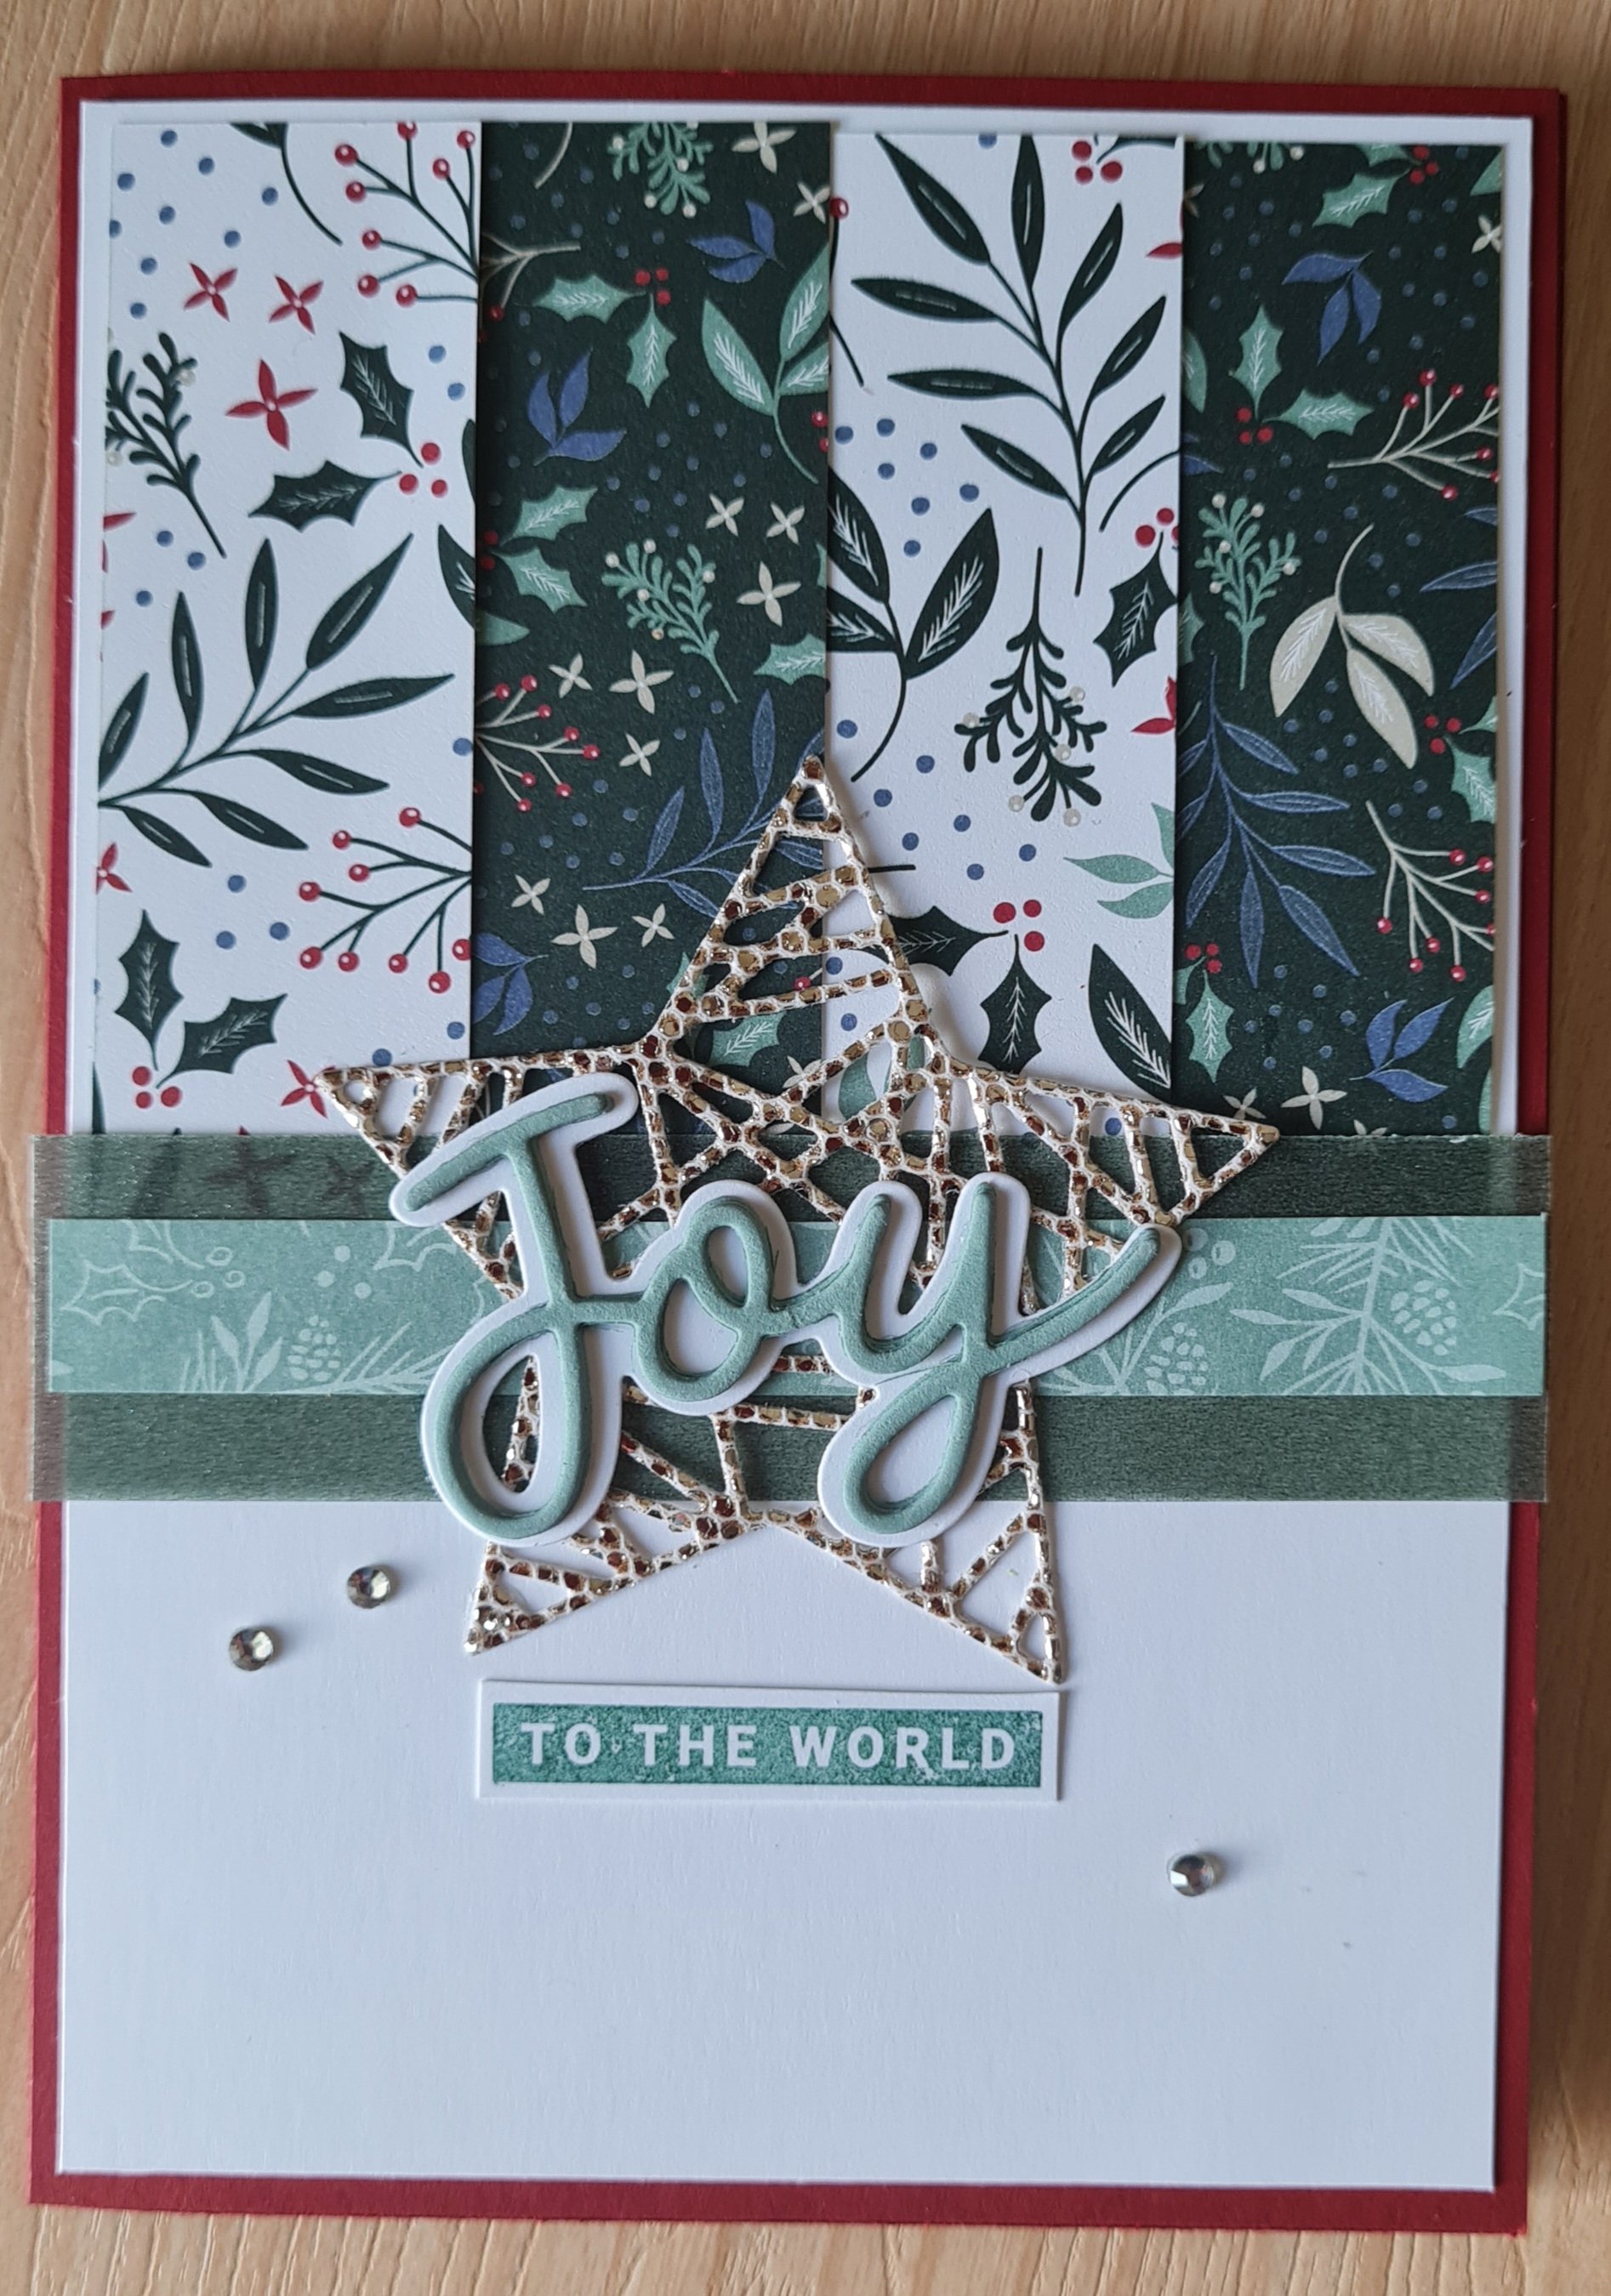
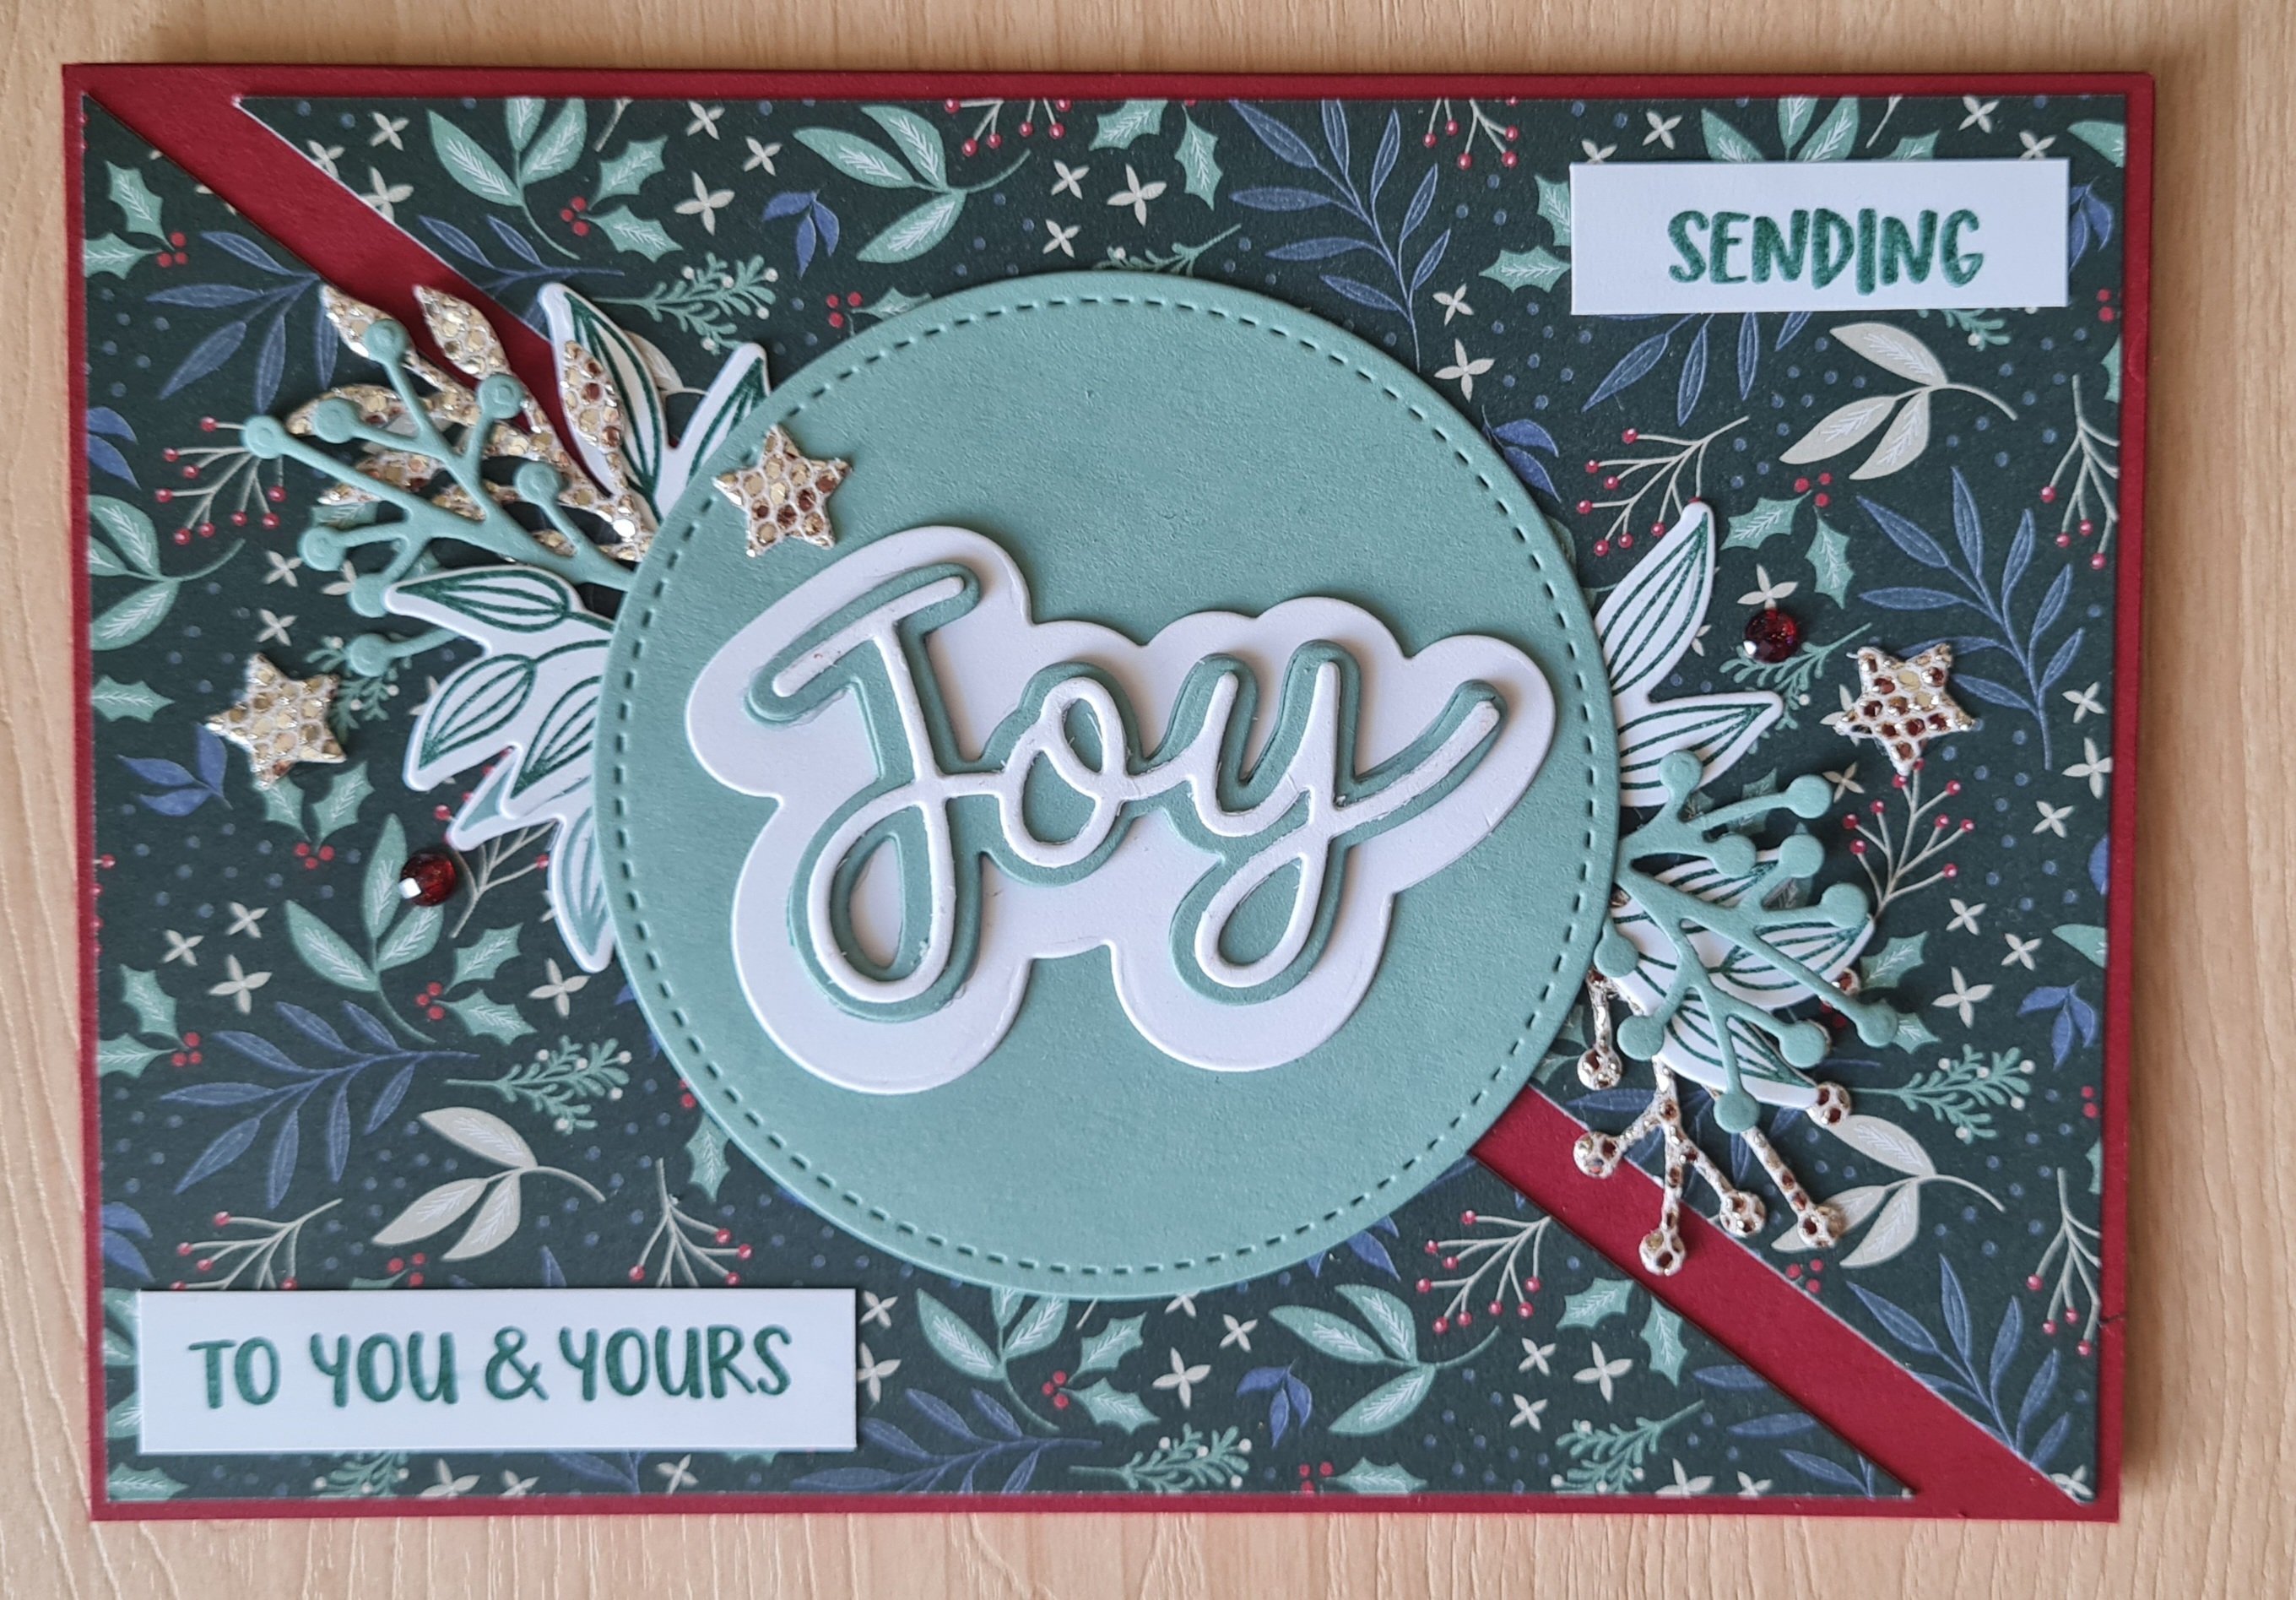
I enjoyed making the cards for challenge #6 so decided to make another set using an older template… template #2.
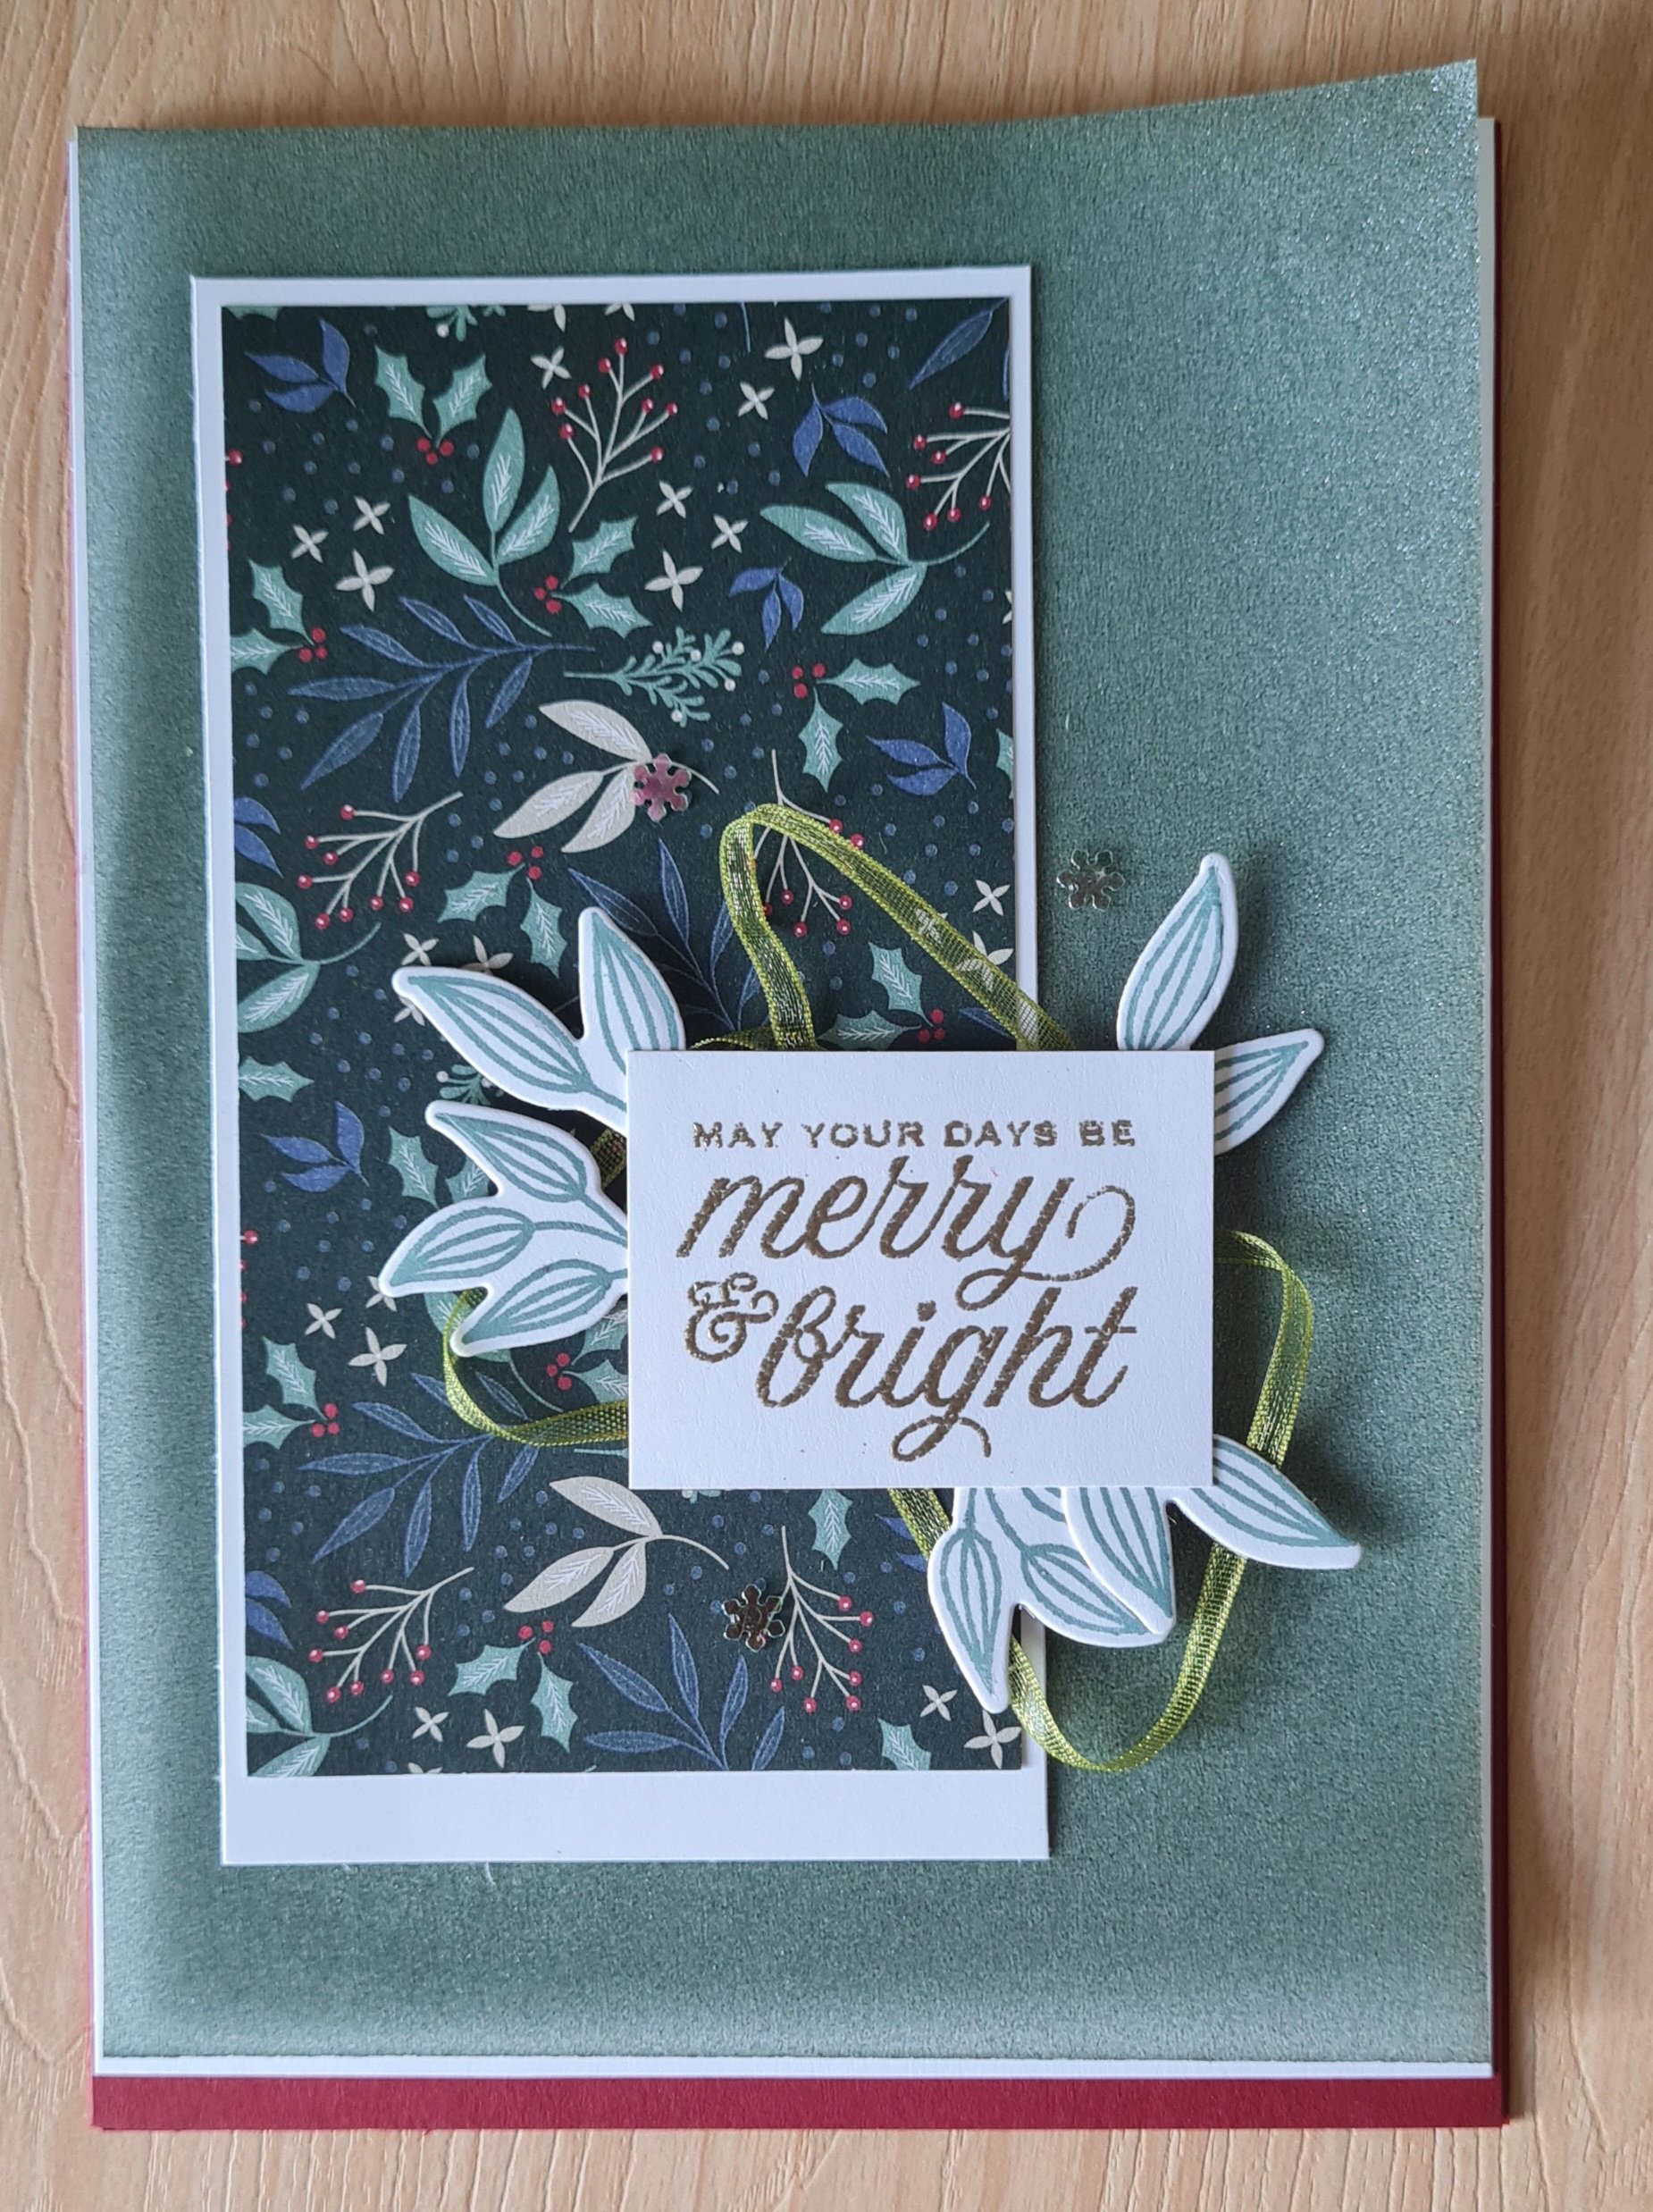
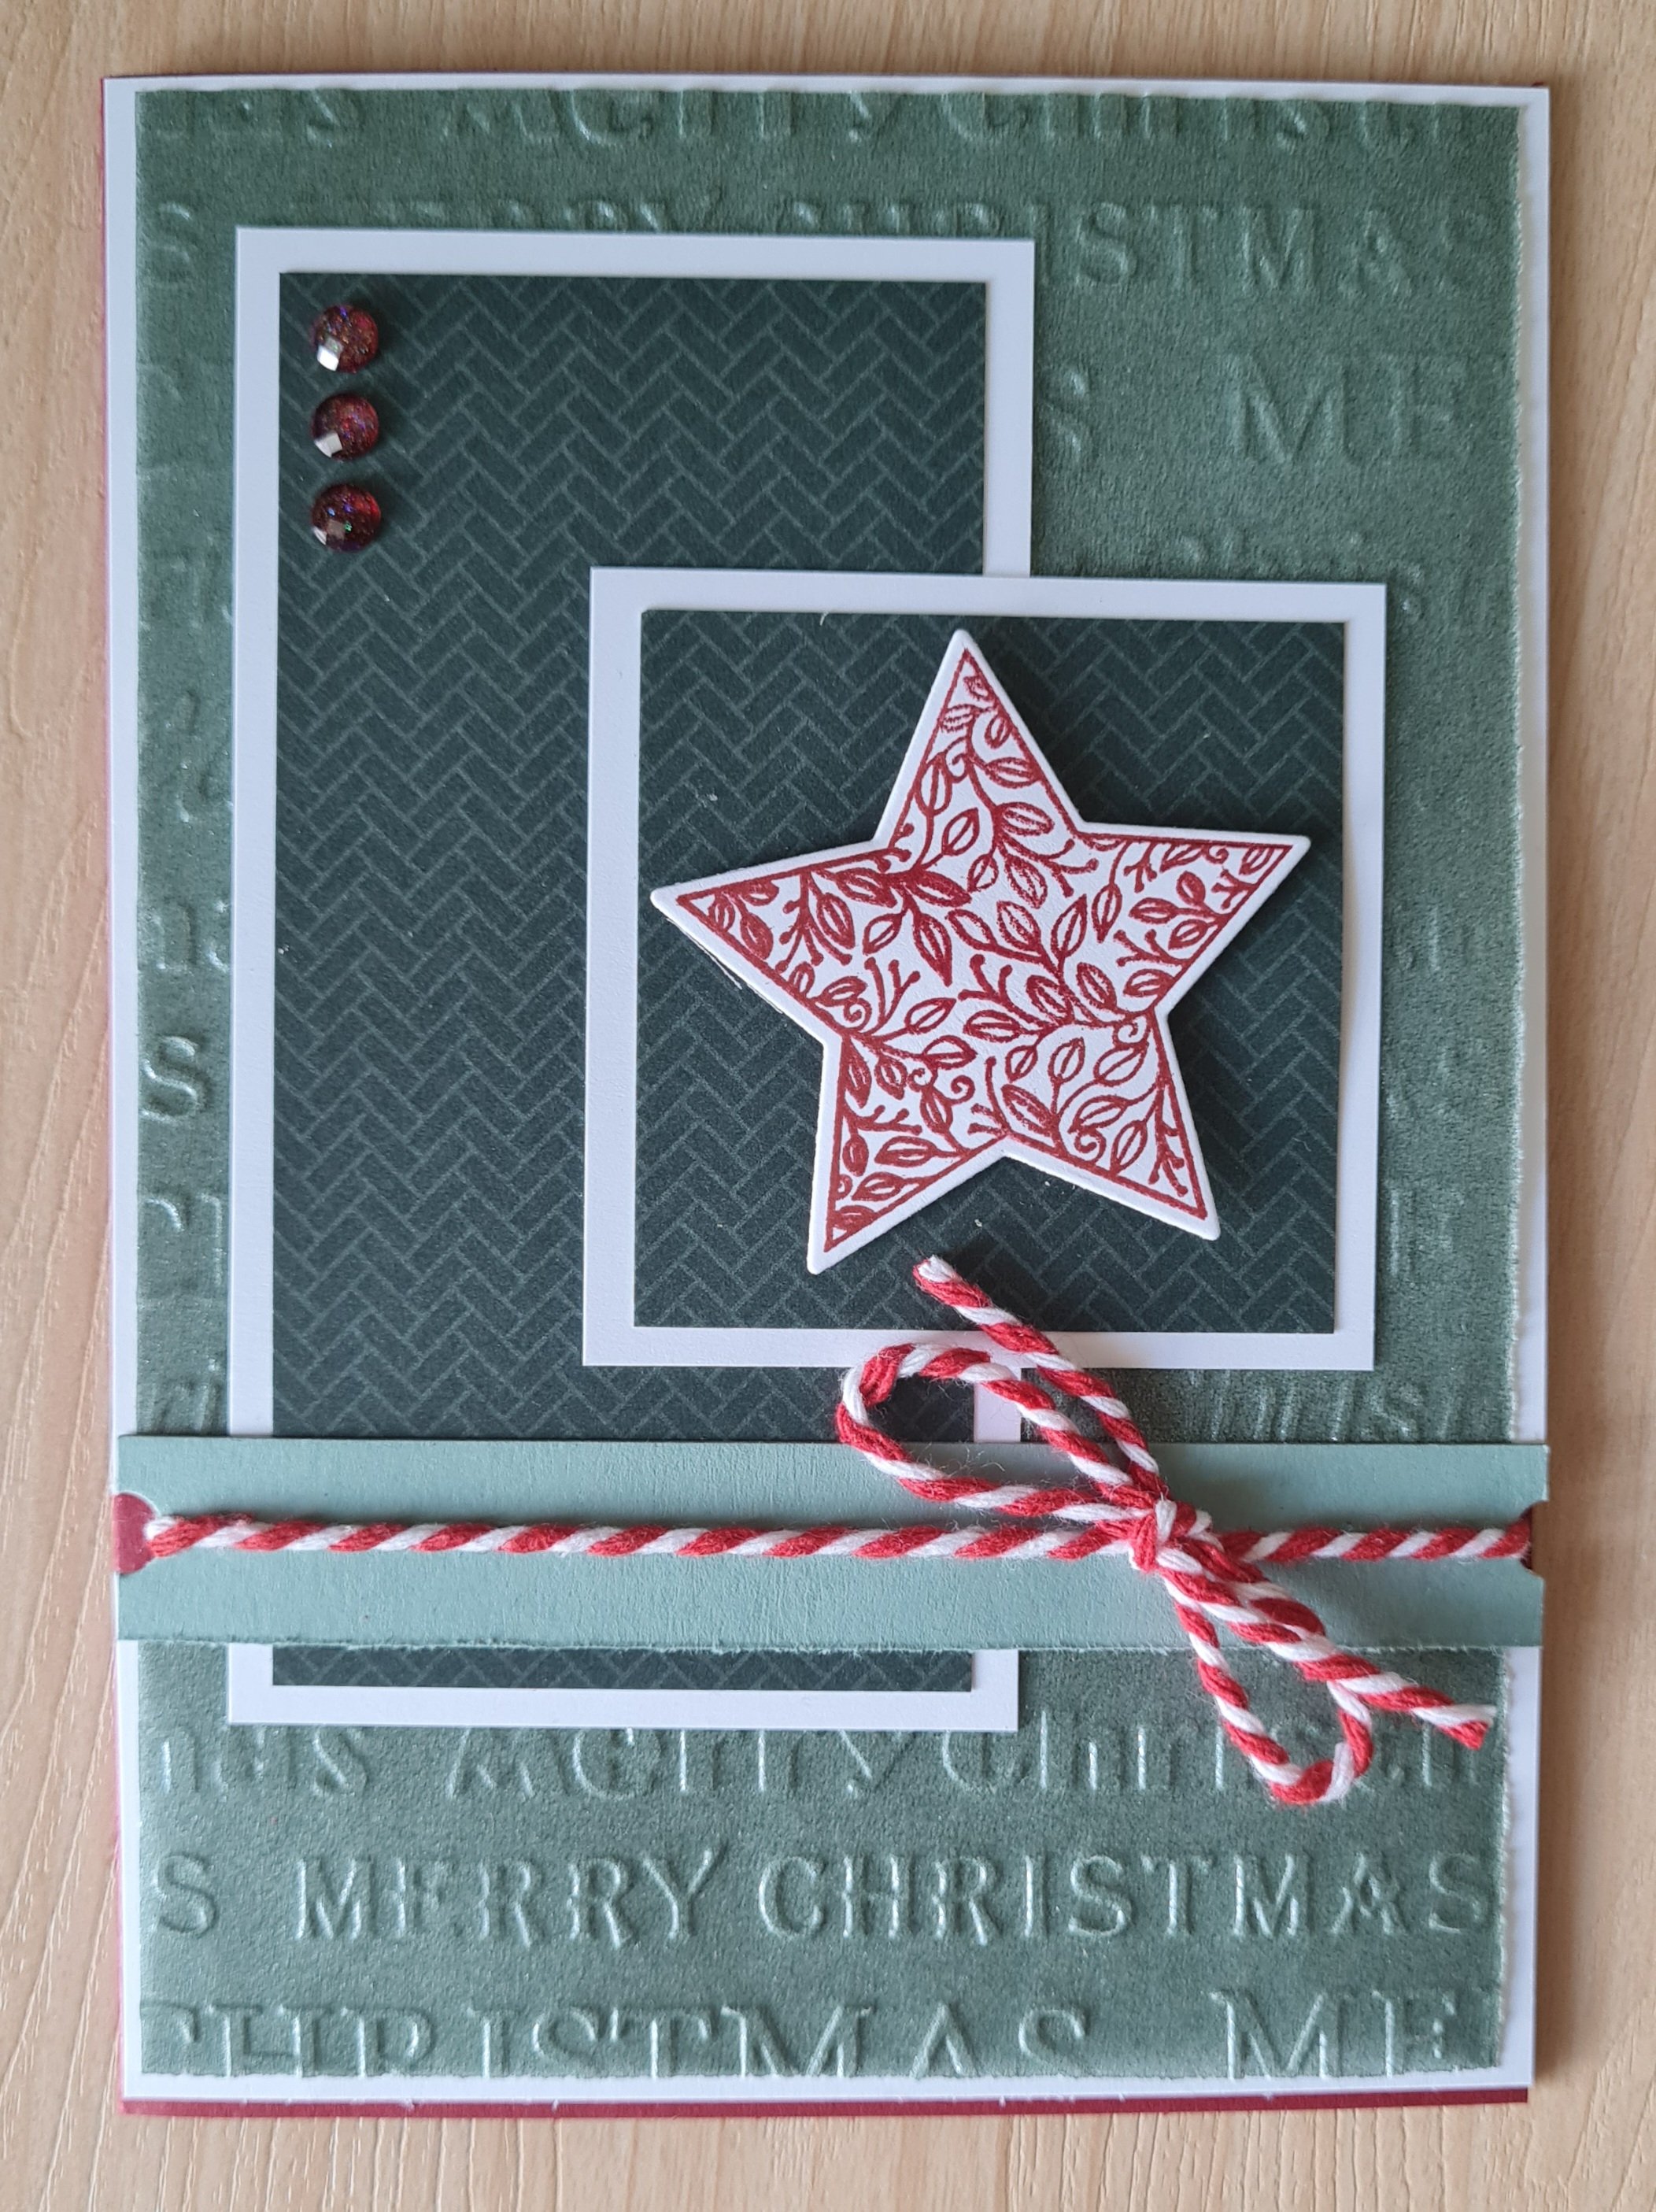
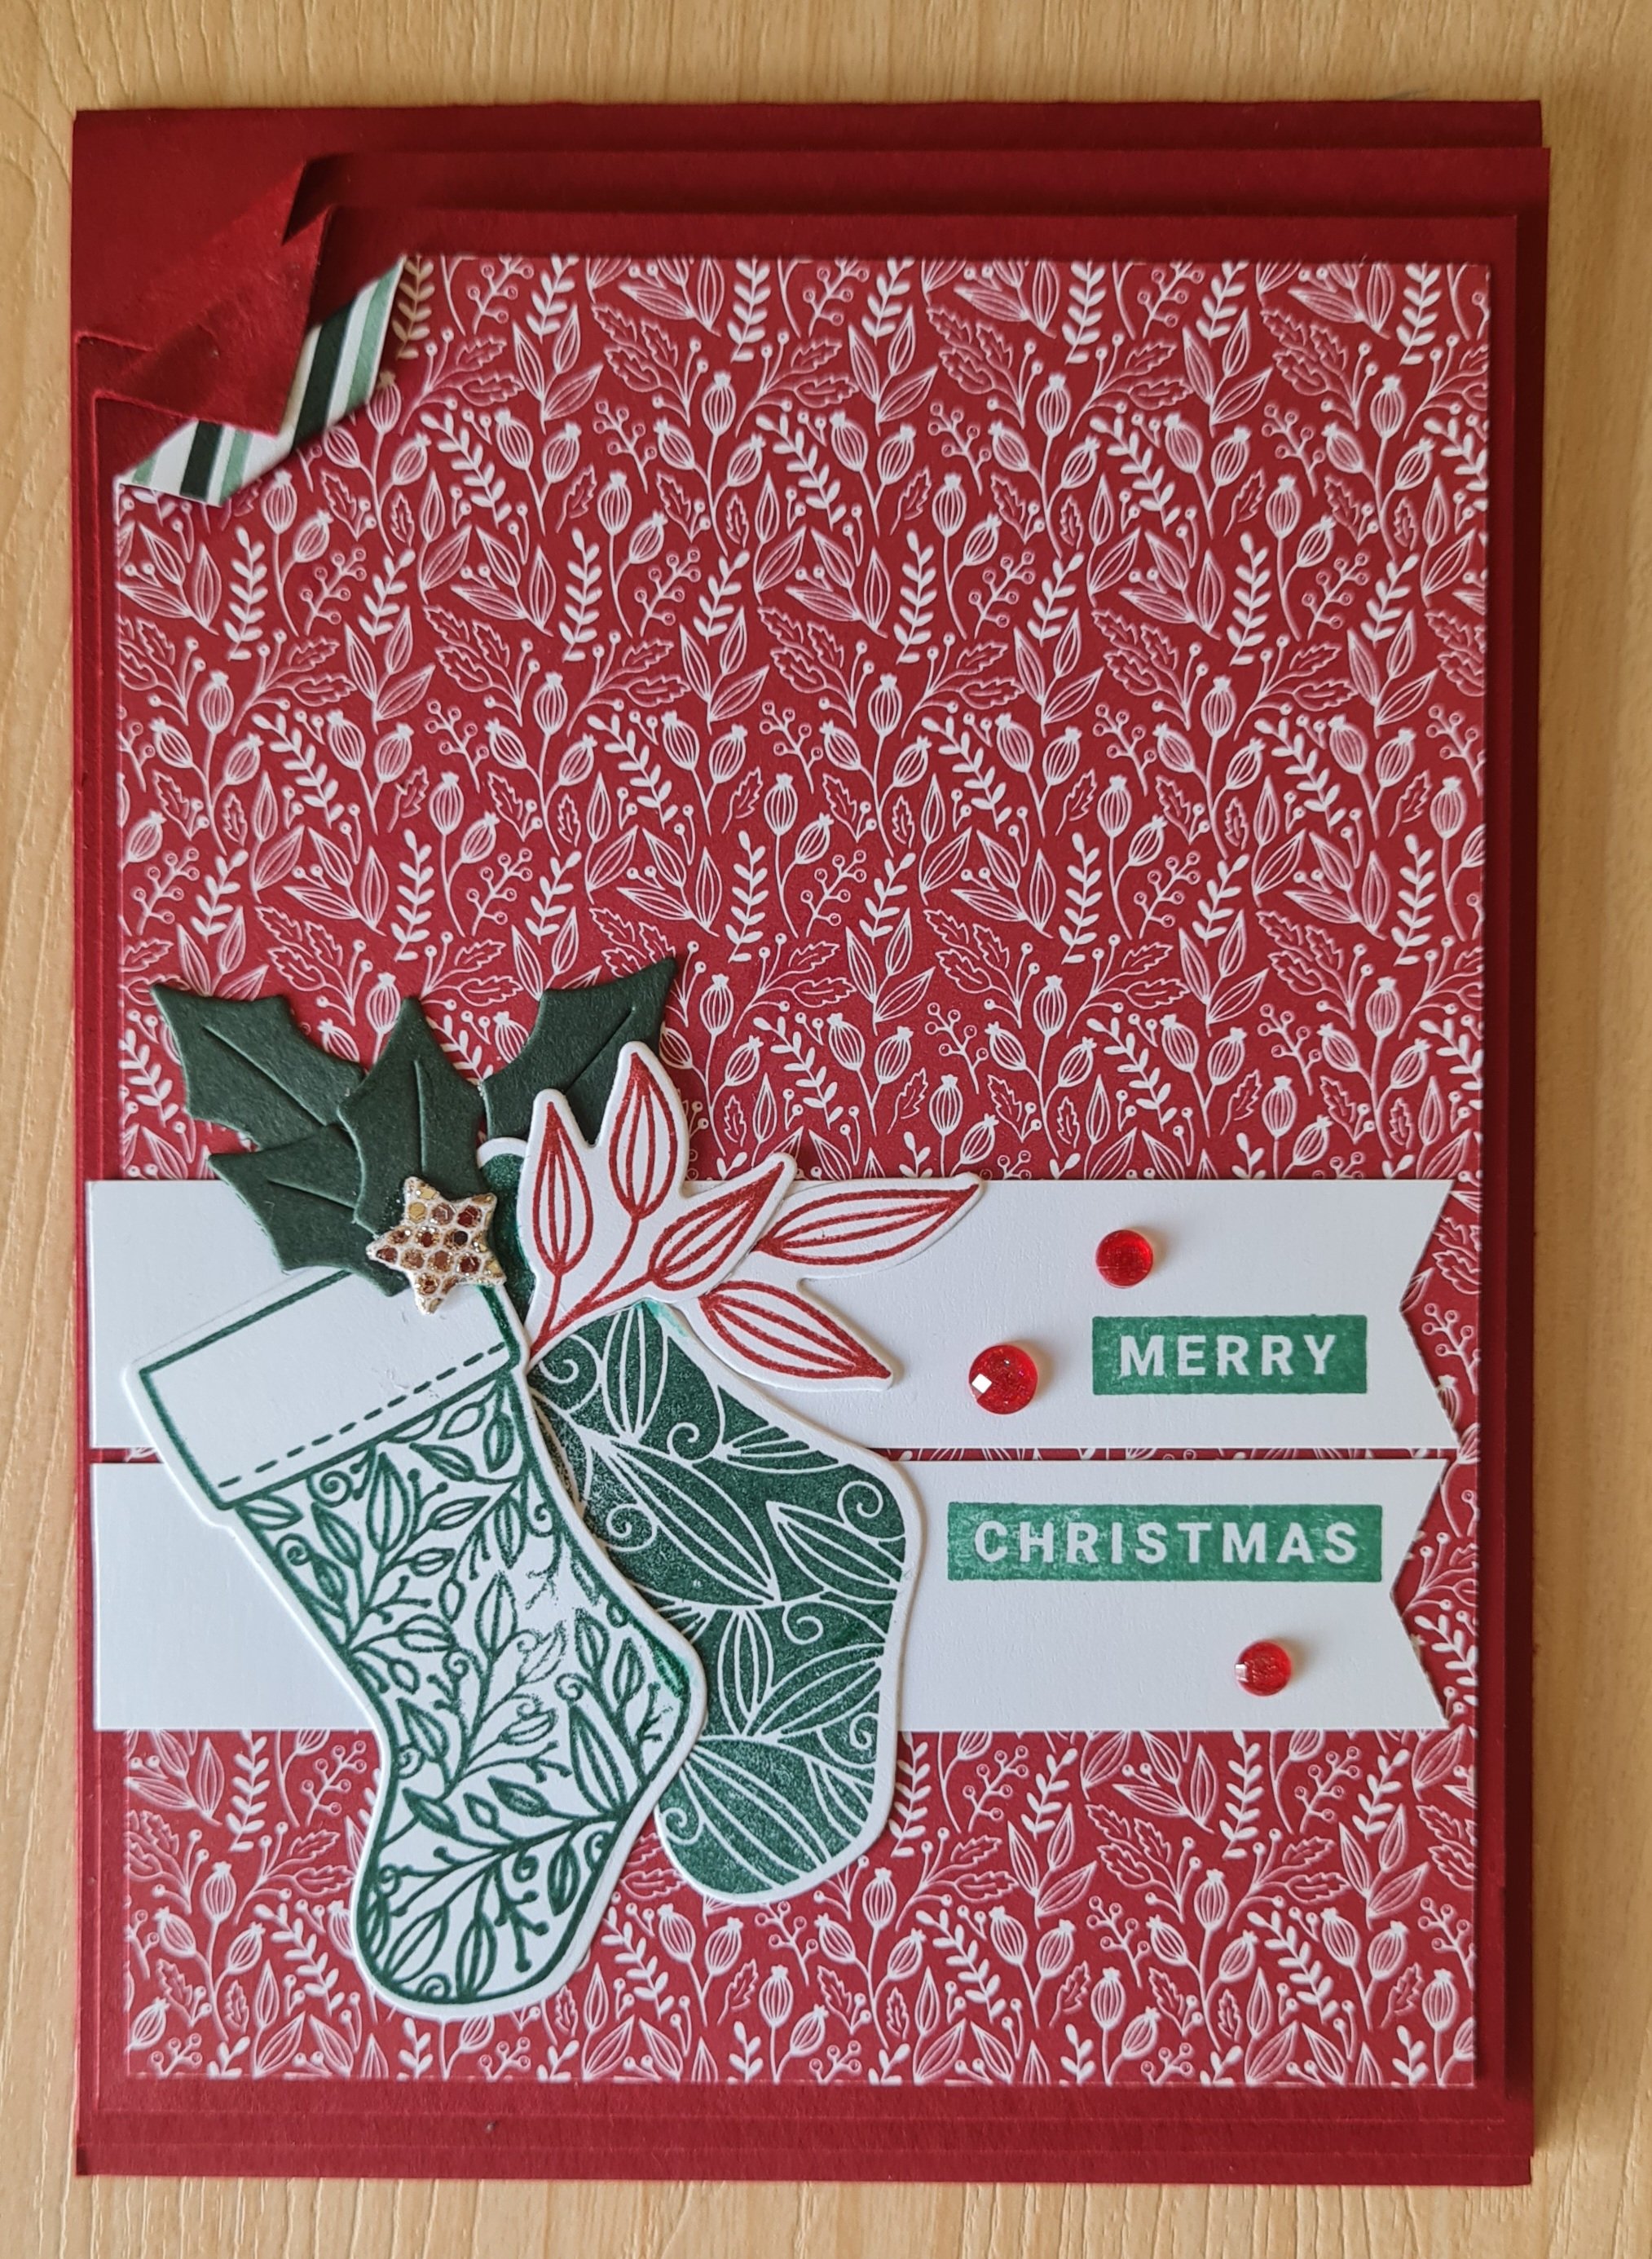
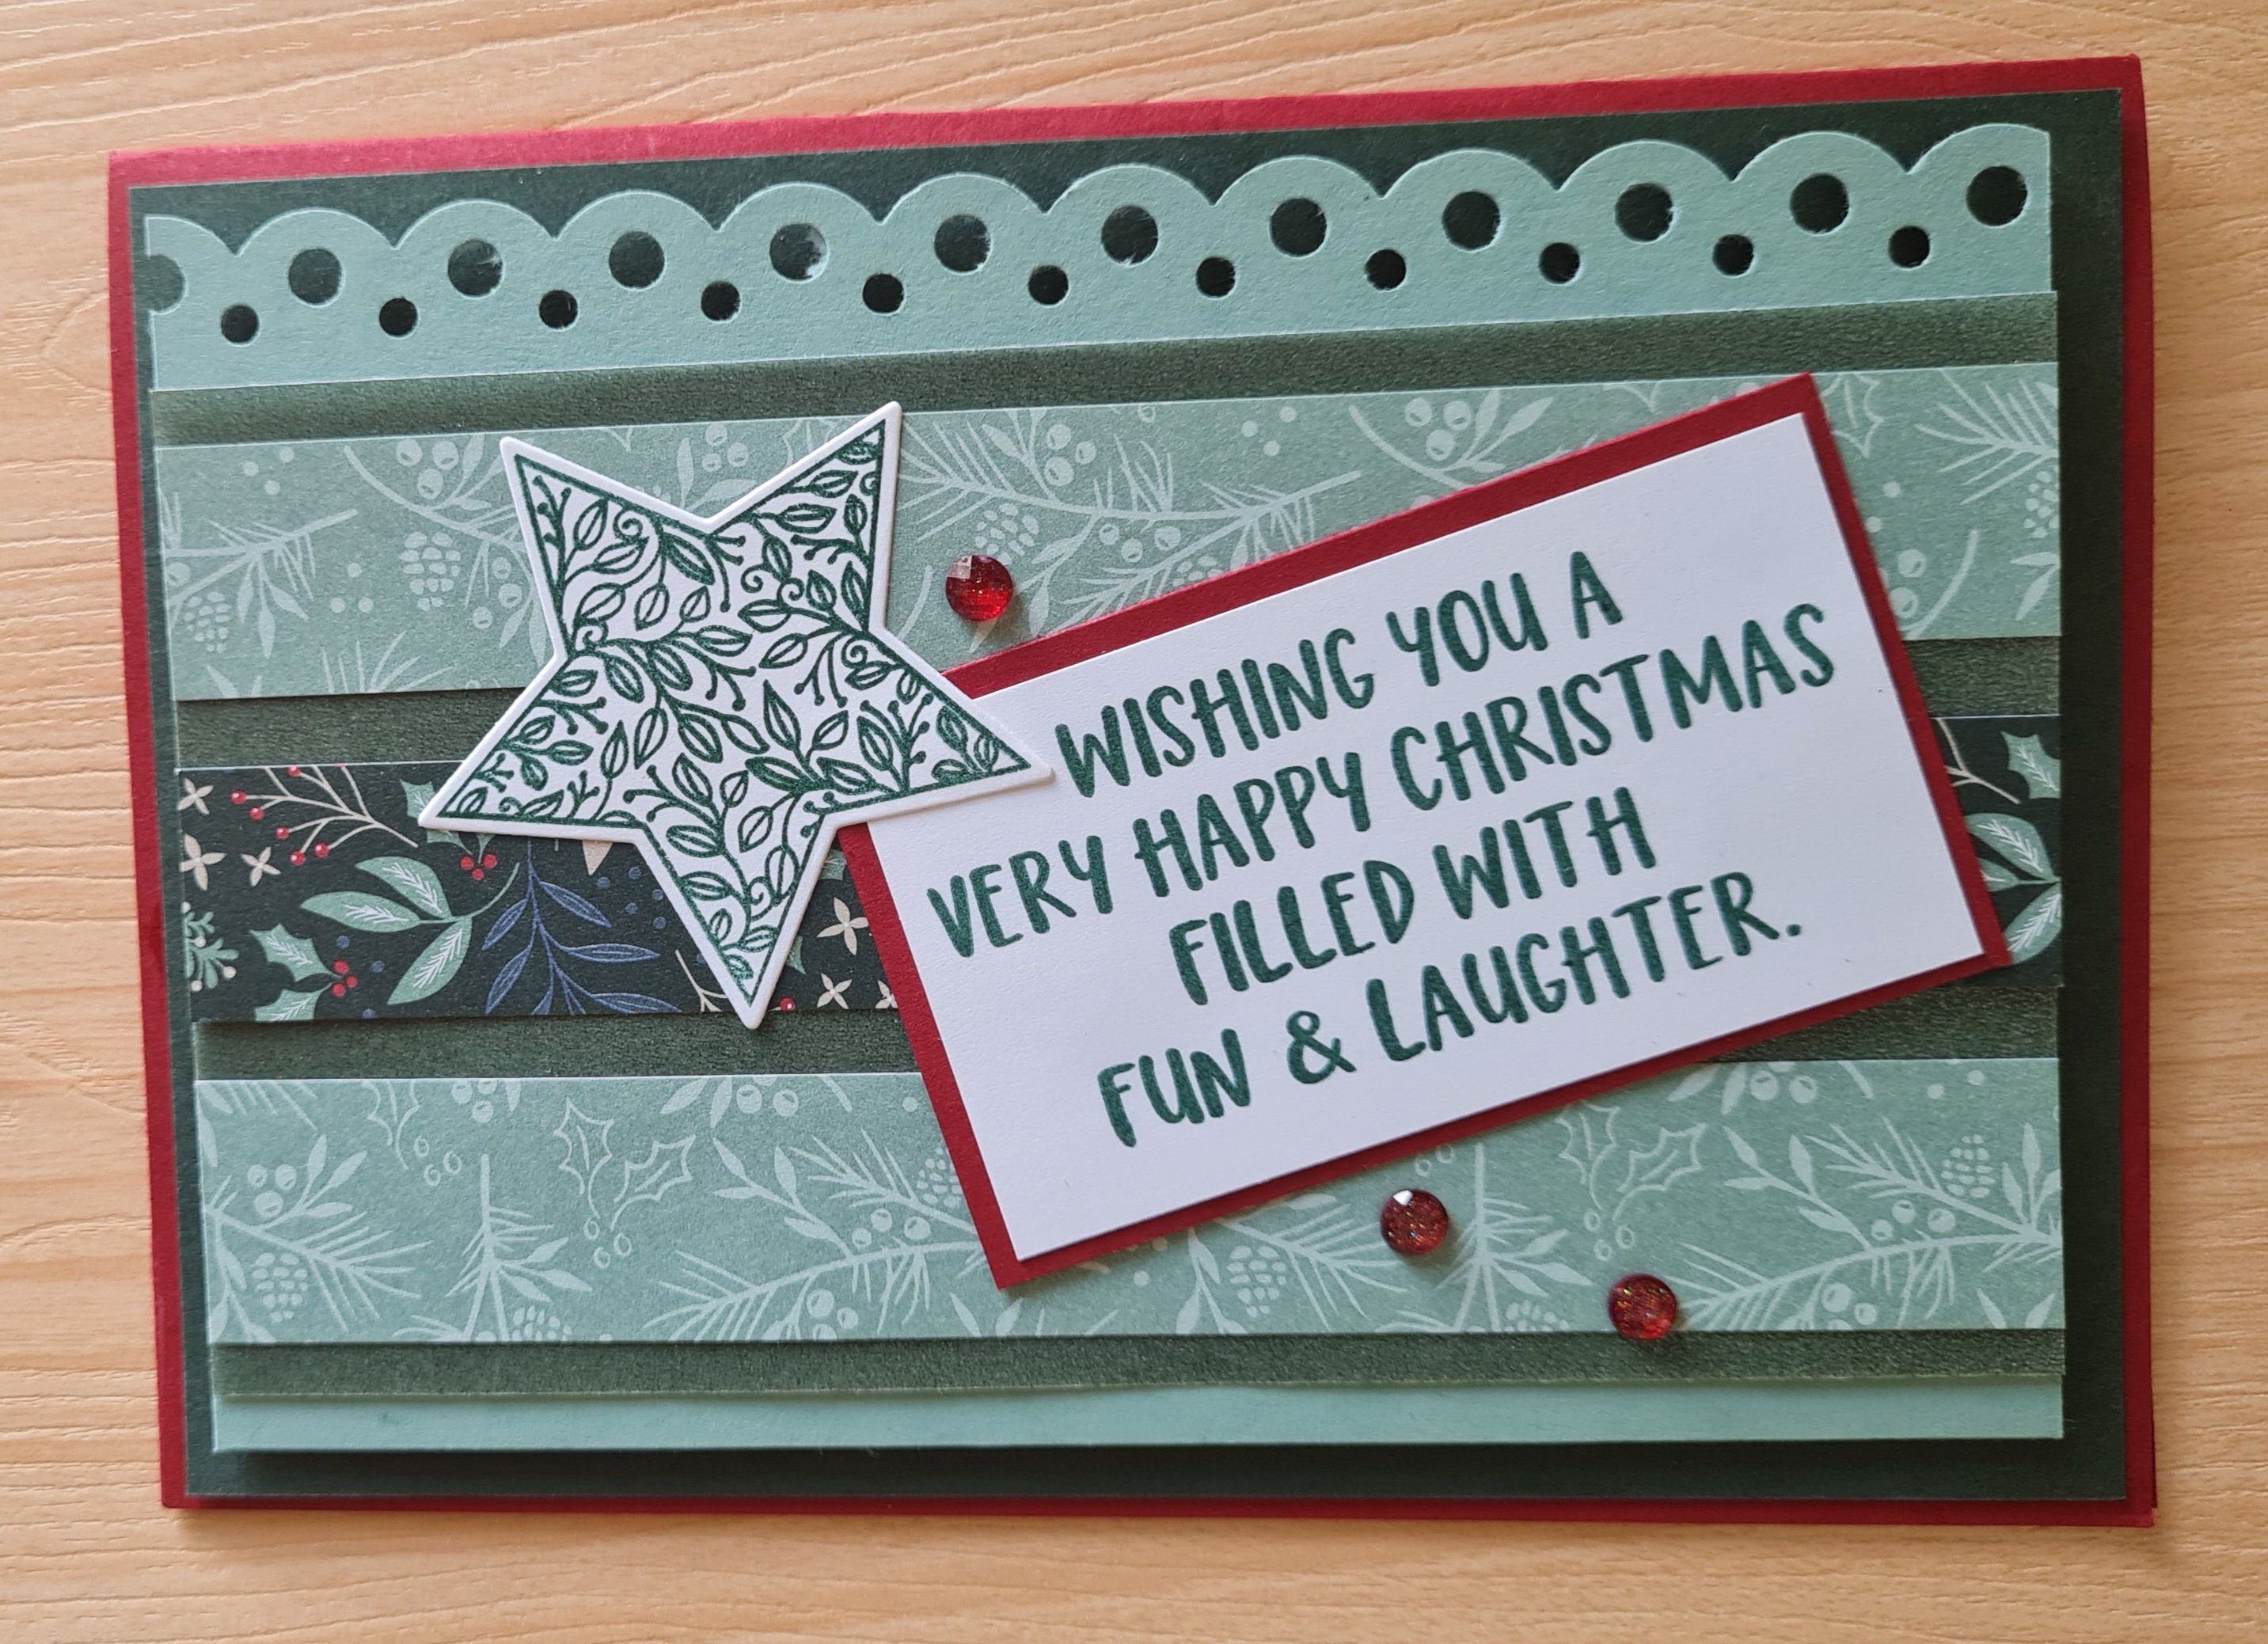
I chose the Tidings and Trimmings papers and stamps and dies for the main focus… but ended up adding other bits and pieces in too like the shimmery vellum and the sparkly speciality paper… I can never resist going a little mad with those fab Peace and Joy stamps and dies either and felt a big word was perfect as the focus of a few of the cards.
Here they all are…
I make the cards in stages…. cutting, then putting the pieces into labelled envelopes, next the layers of cardstock are cut and added to the envelopes. Then I stamp and cut lots of embellishment pieces so I have a little pile to use. Then I start to assemble but not always finish the card topper (I make these as card toppers first before I add to card blanks/make card blanks). Sometimes I just add layers to the paper pieces and add a few bits into the envelope and come back as I know I want an additional element like a ribbon, or sometimes it comes together immediately with everything to hand. But at least this way I get to just do them a bit at a time and 14 cards isn’t too overwhelming to deal with!
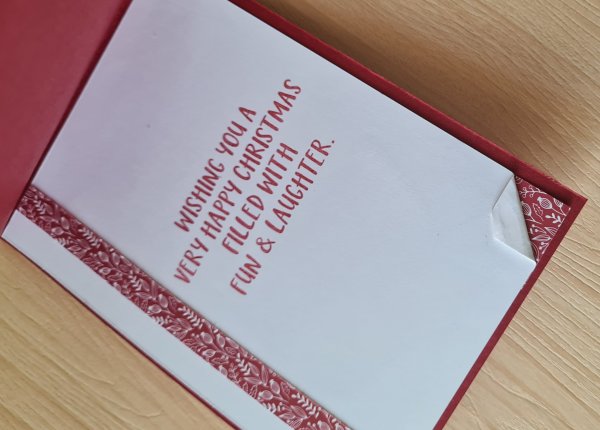
As the template is for US sized cards I did have to fiddle a little with the sizing of the final layers to make it fit the UK size cards but it worked fine. I made the card blanks out of Cherry Cobbler cardstock as I had loads of it and then inside added a white panel and some more dsp strips or panels and a little stamping. They were all different but only took one pic of the inside…
Envelopes again I kept simple with some little banners of dsp leftover from the inside panels and that was all!
So another 14 Christmas cards made. Must admit these were a little heavy because of all the extra cardstock so maybe need to remember this and try to gut the layers a little next time.
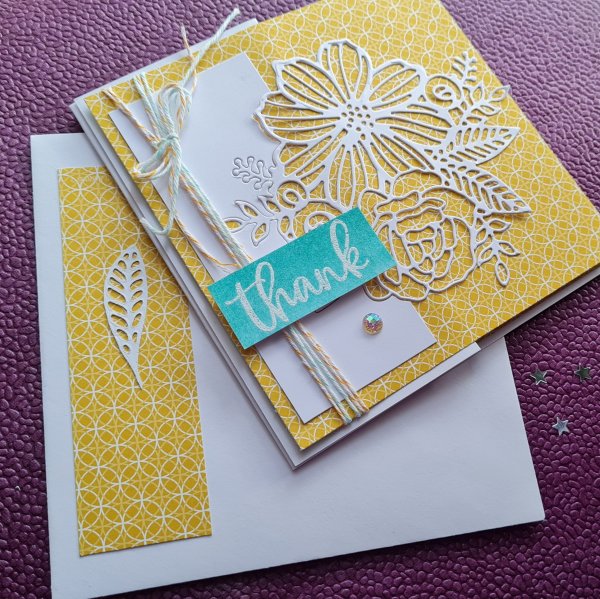
I decided to make a thank you card for my parents and went for bright and cheery and the gorgeous Artistically Inked dies.
When I bought these I thought I would be using the floral bouquet all the time, but have only used it occasionally so far… so it seemed a good idea to grab it and get it used!
I teamed it with some lovely bright dsp I’ve had in the stash a long time (I used it a few months ago for a birthday card for my friend so I figured I would use some more again now!
And kept it light and easy with white die cutting etc.
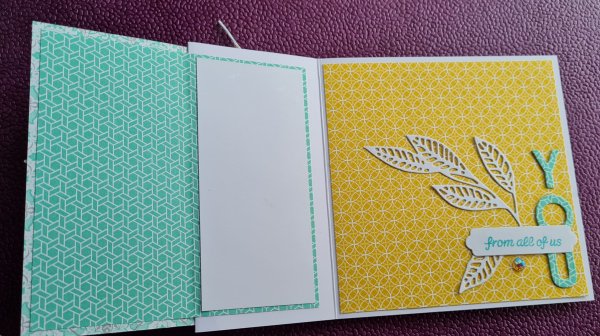
I added some twine and gems to embellishments but made the card a little more fun by decorating the front, and the inside with a fold back.
I die cut the YOU from playful Alphabets three times and stacked them to give dimension.
Then added a panel back in of white so I had somewhere to write my message.
I used an strip of the paper leftover to decorate the envelope and one of the remaining leaves for the decoration!
Love how this turned out… I especially like anchoring the die cut in the panel of white… I think that works well.
Because we get the themes in advance I actually made this one a while ago so the recipient has had the card for quite some time! But I made it with this challenge in mind.
Now let’s just go back to the rules of the challenge…
Clean and Simple design with one focal point, lots of white (or open) space and minimal layers and embellishments
So the card I made was to welcome a new baby into the world… Edward Christopher! He is the baby of my friend and is a much wished for and fought for little one.
I decided I wanted a CAS card for him and his parents and so looked ahead to see what challenges there were and blend made most sense so hence the crafting ahead of time!
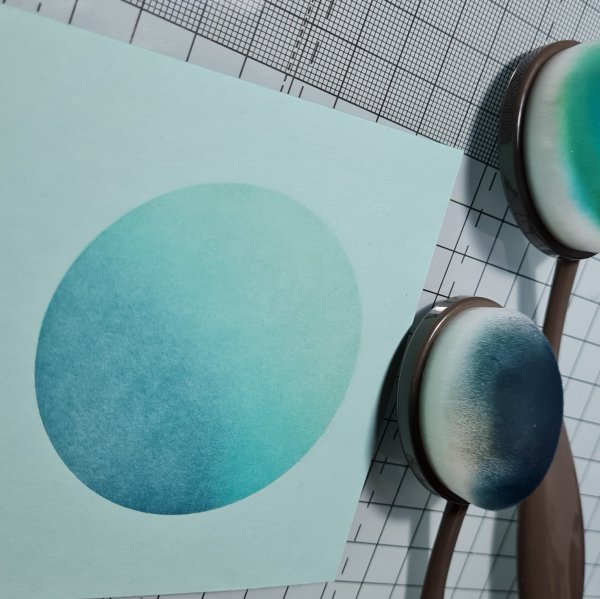
I started by choosing some pale blue cardstock and cutting a card blank and a card front panel. Then using a mask I gave myself an aperture to blend my inks through.
I blended from pale blue (soft sea foam) to turquoise (coastal Cabana and tempting turquoise) to dark blue (night of navy).
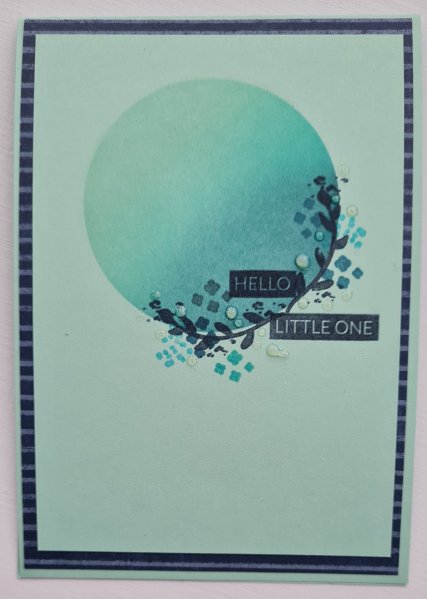
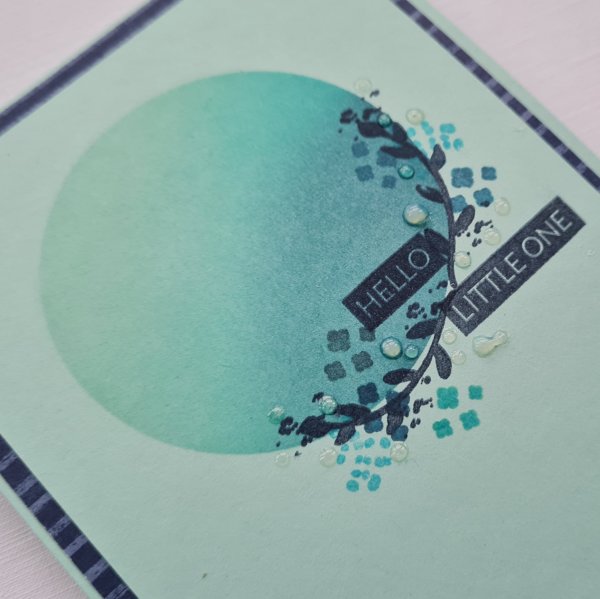
I then kept with those inks and inked the edge of the circle with some leaves, spots, stars and the sentiment. The leaves an spots etc are from Alpaca Pals and the sentiment is from Altenew.
I then looked in my stash for navy paper and found this piece that I thought worked perfectly as a simple layer/frame.
To embellish I decided to use glossy accents to add some shine and dimension to the focal area.
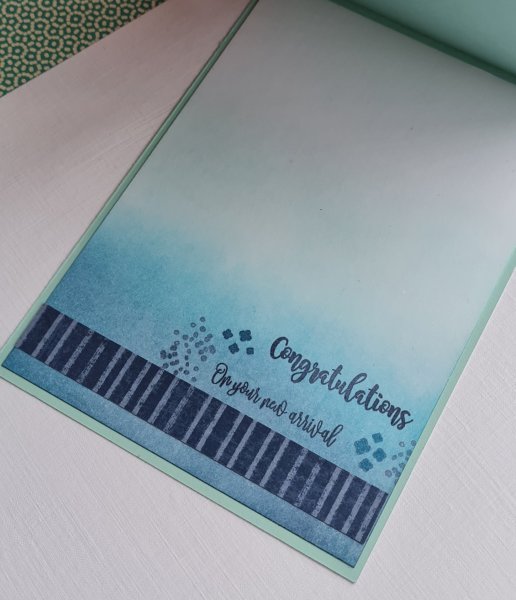
Inside the card I added a panel of white which I did the same blend of inks. Then I added a strip of the paper and some stamping. All the images and sentiments were Alpaca Pals for the inside.
I also did some blending on the envelope using the reverse mask for the area to put their address on and masking the edge of the envelope for the frame.
So a lovely sweet little card for a sweet little baby boy. 💙
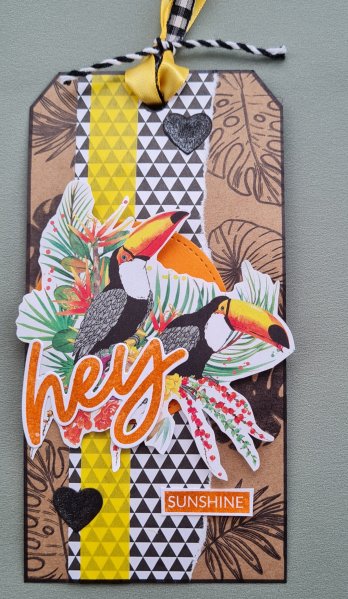
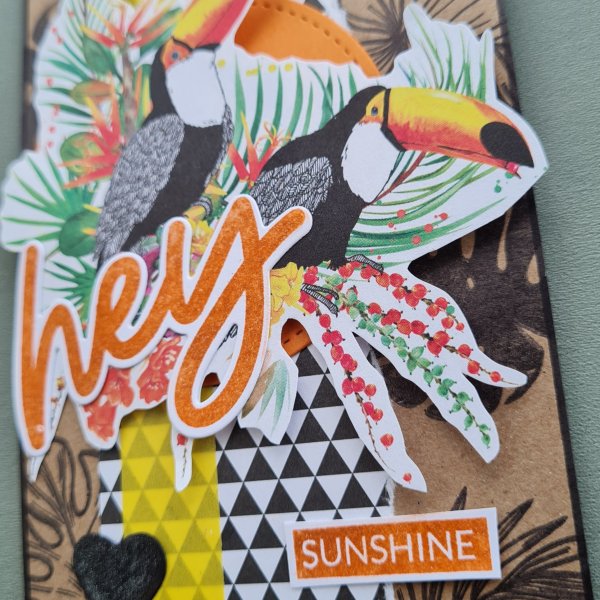
Hi… I have a tag I made using one of those leftover toucan images from the papers I used for the Craftyhazelnuts patterned paper challenge I sharee yesterday. I’ve entered it into the swap at UK stampers forum.
So the rule is that there has to be stamping so I decided to create my own background for the tag using stamps from an old Creative Stamping magazine. The different tropical leaves work so well with the toucan image. I then added some of the remaining paper as a strip along with a piece of yellow washi that I thought added some additional colour and brightness as I had chosen a craft tag for the base.
Next I added an orange circle (again leftover from the cards I shared on the 1st) and then layered the image onto some foam so there was dimension.
Next I chose the sentiment and stamped and die cut the Avery Elle using an orange ink. I then embellished with some black heart die cuts which I added the black wink of Stella to so there was some shimmer and contrast.
I finished off with scraps of yellow and black and white ribbons and twine to coordinate with the tag.
Hope you like it. I think it is a fun to use images such as this in different ways.
How is it the beginning of May already? This year is whizzing past!
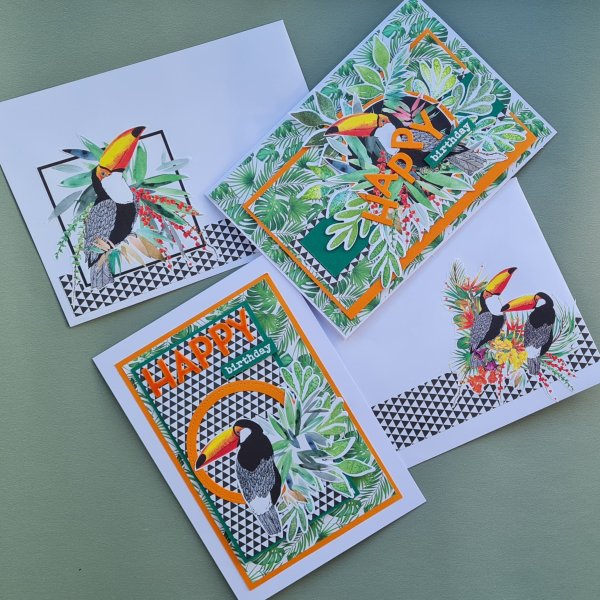
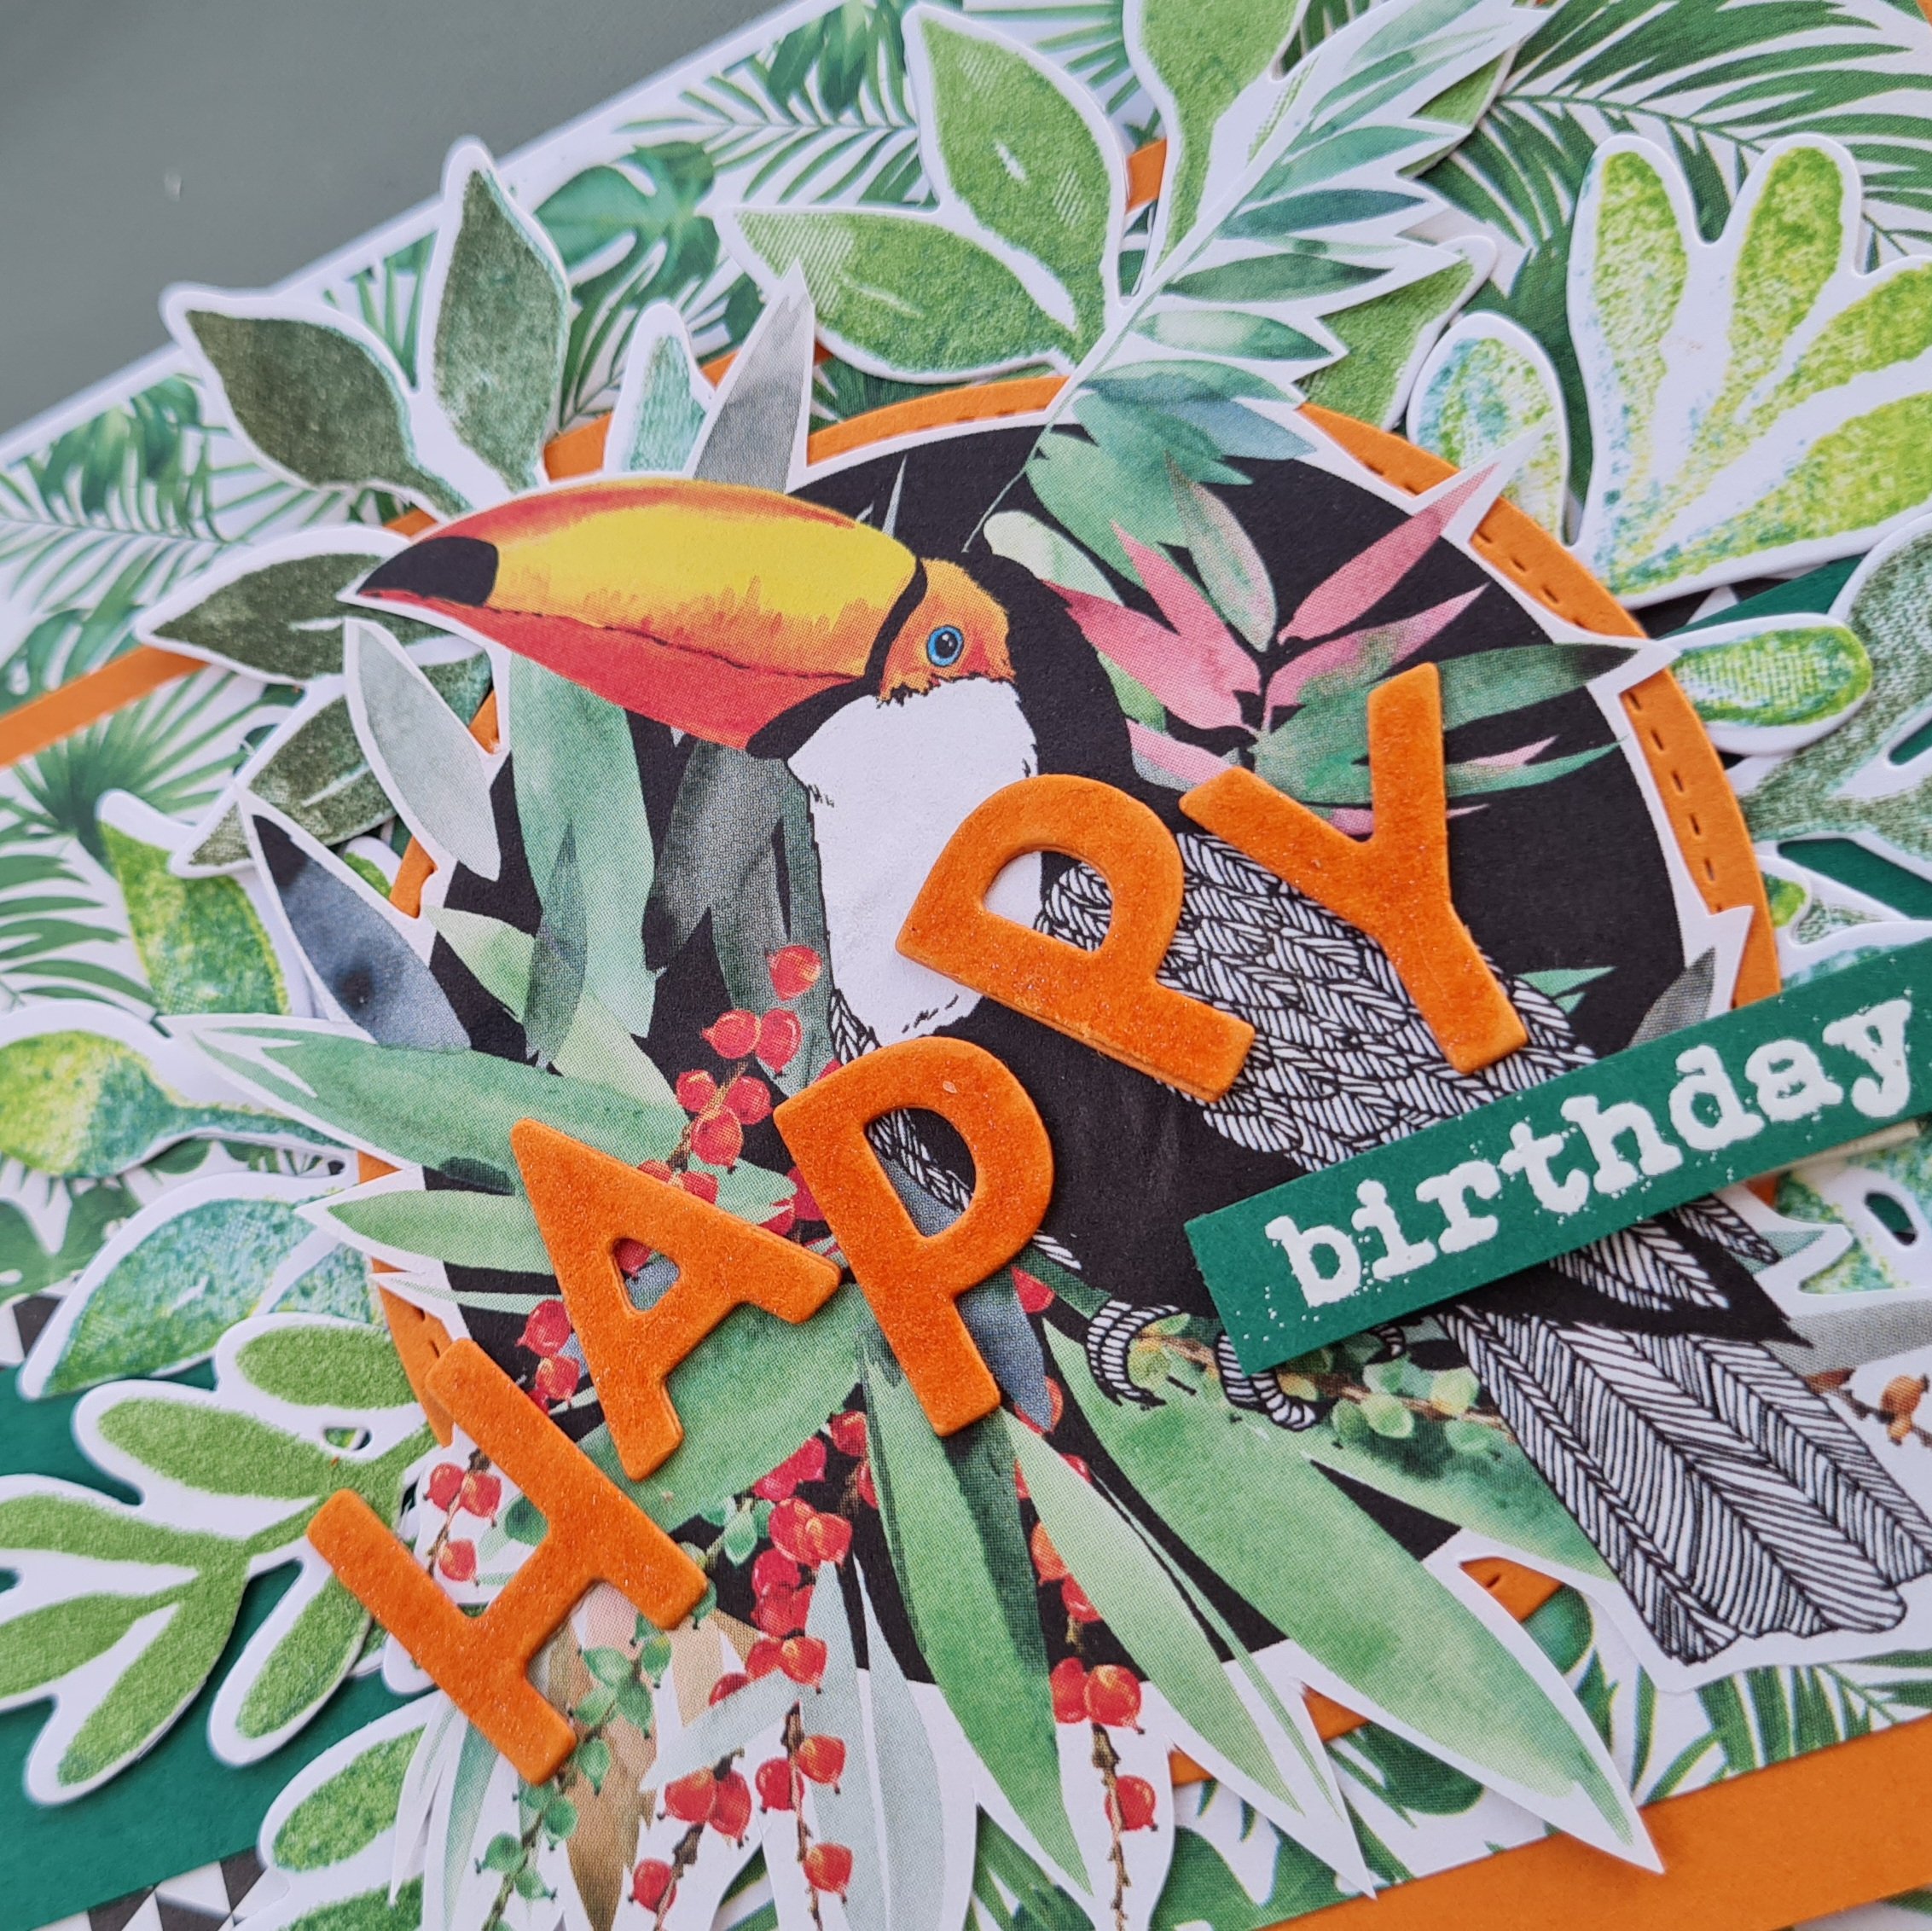
So as it’s the start of the month that means it is design team contribution time for Craftyhazelnuts patterned paper challenge blog. Once again I delved into the old Making Cards magazine papers I have had for ages and wanted to get used this year… and this time it was full of tropical toucans!
I had so much fun putting these together. Lots of fussy cutting was needed but I think it was totally worth it!
I cut more images out than I needed but ended up using 6 in total as I went to town on these cards. There wasn’t actually much patterned paper in the kit I had put aside, just the triangle one and the leaf one but it was enough to make the two cards and decorate inside and the envelopes but really the images take centre stage!
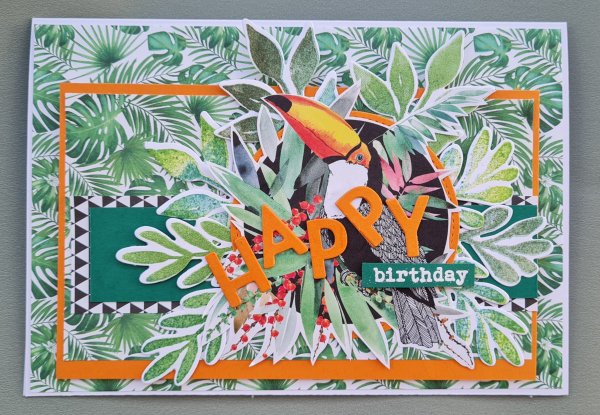
I decided that orange was the best colour to use with the patterns and images and also a little bit of green. I decided both needed to be cheerful birthday cards and so cut out Happy using Playful Alphabets dies and embossed the birthday in white onto scraps of green. A few of the images seemed circular so I went with some die cut stitched shape circles and used these to frame the images.
But then I wanted more greenery for my tropical birds to be nesting in… so I grabbed Christmas Season stamps and dies because three of the elements seem perfectly fine as tropical greenery to me even though they are meant for Christmas foliage!
I stamped them using different green inks from the stash … blending the coloured together by using my stamp platform then die cut them. Again I thought I had done more than I needed but I ended up using them all!
I finished them both slightly differently … glossy accents for one on the Happy and wink of Stella on the other.
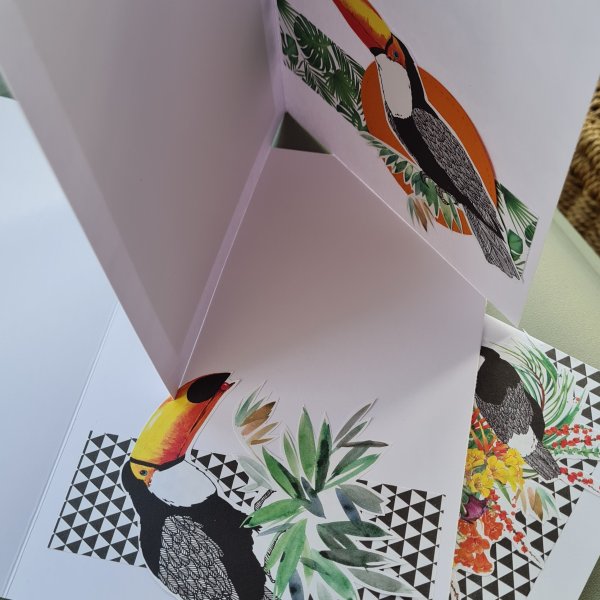
I used up the papers and the images inside and on the envelopes…
… so some pretty fun and heavily decorated cards this month. Love them!
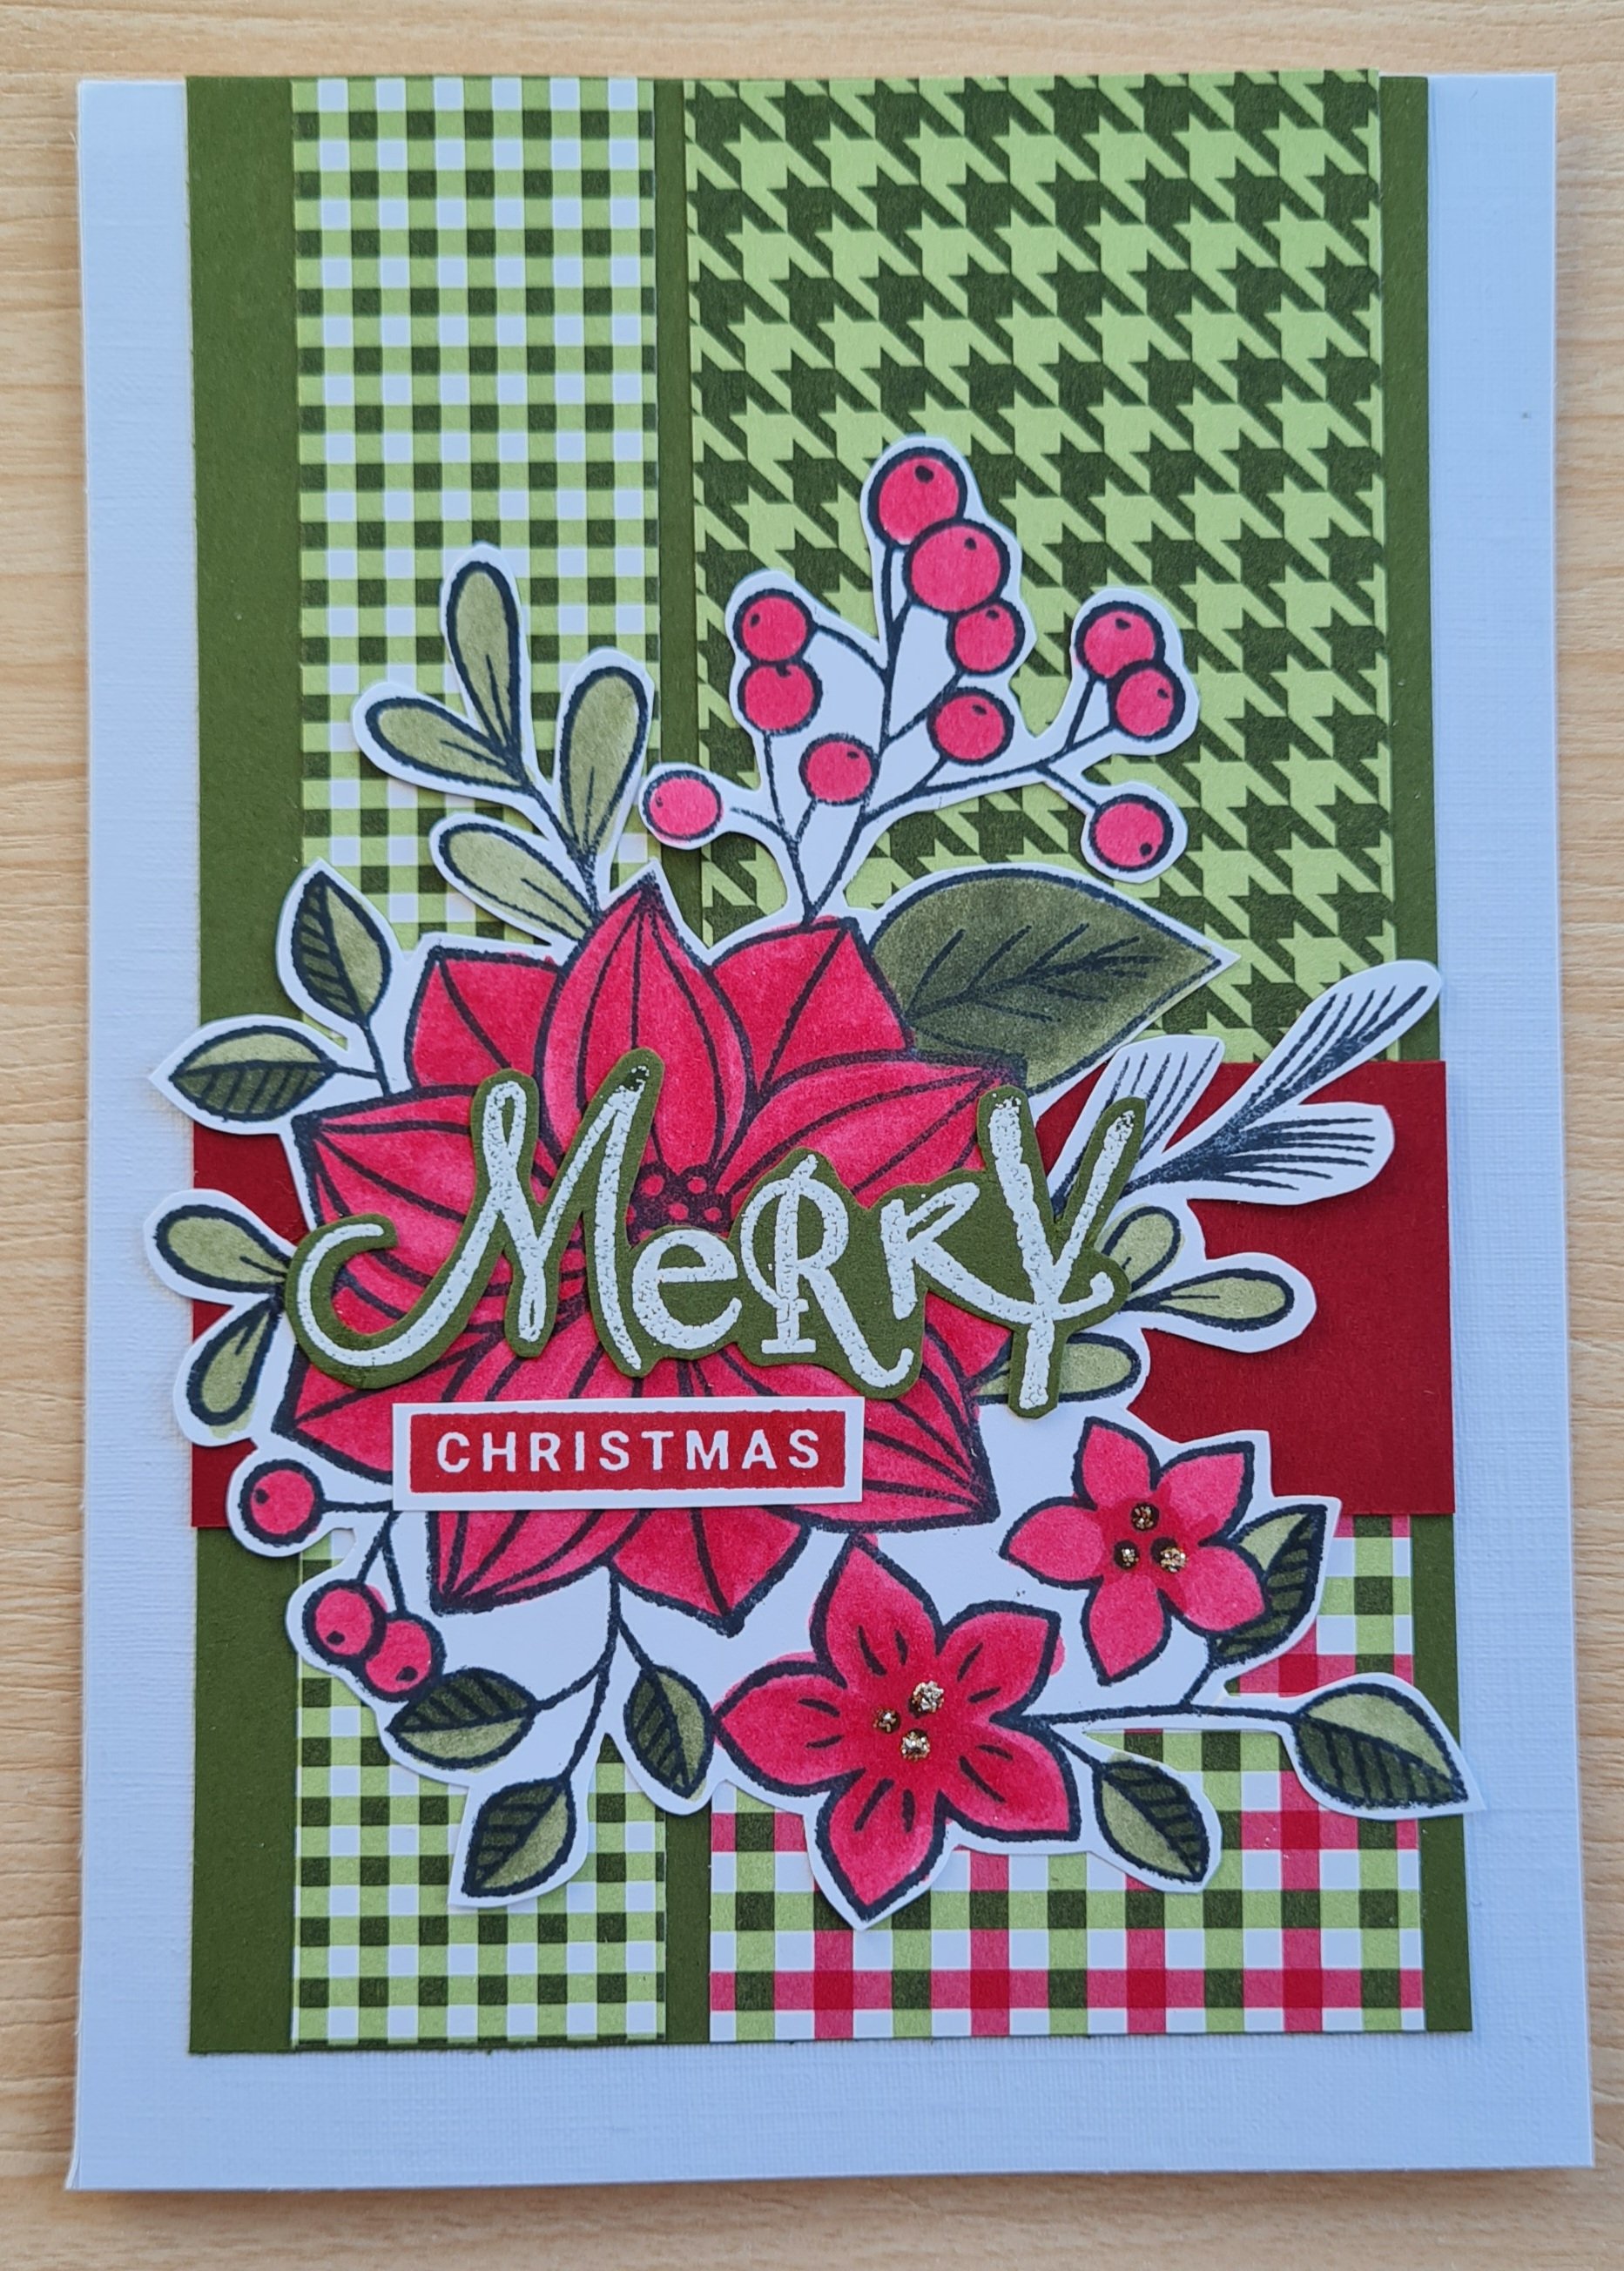
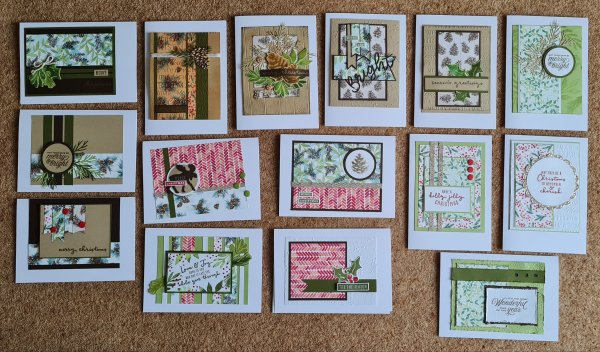
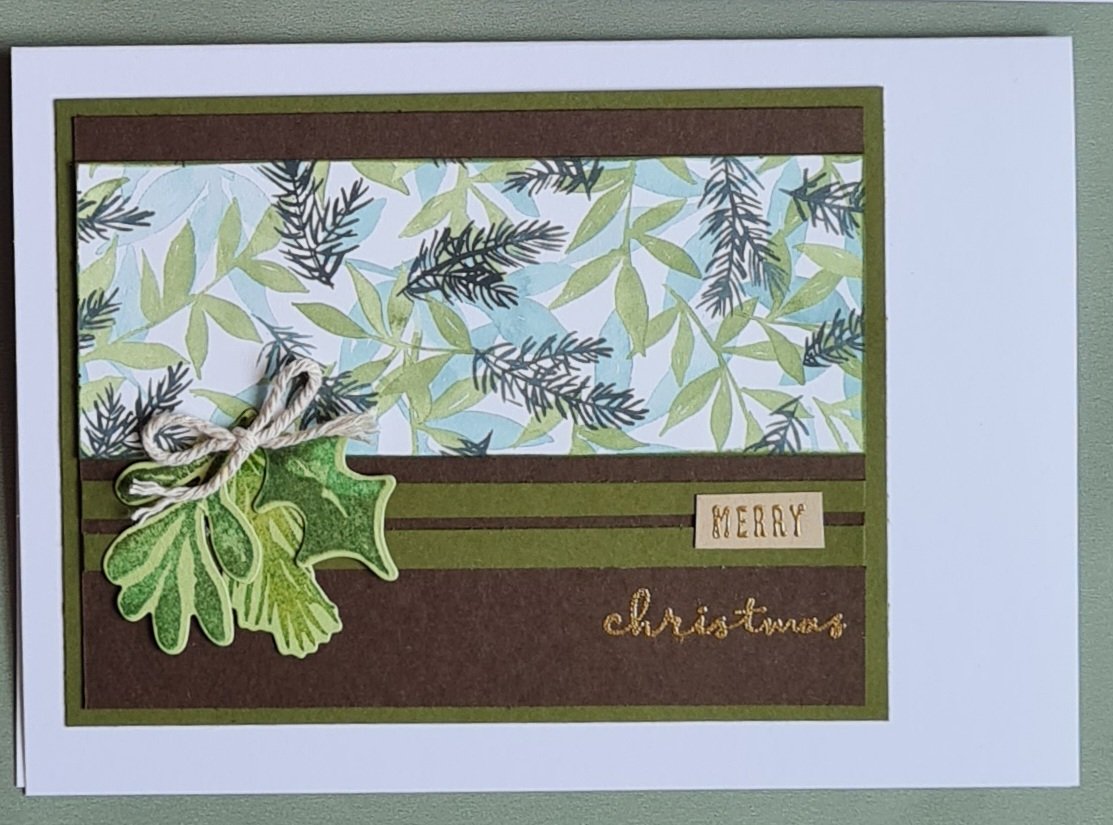
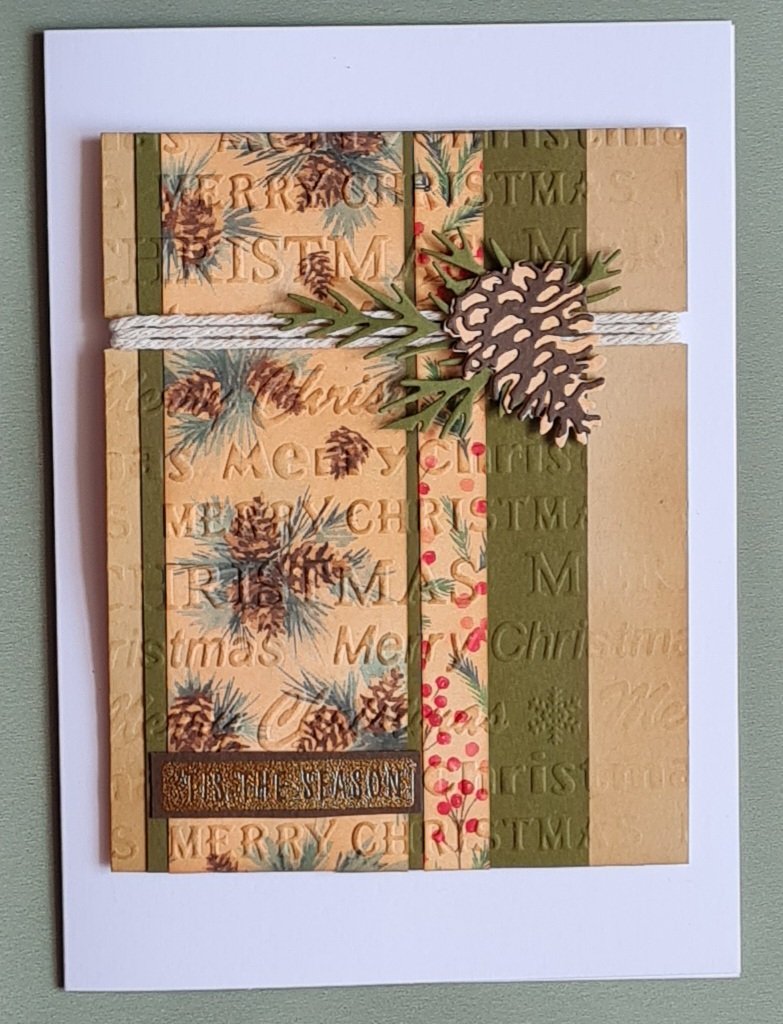
I haven’t made any Christmas cards in ages … so when I stumbled across Kendras card challenge using 6 pieces of 6×6 to make 15 cards I thought it might help spur me on and help me get started on this years cards.
Of course I forgot using an American template would lead to card sizes that aren’t standard UK sizes so I made mine as card toppers and added them to 5×7 card blanks.
Kendra provides both the cutting guides and the layout/sketches with measurements so this made stage 1 (cutting, layering and grouping together) easy. Next step was to decide how to finish each of the cards off.
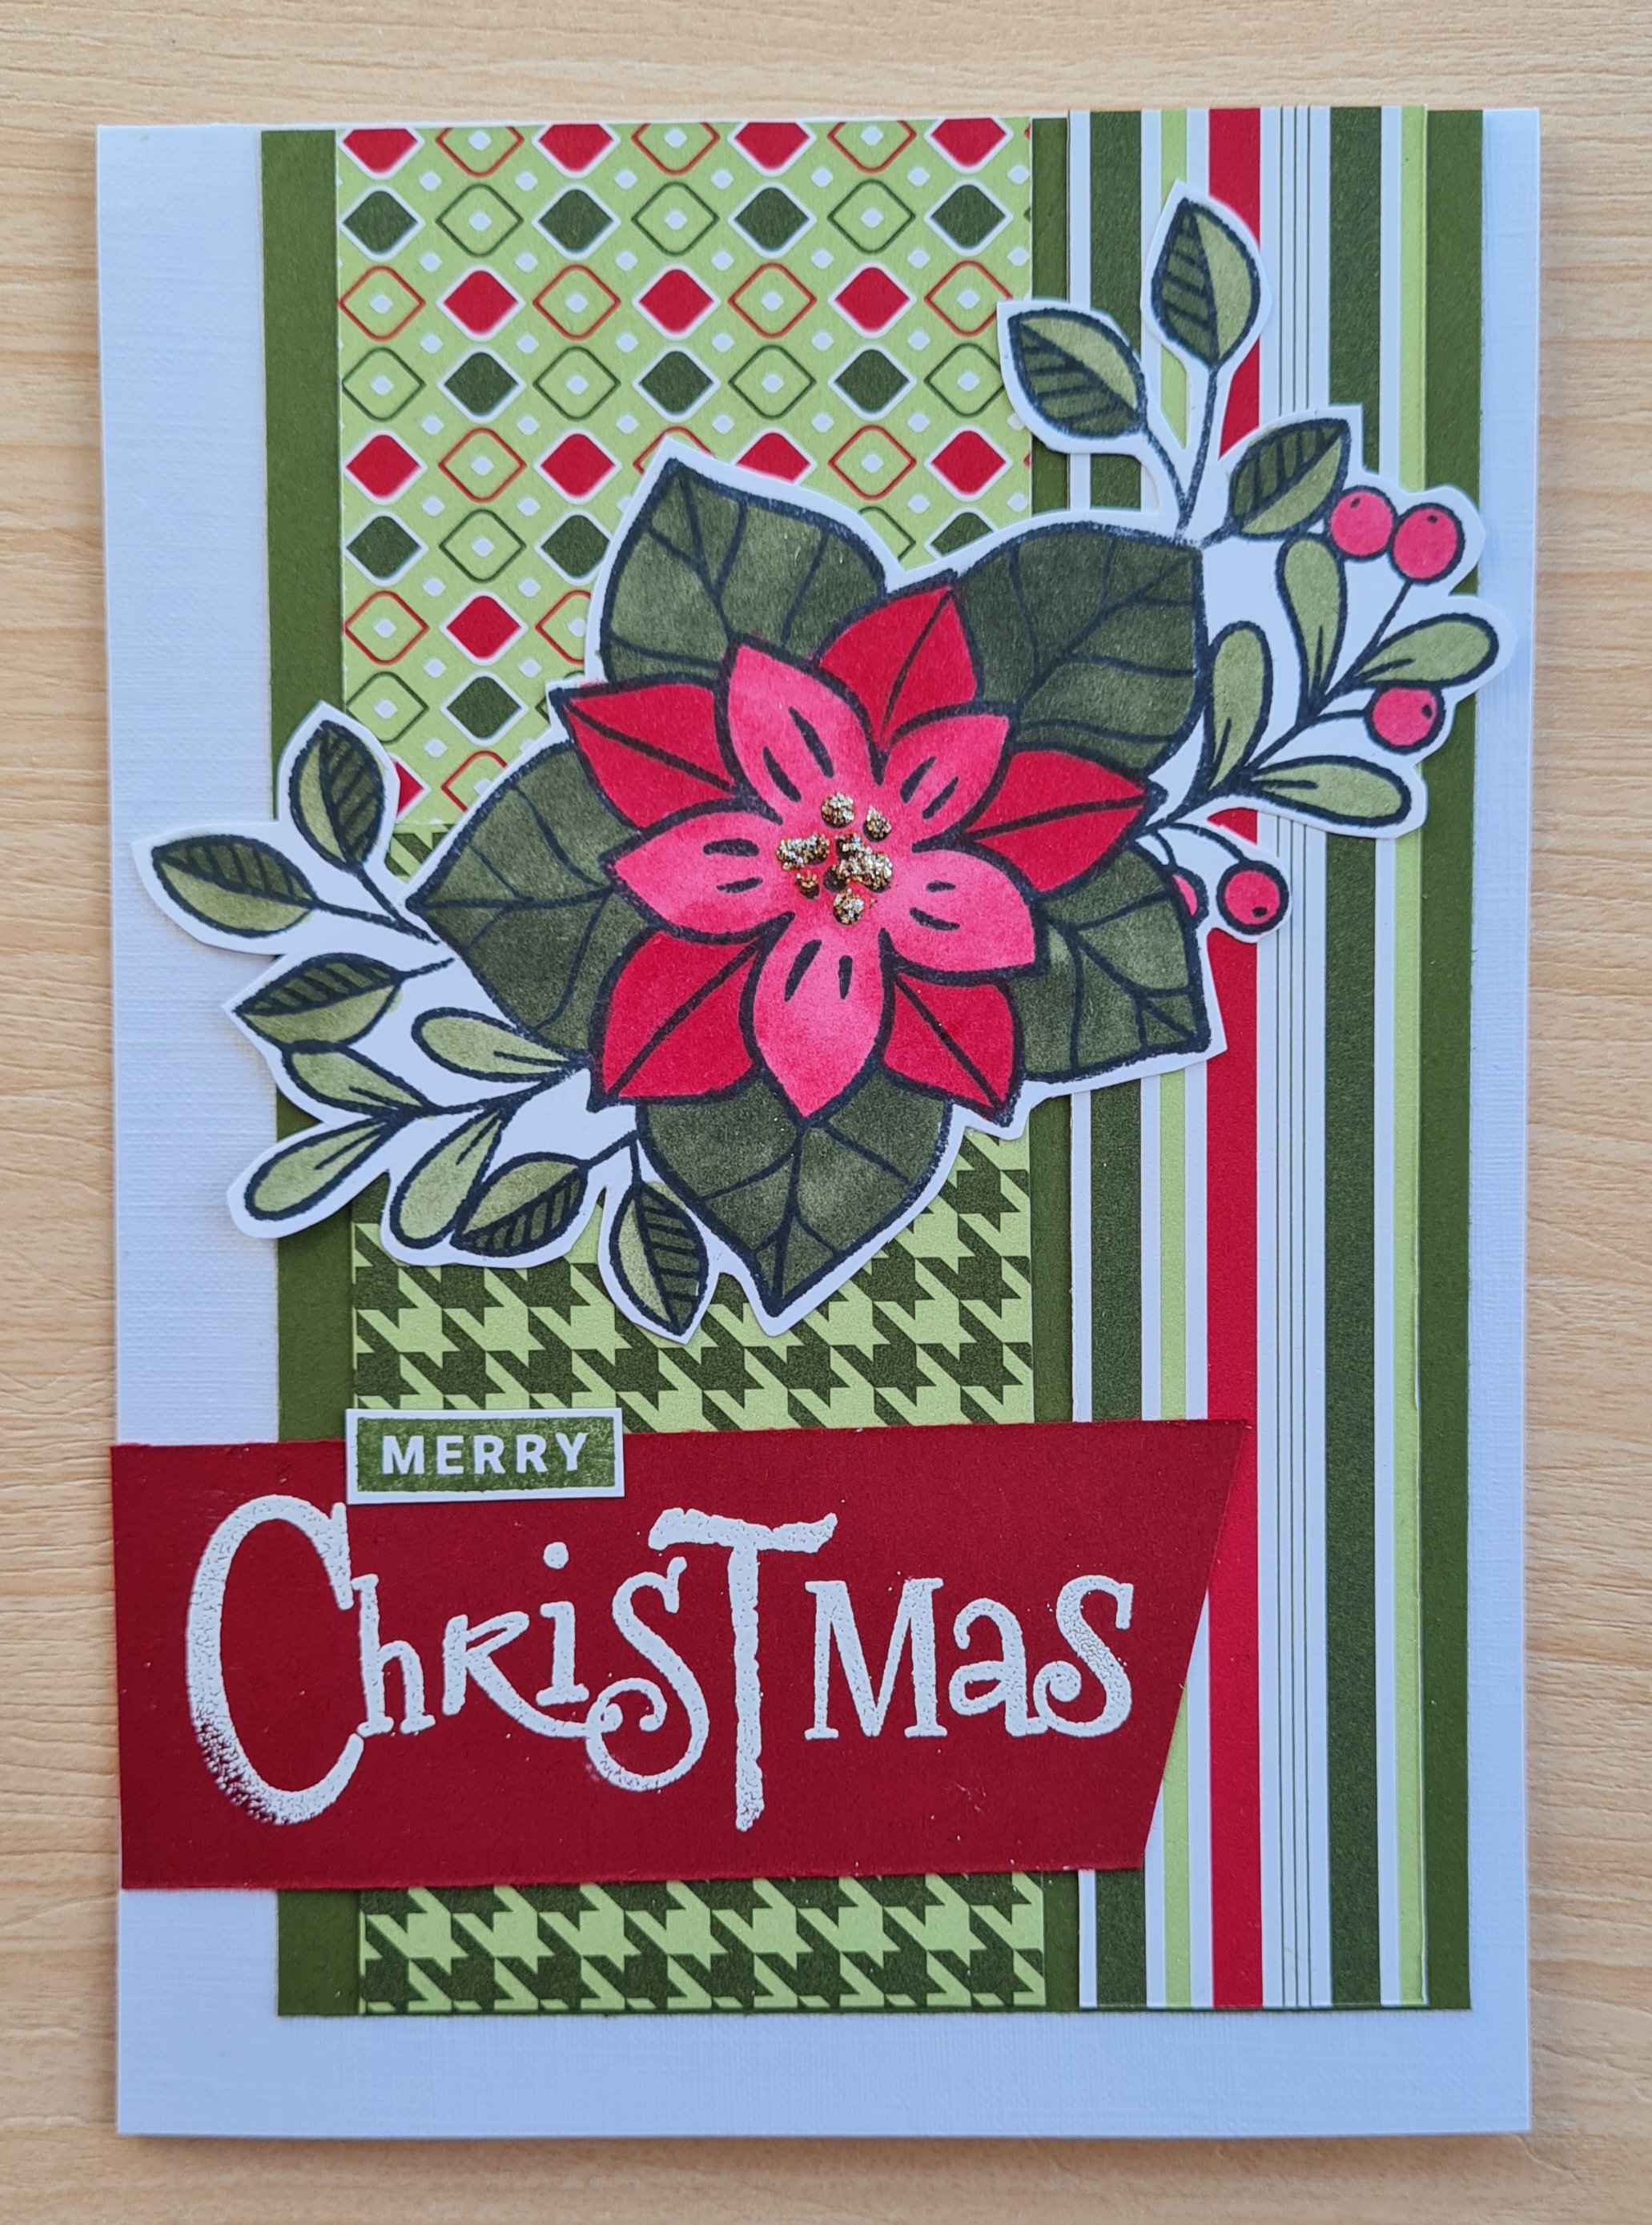
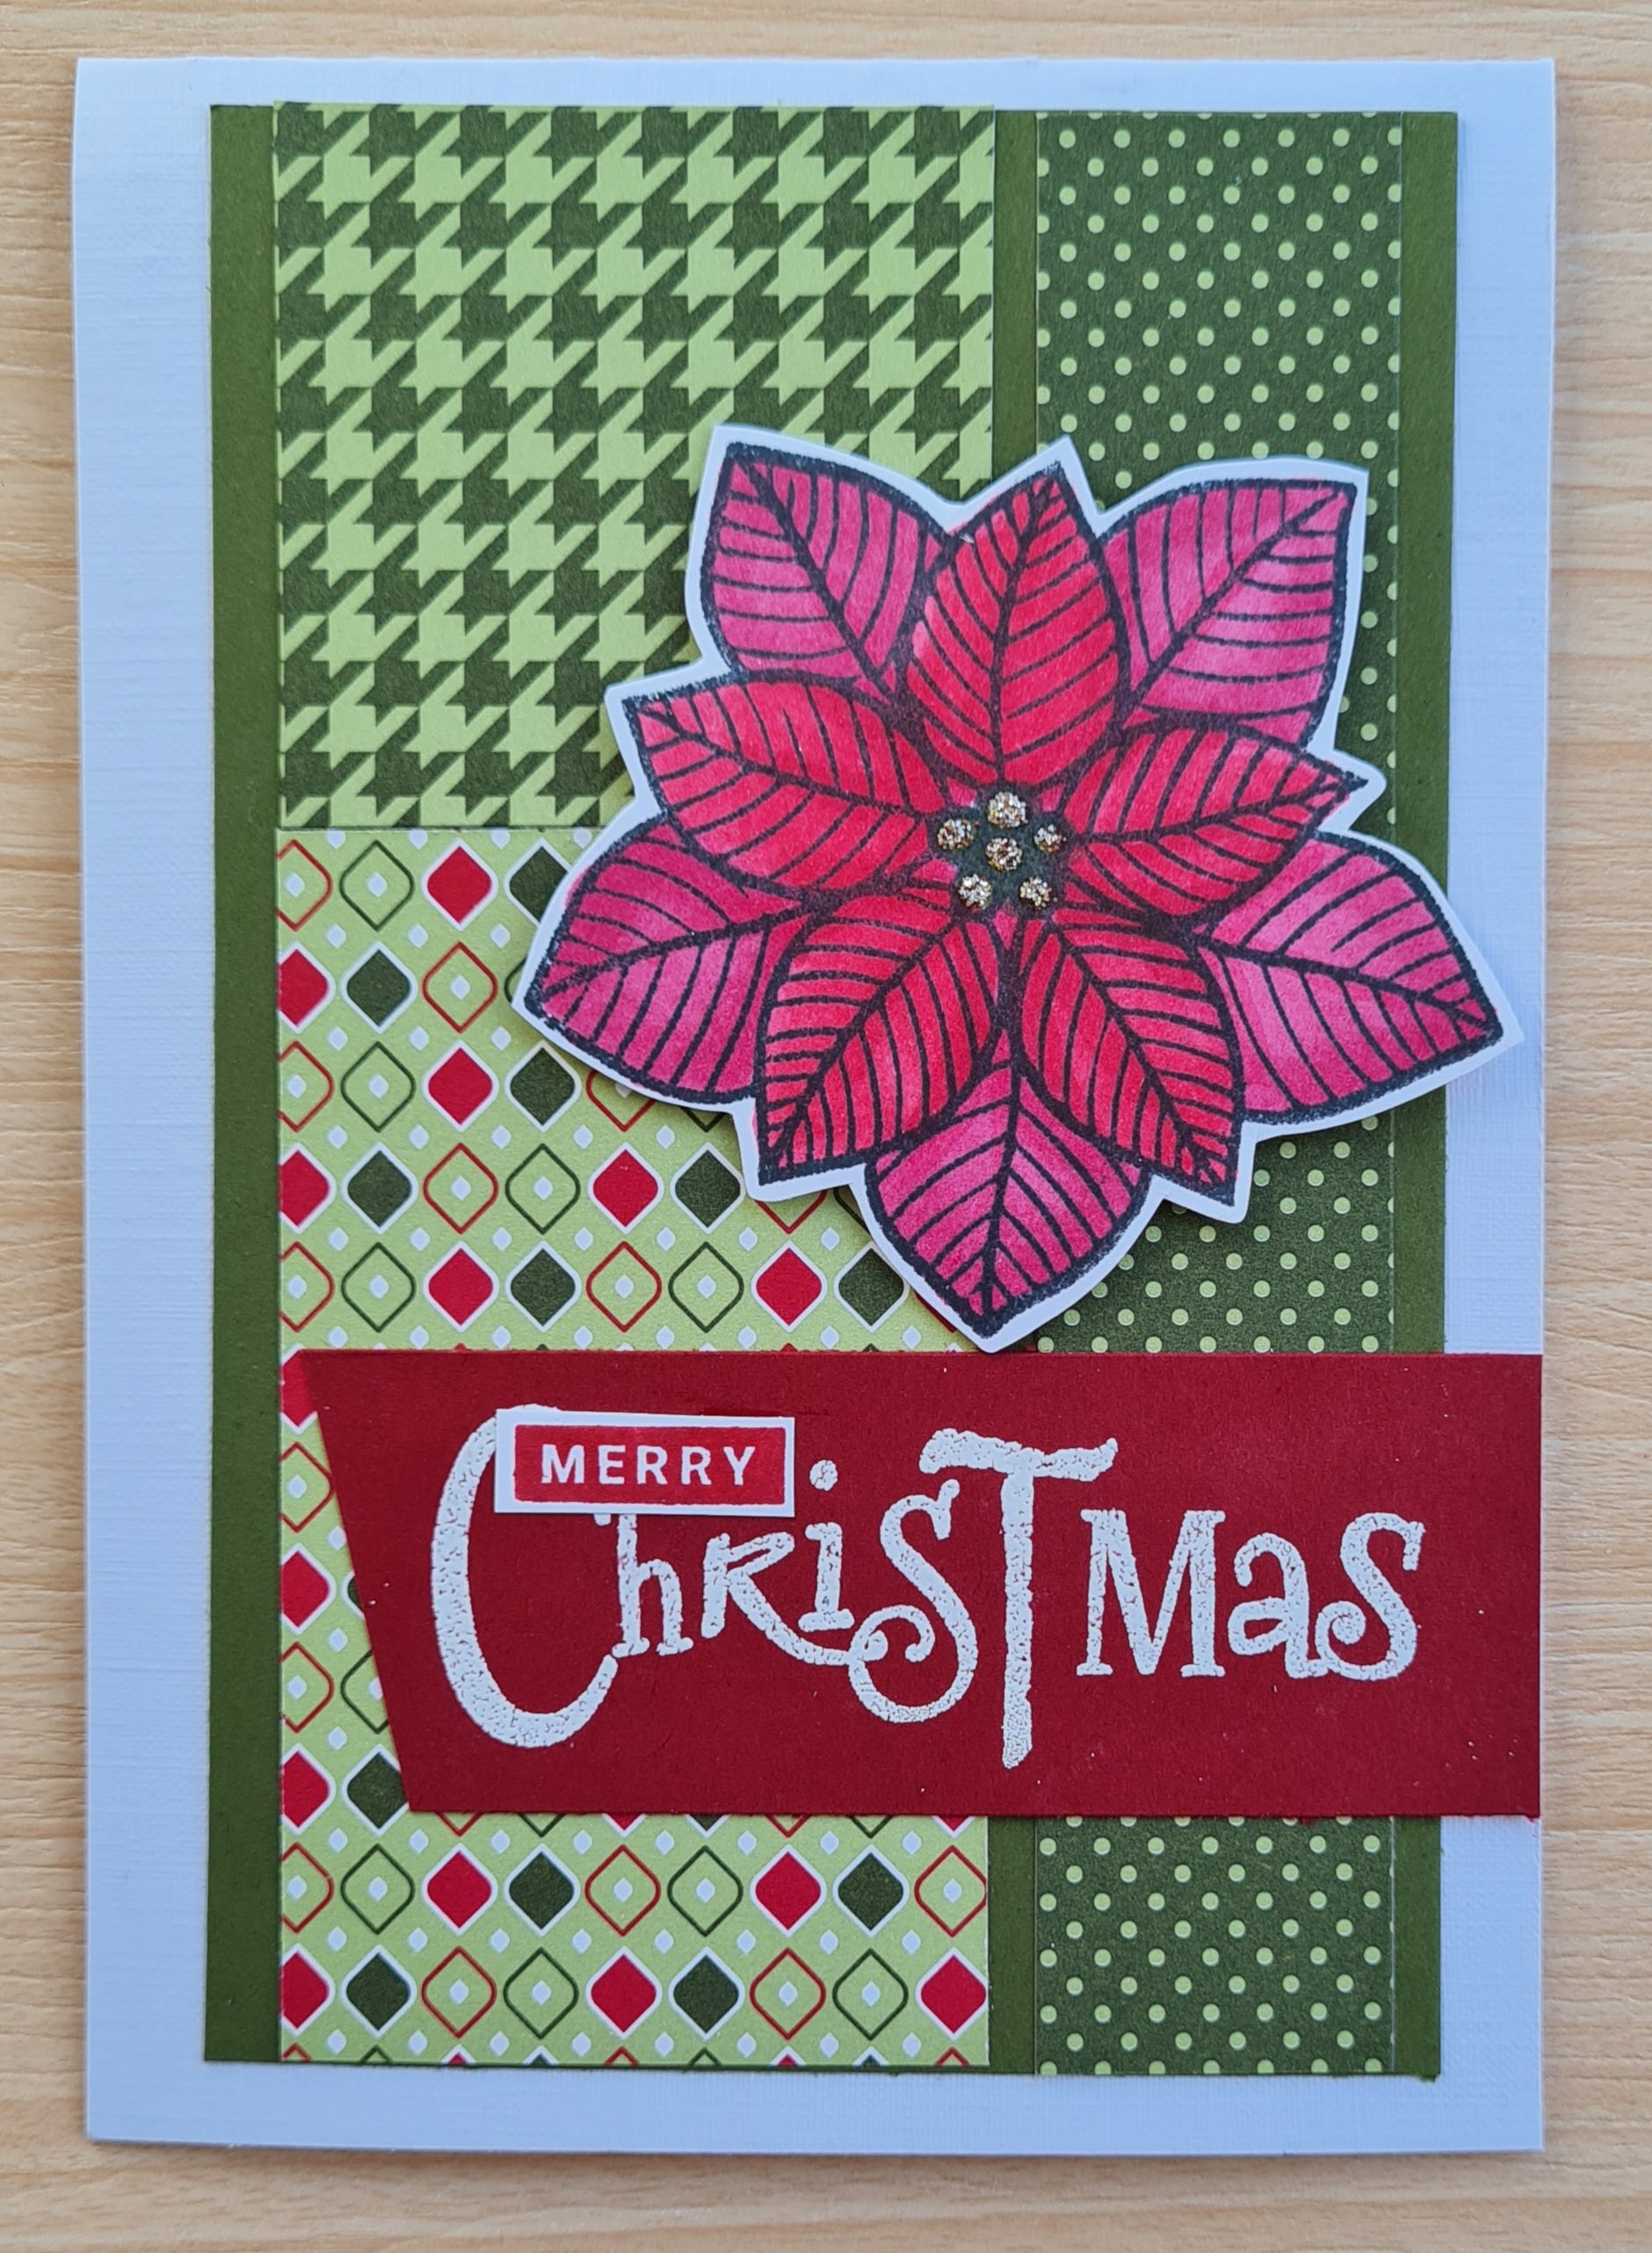
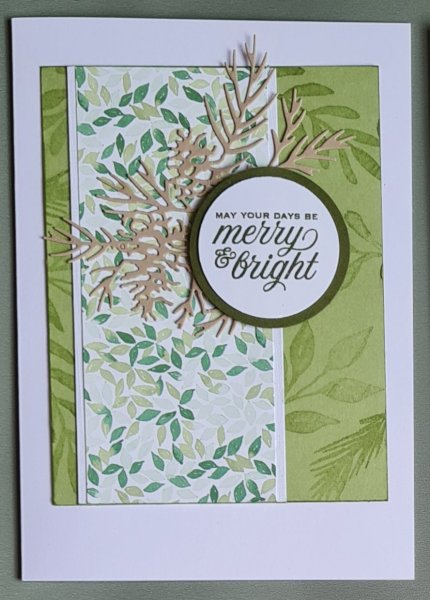
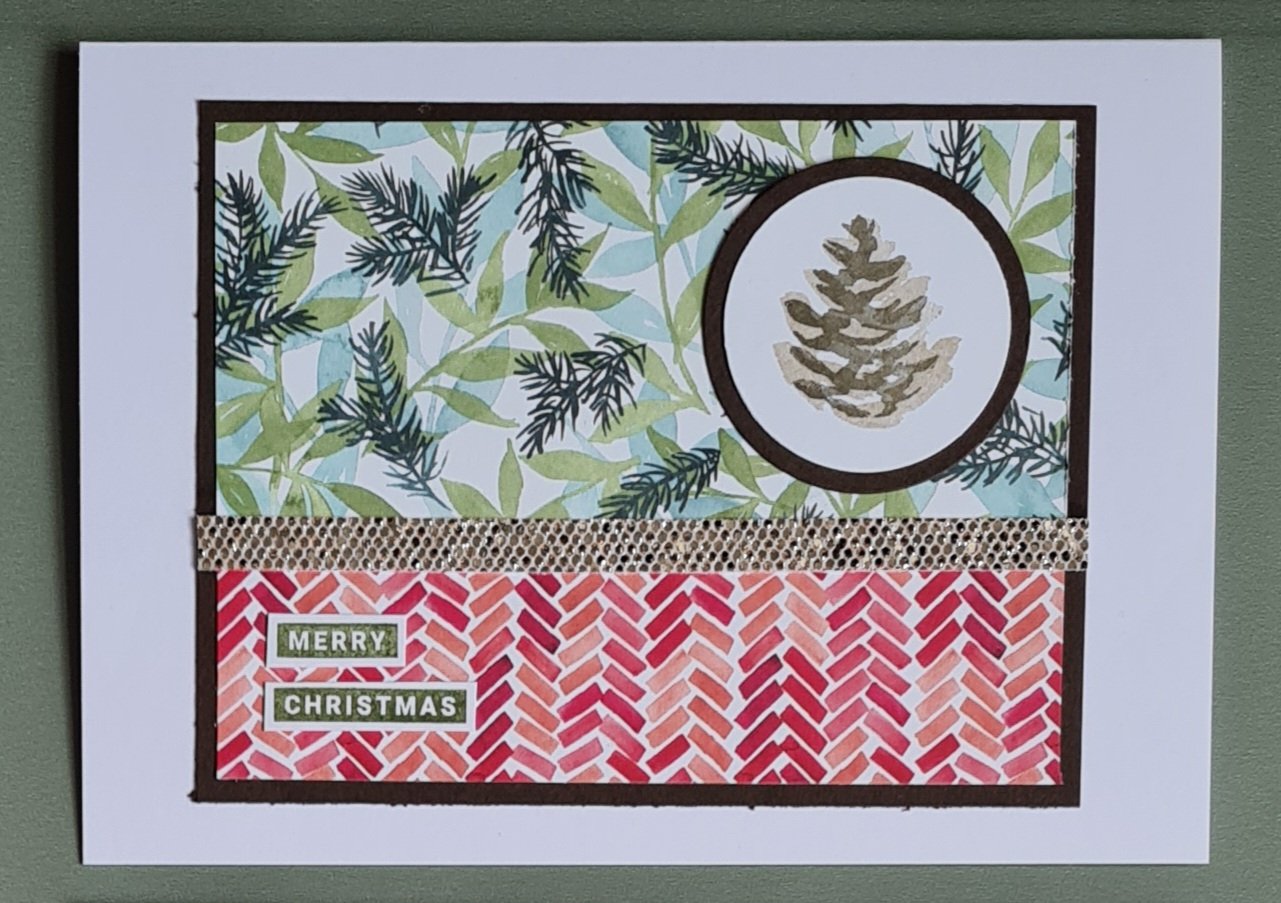
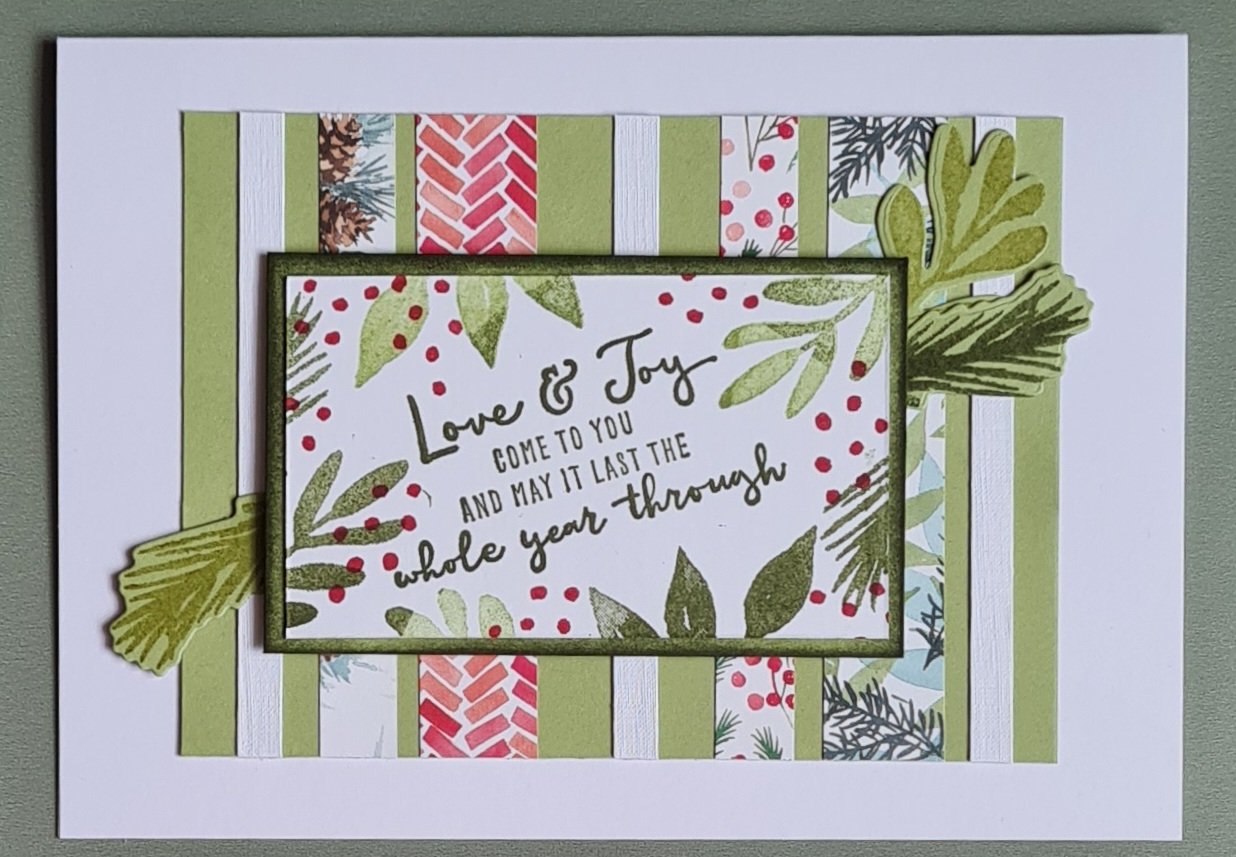
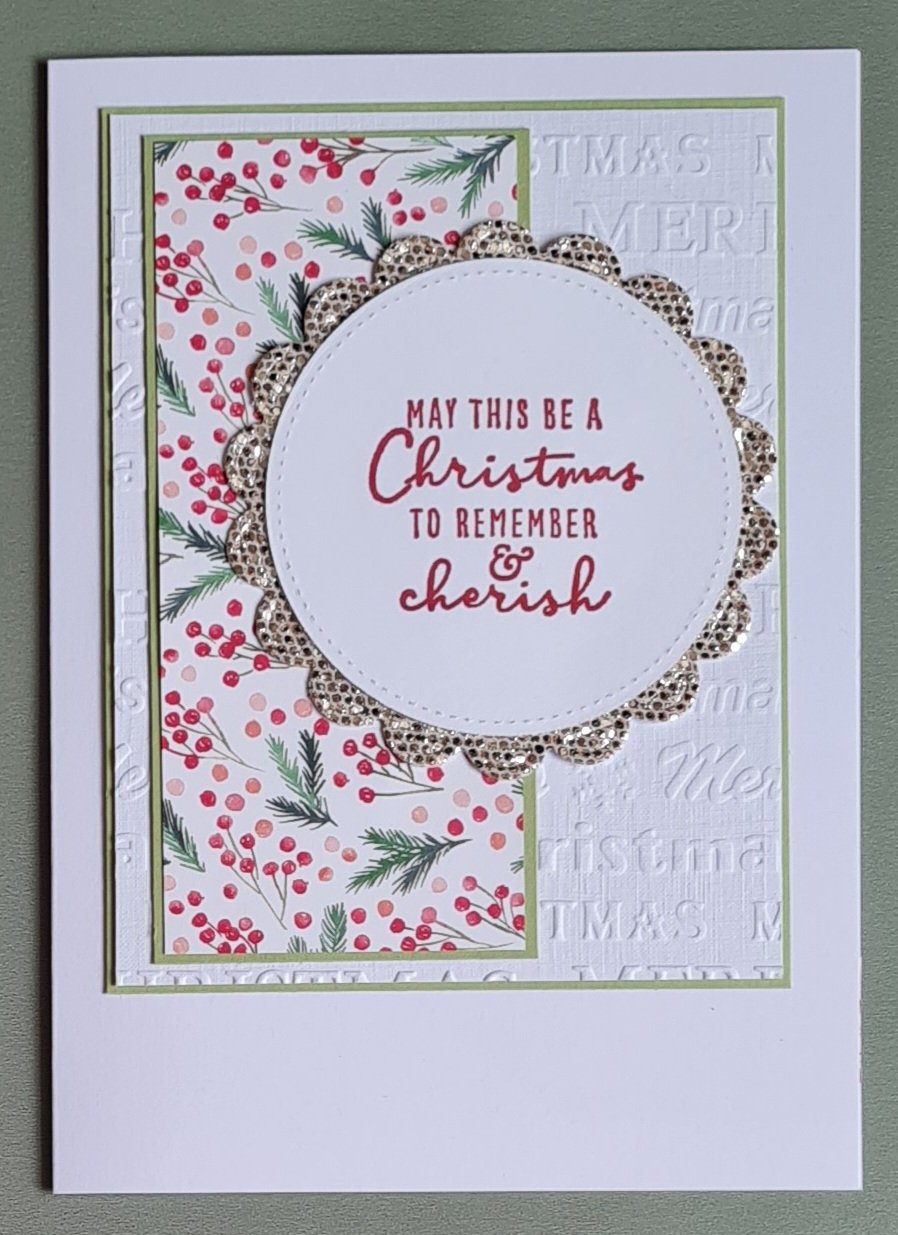
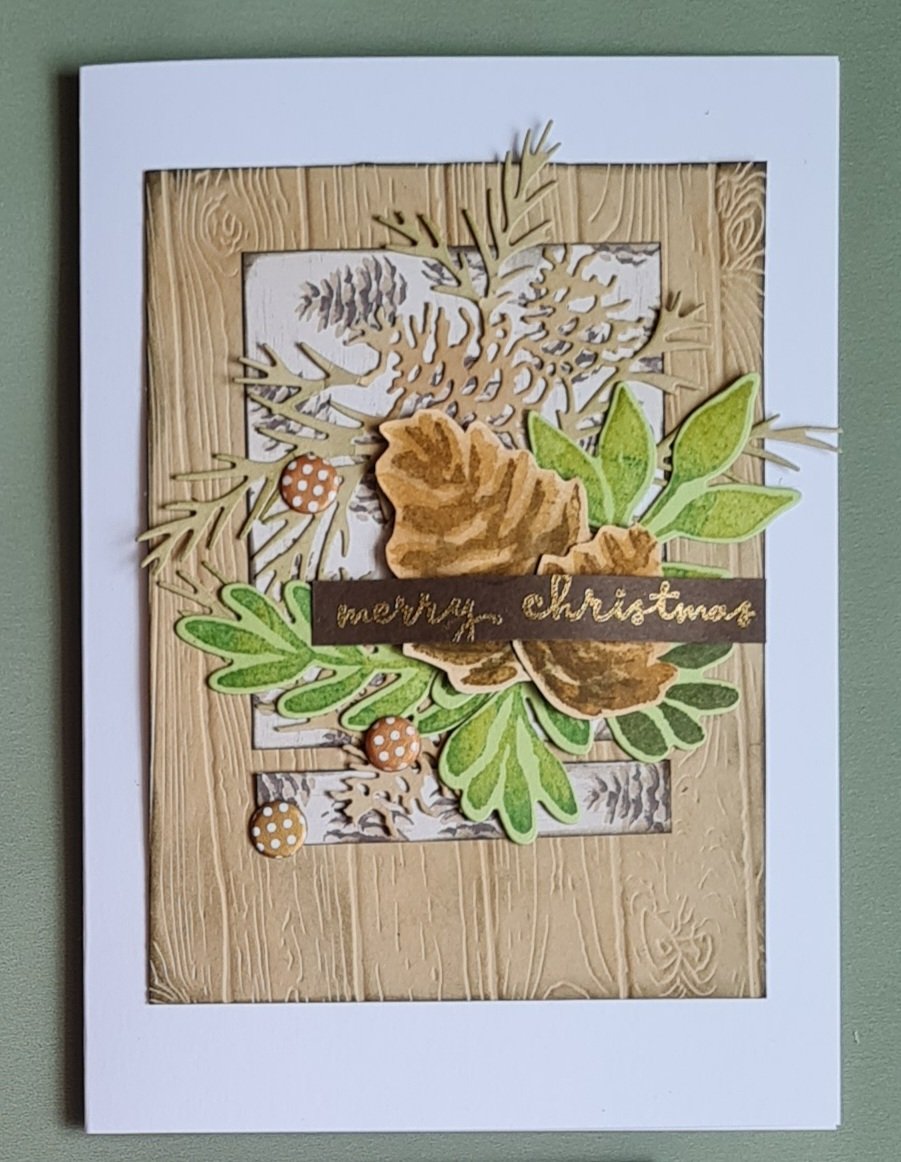
I used the Painted Christmas dsp for mine …
And teamed the papers with Crumb Cake, Early Espresso, Pear Pizazz and Mossy Meadow cardstock … mainly as that was what I had to hand! I also added in some of the glittery speciality paper too for some fun.
I used different embossing folders, stamp sets, die sets and punches to finish off the cards… some I added inking too, some I kept plainer.
So there you go … 15 cards made ready for December. I always make lots of cards but I then gift them to my parents and my aunties for them to use too … so it helps to get lots done in one go … they then function as a set, although each is very different!
Happy Easter… whether you are a Christian or just enjoy the chocolate eggs I wish you all the best this Easter!
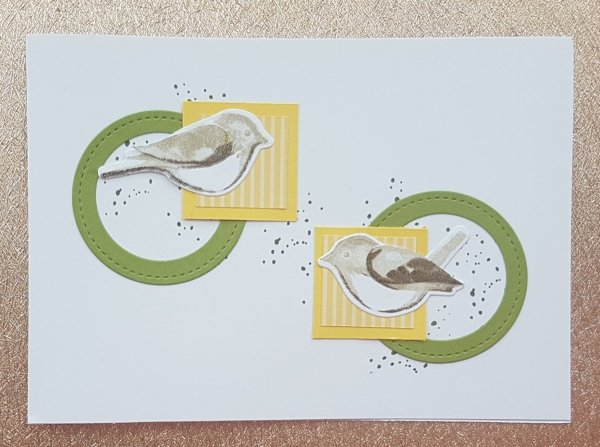
Back in July 2020 I made a One sheet wonder using some yellow dsp and used the Birds and Branches stamps for decorating a card…
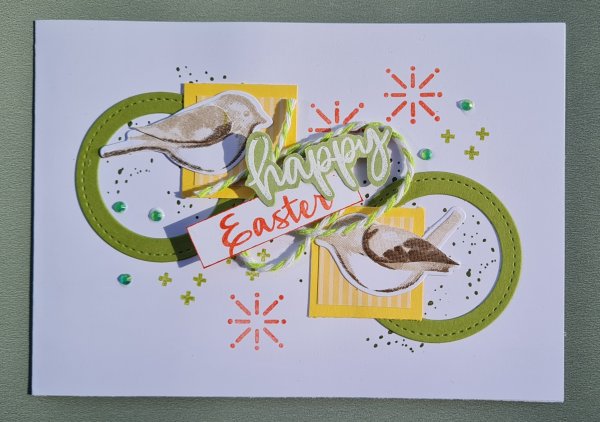
… well I’ve never got round to using this card and I’m trying to work my way through existing cards so I grabbed this one and upgraded it and repurposed it into an Easter card for my parents.
I added some additional stamping in the background adding Calypso Coral and Pear Pizazz. Then I stamped and embossed in white on some Pear Pizazz cardstock the Happy from Biggest Wish and the Easter from Arrange a Wreath in Calypso Coral onto white.
I added these sentiments on foam with the scrap of green and white twine behind. Then added the gems to add some bling.
I think this is a nice upgrade and also good to repurpose the card and get it used!
We are off to see my parents for Easter lunch today so hopefully they will like the bright and cheery card.
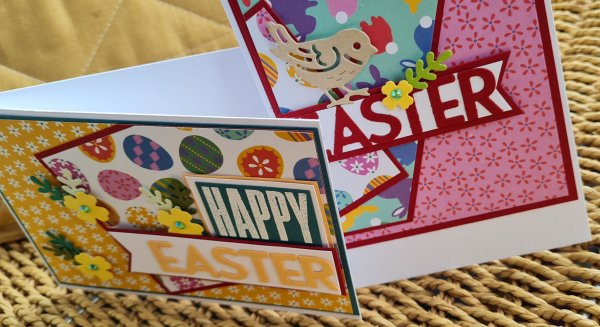
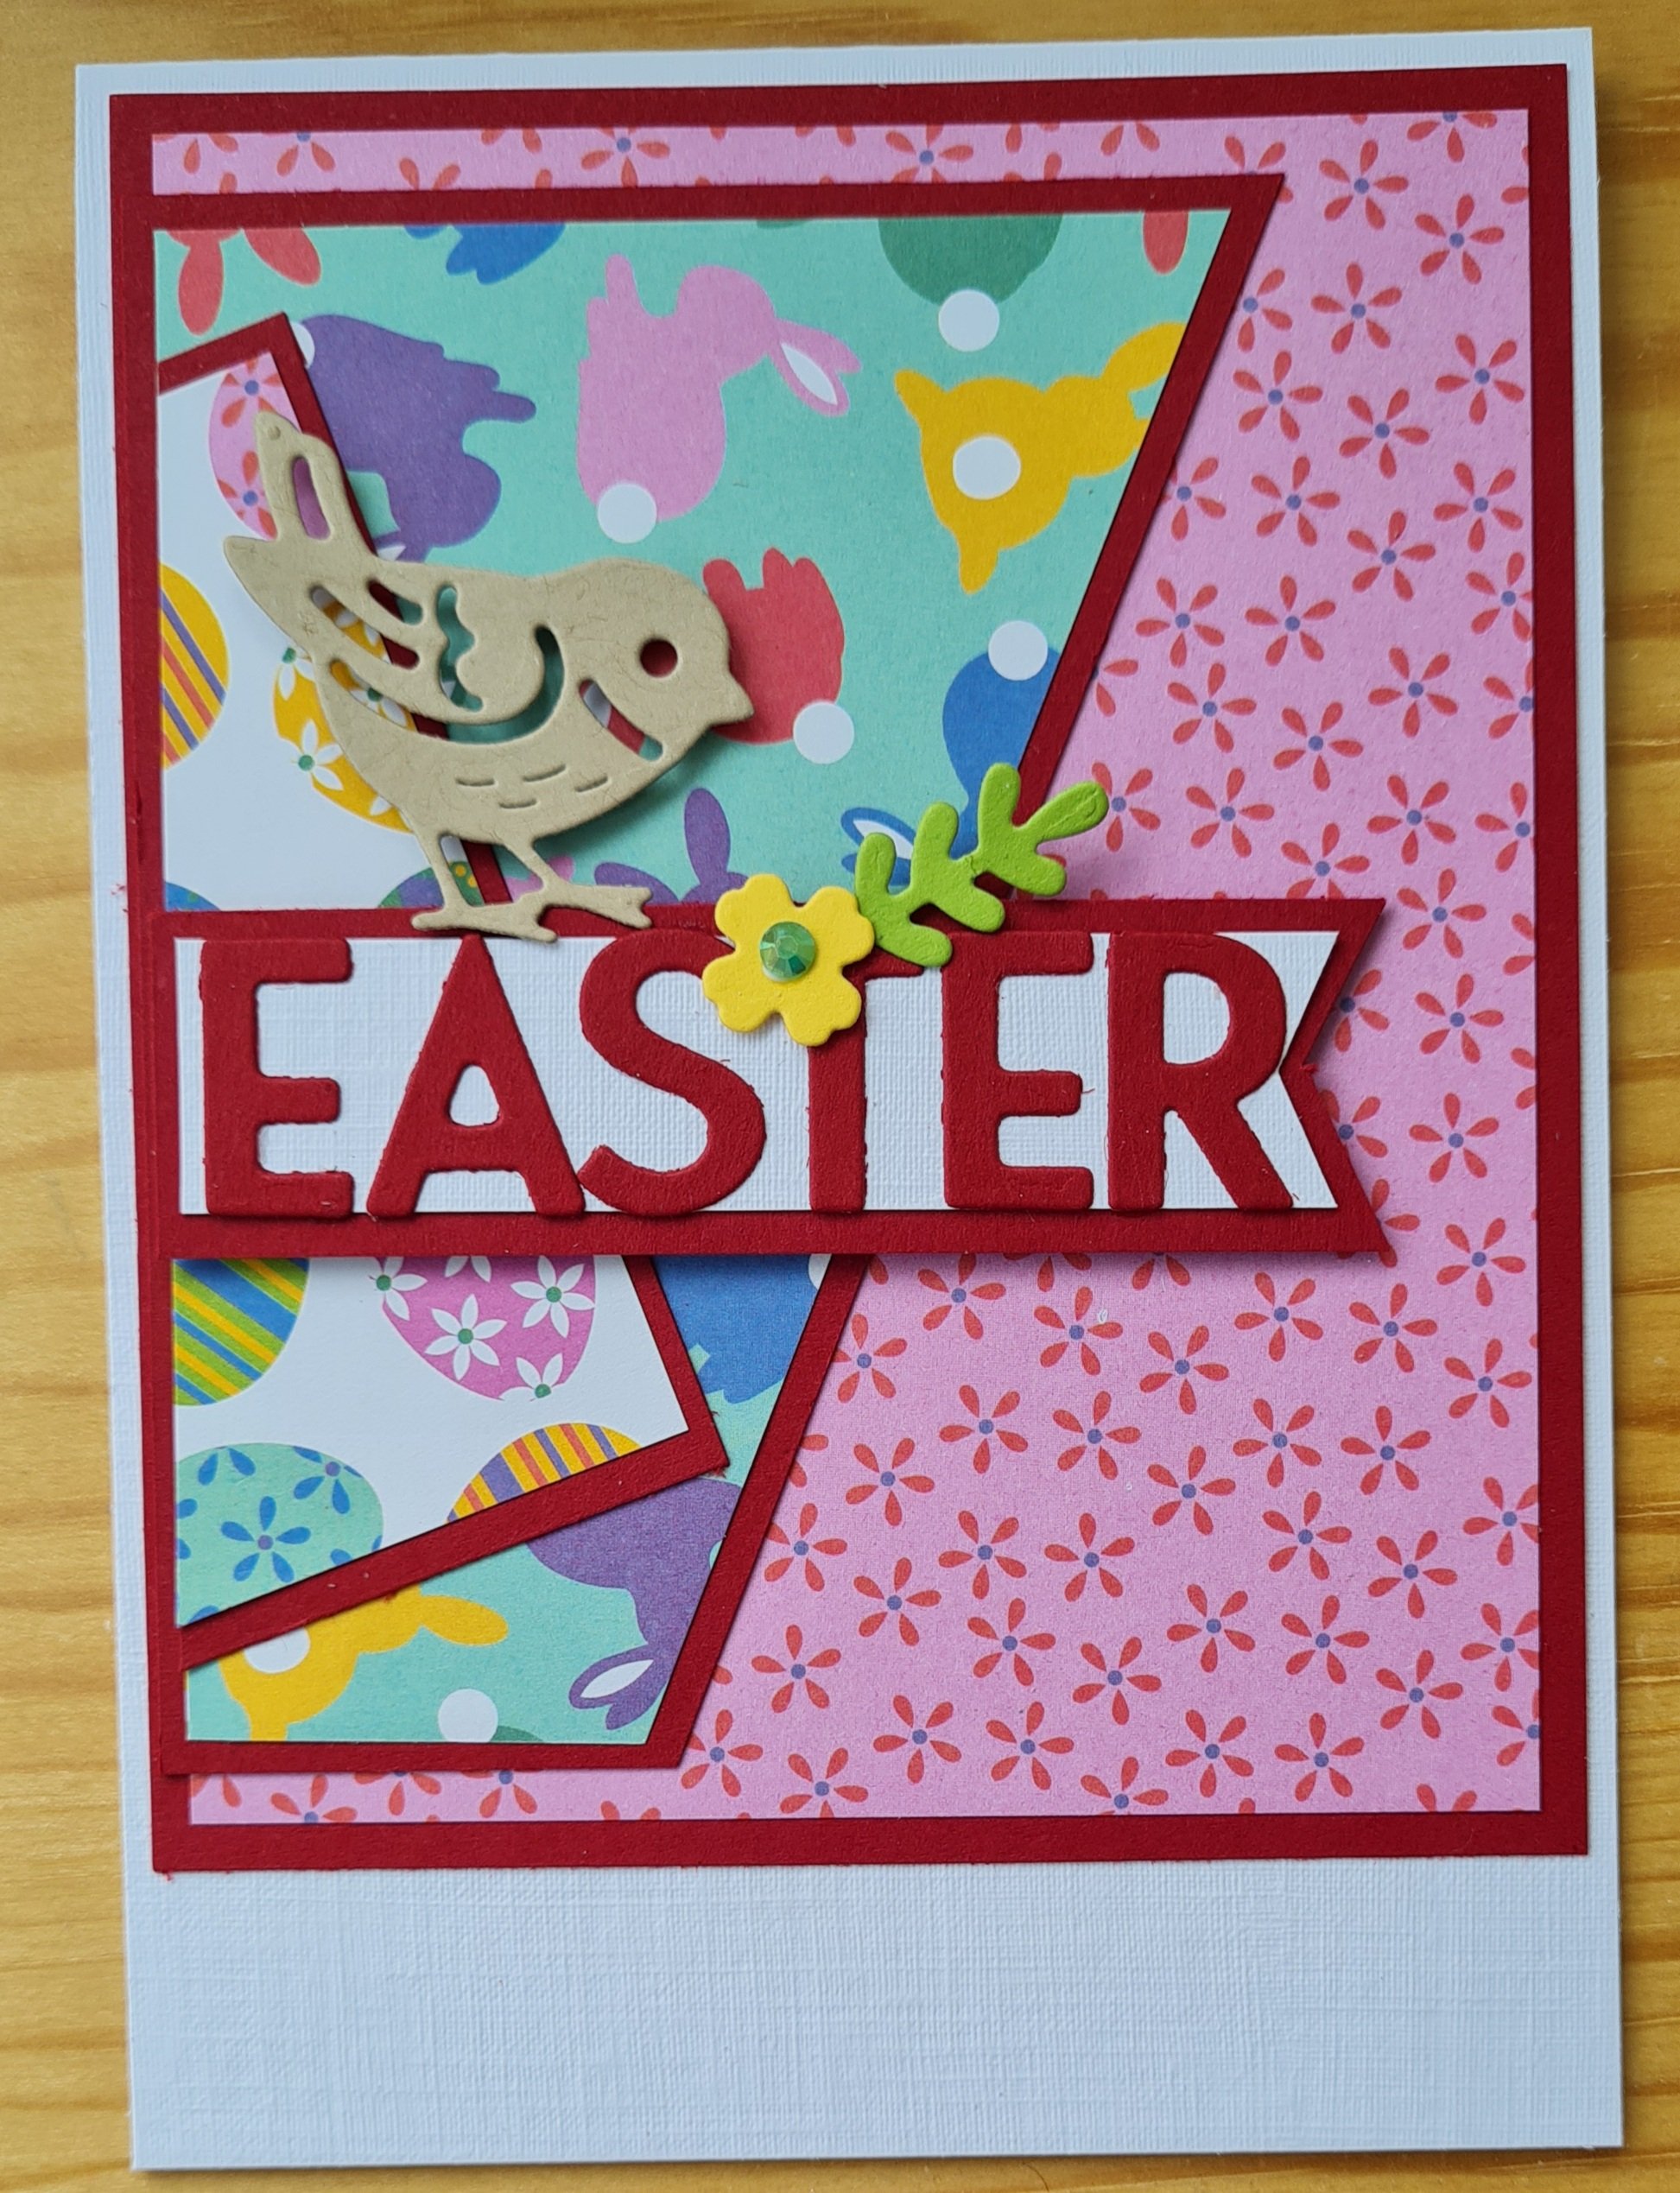
So I started with some papers I had been gifted in a swap. As they had eggs and bunnies on them they clearly needed to be used for a specific season so I just went with it.
I started with the idea of a back panel and a smaller rectangle but then went a bit off piste and went for angled panels. It’s not often I do this so it was fun to play with different angles and layouts.
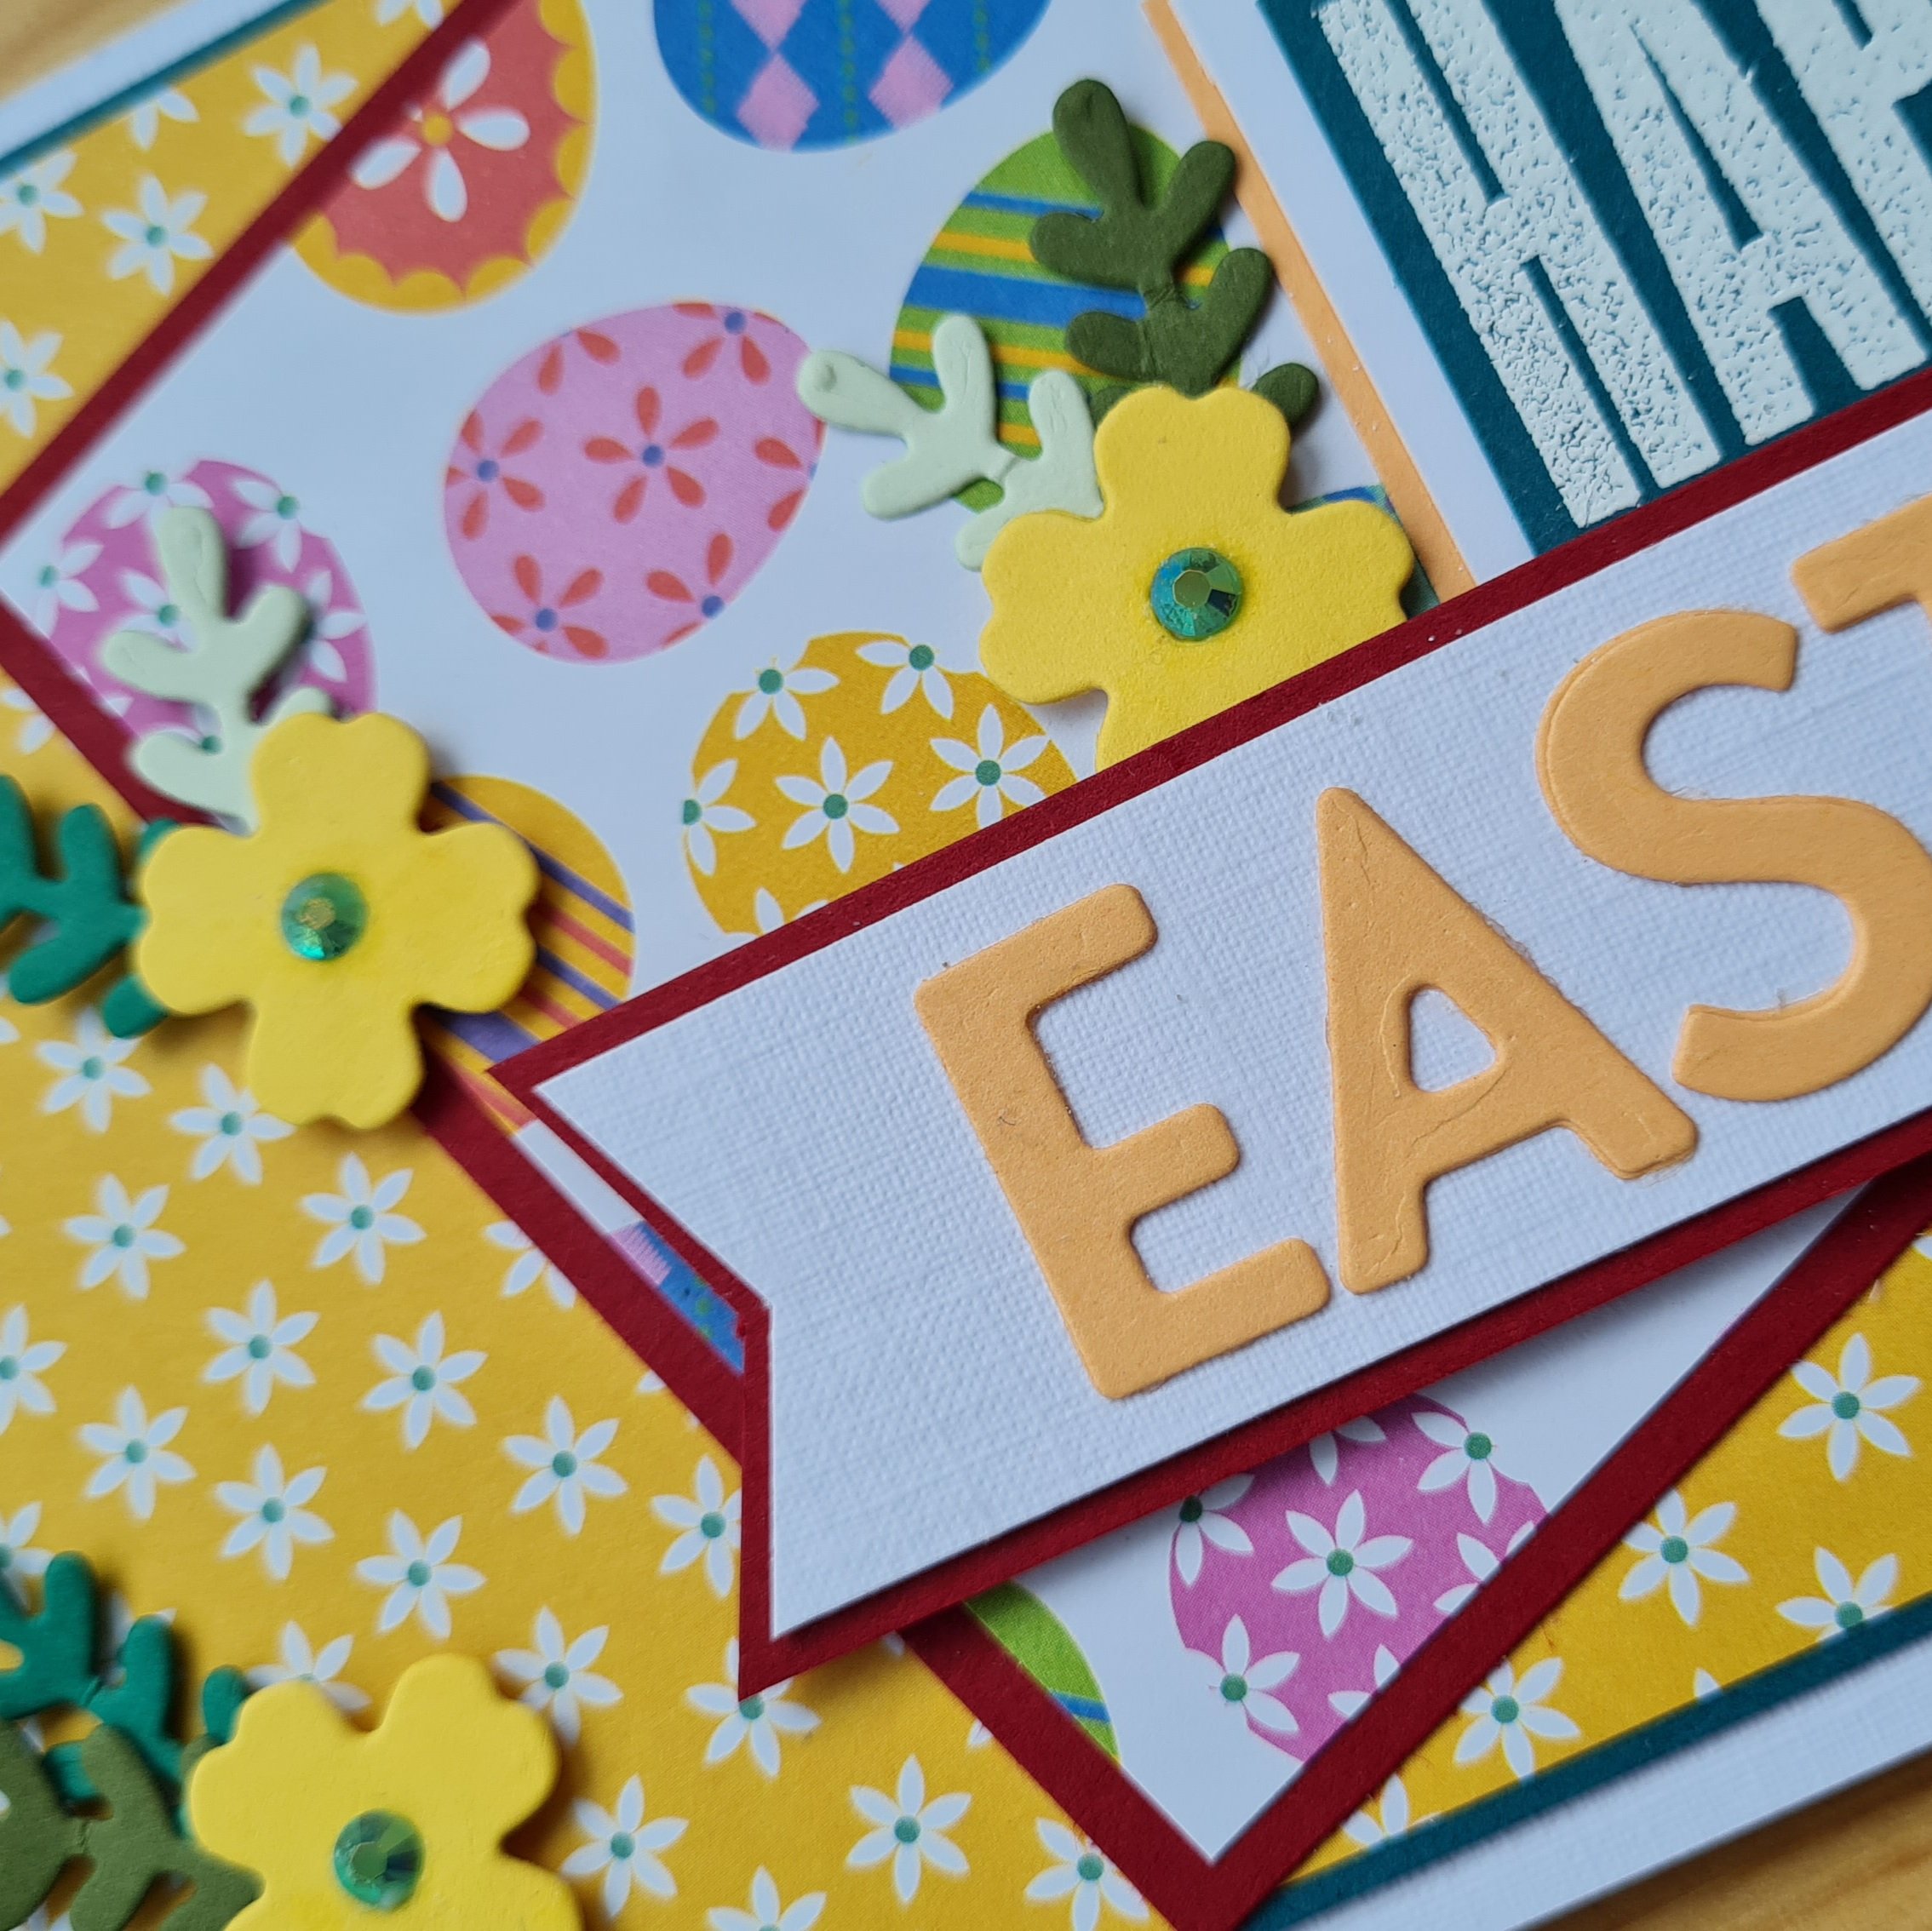
I decided to use the Playful Alphabets dies to create the main sentiment and use the Banner punch too.
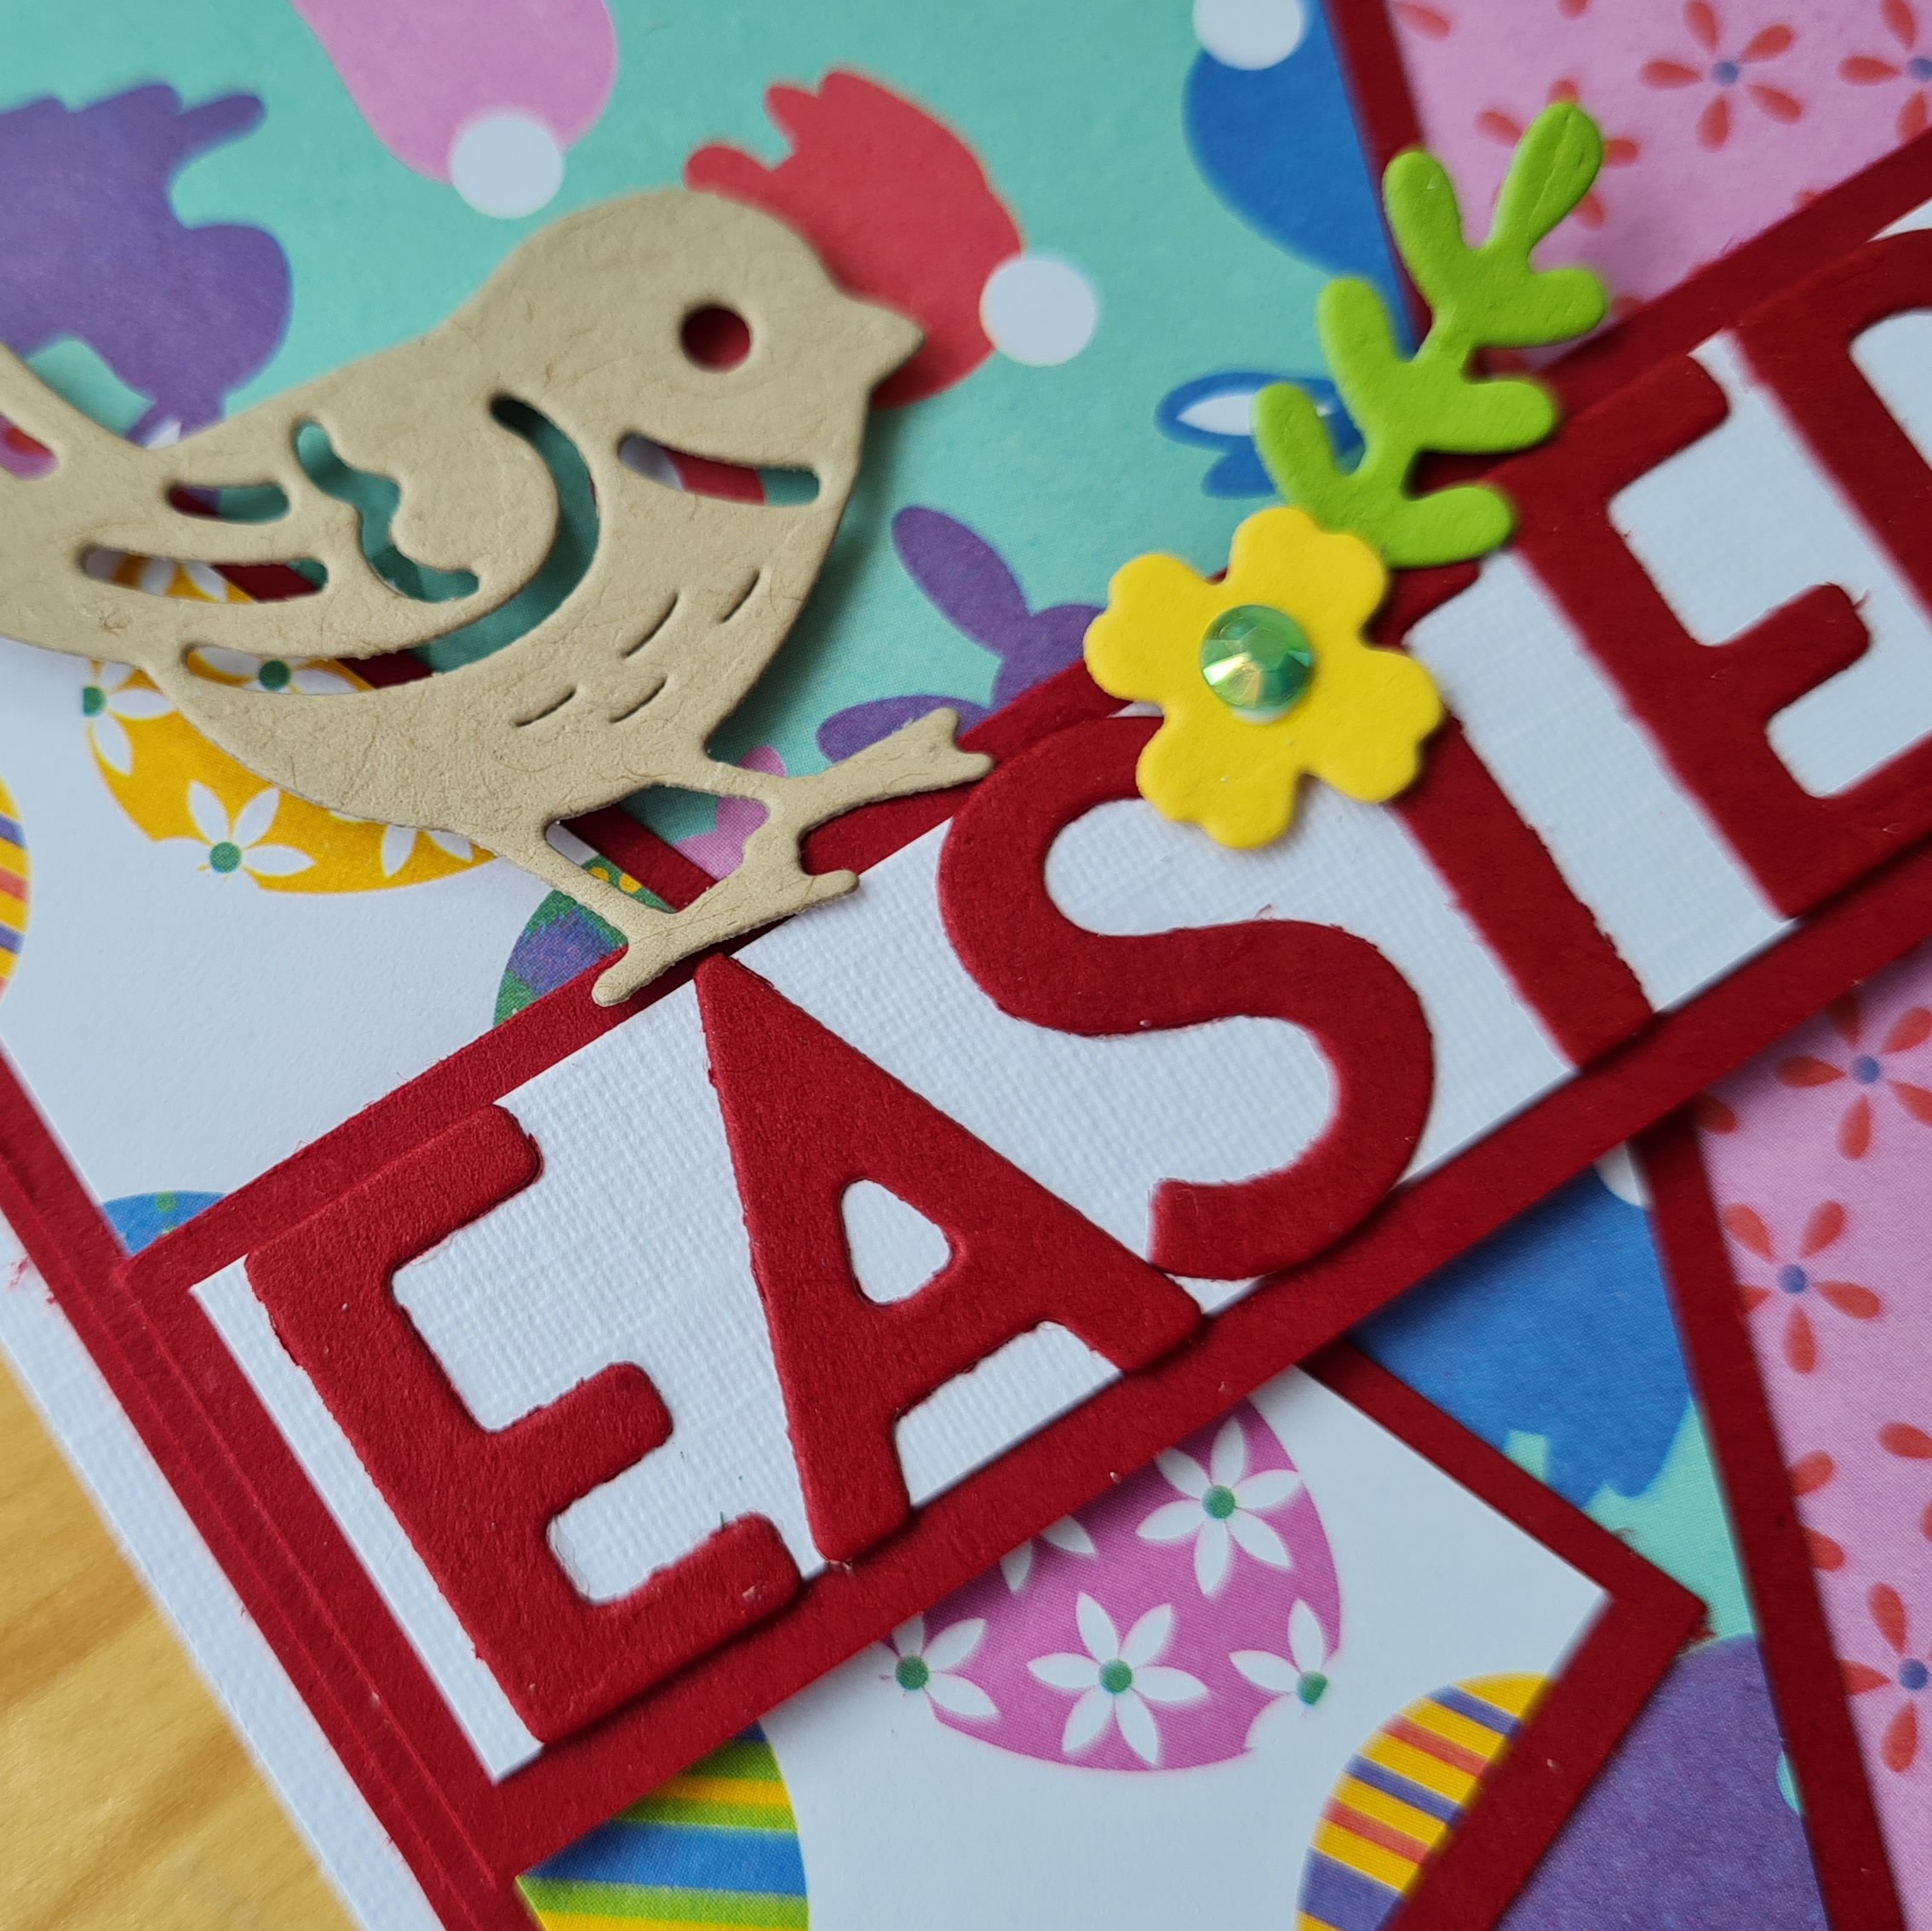
I also added the Happy from Biggest Wish for this first one. Then I grabbed some of the flower die cuts I had already got in my box of bits (I have a session every so often cutting flowers and leaves and small die cuts from scraps so I have things like these to hand and I make use of my smaller scraps!). The flowers are from Arrange a Wreath and the leaves are from Forever Fern.
Next I added the small gems to the centre of the flowers.
The next card I only added the one small flower and leaf but also added the bird from Birds and Branches, and changed the colour of the die cut letters.
I love the funky bright feel to these cards, and am grateful that the gifted papers inspired me to create.
Now off to see what the gang have been up to at Happy Little Stampers Anything Goes with Dies challenge blog… please do go and join the challenge.
Clean and Simple design with one focal point, lots of white (or open) space and minimal layers and embellishments
Probably for this one I added more than might be considered clean and simple but I just felt it needed the border stamping to finish off.
So for tropical I wanted to use the pineapple Lawn Fawn stamp and for some reason fancied a diagonal layout. I did a bit of planning for all the themes and this is one I had planned out in advance.
I stamped the pineapples and then watercoloured them using distress inks.
Once they were dry I added the border stamping using a BadAss Art Chick stamp.
Then I stamped the shades and die cut those to add to the cool pineapple on the end.
Once I had added the shades I added glossy accents to make them shiny!
Next I chose the hello stamp and die set from Avery Elle to finish off!
For the envelope I did simple stamping of the pineapple in green down the side of the envelope.
So a fun and I think definitely tropical card for this months CAS challenge.