DT: Happy Little Stampers CAS challenge… tropical

Hello!

Time to get tropical for this months CAS challenge at Happy Little Stampers.

I will start with a quick reminder of the rules…

Clean and Simple design with one focal point, lots of white (or open) space and minimal layers and embellishments

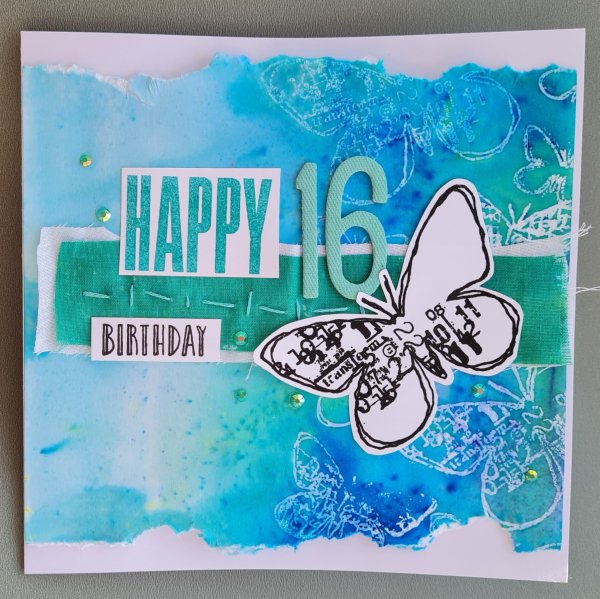
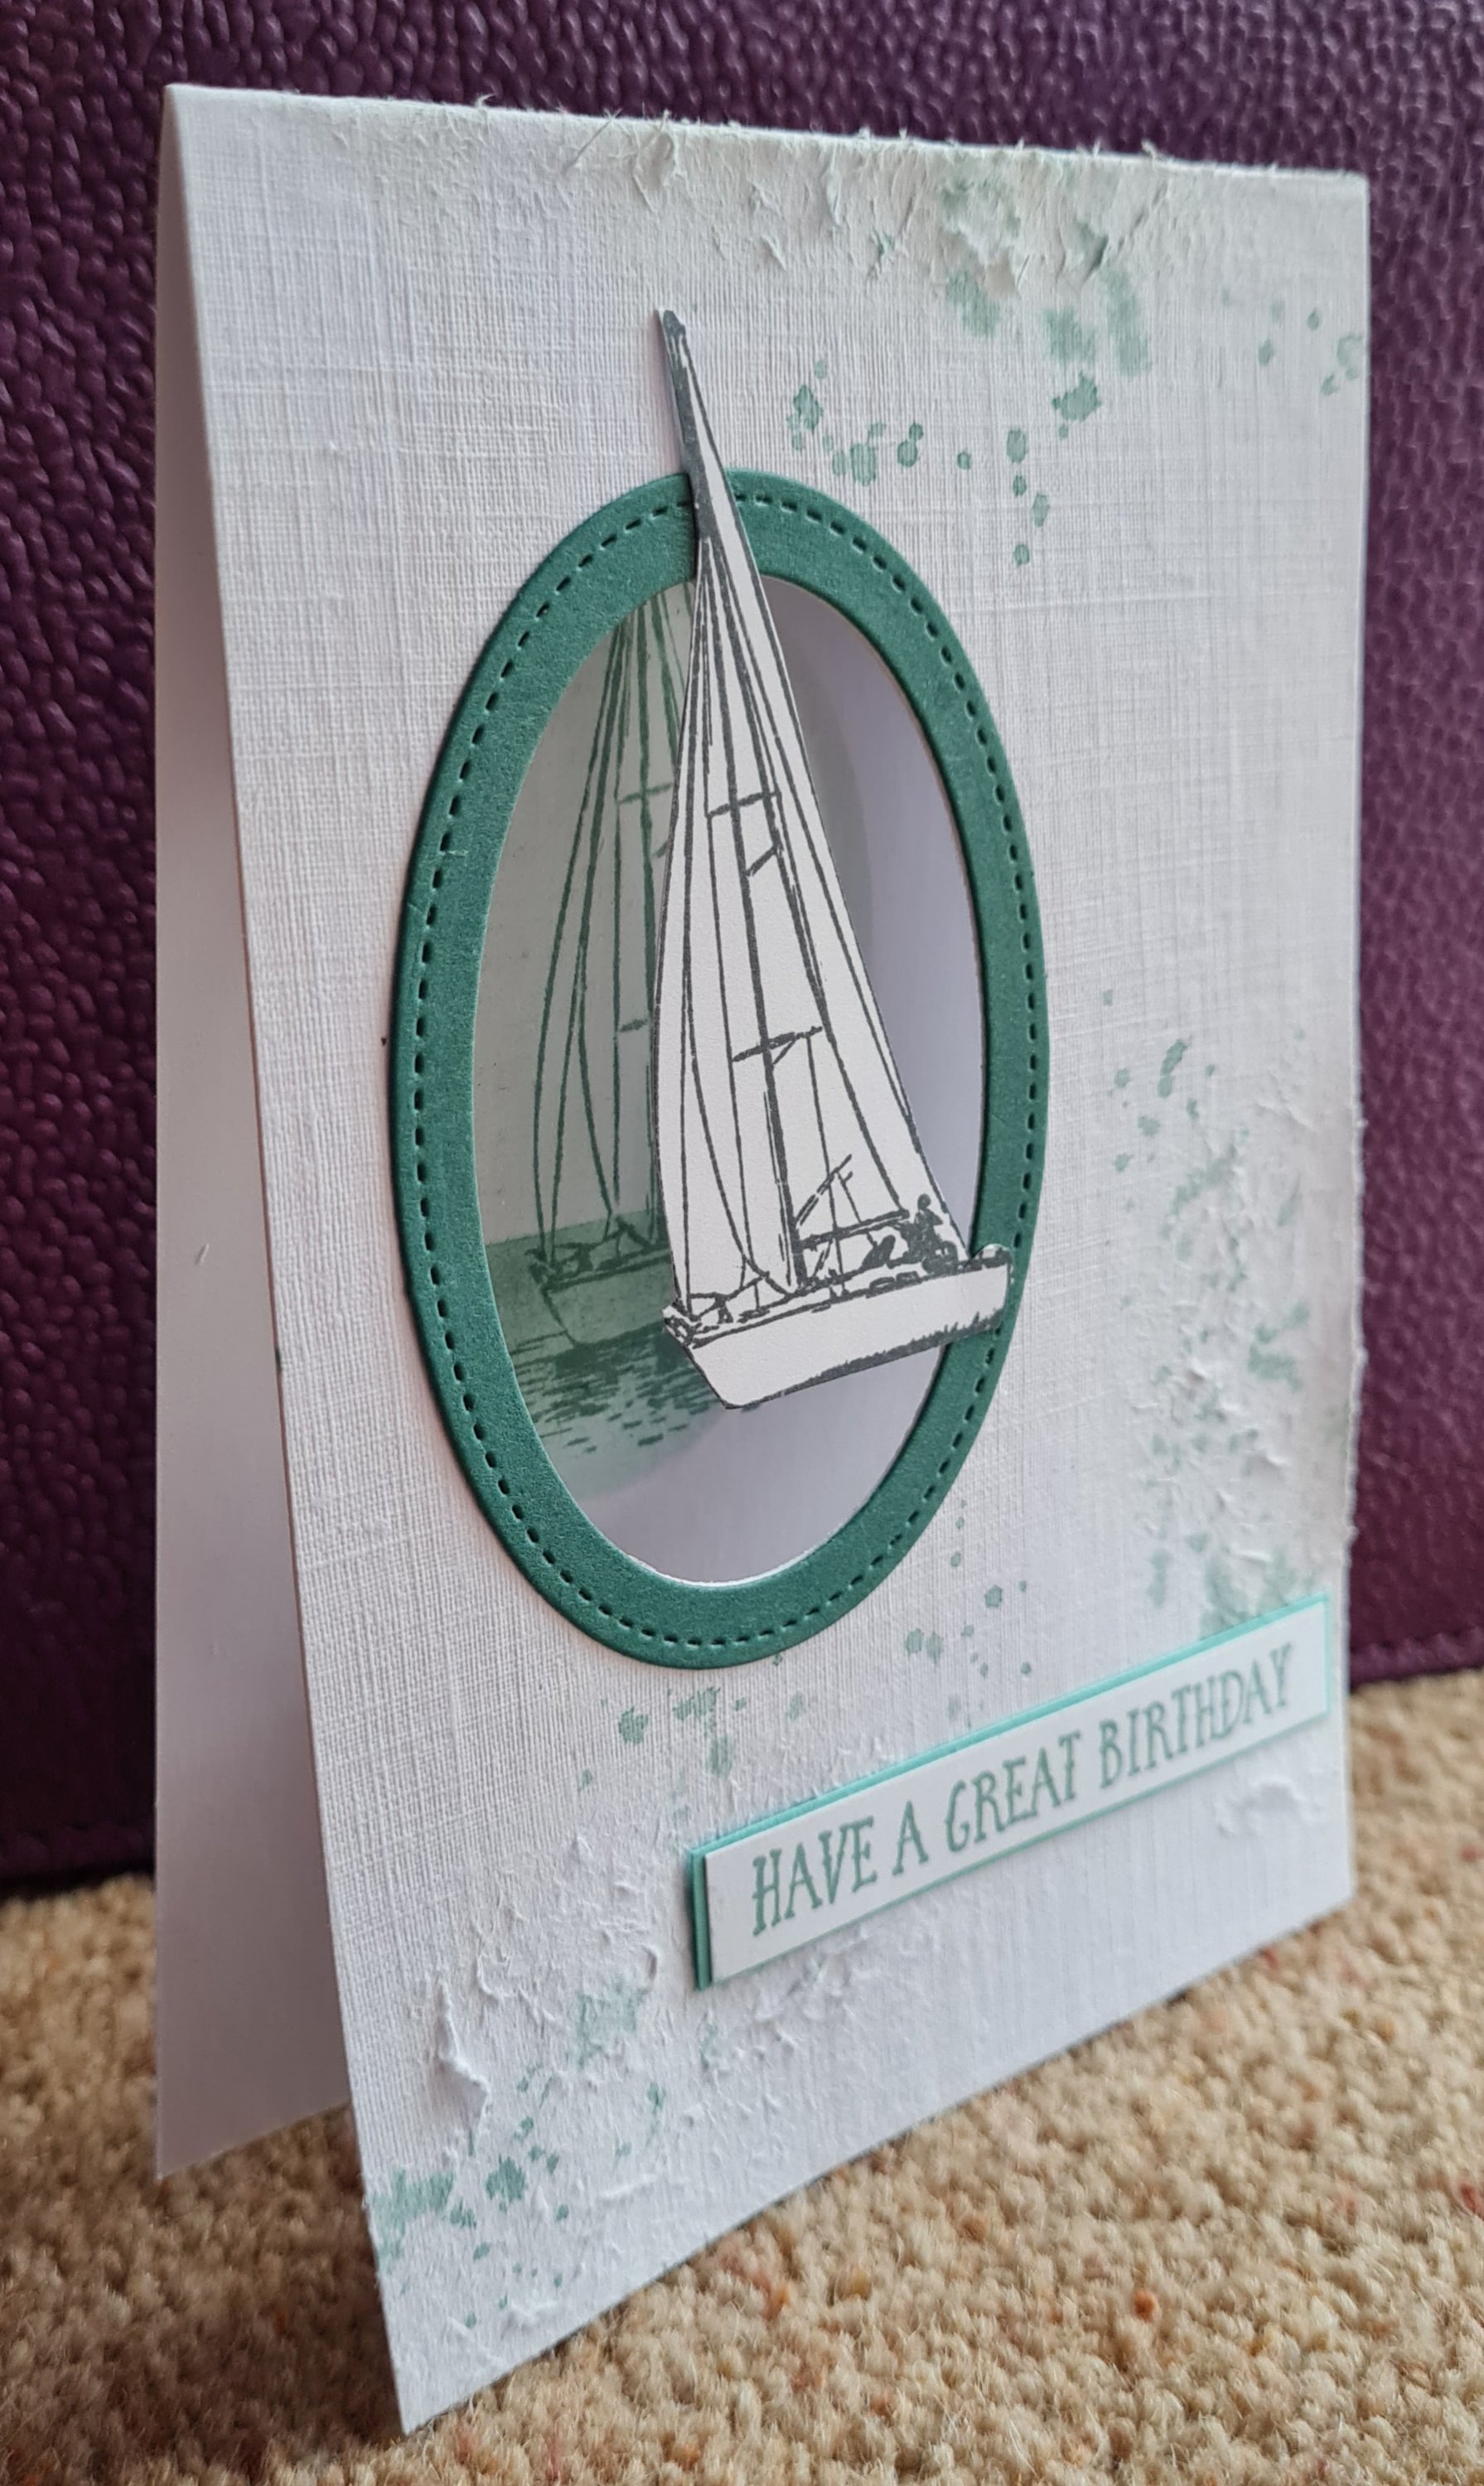
Probably for this one I added more than might be considered clean and simple but I just felt it needed the border stamping to finish off.

So for tropical I wanted to use the pineapple Lawn Fawn stamp and for some reason fancied a diagonal layout. I did a bit of planning for all the themes and this is one I had planned out in advance.

I stamped the pineapples and then watercoloured them using distress inks.

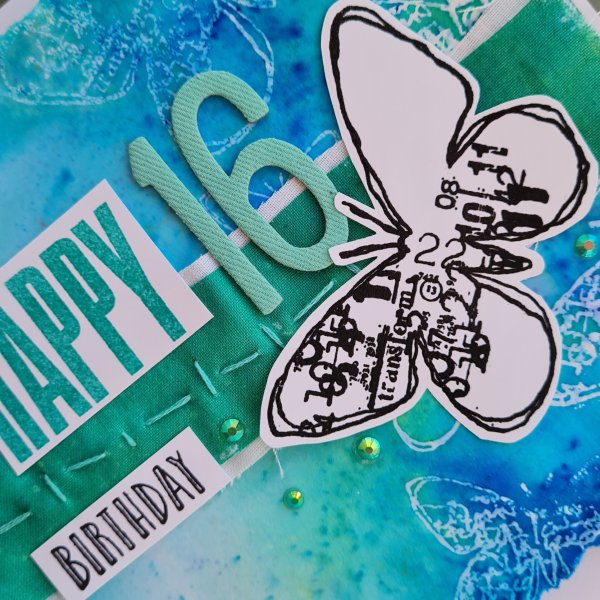
Once they were dry I added the border stamping using a BadAss Art Chick stamp.

Then I stamped the shades and die cut those to add to the cool pineapple on the end.

Once I had added the shades I added glossy accents to make them shiny!

Next I chose the hello stamp and die set from Avery Elle to finish off!

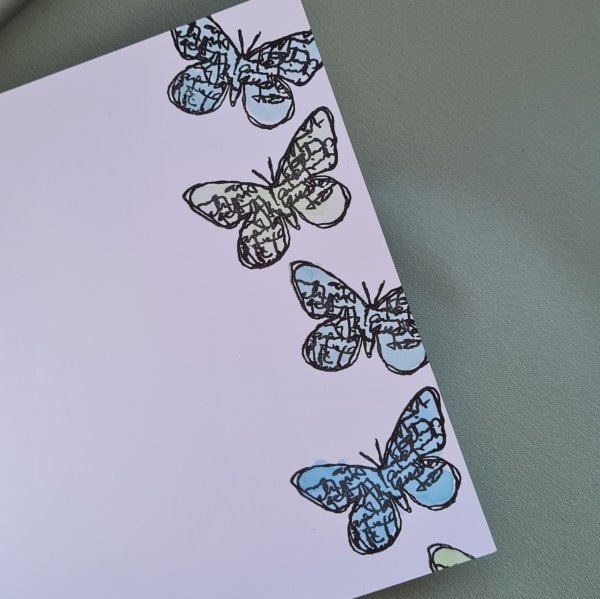
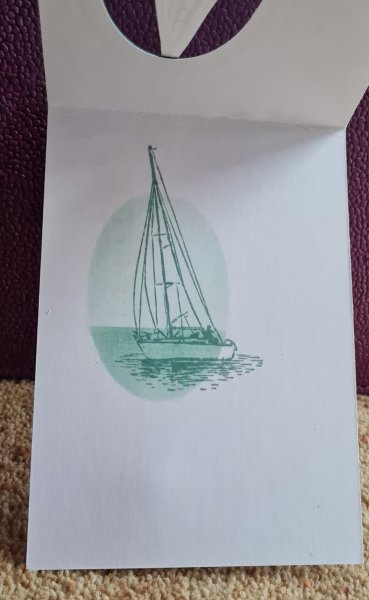
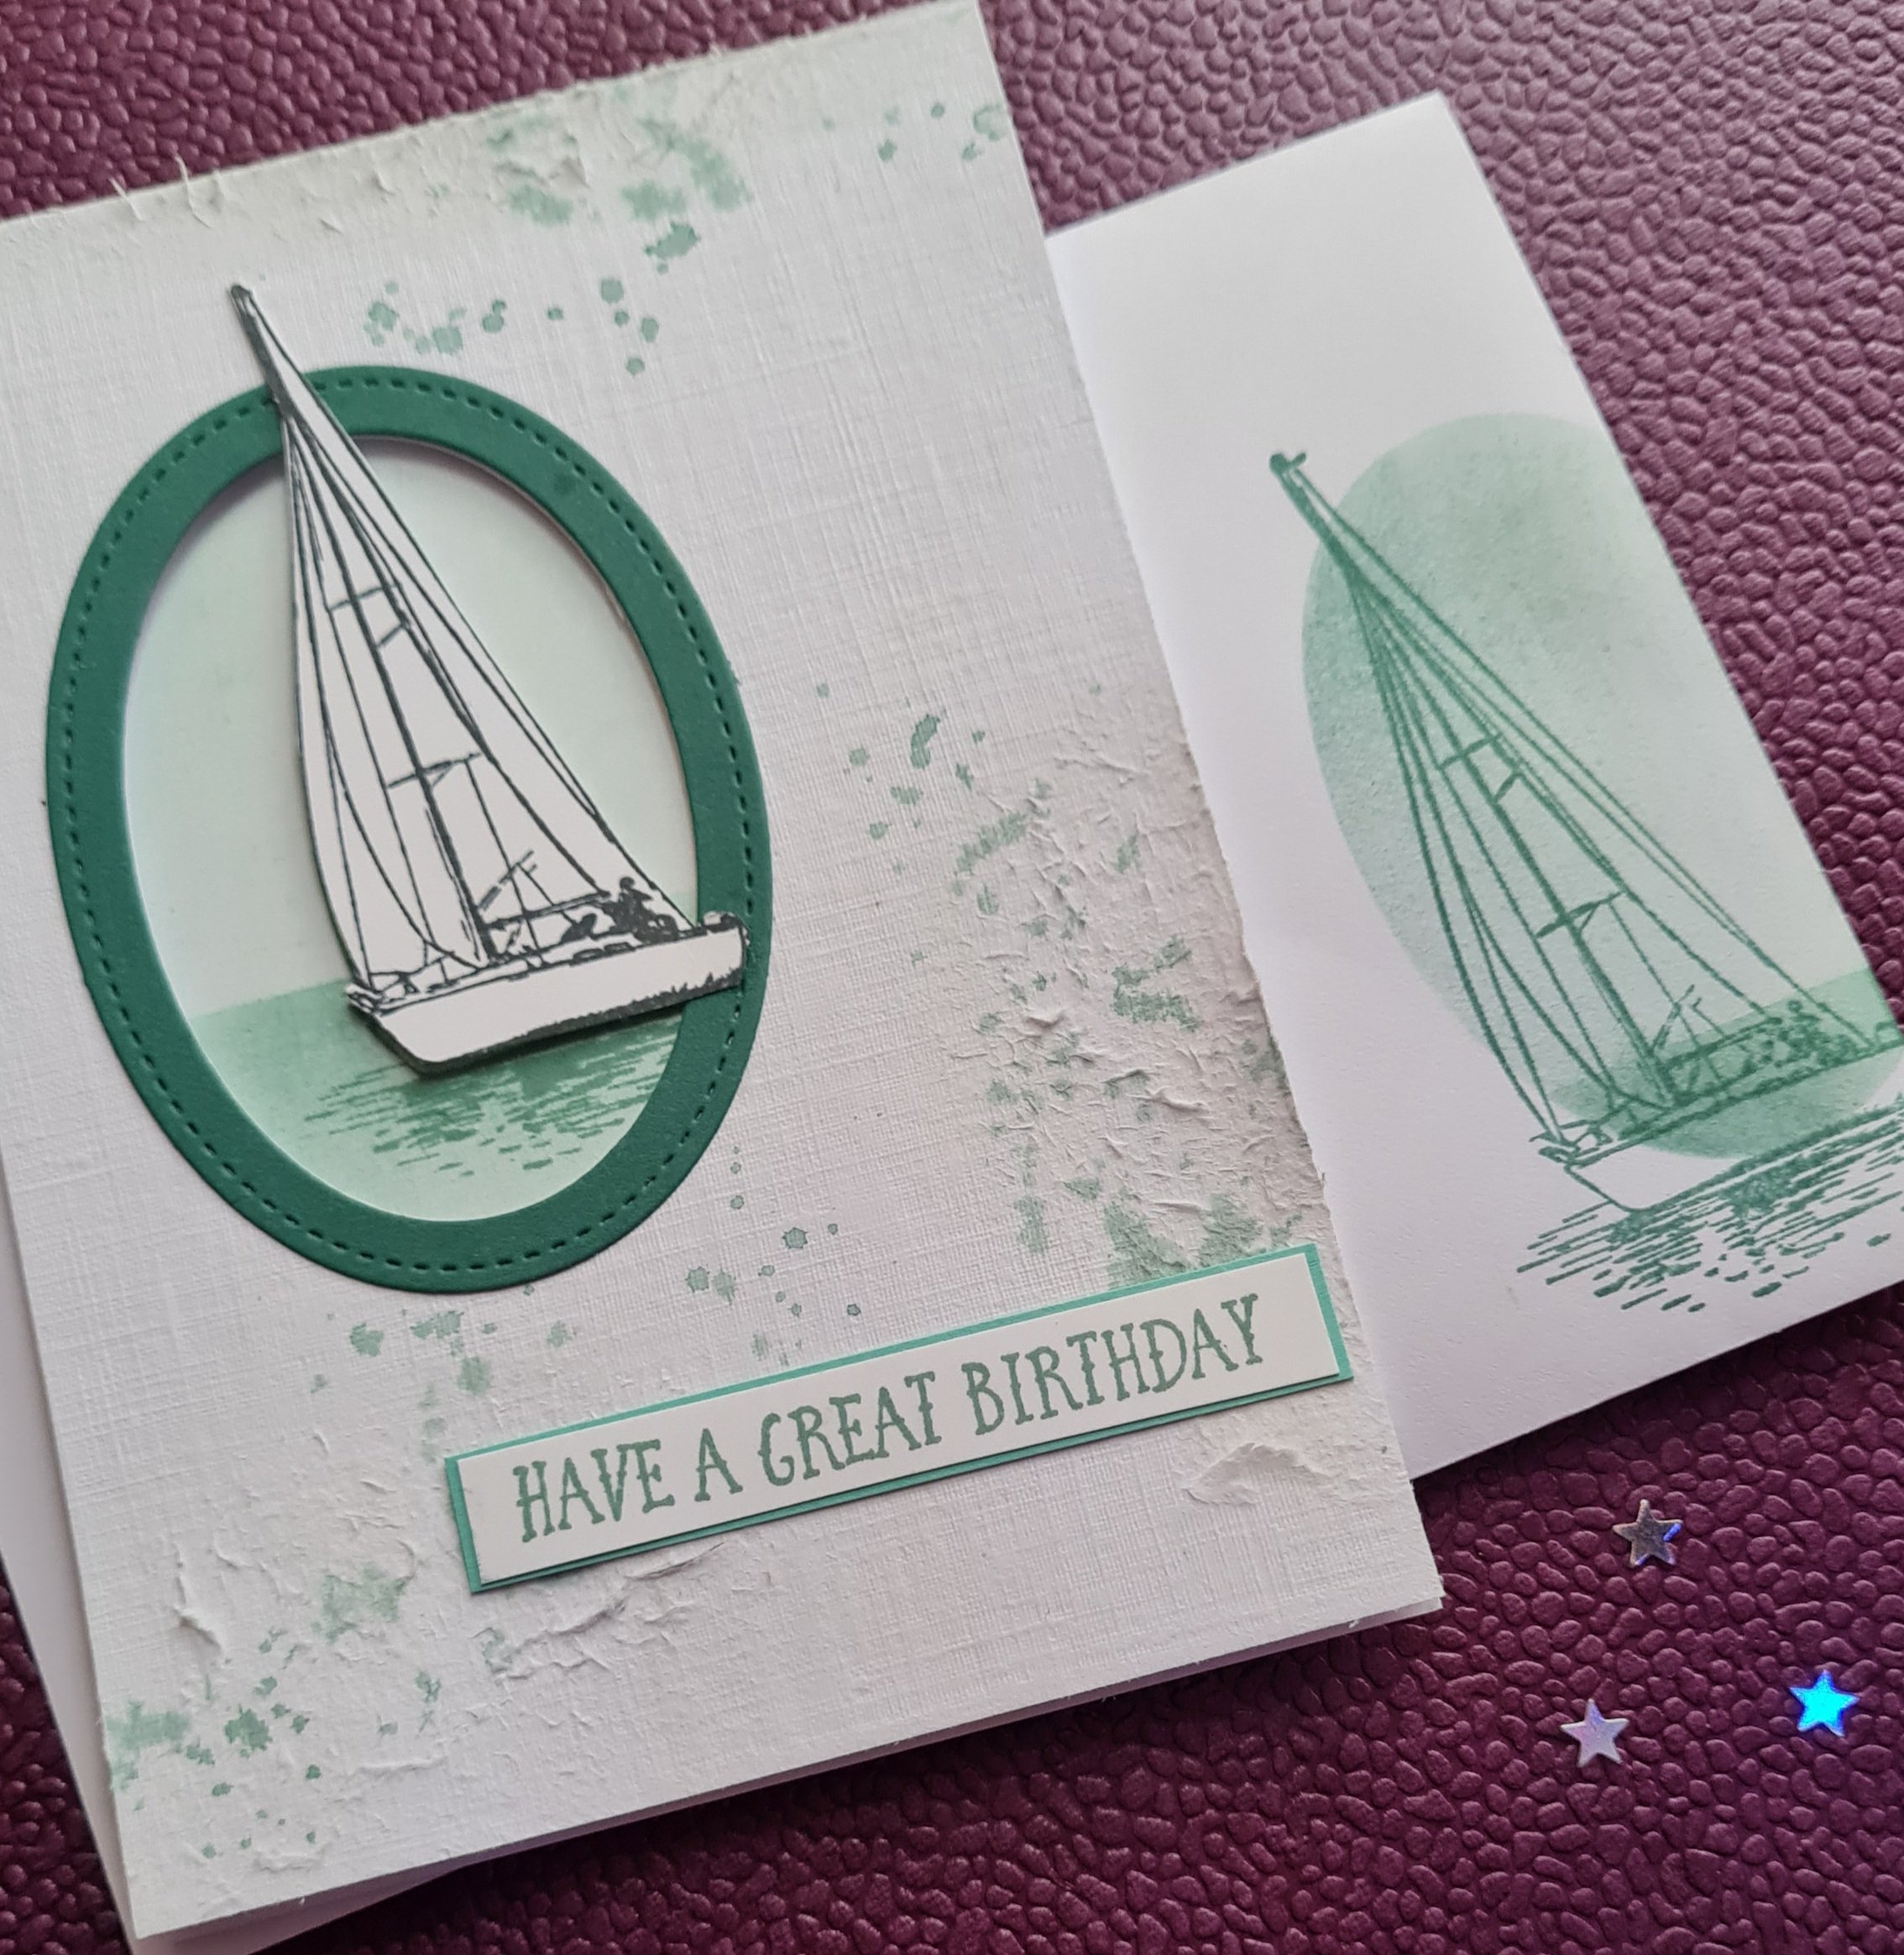
For the envelope I did simple stamping of the pineapple in green down the side of the envelope.

So a fun and I think definitely tropical card for this months CAS challenge.

Happy crafting!

Catherine

Another 16th birthday card

Yes another 16th birthday card made for another of my daughters friends… and I had such a messy time making this… it was so fun!

I don’t know the recipient of this card very well but I know she has been doing textiles with my daughter so I decided to use Brusho and embossing to create the background and to dye some fabric. Then I did torn edges and rough hand sewing to give it a grungy but still pretty look.

I used some Visible Inage stamps both for the background and then the focal image and then used a mix of sentiments (Biggest Wish and Happy Celebrations … they are always my go to one’s now!) And found some coordinating sticker numbers for the large 16.

I finished off with some little green/blue iridescent gems for a bit of sparkle.

Inside the card I used one of the Butterfly images and stamped it a few times then coloured them loosely with coordinating colours of watercolour, and the envelope I stamped in turquoise so it coordinated but didn’t need water applying so it didn’t warp.

As you can see from the last image there was a bit of dimension added too for the top later of the card from the cardstock… I really like how textural this turned out… perfect for my daughters textile studying friend!

Joining in the Happy Little Stampers Watercolour challenge.

Happy crafting!

Catherine

DT: Craftyhazelnuts patterned paper challenge

Hello there! Thanks for popping by. As it’s the first of the month it is time for a design team contribution (no April fools here!). This is my contribution for the Craftyhazelnuts patterned paper challenge blog.

This year I set aside at the beginning of the year old Making Cards magazine kits with one for each month and challenged myself to use those for this challenge… this one was tough though as the kit mainly had these large images and not much in the way of papers but I worked with them and I think I got there with these two cards I made.

I decided the images lent themselves to be anniversary cards and so decided the Crafters Companion anniversary die would do the heavy lifting on this and kept the rest of the cards fairly simple with layered papers and a bit of cardstock.

What do you think?

Inside the cards I added some strips of leftover paper and the same for the envelope.

So simple for this month but I promise you getting these cards together took a lot of hard work as I couldn’t work out what to do with the kit I had put together at all! Ah well some more papers used from the stash and a couple more cards made!

Off to see what everyone else was up to with their patterned paper this month at the blog.

Happy crafting!

Catherine

UK stampers forum tag swap

Today I have the tag I made for UK stampers forum swap this month.

I used some lilac cardstock and then added stamping from the Very Versailles stamp set. Next I used a strip of the paper I have been using from Making Cards magazine this month. I tore it and inked it before sticking it down.


I then stamped and watercoloured the Jar of Flowers stamps and fussy cut the flowers out and punched the jar. I added these to the tag with some paper twine around the top.

I then stamped the sentiment and added that too.

Then added ribbon and some glossy accents as added texture.

Love this cute tag.

Happy crafting!

Catherine

Happy 16th birthday to my princess

I’m writing this ahead of her day but still in disbelief it has been 16 years since my baby girl arrived. So proud of the woman she is becoming. Love her to the end of the earth (even although occasionally she drives me insane!).

Here is the card I made for her.

Green has become the colour of choice of late and we have just finished decorating her room with green panel effect wallpaper and light green walls. So I decided to use some of the last pieces of the Forever Greenery dsp I had in my stash and the gold die cut to create this 7×7 card.

Of course the Biggest Wish stamps got used… and some foam stickers for the large 16 in the middle!

I added some hand sewing and some lace (to reflect her love of sewing and textiles) and the fussy cut leaves reflect her wish to have lots of plants in her room (albeit fake ones as none of us are good at looking after plants).

I added foam between some layers so this has plenty of dimension and a white string bow to add more texture!

The inside I took some of the remaining paper and some of the die cuts to create a panel. Again a bit of sewing and sentiment stamped to finish off.

The envelope I kept really simple… just paper down one side.

So happy birthday dearest Maya … hope you have a fabulous birthday. We love you lots xxx

Happy crafting!

Catherine

Grunge colours new home card

Today I have a new home card that I have made for friends of ours who have recently moved home. I decided to use a new to me Paperartsy stamp as the main focal image but then used an Art Journey stamp for the sentiment on the front.

I decided I wanted to play with distress crayons as I hadn’t used them in quite a while and I am trying to play more with my stash rather than just use the same old items. So I grabbed a few colours of crayon and laid some colour down and blended it with my fingers.

I then chose a brown and added some splatters of that to finish off the panel.

I used my stamping platform to stamp the image so I could intensify the black ink by stamping multiple times until I was happy with the image.

Next the sentiment I stamped twice … once on white in black ink and the second time embossed in white onto black card.

I chopped up the sentiment and then chose to ‘highlight’ the words Heart and Home before choosing how to add them to the card.

I outlined each of the white strips with a black pen to frame it too.

Next I needed some hearts but the only hearts I could find that were the right size were from a Alice in wonderland themed white rabbit die so after some fiddling managed to get them cut and stuck down. I then added black wink of Stella to them to give them a bit of shimmer!

I added this panel to the front of the card with foam behind to give it dimension.

The inside I also did on a separate panel and stuck in. I did the same thing with the distress crayons and then stamped the sentiments using some Clarity letter stamps. The two hearts I adhered were the ones I had tried for the front originally but they had been too wide … but inside they work fine!

The envelope I did a bit of masking and added the crayon to three sides and then added the splatters and some doodled lines to finish off.

Love how this came out.

Happy crafting!

Catherine

DT: Happy Little Stampers Anything Goes with dies

Hello! Back with another design team project … this time my Mother’s day card which I can share as my Mum doesn’t read my blog! Lol!

This is for the Anything Goes with Dies challenge over at Happy Little Stampers.

I actually used the paper left on my desk from the projects I shared the other day using the cover die with the little blocks. But went extra special with this card because of course my mum deserves extra special!

So the cover die I die cut from the patterned paper and mounted it on white. I think it looks like a pretty trellis. Then the focal image I mounted onto Mint Macaron that teams perfectly with the papers. I then grabbed my Butterfly wings dies and cut the two layers for the butterfly and some flourishes using the Crafters Companion dies.

I then grabbed the Playful Alphabets dies and cut mum out 3 times to stack them up.

Next I stamped and embossed the sentiment from itty Bitty sentiments and punched out the banners as two layers.

I also punched three hearts from the remaining pink cardstock. I added glossy accents to the hearts and wink of Stella to the sentiment.

I found some white seam binding and added a bow to the bouquet.

Inside the card I added the panel of paper, another embossed greeting and a small butterfly.

I am sure my mum will like this pretty card with all the details on it!

I’ve actually made up another of those cover panels from the leftover bits from this project but not sure what to use it for just yet so sealed it in an envelope to keep it safe with the other leftover bits of paper.

Hope you like what I made and you join us at Happy Little Stampers Anything Goes with Dies challenge blog.

Happy crafting!

Catherine

DT: Happy Little Stampers CAS challenge… water

Hello! A new challenge is starting over at Happy Little Stampers today for Clean and Simple with the theme of water.

So I decided to interpret that in two ways… with water splashes and with a boat on the water image!

Now let’s start with a reminder of the rules…

Clean and Simple design with one focal point, lots of white (or open) space and minimal layers and embellishments

So I went a little more complicated than I perhaps needed to but went for a die cut oval aperture with a frame and the image laid on the top, with the inking through the aperture.

Then the card looked too plain so I added texture by sanding some areas and the splashing water and ink.

I think even with the grungy finish it goes with the CAS feel though as I left enough white space.

The envelope I again did a bit of ink blending for the background and then stamped the image off the side.

Hope you like what I made. Something a little different anyway! The image and the sentiment were from a very old Creative Stamping magazine and I often use that image for masculine cards.

Happy crafting!

Catherine

DT: Craftyhazelnuts patterned paper challenge

Hello readers. Hope you are well. It is the first of the month and so it is time to play with patterned paper again for my design team contribution for Craftyhazelnuts patterned paper challenge.

At the beginning of the year I decided to get a bit organised and have put aside specific papers from the old Making Cards magazine stash. I had too many still hanging around so have decided to just get things made… and to decrease the decision making I’ve put specific papers aside for each month… let’s see how that goes shall we?

This month it was these delicate floral papers and images.

Once again I created two cards… both with one piece of the patterned paper and two of the focal images.

I used a die I have had for a long time and rarely used which is a cover die that cits out lots of little rectangles and squares.

I die cut it from both the patterned paper and some lilac cardstock and created the backgrounds in reverse.

I love this two in one effect and may well use it again to create some more from this set of papers before the end of the month if I get a chance. I then created the toppers using different dies from the stash, including the flourish dies from Crafters Companion.

I also added a piece of the lace as an added texture underneath the focal images.

I finished with sentiments from Picture Perfect Birthday which I die cut and some pretty lilac sequins

I also added banner strips to the envelope fronts and the inside of the cards. I also added some more flourish die cuts and a sentiment to each of them inside.

Really pretty finished cards. Love the texture and the die cut elements.

Happy crafting!

Catherine

Valentines wallpaper card

So I did a bit of an odd thing and used wallpaper to make this years Valentines card for my hubby. But it meant something so I suppose that makes sense!

The green wallpaper is the paper that has been on our lounge wall since we moved into the house. I have never loved it. Don’t get me wrong, it is nice paper, clearly expensive and good quality. But not something I would have ever chosen. Its always gotten nice compliments and I know my hubby liked it.

But after 11 years it was time to say goodbye and replace it (with the purple one that I used for the heart). It came off the wall in almost complete sheets and my hubby even joked about reusing it and putting it up in our bedroom! So I decided to keep a portion for his Valentines card… that way he can keep the paper in some way!

I decided on a 7×7 card and used a nice 6×6 piece for the main background. Then cut a few hearts from the new paper leftovers, layered and mounted them, and decided to use leaf and heart die cuts to decorate.

The main heart and little hearts were from the Wreath Builder die set, the leaves from Forever Flourishing set and the YOU letters from Playful Alphabets which is fast becoming an essential die set in my cardmaking for personalising and making statement sentiments.

I did add wink of Stella to the you letters for a bit of shimmer but otherwise didn’t go mad on bling and bits and pieces.

I added a sentiment strip with an old sentiment I’ve had for ages!

Inside the card I added another strip of the wallpaper and some leftover die cut bits.

On the envelope again strips of wallpaper and die cuts and some punched hearts.

Hope you like my fun valentines card and the story behind the wallpaper themed card!

Happy crafting!

Catherine