DT: Happy Little Stampers Anything Goes with Dies challenge

Hi

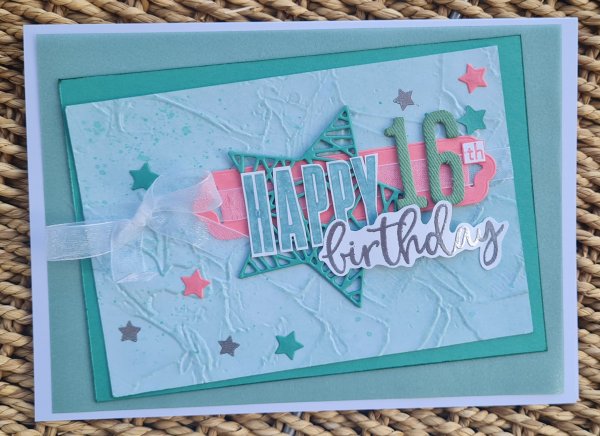
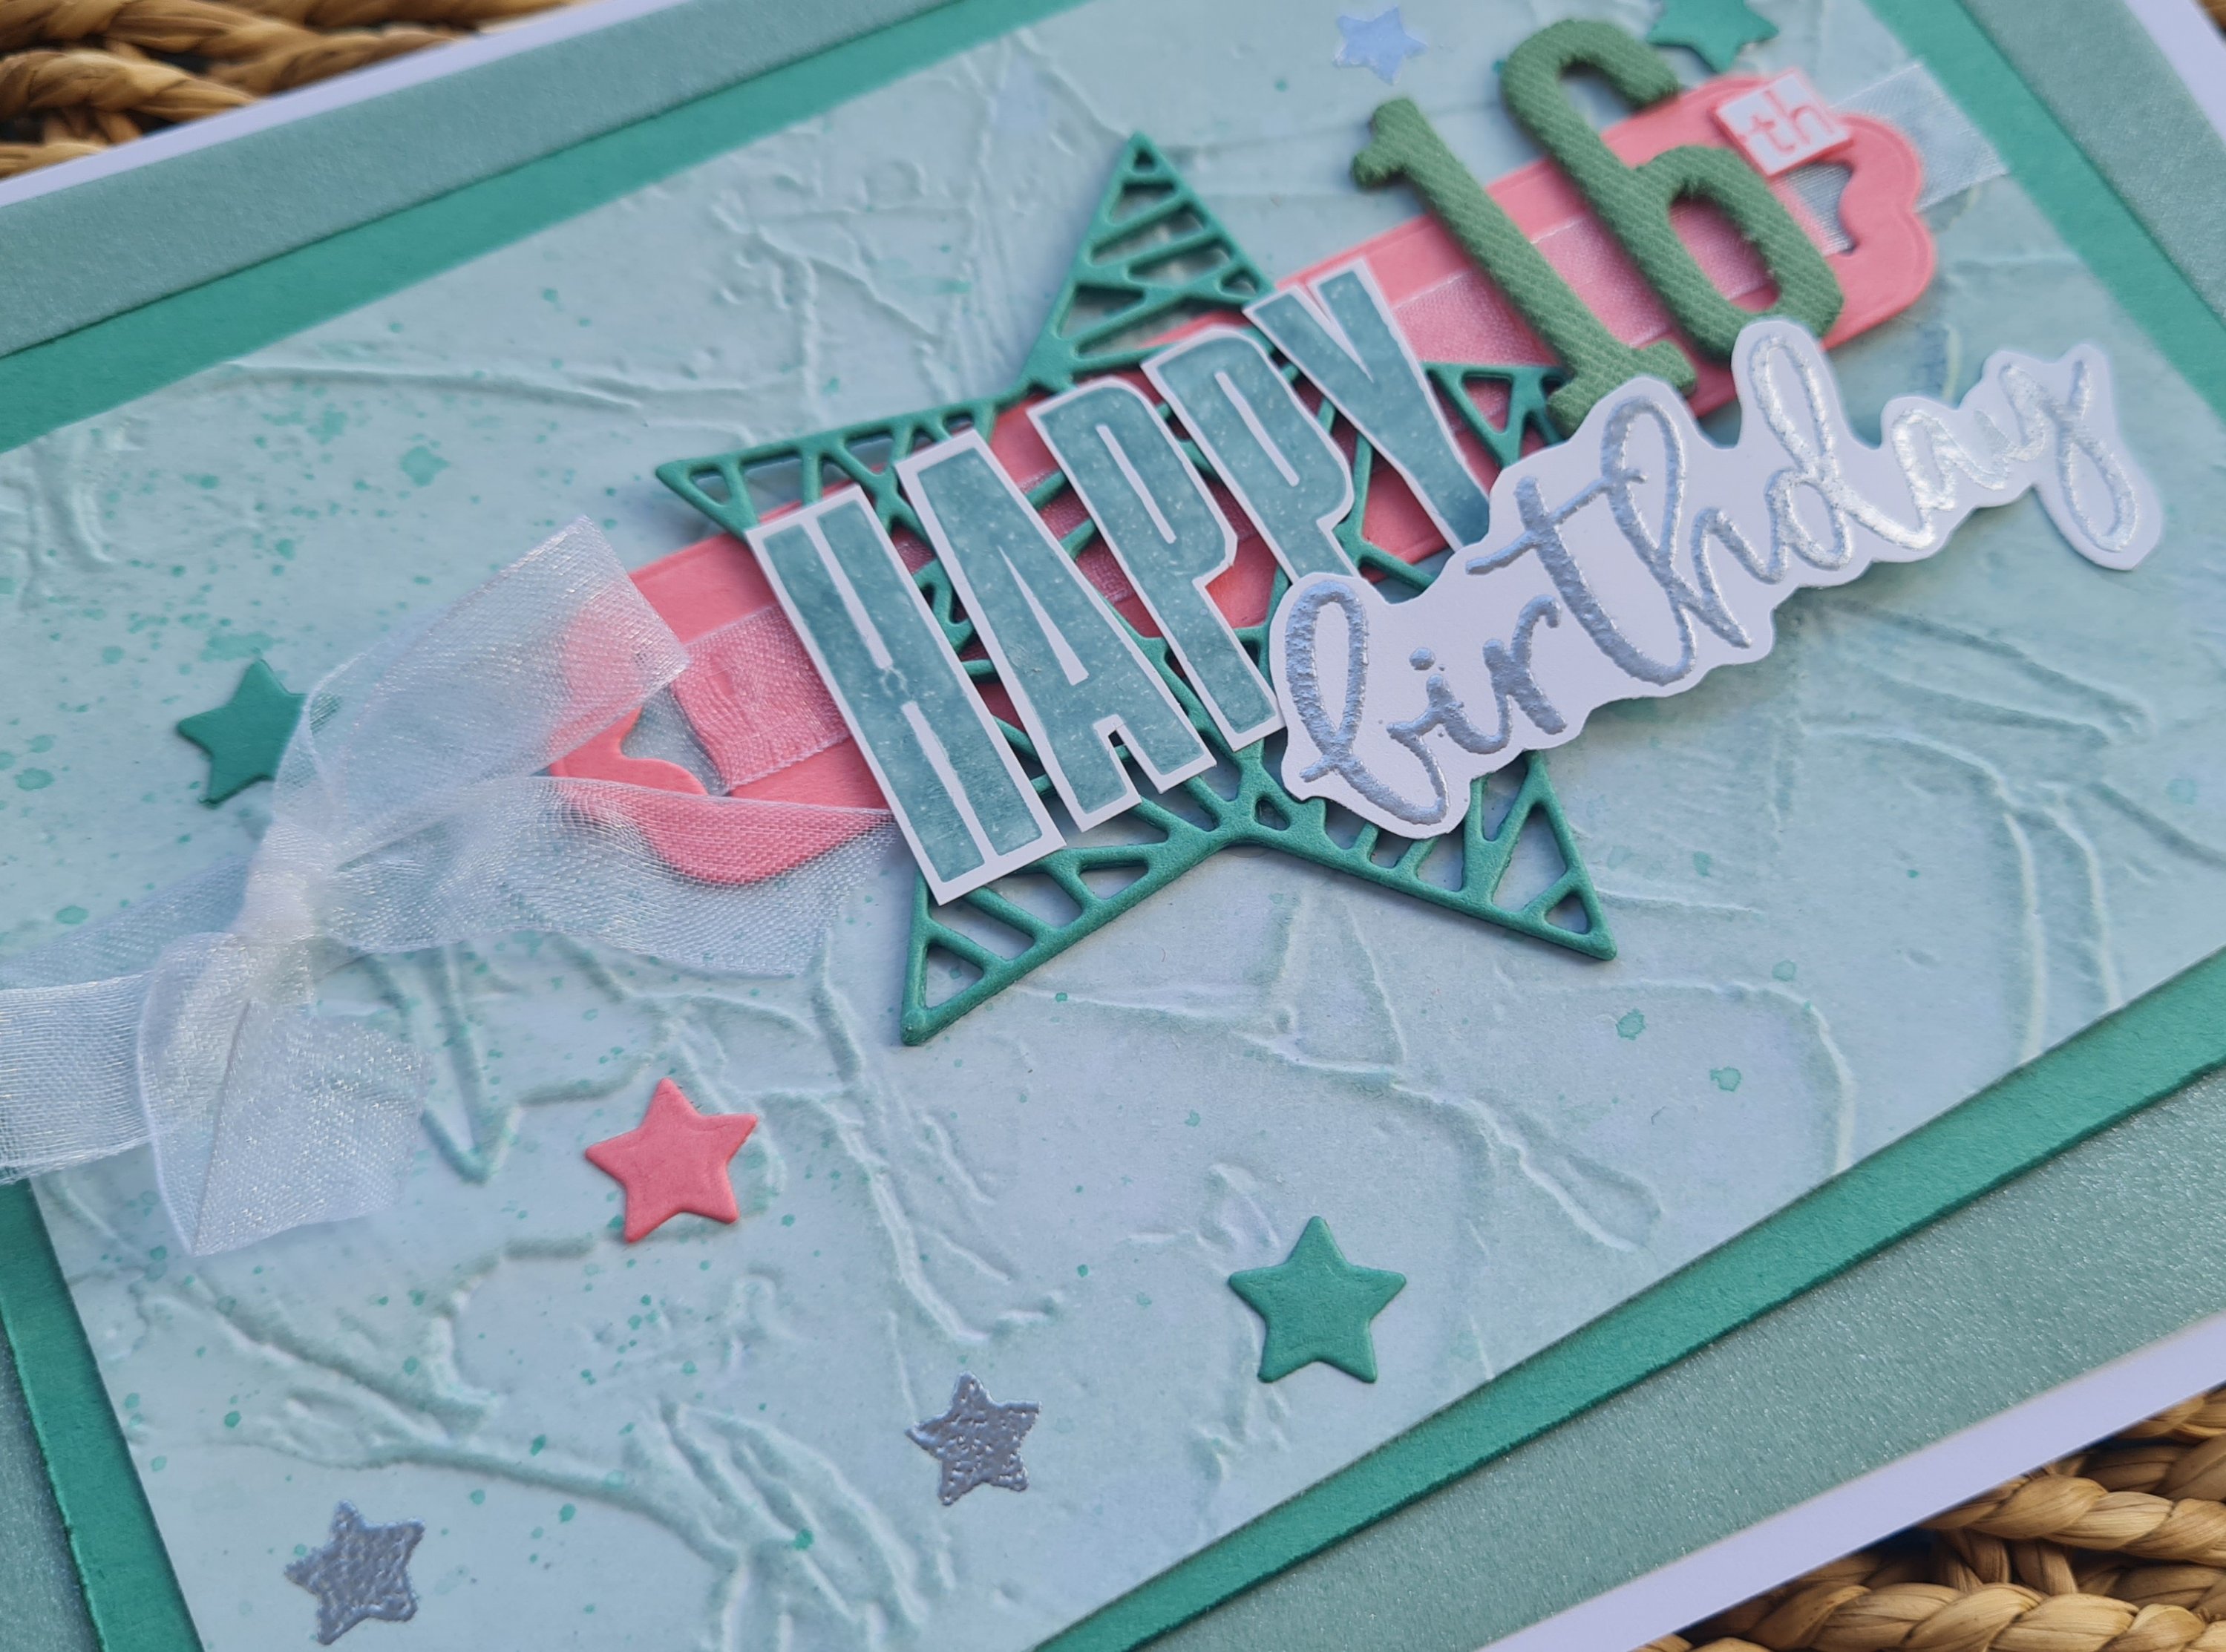
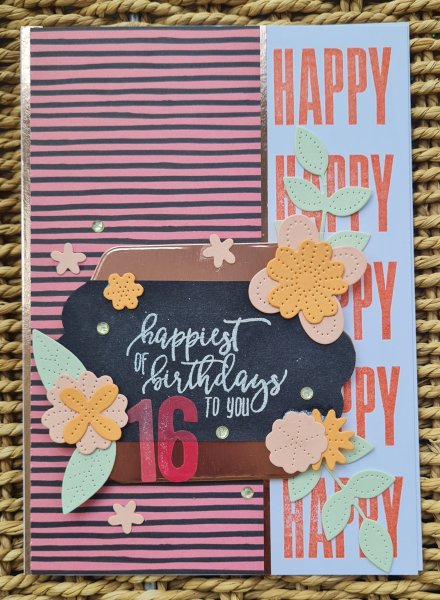
So I decided to make another 16th birthday card as there are quite a few ‘sweet 16’s’ to celebrate this year. And as I used a fair few dies it was perfect to use as this months DT contribution for the Happy Little Stampers Anything Goes with Dies challenge.

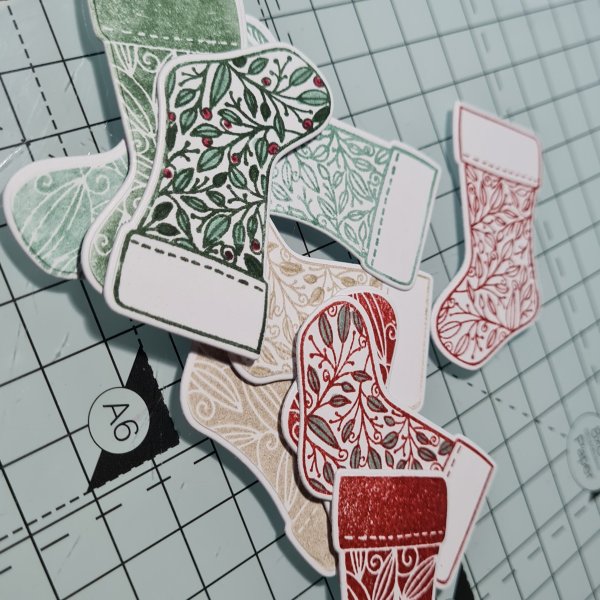
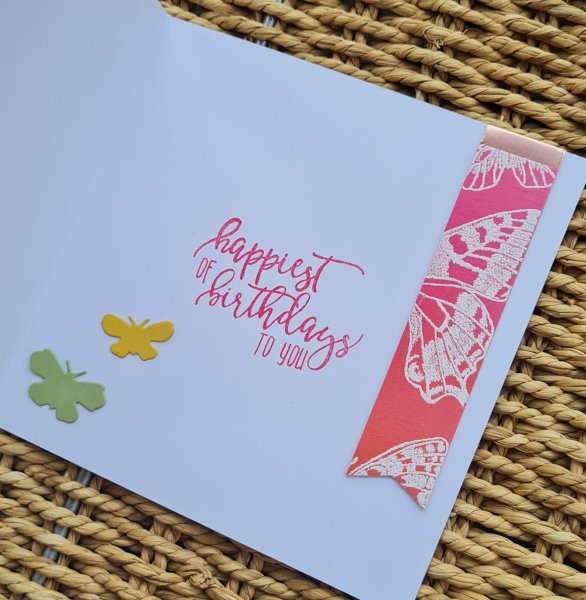
I decided to start with the stamping on the right hand side… no idea where I was going with this but I had woke up with the idea so decided to go with it! And of course it is one of my favourite sets to use … Biggest Wish.

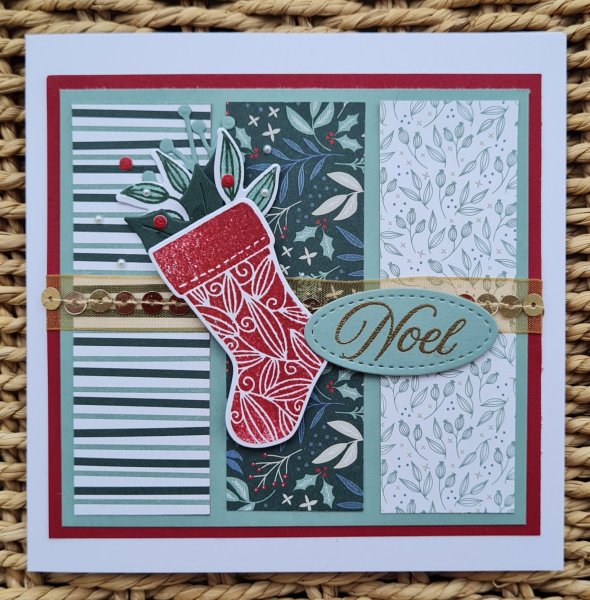
Next I added strips of rose gold washi tape and the panel of the stripey dsp.

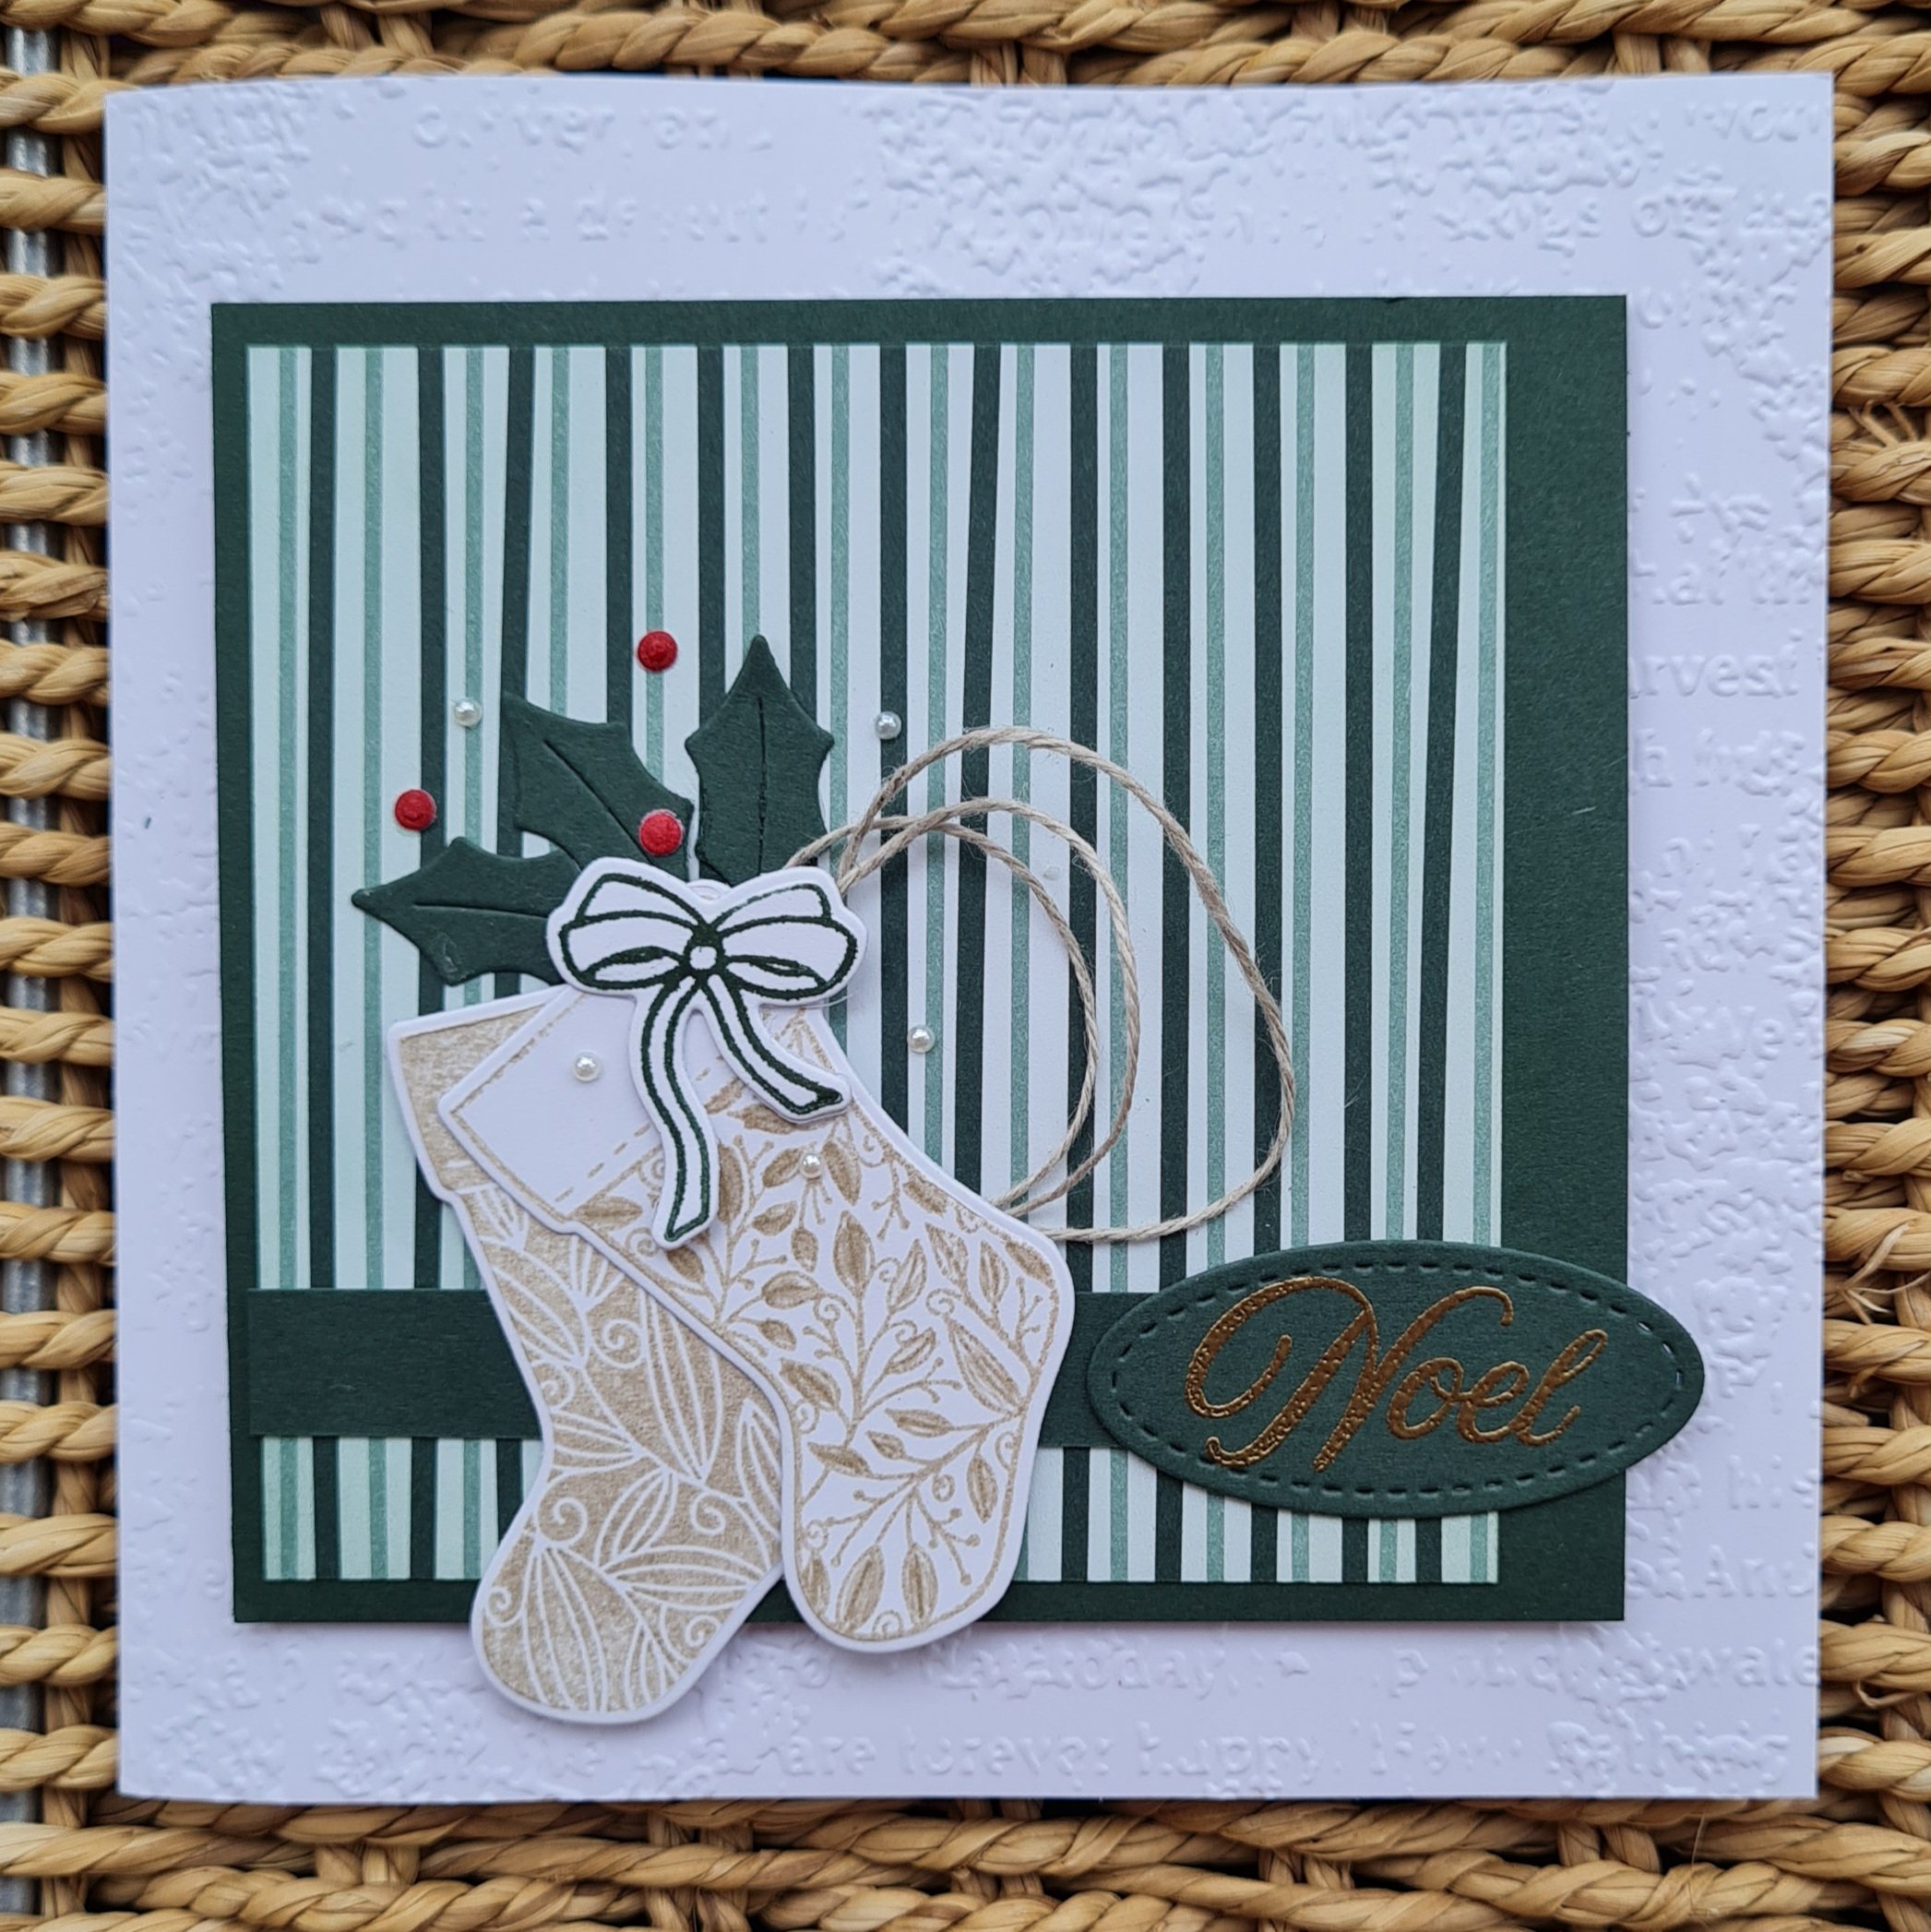
I decided to go for a large label panel so grabbed the Seasonal Labels die and cut one in the rose gold cardstock and one from black, and then trimmed the black one down top and bottom so it was a stripe across the label.

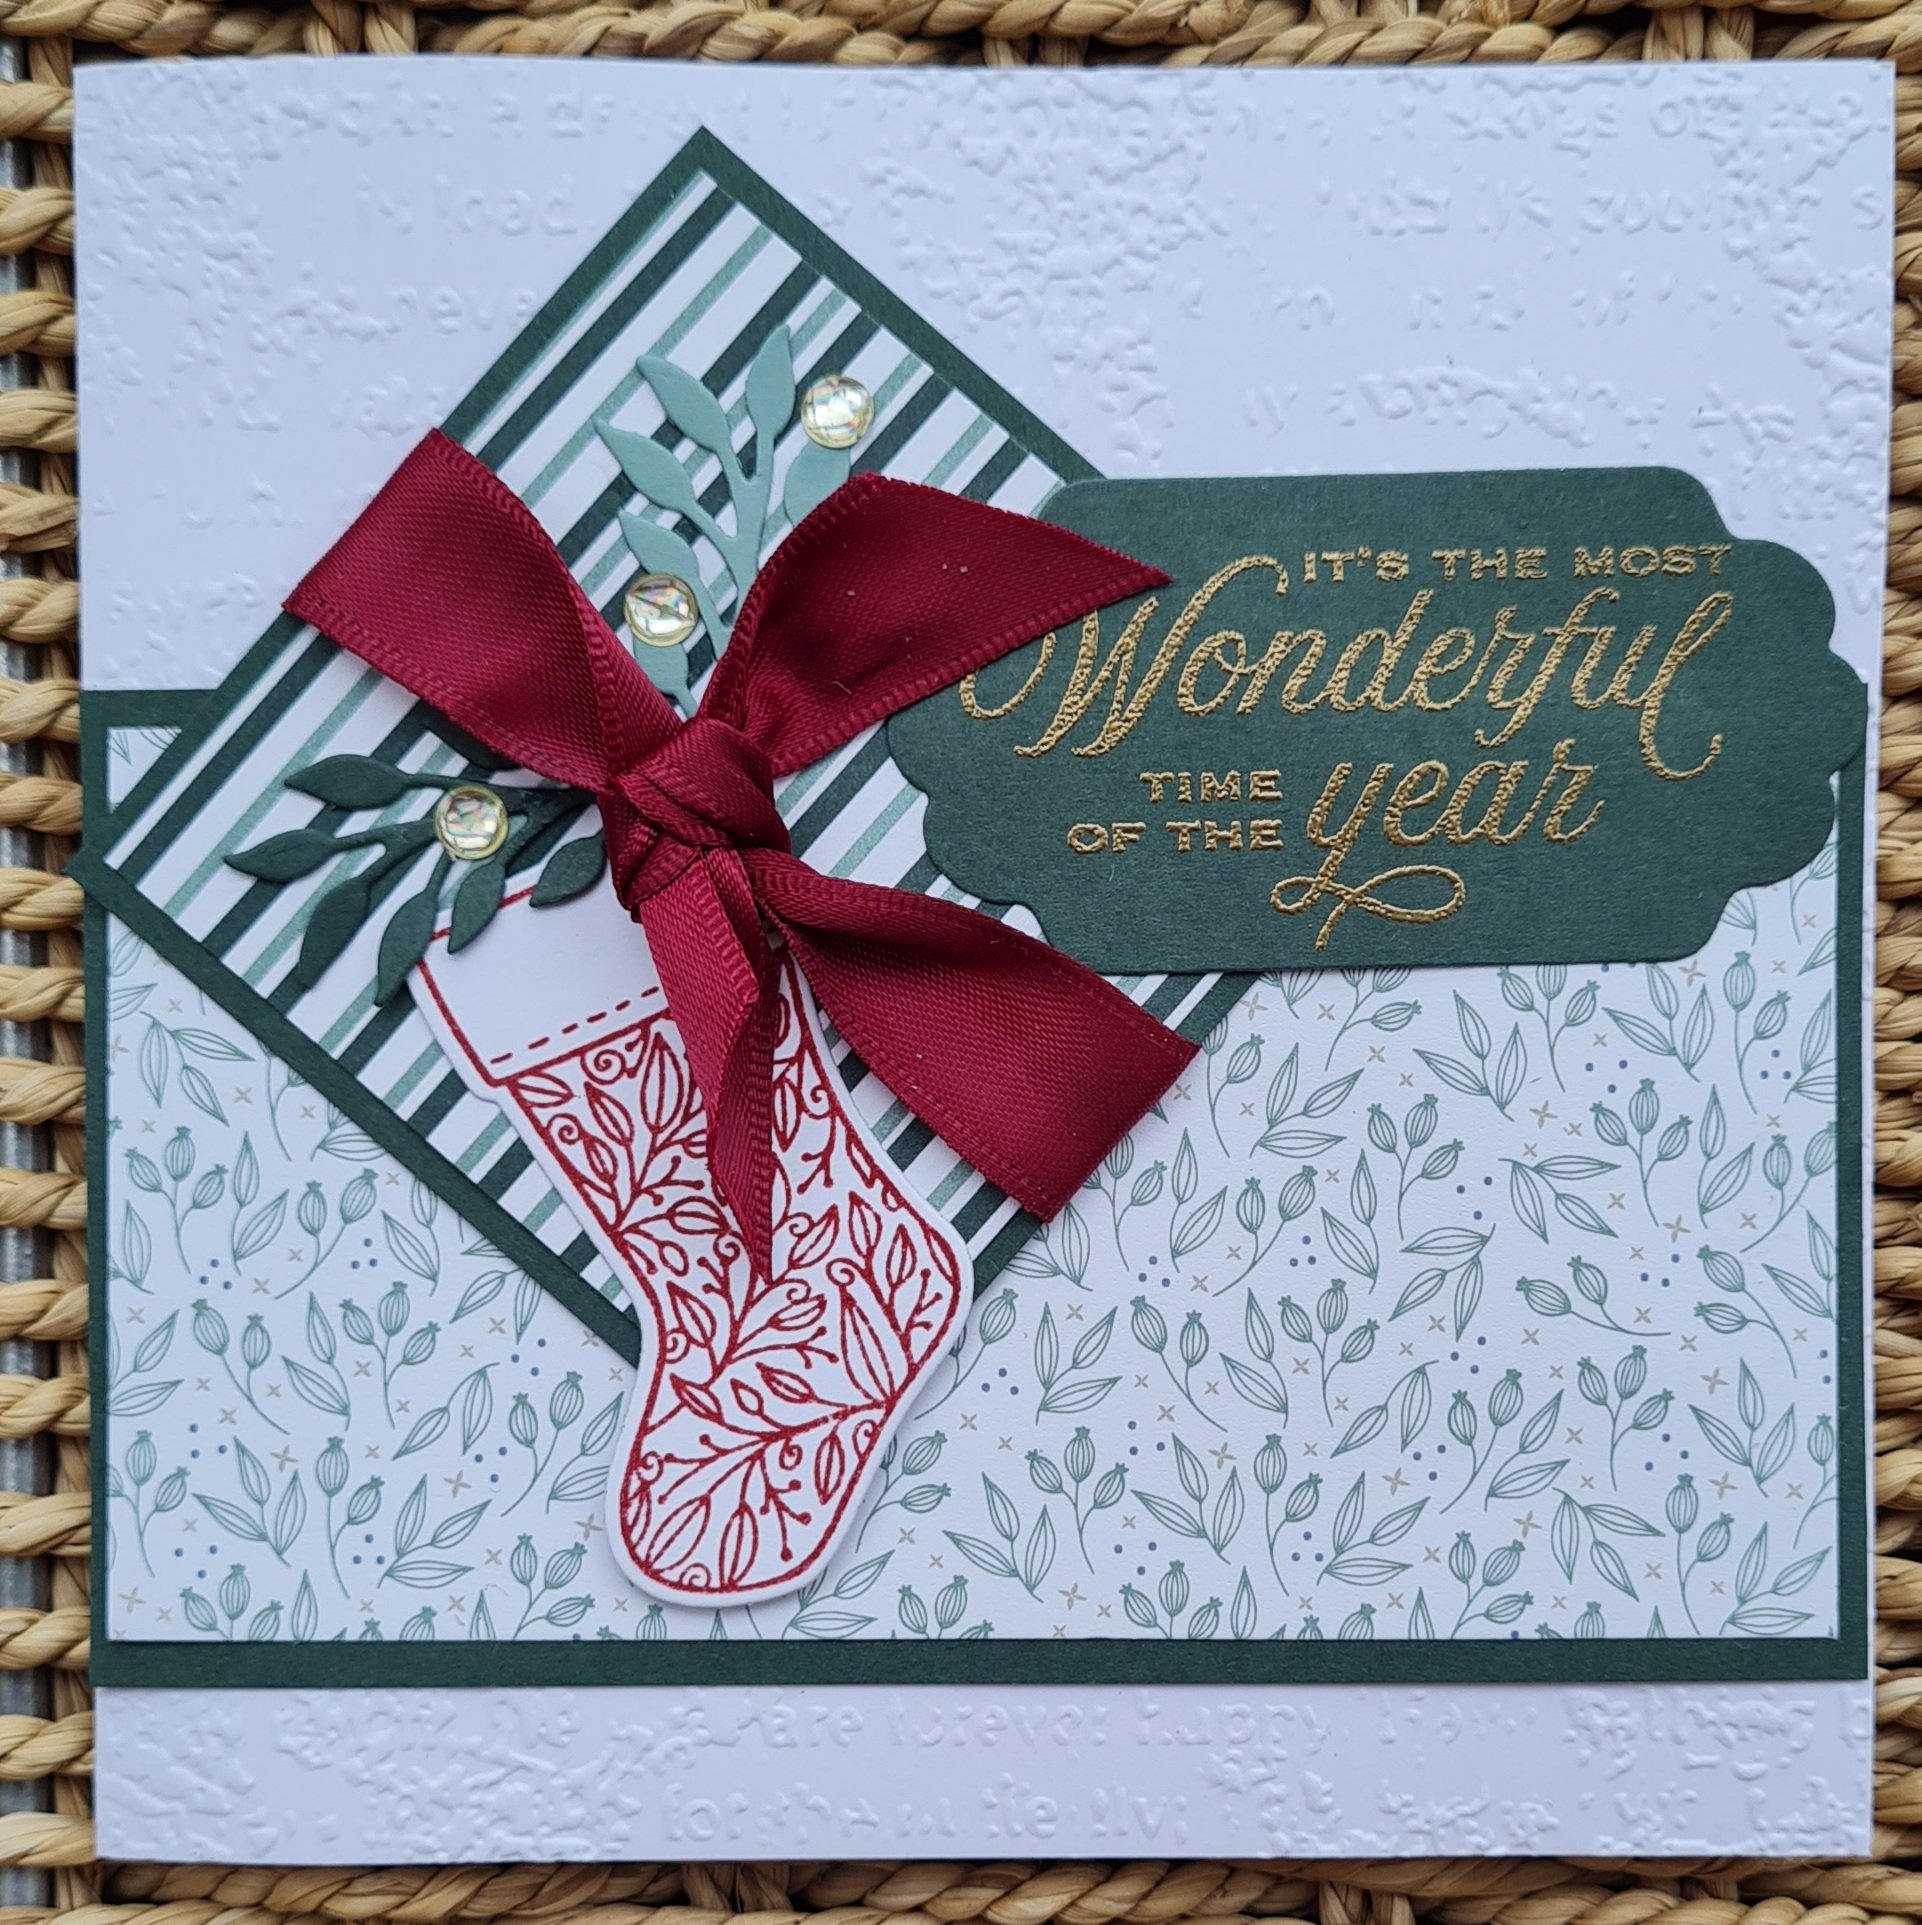
Next I embossed the sentiment from an old set (Picture Perfect Birthday) and

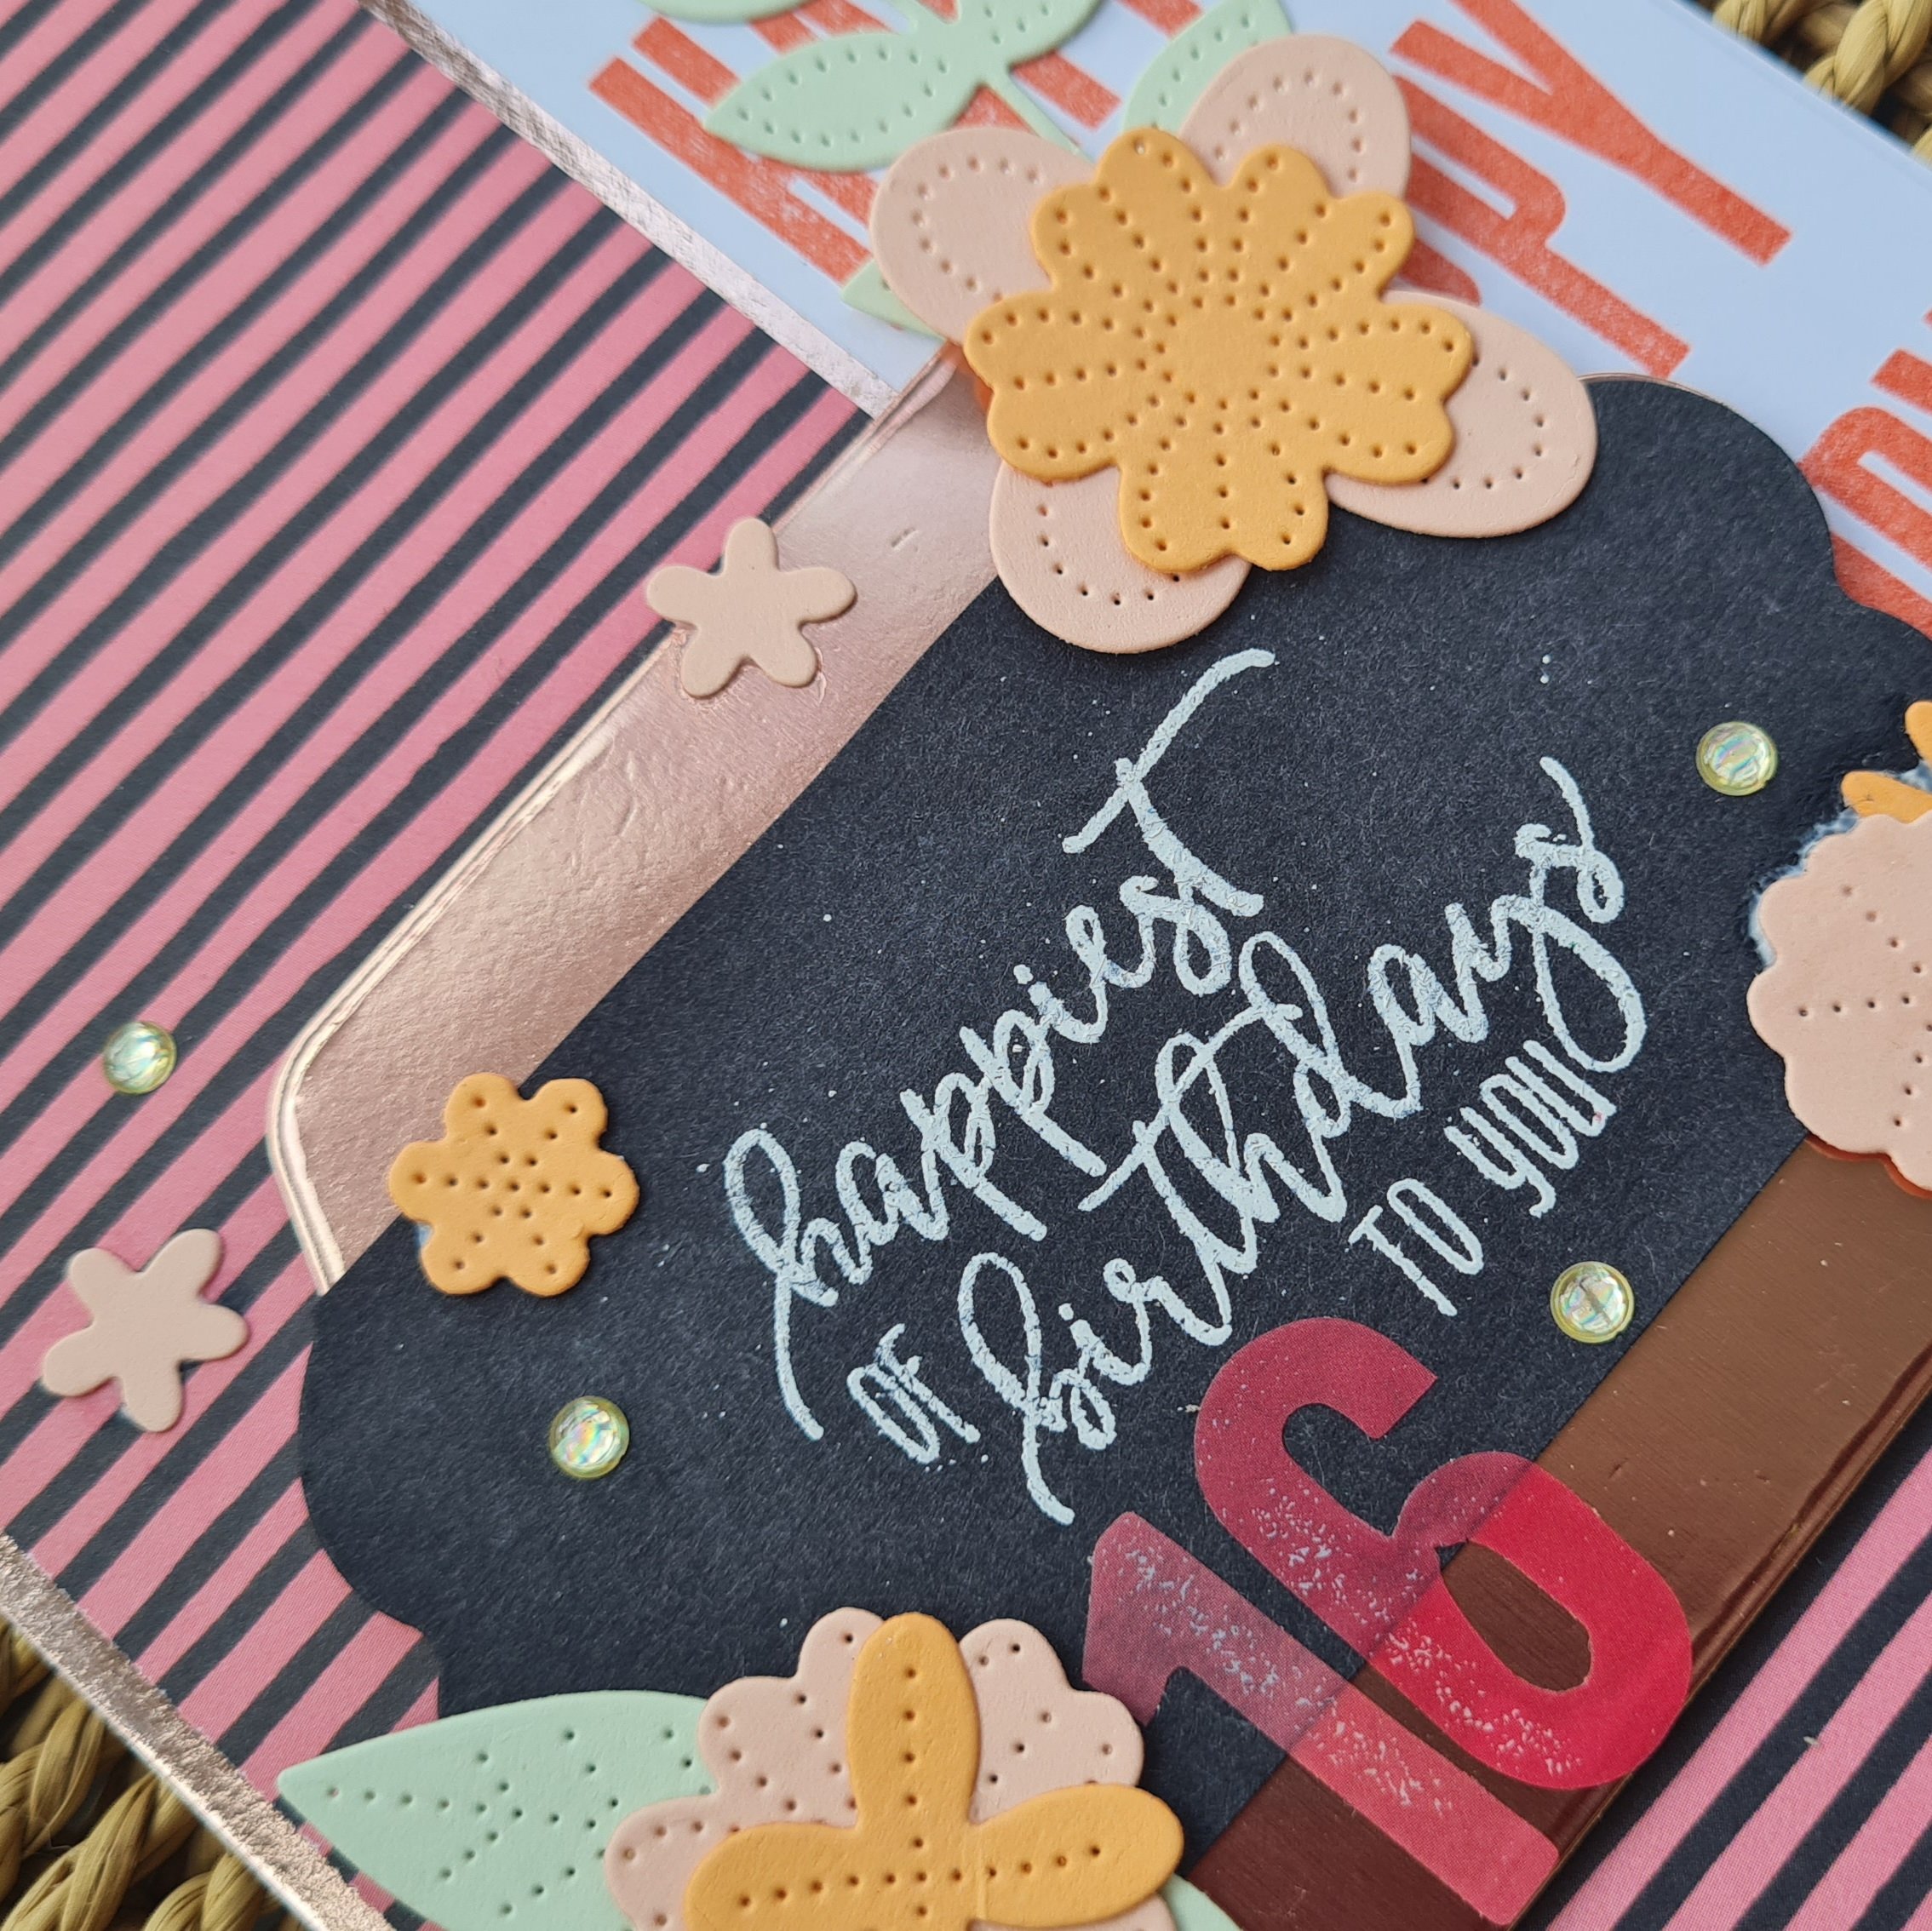
I then grabbed the Pierced Blooms dies and used scraps of different pink and peach coloured cardstock to cut flowers and the Soft Sea Foam for the leaves.

I raised the label panel up on foam and then created the flower clusters and dotted a few small ones around.

I finished off with the number stickers and some sparkly gems for the obligatory bling.

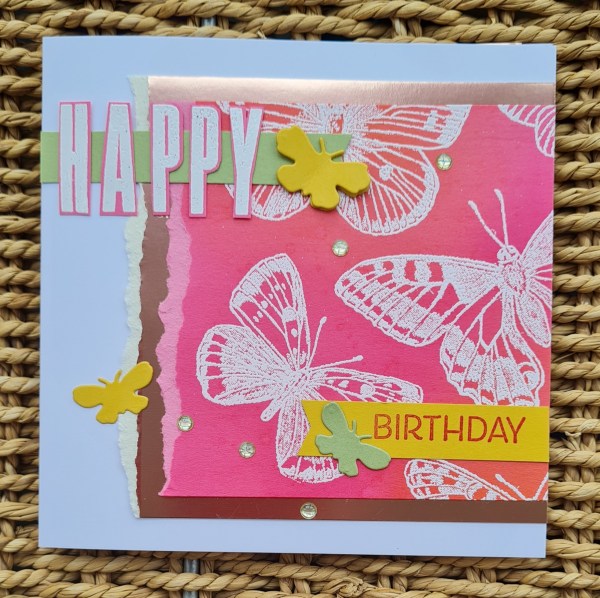
Really happy with this. Slightly wishing I had used a different colour for the Happy stamping at the beginning and that it had been more pink rather than Calypso Coral but I still think it works together.

Happy crafting!

Catherine

Artist trading coins… vintage

I’ve actually pulled out of doing most swaps, including the one I organised as a result of not having time energy or mojo for making them… but then suddenly I got a bit of motivation to make these coins. So I will be sending them in to the UK stampers forum swap. I used some vintage ephemera papers to cover each of the coins and also the little vintage doll stamps to create the focal image for each.

I then added some crochet trim and the word vintage to each to finish off.

I did also add a little stamping in sepia ink and a splatter of a shimmer watercolour paint to them as I wanted a bit of Grunge.

Happy crafting!

Catherine

Christmas challenge #4

Another week has whizzed past and we are already onto week 4 of this challenge… and this week Tree is the prompt.

Now I love tree stamps and dies but this year I haven’t bought any new tree based stamps or dies. I love the Whimsical tree set but not yet managed to sneak that into my basket so I was going to use old stash … but then I spotted the tree themed paper in the Tidings and Trimmings dsp and an idea came to mind! So this is what I did!

I took one sheet of Soft Succulent cardstock cut in 4 and 2 6×6 sheets of the dsp cut into half lengthways and decided to make 4 cards in different styles/finishes using the same base supplies.

Card 1… kept this one simple. Dsp mounted and then run through an embossing folder. I stamped and die cut the sentiment (Christmas to Remember) and a couple of Holly leaves and berries from Christmas Season. I also added some linen thread and a vellum die cut frame to give the sentiment some definition. Simple!

Card 2… again fairly simple … I scrumpled and distressed the paper and the edge of the cardstock panel. I mounted the dsp onto a piece of foam to give it dimension and then stamped and die cut lots of different leaves from Christmas Season to create a central cluster focal point.

Card 3… this time I decided to added some ink to the cardstock panel and make it ombre before adding water splats, ink splats and white splats to create a fun background. Of course I didn’t want to cover it up so added the dsp on an angle after edging the paper to give it definition. Again some stamped die cuts added and the vellum from under the main sentiment.

Finally… Card 4… this time I added to the dsp with ink blending and stamping to make the paper more vintage (Very Versailles text and Forever Fern dots). I decided to die cut the sentiment to create a label and used some brown string from the stash to make it rustic.

I love how these came out and pleased with the ideas I used to make them all different although of course they started the same.

Hope that’s given you some ideas for stepping up a simple bit of cardstock and dsp!

Have a good week.

Happy crafting!

Catherine

DT: Craftyhazelnuts patterned paper challenge

So at the start of the year I thought I would do one sheet wonders all year for the Craftyhazelnuts patterned paper challenge but this month I didn’t fancy it and instead grabbed what was left of a piece of dsp from a project I made a while ago and created four cards using just 1 panel of dsp for each.

The paper I used was the expressions in Ink dsp in the Pale Papaya pattern. Love this paper so much and with the gold elements in it, it really doesn’t need much else to make it special. But I then grabbed some of the shimmer vellum in soft succulent and pale Papaya to add some more shimmer.

I decided to punch the jar out of the soft succulent and create 4 flower arrangements. Two I did using the Jar of Flowers rose stamps and the other two using the Berry Blessings stamps where I turned the berries into ‘peaches’? Well they look fab regardless of how real they are! 😆

I added some bakers twine to each jar and two of the jars I added some foam behind them to give them dimension.

I added sentiments from the Sweet Strawberry stamps set and then used the banner punch for the ends.

I also added some of the glitter gems in gold to go with the gold bits in the dsp.

A fab set of little cards … sorry I didn’t stick to the OSW idea I had but sometimes you just have to go with the flow of what you fancy creating!

Happy crafting!

Catherine

Christmas challenge #3

Hi… how are you doing? Have you managed to make any cards using my challenge yet? I would love to see them if you have. Just tag them #christmascard2021IFCchallenge so I can pop along to see them.

So as you can see for challenge number three I chose star. There are so many things I could have chosen to play with but I decided to start with a stencilling experiment with different mediums.

I chose a Clarity stamp stencil which I’ve had for ages which is the stars in a circle frame and decided to ink through using Tempting Turquoise on a piece of card I had cut into 4 pieces.

Next I did the same but added a layer of modelling paste through the stencil. And again the same ink but with Iridescent Modelling paste. And finally the same ink but glass bead gel medium.

Aren’t they fabulous and of course all different. I had to leave the ones with the mediums to dry for a while before I could then start adding to them but they are worth the wait in my opinion.

Next I decided to have a die cutting frenzy with the Bedazzled speciality paper from this years saleabration and the dies from the Tidings and Trimmings set.

And then started creating the cards.

I kept to thr Tidings and Trimmings stamps for the sentiments which I embossed and trimmed into strips (one of my favourite ways to add sentiments).

To a couple I added some random patterned paper from the stash and all of them I added a layer of vellum behind the intricate star die cut and used some Pretty Peacock cardstock for the mounts.

This one I added some splatters and air brushing using the Tempting Turquoise as I wanted more of a loose style to go with the more rustic modelling paste texture.

I kept this one quite plain and let the shine do all the work. Just love the iridescent paste for adding glam to a card.

This one I actually was inspired by a sketch I had seen on Instagram for stampinfancyfriday and although just not an exact replica you can see some of the inspiration in the final design I am sure!

I really enjoyed these … they weren’t quick makes but I really enjoyed playing with the different mediums and that sparkly Bedazzled speciality paper.

Hope you enjoy playing with stars this week… look forward to seeing what you come up with.

Happy crafting!

Catherine

Christmas Challenge #2

Week 2 = stocking

I decided to just go for it with the Tidings and Trimmings bundle and create some cards using the matching dsp and the stamps and dies from the set.

I had lots of fun then delving in the gems box and the ribbons basket to find some bits and pieces to embellish and add texture.

I kept to a simple colour scheme… Evening Evergreen, Soft Succulent, Cherry Cobbler and Sahara Sand. I also added gold embossing and did die cut some of the sentiments using the Stitched framelits and the Seasonal Frames too.

I stamped the two different stocking stamps in lots of different colour ways and did a bit of colouring in on some too.

And then had fun chopping papers up and matting and layering. I used 3 sheets of the 6×6 in total and made 8 5×5 cards. I also embossed a couple of the card blanks using my new favourite embossing folder: timeworn type.

Just love these … those stockings are so cute and the little bow and the foliage in the set help finish it off perfectly.

Plus love the sentiments and the ones you can create into strips are PERFECT !

So this was my stocking selection for you. A quick reminder that you do not need to make multiple cards to join in … I just love doing this when making Christmas cards as although they are all different they create little sets and I often end up gifting these to my parents and my aunties.

But please do join in … and if you do, use the tag #christmascard2021IFCchallenge so I can find your creations… or comment below!

Happy crafting!

Catherine

Happy 14th wedding anniversary to us

The title of the post says it all… 14 years of marriage for me and my hubby.

We have a nice lunch planned for today, but both have work first this morning.

Here is the card I made for him.

I die cut lots of hearts. I went through all the dies I have and die cut multiples of all the heart shaped ones from very vanilla. I then took a piece of black card to make them pop, added a splatter of shimmer ink and white gesso and then stuck down all the hearts. I made sure some were off the edge and that they were covering all of the background.

Next I constructed the main sentiment panel with the Crumb Cake strip and some strips I coloured using the red and purple coloured stampin blends.

I also cut the word smile out of the cardstock 4 times and layered it up twice and added the s to the end with a double layer too.

I coloured the letters too to give them a similar red/ purple colour scheme.

Next I searched through stamps to make up the rest of the sentiment as I wanted it to say Thank you for the smiles. So there were lots of stamp sets pulled out until I found the right ones for this card.

I added a die cut black heart which I coated with glossy accents to give it some shine. I then used my wink of Stella on the smiles letters to give them shimmer too.

A fun card to say happy anniversary to my lovely hubby.

Happy crafting!

Catherine

Christmas challenge #1

Yes I know I already did a challenge back in July (which I didn’t quite finish) but I decided to set myself another one! This time for the next 12 weeks we have a weekly challenge and I would love for you to join me and play along. If you do join in … it will take you up to the end of November and 12 Christmas projects done before December starts!

So first up is foliage.

I used the fabulous Christmas Season stamps to create a full piece of A4 patterned paper. I did add the Very Versailles text stamp too because I couldn’t resist. I also added some splatters of the shimmer ink in both champagne and rose gold.

I then cut it up as a one sheet wonder. I chose to mount some on Polished Pink and some on Mossy Meadow. I then stamped and die cut some sentiments from the Christmas to remember set and the added elements of a pine cones and the fir tree pieces.

I then started putting the cards together.

Some I added ribbon or twine to… or both.

On some I also added the gold Holly leaf embellishments which are super cute!

I also grabbed embossing folders (Timeworn Type and Pinewood Planks) to add texture to a few of them.

Really happy with this set of cards.

So the challenge doesn’t require us to make more than one card … it just so happens that this first one I did make 7! But then I also had lots of fun making the patterned paper from those stamps.

If you do join in please comment below so I can see your cards… or add the hashtag on Instagram #christmascard2021IFCchallenge

Happy crafting!

Catherine

Happy 16th Birthday

This is the year my daughter and her friends turn 16 so I’m going to be making plenty of 16th cards this year! Here is one of them!

I decided to start with a panel of white cardstock I had embossed with the Painted Texture folder. I added ink using the Speckled Egg distress oxide ink. I also added some splatters of Coastal Cabana ink and some splatters of water too.

Next I added some silver embossed stars from the Trimmings and Tidings stamp set. Then I started playing with the dies from the Christmas Trimmings set and die cut three of the intricate star, lots of little stars and a label from the Seasonal Labels dies.

I added some organza ribbon and then decided to go for the favourite sentiment set… Biggest Wish.

I embossed and fussy cut the birthday sentiment and the Happy I fussy cut and placed each letter separately.

Finally I chose some letter chipboard stickers from the stash and added them. They were originally yellow in colour so I used my Stampin Blends to change them to a colour that went with the theme of the card.

Finally I added a little square with the “th” which was taken from a random birthday stamp where I just inked the 2 letters to create this little added element.

I finished the panel off with a couple of other layers underneath… the bottom layer is the Soft Succulent shimmer vellum, then some coordinating (but retired Tranquil Tide … I think???) cardstock.

Happy crafting!

Catherine

Happy birthday Michelle

A bit of a run on birthday cards this week… this time it was for my friend Michelle.

I decided to use the Butterfly Brilliance stamp which I don’t use nearly enough.

I used some Polished Pink cardstock and embossed the butterflies using white powder. I then added ink in Daffodil Delight and Melon Mambo using the blending sponge to add some extra definition and an ombre look to the card stock. I tore one side and then mounted it onto the rose gold cardstock which I also tore down one edge.

I embossed the Happy from the Biggest Wish stamp set. Next I added some strips of green and yellow cardstock from the stash.

I added the birthday stamp from Artistically Inked to one and punched with the banner punch. I then used the same cardstock I die cut the little butterflies.

Inside I added a strip of the embossed cardstock I had cut off the front panel and punched it into a banner. I also added the remaining butterflies and stamped the sentiment from the retired Picture Perfect Birthday stamp set.

Love how this came together.

Happy crafting!

Catherine