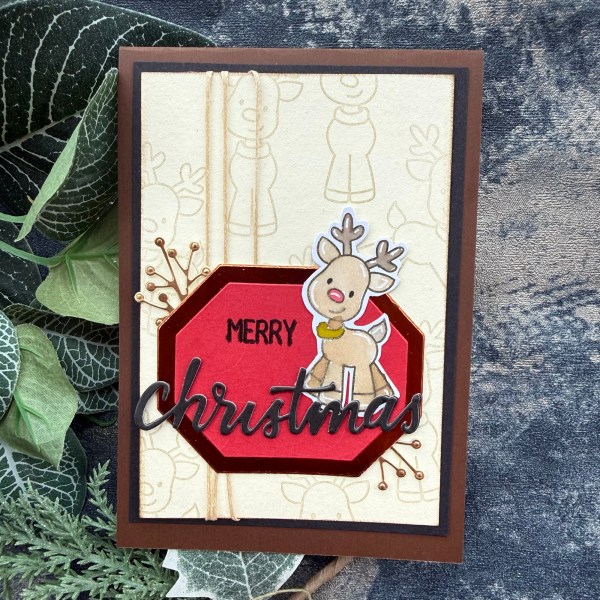
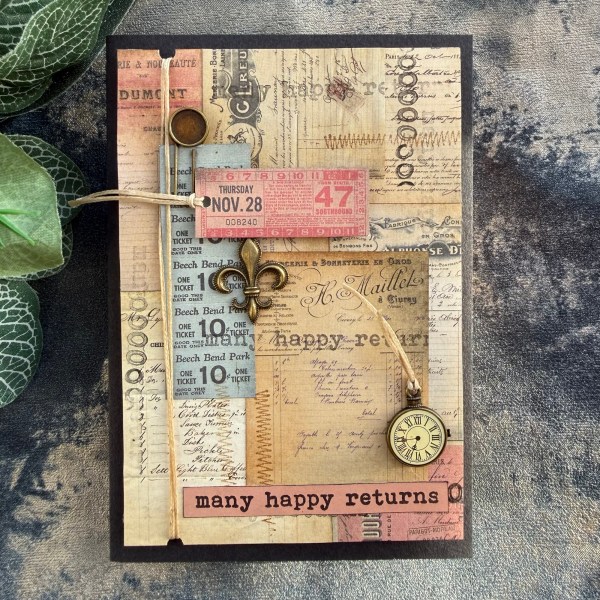
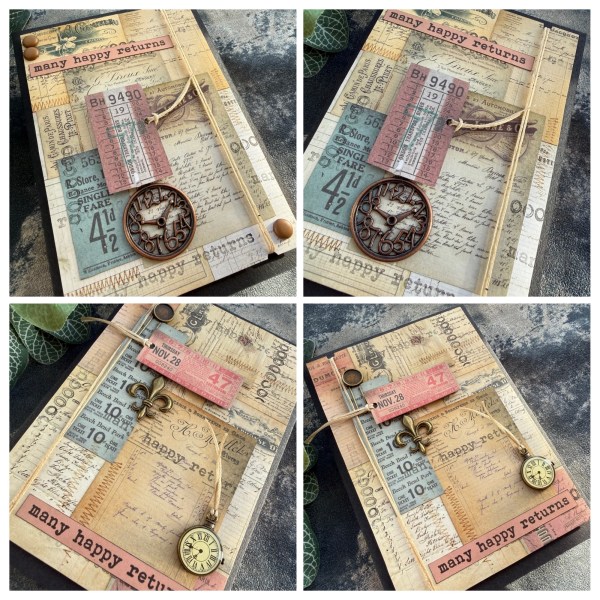
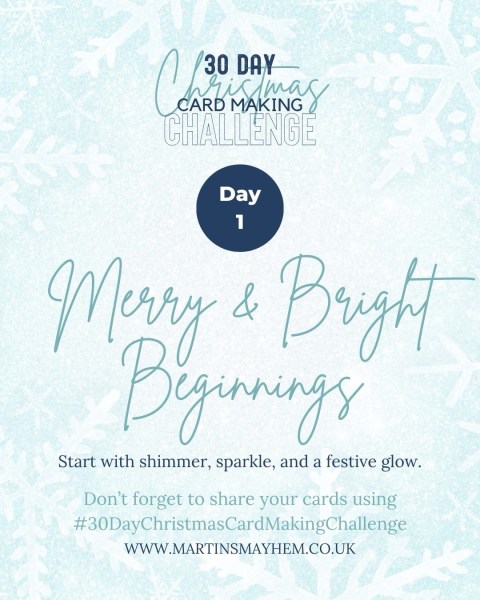
A second blogpost from me today … so because I am a little mad I am joining in another Christmas challenge – this time it is Martin’s #30daychristmascardmakingchallenge which I try to join in each year – but with zero promises of managing all 30 days! So this month there may be days when I post two projects in one day but also days when I don’t get to make anything … but it will be a fun month I am sure!
Today I am off to a good start with the theme of Merry & Bright Beginnings which I also videoed!
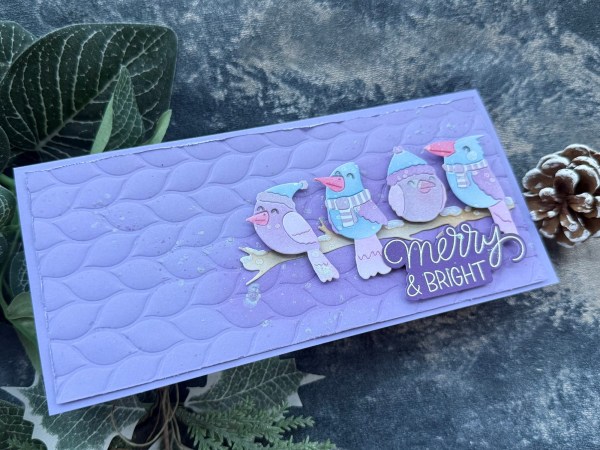
So I decided for this one to go with the Winter birdies stencils and die set from Waffle flower which I’ve had for ages but not got around to using till now!
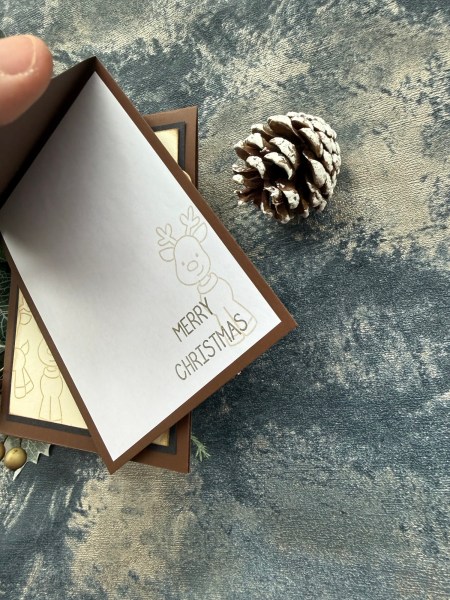
And making the card is documented over on my YouTube channel.
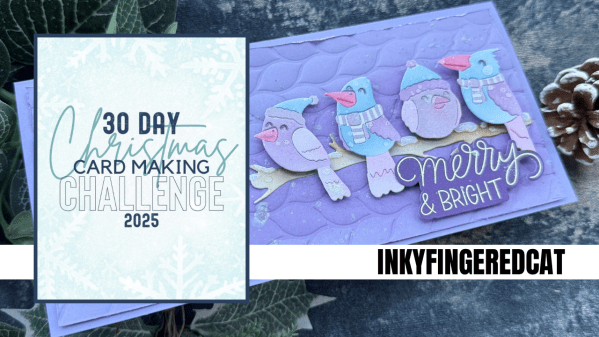
I chose the lilac colours as I knew I had the perfect sentiment already made with the purple!
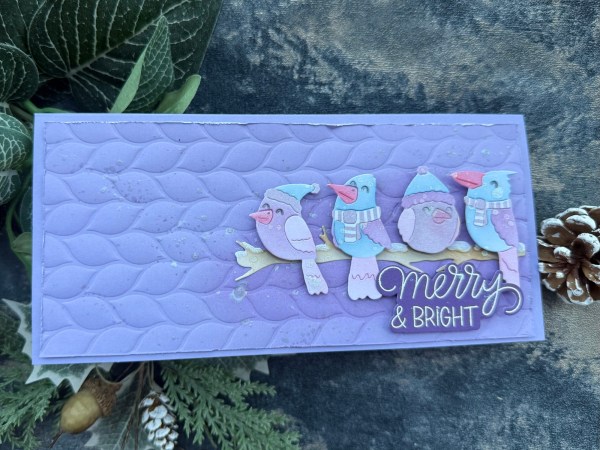
I added glitter glue to the branch and then lots of shimmer splatters to the background too!
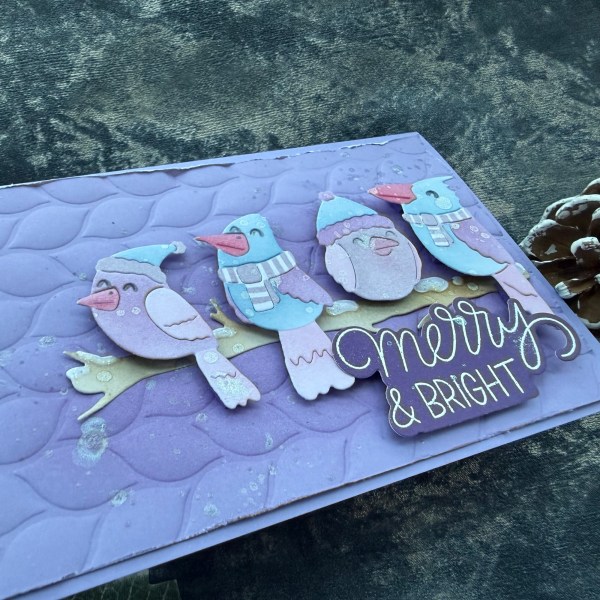
Aren’t those birds the cutest?
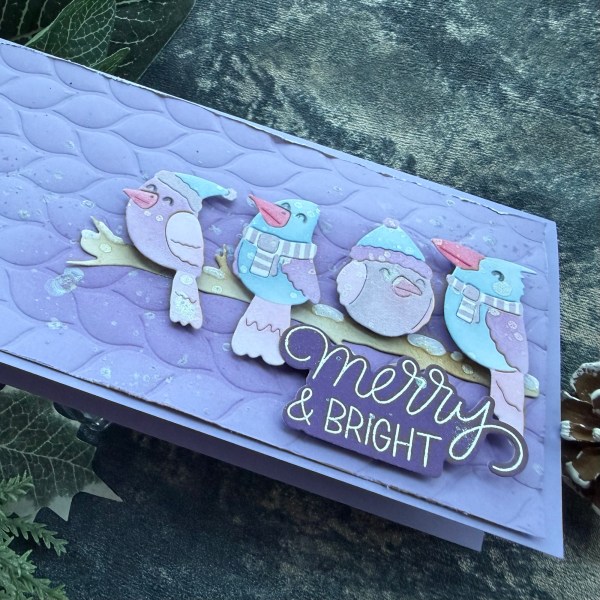
And obviously the sentiment is perfect for the challenge.
Happy crafting!
Catherine