I am an on-the-side and increasingly up front papercrafter who loves nothing more than getting inky and creating pretty things with paper and stamps!
I am also a wife to lovely hubby and mummy to a wonderful 14yr old princess.
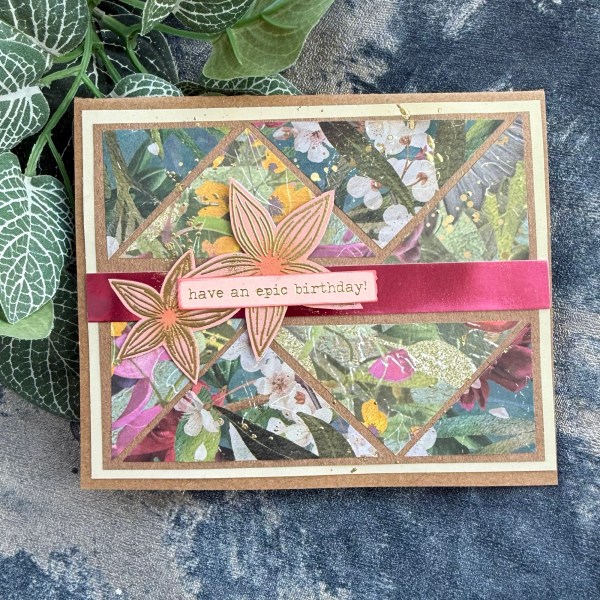
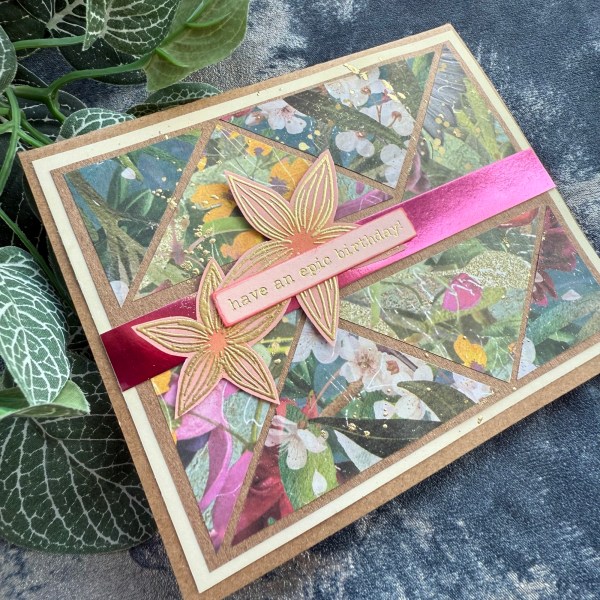
The sketch itself is lots of triangles and because the two patterned papers this was made from are both slightly indistinct floral/foliage images this looks like a fun mixed media background with the bit of Kraft peeking through.
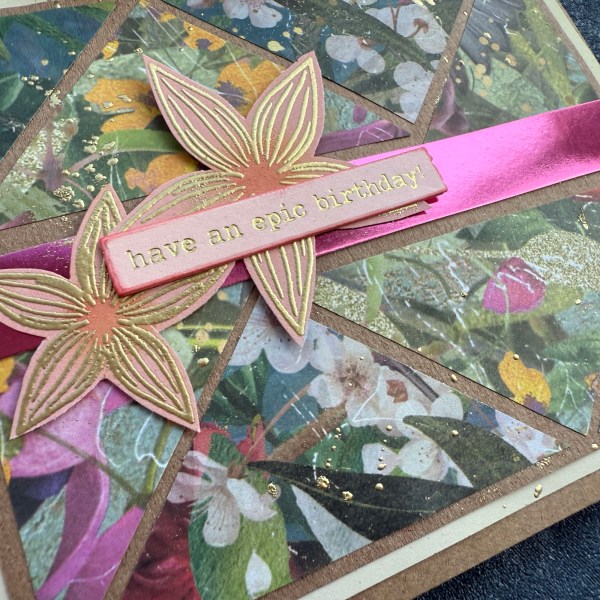
Turned the sketch and added the pink foiled cardstock and then added the gold embossed flowers.
Also splattered some water and embossed with some gold to give a fun bit of texture and shine.
Inside the card I added two more flowers onto the white panel I had adhered as an insert.
I did make the card base a unique size to fit the topper – more similar to the original US sized card shape so will need to do a larger or homemade envelope for this one but I really don’t mind as it’s so pretty!
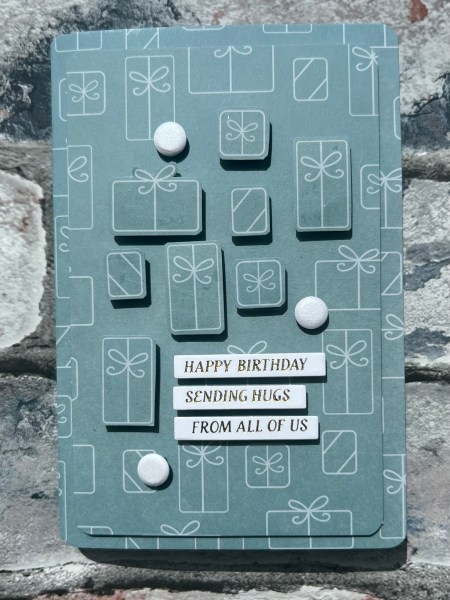
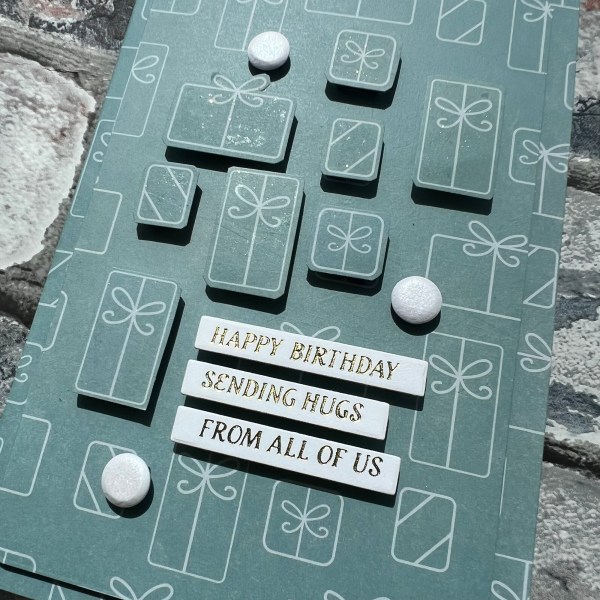
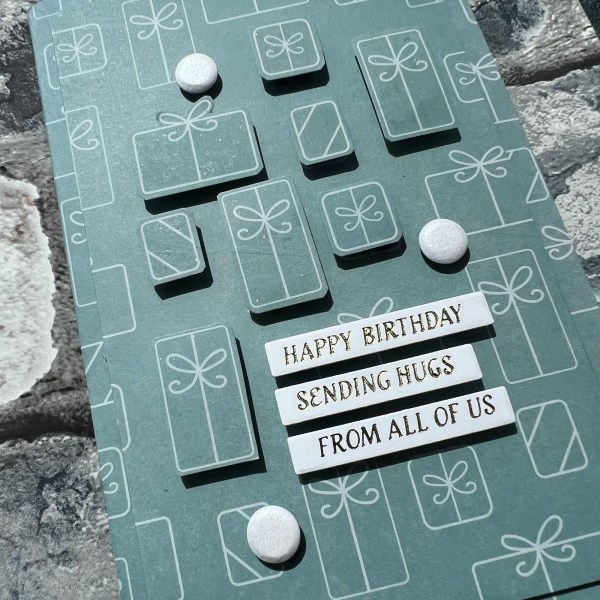
Today I have one of the design team projects I made with the Kingston Crafts card bases kit. There are so many lovely patterns in the kit and because you get three of each I used a couple of them to actually make this card.
I chose the blue/grey card with the gifts pattern and cut a second card down to create a topper panel and then corner rounded the panel and the card blank.
I then raised the panel up a little by putting some scrap card behind it – this makes it have some dimension but without too much depth.
Then I fussy cut some of the gifts from the leftover piece of card and raised them up on the foam adhesive. I chose to just add some around the central cluster and leave a gap for the sentiment.
I added some wink of Stella to those raised gifts and this gives them some subtle shine.
For the sentiment I chose three foiled sentiments and added them and then used three card Candi which I also raised on foam adhesive.
Such a simple card and I love how the pattern was easy to fussy cut out and add the dimension – all with just using the two card bases. And when the cost was as good as this was – it is not an issue to use two!
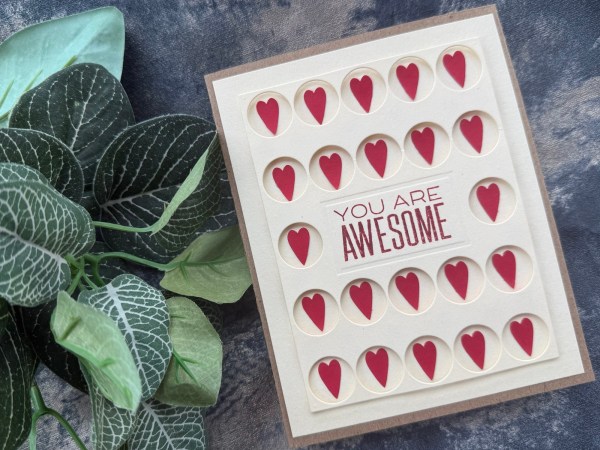
So our anniversary was last week and we were away so I’m late in posting this – but hey ho – happy anniversary to us! 18 yrs! ❤️
I used stash I had literally unpacked an hour before hand … mainly because I suddenly realised I hadn’t yet made a card for our anniversary and we were going away the day after I made this … nothing like being last minute!
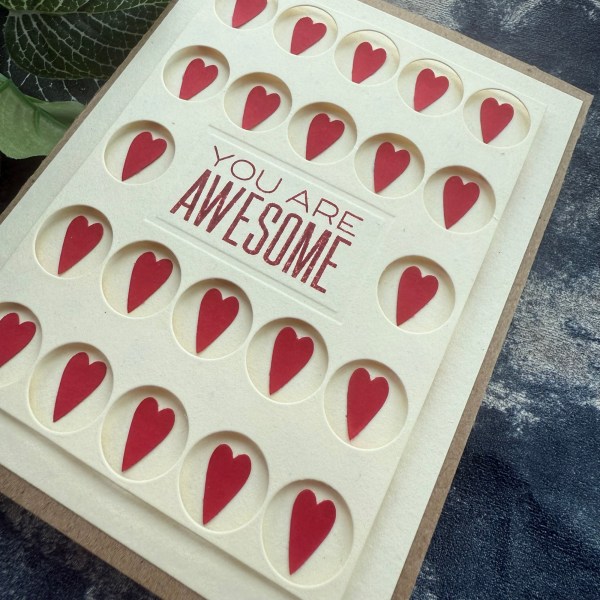
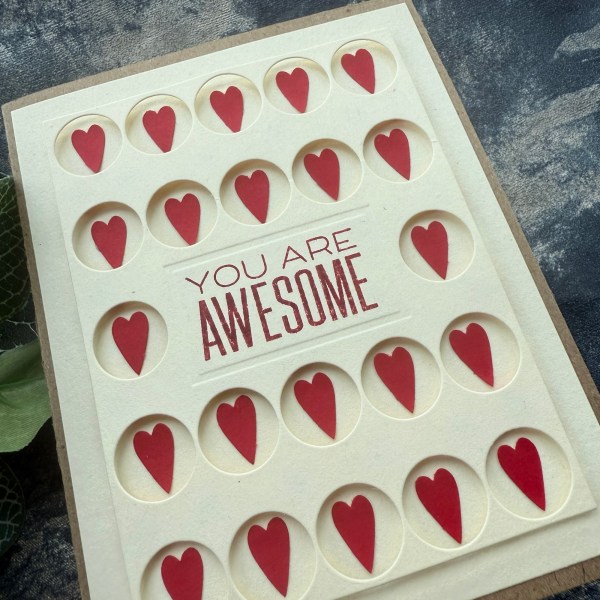
I used the big dots cover plate die and coordinating stamp for the front and then added the punched hearts into the centre of each ‘dot’.
I love the dimension and shadow the die cut made and really love how simple this card actually was to make!
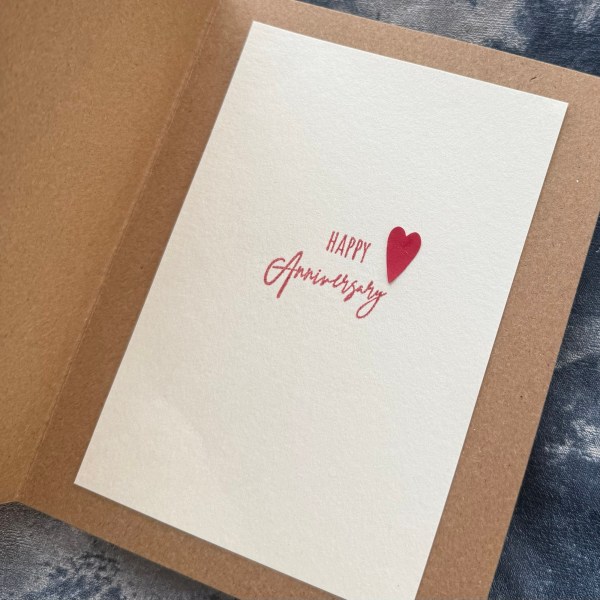
Inside the card I added the panel of cream and then stamped the Tracey Hey stamps for the anniversary sentiment!
Also added an extra heart I punched!
Really fun and easy card to make – I am of course now imagining adding little holly leaves in for a Christmas card too!
❤️
There is a video of me putting this together but also unpacking the new goodies I had bought!
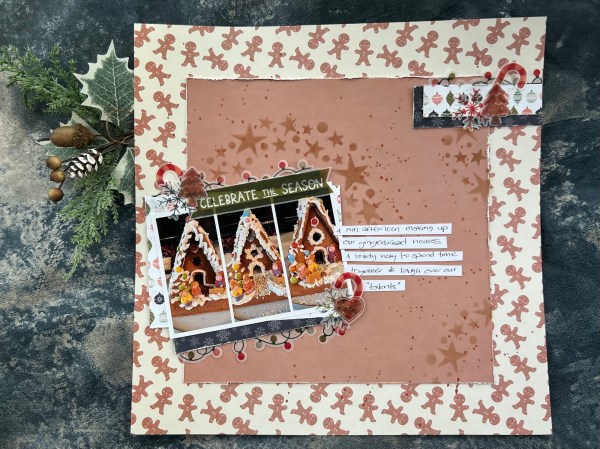
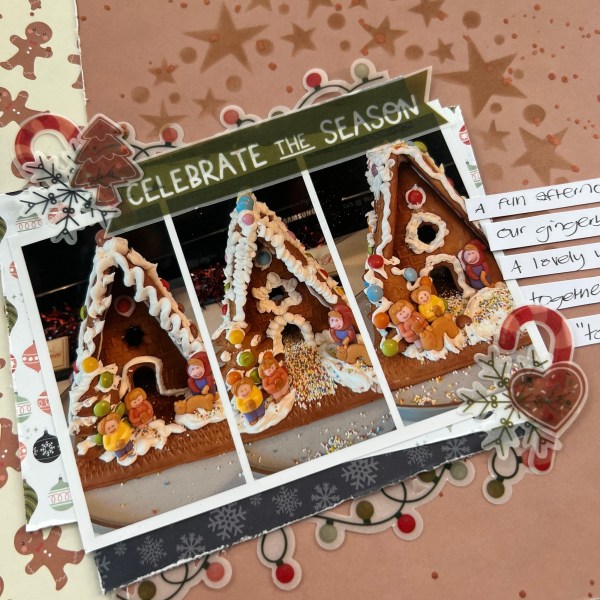
I knew I had the perfect photos to scrap with the gingerbread papers in the Christmas paper pad Kingston Crafts sent for the design team projects to make… our gingerbread houses from December 2025!
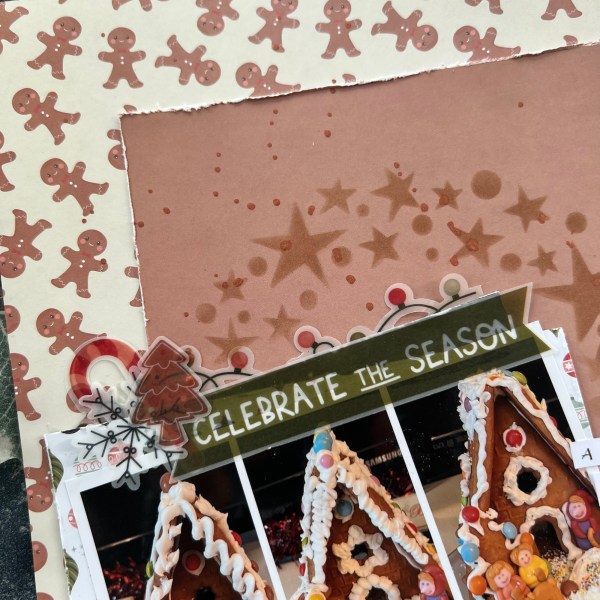
I love that the pad has solid colours that work with the papers and so it is easy to put a page together. I went for a wide border of the gingerbread men and then a square of the light brown for the centre. I then added a few of the other papers to layer under the photo which is a collage of the three houses we made.
I added vellum elements in the three cluster areas along with the title and some of the Christmas lights peeking out from underneath.
I added a little side cluster to the top right and again this became a place for a cluster of those vellum pieces – I love the little gingerbread tree and those candy canes.
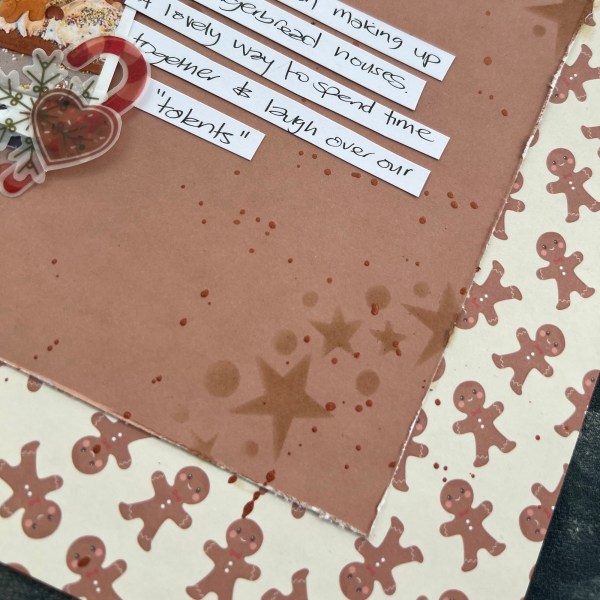
After I had stuck most things down I decided it needed something adding to the brown so I used a stencil to add some stars and dots. I then did a lot of splatters of a copper acrylic ink.
I added journalling on strips and once the splatter was dry I glued them in place too.
Love how this page finished up and how perfect that paper is to document our festive afternoon making our gingerbread houses.
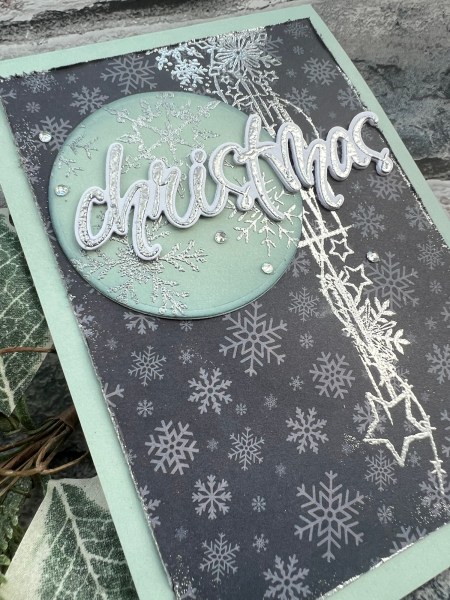
Back with another design team project and this is one of the samples I made for the Christmas pad – and well as it is Friday it is of course a Festive Friday project!
I really love the navy paper with the snowflakes and also the light duck egg blue colour of this solid also in the pad – and I thought it was crying out for some silver embossing!
I added some stamped snowflakes onto the die cut circle element I die cut and then the larger stamped design for down the panel of the snowflake paper.
I used the silver powder and then also added silver to the edge of the snowflake panel to give it some extra texture.
I made the card blank from the same duck egg blue paper- it is a thick enough paper to make a card blank I think – especially if you layer elements like an almost full front panel of the snowflakes!
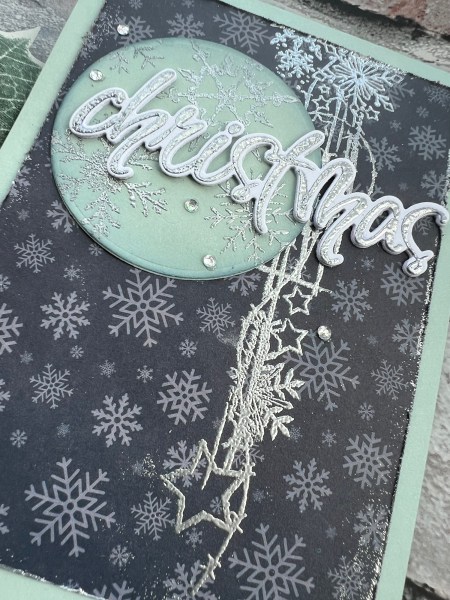
I decided to used the large script sentiment from Colorado craft company again stamping and embossing with the silver and then die cutting and stacking it up! I also stacked the circle with another layer and then added a light blend of navy to frame it.
Inside I added a panel of the snowflakes with another smaller panel of the duck egg with a light blend of the navy ink again.
Love how elegant this is – and really love that navy paper!
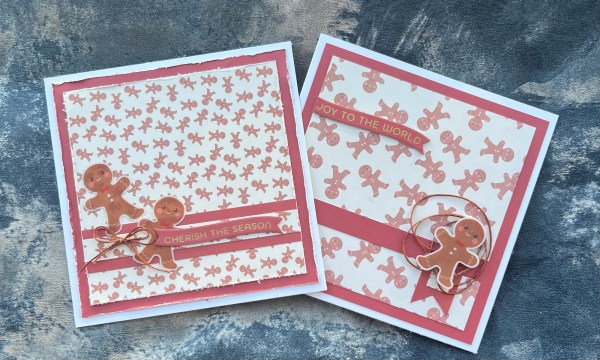
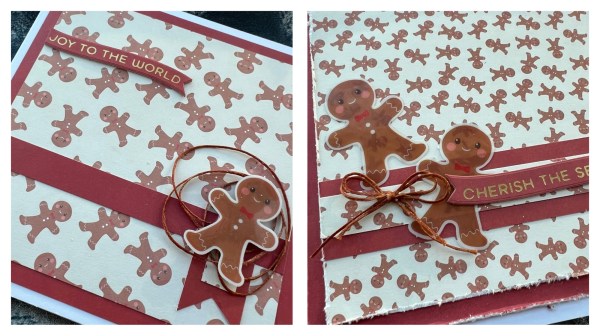
As soon as I saw the Christmas pad my heart went straight to these gorgeous gingerbread men – and then was so happy when they also appeared in the acetate kit.
So I made these two cards showing them both off and how well they work together too!
I used the paper for the background and a mat layer with a solid colour from the pad and then some small strips for the horizontal elements.
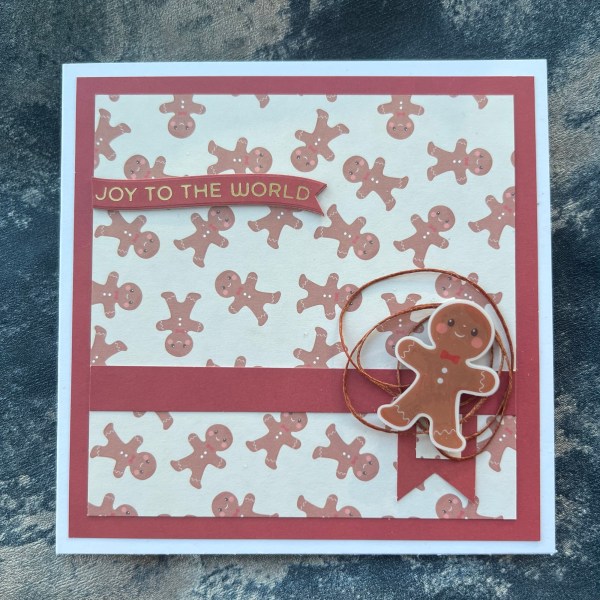
On this one I chose to use the paper with the bigger gingerbread design and then used foam adhesive to pop the gingerbread man up.
As the acetate is slightly see through I could see the brown adhesive foam through – and so I added a second acetate on the top and that did the job! I added some waxed thread and then a foiled sentiment which I used the solid paper to base it on.
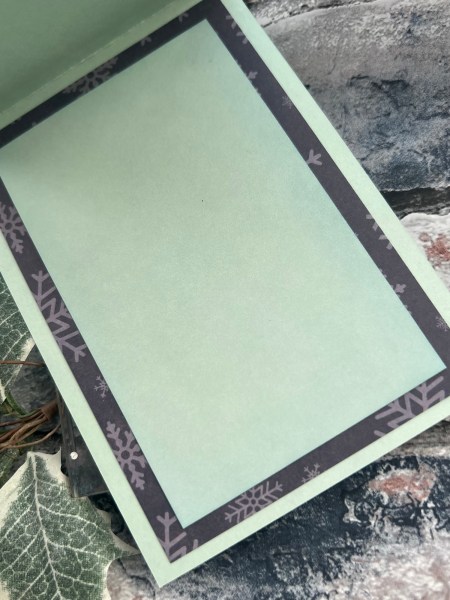
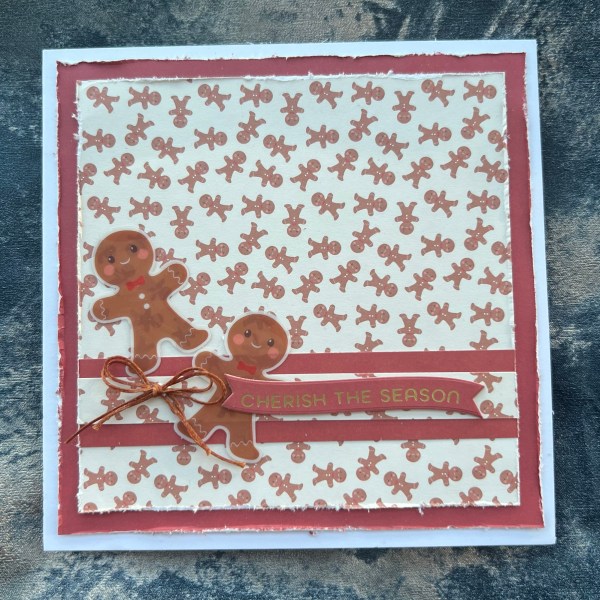
This second one I used the smaller design and distressed the edges. I love exposing the white core in the Kingston papers and also the texture that this adds.
I added the two gingerbread men straight into the card this time – again I added the twine as a bow and then the foiled and die cut sentiments.
Really cute, albeit quite simple cards – I love those cute gingerbread peeps!
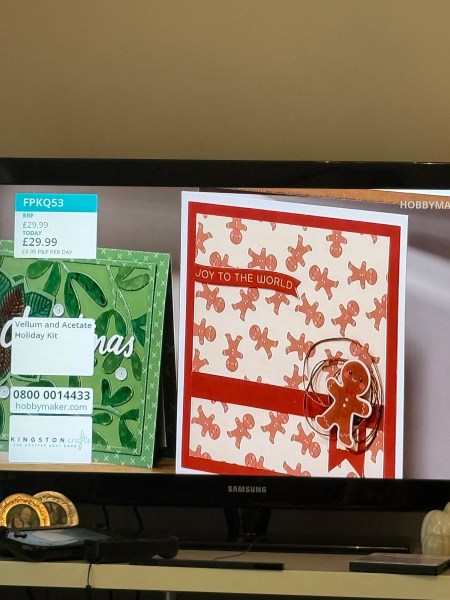
And both these cards got shown on the tv show on the 7th September – so they are super famous! 🤣
I grabbed one of the striped scrap panels I had made and added some embossing to it using an old wood mounted stamp.
I then cut it into the inchies and then grabbed some other scraps to add the ladybird stamped images to it. I then added the colour using an old stampin write marker before fussy cutting the images out.
I then created the little Hello sentiments on shrink plastic to add to the inchies… so cute!
A simple and cute set of inchies for the UK stampers forum swap!
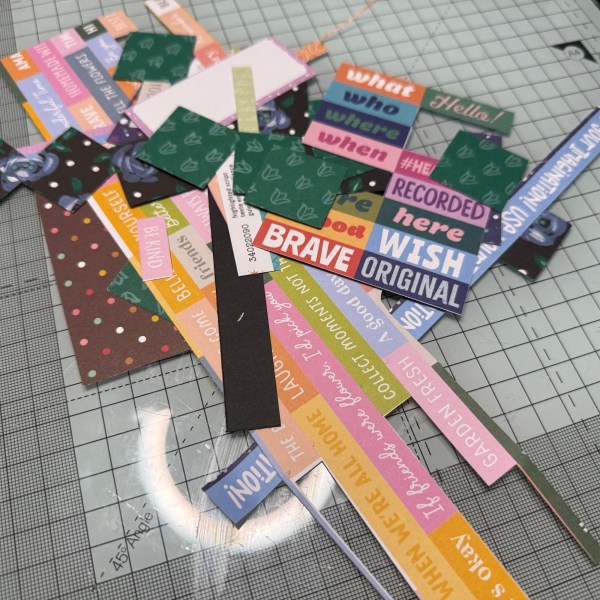
So I wanted to share with you the cards I made from the leftovers from those scrapbook pages I made which were from scraps from other pages – it’s like some kind of weird inception type thing where it’s scraps within scraps within scraps! 🤣
Anyway – here are the scraps …
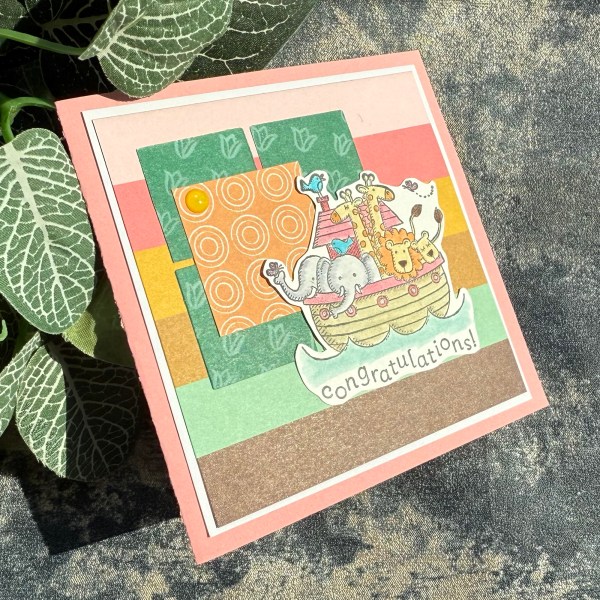
And from this came card number one!
A very cute and bright new baby card featuring a very old stamped image I have had in the stash for ages working out when I might use it – turns out it is now!
I thought the green tulip squares worked well with the striped panel and then a larger square of the orange and this became the background behind the image.
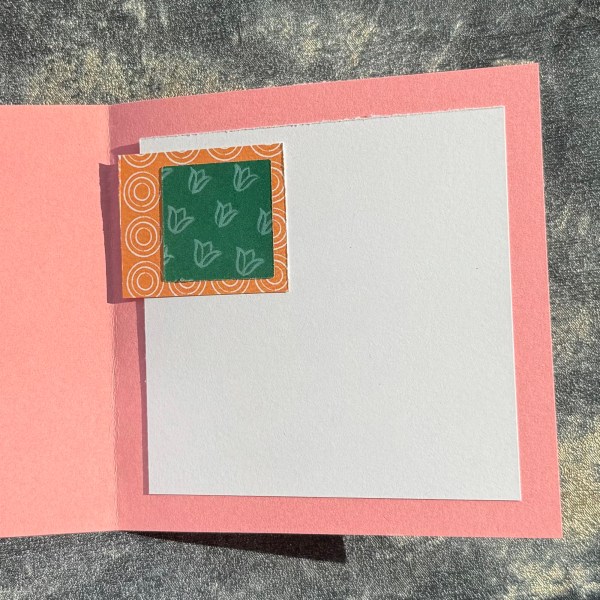
Because the image is quite large and contains the sentiment I didn’t think I needed much else so mounted the panel onto a pink 4.5” square card with a small mat of the white and then added the gem to the top left corner of the orange square.
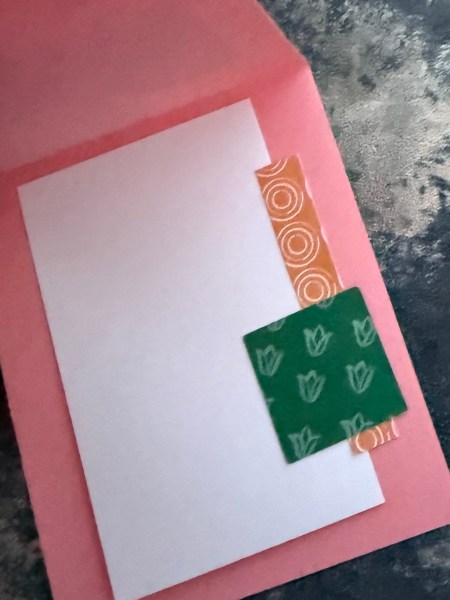
Inside the card a panel of white and then the orange and green patterned paper to finish off!
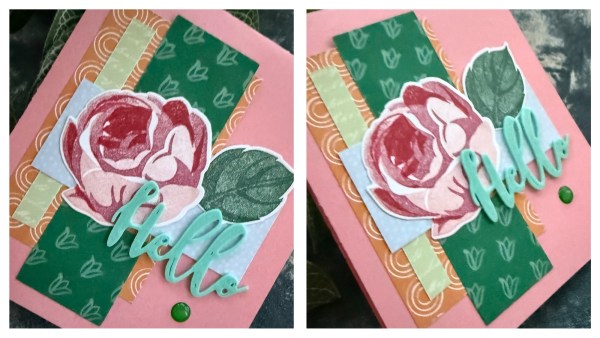
The second card …
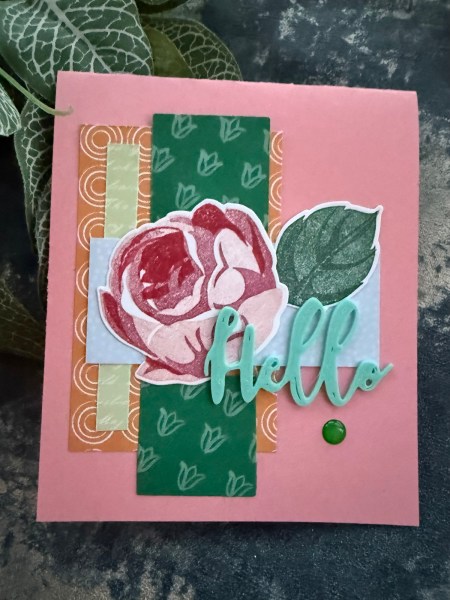
Just a few of the random panels and two more of the squares and then one of the roses leftover from the stampwheel first play.
I also found the cute hello acrylic piece which I am not sure where it was from but the colour worked well.
Inside I added the white panel and then two more bits of the paper.
A cute notecard!
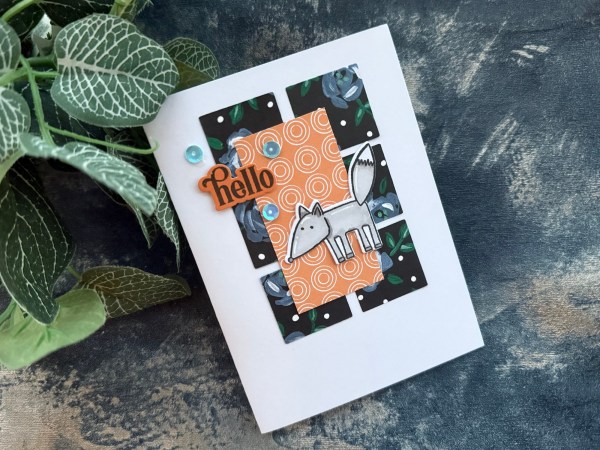
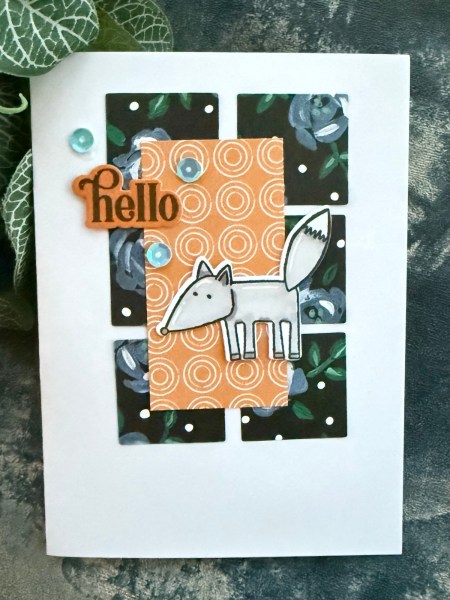
Final card made from the scraps …
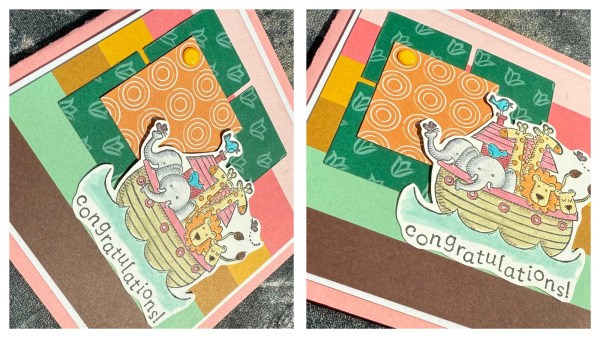
This time I focused on using those squares and this time the other side … this made a nice base for the card topper.
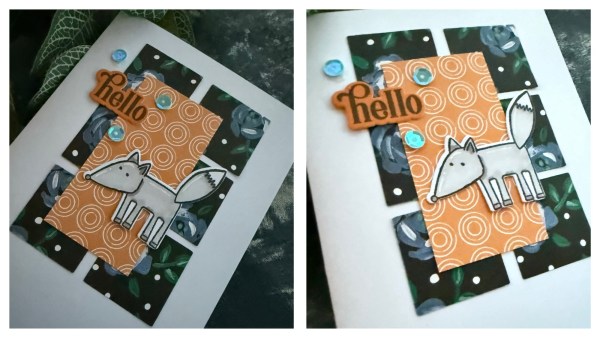
I kept this quite simple with the orange panel. Then one of the leftover cute creatures from Christmas in July came out of the pouch to be the focal point.
I used some sequins to finish off with the sentiment from the stash.
And so that was the final card made from those scraps! And leftover …
I suspect I could make a tag from them but just can’t find the inspiration to do so! So I will now clear these into the bin and move away from the scraps! But pretty chuffed with how much I managed to make from them all!
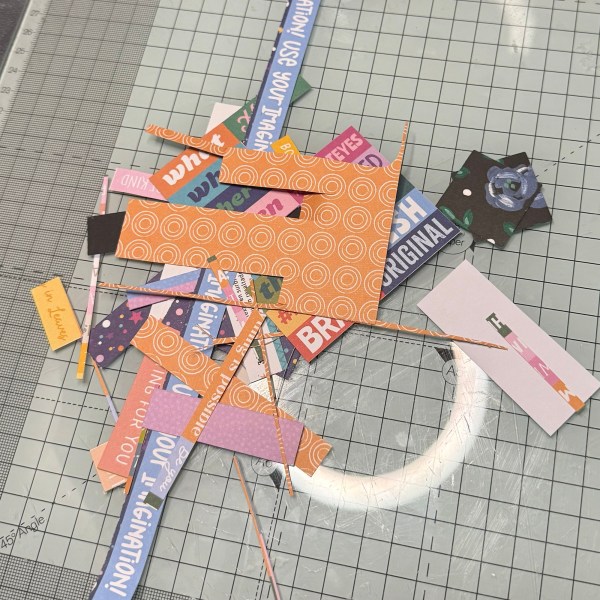
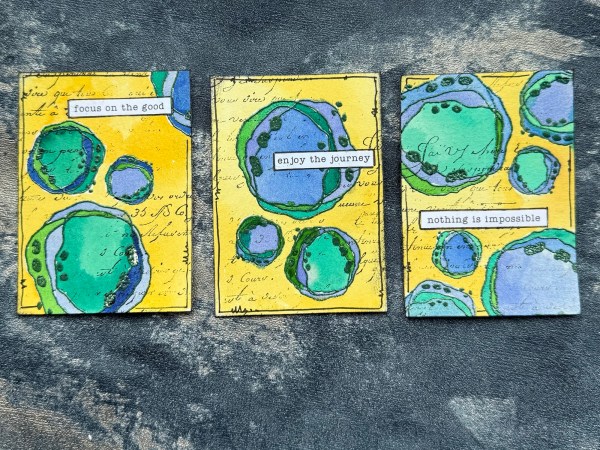
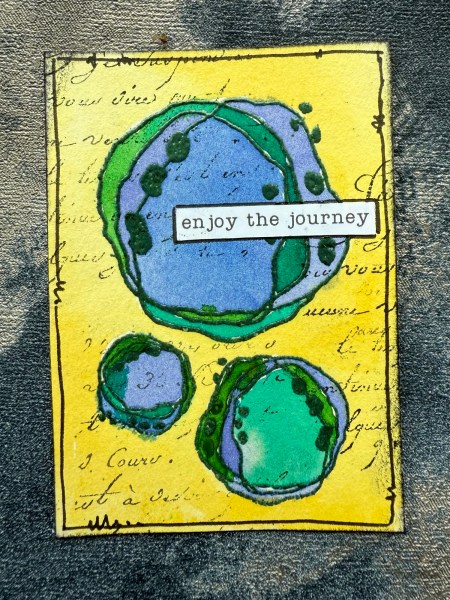
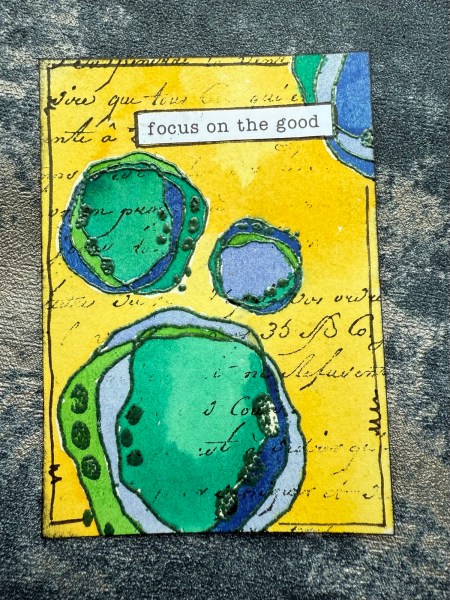
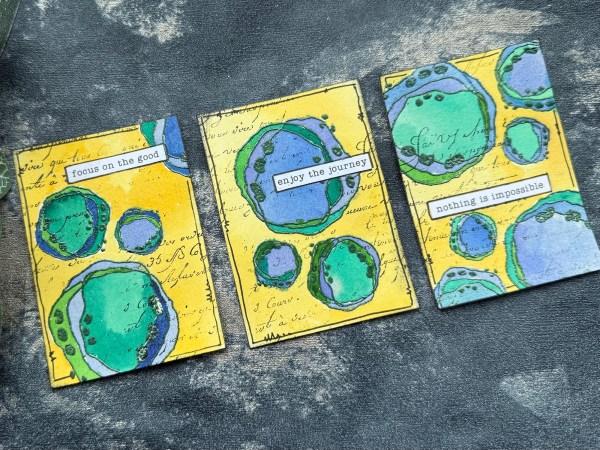
Two posts today as I did a bit of extra crafting today I wasn’t really planning on doing … I made three ATC for the UK stampers forum swap!
The theme is ‘blue yellow green’ … so I went for a fun non specific theme with the squiggly circles from Indigo Blu … I embossed them in green powder and then used my brushos to paint the colours.
I did a little extra stamping with a random script stamp and then edged with archival. I also added black doodle line.
I then took some postive quote stickers for the title and edged them with the black pen too.
This one was inspired by one of the projects in the magazine as I was struggling to think what to do when I pulled the pack of supplies out to play with! Also I didn’t mention it in the video but the maker of the project (Monika) on the front of the magazine has recently started following my videos and so I will also be checking out her projects soon – maybe I will use one of her cards for a future video too!
So thank you to Marie Jones for the inspiration! Wish I could find her online presence to tag her but can’t find her!
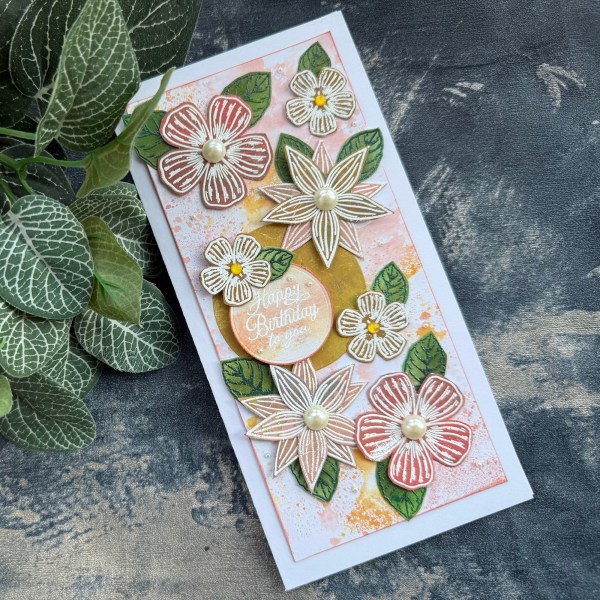
Love the colours in this card so much! I think Crisp Canteloupe ink is still one of my favourite SU colours that ever existed (island indigo remains the absolute fave!). Mixed with More Mustard it worked so well using the packaging technique to create the background for the flowers that were stamped and embossed on panels of the papers in the kit.
The leaves were those brushos ones I did a while ago – but added mossy meadow ink with a blending tool to darken and tone them down to make the colour more appropriate for the other elements.
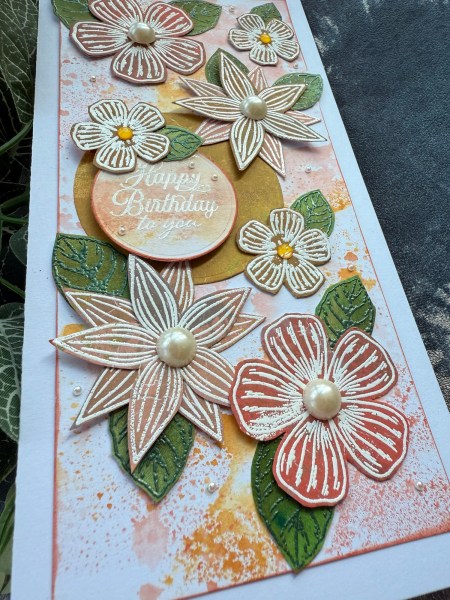
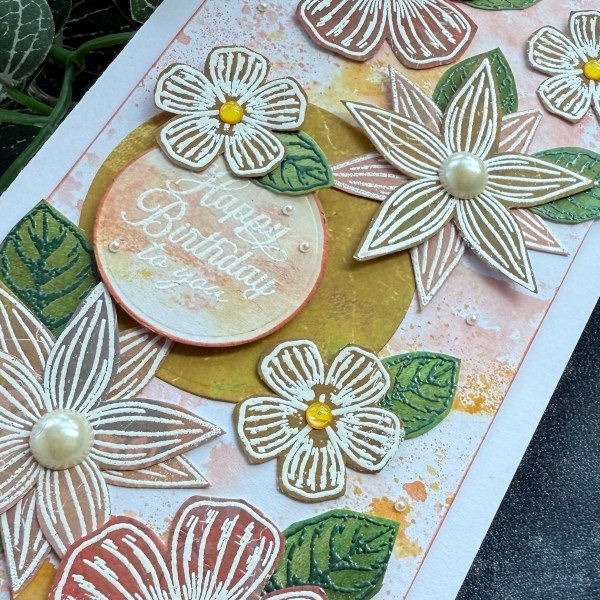
There was quite a lot of fussy cutting and layering for this card with the flowers and the sentiment – I raised the sentiment on foam adhesive to make sure it didn’t disappear behind the bold floral elements.
I added quite large pearls to the centre of the flowers and then scattered tiny pearls around the card to finish off. As I hadn’t any mid size pearls I then added the yellow gems to the centre of the smaller flowers.
Inside the card I added the sentiment again along with the flowers leftover from the front!
Love how this card came out and happy that I had the magazine to hand to inspire me to make this one as sometimes the mojo just want to play and needs a bit of a prod to get me started!