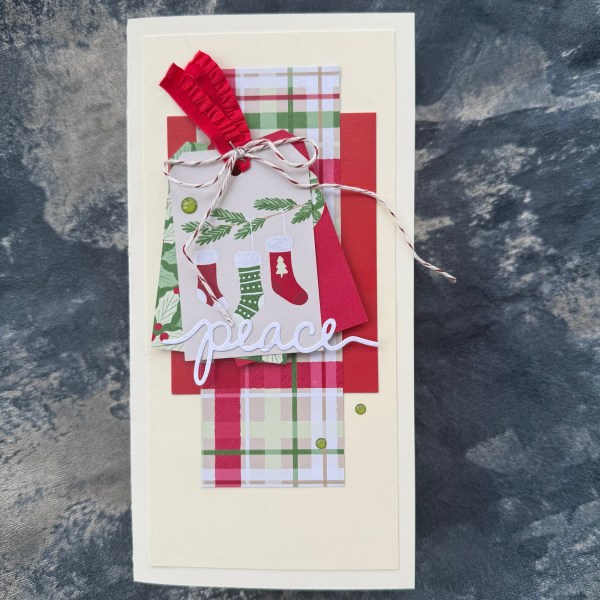
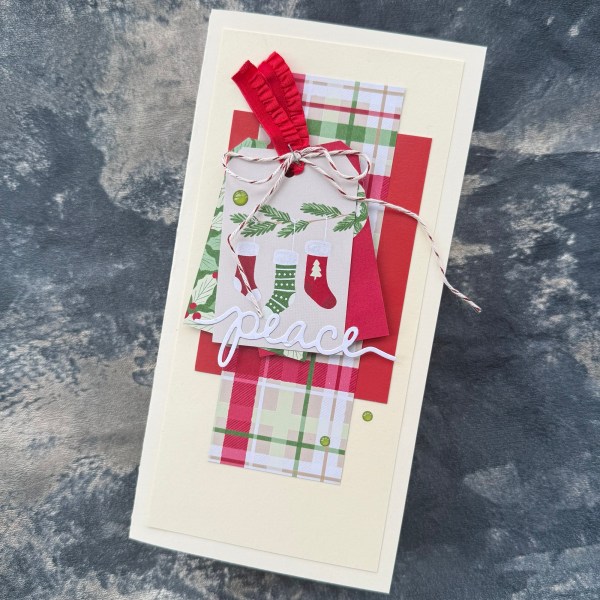
Gosh this was not an easy card to make – not because the card itself was difficult – but more because I have very limited supplies in my craft room as I am in the final stages of clearing it out ready to redecorate.
I had to hand a bag of scraps leftover from scrapbooking projects, some cardstock already cut into (enough to grab a piece big enough to make a 5.5 x 4 card base!). I still had my vintage photo ink and some ready made birds from Snowcapped holidays. I found the thread leftover from another project you will see next week (you will also see these birds again for that one too!) and half way through making it I ran out of tape runner so went back to my trusty glue!
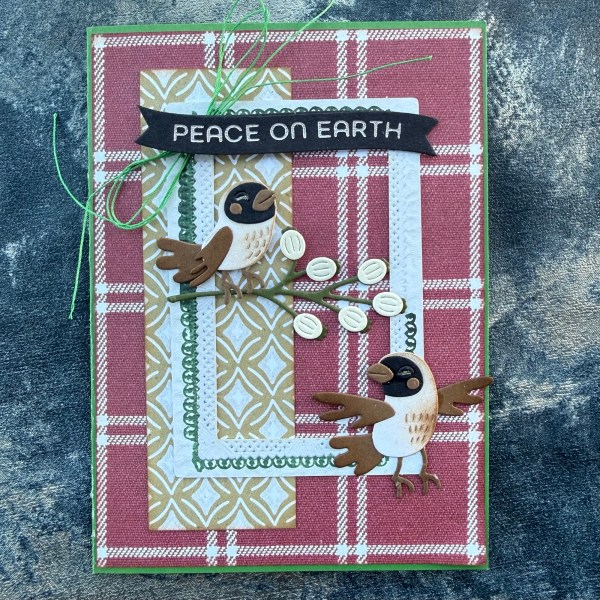
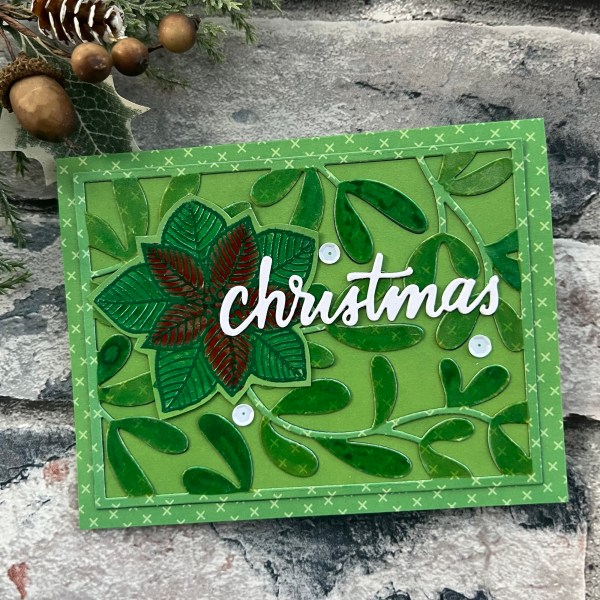
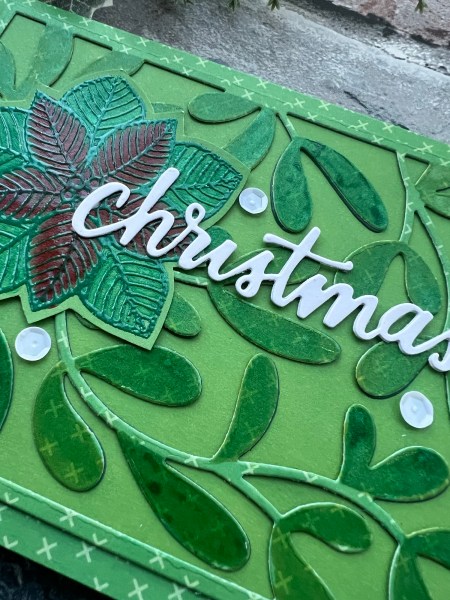
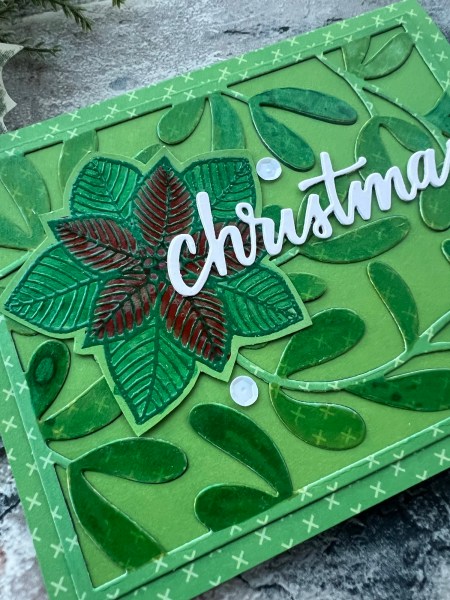
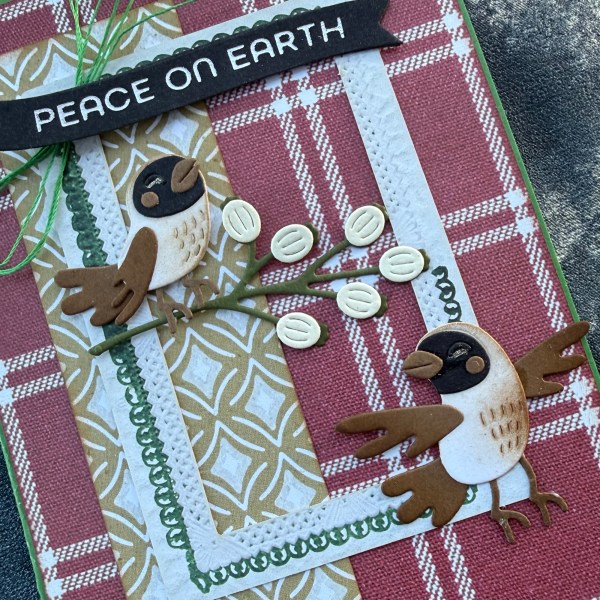
Oh and that die cut stitched looking frame I’m pretty sure is a 49 & market and it’s been sitting on my desk waiting to be used for ages – now is it’s time!
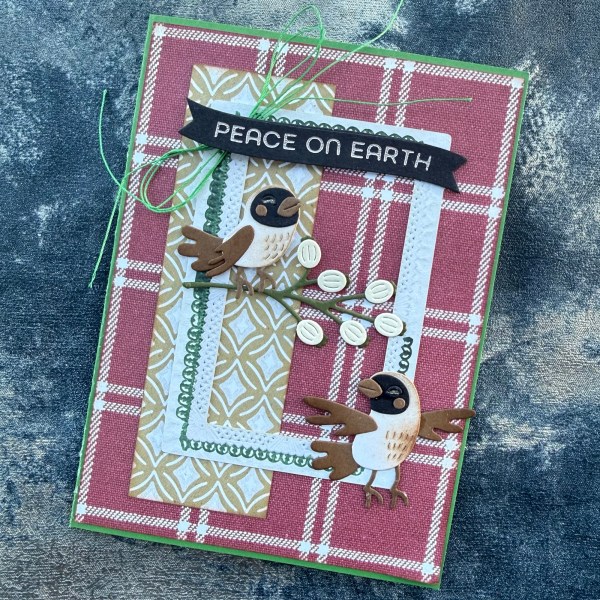
The one thing I didn’t have was a sentiment so that required climbing over boxes to find the Christmas stash in the lounge and much disruption in that room – just for the sentiment!
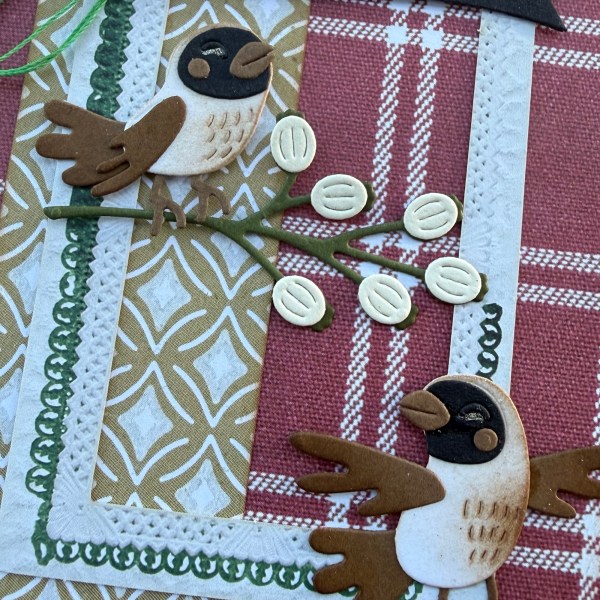
I love these little birds and a good few months ago I die cut lots of them from scraps and inked them and stuck them together ready to go and they have been sitting in my basket next to the desk waiting to be used. I still have a fair few left so you may see a few over the course of the next few weeks as I try and grab bits of creative time in between the chaos of actually destroying furniture, decorating, buying and assembling new furniture for my craft room/ home office.
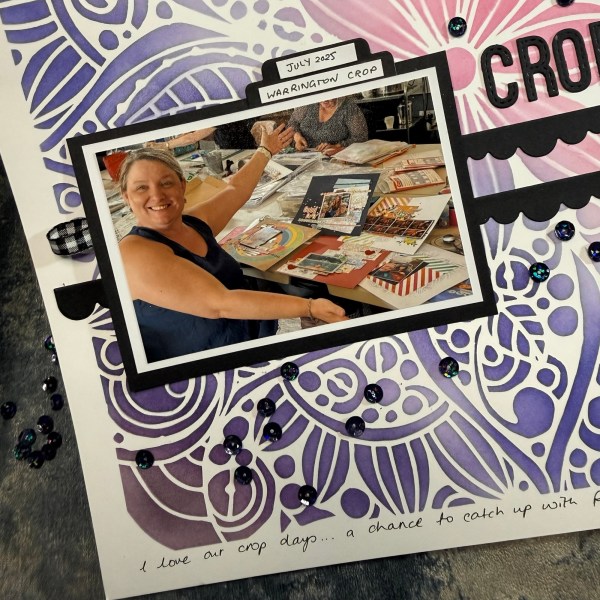
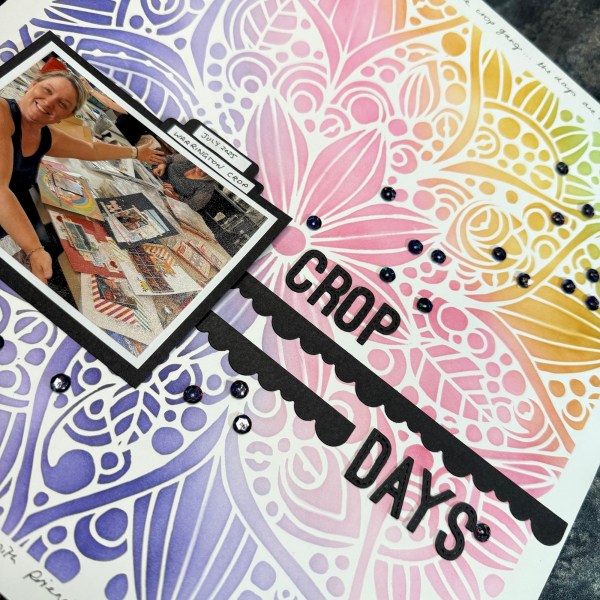
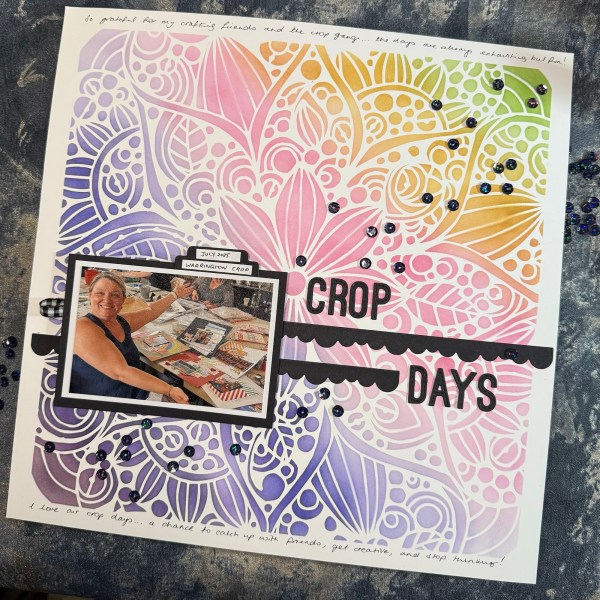
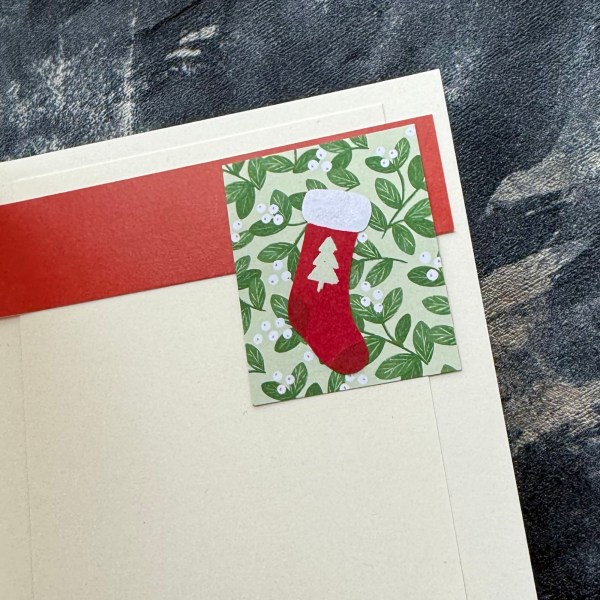
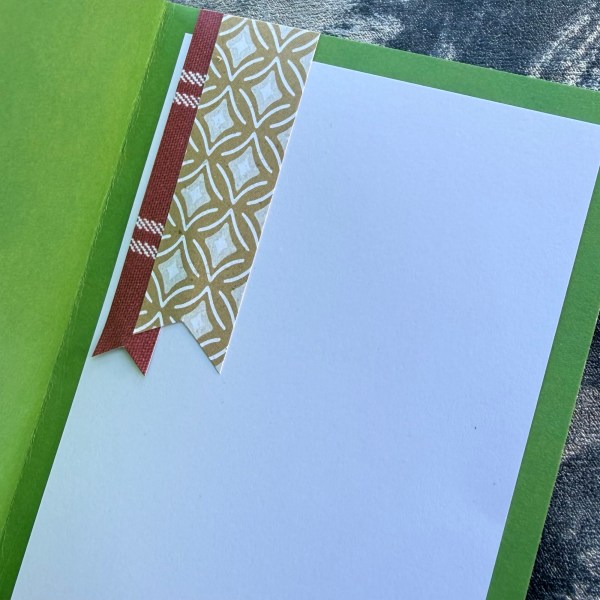
Inside the card I just added scraps of the paper if cut into banners and kept it simple.
A cute card and at least I didn’t miss a week for Festive Friday! 🎄
Happy crafting!
Catherine