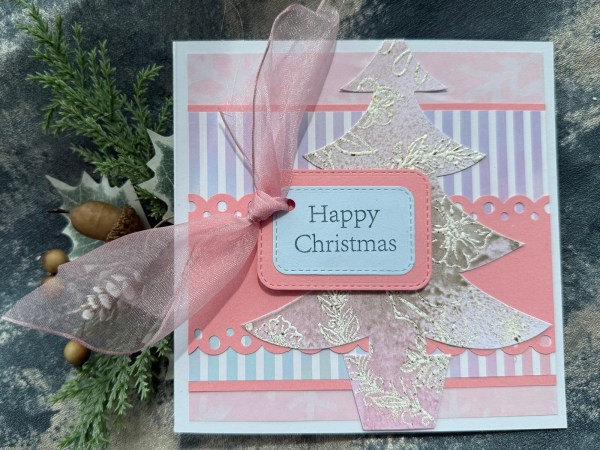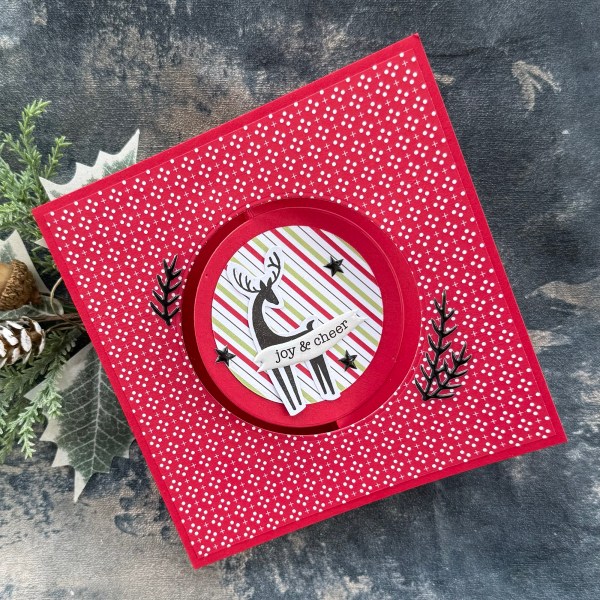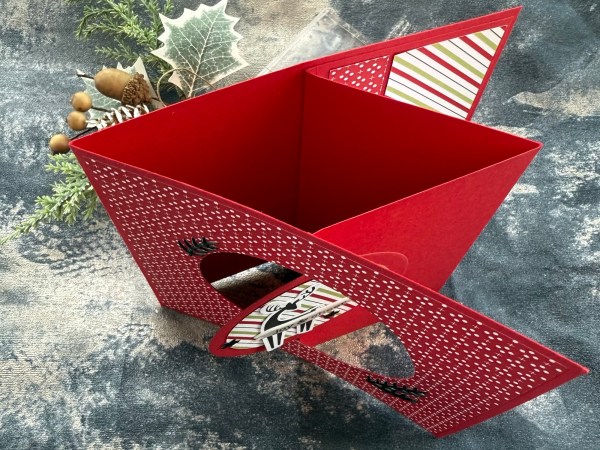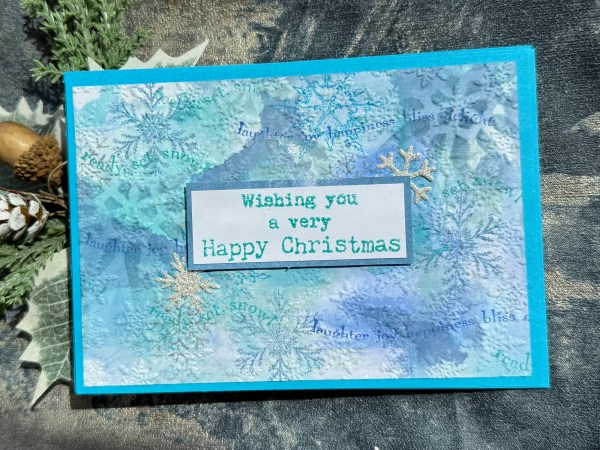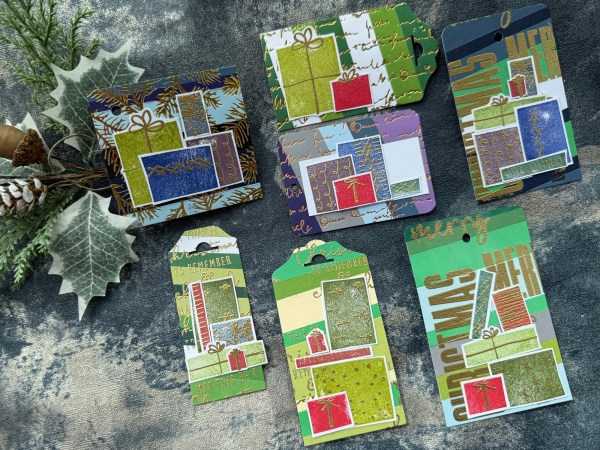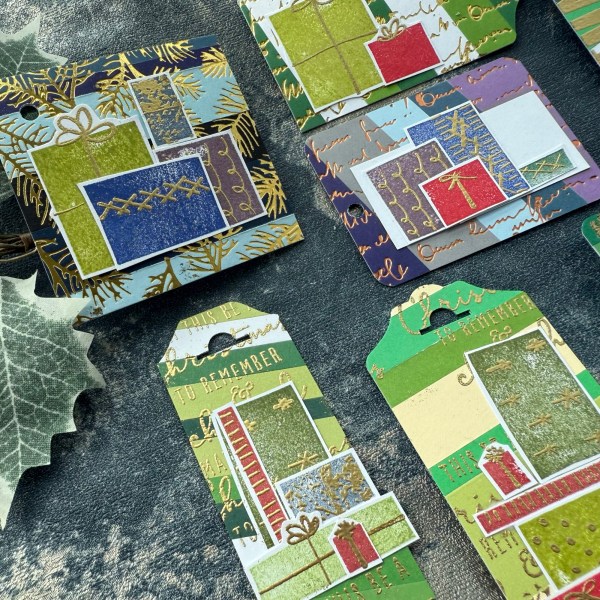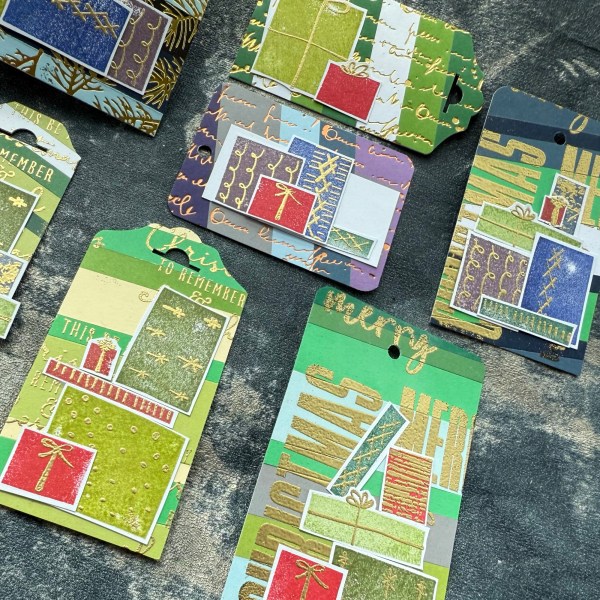
Hello! I have a card I made a while ago in readiness for this Birthdays challenge at Addicted to Stamps and More.
I used some scraps up making this and a digital stamp so it was an easy card to make – let me talk you through it!
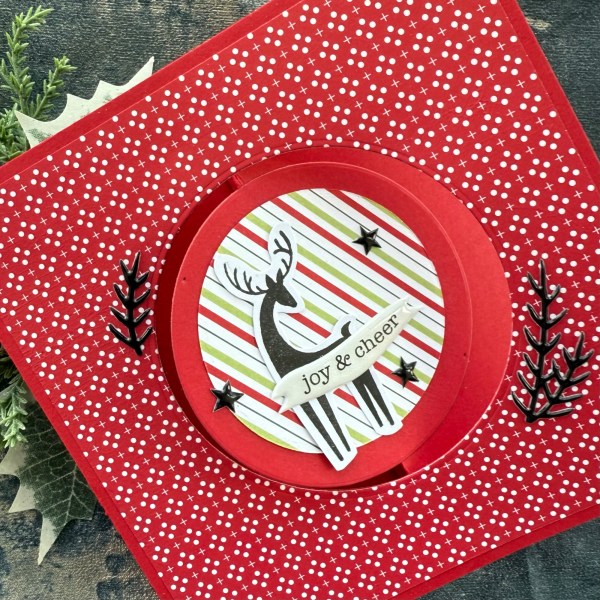
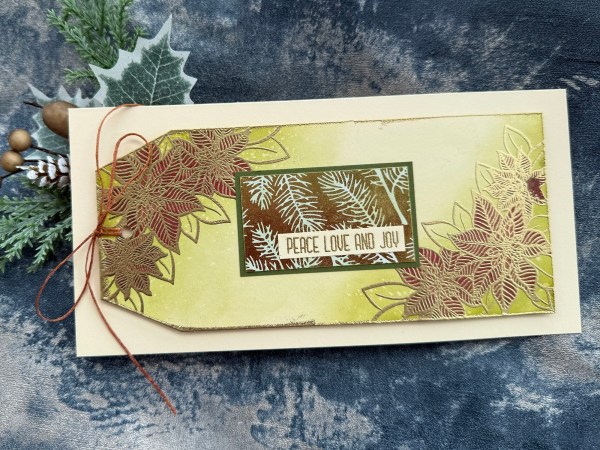
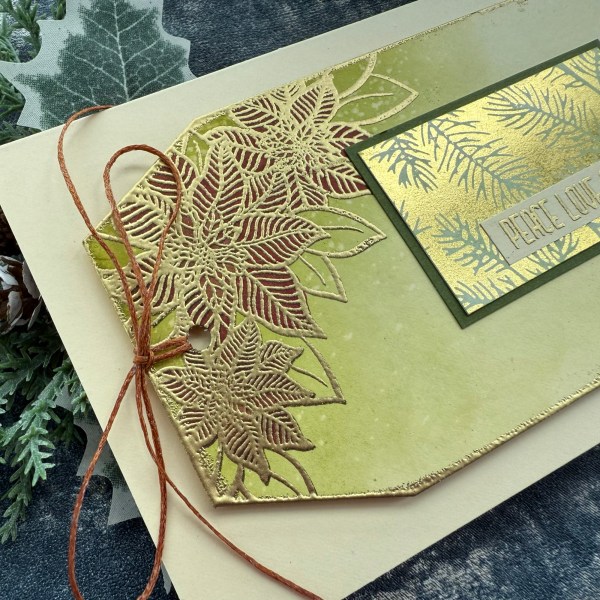
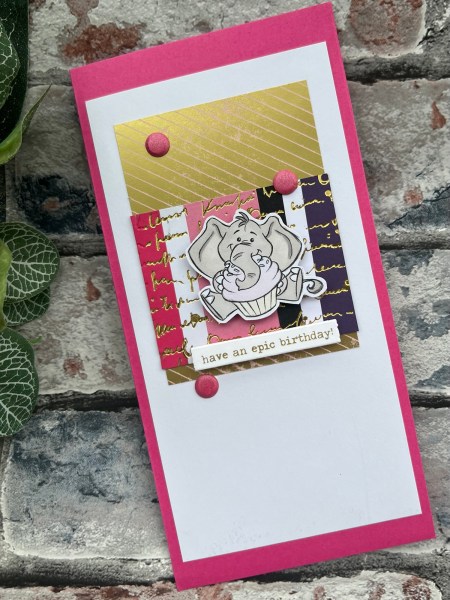
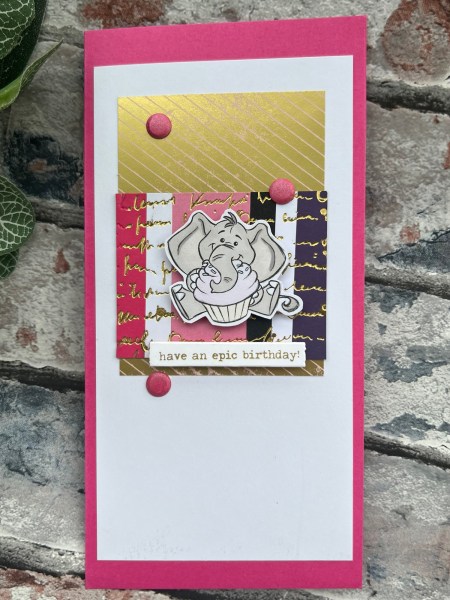
The foiled piece with the diagonal stripe was a scrap of lilac I foiled with the solid foil plate and used a piece of foil I had used with the diagonal plate and this created a lovely more solid foil – although not entirely solid but more of a distressed finish.

Then the stripy panel was made with scraps of cardstock and then foiled using a Dina Wakely press plate – I love this plate for creating a lovely mixed media type finish.
I then added the digital stamp image which I’ve had for a long time – but isn’t it just so cute!
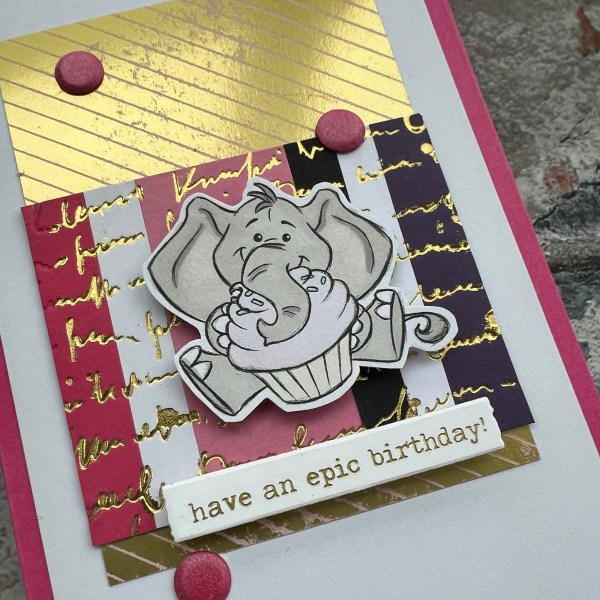
Next I used the Dina sentiment press plate and more foiling for the sentiment. I also added the pink card Candi to embellish further – I thought there was enough gold with all the foiling to use these rather than gems.
I added all those to the panel of white and then pink card used to create the DL shaped card blank.
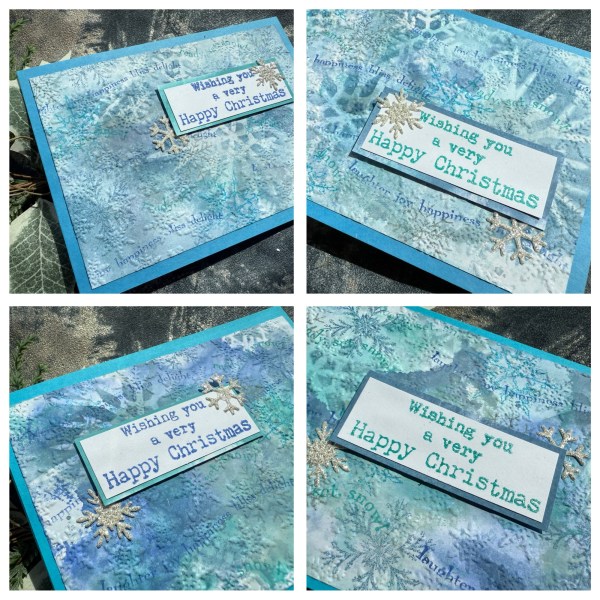
So a simple card as made using bits and pieces already in construction – just needed assembling!
But cute nonetheless!
Tell you what – it’s a good job I think it is cute – my daughter hadn’t managed to get me a card for my birthday earlier this month so raided my stash of cards made and pulled this one for me (she knows Elephants are my favorite animal so she figured it was the best one for me) – so it turned out I made my own card! She did make an effort to decorate the inside with some drawings of her own – but still the cheek of it that I made my own birthday card!
Happy crafting!
Catherine