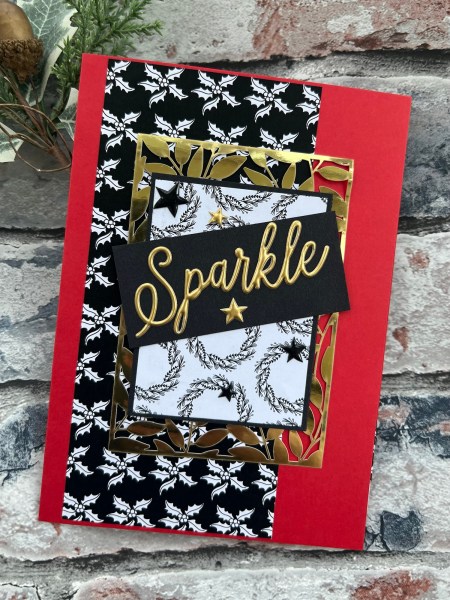
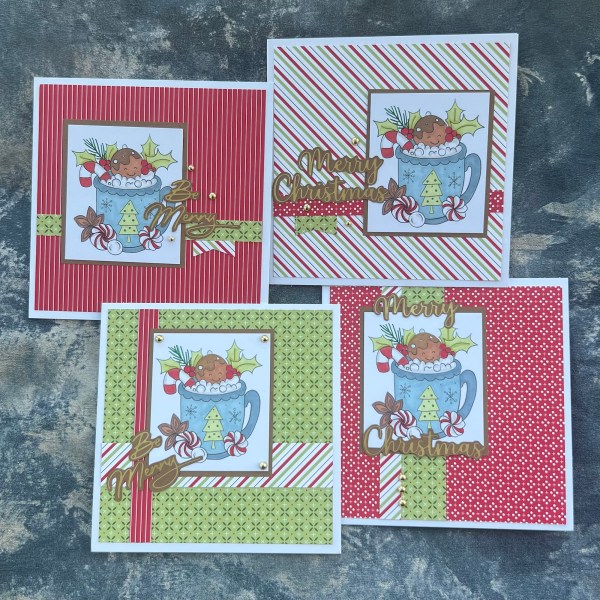
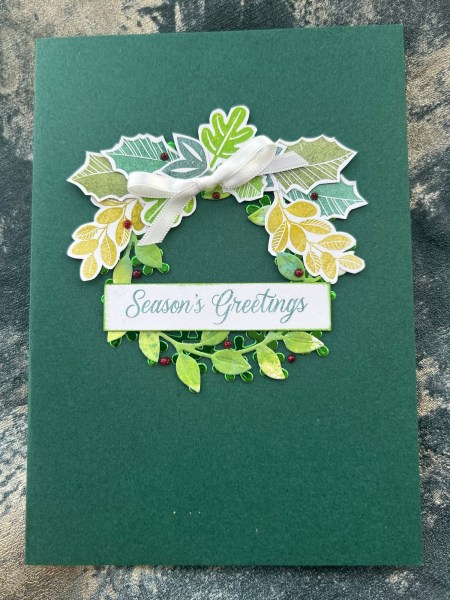
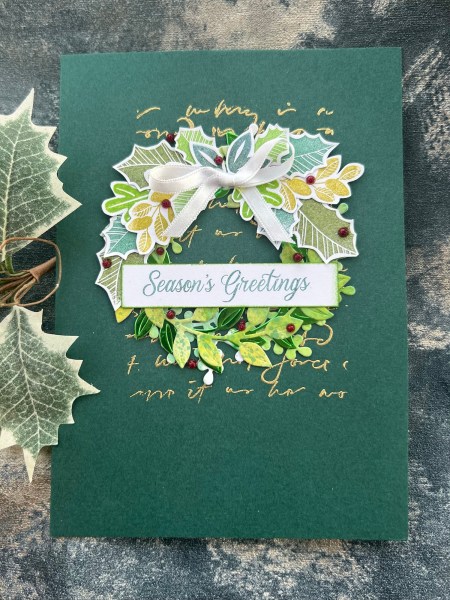
So for today’s Christmas in July theme I knew I wanted to use Arrange a Wreath but to go a little OTT adding to my wreath with other bits and pieces. I also half way through making the cards decided to make one of them a stepped up version of the card which is always fun!
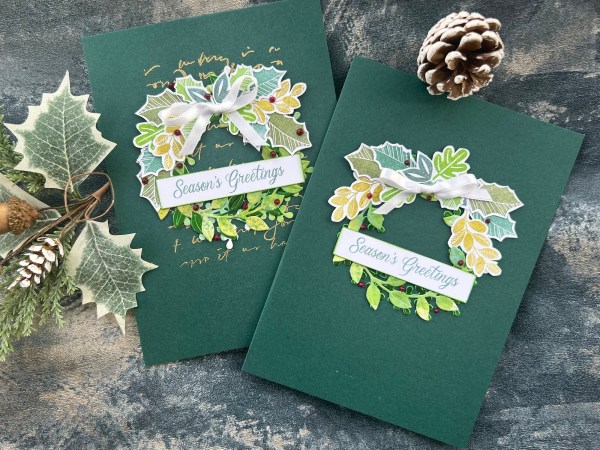
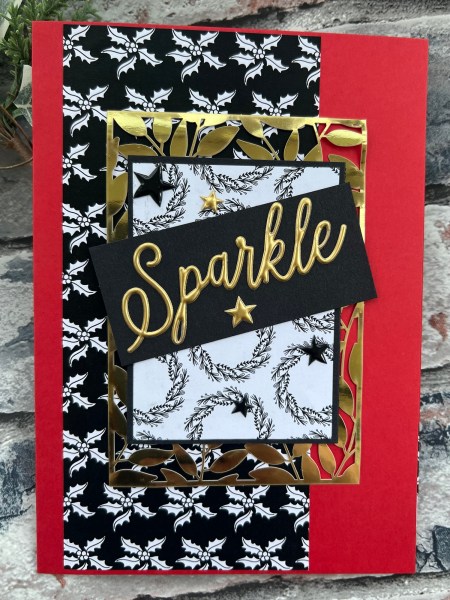
Both are lovely elegant cards the the one to the left with the gold script in the background – yes that’s clearly stepped up!
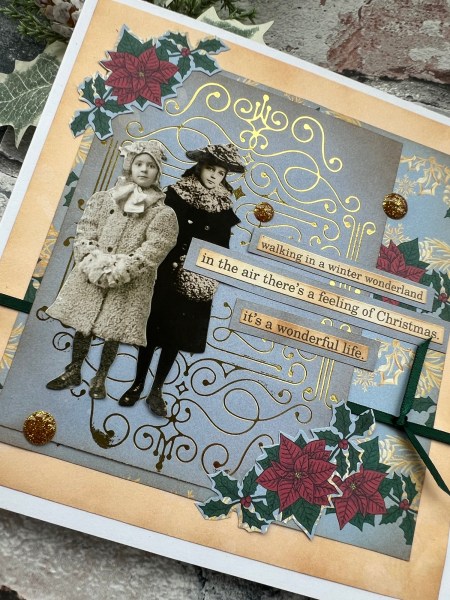
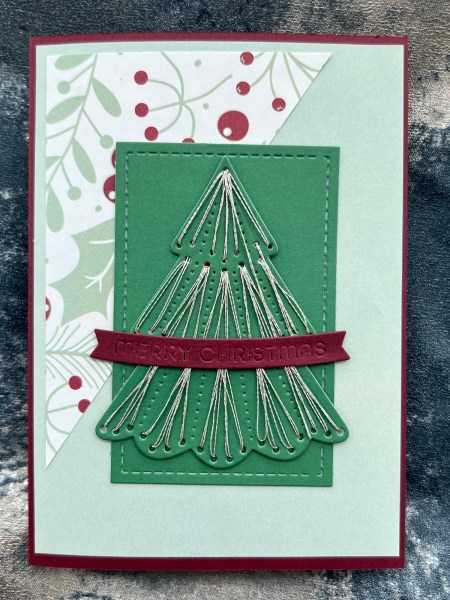
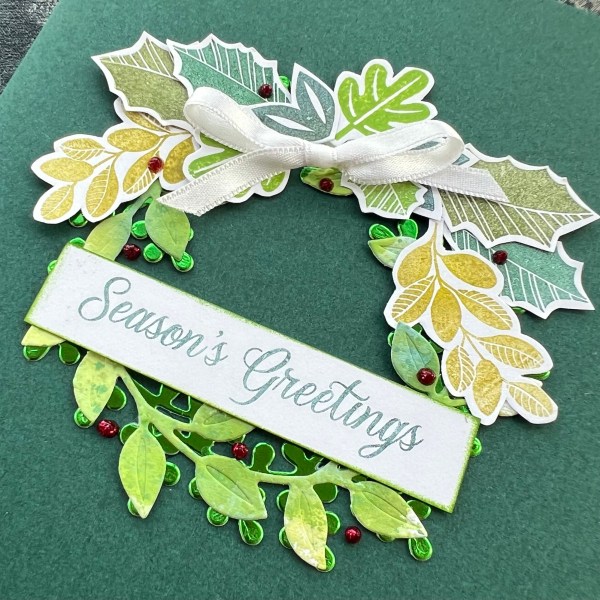
After stamping all the leaves in lots of colours of green I added ink smooshing it to some scrap cardstock and this is what I die cut the wreaths from, along with two from the foiled cardstock.
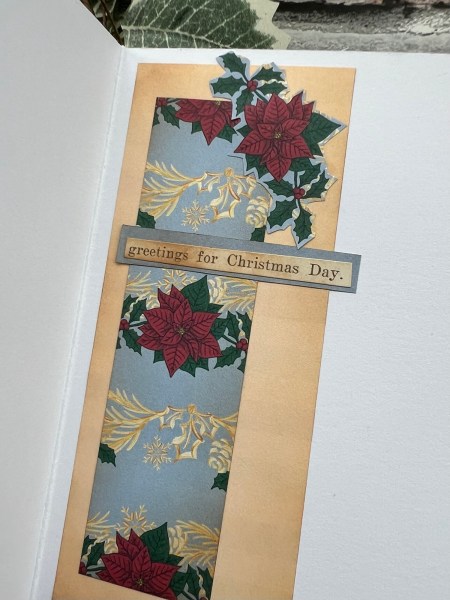
I added ribbon to finish off the cluster of leaves at the top of the wreath and added a stamped sentiment which was stamped in one green and edged in another.
The wreaths were both placed on the green card bases I bought for ease during the Christmas in July season – they are a lovely rich dark green.
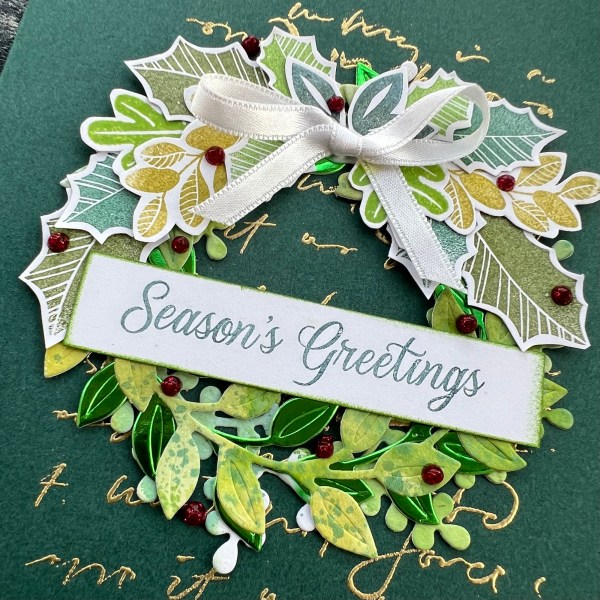
For the script in the background I used part of an old stamp and stamped it twice before embossing with gold powder.
I finished off both with the red glitter glue berries for a tiny pop of colour amongst the green.
Happy crafting!
Catherine