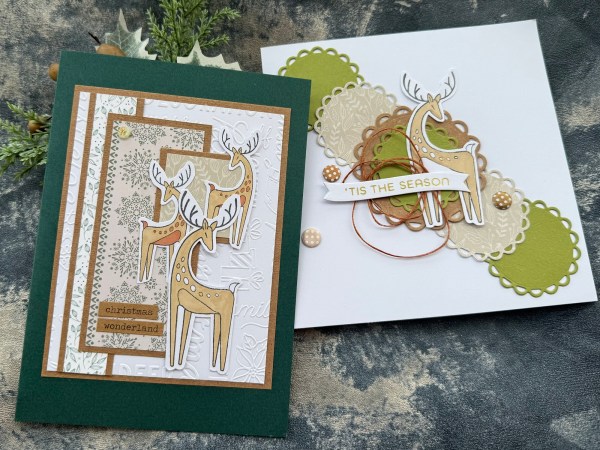
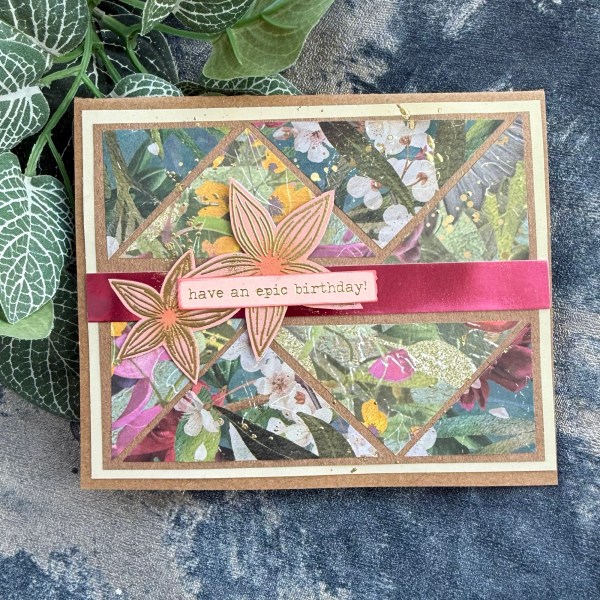
I decided to use a big floral stamp image for this card and then make a really fun background from the pastel cardstock.
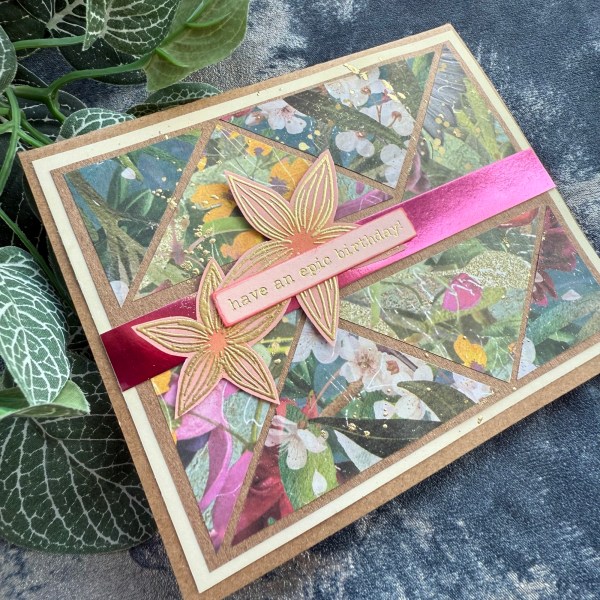
This time I chose peach tones of cardstock for the card.

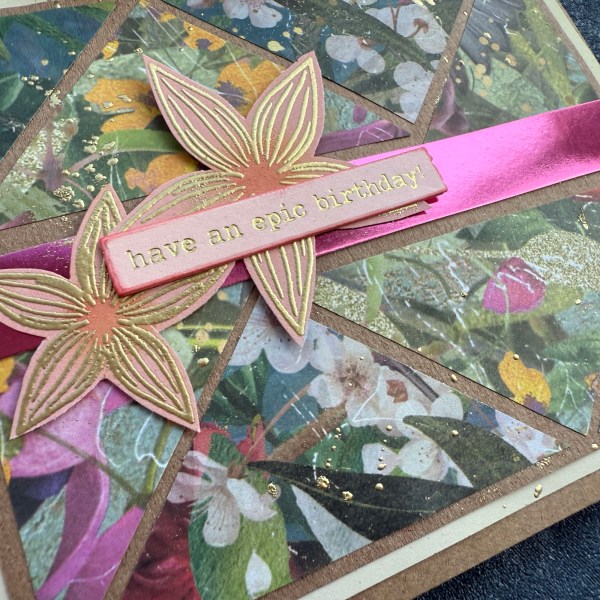
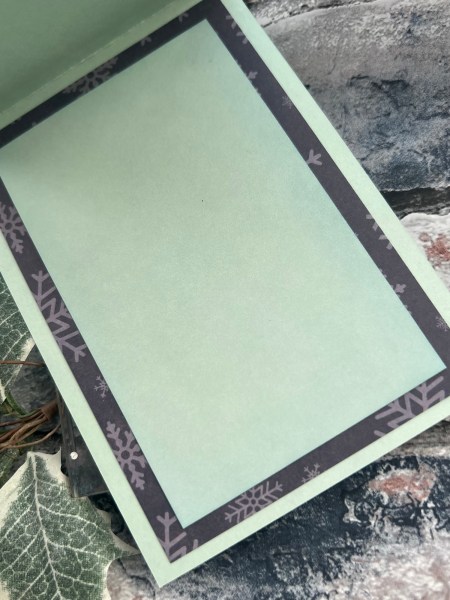
I ripped the strips of the cardstock to make the background which exposed the core and then stuck them together. I then embossed it with the wood grain effect embossing folder.
Then I used a bit of ink to blend the edge and give it a frame.
I stuck this into place on the card base I made which is 6×6 using the palest of the peach tones cardstock.

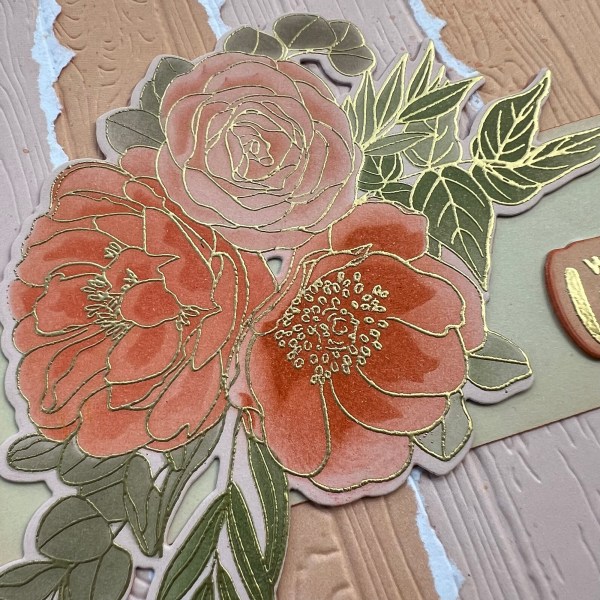
Then onto the palest cardstock I stamped and embossed the Altenew Eclectic Bouquet image and used the stencils that come in the set to colour the image.
I then decided to add some of the coral colour ink in a splatter to the background too although it is quite subtle on the photos.
To ground the floral element and the sentiment I created I added the sand colour strip – again I lightly inked it to blend in with the others and tore it at one edge.
I love the torn edges with this white core cardstock. So pretty!
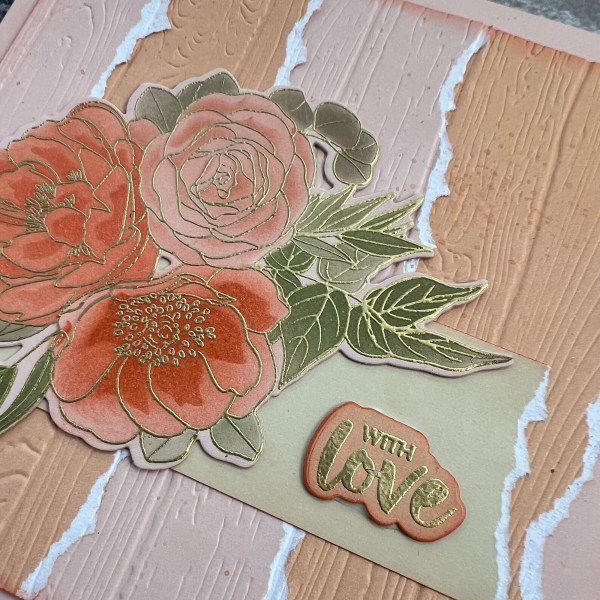
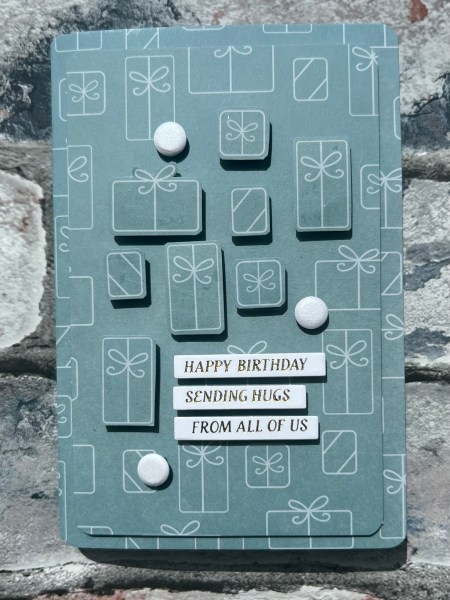
I stacked the sentiment up with about three layers of the cardstock to make it chunky and help it stand out and also inked the edge to make sure it felt in keeping with the rest of the card.
This is such a lovely colour scheme – really like working with peach colours and this cardstock has two of the creamiest peach/coral colours. Gorgeous!
Happy crafting!
Catherine