Hello!
Back to that pouch of digital stamps that are ready printed and ready to play with for today’s Addicted to stamps and more challenge.
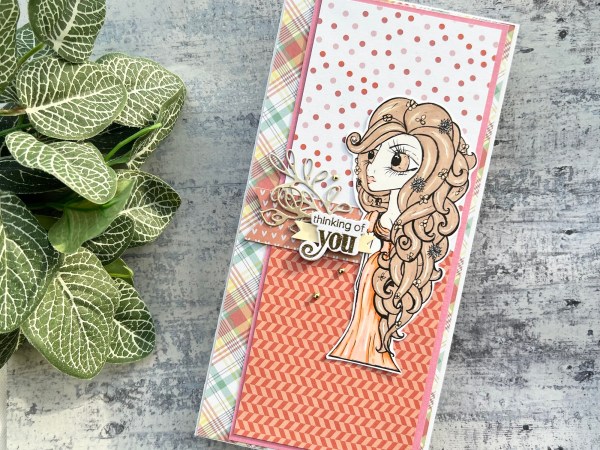
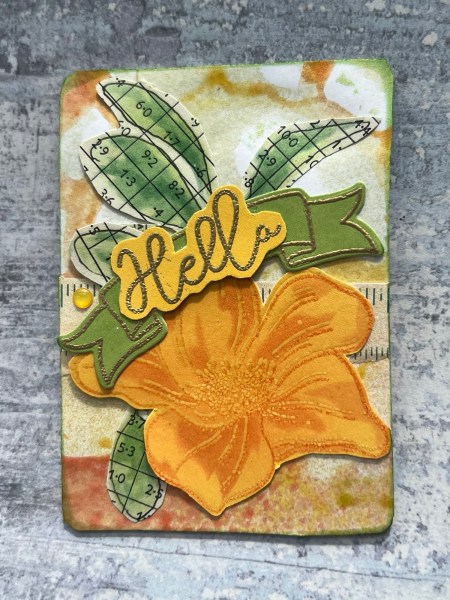
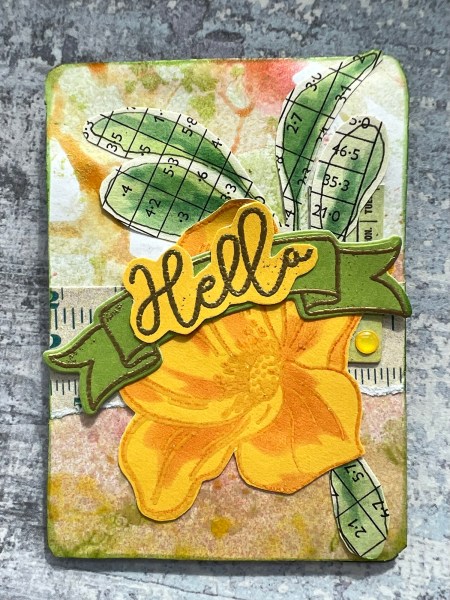
I went with this gorgeous Octopode image. I teamed it up with some Spring Slimline papers from Kingston Crafts.
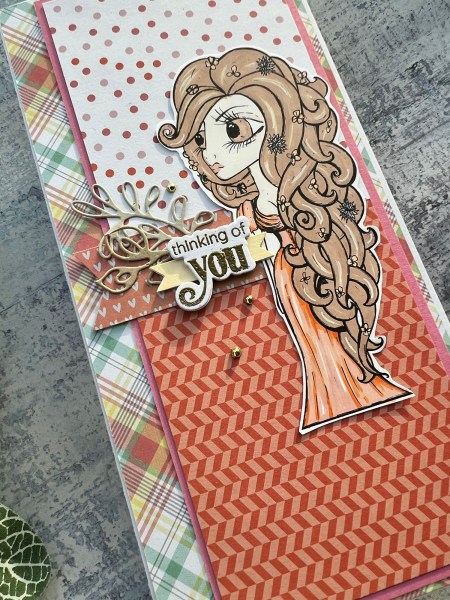
I decided it would work best as a slimline card with the long slim image! I created the panels of the patterned paper for the base and then a little tab for the left hand side. I decided to add in a few die cuts.
I coloured the image with promarkers – tried really hard to get some highlights and texture to the image.

I then added an Altenew sentiment that was die cut and stacked a few deep to make it chunky and give some dimension.
I then added the gold gems to finish off.
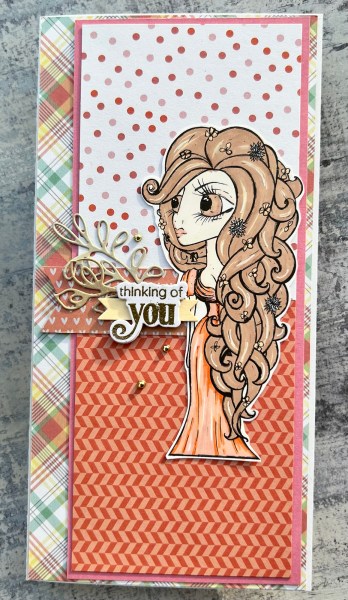
Love this image and love the colours I chose to go with those spring slimline papers.
Happy crafting!
Catherine