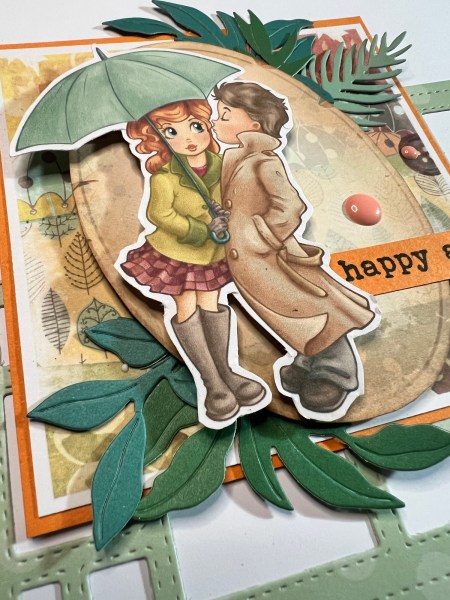
I knew I wanted to use the Pet Collection kit from Kingston Crafts to make this years Valentines card for the hubby and I must say although it was a little fiddly to do with the sewing it went to plan and I love the final card.
Now shush and don’t show him this as clearly I’ve not given it to him today – but I couldn’t resist sharing it here as he doesn’t follow my blog or YouTube channel – and yes I remembered to video the process for you too! Check out the video here.
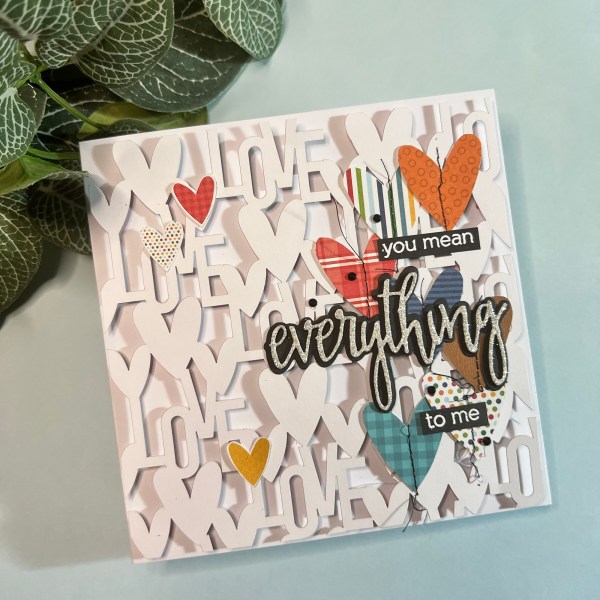
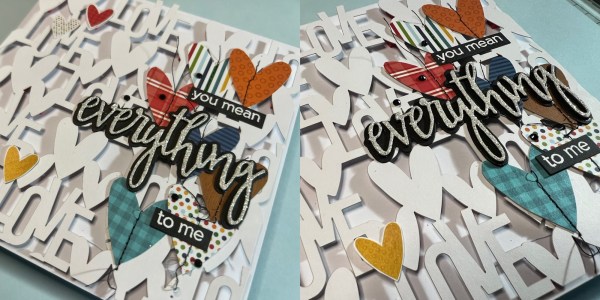
The amazing diecut paper is part of the kit (this is just a quarter of it as there is a whole 12×12 piece in the kit) and the hearts are fussy cut from the patterned paper – using both sides to create the different sized hearts.
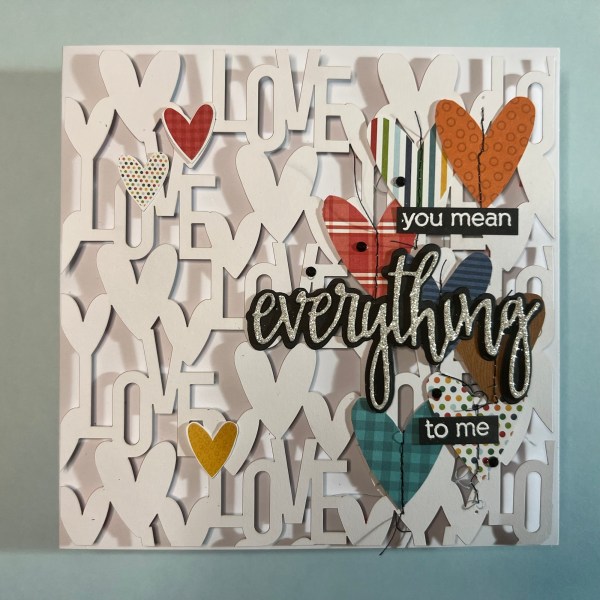
Then I used the Everything dies and stamps from Altenew for the sentiment.

I adhered the hearts under the sentiment with sewing (fiddly!) and then added the gems to finish off.
Inside I added more hearts and a Lqen Fawn sentiment.

Hope you like the fun card I made!
Also a quick shout out to blog readers I’ve had a few days where I had the joy of seeing my makes on the tv again … so for those who don’t follow my instagram …
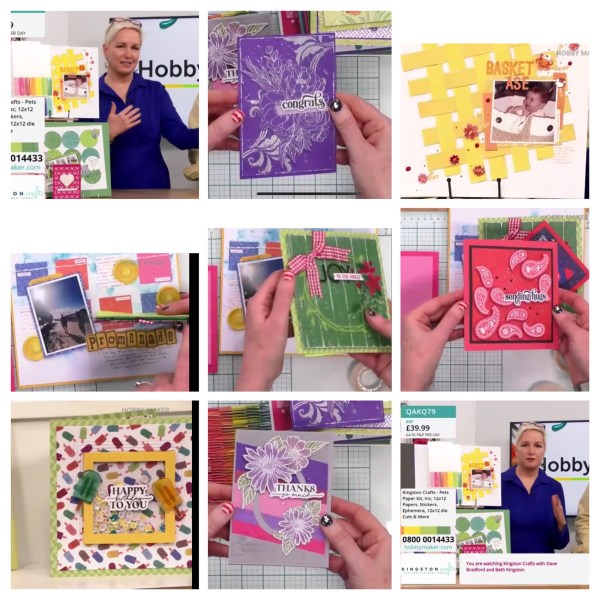
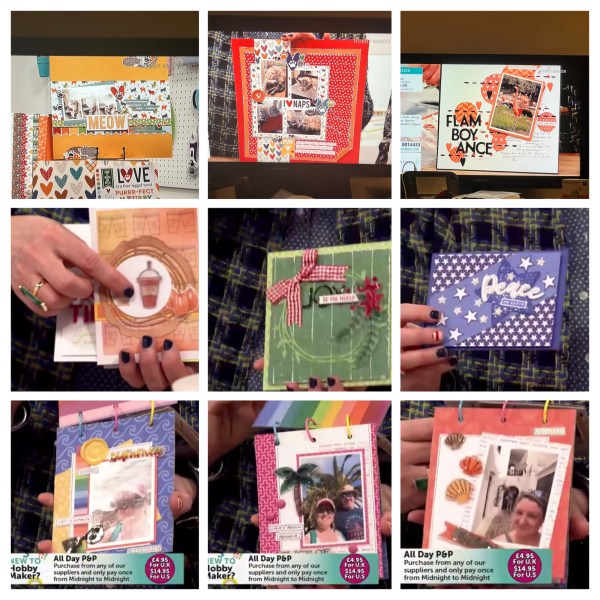
Genuinely brings me joy seeing them there and it was also fun having Beth talk about the products with such passion! ❤️
Happy crafting!
Catherine