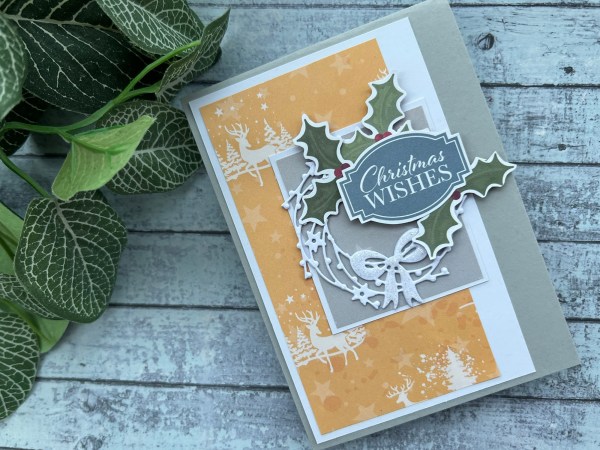
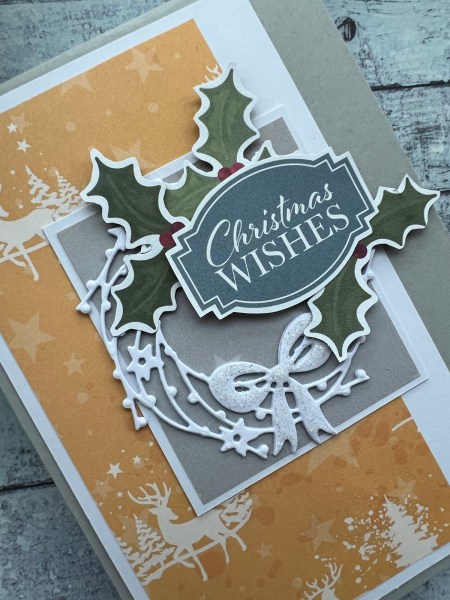
Sorry I’ve not been around for much this December – I did intend to slow down a little with the crafting after a few busy months of blogging but turned into a bigger break than expected as I got a nasty cold/flu that made me stay in bed a week and then life got busy trying to catch up from that and crafting was almost non-existent! I did however manage to get a couple of hours here and there to get some last minute Christmas projects done!
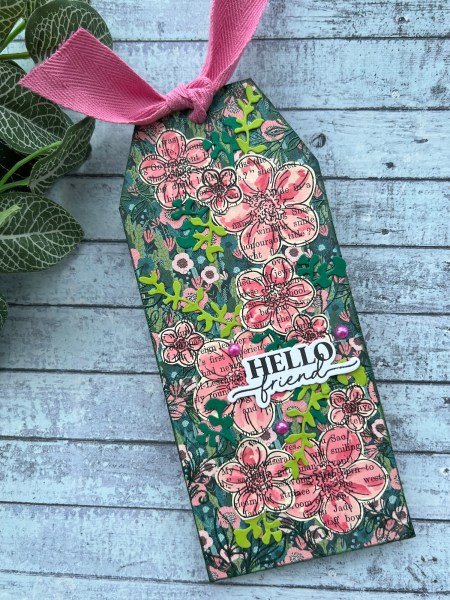
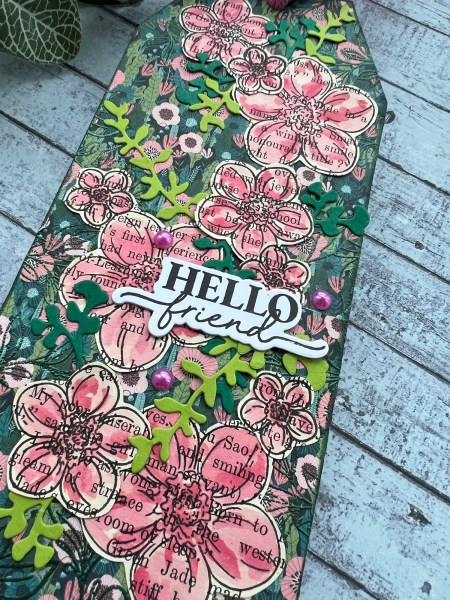
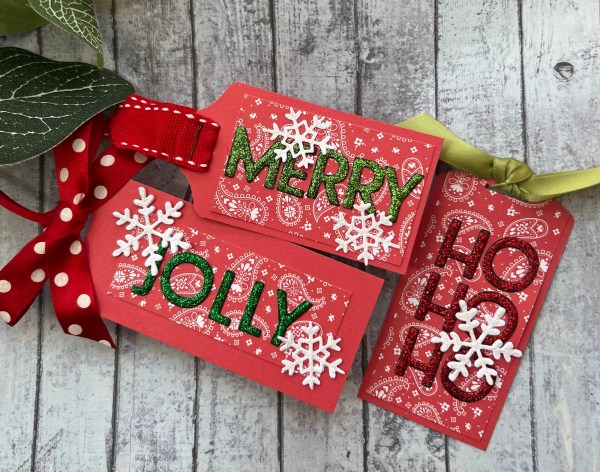
I found the pouch of leftovers from the Forest Friends themed cards I made for the 30 day challenge and decided to make some last minute gift tags.
I started with some 2” strips of white cardstock and punched the ends with the tag punch.
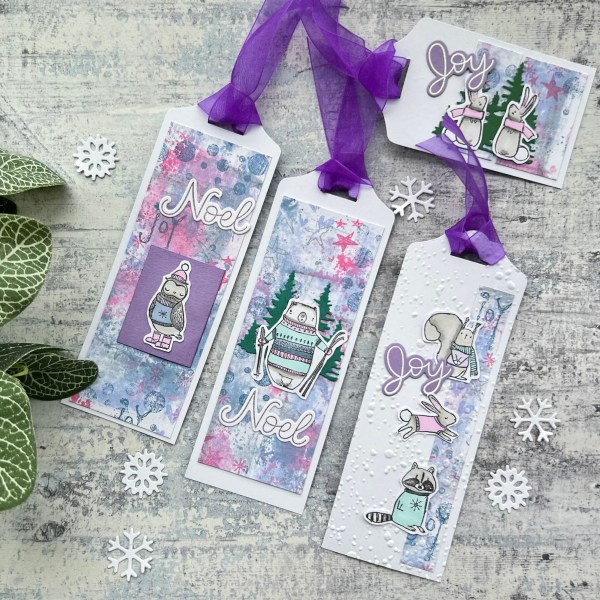
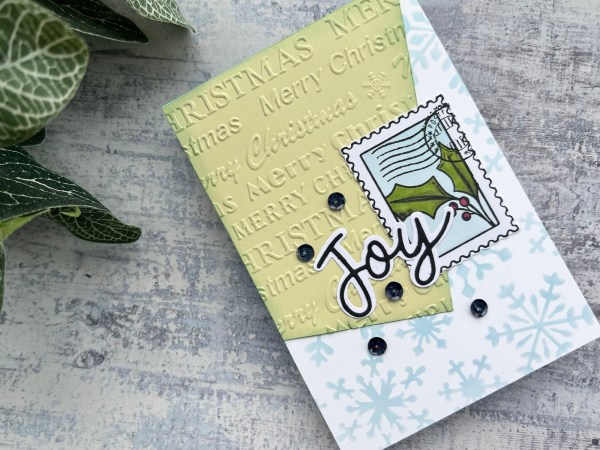
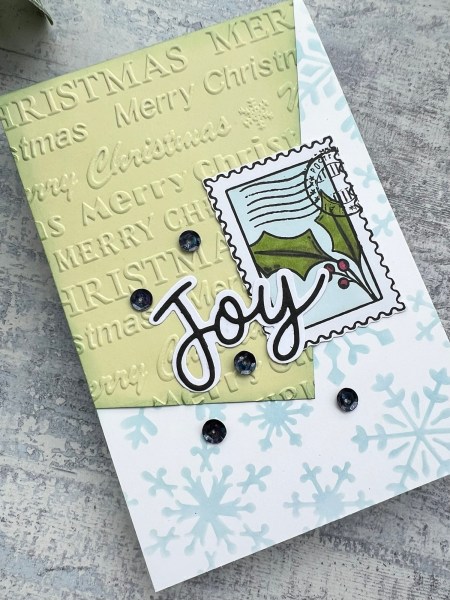
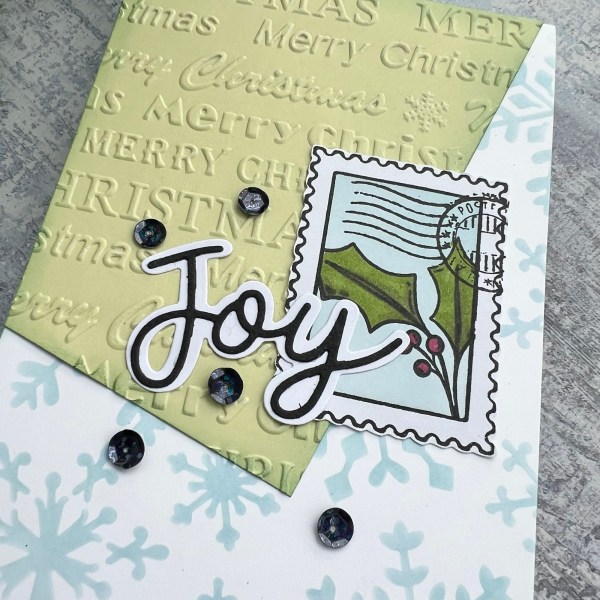
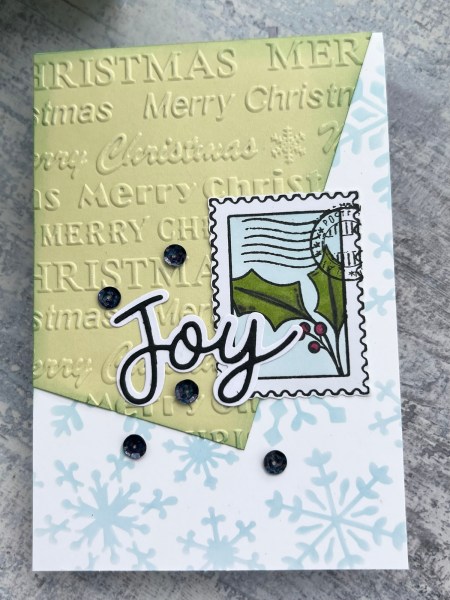
Then added the panels of the inky stamped background I had made using distress oxides.
I had two full strips, one skinny strip and two little offcuts so make three longer tags and one smaller one.
The skinny one I ran through an embossing folder for more interest.
I then added the little forest friends – some with the tree die cuts from the stash!
And then some purple ribbon on the top.

Then I grabbed the Pretty Pink Posh stamp and die set and stamped and die cut the Joy and the Noel as they would both work on the tags in terms of size.
Decided this would do perfectly for my last minute set of tags for gift wrapping!
I have one more Festive Friday project for you next week – but wow I made it all the way up to Christmas!
Happy crafting!
Catherine