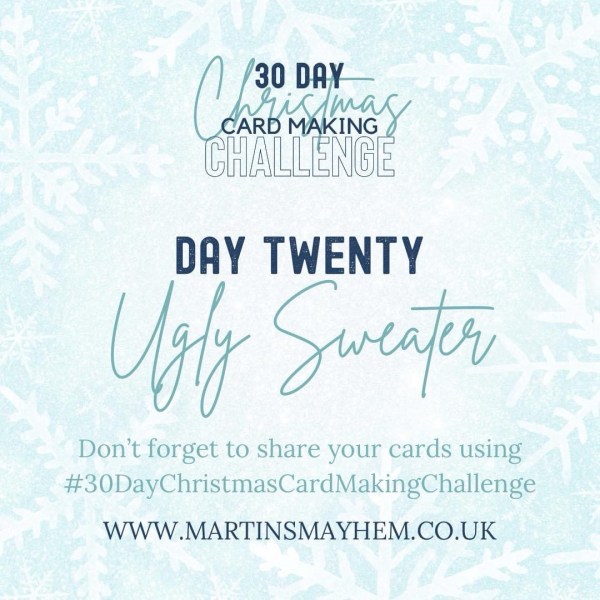
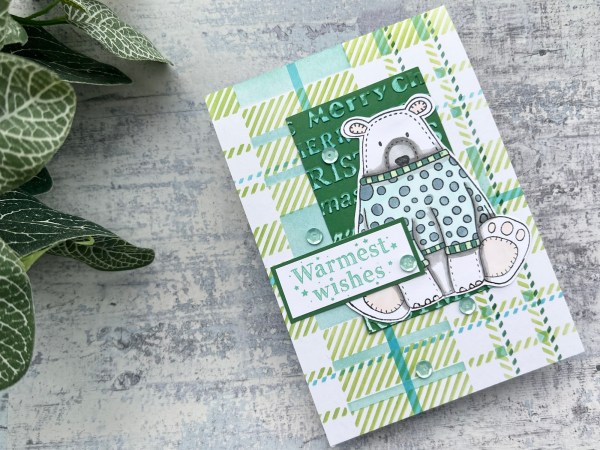
So I know the prompt was ugly sweater but I can’t do ugly – especially not with the cute polar bear!

I actually started by stencilling directly onto the card blank using new to me stencils – tartan from Sizzix (they were on sale in the local craft shop and I couldn’t resist!)
I decided to choose blues and greens and one colour per stencil layer.
When that was done I stamped the jumper for the bear and then masked it with a version I stamped on a post it note and then stamped the bear. I didn’t do it perfectly but could correct the line art with a black one so it was good enough! I then used my promarkers to colour in the jumper and add shading to the bear. Next I fussy cut him out.
I grabbed a scrap of cardstock and embossed it so he had a base to sit on. I then swiped over the exposed white core with the ink and this gave it a two tone look. Then I layered it up and kept everything flat for a change.
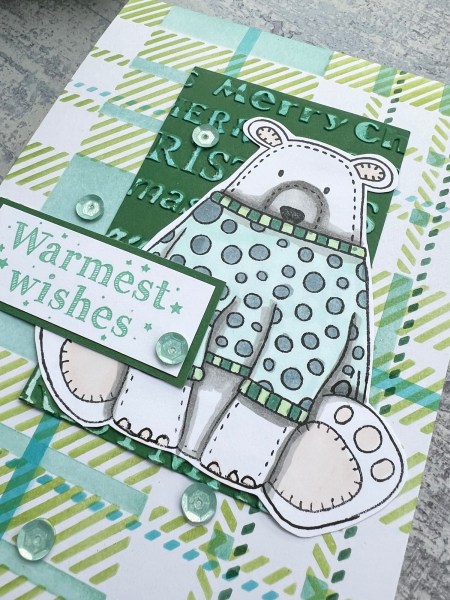
I used a sentiment from the stamp set and stamped it and mounted it onto the green to add a frame.
Then I finished off with the sequins in a colour I thought worked with the rest of the colour scheme.
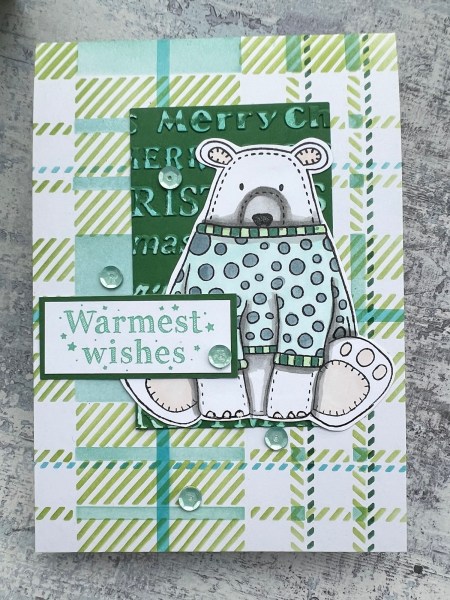
So not ugly – but it is a bear in a lovely sweater!
Happy crafting!
Catherine