I am an on-the-side and increasingly up front papercrafter who loves nothing more than getting inky and creating pretty things with paper and stamps!
I am also a wife to lovely hubby and mummy to a wonderful 14yr old princess.
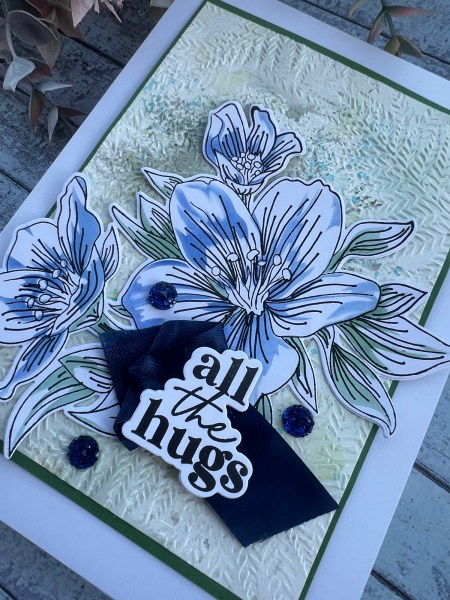
I’m back with another design team contribution for Addicted to stamps and more where the challenge for this fortnight is Make Your Mark.
I created this card… it was nice to love away from Christmas just for a bit!
I used the stamped image from Altenew called Splendid Bouquet and stamped it in black and then die cut it.
Then I added extra lines with my fine nib pen to add my own touches to the image.
I then used the final layer of stencil that coordinates and added just a light amount of ink through the stencil. I think this is a really pretty and different way of using the image.
I used an inky panel and embossed it with the fern folder and then lightly brushed over with a light green ink to just enhance the texture. I mounted the panel onto green and added to the card blank.
I added the sentiment with a ribbon scrap underneath and then found these super sparkly gems in the stash to finish off!
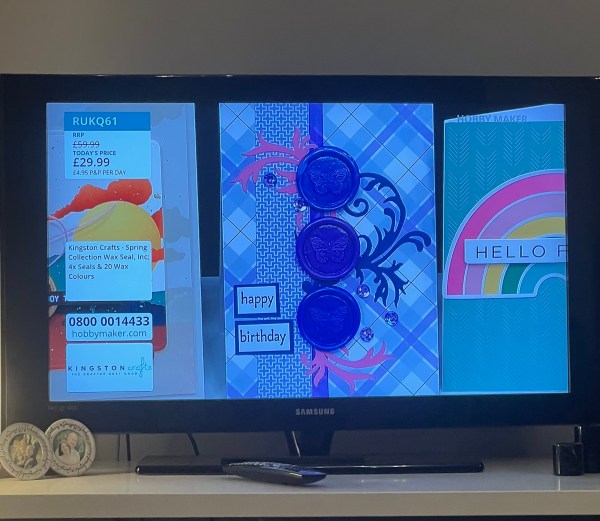
Back with another ‘as seen on TV’ project – this one was just in a panning shot but it was still fab to see and made me squeal when I spotted it!
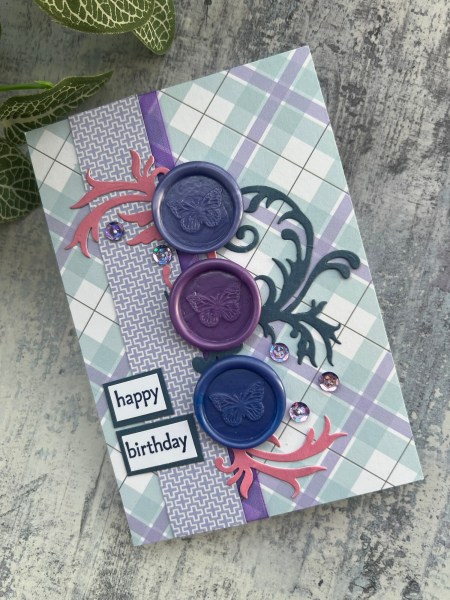
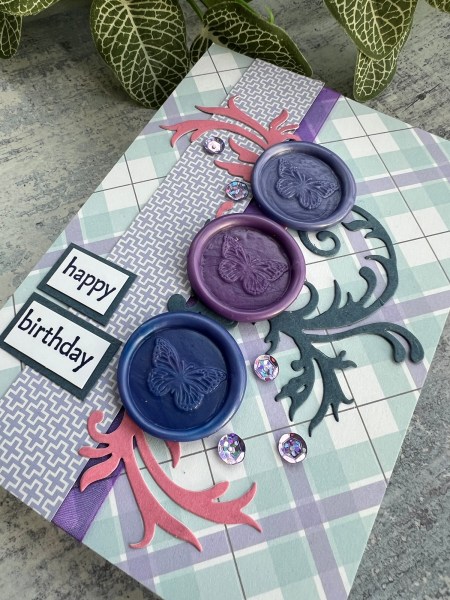
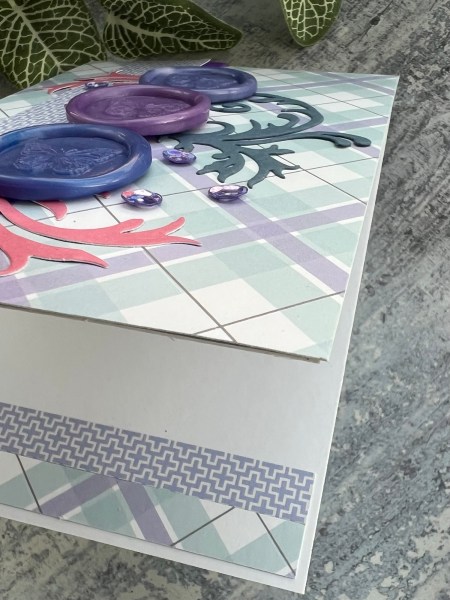
decided to have a go at playing with the spring wax seal kit – this time the butterfly seal and made quite a few mixing different purples and blues together. I must admit it took a little while to get the melting part sussed – knowing when it was the right consistency to pour and how much wax – but the good news is that any that you don’t get right can be melted again for a second (or third) attempt! I think I ended up with six beads per seal for these but they are quite chunky so if you want them flatter use less.
I decided to use a few to make a simple card.
I say simple but I did end up with a few die cuts and bit of ribbon, sequins and a stamped sentiment – oh and two pieces of the spring slimline papers!
I kept to the purple and blue theme with the papers I chose and then added in the pink and dark blue die cuts and then stamped the sentiment in the dark blue and mat it too.
Inside the card I took a little more of the paper and just added a couple of strips to follow through the theme.
Just love those cute butterfly wax seals – they turn a simple card into something a little more special! plus how cute are those spring slimline papers!
Hi there – me again! It’s been a blog overload the last few days – really should try and pace some of these but can’t resist sharing as I go and I have a lot of the DT stuff still to share! So this is my card for Martin’s challenge…
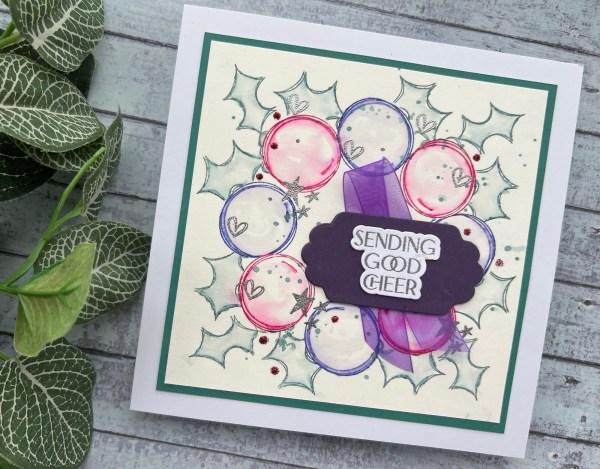
I went with the new alpaca pals by Tracey Hey stamps I’d bought to create a wreath of baubles and holly for this one.
I added water to activate the ink on the watercolour cardstock and then used some of the smaller stamps to add the silver elements.
Then a label die cut from the purple and a stamped, embossed and die cut sentiment. Oh and the ribbon underneath to add a softer texture into the mix!
I added the teal green mat as it went with the colour of the holly.
Finishing by touch was some drops of the pink glitter glue.
I did film this one so check out my YouTube Video here.
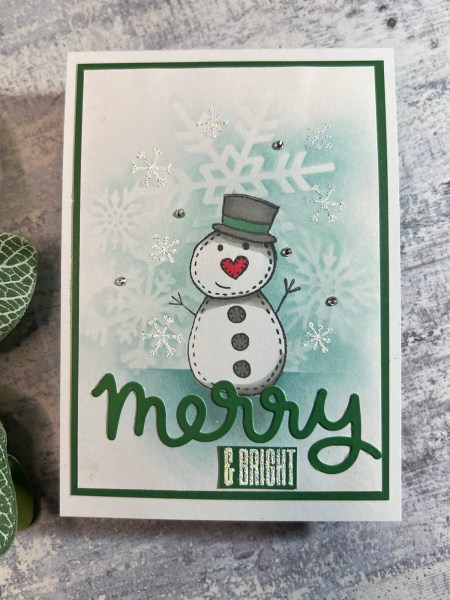
Last minute decision to join in with the challenge today as we had an early tea so I had time before the ironing chore needed prioritising!
It really was a quick card so it was easy to do and film and quickly do a voice over for my video – and now I’m writing this – but really do have to get on with the ironing!
So – stamped the hat, masked it, stamped frosty, masked it and then inked the background including the snowflake mask to add a little interest to the background!
Then added the embossed snowflakes with glittery embossing. Next a mat of the green and the die cut Lawn Fawn Sentiment. Next the stamped sentiment.
I then added the gems to finish off!
Happy crafting!
Catherine
PS I hate ironing but promise you I am off to do it now!
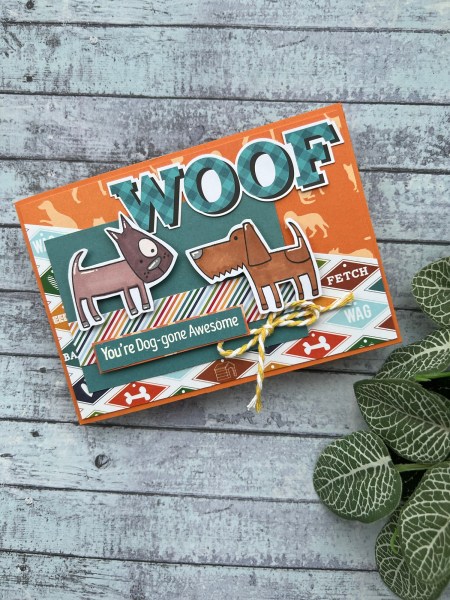
Whilst I enjoyed scrapping pictures of Simba which I shared the last two days, I knew I also wanted to make a dog themed card from the kit and I may have gone rather over the top with this one!
But it did pay off because it did get a bit of attention on the tv show! 😆
I decided to use some stamps from My Favourite Things to create the images … but then went heavy with the papers from the kit to make a fun fold card!
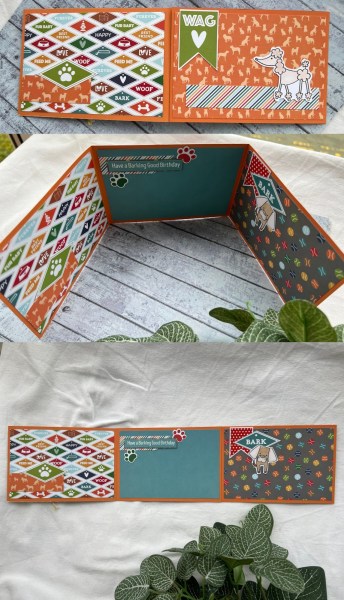
I used the everyday cardstock for the base and cut two cards that then interlocked. Then went about decorating all the panels with the fun papers and some of the die cut elements.
I also added the twine to the front.
I heat embossed the sentiments from the stamp set to add one to the front and one to the middle of the card and left a panel for the message. I added some of the elements on the front with the foam adhesive to give it dimension.
I think this makes such a fun card and I really enjoyed putting it together.
Well I have to say I am absolutely blown away by how cool it was to see my projects on tv last night! It really was a pinch me moment. When I turned over to Hobbymaker.tv just as the programme had started and immediately spotted my pages right at the front I squealed!
And then grinned throughout the whole show. Martin was so nice in mentioning when I had made the projects – love his title for me as the “Queen of Christmas”. His demos were so cute (expect me to make something similar sometime soon because it inspired me to use the kit a different way!) – so please do go and watch on catch up if you can!
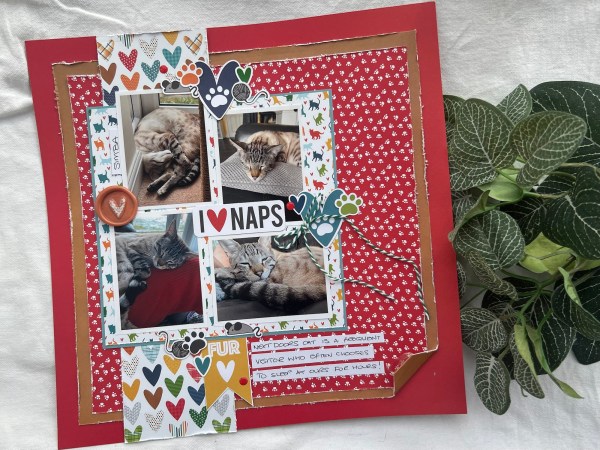
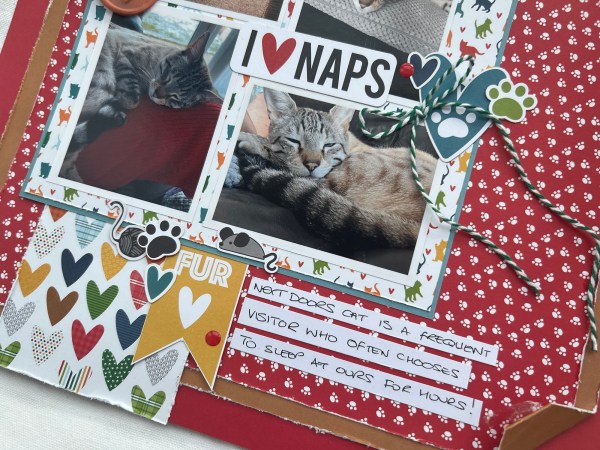
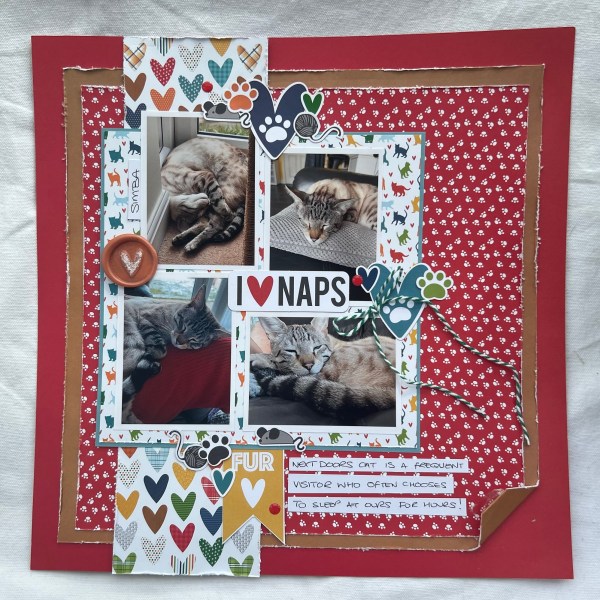
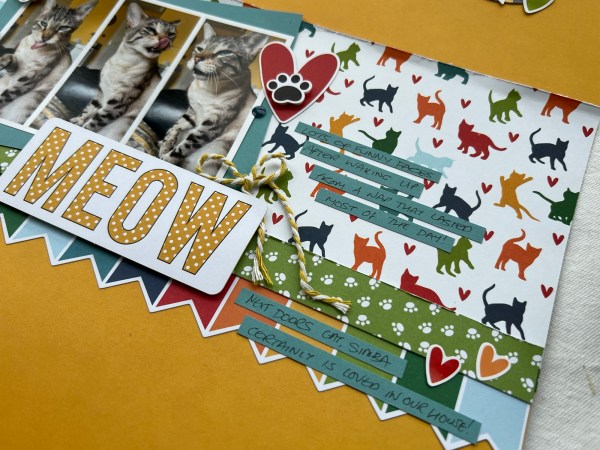
So today I have the second page featuring the gorgeous Simba (next doors cat) and the Pet Kit from Kingston Crafts.
Chose four different photos of him asleep on four different days and decided to go with the red due to the red blanket in one of the pictures.
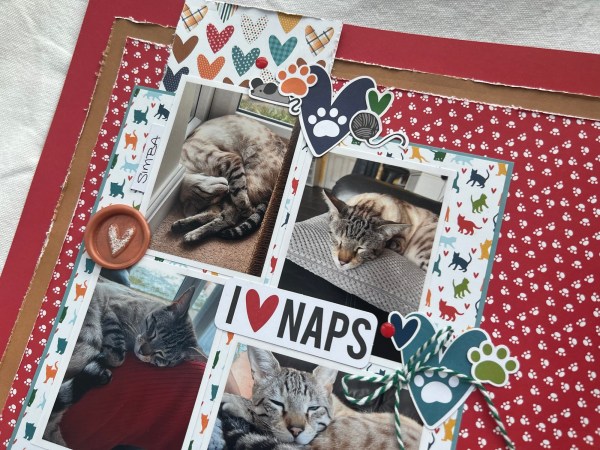
So the red and the brown layers are the solid coloured papers from the stash and then I chose the cute paw print pattern for the main square background. Everything got distressed with my tool to bring in more of the white and to add texture – plus I chose to roll up the corner.
I added the vertical panel to ground the main photo area which I added a couple of mats to – the cat paper and the blue for a base.
I added in lots of the embellishments from the kit including the I ❤️ NAPS title piece and enjoyed putting them together in the three clusters. I also added the twine bow for some different texture.
I added my little bit of journalling on white cardstock strips and then added the little enamel dots as final embellishments… then I spotted the wax seal that I had made and never got around to using from the Spring wax seal collection and thought it worked well on the page with the colour and the glittery heart!
As pet papers and embellishments are not my go to I hadn’t ever done scrapbook pages for Simba before I got this kit and so this kit has been great for helping me get the story of next doors cat documented. I have pictures of other people’s pets (people were kind in sending me their pics) so I might get a few dog pages done too as gifts for Christmas! Watch this space!
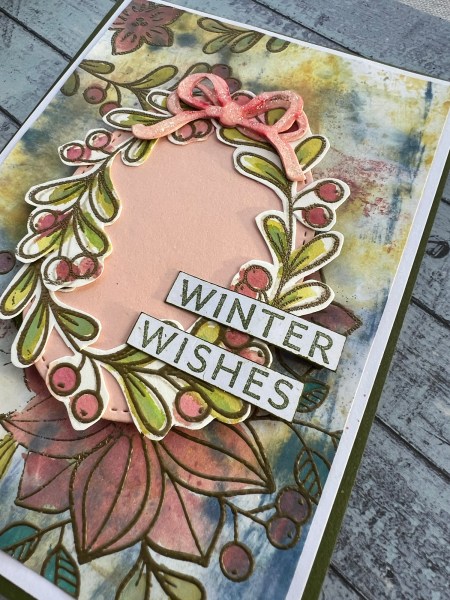
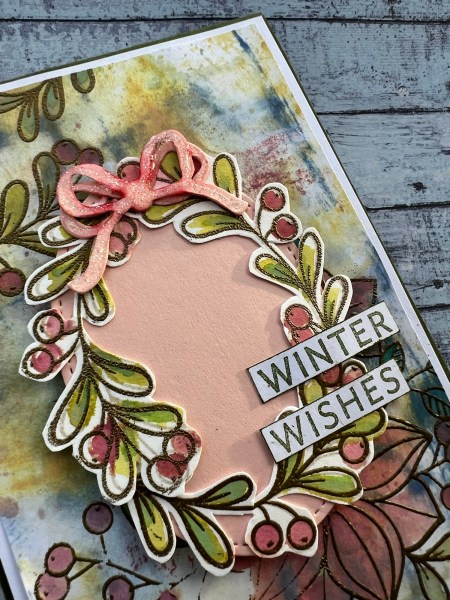
Today I have another card for Martin’s Christmas card challenge and the prompt is a sketch …
… I decided to actually grab some bits from the half made stash when I saw the sketch and made this a week or so ago!
I used the panel I made months ago and those bits and bobs I had made at the time. I added a peach oval to rise up above the background and then added the peach bow.
I added some glitter to the bow and then inked the sentiment strips.
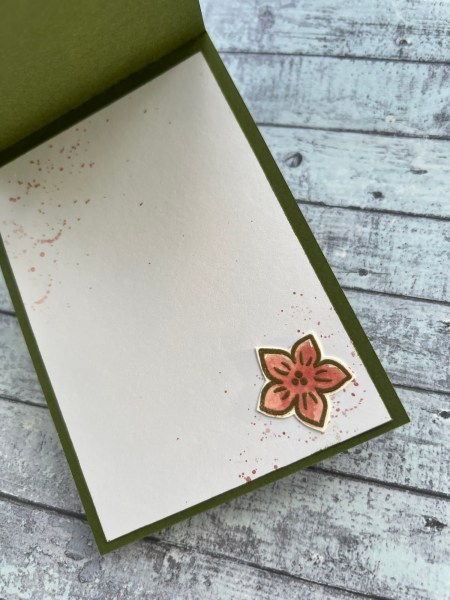
I ended up with a flower leftover so added it and the copper shimmer ink to the inside!
Loved putting this together – I did try to video it but it got corrupted so sorry no video today!
One of the products that Kingston Crafts sent me to work with was the Pet Kit which is just a gorgeous selection of papers, stickers, die cut elements and even some embellishment bits like twine and enamel dots.
It has launched in the UK today over at Hobbymaker.tv and so if you go and watch Martin’s show right now (8-9pm Sat 9th Nov) you might get to see this kit in action – and glimpse this page too!
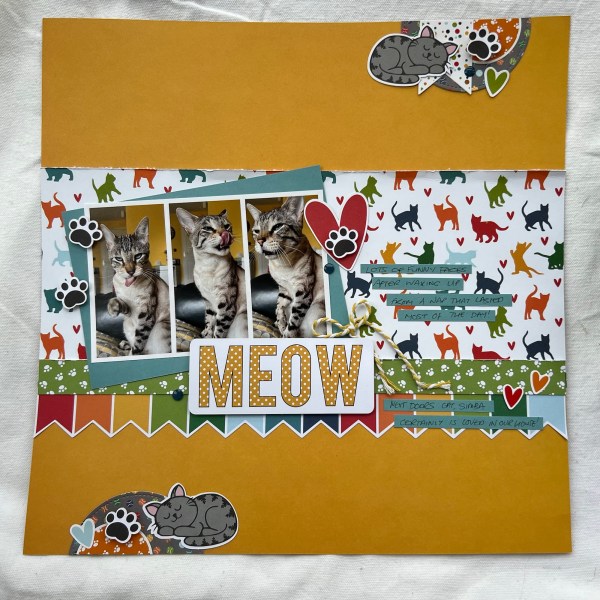
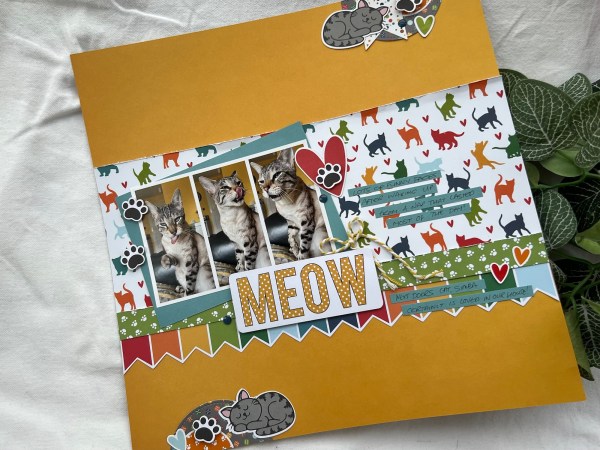
My first thought was of course to scrap some pictures of Simba. He is our neighbours cat who chooses to come and visit us if we leave a door open and then usually just sleeps all day in our house!
Now normally he is so beautiful and elegant looking but these pics captured him pulling funny faces and it makes me giggle a lot so I decided they were good for this page.
I started with one of the solid coloured papers in the pack as the base and then added the cat silhouette paper, the paw print strip and the banner strip. I did rough up the edges a little of the paw strip and the top of the cart paper to give it some dimension before adding it to the page as a horizontal strip.
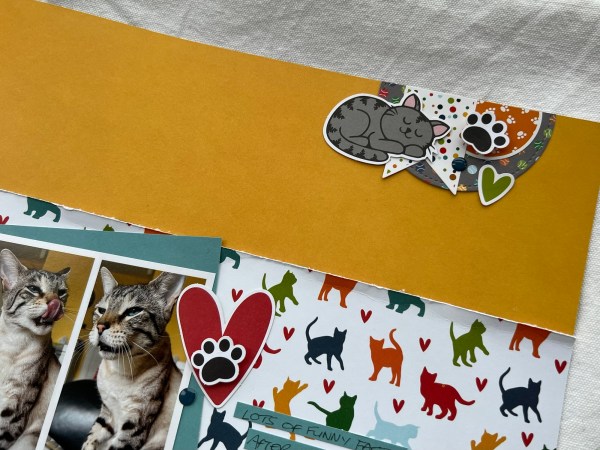
Next I die cut the grey ball themed paper with a circle die and chopped it in two so I could cluster at the top and the bottom of the page.
I then went through the stickers and added another circle I cut in half and the banner. I then selected from the die cut elements the two sleeping cats, some of the paw print elements, one heart and then the big Meow for the title.
I had printed the three pictures off as tall thin images onto one print and then added a layer of the blue to break up the background.
I added the title and then the paw print die cuts on foam adhesive to raise them up and then added in some twine as a bow to add some softer texture.
I decided to add the journalling on strips of the blue for a change and then added some heart stickers to finish off.
Love how easily this came together using the kit – everything was there and easy to put things together that coordinated!
Today’s challenge I wasn’t going to join but then got a little inspired along with a little energy and made a card! Even managed to video it and do my voiceover and get that done!
The prompt is a colour challenge of Cinnamon, Charcoal and Birch white.
And this is how I used those colours and my new stamps (heavily influenced by the Facebook group where I saw someone else using Tracey Hey stamps and I realised I didn’t have any of her Christmas ones and needed them!)
I started with the torn piece of vellum and some stencils to create the brickwork background for my Cinnamon using Baked Texture embossing powder.
I just love the texture this creates.
Then the bear was stamped using the distress inks in black soot and added water and some hickory smoke to create the watercolour. I did the same with the holly leaves and just a touch of vintage photo for the berries.
I used the sewing machine (badly! 🤣) for the sewing the vellum onto the very dark grey / almost black cardstock panel and then stamped and embossed the sentiment onto the same cardstock.
I die cut the label a few times to stack it up then used a dark grey waxed thread for the string to attach the label.
Both the bear and the top holly leaf element are on foam adhesive for some dimension but the panel it then flat onto the card blank which was made from white cardstock.
Love how this came out especially given I hadn’t been able to create for a few days thanks to being pretty poorly. At least I am on the mend enough for an hours crafting and video editing and blog writing! But now I need a rest!
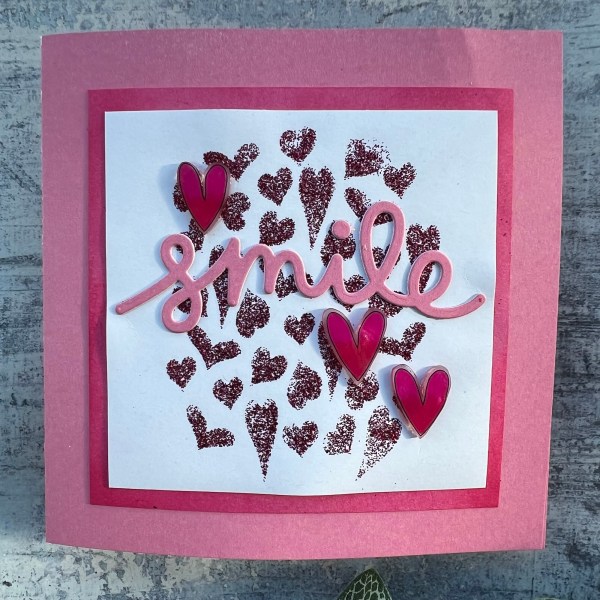
Hello! I decided to do something a little different with glitter glue for this project. Usually I just use glitter glue to added spots of sparkle to my projects – but this time I decided to use it to create the background for my cute card.
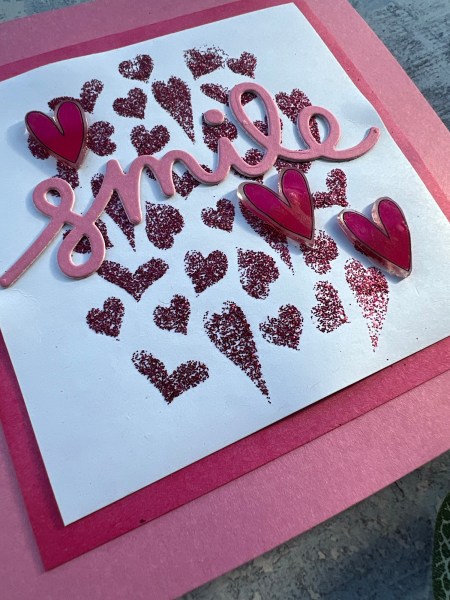
I chose a small stencil with the hearts and used the glitter glue like a texture paste to spread it through the stencil.
I then left it to dry overnight and it came out really well. I am not a big fan of loose glitter so this glitter encapsulated in the transparent glue it perfect for me.
I admit I kept the rest of the card quite simple. I used the everyday cardstock to die cut the sentiment, create the card base and mat the glittery heart panel.
I did add ink to the mat pink panel to give some contrast.
I added some hearts that I had found in the spring shrink plastic kit. Perfect embellishments. I had coloured them with my prismacolours in ombre style.
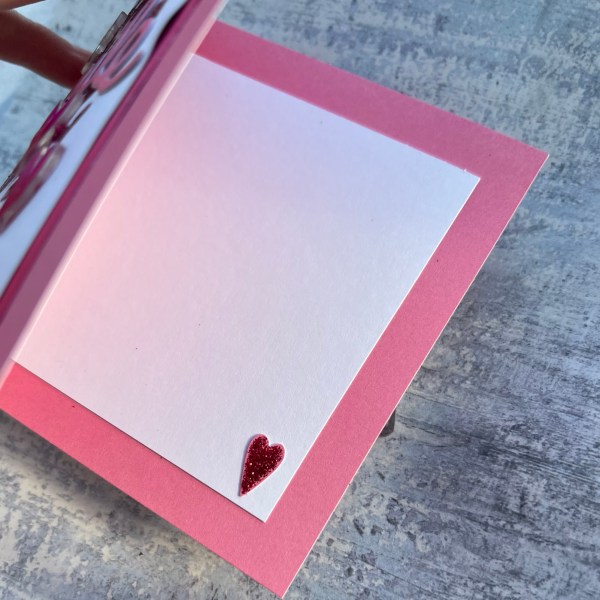
I added a little interest inside the card with another panel of the white and then I punched a heart from the same colour pink cardstock and added the glitter to that so it all tied in!
Martin is due on hobbymaker tv tonight at 8pm GMT please do pop over there and support him – I can’t wait to see what he demos and of course spot my samples along the way!