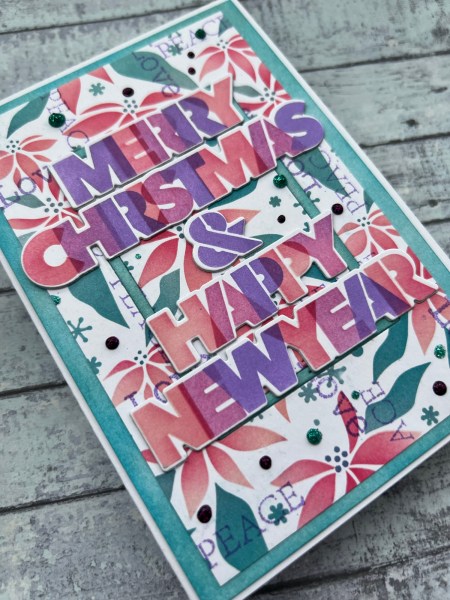
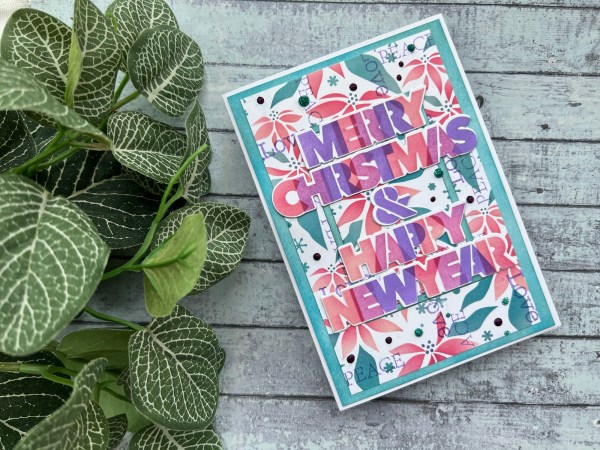
Hi – this is one of the first projects I made for Kingston Crafts using the Spring collection slimline pack.
I also added one of the spring shrink plastic embellishments to finish off the card but the main feature is that beautiful paper.
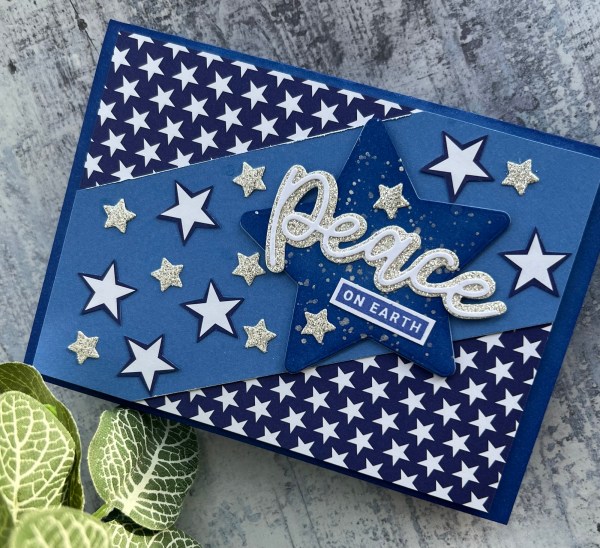
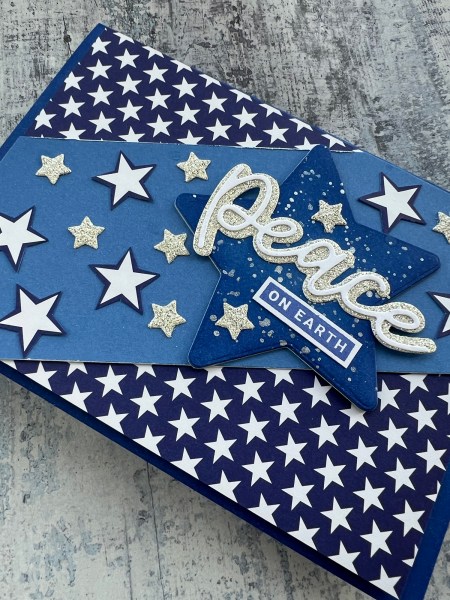
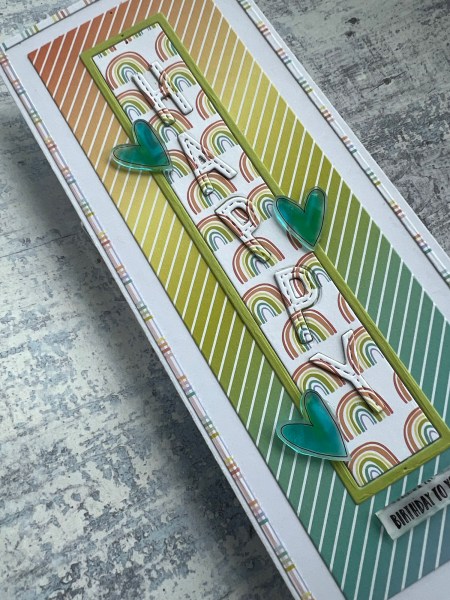
I used the cover panel die from Creative expressions and die cut three different papers. I’ve the frame leftover for other projects (one of which I used the other day for a Christmas project!) but instead of using the frame element I decided to create and interesting background with loads of dimension straight onto a card blank.
I die cut the frame from white a few times and so I stacked the little elements a couple of times in most cases – although sometimes I varied it and only did one layer – and using one frame for the template I then glued them into place before removing the frame once they were all glued down.
As I used all three different patterns in the same colour way this created a great background – and I’ve also got pieces leftover to do this again with a different variation!
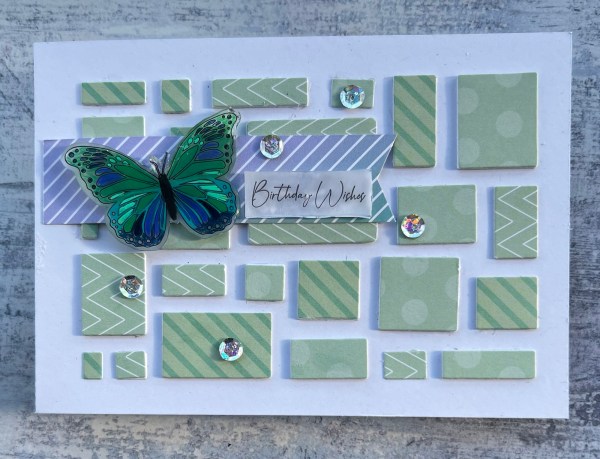
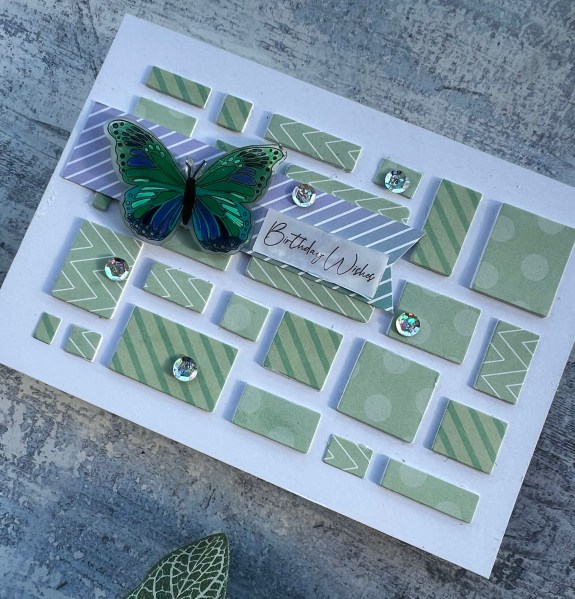
I added a strip of a different colour from the paper set and this became the base for my focal feature – the beautiful shrink plastic butterfly. I love the look of this when it is on the Matt side of the plastic – it gives it a classy feel I think!

I then took a strip of the plain shrink plastic and stamped a sentiment on it before heating it. This shrunk the sentiment (obviously!) and also meant it tied in with the butterfly. I did mount it into white so you could read the sentiment.
I then added sequins to finish off the card.
Happy crafting!
Catherine