Nearly at the end of this mammoth run of festive projects – phew! Won’t lie it’s been tough at times to continue – pure stubbornness kept me going!
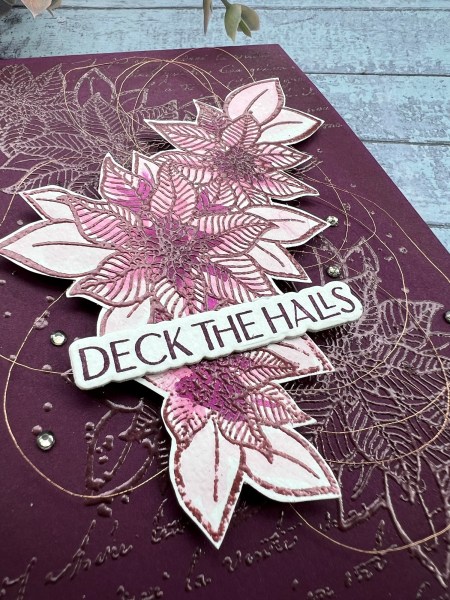
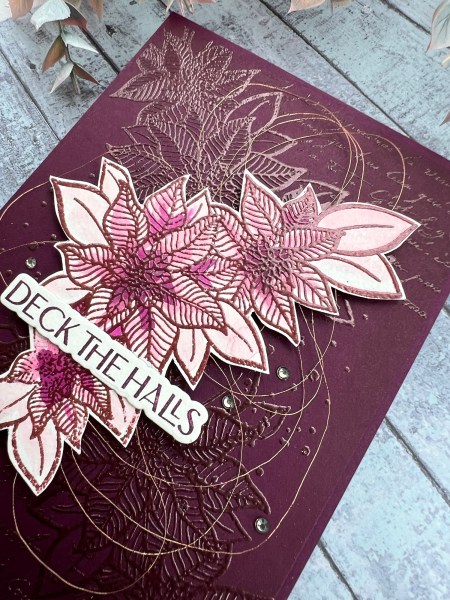
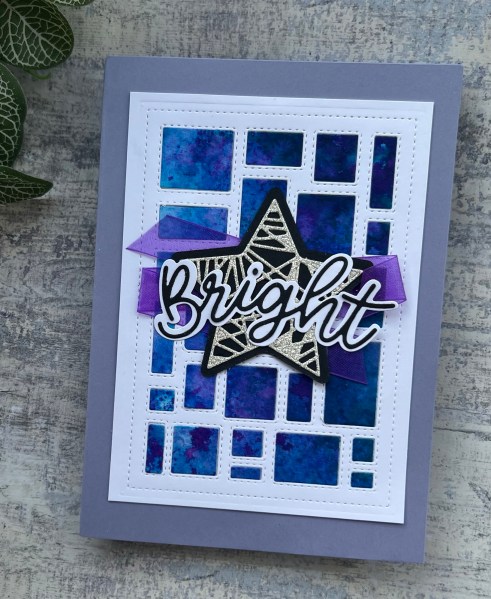
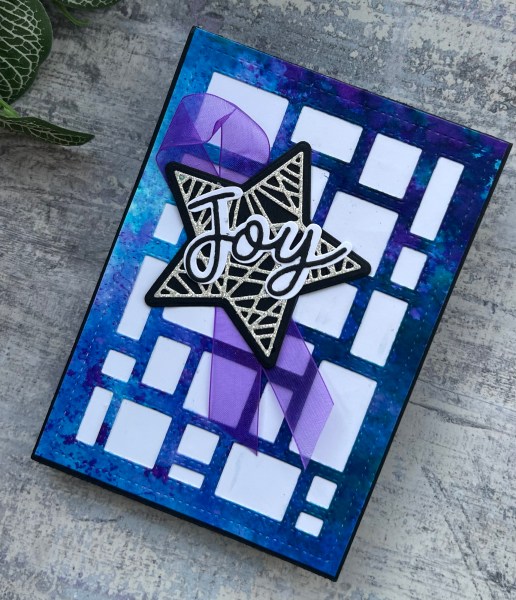
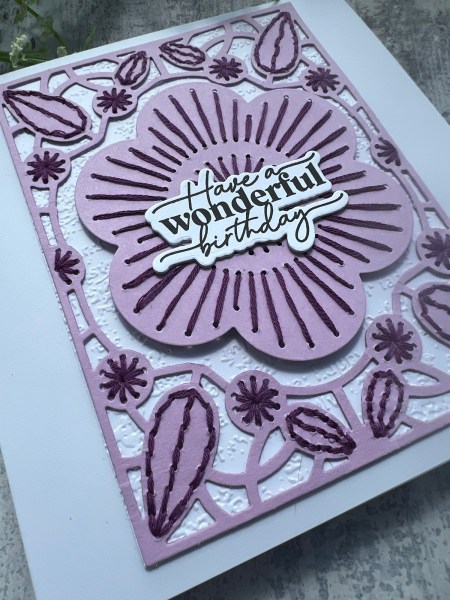
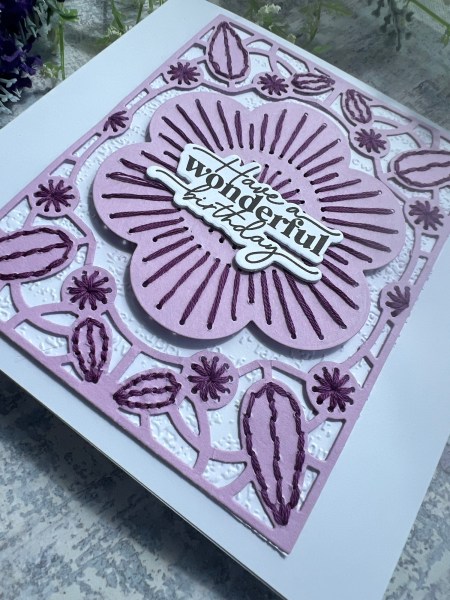
I grabbed the wreath builder template again but this time went more mixed media in my approach by using the painty background I grabbed from the stash of ready made stuff.
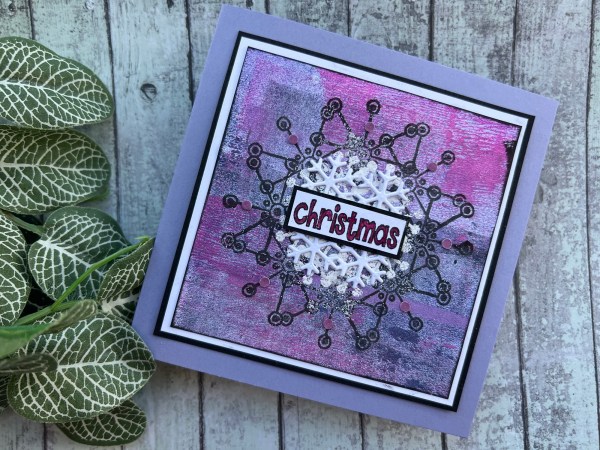
I then took Paperartsy stamps and stamped in black the larger of the snowflake motifs.
Then I stamped and embossed the smaller one in white but it got kind of messy.
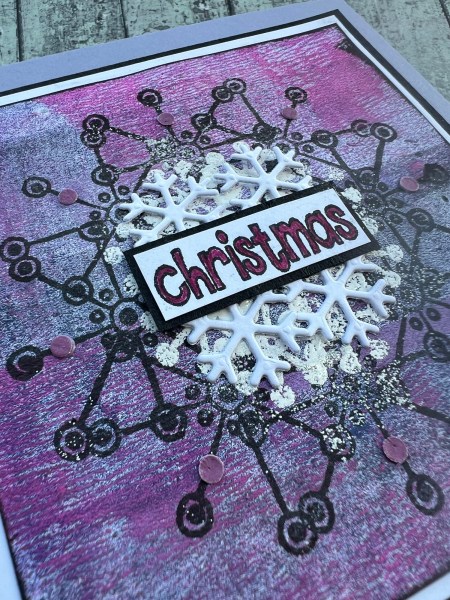
So then I decided to die cut four small snowflakes and add those in the centre underneath the sentiment to cover up some of the mess.
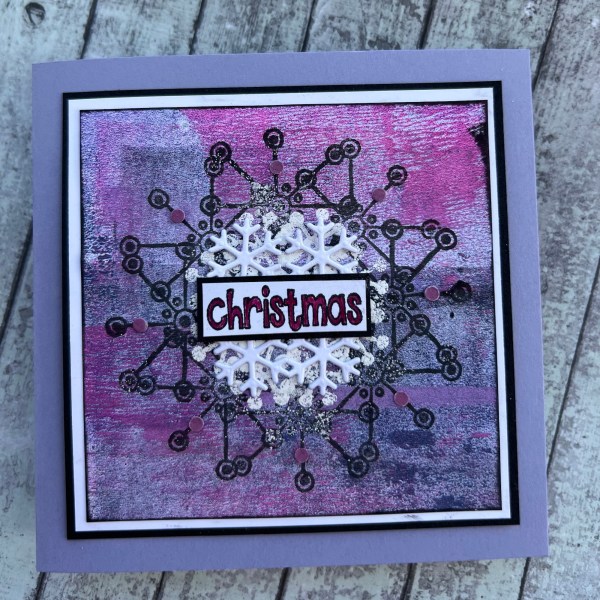
The sentiment I stamped in black and then coloured in with a purple pen.
I edged the panel and then did two mats to frame it.

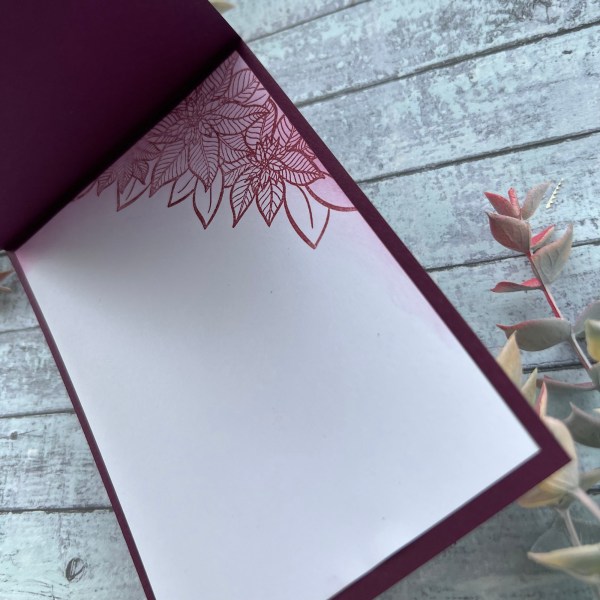
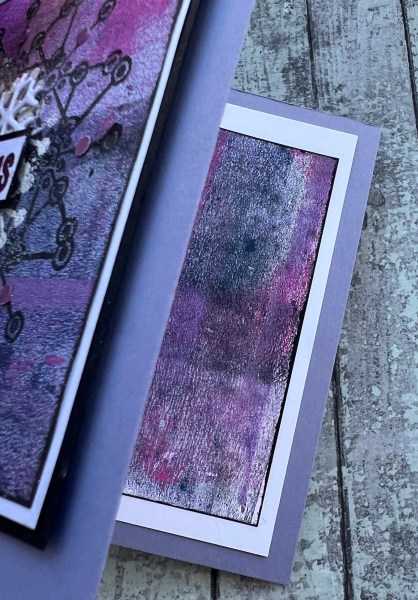
I then added it to a lilac card blank I made that is 5×5. Inside the card I added the remaining painty piece onto a white piece.
To finish off the front I did add tiny purple circle die cuts as little ‘gems’ and added wink of Stella to add sparkle in a subtle way!
Again video of the process for you to watch on my YouTube channel.
Happy crafting!
Catherine