I am an on-the-side and increasingly up front papercrafter who loves nothing more than getting inky and creating pretty things with paper and stamps!
I am also a wife to lovely hubby and mummy to a wonderful 14yr old princess.
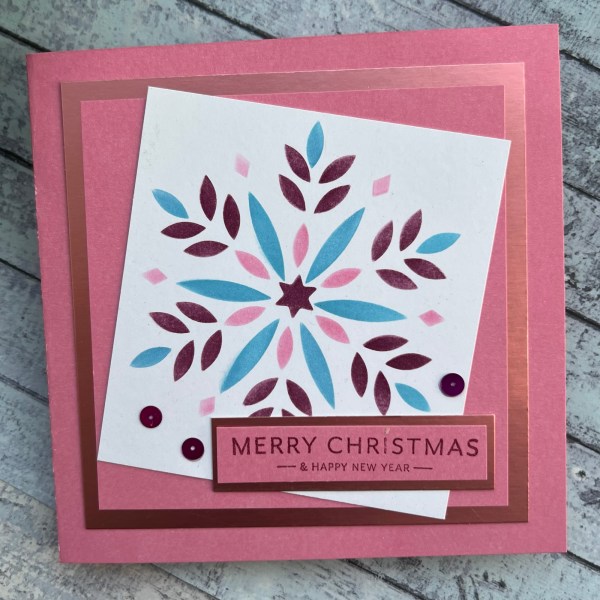
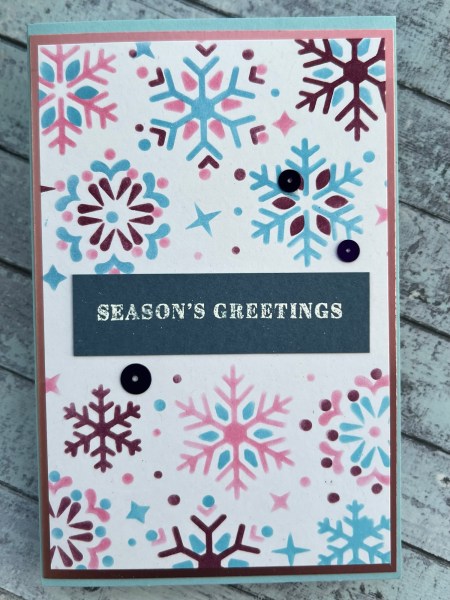
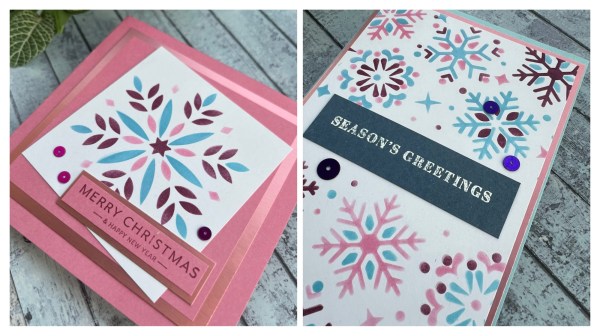
Last weekend I bought a couple of card magazines and one had some stamps and a layering stencil so I made a couple of simple cards with the stencils as the main feature.
The clever thing about the stencils is that they are two images in one – well strictly speaking three in one as one does a panel with the top and the bottom so you could create two cards from that one!
I chopped down the two panels and then added some layers of cardstock underneath including some satin cardstock.
I then used the sentiment stamps that came from the magazine kit to finish off the cards.
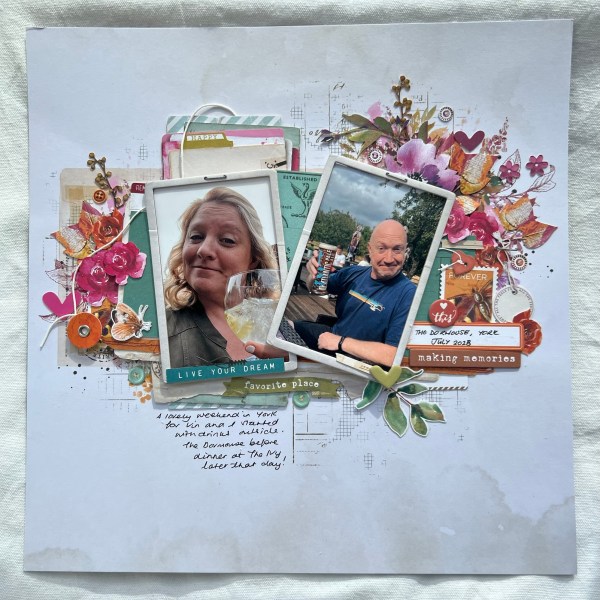
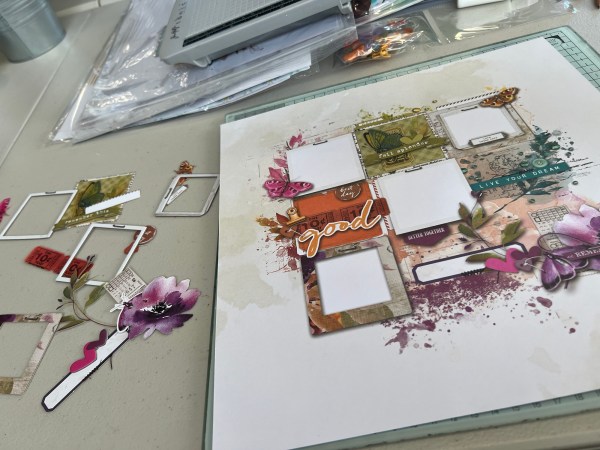
So it turns out I hate putting away projects half started at a crop and so when I went to tidy my desk and put away the supplies I had in the bag from the crop I immediately got distracted and made another page from that gorgeous 49th and market kit!
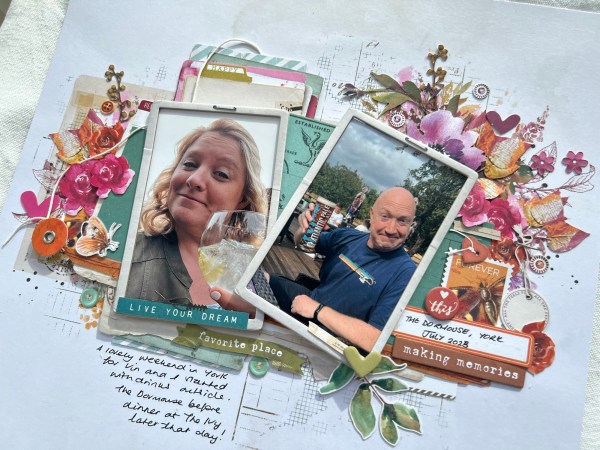
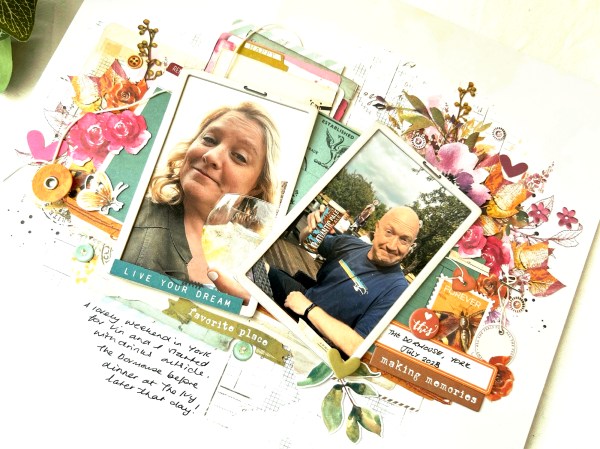
This time I did separate out the supplies that the page kit requires but then ignore the picture completely and just put a page together using those bits and the photos I had chosen to go with the page and added in some extra bits that were ‘leftovers’. I knew they were leftovers as I had also put in a pouch all the bits for the final page example too – so knew I would be fine using the extras for this page.
So whilst the page still looks relatively similar with the background determining the colours of the elements I added the page is a bit different as I had a different number and proportion of photos.
I decided to use the pics from Mother’s Day in March to document family time – a far cry from the autumnal theme of the kit!
Again I love the beauty of this kit and now I’m not overwhelmed by looking at the design and thinking I have to follow it – I can still absolutely do my own thing with it – and it is so quick because everything coordinates and is diecut ready. So maybe I’m not saying no to buying another kit like this in the future like I was —- but only one more page to make – and then the good news is total freedom after that as there are loads of leftover bits to play with!
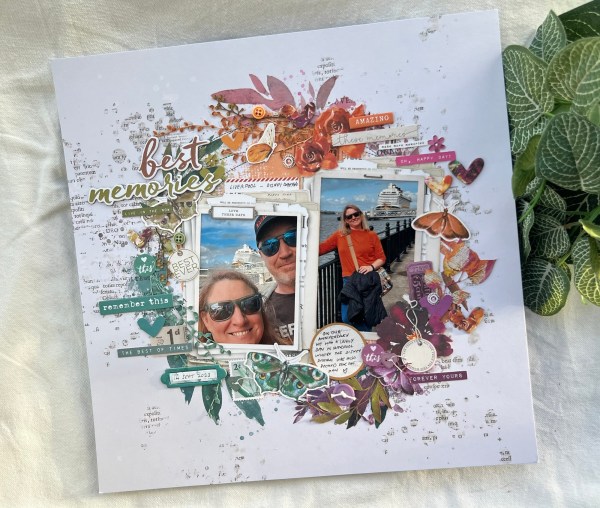
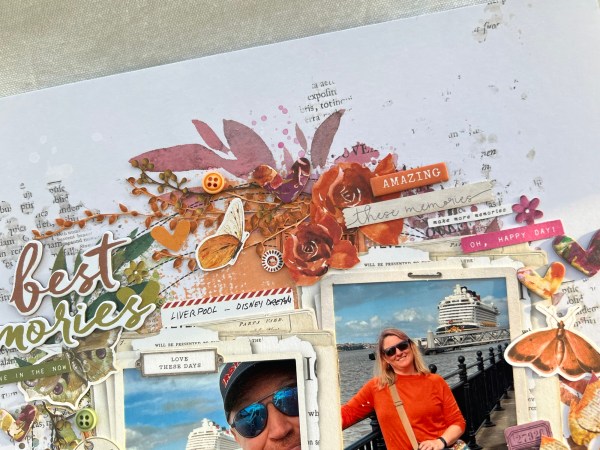
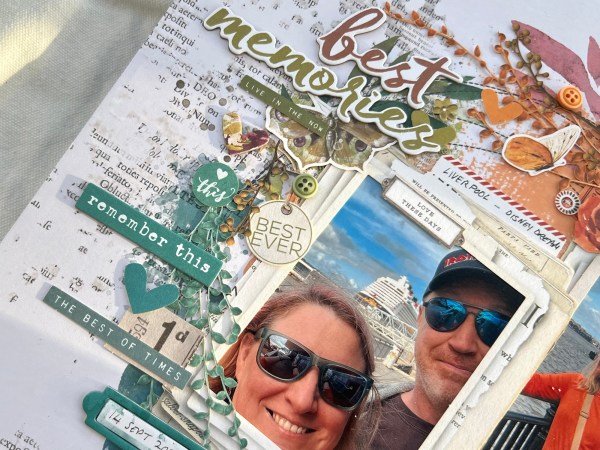
I was tidying up my stash from the weekend I decided to make up another page from the Spice kit from 49th & market … and it was so easy to do because I had the perfect photos that fit the frames.
I chose to scrap pictures from our day in Liverpool where we got to see the Disney Dream that was docked for the day. It was a fun day!
I mainly followed the actual page layout and mainly added the same items as the kit suggested with just a couple of additions!
I did slightly twist the position of the photos but otherwise it was as per the example.
So once I had all the pieces punched out of the die cut panels (that took ages!) the page didn’t take long to put together at all.
Such beautiful artwork for these kits – and I have two more pages to make and then probably have some things leftover to play with on another page!
Fun to play with – but the prescriptive nature of the kits doesn’t really sit in my normal place for creativity – so not sure I would buy another – despite how incredibly pretty it is. Anyone else feel the same?
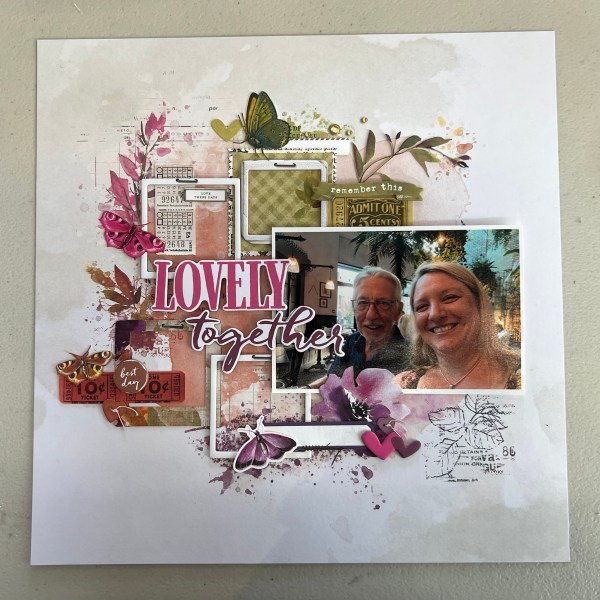
At the previous crop I went to I bought the Spice kit from 49th & market because the art work for these kits is superb – but I guess I hadn’t realised quite how they work as kits and I then got a little stuck in working out how to use it. I had at some point in the last few months chosen some photos that work with the colours in the kit but realised it was highly unlikely I would end up using the kit as it is designed as that just isn’t how I scrap! After all I never follow instructions!
At the crop on Saturday I did however make and stab at using the kit and managed one page! I started by choosing the page to work on and trying to find all the elements from the original page idea – after all this is what it was designed to do and didn’t want to mess up future pages by using the wrong elements!
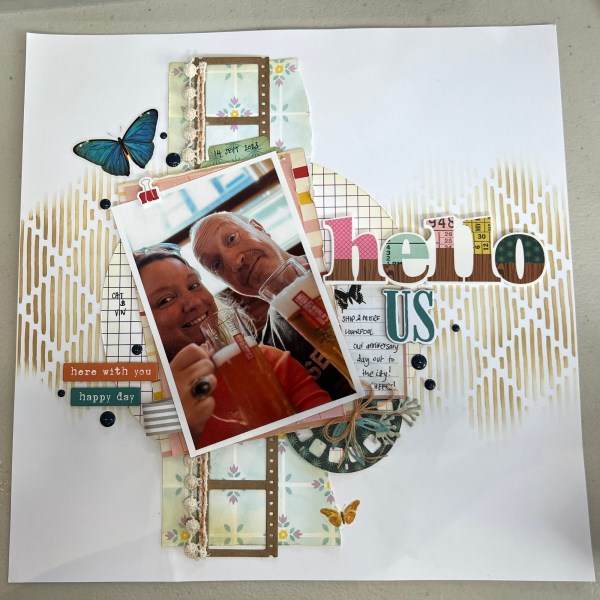
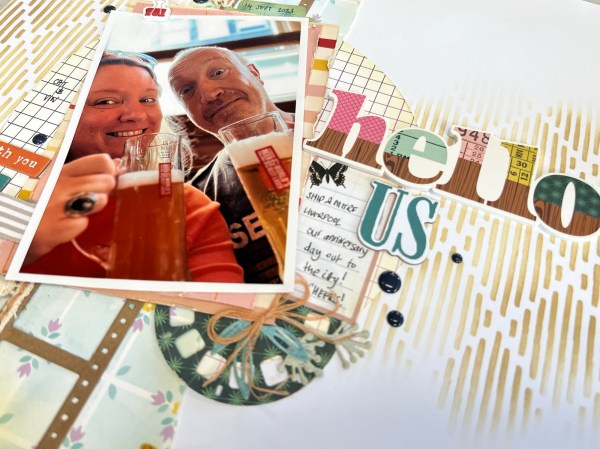
So the original page idea is on one side of the printed paper and then I pulled out elements from the die cut and chipboard sheets that matched. Then I turned over the paper so it was just the background – loosely followed the idea of the colour matching but totally made it all up in terms of placement – because the photo I wanted to scrap was a single 6×4 not lots of little ones…
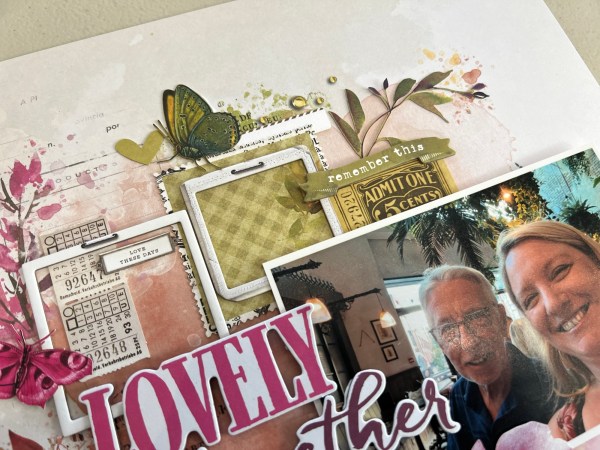
So my page finished up very different from the plan in the kit but I think worked well.
I did add to the kit with a bag of chipboard elements (still 49th & market but an add on!) so that helped with the title for the page.
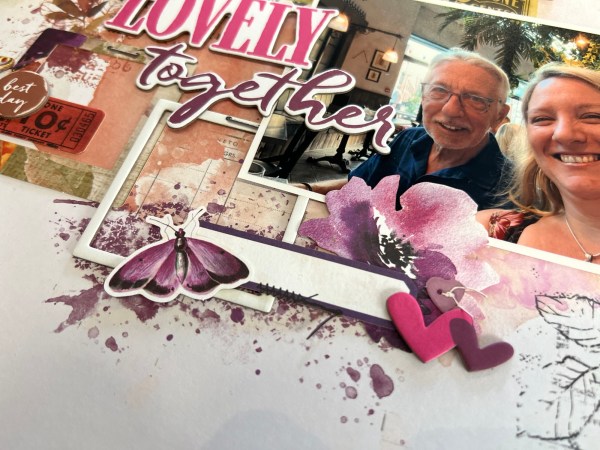
Slightly later than these photos I did add in some journalling and added an extra rectangle chipboard for that just under that circle on the left hand side too – I just needed some more space to write the story of the picture and the one with the purple moth element wasn’t big enough!
After the crop (whilst watching strictly) I did separate out all the die cut elements for each of the other three pages in the kit (plus the leftover elements) to make my life easier in tackling these kits again – I was at the end of my patience level in trying to find the right elements and fitting die cut sheets back in the pouch neatly – so knew I had to do this otherwise I’d be ready to throw them out the window next time!
The kits are beautiful – I just don’t do well with being told what to do – so note to self – don’t buy the kit again – just buy things separately as it works better pretending there isn’t a plan for my brain!
So you should know if you are a regular visitor to my blog I like to make good use of any kits I get and often make something from the leftovers very quickly! So the page I shared yesterday I had quite a bit of the paper leftover so I immediately put it to good use!
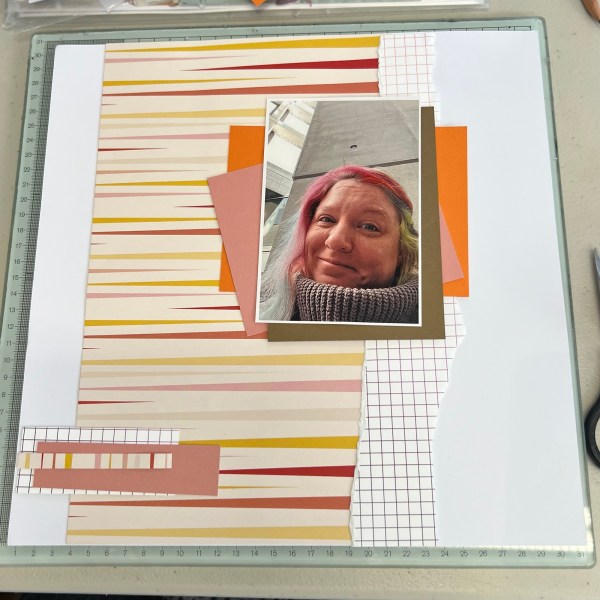
This was the starting point – but I had very little with me at the crop that worked with the page and it needed both a title and some embellishments. Well handily enough Sarah had brought Hey Little Magpie shop with her to the crop!
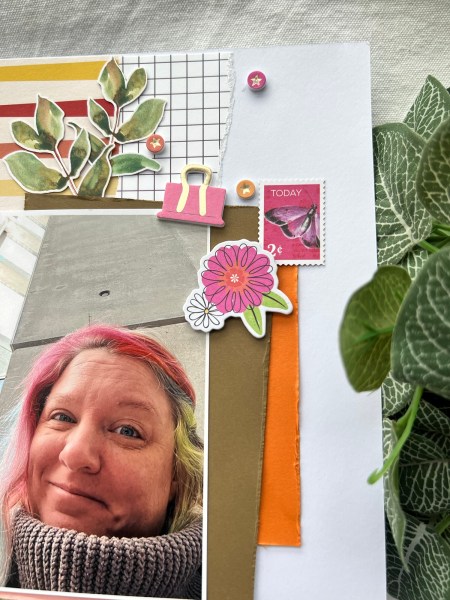
I spotted some foam stickers that I thought would work well with the colours and help tell the story of the page so I bought them and then set to on finishing the page. I didn’t quite get around to the journalling at the crop though so has yet to be added.
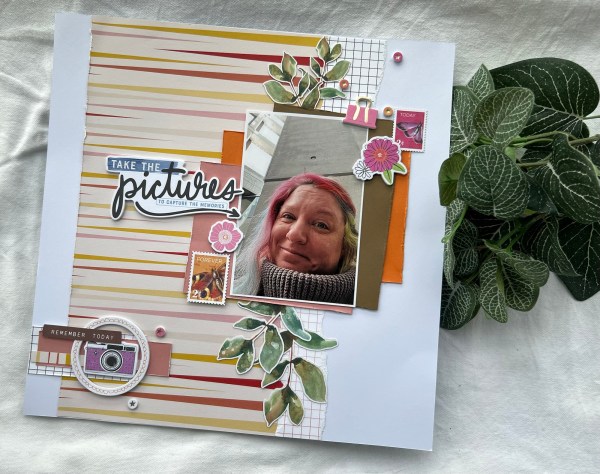
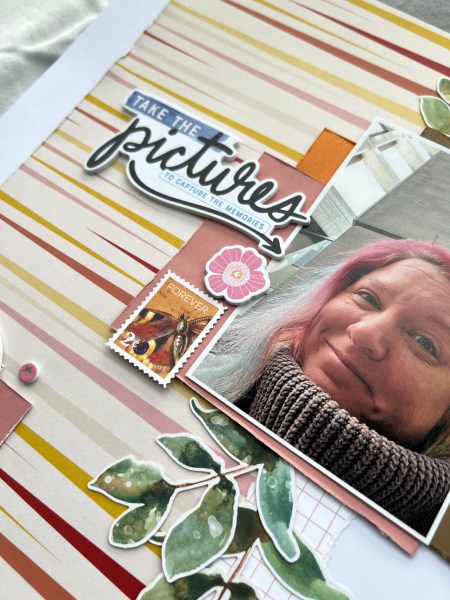
I also added in some elements from the 49th & market kit I brought with me to play with at the crop (spoiler alert for tomorrows post because I did end up doing one page from this kit!)
So the leaves and the postage stamp elements were from that and the rest were the foam stickers I bought.
I had taken my pouch of scrap pieces of cardstock with me so was able to cluster those under the photo.
I distressed edges for the dimension and texture and other than the journaling this is a complete page – made from the scraps of one kit and the added bits of one set of foam stickers (and there are loads left of those for plenty more pages!)
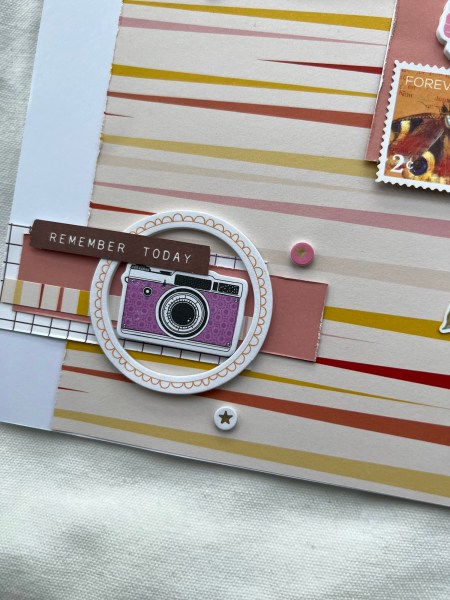
Today I went to the crop that is held locally and hosted by the lovely Sarah at Hey Little Magpie. I bought a kit from her to play with and as usual I put my own spin on it!
I definitely stuck closer to the original than I normally do but moved the title and I added the stencilling and few other bits and pieces using stash I bought at the crop. I can’t see the kit yet on the website so can’t link it yet but here is a pic of the original layout…
… isn’t it so cute?!
Clearly I went a little mad with stencilling behind the papers and also because I chose to go wonky with the picture the big hello didn’t work vertically.
Everything else pretty much stayed the same though. I did see the Pom Pom trim into place which added some Fawn coloured thread and I also added the little bow using the same thread.
I added some chipboard elements too like the additional Us to the title and the two little subtitles…
And finished off with the enamel accents in threes around each cluster point on the page.
Loved how it finished up!
I also managed another two layouts but I’ve not got photos taken just yet so you will have to wait for me to share those!
Last night I realised I hadn’t got a card ready for todays Festive Friday – so I immediately went to my box of ready made backgrounds – in this case a gelli print – and found one I could work with!
I added the stamped and embossed Snow Crystal to the background using Oxides and clear embossing powder so it had some subtle colour.
Then mounted the panel on a piece of scrap cardstock I thought worked with the colours in the background.
I grabbed a pre die cut tree and inked it with peacock feathers and faded jeans distress oxides and spritzed some water on it to give it a fun finish.
I then grabbed a ready stamped and die cut sentiment and then glued these all in place.
Then I added it to a premade card blank and added some gems.
Took me less than 10 mins as a result of all those elements being made in advance! Now I know that not everyone makes cards for challenges like this where they need to be quick but just think if you had a few things ready done and when you suddenly realise you need a card for someone’s birthday you’d forgotten – how simple it is to just grab some bits and do a little assembly and then they get a handmade beauty in less time than it would be for you to get to the shop! So I urge you – especially when mojo might have disappeared – to do some die cutting of things you know you often grab or pre stamp and die cutting sentiments in bulk so they are ready to go – or grab paints and inks and get some backgrounds ready to play with!
Today’s card I made a little while ago using up some of the premade backgrounds that were in my box. It started with the gelli print that’s on the left hand side of the card and then the Dylusions background that’s on the right. I used a couple of rub ons onto the Dylusions panel and then decided to go with the large Splendid flowers image for the focal point. I then decided this would be my card for the Addicted to stamps and more blog for my design team contribution.
I went for blue flowers for my focal point and loved adding all the inks through the stencils. It makes colouring the image so easy.
I added blue thread in a nest behind the sentiment which is also stamped in blue and stacked up. I added a little banner die cut behind to frame it and then added the white sequins for shine!
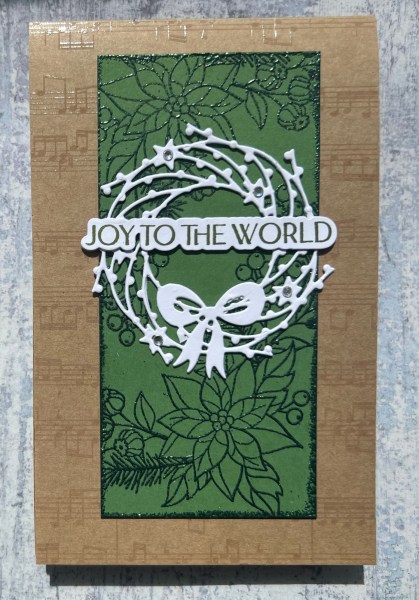
Today’s blog is a card where I went back into half made projects for the Festive Friday! A while ago I used this speciality cardstock to make some card blanks and had a bit left over!
I grabbed the panel of green from my scraps and went a little mad with embossing powder to do some green on green images and embossing the edge of the panel too! I used a Spellbinders stamp for this.
I then grabbed the ready die cut wreath which I stacked two together for stability and dimension and adhered that to the green panel.
I found the sentiment in my pouch of ready stamped and die cut and stacked sentiments using Waffleflower sentiments – it was stamped in a dark green and coordinates well!
I added some little gems to the wreath and decided this was done! It’s a slightly slimmer than normal size but still works perfectly for a standard envelope!