Yes it’s come to the point where (unless I find a piece in my stash that has been hiding) I have used up the True Love designer series paper. I have absolutely loved using this … especially to quickly get a floral focal piece onto a card without stamping!
So this one I made with a background of a gelli print!
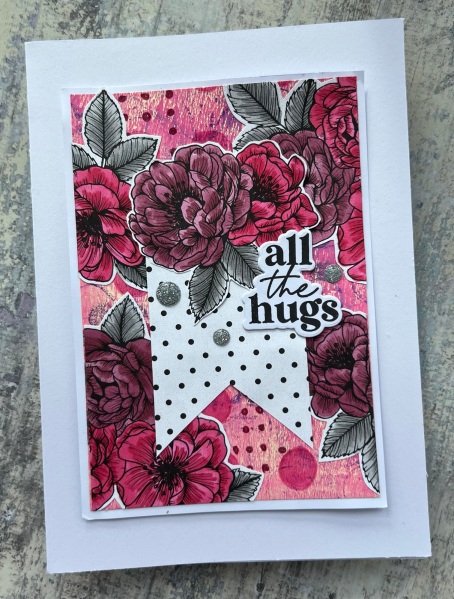
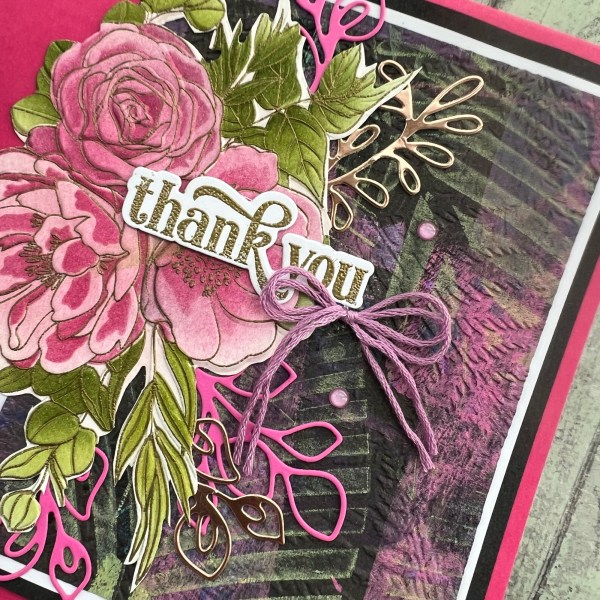
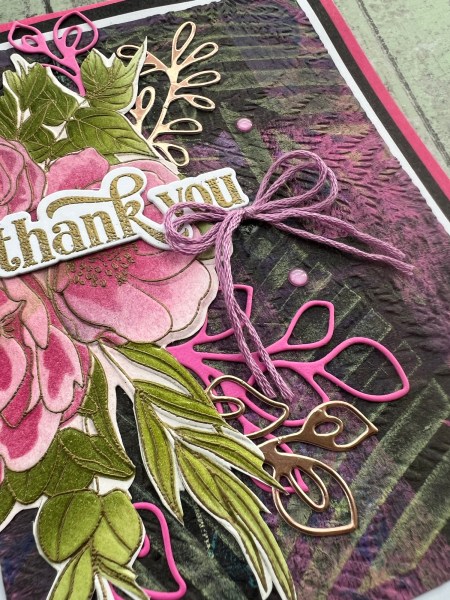
I grabbed this from the stack I had made and then started adding to it using a stencil I bought at the crop. I didn’t use the stencil in the normal way … I used my stampin blend markers to add circles through the stencil instead of blending over it to show the full pattern. This gave me some dots and circles in pinks and purples.
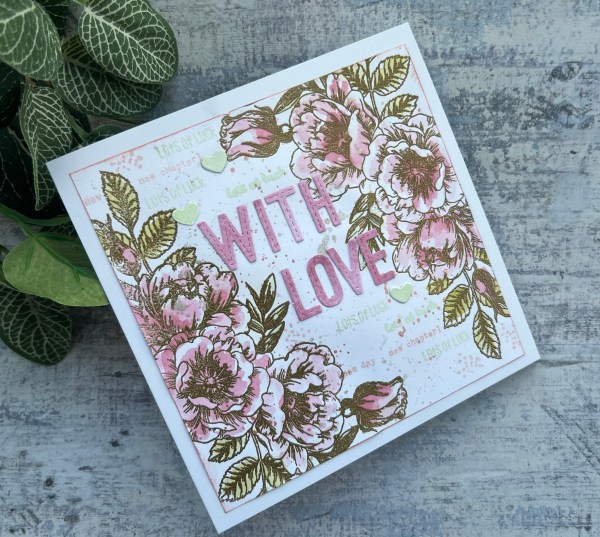
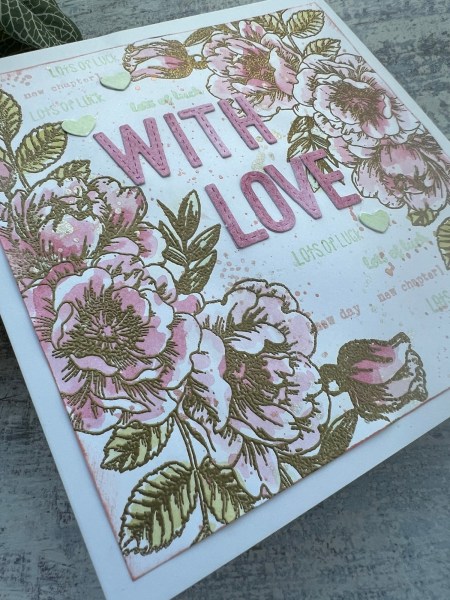
I decided this would then be the background for true love leftovers. I chose all the edge pieces first to colour and add to the sides of the panel.
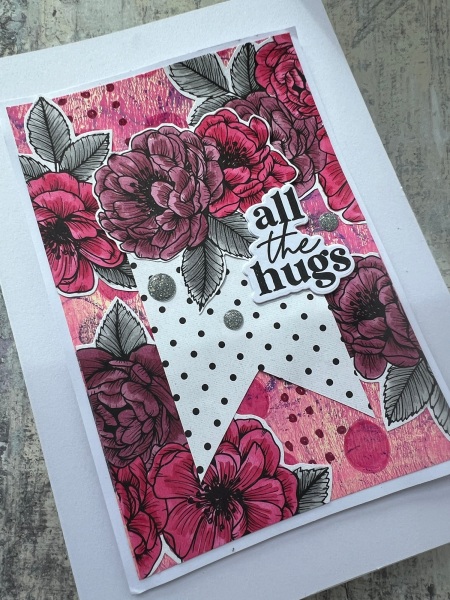
I decided to go with grey leaves though as I didn’t want the green to draw focus as a contrast colour … so it’s a bit odd but I think it works!
I then coloured the remaining whole flower cluster and grabbed the last piece of dsp to cut the banner from.
I did add a little dimension beneath the banner to slightly raise it above the background and then added the sentiment.
I added more dimension when adding it to the card blank to raise it a little more and then added the gems to finish off!
So that’s the last of True Love dsp. Hope you’ve enjoyed seeing it over the past few years as much as I have done!
Happy crafting!
Catherine