It’s the first of the month so time to play with patterned paper and this time I cheated and actually made these months ago at a crop where I took along the pouch that had a few remaining pieces of the True Love dsp along with a few other bits of paper from the Expressions in ink papers.

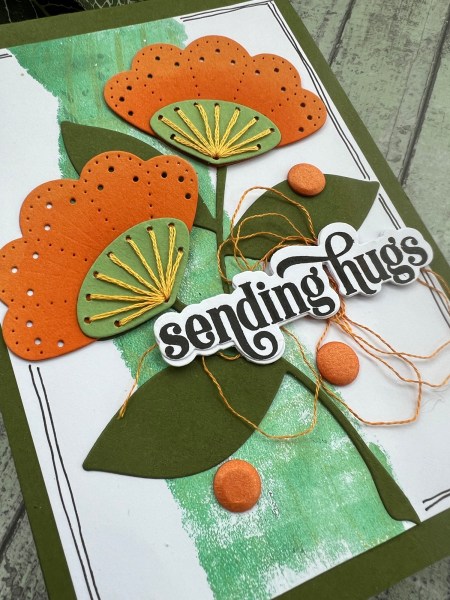
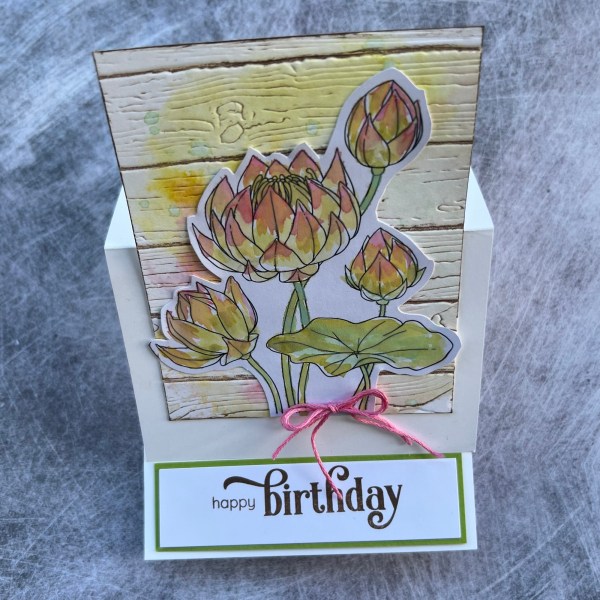
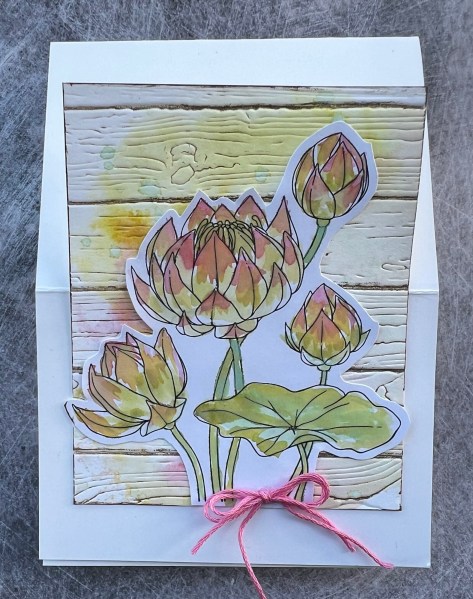
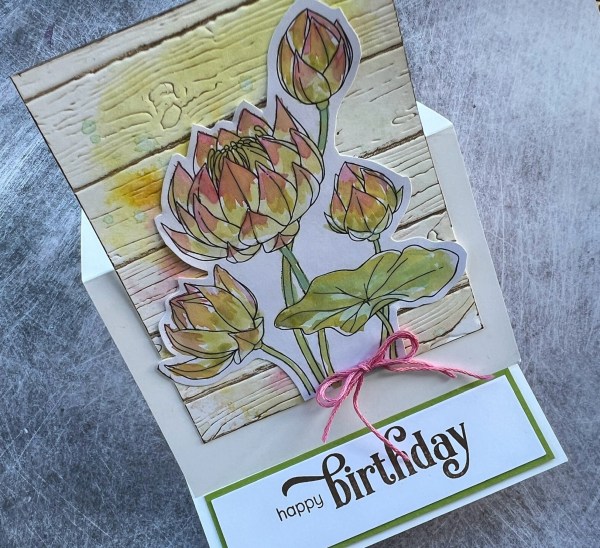
I had fun colouring in the flowers with the Stampin Blends and then made up several card fronts using the stash I had to hand. Will share others later this month as they had a different thing going on!

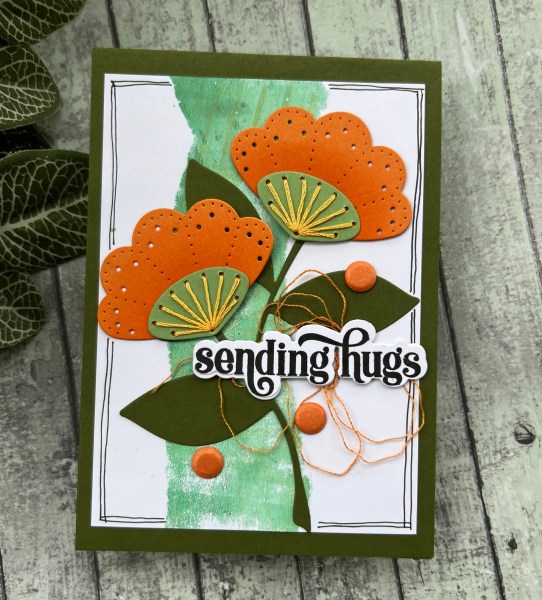
Because I had the flowers already cut out and the panels I kept quite simple these were easy cards to make. I’d also die cut and stamped all the sentiments already too so that made those really simple to pick out and adhere!

I liked keeping it simple at the time because of the fact that I had very few supplies to hand (although I had packed a lot of stuff to take with me!).

When I got home I finished them off with gems and adding them to card bases.

I’ve loved this paper and although it is sad to see the final pieces of it being used it is also good news —- means I might eventually get around to buying new papers because I am making a small inroad into using up what I have!

Happy crafting!
Catherine