Happy bank holiday weekend everyone. I’ve got a busy day ahead with a non-BBQ with the parents (typical bank holiday weather means I’m not cooking outside!) so no crafting planned. Instead I’ve got a post from a project I did a while ago.
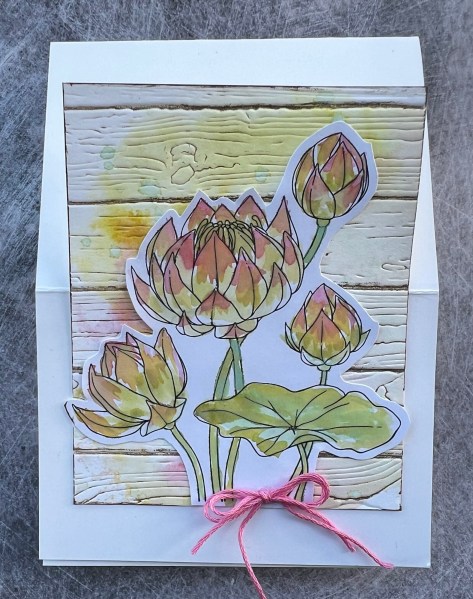
I had a scrap of wallpaper sample that I had been hoarding … so you know the score … must use or ditch it! So notecards made!

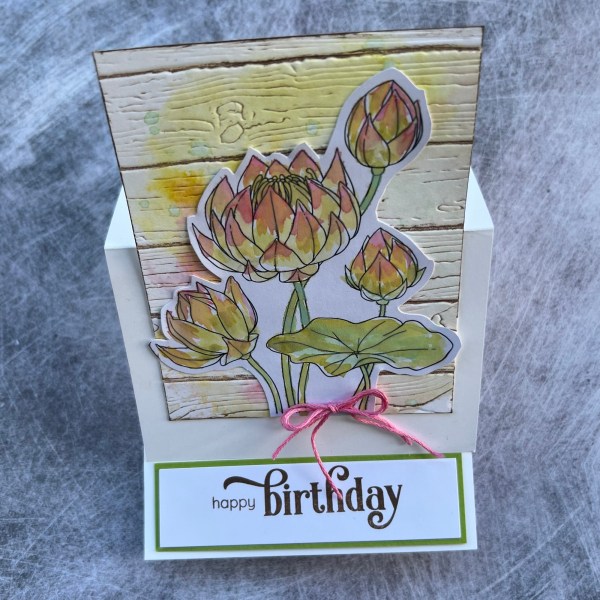
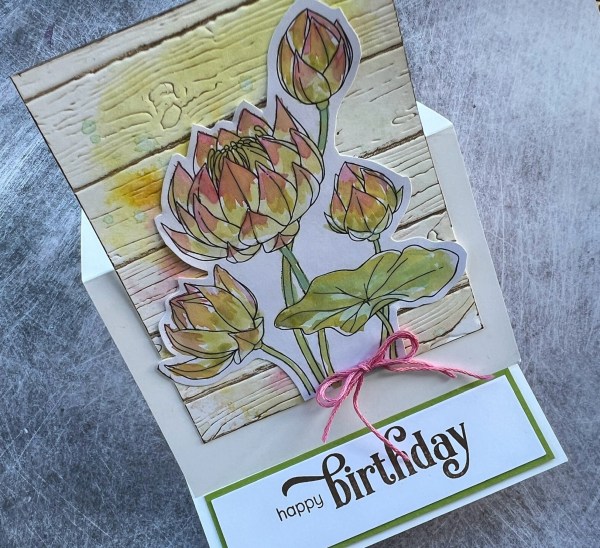
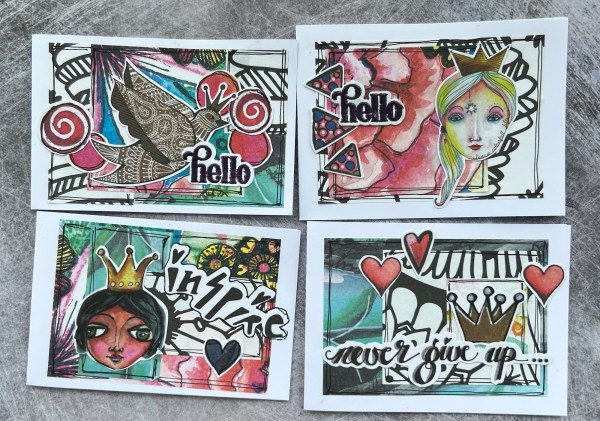
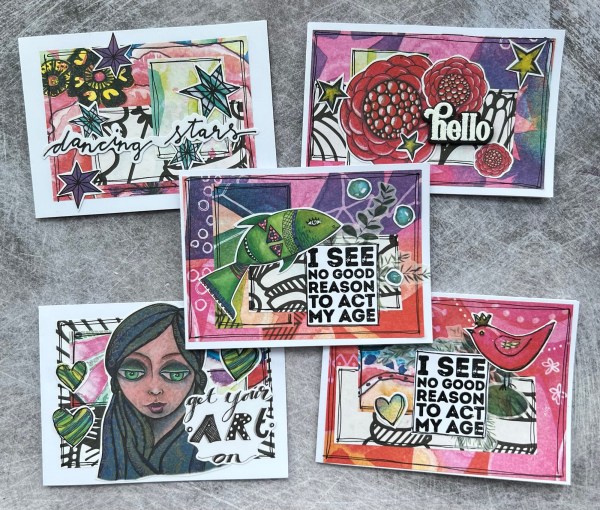
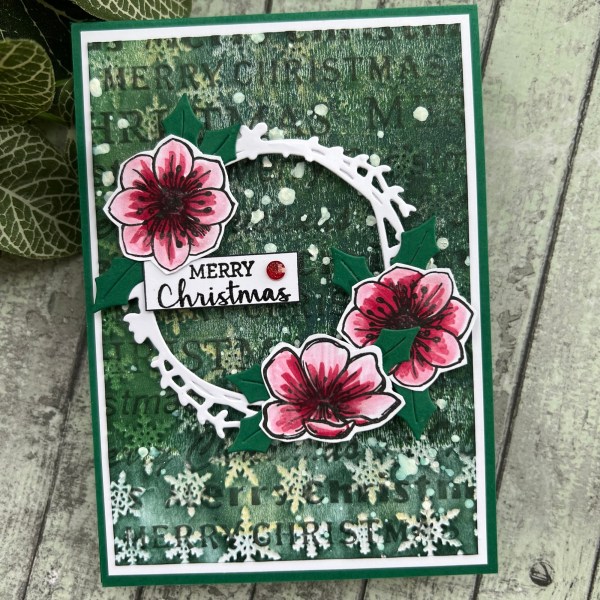
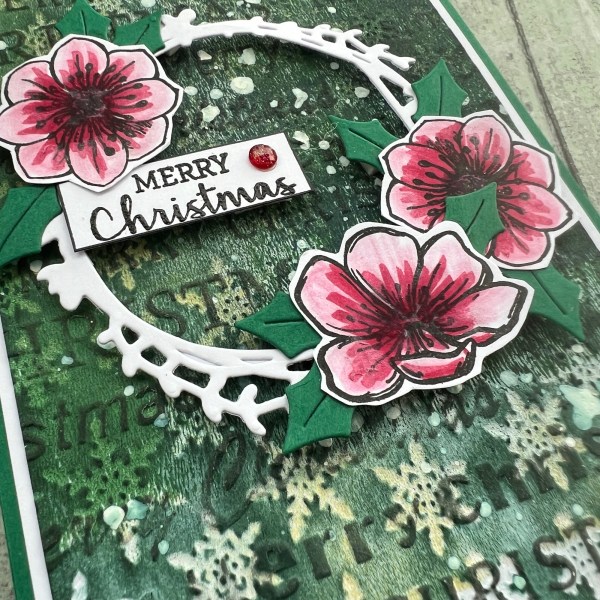
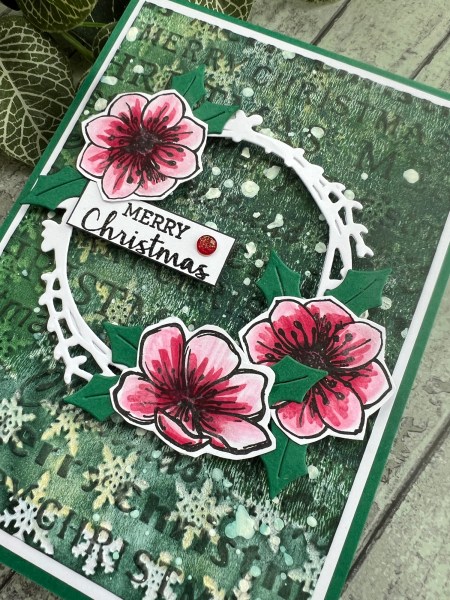
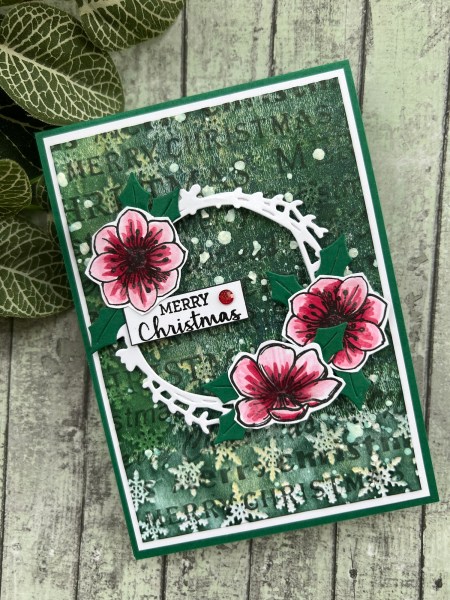
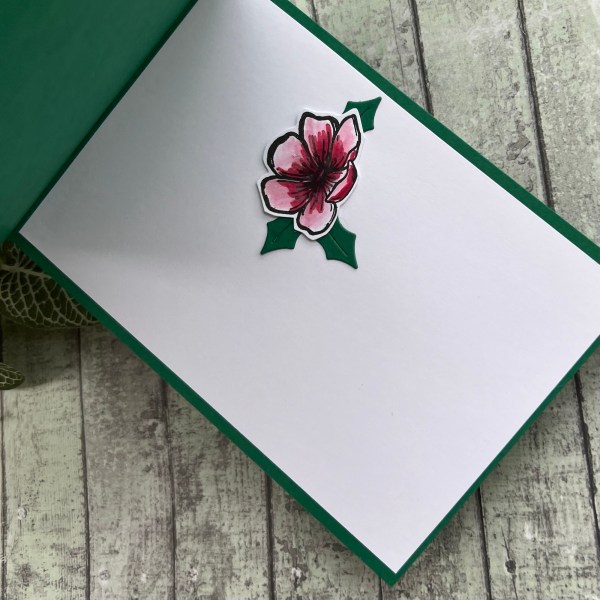
Kept them really simple with the embellishment of roses cut from another piece of dsp and then some stamped, embossed and die cut sentiments.

Oh and also some white sequins to embellish!
Love the texture of the wallpaper and the torn edges with those beautiful watercolour floral images.
Simple project … feel satisfied I put the wallpaper sample to use … and no longer hoarding it! I mean how ridiculous was it to hoard it in the first place? But if you are a crafter I am sure you are just like me in having lots of random stuff around that just needs using or binning!
Happy crafting!
Catherine