A few weeks ago it was (inter) national scrapbooking day and for the weekend Hey Little Magpie ran some challenges … so I joined in and on day one I made three pages … which I videoed for each of them and will spread out over the next few days of blog posts and YouTube uploads!
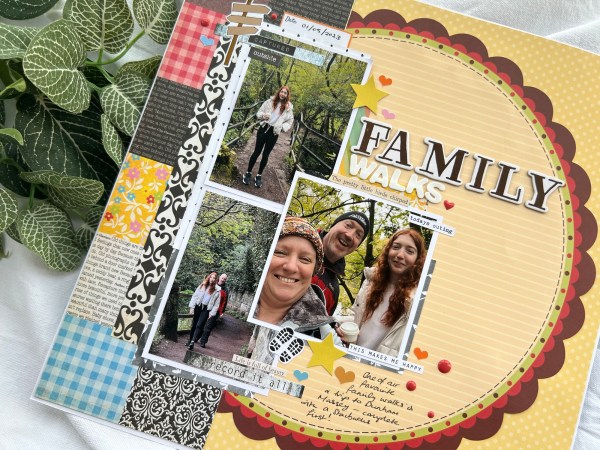
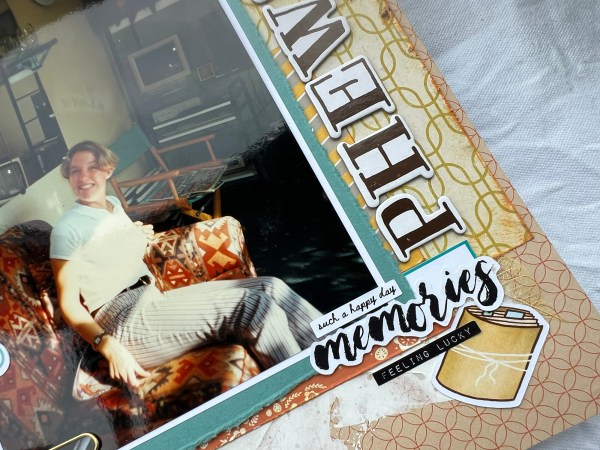
The first challenge was set by Sheena to use a large photo (larger than 6×4) so I found this 5×7 photo of me from 1996 to scrap.

I shows me having just got off the phone on A Level results day confirming that I had secured my place at Royal Holloway University of London to study Drama and Theatre Studies and the title Phew! Says it all!
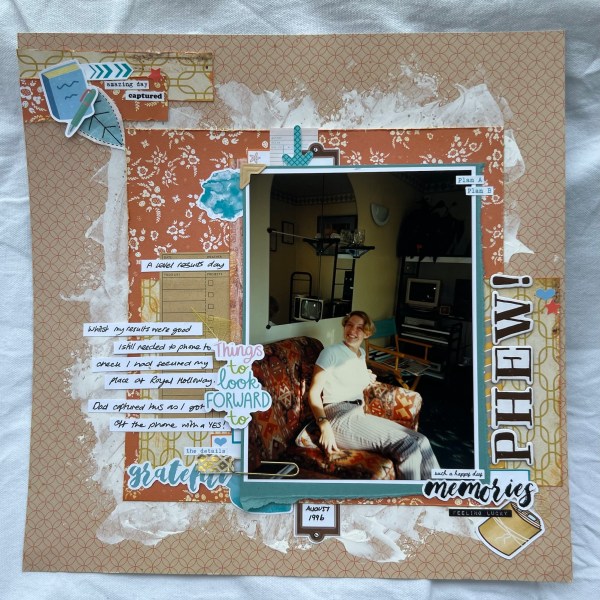
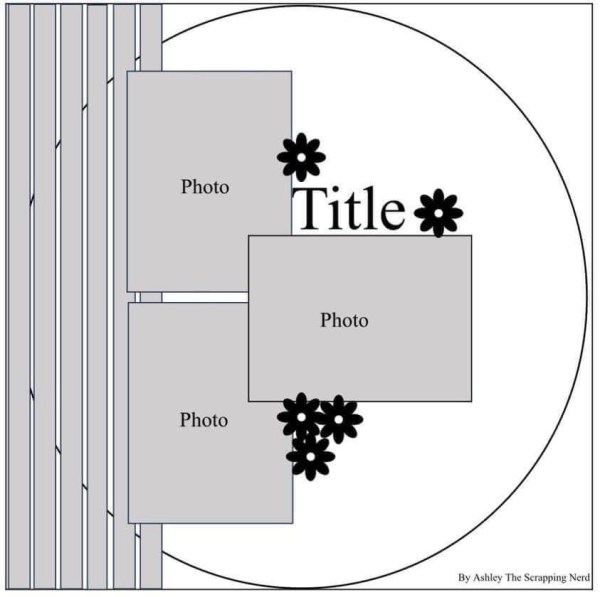
I followed a sketch from #30dscbl14 day 17 designed by Lisa Marie.

Papers from the stash (I think Maggie Holmes for some) and lots of Lollipop Box Club kit stickers too.


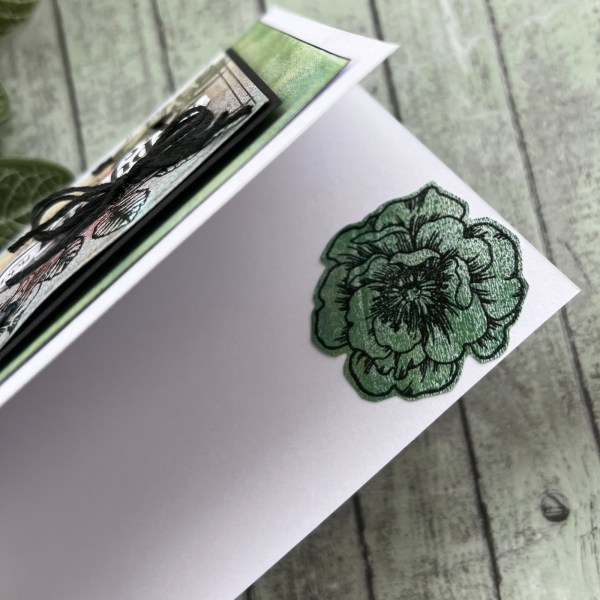
I had scraped gesso onto the background to give some frame to the orange piece and add texture.

Love the pop of the blue against the oranges and yellows … and it was great to get such an old picture scrapped.

Check out my video on YouTube for how this came together.
Happy crafting!
Catherine