I am an on-the-side and increasingly up front papercrafter who loves nothing more than getting inky and creating pretty things with paper and stamps!
I am also a wife to lovely hubby and mummy to a wonderful 14yr old princess.
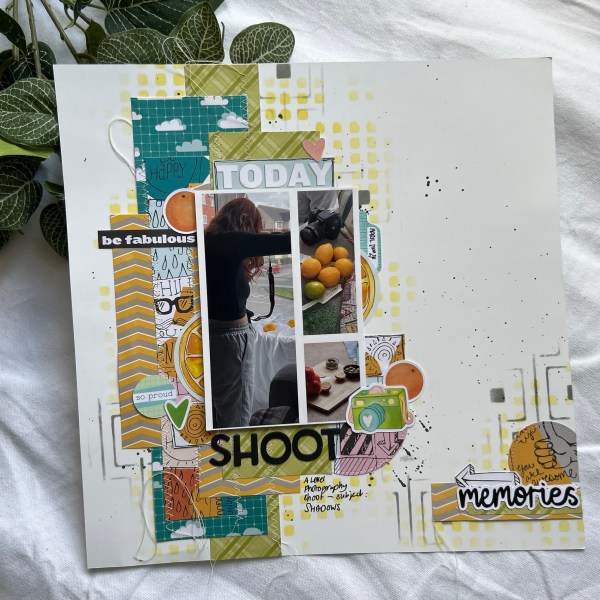
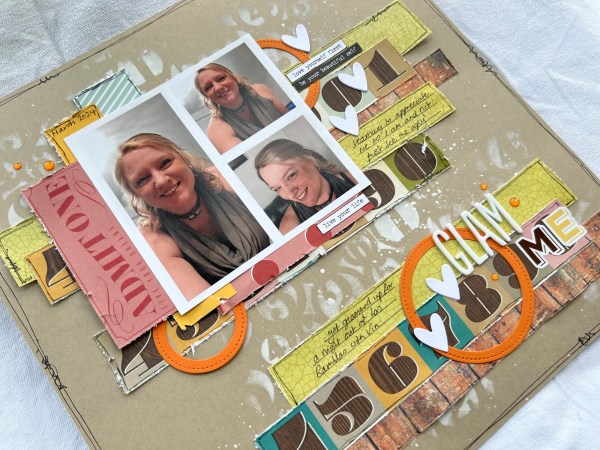
Clearly I am on a roll with my pages and this time I am using the leftovers from the page I shared yesterday (with an extra paper pulled in too!)
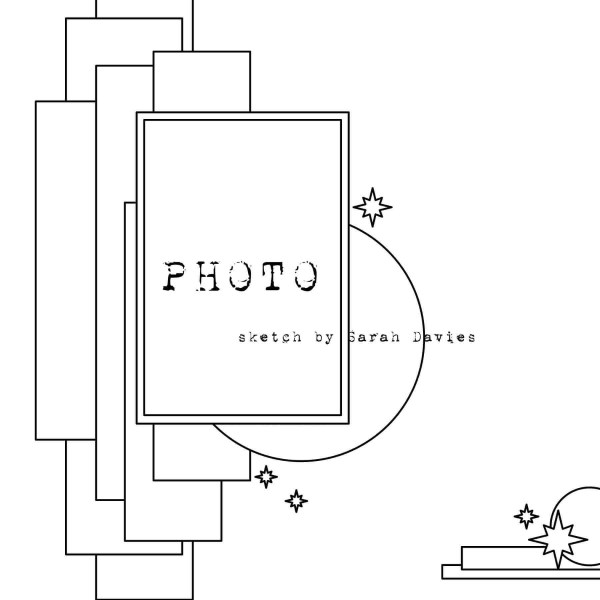
The sketch I used was the day 10 from 30 days of sketches with Christy’s Beautiful Life and was designed by Sarah Davies.
Whilst I might have slightly lost some elements of the sketch with over embellishing with bits and bobs I think you can still see most of the intent!
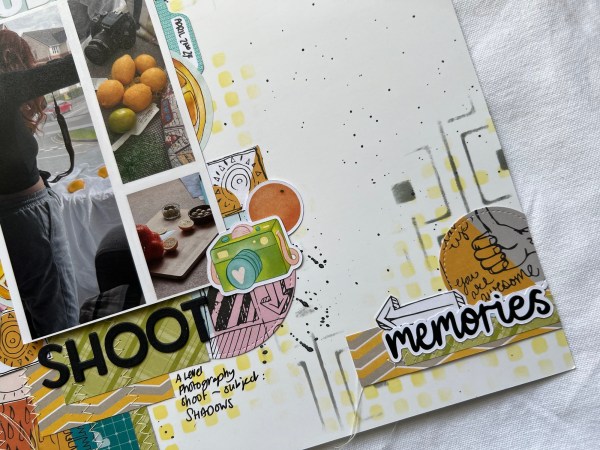
Loved adding in the stencilling on the background and the lollipop box club kit bits and pieces too.
Also like the sewn elements and the hanging threads from that.
Kept the journalling small as just really documenting the a level photo shoots that my daughter was doing in the spare room – this fruit themed one was in response to the theme of shadows.
Thanks for the inspiration sketch Sarah.
Also I videoed this process (again) and so check out the video to see this come together.
Yes another scrapbook page which I made and videoed last weekend and finally writing my blog now I’ve edited and uploaded to video.
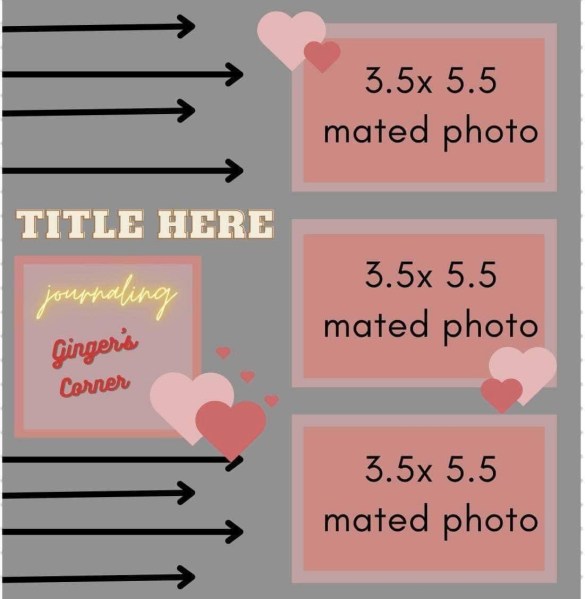
I shopped my stash to gather these papers and then used day one sketch from the #30dscbl14 … what the heck is that I hear you ask? Well Christy’s beautiful life hosts a 30 days of sketches challenge and I’ve joined the Facebook group and dipping my toe into the water with this sketch from the March 2024 challenge (14) … I blame Helen Ding for all scrapbooking adventures I might get up to!
Sketch was provided by Ginger Bush
Anyways with the four papers and the sketch to be inspired by … my page came together easily. I also added in little bits of scraps left from the previous three pages I made.
I added the stamping using the Gorgeous Grunge stamp on the left and then splatters of black gesso. the stripy stamping was to represent the arrows that were on the original sketch.
I also took the arrow theme and used that as my main embellishment cut from the patterned paper.
Finally added the enamel gems as embellishment.
Happy with this … next challenge was to make another page with the leftovers … but you will have to wait to see that as not yet edited the video!
I had a play with the MFT fanciful roses background stamp and made two backgrounds and made one into a card… and videoed the process!
On this one I used the shimmer watercolour paints and the effect is so pretty!
I did add plenty of splatter but then in contrast to the pastel pretty background I added the pierced blooms leaf die cuts and a vellum circle with Kraft frame.
Then the label die onto which I added the Altenew sentiment.
Embellishment was the embroidery floss bow and then the little peach die cut hearts.
Love how this came together. Beautiful card.
Will share the other card I made from the second background using Inktense pencils in a few days when I’ve finished editing the video!
Carrying on from last week I used another background I had created in that mammoth session and rub ons to create this Christmas card.
This one was a mix of smooshing the colour and drips and splatters and is a really pretty mix… I also think there were both distress oxides and distress inks in there.
I once again added lots of rub ons on the background although this time they are more subtle against the lighter colours.
I also added spots of the purple shimmer paint around the panel… with hindsight I preferred it without … but hey ho … sometimes it just goes like that!
I then added a die cut sentiment and added the panel to a purple coloured card blank.
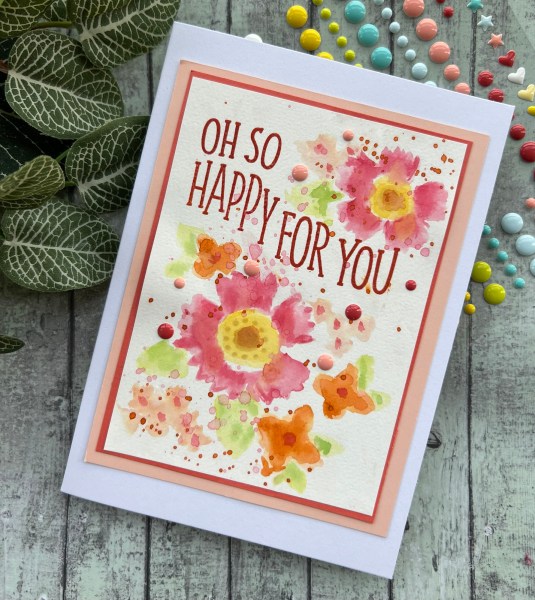
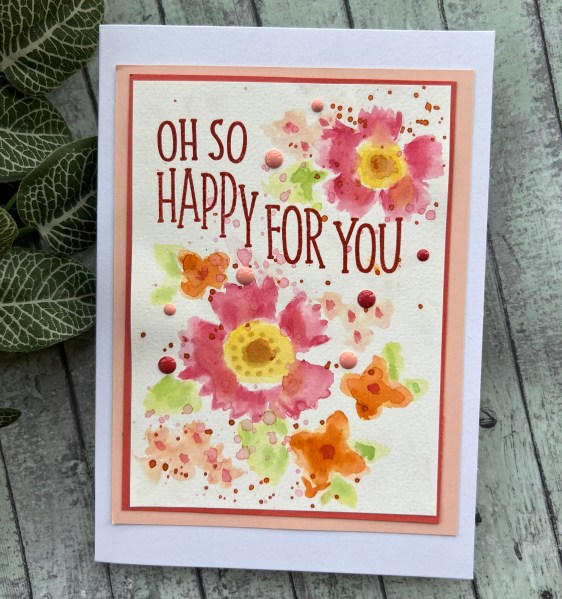
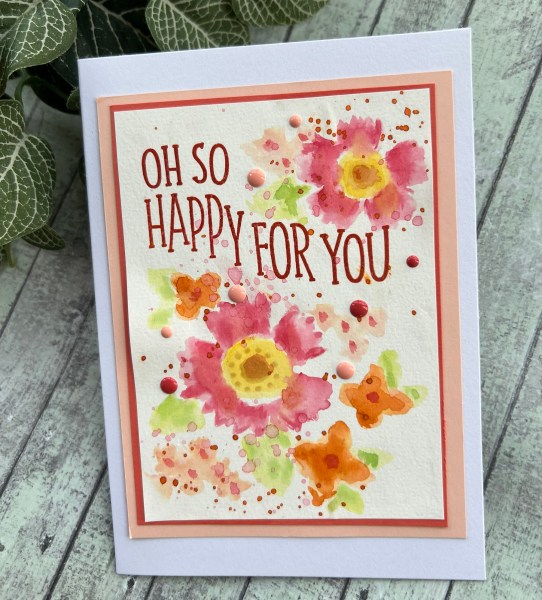
I’m back with another video and once again using the fabulous Concord & 9th Garden Path stencil and stamp set.
I got the idea from my list of prompts I’d written down from Craft Stamper magazines when I was decluttering and wanted to make sure I had noted all bits of inspiration before I got rid!
So the technique was to use the stencil to create a watercolour picture. Now this looked a right old mess all the way up to the point of adding splatter but then I loved it!
And such a different finish from the way the stencils work when they are just inked normally.
Really love that I was able to use the inspiration from the magazine that was at least 5 years old to make something very different!
I stamped the sentiment in the coloured ink and then versamark and clear embossed to give it a shiny finish.
I added the coloured enamel dots and then layers of the coloured cardstock before adding to the white 5×7 cardblank.
Really really pleased with this and have to say these stencils are fabulous to use and create a fabulous panel.
It’s the start of the month so it’s a patterned paper focus and this time I used two pieces of patterned paper from the stash (again both DCWV old papers) and made a few cards by layering them up together. I’ve got a couple to share today that were the first two I finished off. The others are to follow in other blogs as haven’t actually finished them completely as I write up this blog post!
So the patterned paper is the pink one and then the dark grey crisscross type pattern.
I treated both of these in very different ways … first up is this embossed one.
I embossed the large piece of the pink with my intricate design folder and then wiped over with my Kraft white ink before adding clear embossing. The clear embossing actually stuck to the whole panel so it turned it into a shiny panel with some white highlights on the raised elements.
I added a mat of the dark grey paper and then a square of it for the middle.
I then used some purple cardstock to white heat emboss the wreath from Arrange a Wreath, which I fussy cut.
I used the same purple for the flower elements on the Spellbinders dies and cut the leaves and stems from black.
I added the three sprigs coming out from the sentiment as contrast to the wreath.
The sentiment I chose for both cards is from the Biggest Wish sentiment set… still one of my favourites.
The second card I changed up the colour of the paper a little by adding some purple ink to the pink and the dark purple to the dark grey.
This gave it an even more weathered look and also darkened the grey panels to be more in keeping with the grunge look.
I decided to contrast this with the lovely Splendid Thoughts leaves which I embossed and watercoloured before I die cut them. I was reminded of the way Martin used these in a card a month or so ago and so laid them in a diagonal across the card panels.
I raised the sentiment up a little on some scrap cardstock and then added the purple pearls for embellishment.
Love how adding the ink and the embossing changes up the paper and makes it something a little different from the original.
The other cards I have done less with the papers at this point … but who knows how I will end up finishing them!
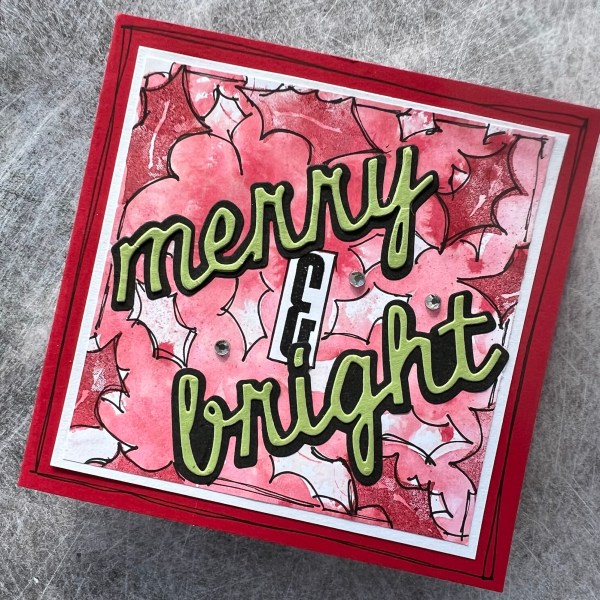
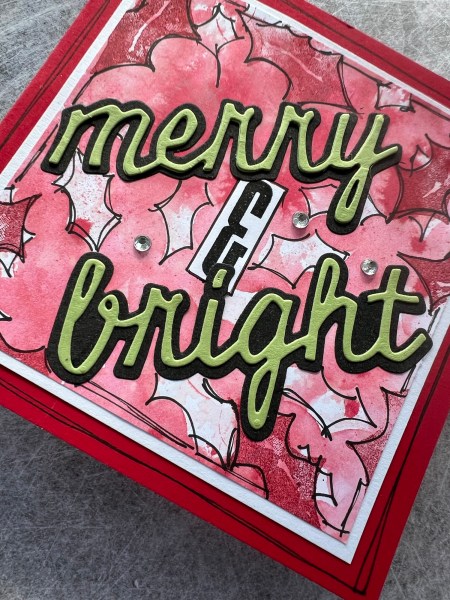
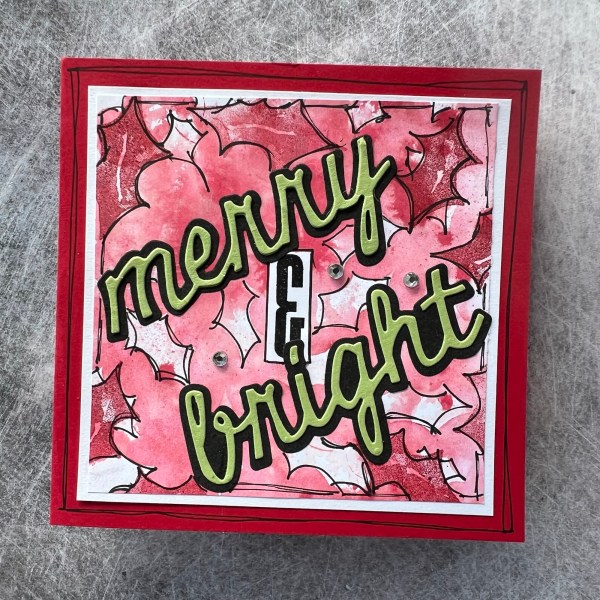
I made this using a wiped off background as my starting point and then eventually got round to finishing it off for my design team contribution for Addicted to Stamps and more Christmas challenge! It was nice to get a card made in the midst of my scrapping that I’ve been obsessed with recently!
I used a stencil to create something else but the ink left on it I decided to press onto some scrap and then left it to dry.
Fast forward a few months … I was tidying out a box off the craft shelf and came across these die cut sentiments I had cut from scrap, spotted the piece of wipe up paper and immediately had to make a card!
I decided to add some more holly leaves using stamps from the Christmas Season set but kept to the same Cherry Cobbler red so in keeping with the background.
This gave a subtle two types of holly for the background.
I then stuck the sentiment down (with the & from the More wishes set and then went to town doodling in a very loose way to outline both the panel and the holly leaves.
I added a mount of white and then use some red card stock to make the card blank.
Added three gems to finish off and decided it was a perfectly fun little card and finally used the background I must have started months ago!
I made a third scrapbook page using up the scraps left from the last two pages I made (page one & page two)… it’s amazing how far a few bits and pieces can go!
This time I used a white background and added stencilling and stamping (I realised I hadn’t used any stamping in the previous few pages which is odd for me!).
I added some die cut hearts from the pouch I already had die cut from scraps and just were waiting for use!
I didn’t add much in the way of ephemera this time but those cut apart panels got some use.
I also didn’t add gems to this layout – I think the hearts did the job instead!
And finally the leftovers from the four pieces of patterned paper …
Really not much left I can get use out of without another piece of patterned paper but I’m going to put the cut apart panels to one side as they may come in useful on other layouts and seem too good to chuck away … but the scraps of the paper are going in the bin now. They served me well but I really can’t justify keeping them when I have so many other papers to use!
Oh and I forgot to mention till now I did video the process so you can watch that on YouTube.
As promised yesterday page number two using the same papers from the stash. And once again I set the video running so check out the process over on YouTube.
This time a dark base and more of the patterned paper on the page.
This came together quite quickly as most of the stash was on the desk already but also added in some Lollipop Box Club kit bits and pieces too to add ephemera and embellishments!
And the gesso stencilling this time was using the leftover from the heart die cuts from the previous page … really didn’t clear the desk at all from the previous sessions rubbish and sometimes that means you can get creative using up bits and bobs!
Added sewing onto this layout rather than the doodled edge like last time and also a bit of floss for the tag bit too!
Really happy with this page too and really enjoying getting scrapping again – just need to buy another album so I’ve got somewhere to put these pages I’ve been making!
Also happy to have made a little inroad into the stash – that was four pieces of patterned paper used … and only a few scraps left on the desk at the end of making two pages … wonder if there is another for one more layout?
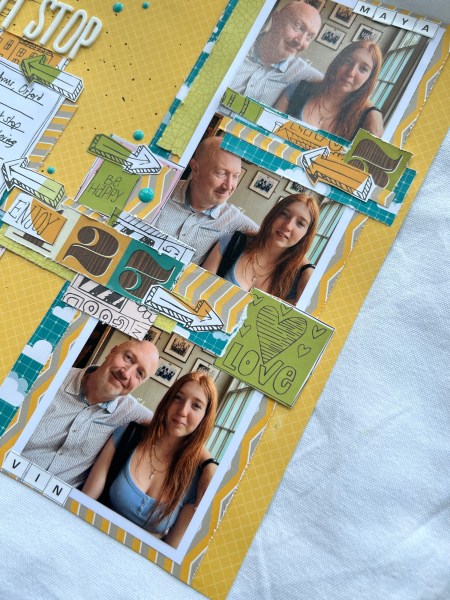
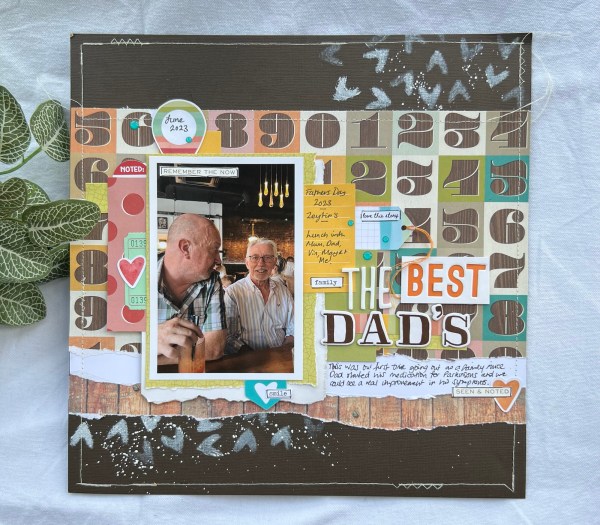
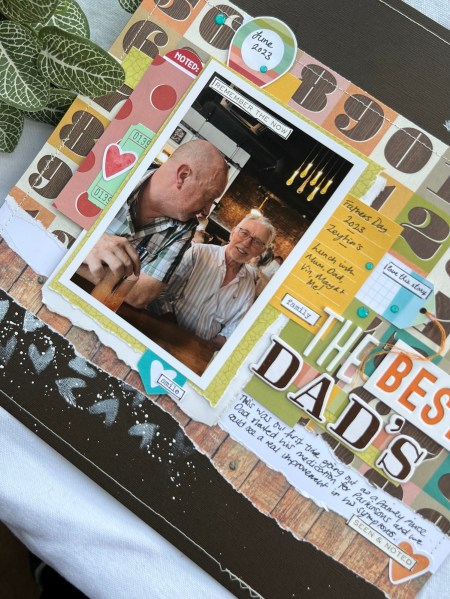
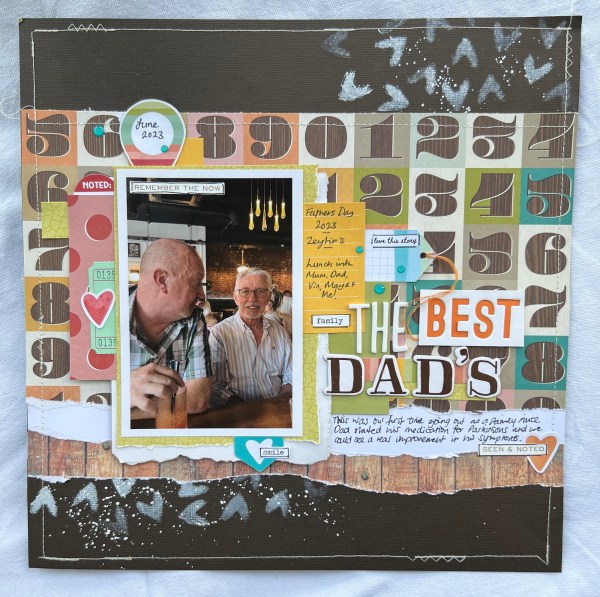
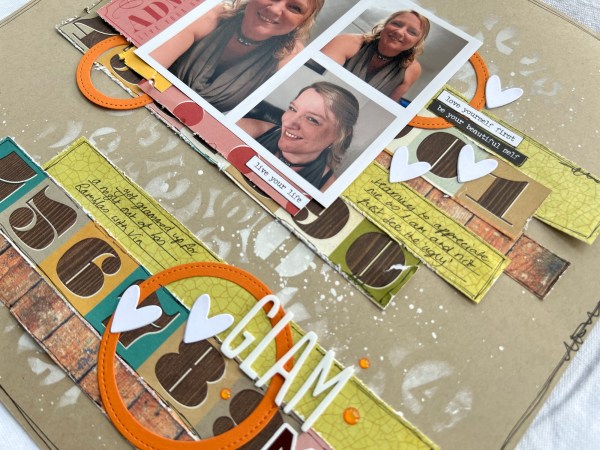
Yes I am well and truly in a scrapping mood and made another page last night – and I videoed the process so check out the YouTube video if you fancy watching me put it together.
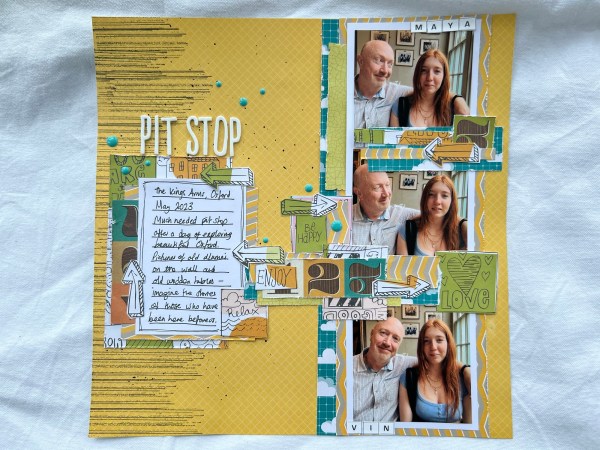
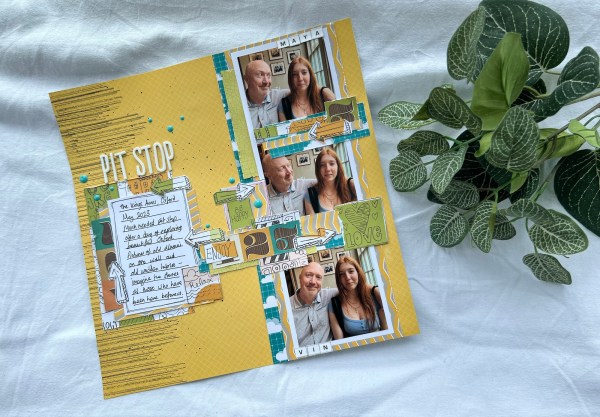
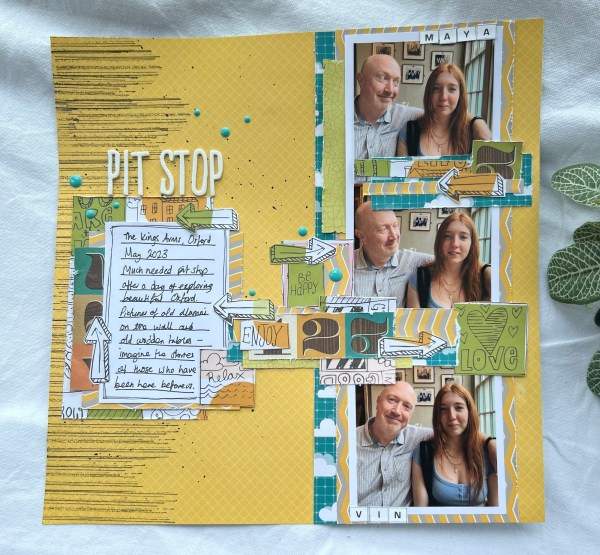
Papers I chose are old papers that I just thought would work ok together – totally different companies and no real connection but the colours worked ok I thought.
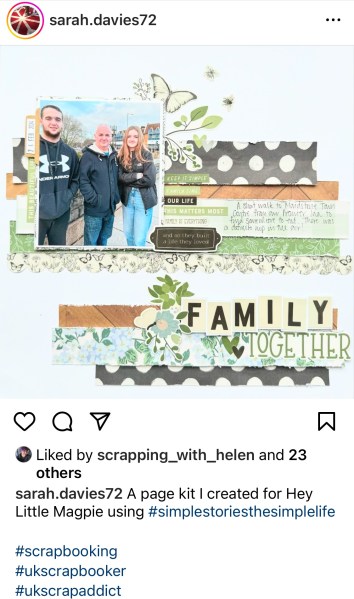
The layout was scraplifted from Sarah Davies and this page she made and shared on instagram…
Thanks for the inspiration Sarah! If you want more Sarah inspiration also check out her YouTube channel.
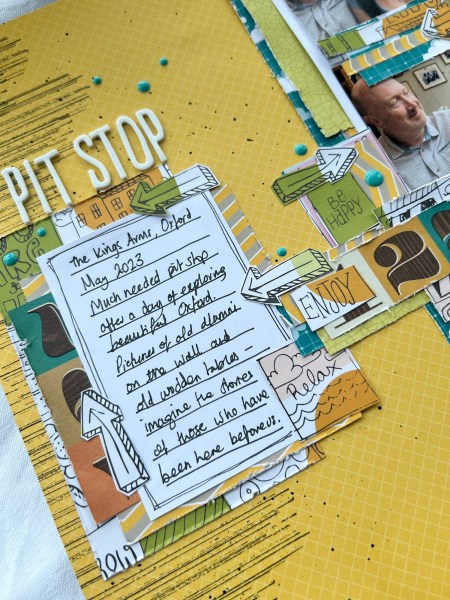
I added the gesso through a laser cut cardstock piece I had in the stash and then just popped lots of bits and pieces from the stash onto the page around the photo panel and then the title.
I die cut the orange circle frames and added those for a pop of colour and then those white die cut hearts for little repeating embellishments.
I also added the orange gems to finish off.
Lots of doodled borders made the page complete!
Loved doing this so much I made a second page from the leftovers – but you will have to wait to see that as I still have the video to finish off!