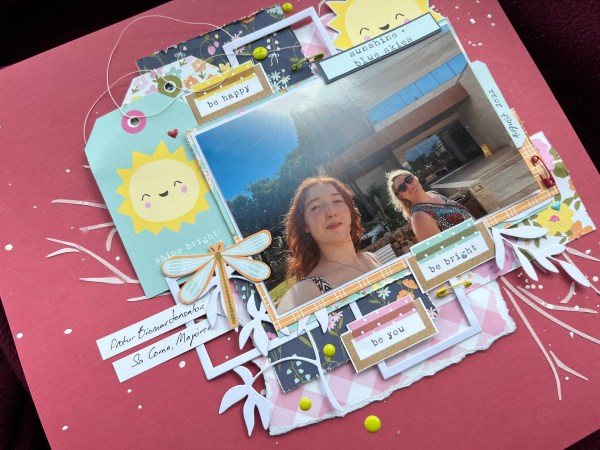
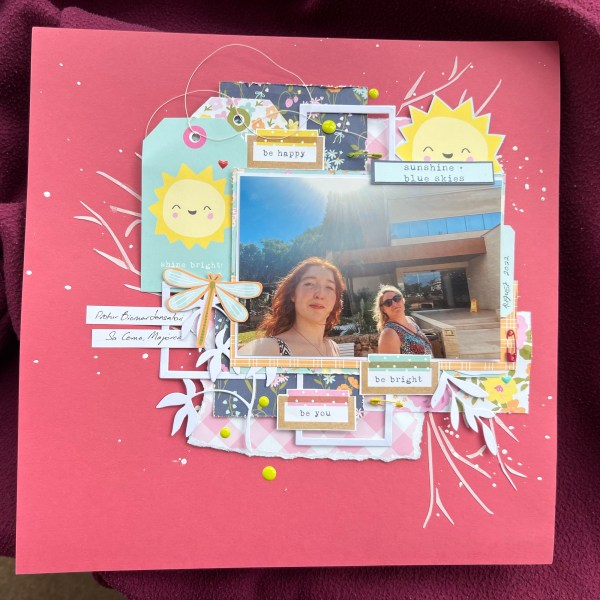
As promised yesterday page number two using the same papers from the stash. And once again I set the video running so check out the process over on YouTube.
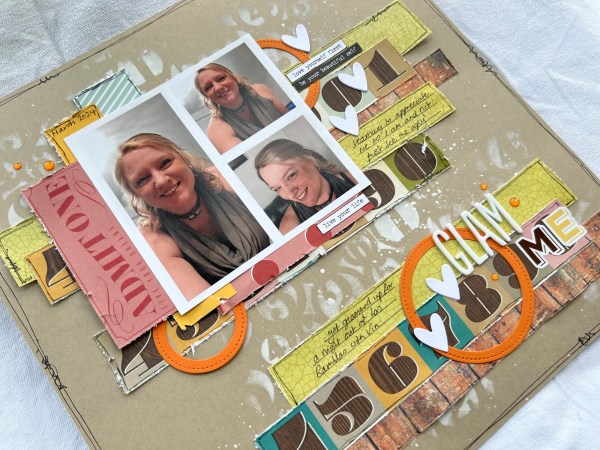
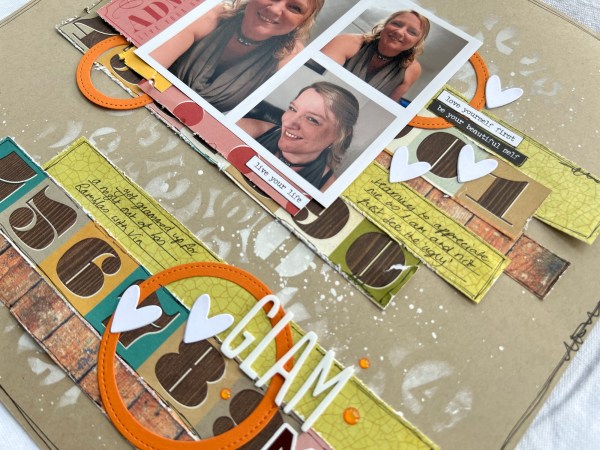
This time a dark base and more of the patterned paper on the page.
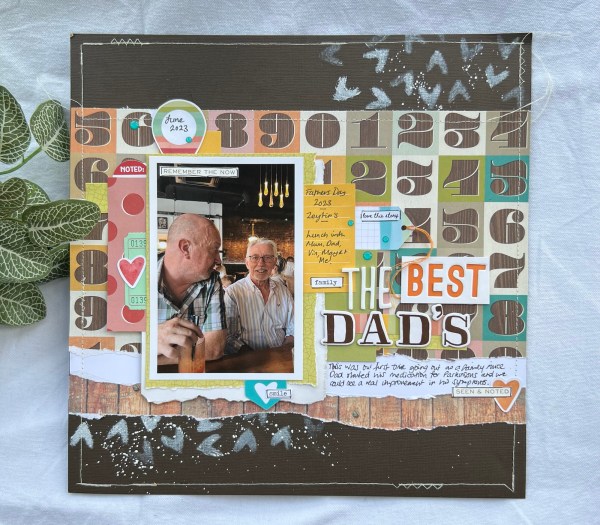
This came together quite quickly as most of the stash was on the desk already but also added in some Lollipop Box Club kit bits and pieces too to add ephemera and embellishments!
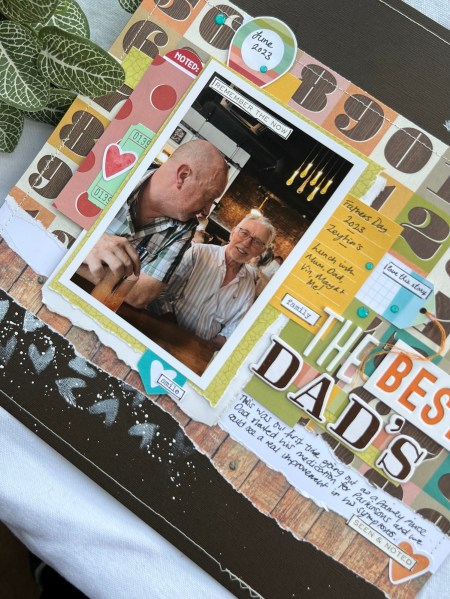
And the gesso stencilling this time was using the leftover from the heart die cuts from the previous page … really didn’t clear the desk at all from the previous sessions rubbish and sometimes that means you can get creative using up bits and bobs!
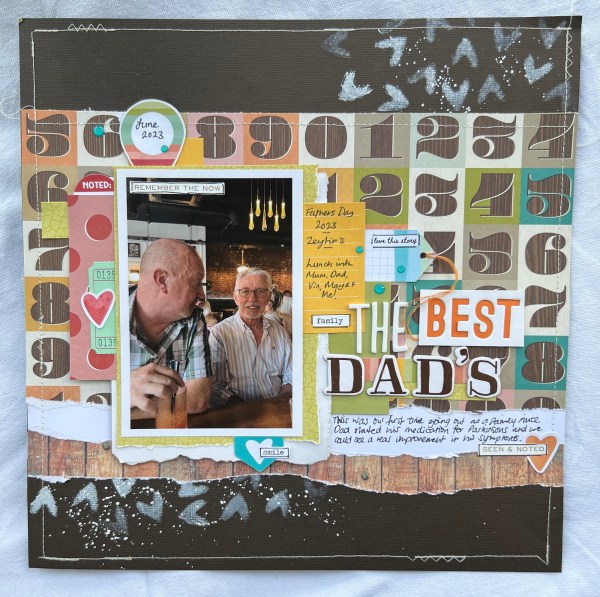
Added sewing onto this layout rather than the doodled edge like last time and also a bit of floss for the tag bit too!

Really happy with this page too and really enjoying getting scrapping again – just need to buy another album so I’ve got somewhere to put these pages I’ve been making!
Also happy to have made a little inroad into the stash – that was four pieces of patterned paper used … and only a few scraps left on the desk at the end of making two pages … wonder if there is another for one more layout?
Happy crafting!
Catherine