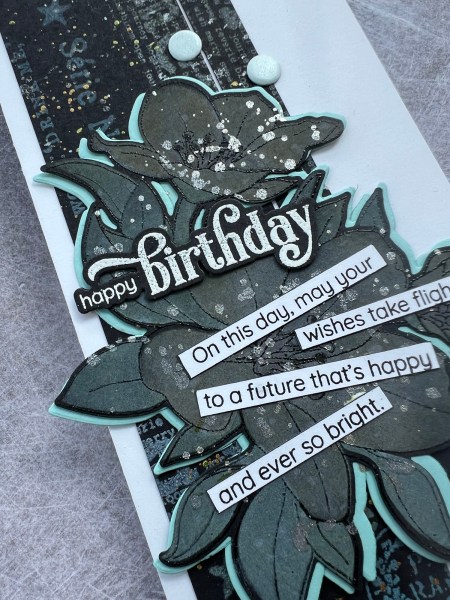
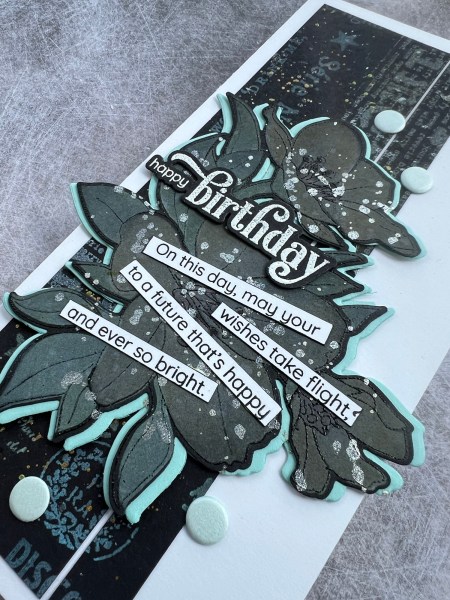
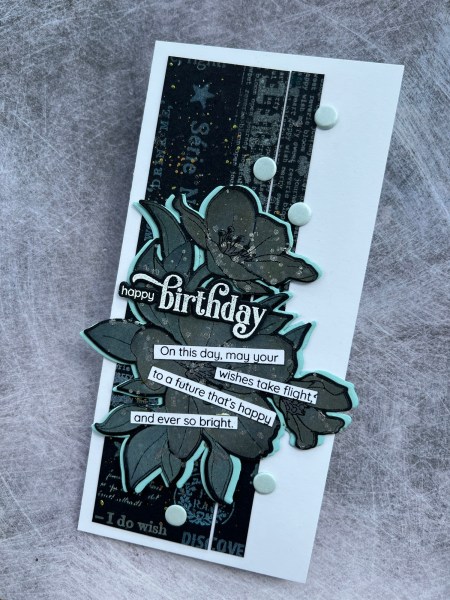
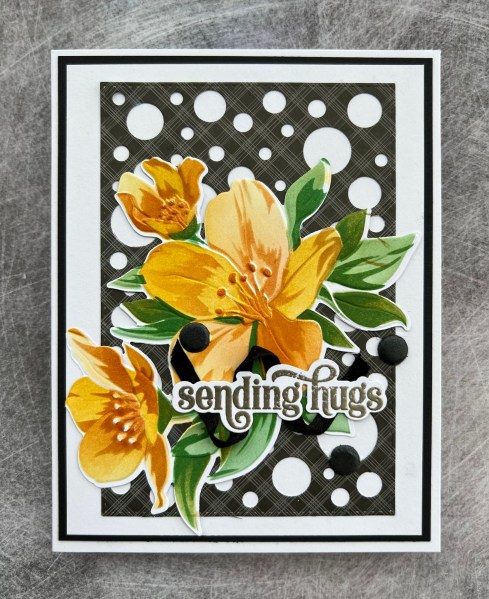
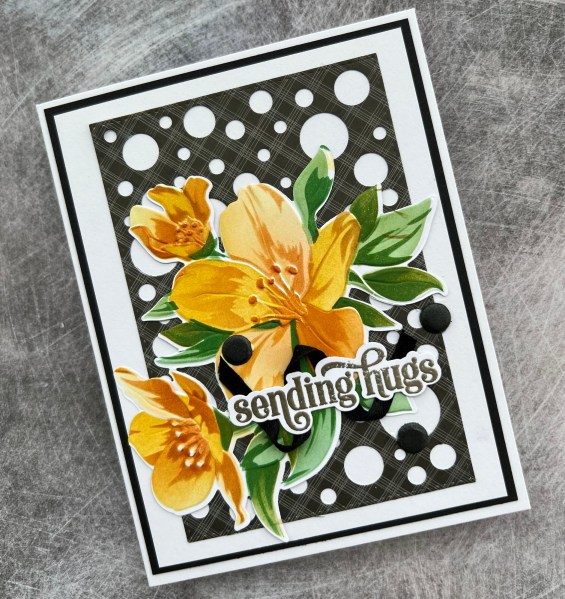
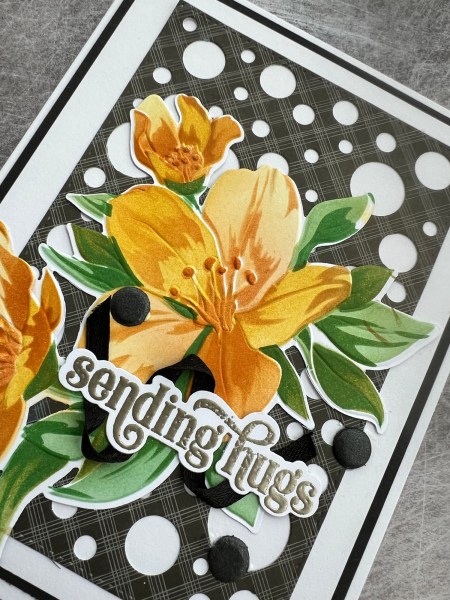
I decided to make a Sending Hugs card using all neutral colours and the fabulous Splendid Bouquet bundle from Altenew.

I decided to die cut and emboss first and then took the last layer of the stencils and add Old Paper distress ink through that to just created a simple tonal focal element.
I cut down the die cut to just have two of the flowers on it and then decided what background to make.
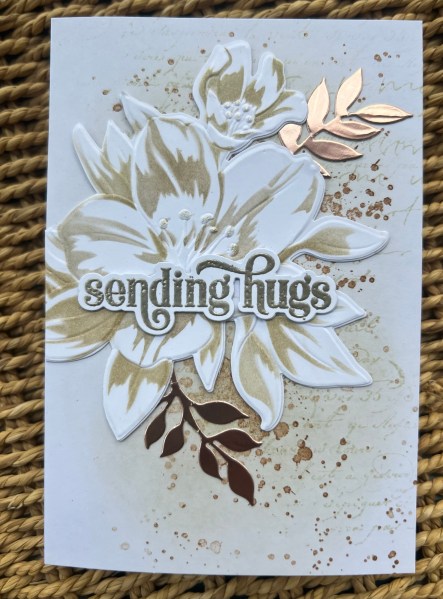
I ended up with some random text stamping and using the Gorgeous Grunge stamps in both Old Paper and Vintage Photo and then used ink left on my brush to add some depth to the card base.
Next I took a die cut leaf from rose gold card stock that was on the desk and snipped it apart to make two and placed them under the flower panel as a contrast.
Next I die cut the sentiment and stacked it up. I had used a champagne colour embossing powder so that added another neutral type shade to the mix!
I also used a champagne shimmer ink to dot onto the stamen of the flower too for a bit more shimmer.
Happy crafting!
Catherine