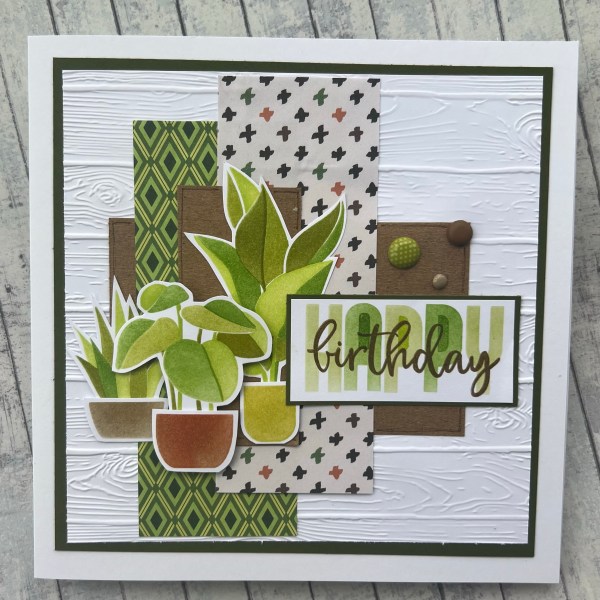
Today is the final card to share from this batch I made at the weekend …

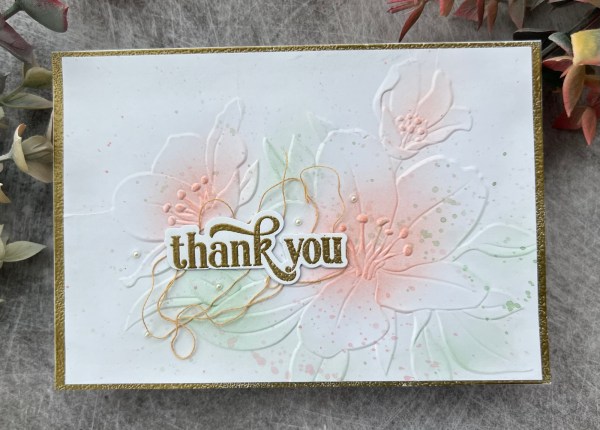
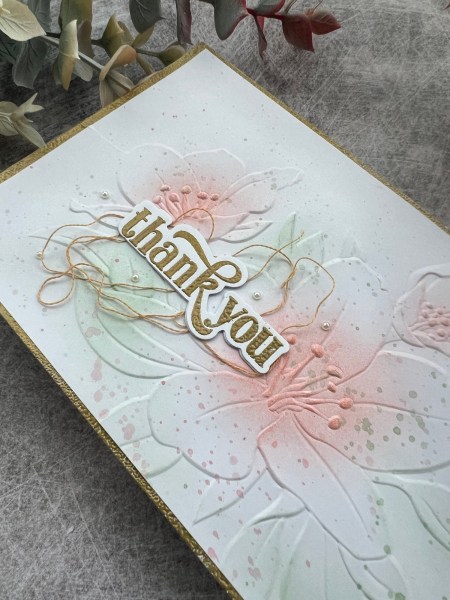
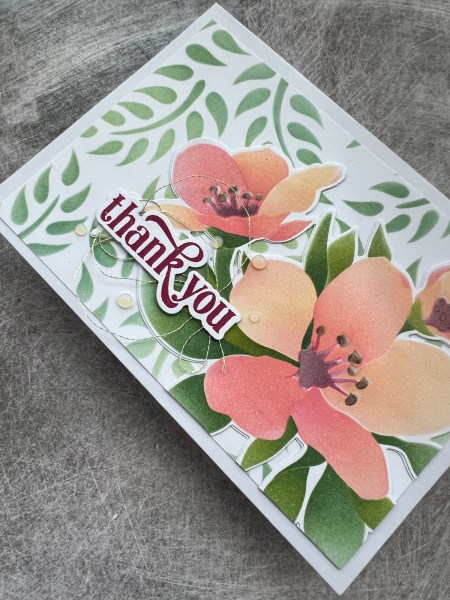
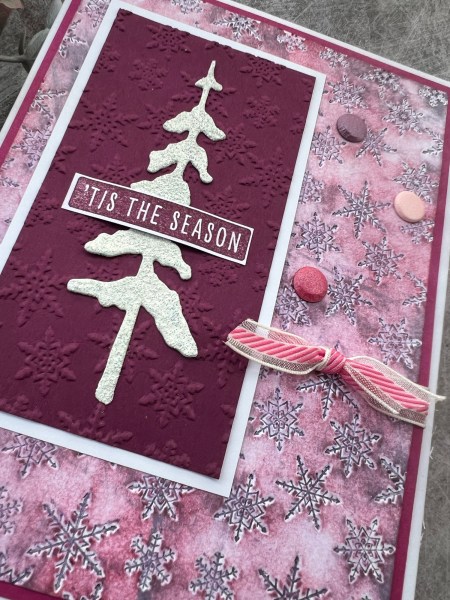
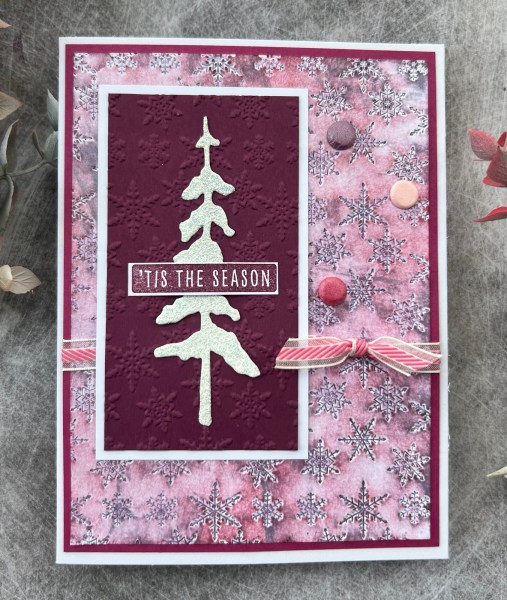
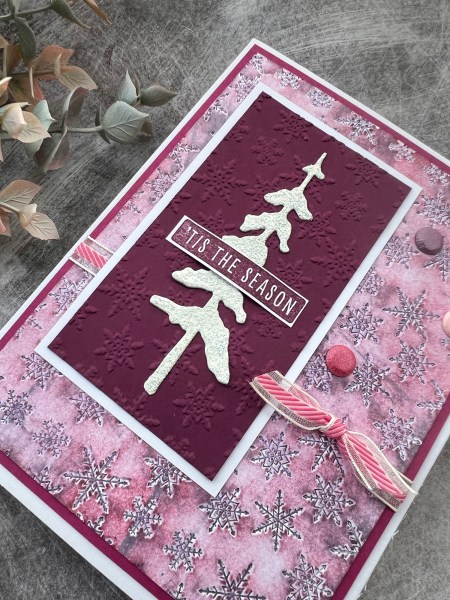
I went back to the water colouring the image loosely and then embossing technique…
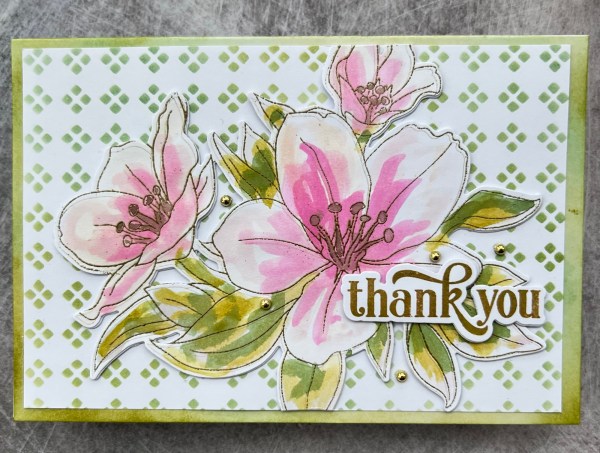
I didn’t use watercolour cardstock so the colours didn’t blend as well but I still think the effect I got was lovely.

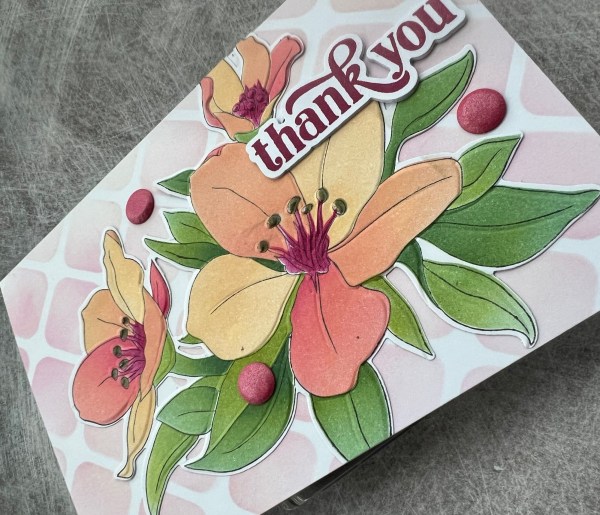
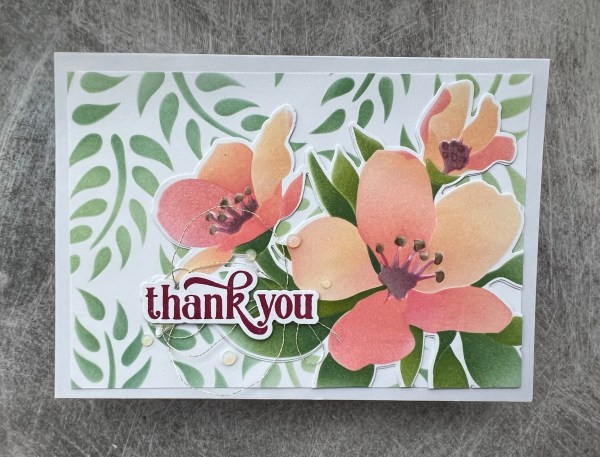
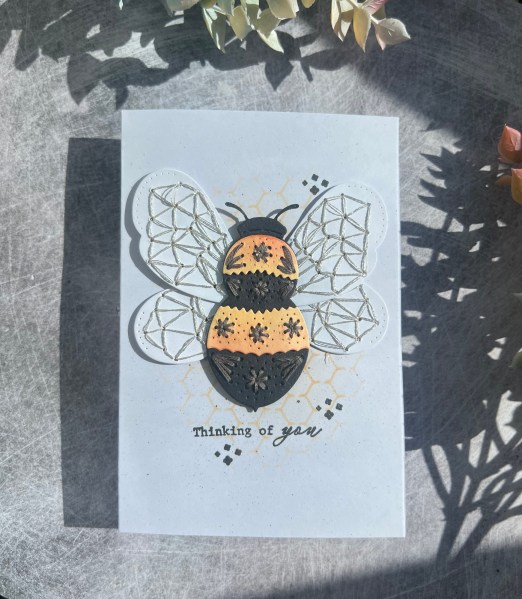
I used the concord and 9th inks again and this time the very vibrant pink ended up being a little more overwhelming but I think when I added in the darker colour on the leaves that helped to balance it.
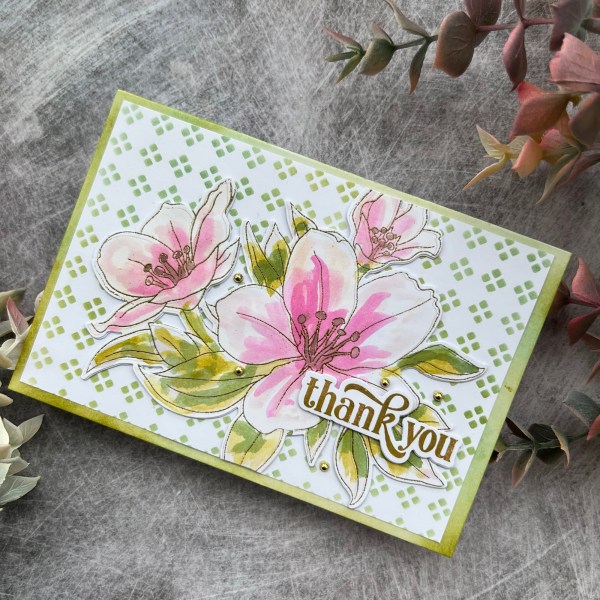
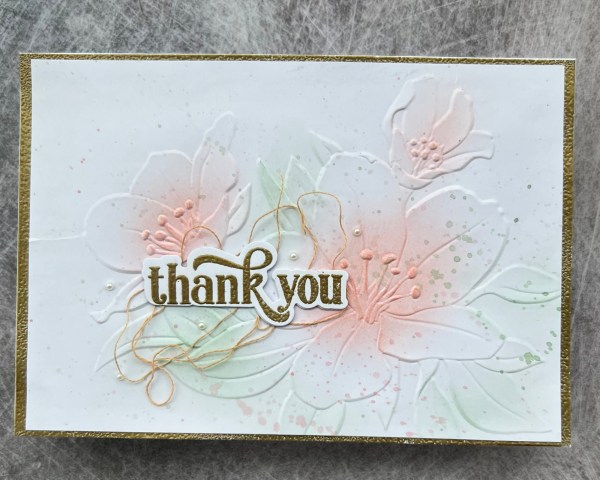
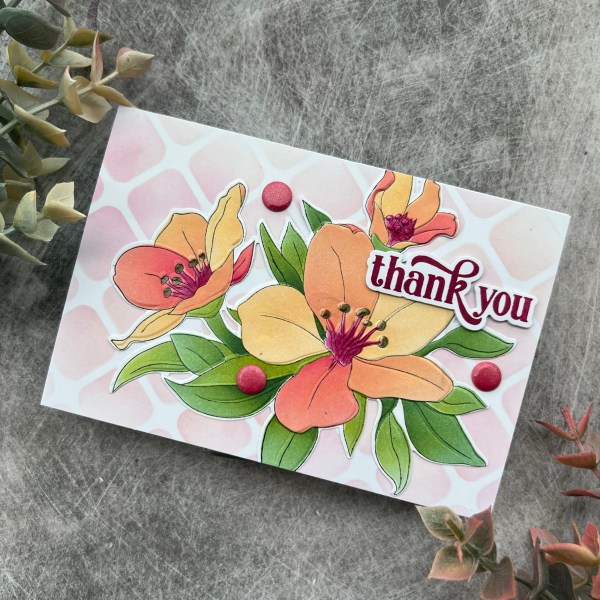
I chose an old stencil for the background and used a mix of the greens and also inked up the edge of the card base to frame it.
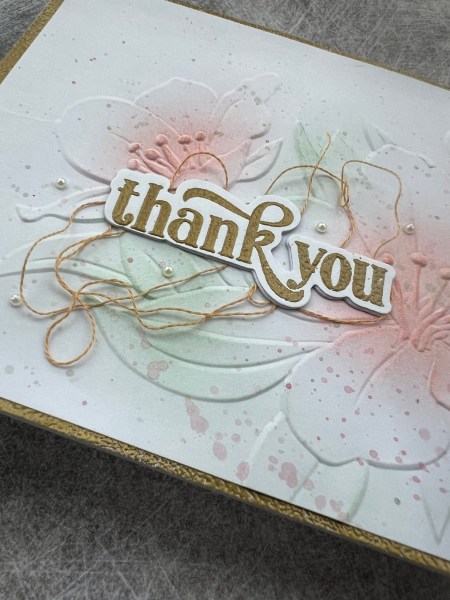
I stacked the floral image with three pieces of the cardstock in total to give it strength as the water colouring had warped the paper quite a bit. Stacking it made it stronger and helped give it more dimension.

I added some gold gems for finishing touches to surround the sentiment.
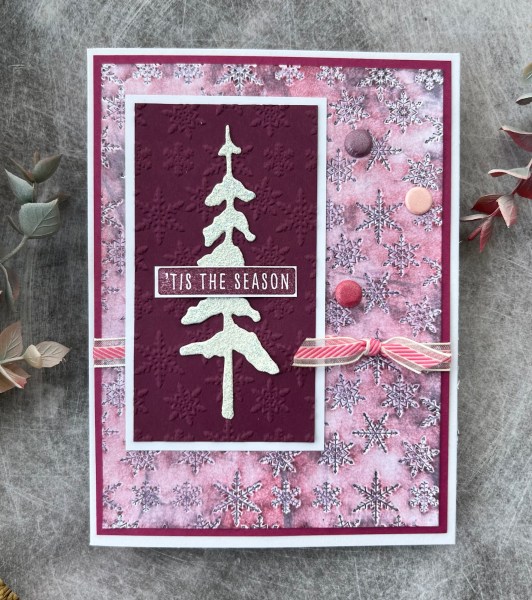
So that’s all four cards I made using this fabulous bundle of products from Altenew. I’ve got loads more ideas for using them – just need to find the time to do it! Also I didn’t mention it but these were slightly smaller than my usual size of card because I had bought some card blanks in a sale and so had to work with slightly different dimensions than normal … made me want to also make some slimline cards using these products too so I could mix up the usual way I make things!
Happy crafting!
Catherine