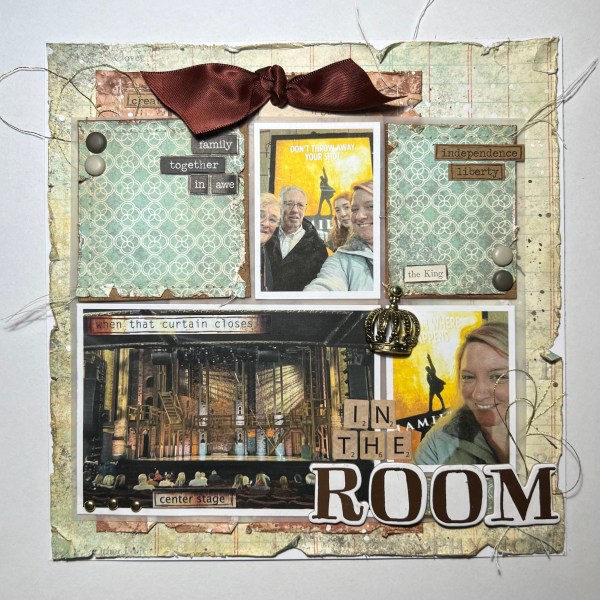
It has been years since I did any scrapbooking but at the weekend I got inspired to have a go and created this page…
I was inspired by my lovely friend Helen who created the sketch that I used for this for the Hey Little Magpie Facebook group.

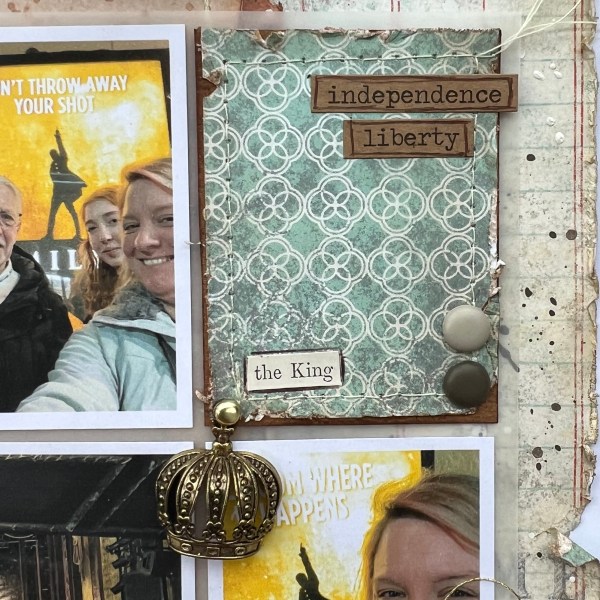
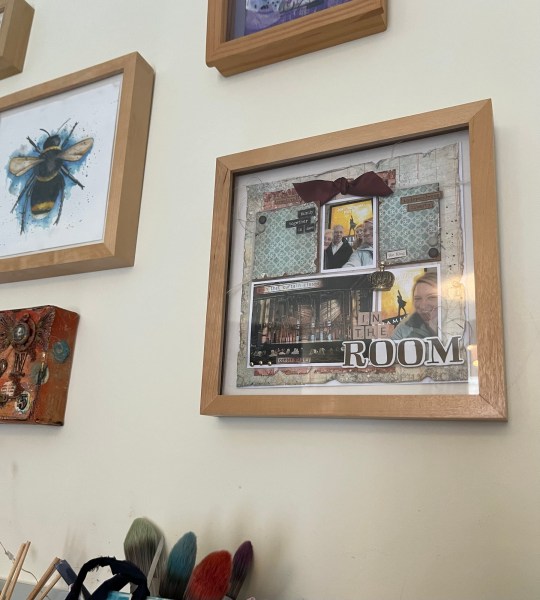
I decided to print out the pics of our trip to see Hamilton in January and use those for the page… I also decided to go for an 8×8 page for a change rather than the traditional 12×12 size.
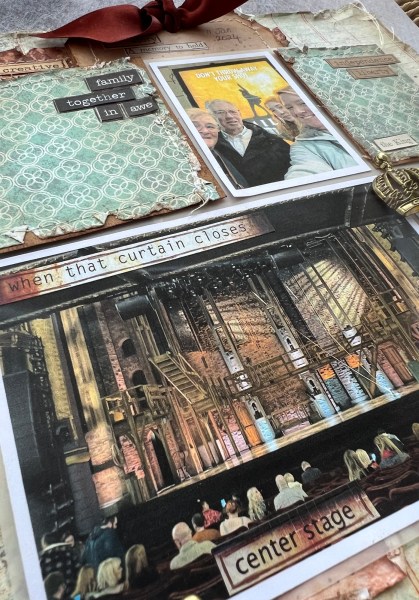
I did have to adjust the sketch accordingly as two of the pics were portrait rather than landscape.
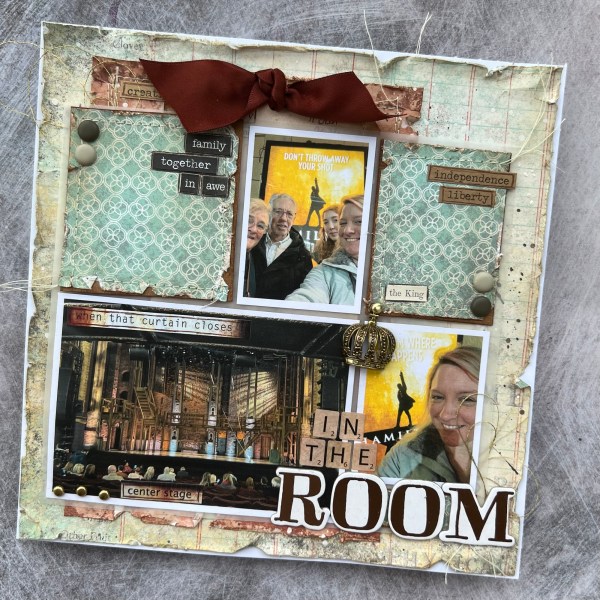
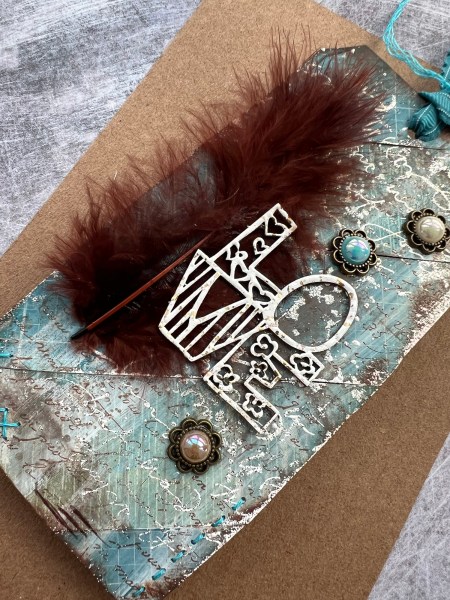
I decided to go for distressed for my page in keeping with the rustic brickwork of the set for Hamilton.
I went with some old papers from the stash and then went to town with my distressing tool, my distress inks (vintage photo got some heavy use!) and some splattered gesso and Paperartsy paint.
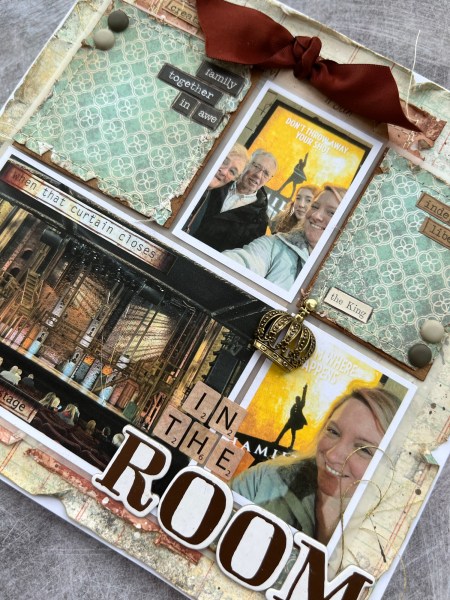
I then sewed lots of it up rather than using adhesive.
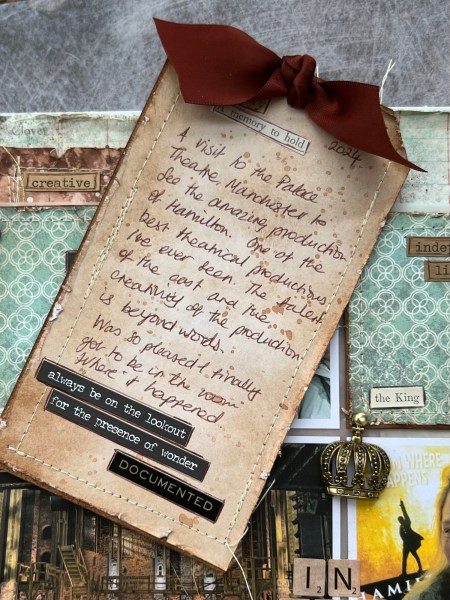
I layered up the photos and the pieces onto some vellum to create a pocket for the journalling tag to sit behind the photos.
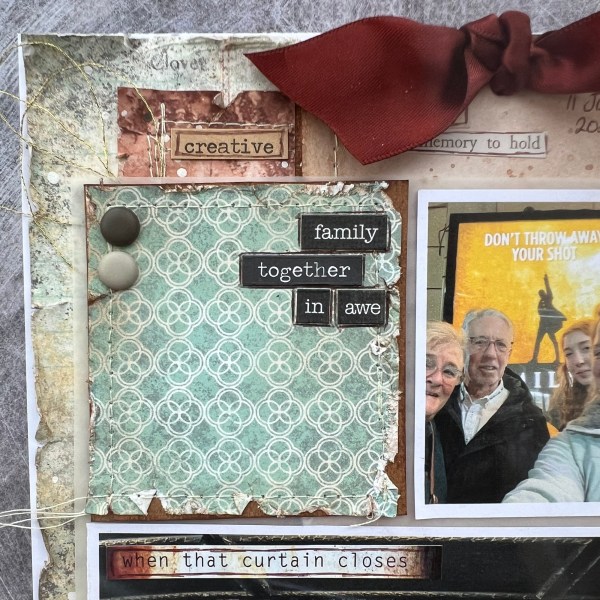
I used brads to adhere the vellum panel into place. Then I went to town with the stickers and created the title and all the words around the page.
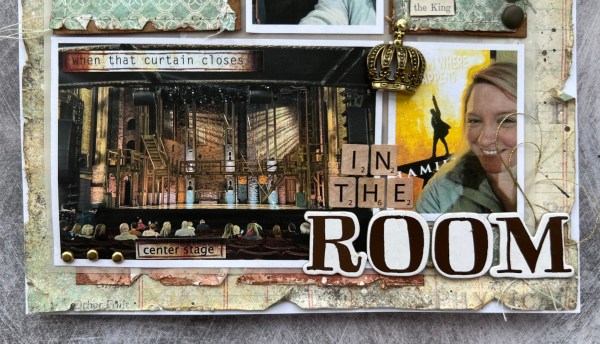
I also added the crown charm to represent the King (for those that don’t know it is a very important small role in the show and the actor we saw nailed it perfectly!).
I added some pen outlines to the stickers and then my journalling.
Also added some gold thread too.

Thanks so much Helen for the inspiration pushing me into some scrapping!
Oh and the reason for the smaller size … I wanted to pop it in a frame on my wall!
Happy crafting!
Catherine