Up early today as need to get some work done before I visit my talented hairdresser and then am out for the rest of the day to go see Take That in concert. I’m very excited about that! But before I venture downstairs I’m updating my blog and today I have another scrapbook page and once again there is a process video you can watch which I’ve just uploaded!

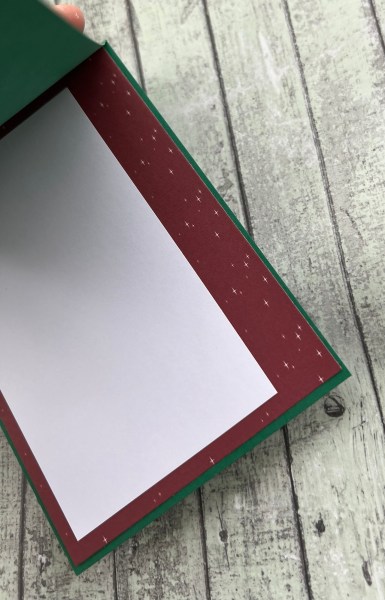
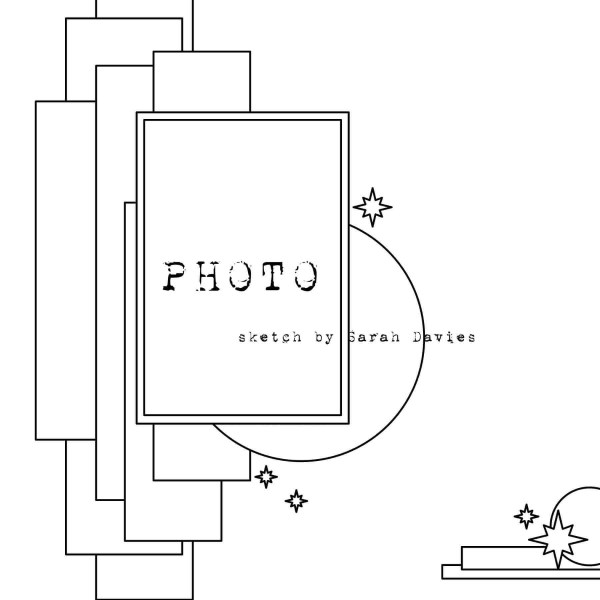
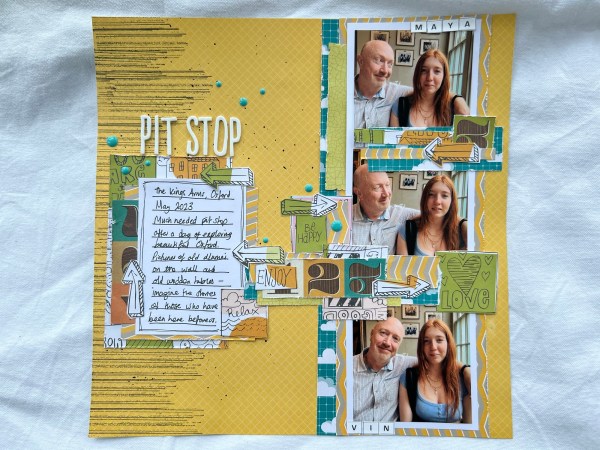
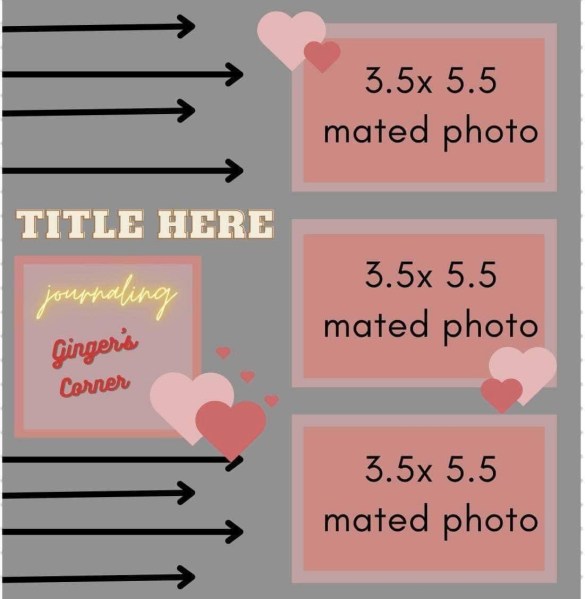
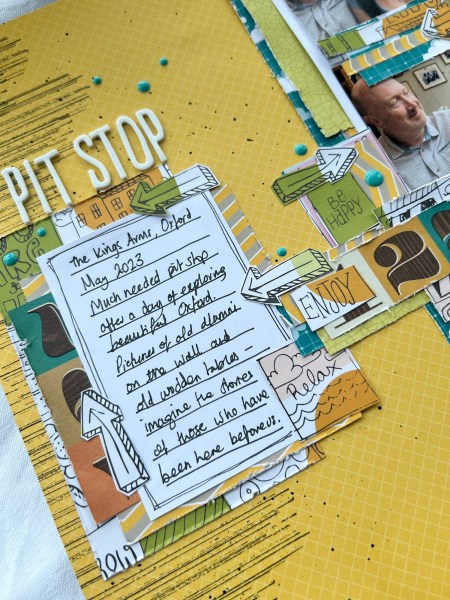
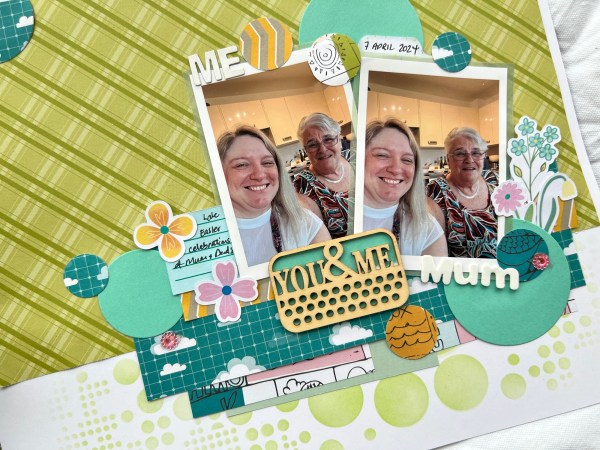
For this one I used up the final scraps left from the previous two pages and also followed the sketch created by Tara that was day 11 of 30 days of sketches at Christy’s Beautiful Life.

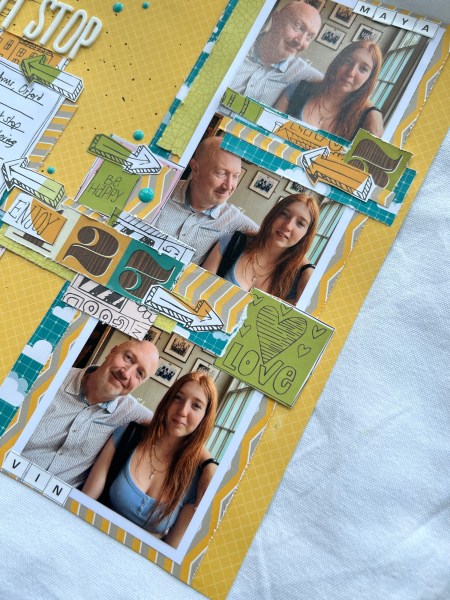
I changed it up to include the circles rather than stars but otherwise kept to the sketch in terms of the layers and the positioning.

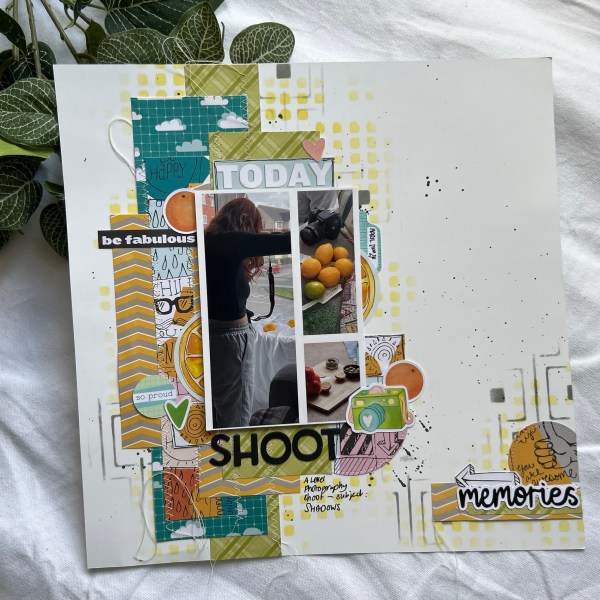
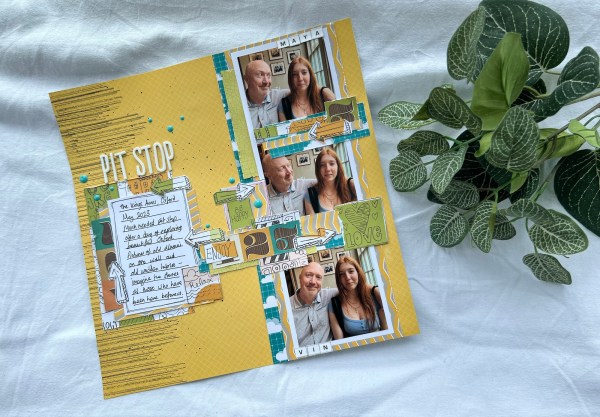
I had a good old delve through the stash I’ve got of old Lollipop Box club kits and also the wood elements were old Artful Days bits and pieces so it was good to get them used too!
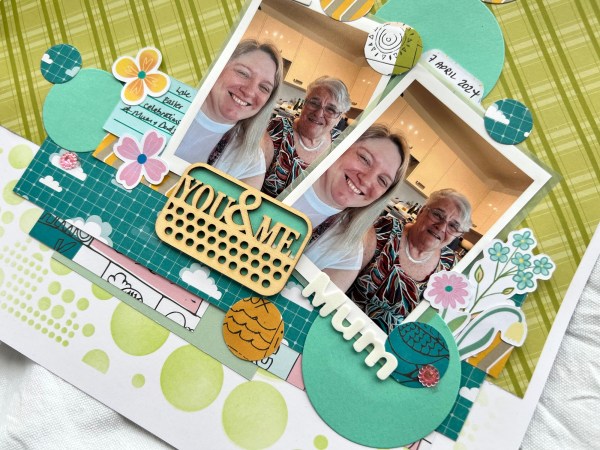
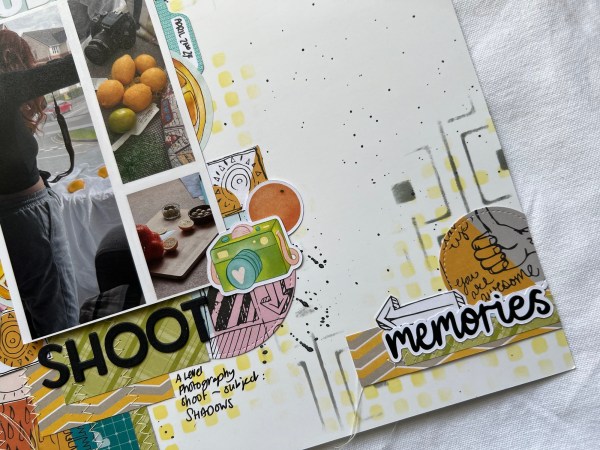
I added the stencilling with distress ink and the Aall & Create stencil which I think helps blend the papers into the background.

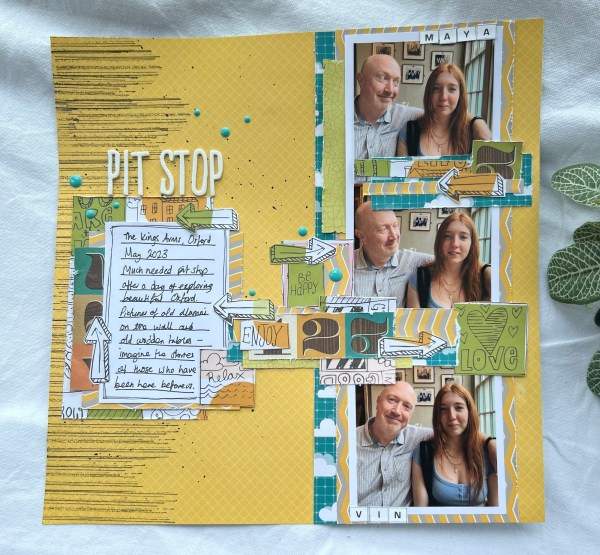
I’m still undecided about those pink gems but I think they are ok as my final bits of embellishment.
Pleased I got to make another page from the bright papers and I have very little left now to go into my scraps pile … talking of which …
I’ve been reluctant to do this until now but decided to actually collect some scraps by colour in the little pouches as Sarah Davies has been sharing some great uses for scraps including pulling colours to group in rainbow type order so I thought I might try that.
But I can’t have too much being hoarded so will see if this becomes a hoarding exercise or if it helps for other projects!
Happy crafting!
Catherine