So this past year has been busy busy busy both for work and also personally and I’ve also managed to fit a lot of crafting in that I’ve shared here on my blog. I did a few long stints of daily posting … think I even got to 100 days during the summer … and made so many projects! So strap in for a long post as I share some of my favourites from 2023!
I mainly stuck to card making this year and ended up with a very large amount of cards so ended up gifting some to charity and to my friend to sell for charity, as well as gifting some for Christmas to my aunties for their use or for them to gift to others.
As I put away the Christmas card basket a couple of days ago I actually took a pic and counted how many I had left (I know I took a few out after this as realised I needed to pop them in the neighbours letter boxes still!) and I was left with 27 … not bad as a starting place for next year!

My birthday card stash also reduced a lot but not quite to the same extent so perhaps have around 40 cards left in that box.
This year I started with the plan of not spending on new stash and completely went off that plan within a few months as I started seeing more and more card makers using stash I just wanted to play with. I had kind of fallen out of love with my existing stash and it meant the mojo went awol so spending money on new stash happened. I did sell a few bits of my old stash but nowhere near enough to compensate for what I ended up spending!
I fell in love with Altenew products in particular and made many cards using their fabulous stamps and dies. This is one of my favourite makes from this year which is actually quite a simple looking (but fiddly to make) card using the zero waste leaf die from altenew.

I also enjoyed using new stash from waffleflower and Avery Elle and Concord and 9th … basically all those American companies that Jennifer McGuire shows a lot of in her videos.
I think I would be understating it if I said I love Jennifer’s videos … they are the best. She explains what she is doing so well and is a very generous creative. Love them. I particularly enjoyed embossing the debossing technique and did quite a few cards with this technique … think this is one of the favourites I did with this technique.

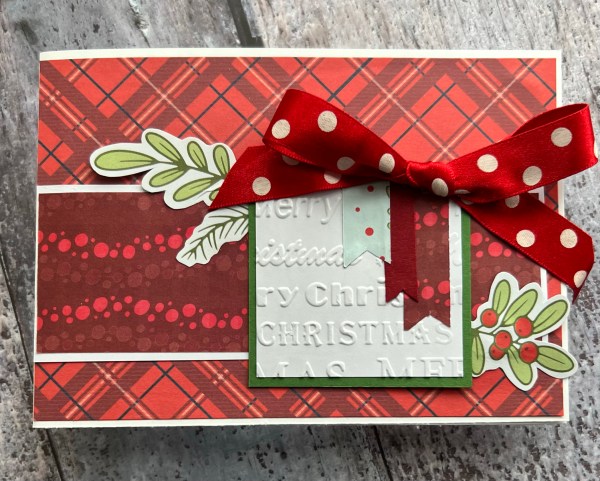
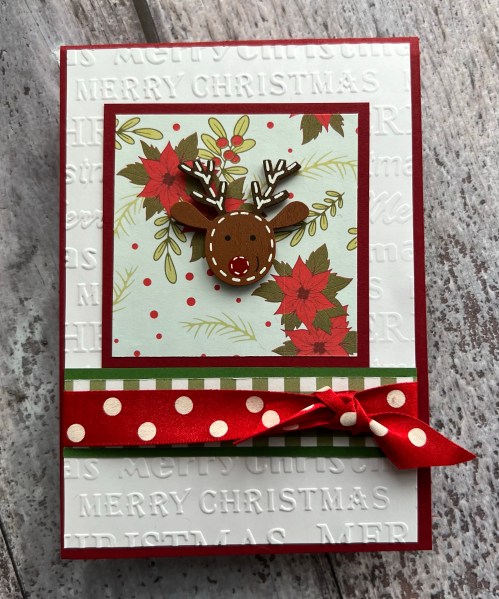
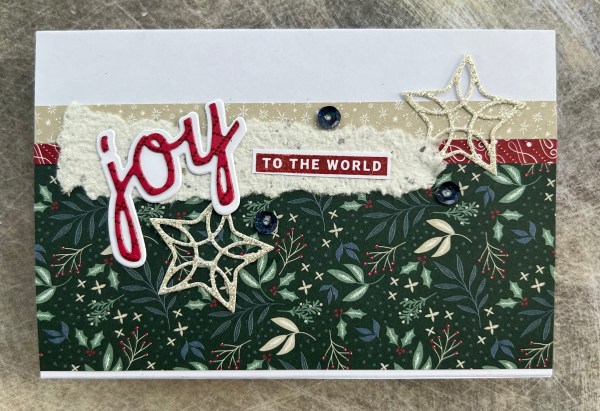
I also have to thank Jennifer for the inspiration behind a series of shimmery master boards I made and then used in cards … these Christmas cards were so fun to make and made me fall back in love with mixed media and using it in a different way.


Thank you Jennifer! I could seriously spend a whole blog post on how this woman has inspired me but I need to cover more stuff in this post. I also want to pop a mention on here for Amy from Prarie Paper and Ink as I also love her videos. She comes across as totally my type of person. I love her different ideas for using products too and I can’t get enough splatter as a result of watching her create too.
This year has seen the start of the 18th birthdays with three of my daughter’s friends already reaching adulthood. In all three cases I ended up making two cards for the girls … one from my daughter and one from us (all our daughters friends are such special people and an asset to our lives as well as hers!) … I bought new stash for the purpose of these cards so have made some balloon and cake themed cards as well as flowery and butterfly themed ones …

I was particularly pleased with this green balloon one as I was chuffed to remember to layer stencils to create the patterns!
Watch this space however for more 18th cards as have quite a few more to make for those that have their birthdays in 2024!
This year I’ve invested more time on instagram in looking for ideas and having new to me creatives inspire me. I’ve had quite a few that have made me go wow … but the one that stands out in particular was Liane (@lilly7h) who inspired me to make this card …

And many other cards since… like these…

I am truly thankful that I found her on Instagram and for some of the other people I have also found and who have inspired me. It’s made me try new things, new techniques and occasionally made me also buy new stash! lol!
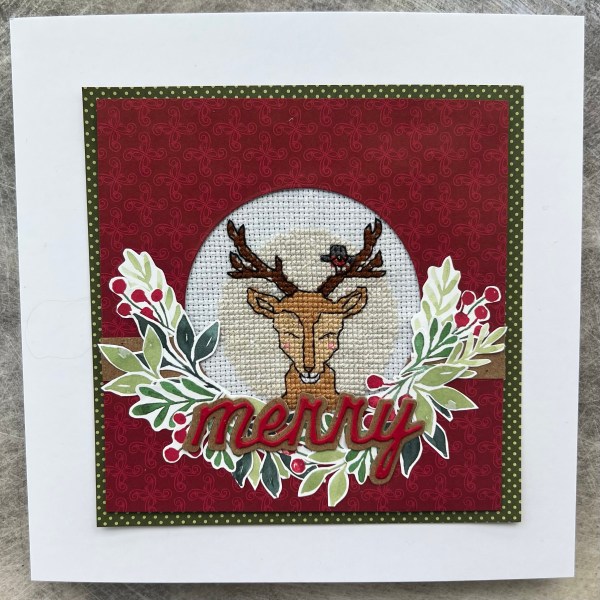
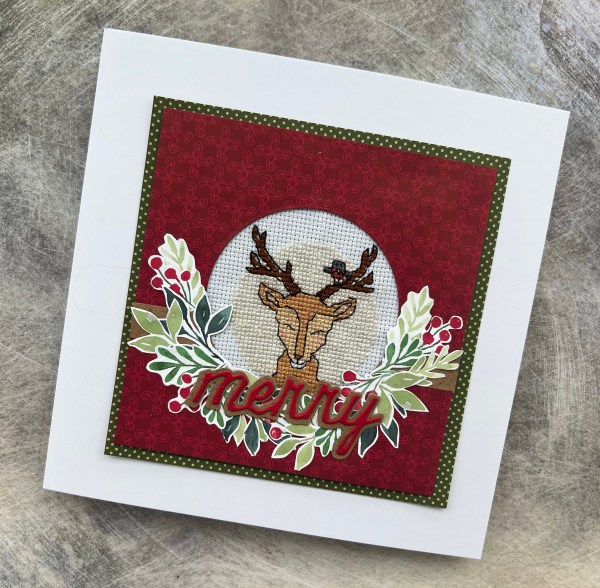
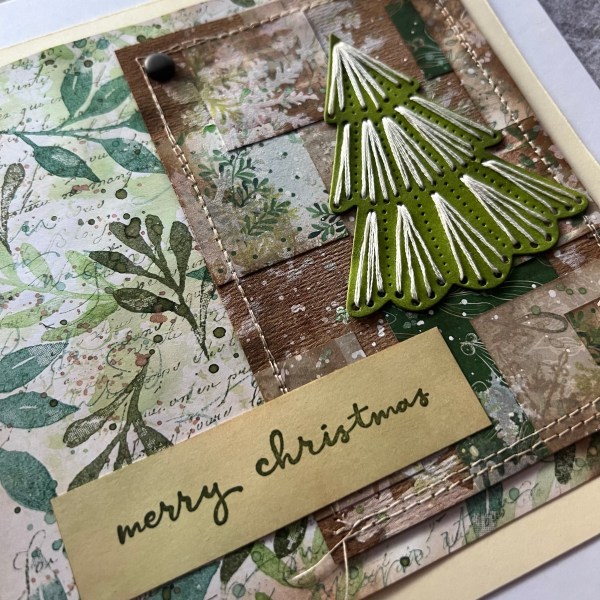
Going back to that new stash thing I have a current obsession (let’s blame Jennifer for this) … stitching on cards… specifically spellbinders stitching dies! I’ve signed up to the monthly kit for a few months now and been obsessed with sewing them in front of the tv over Christmas … so expect more cards to come … but for now let me reshare these four I made.

Also secondary note about these cards in particular … they have totally made me get back to a bit of mixed media and hope to do a few more collage and painty master boards like these in the new year. So much fun!
I’ve done a lot of design teams this year but already know I’m going to do a lot less this coming year. They can be quite a lot of pressure to do and keep to timescale, especially when the rest of my life gets busy, so although I am sad that Happy Little Stampers blog is taking a break, I am glad I’ve had the pressure taken off me. I am still keeping with Creative Knockouts and Addicted to Stamps and More might be coming back soon.
Creative Knockouts is my opportunity to do something completely different as it usually comes with a digital stamp which has forced me back into using digital stamps and thinking of ways to use them. I have particularly enjoyed some of the stamps I’ve been given this year … especially florals and often used them for other projects and not just the design team … I used one floral one for lots of cards in the summer

And then a Christmas one I used for a series of cards too …

Using a digital stamp makes me think about different mediums for colouring and pushes me to try different techniques.
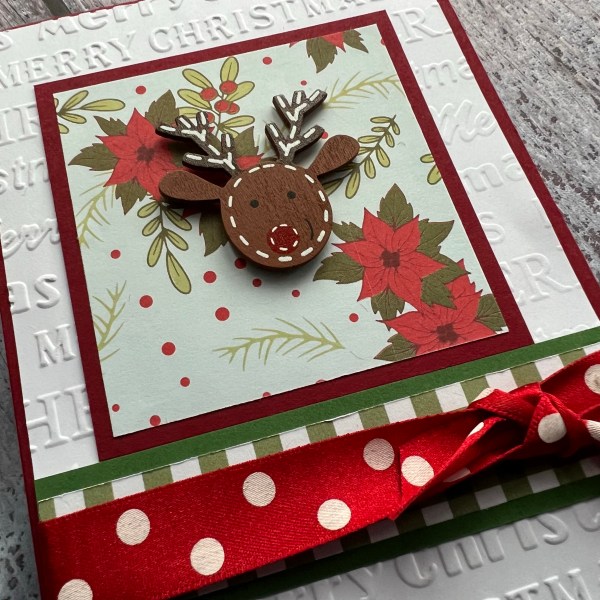
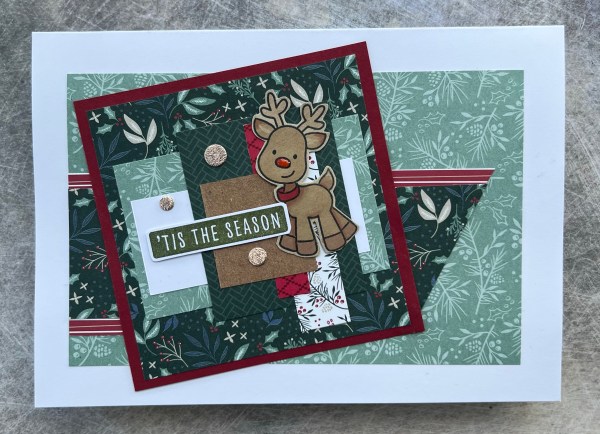
I’ve also done a few one sheet wonder type things using the Cards by Kendra templates … I think my favourite of these was the cards I made using painted Christmas papers … there are too many pictures for posting so just got this one of the mountain of cards … but I did enjoy using those papers for this project.

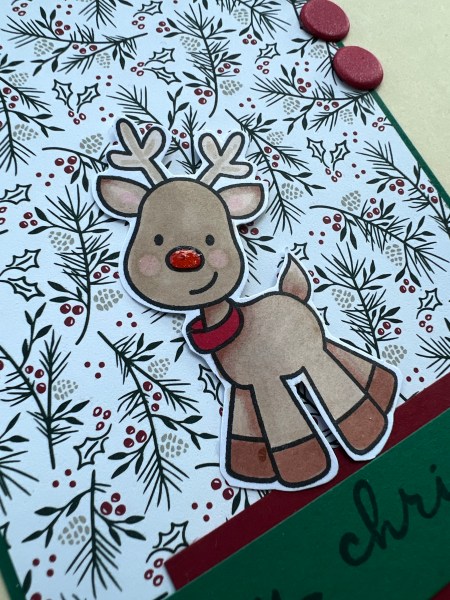
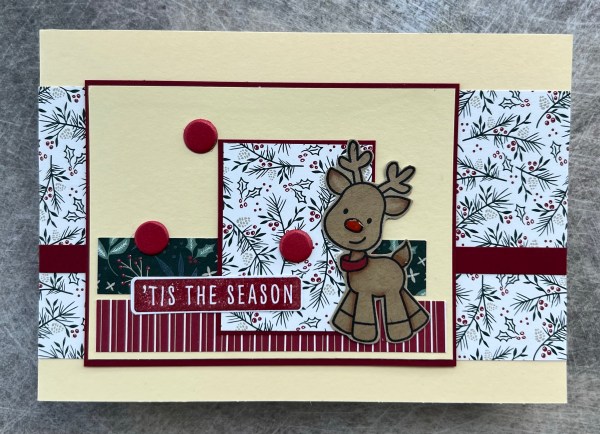
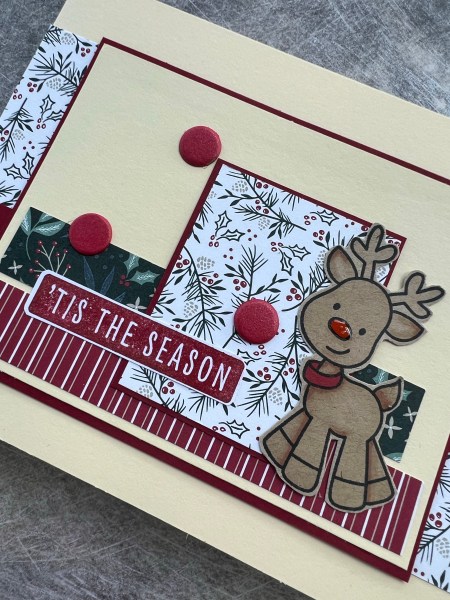
I have managed to use up quite a few papers this year by cutting them all up at the beginning of the year and using the images on the paper as the focal elements or to create something new. That has been my monthly post at the beginning of the month. It has been good to get some papers used this way.

Think that was one of my favourite cards this year using up papers … the black and white with the pop of colour is so cute!
Well there is so much I can say about 2023 but I think I’ve gone on long enough now! I am still thinking about what my creative plans are for 2024 … but for now I want to thank you for visiting my blog posts … special mention to Deborah Wheeler who has left me so many lovely encouraging comments through the year … thank you so much, they are appreciated.
I have spent a few days of the last week crafting so I’m ahead on a few projects for 2024 … but will sign off now.
Wishing you all the best so a happy and healthy and of course creative 2024!
Happy crafting!
Catherine