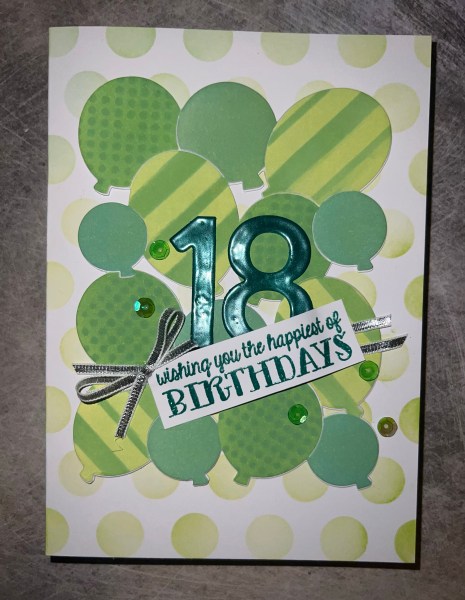
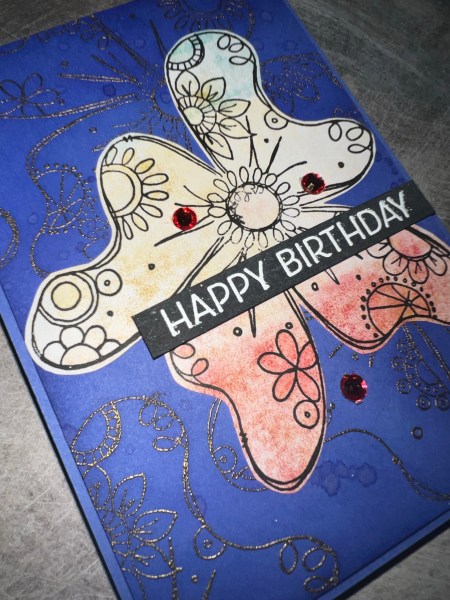
Hello! I have another birthday card made for this months Happy Little Stampers Anything Goes birthday challenge blog.

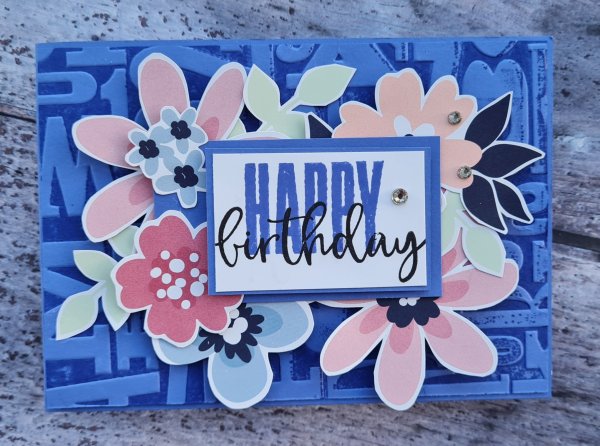
This time it is a birthday card for my cousin and I know she will love this card … but shhh don’t tell her you’ve already seen it as it’s not her birthday for a 21 more days! 😂
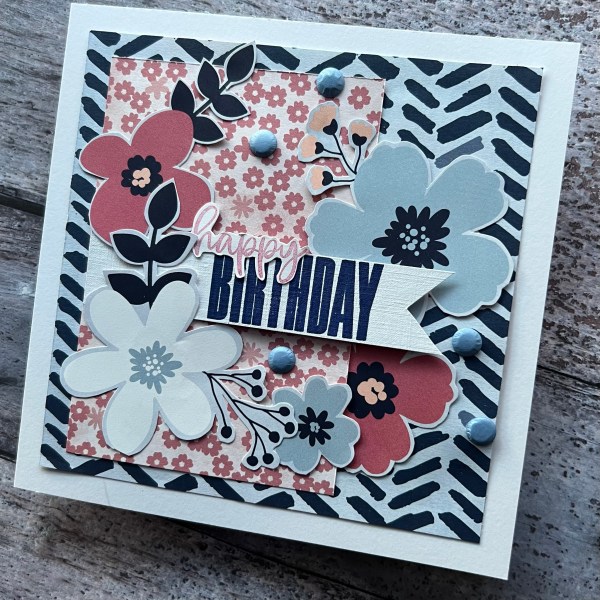
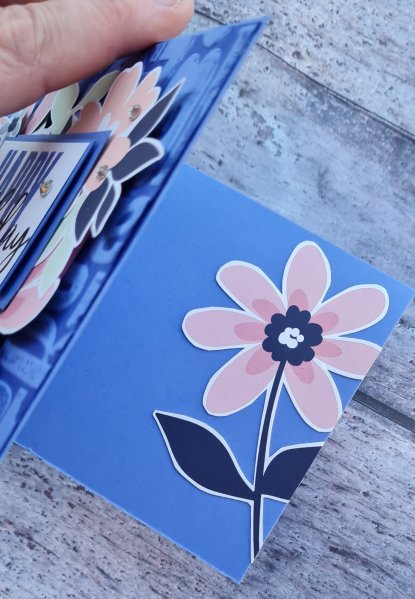
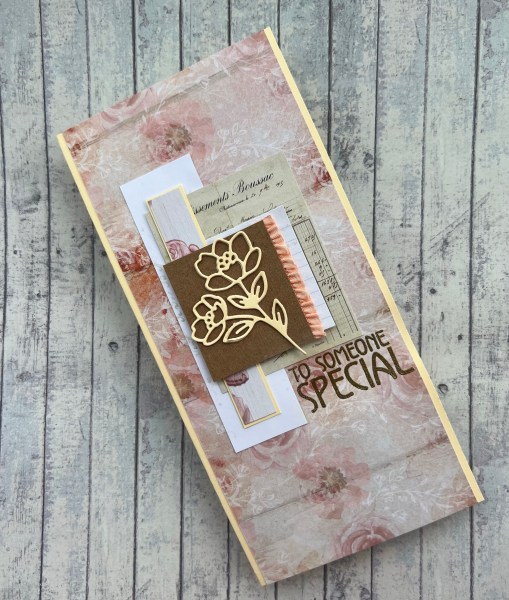
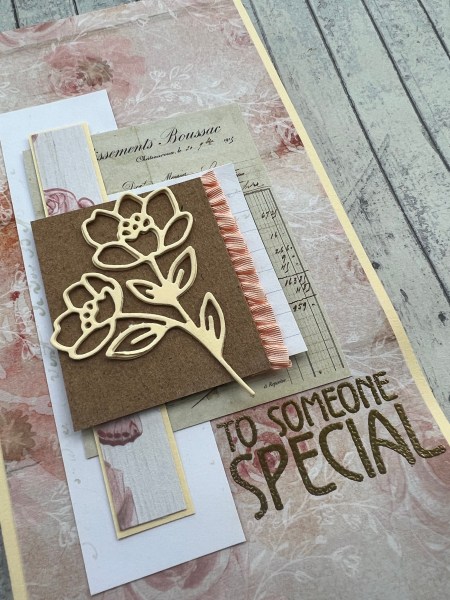
I used lots of the Paper Blooms dap with fussy cutting and then those fabulous Biggest wishes stamps for the sentiment.

As I had already done all the fussy cutting as part of my patterned paper playtime this came together so easily … I am so pleased I could get some more of this stash used up.
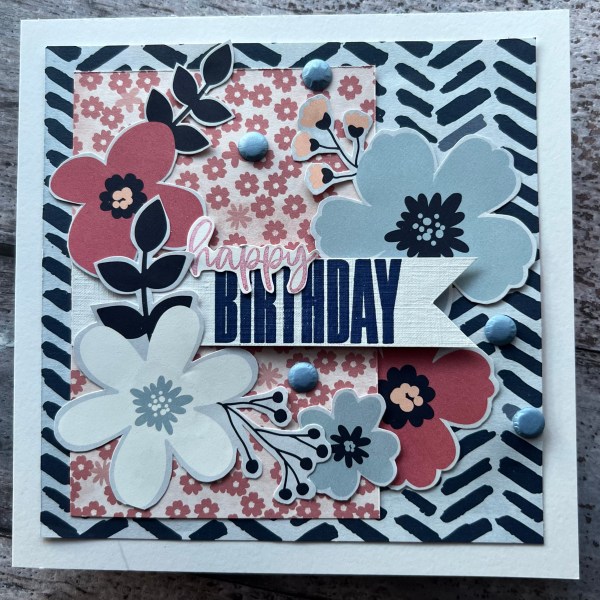
I found some card Candi that coordinated well with the colours.
Happy crafting!
Catherine