I am an on-the-side and increasingly up front papercrafter who loves nothing more than getting inky and creating pretty things with paper and stamps!
I am also a wife to lovely hubby and mummy to a wonderful 14yr old princess.
Well I really don’t think I can believe it but my little princess has turned 18!
Not going to spend time saying how much I love my girl and how proud I am of her. That pretty much goes without saying. So instead will show you the card I made for her.
Stencilled background using the lovely Concord & 9th inks. A floral stamp image with embossing and watercolours. Die cut numbers embossed with gold.
Gold gems and some thread to embellish.
A blended background panel and then an embossed edge to finish off.
The die cut letters for her name I cut from card where I had blended ink too.
Love how it came out!
And here is a little glimpse of the three of us out celebrating last night at the amazing Sexy Fish in Manchester!
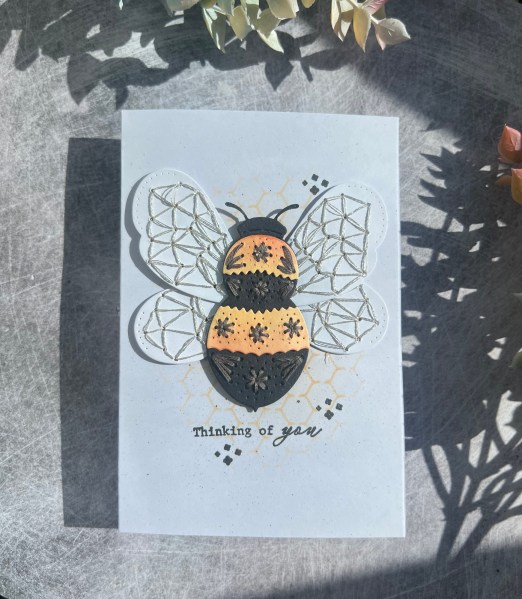
I needed another sympathy card. So sad to have my friends going through these difficult times.
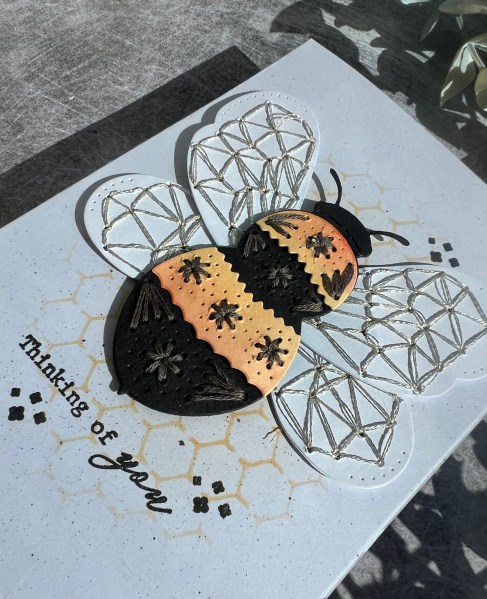
This friend is a big fan of bees and had admired my recent stitched bee card so I knew it would be the perfect type of card to make for her.
I made the bee in a similar way to last time, inking the pale yellow card to give it some depth of colour and this time a dark grey thread for the stitching on the bees body and then silver for the wings.
I took a stencil and inked through it the honeycomb in the background and splattered very lightly some black ink too before adding both the sentiment and the little cross stamps.
I didn’t add anything to the inside of the card but instead concentrated on my message to my friend.
I did add an extra little envelope with the card containing all the pieces of the die cut bee so she could stitch her own if she fancied it. And also sent a little ceramic heart ornament too as a reminder of my love.
Hate that I had to make a sympathy card but was pleased with how I made this one special for my friend.
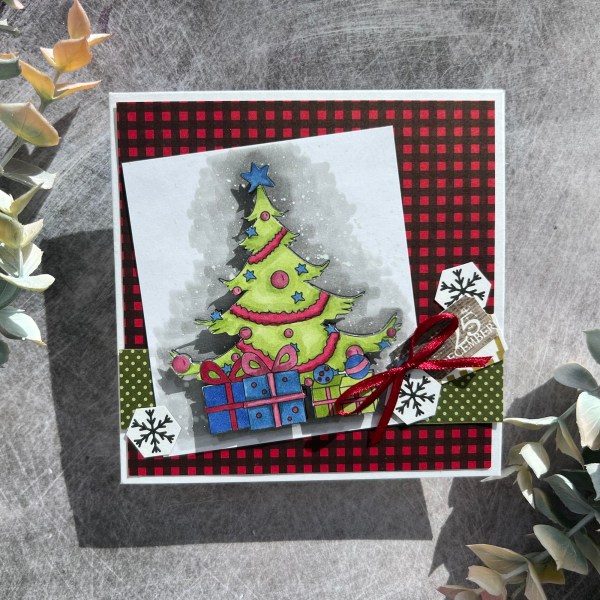
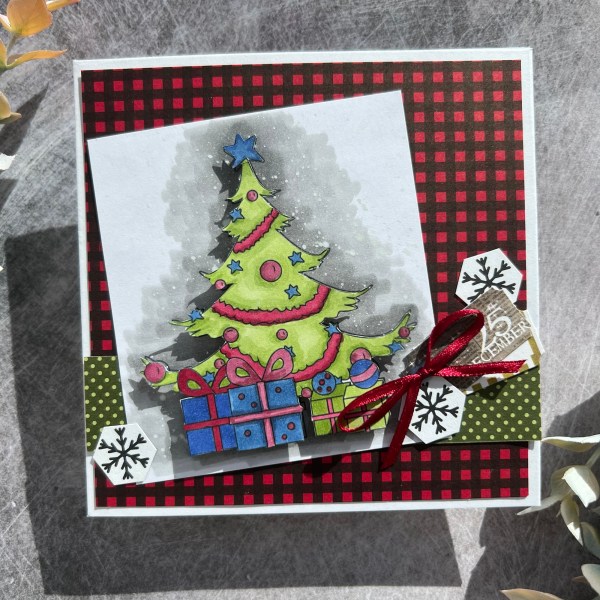
This was a simple card to put together as the digital image was already printed and to hand, and the paper was already cut to size with the little snowflake hexagons cut out! Mainly a case of colouring, cutting out and assembling!
I coloured the digital stamp image using my stampin blends and then fussy cut the tree. On a second print out of the image I added the greys for the background and then splattered some white ink for a subtle snow effect.
Then using foam tabs I raised up the cut out image so it gave it a decent amount of dimension above the background.
Then put together the two pieces of dsp, the main focal image and the little snowflake hexagons. I decided to add the little printed tags as the ‘sentiment’ and then a scrap of ribbon for final embellishment.
Simple – but effective! Job done for this weeks Festive Friday!
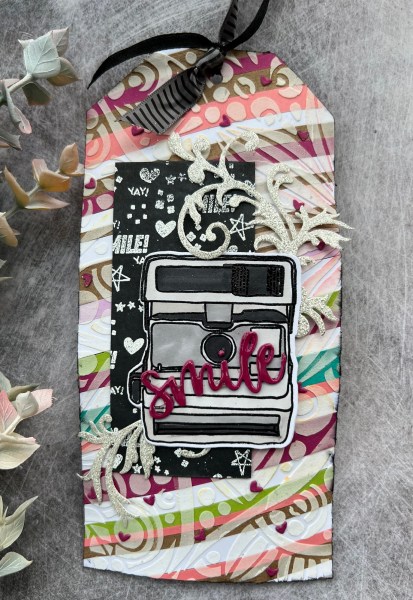
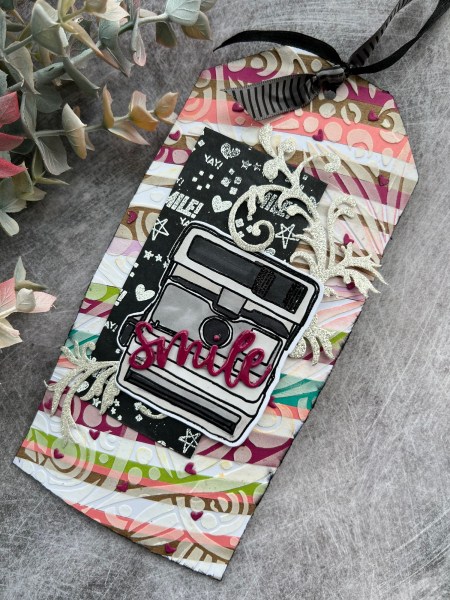
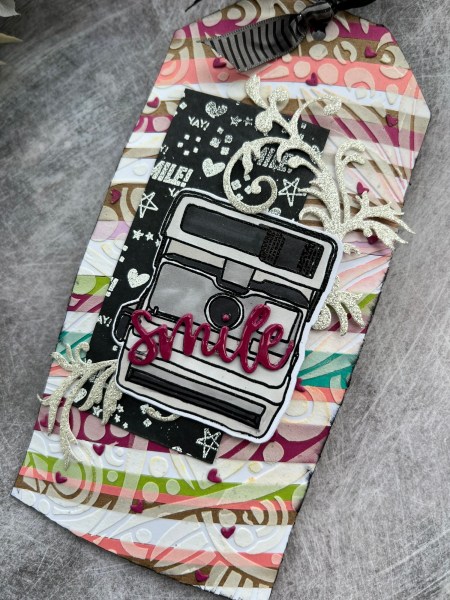
I made this over the weekend when I realised I had so many card stock scraps on the desk that were too small to do much with but would make a fun background for a tag!
After glueing them down I then took a stencil and used texture paste to create the background.
Once that was dry I added ink to the edge to frame it.
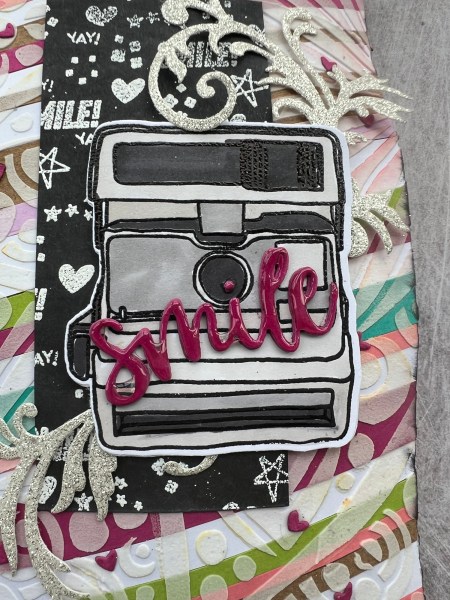
I then took some black cardstock and grabbed lots of little stamps and embossed them with white.
This created a fun chalkboard type finish.
Then I stamped and embossed the camera image and coloured in with promarkers. I then die cut the camera out to create the focal image.
I chose some scraps of the glimmer paper and die cut the flourishes out to layer underneath the camera.
I chose one of the coloured scraps to die cut the word smile and stacked it a few times to make sure it was chunky. I glued it in place and then added glossy accents to it to add even more dimension and shiny!
I added some ribbon through the hole in the top.
I also then added the little hearts I had die cut too … these were such a cute little addition!
I decided to make up a very different type of card for this Addicted to stamps and more design team challenge from what I have been making recently.
I grabbed the digital image I’ve had printed for a while and coloured it using my promarkers.
I then rummaged round in the stash and found these nautical themed dsp and made the background up from them with little pops of the lime green as mats. Then I added the sentiment and some lime card Candi as embellishment.
The card itself is using Mango Melody … so more bright and zingy for the cherry card!
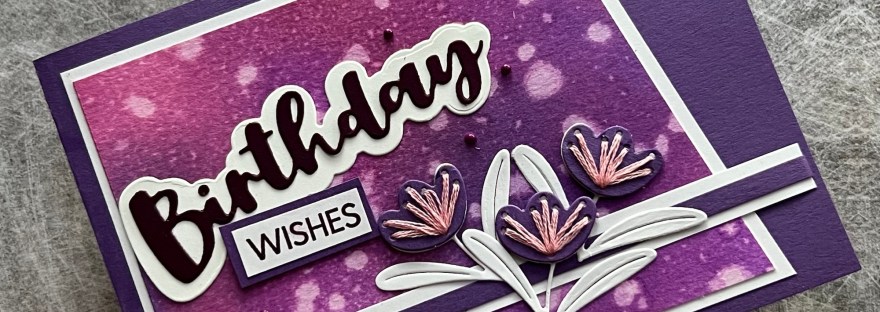
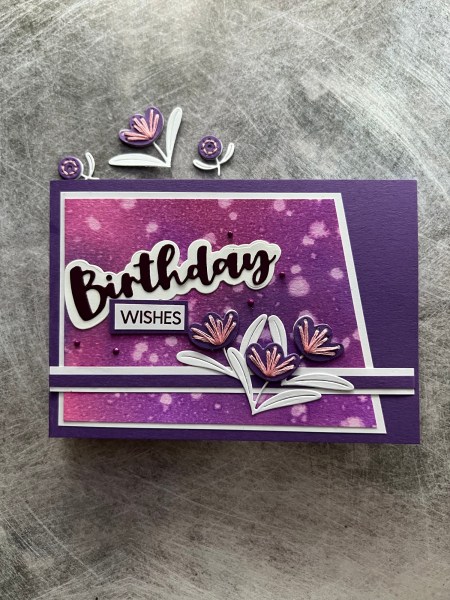
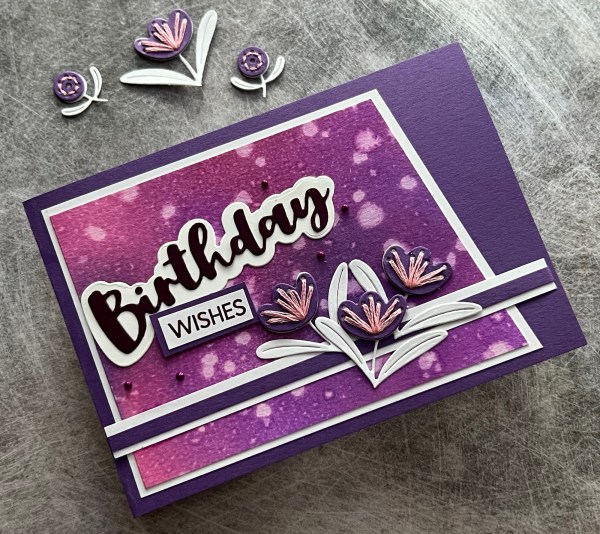
I had some fun ink blending with the distress oxides and created the background panel with zero plan of what I was going to do with it… just wanted to play.
I then remembered all the purple flowers I had die cut and sewn at Christmas time … perfect for embellishing the card.
I decided to add some white and then the purple card blank.
I chose the sentiment from the die cuts I had already made and die cut many many months ago from scraps. I ended up with just the three die cut flowers but think they are cute and perfect for the card!
Really do love the finished effect of these stitched dies. They make the cards feel really special.
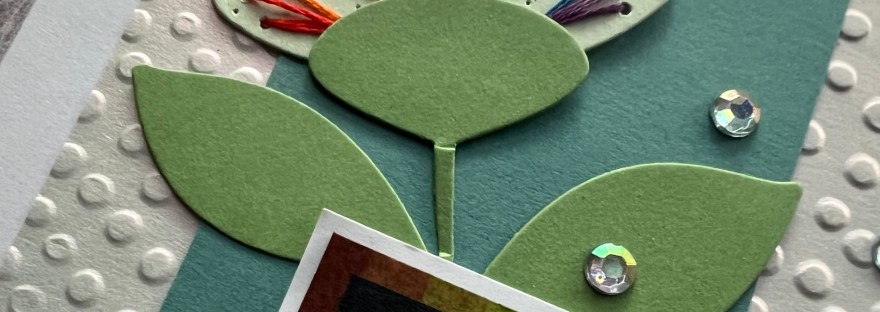
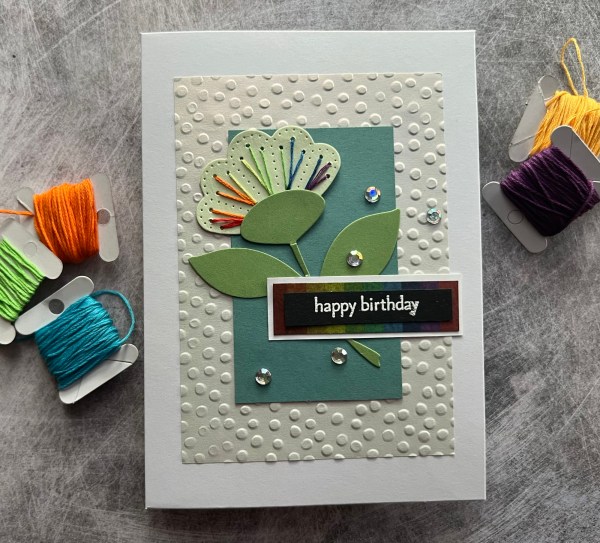
Because the stitched die cuts are quite special I decided to try and keep the card quite simple this time … just the one flower and a simple background…
But of course it wasn’t actually that simple a flower because I went a little crazy and did multicoloured stitching to create a rainbow flower!
Background : I used an iridescent shimmer paper and embossed with the dots. Then a simple rectangle of cardstock for behind the flower.
The sentiment is a piece of rainbow washi on black with a black strip with the sentiment embossed with white. Simple and cute!
Silver gems finish off the card … but in comparison to most cards I made this was super easy!
Well as the first of the month happens to be a Friday this is a combo patterned paper project along with a Festive Friday project.
I took a few pieces of dsp that I had cut down into 6×6 squares and made a couple of cards that are pattern paper heavy!
Because the patterns and colours coordinate they work well even if they are pretty busy and I kept them very similar.
I started by cutting a panel to fit the front of the card blank for both pieces of the paper and then lined them up together and did the same cut across the panel to create the panels I could then put back together with a mix of the papers. Then I took the third piece of paper and created a panel and added a mat layer to break up the patterns.
Then I took a piece of white and created my little scene with some magazine kit stamps I’ve had for ages. Under this I added some die cut elements from the Frosted frames set.
I added some faux stitching doodles around the layers and the same for the little sentiment.
The second one is the same except I used a frosted frames panel to create the scene on so no need to add the additional die cuts underneath.
Kept the layers pretty flat so not lots of dimension to the cards because they are already fairly heavy with the paper and the layers.
So there you go … two cards and two of my challenges done!
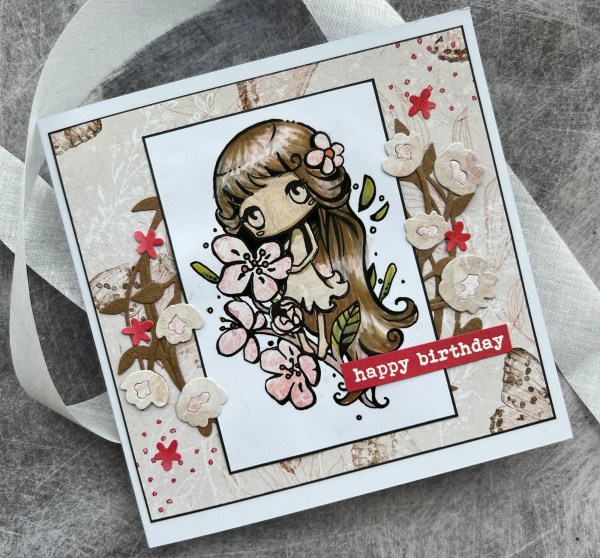
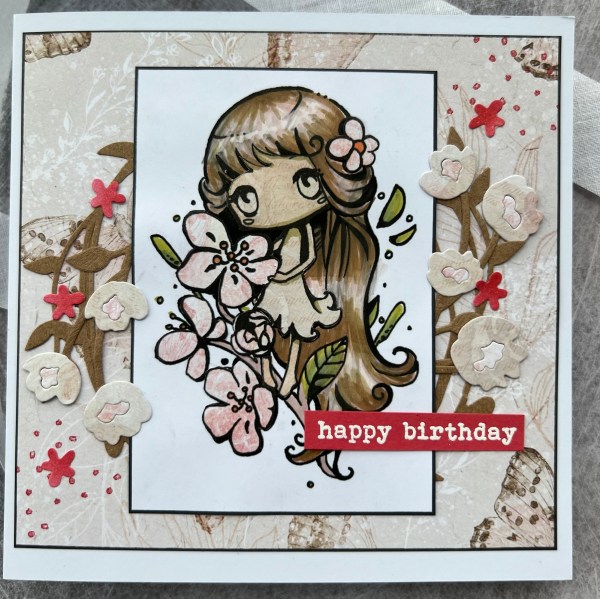
Todays post is my design team contribution for Creative Knockouts where the theme this fortnight is Anything Goes!
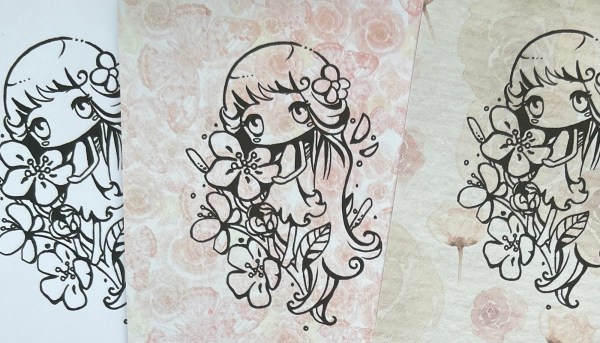
I used this cute digital image called Spring flower from Star Stampz
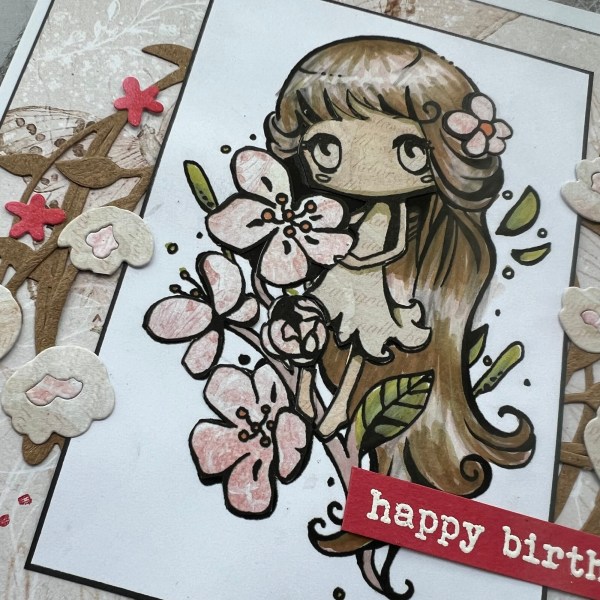
I decided to do some paper piecing along with using my promarkers to create the girl .. I printed the same image several times on both the white cardstock and the patterned paper.
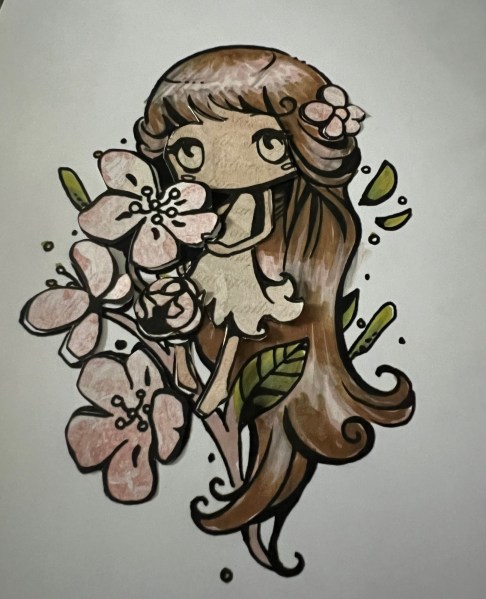
Then I fussy cut out the pieces I wanted to layer and coloured the rest with my promarkers. I also added promarkers to the skin elements of the image.
This is how I had got it before I actually glued it together.
After glueing together I added some shading to the image and some dots of brighter colour to the flower stamen. Then started thinking about putting the card together. At this point the in progress photos disappear as I get busy creating!
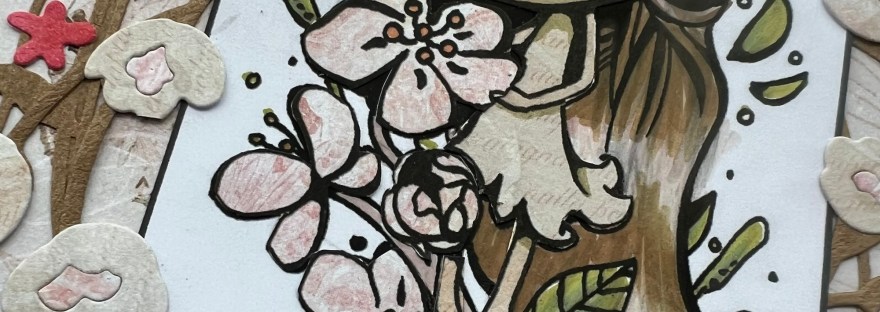
I chose another piece of the crafters companion paper from the stash and had that as the base layer. I edged it with black pen though as I thought the line art on the image was so thick it needed the black line of the frame in contrast to the soft papers.
I did the same black pen for the edge of the image panel.
I added the spellbinders wreath from an old spellbinders set in the Kraft and then used a Sizzix die set to create the flowers.
Again I used the paper scraps from the paper piecing to create the flowers so they coordinated.
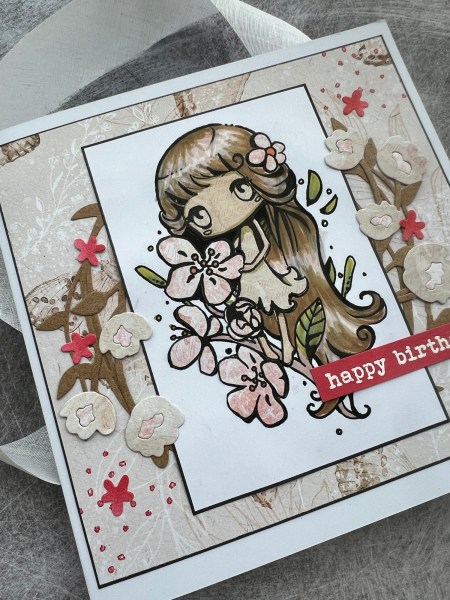
I popped this all together with the flowers coming from behind the panel but also overlapping the edge.
Then I decided to go bold and added the sentiment heat embossed on the sweet sorbet card and then needed to add a pop of the red on other parts of the card … so I inked up some white cardstock with the sweet sorbet ink and die cut the tiny flowers and also added the dots using a dot from Artistically inked stamp set to the background.
I think this added enough to tie it all in together.
Inside the card (it’s a 6×6 card blank) I added one more of the flower die cuts that I made, this time in full.
Love this cute card and saving it until September for my cousin’s daughter as I think it is perfect for her (so shhhhh keep it 🤫 secret!).
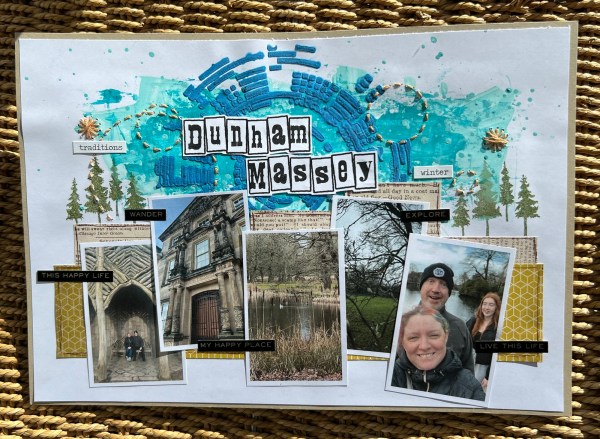
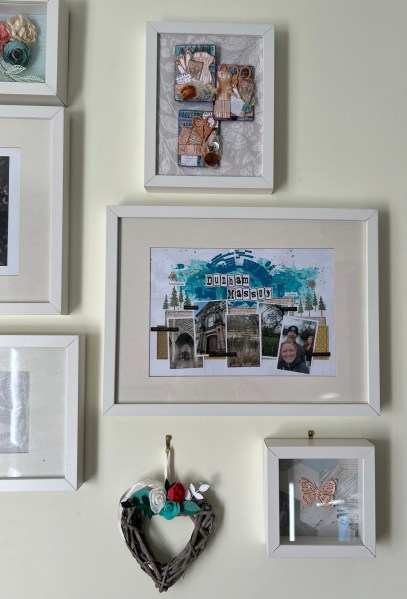
I had another frame in my room I wanted to put something in that I had made and so I decided to use another challenge from the Hey Little Magpie Facebook group to spur me on to do some more scrapping.
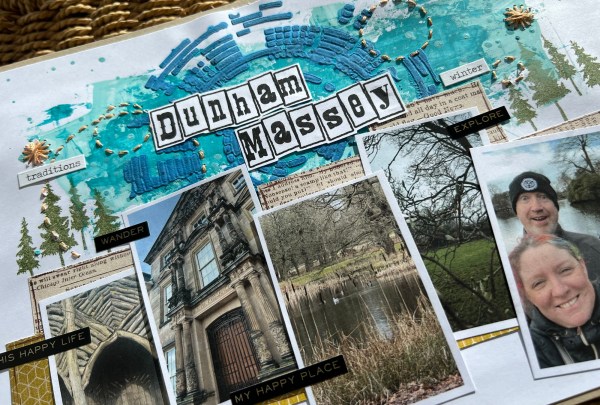
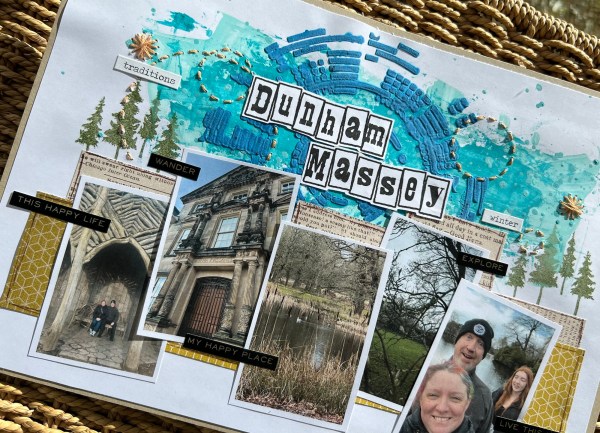
I started with a few little pics from the trip to Dunham Massey at Christmas time and then played with mixed media and stitching and some old dsp till I got to this …
I went a bit OTT with the texture paste and it wasn’t the cleanest of stencilling jobs but I think it was perfect for the messy painty background.
I enjoyed the bit of stitching I did for the added circles and then the paper teamed the two parts of the page together with the bits of text paper too for the colours of the photos.
I did some doodled lines round the patterned paper and then stamped those trees to either side of the page. I did mount it onto Kraft but you can’t see that in the frame on the wall so I need not have bothered but I suppose it also gives the page some strength as the white was quite warped by the time it was finished.
Happy to have scrapped again … who knows when the next urge will strike.












 Inkyfingeredcat