I saw Jennifer McGuire using the zero waste flower die and thought it looked great but when I saw there was a leaf one I decided this was more useful as already have a fair amount of flower dies and plus more likely to use stamped images as the focal point than the die cuts … so I bought the leaf version instead.
I’ve used it a couple of times already before I made these but it didn’t cut brilliantly with my Big Shot (my Big shot has lost a lot of pressure so need extra shims and lots of pass throughs to get some dies to work) so although I could use some of the leaves and the circles it wasn’t a full cut of the whole panel.
So I learnt from this and made sure I gave it plenty of pressure and a few gos through the machine for each cut needed.
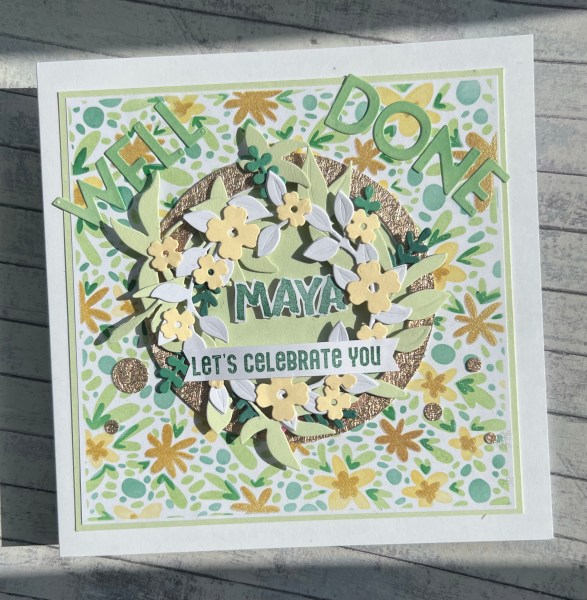
I die cut a piece of mop up paper that I had added distress oxides to. It was very watery though so not an intense colour.
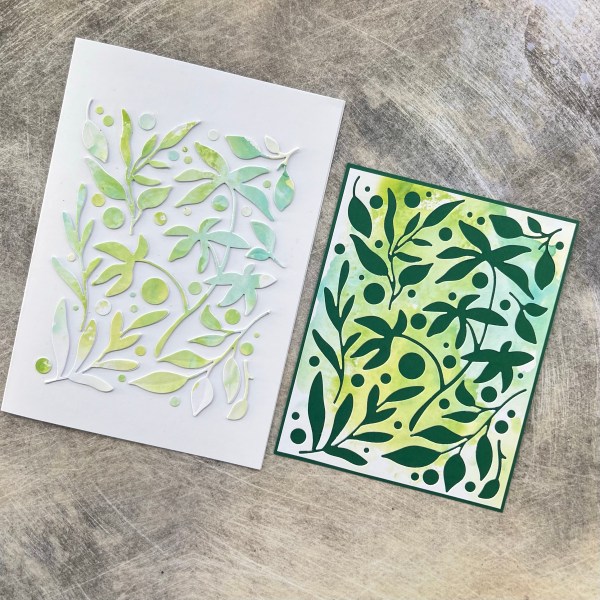
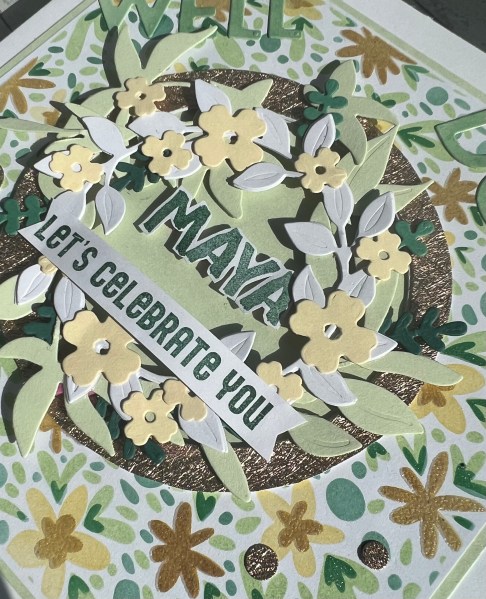
I separated all the pieces and then die cut again from white a few times. I used one of the background pieces as a template straight onto the card blank and washi taped it in place and then like a puzzle I added the pieces back in using white for the first layer. I didn’t add all the circles (I got bored quickly as it was quite fiddly). Then removed the background and added a second layer of the white and then the third layer I added the colour pieces. I added a few extra circles of the colour flat onto the card blank as that was easy.
The inked background piece I added to dark cardstock and left that to one side for another time.
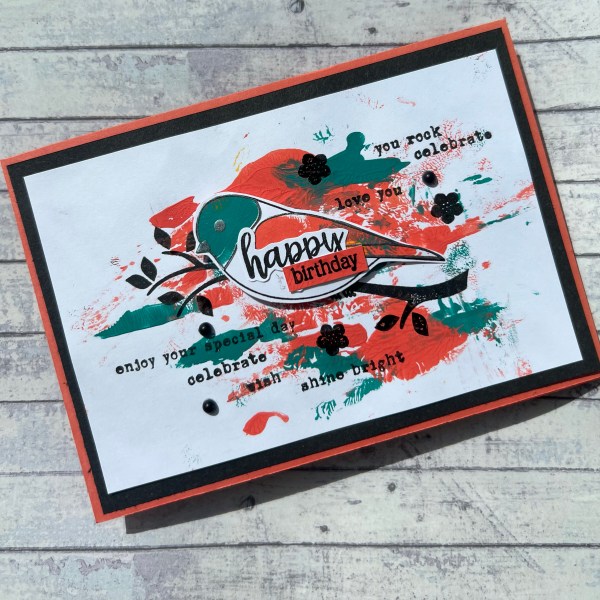
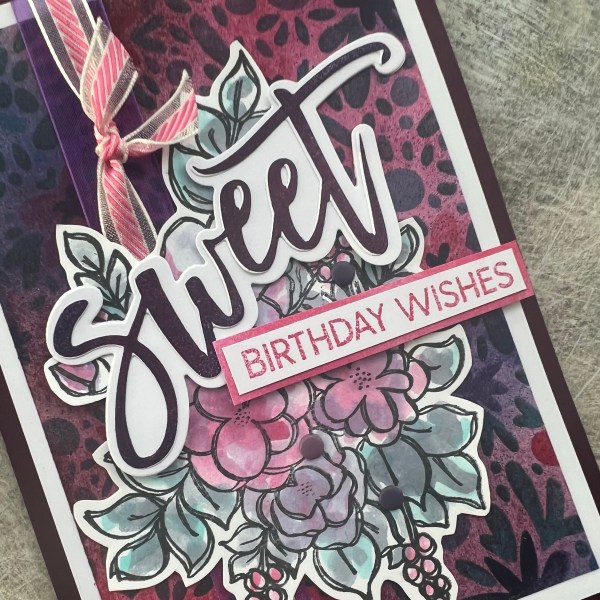
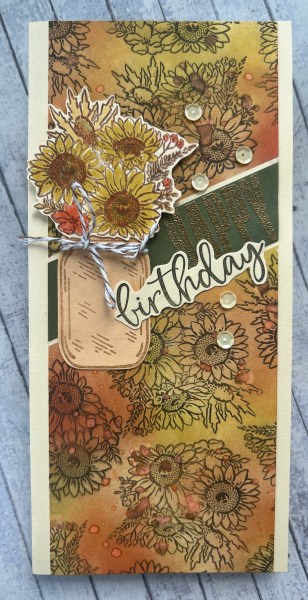
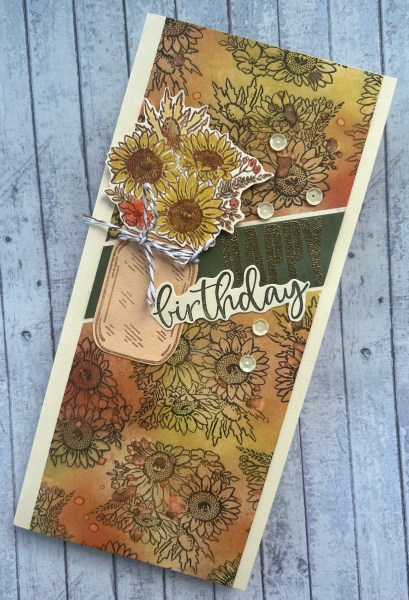
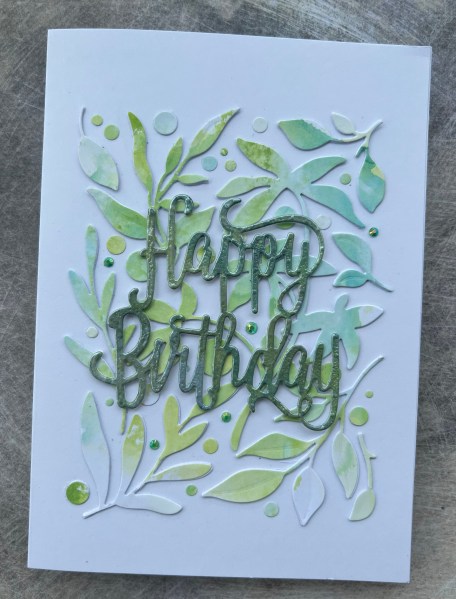
I had mopped up ink onto watercolour cardstock too so I took the Happy Birthday die and die cut it from the panel and inked it a little more once it was die cut as I wanted it darker… but then I also decided to add pearl embossing powder which made it change colour and get darker too. This gave it enough difference from the leaves. I stacked it twice on the watercolour cardstock for more dimension then adhered it using strong adhesive to the card front.

Then I added a few green gems and called it done!

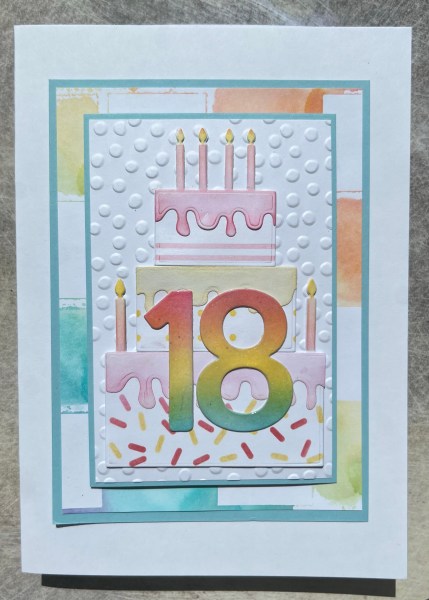
I really love how this turned out and how pretty and delicate it looks although actually there is quite a bit of dimension and texture still.
It is quite fiddly to do but not impossible and a great way of using papers that have been inked as part of a mop up or to clean brayers … I think that might be my next use of this style… on a painty piece!
I still have the background to use … and also the piece I die cut the sentiment from as I saved all the pieces and purposefully cut it in the middle of the panel so I could put it back together again too!
Happy crafting!
Catherine