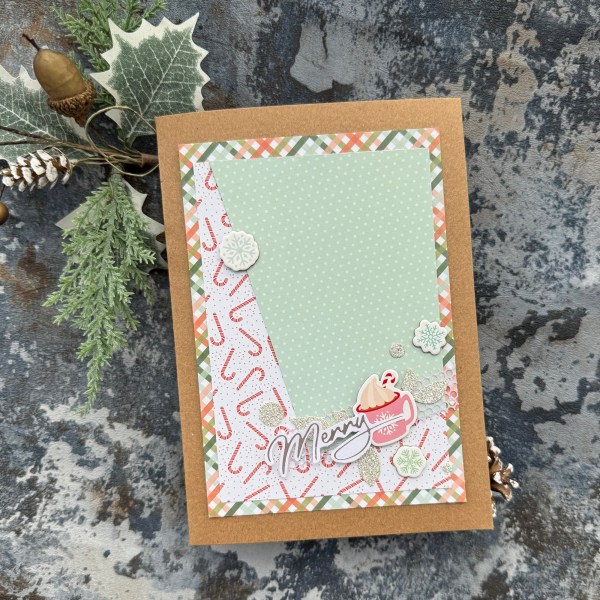
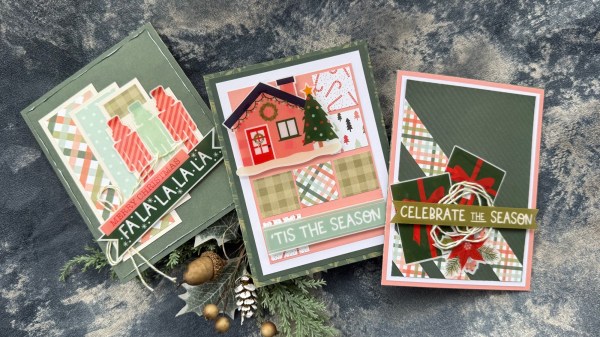
Final set of cards from the #kcc20 using the Kingston Crafts Christmas paper and acetate bits … this has been such a fab set to work with! Photo of the full set is at the bottom of this!
I did actually make these a few weeks ago directly following the last set but only just got around to editing the video and sharing.
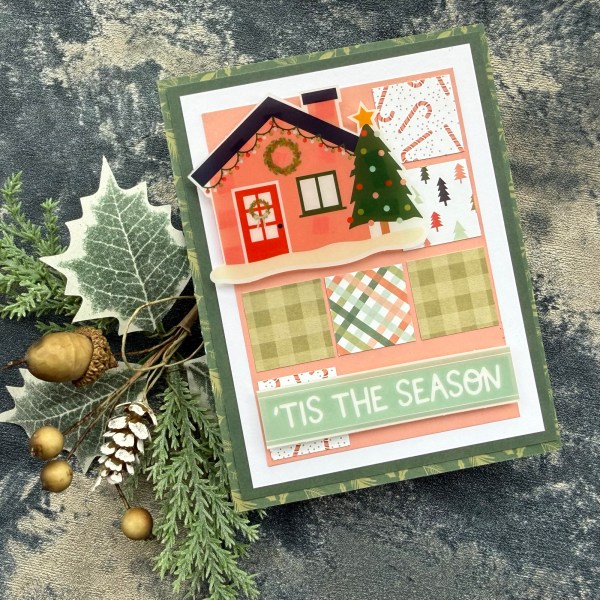
I think that house worked perfectly in the space the sketch allowed … but had to fiddle a bit with the sentiment and then it came together nicely!
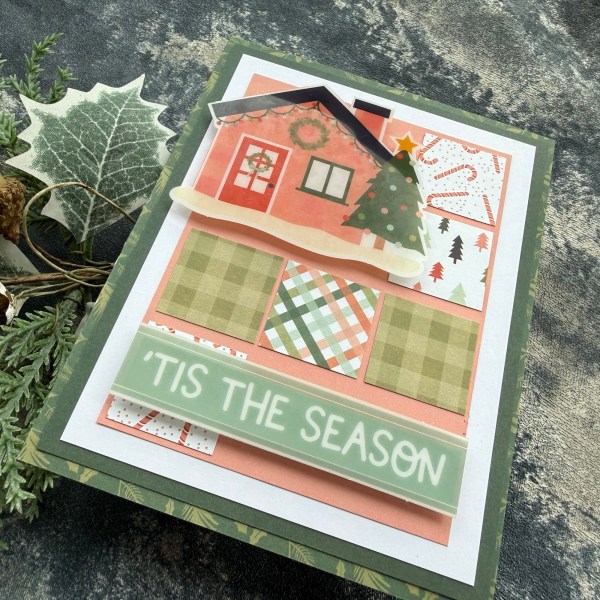
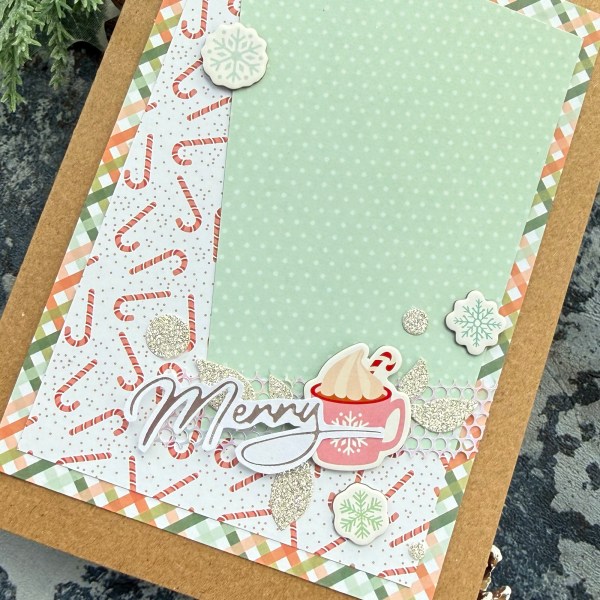
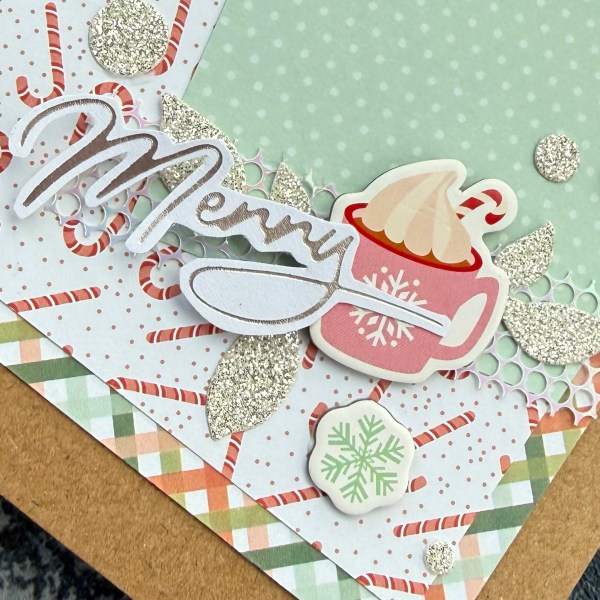
I popped up the acetate elements on the adhesive foam to give dimension and I think that the cute pops of pattern from those paper squares work so well!
I did cut a layer out from the design and that allowed the pattern from the card base to peep out too!
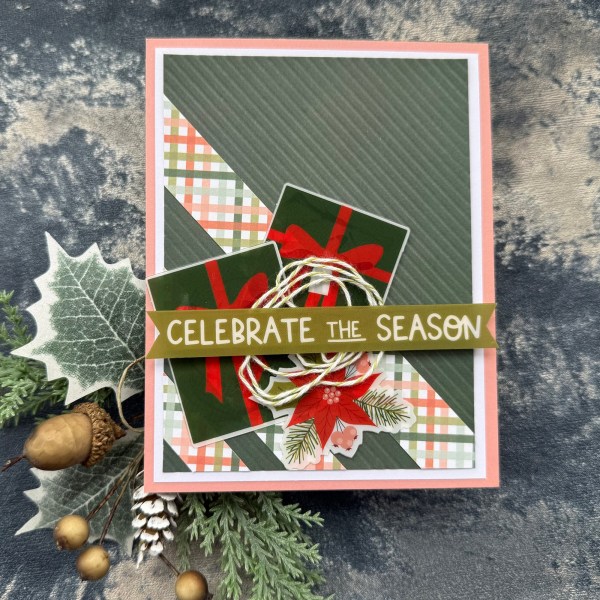
This next one I really loved the diagonal stripes of the patterned paper and decided to use the scoreboard to add to that with the stripes on the background panel. And I am delighted with the end result. Why do I not use the scoreboard more often?

I again fiddled with the sentiment and made it a little smaller so it got rid of the white trim and fit the card a little better.
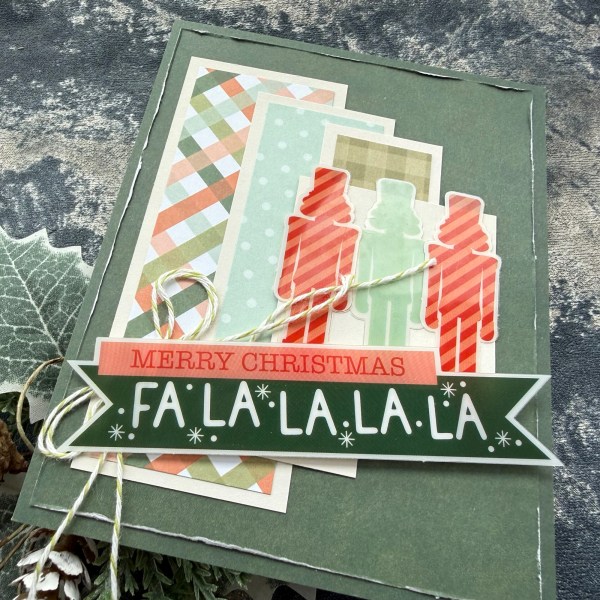
I also added in the bakers twine for some more texture.
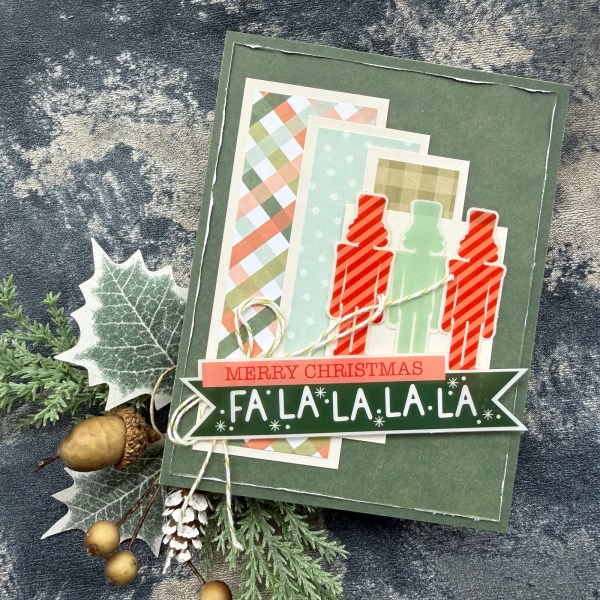
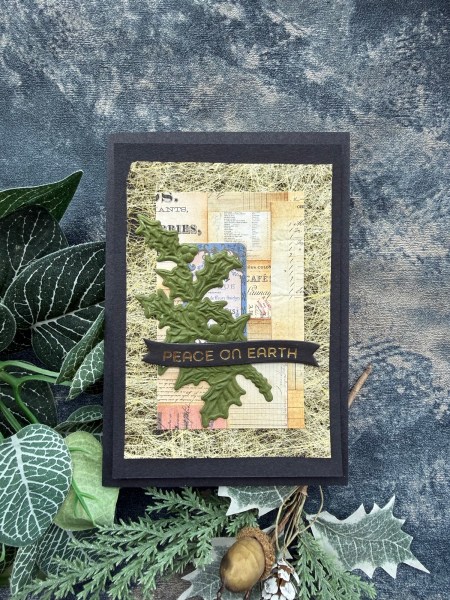
I hadn’t got round to using the nutcracker shapes and was determined to get them on at least one project so this final card was the perfect base for them!
Again I added twine and also a ‘wonky’ sentiment which just finished it off perfectly.
I went with a two layer of the same colour background and just distressed the edge to bring out the white core which was perfect for adding a little texture and framing!
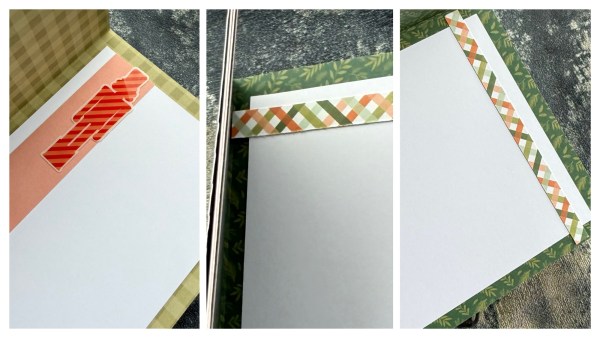
Inside all cards I added the white panel and some bits and pieces of the scrap patterned paper.
So this has been one of the most fun sets of cards to put together and super super easy because of all those acetate pieces which just make it so easy to grab elements and just stick!
Then adding in a few softer elements with twine and thread to give different textures.
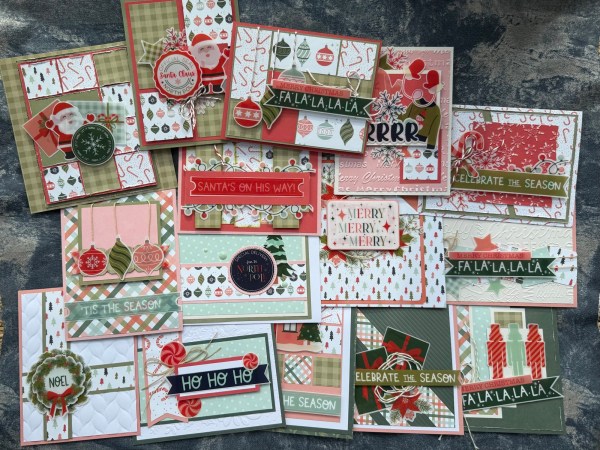
So there they all are! I must admit I went a bit mad with dimension but it was a delight to put them all together!
Happy crafting!
Catherine