I am an on-the-side and increasingly up front papercrafter who loves nothing more than getting inky and creating pretty things with paper and stamps!
I am also a wife to lovely hubby and mummy to a wonderful 14yr old princess.
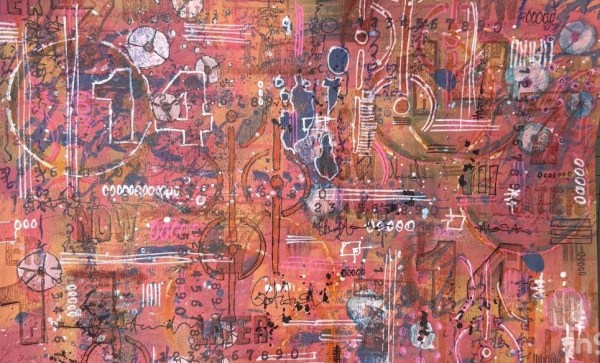
Managed to finally get round to writing up the blog post on the artwork I made for my wall from the master board I made a few weeks ago.
This is the master board …
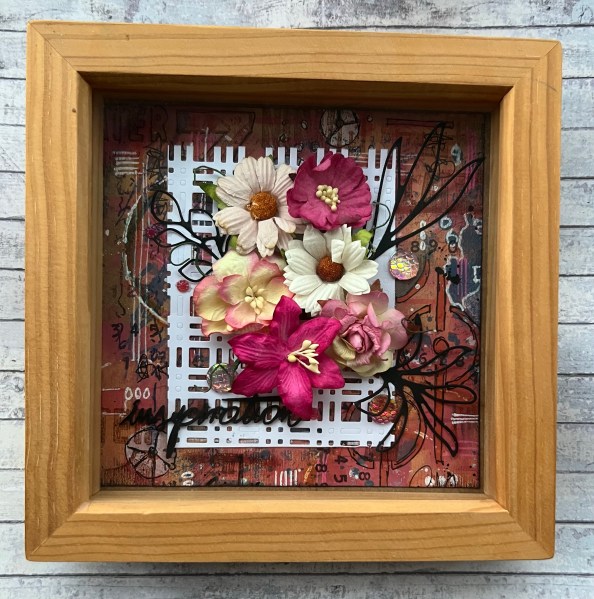
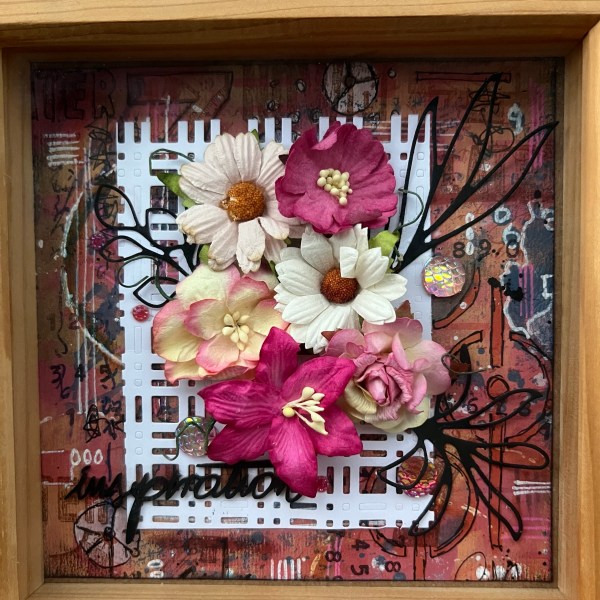
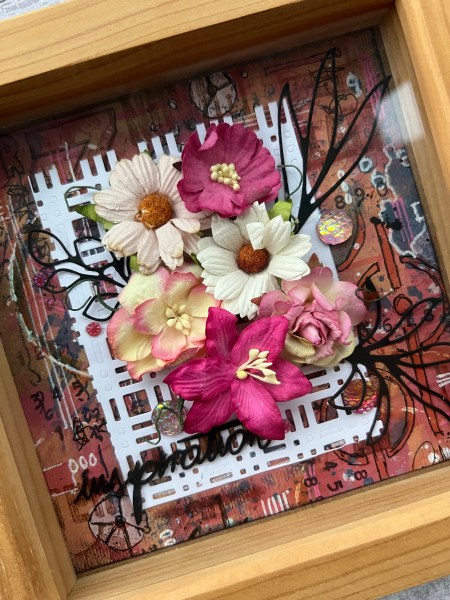
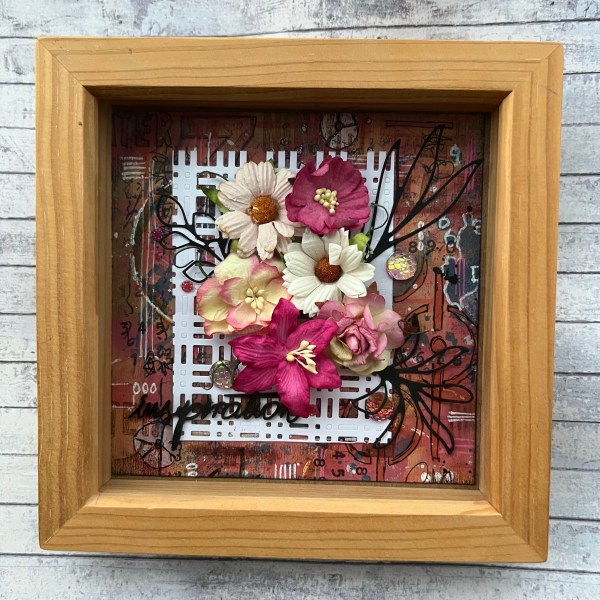
And this is the finished artwork…
To be honest it was pretty much a stick things down project!
I die cut a smaller panel of white for the background to the flowers, I stuck the flowers and the gems in place. I added the die cut leaves which I painted black (as I couldn’t be bothered to die cut new ones out of black) and I found the wooden laser cut word in the stash and painted that black too.
On the wall with the fairy lights on it does look a little different in terms of colour but I love it!
And so pleased I finally did something to put in the frame that has been empty for quite some time!
If you want to see a video of it being put together here it is.
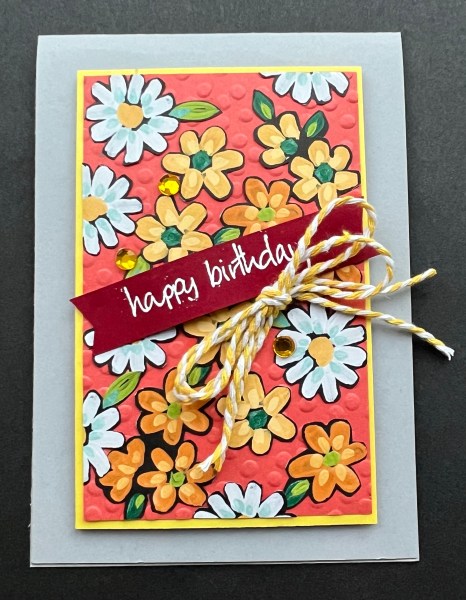
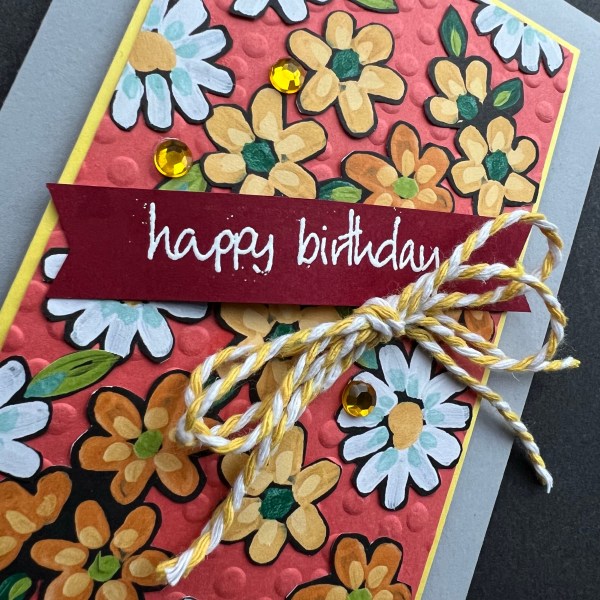
Managed to actually use up one of the pouches of fussy cut dsp that I’ve had set aside as part of the patterned paper playtime sessions for this year by using the last few flowers (ok there were quite a few but they were only small) on this fun card.
I took a scrap of calypso coral and embossed it with the decorative dots folder. Then I stuck all the flowers down, some overlapping and some off the edges to create a decorative background panel.
I then decided to mount it on yellow and onto a smoky slate card base to keep it funky.
I embossed the sentiment onto a banner which I punched from a scrap of cherry cobbler. Next I found the yellow twine and the yellow gems in the stash and thought they would work together as embellishments.
I raised the panel up onto foam to give it dimension and the same with the banner sentiment.
Love how this came out. Bright and cheerful! And that’s a pouch emptied! Feels good to be working through my stash like this and making some fun projects along the way.
Having the elements already fussy cut out really helps me just go for it whereas if I was staring at a full piece of 12×12 I would never have made anything like this from the flowers on the paper.
So a few weeks ago I made a master board and then a few projects from it. Randomly I videoed them and then popped it up on You Tube but never got round to writing up the blog posts and just realised! So here you go…
I made this master board …
Lots and lots of fun making it, completely lost track of time and just played and it was great! If you want to see the video here it is.
Always difficult to do it but I did cut it up … first a 6×6 square for a frame I have had empty on the wall for way too long… more on that in another post. Then I cut the rest into panels suitable for cards. I made two cards immediately and then have two pieces saved in the pouch of ready made backgrounds for future play time.
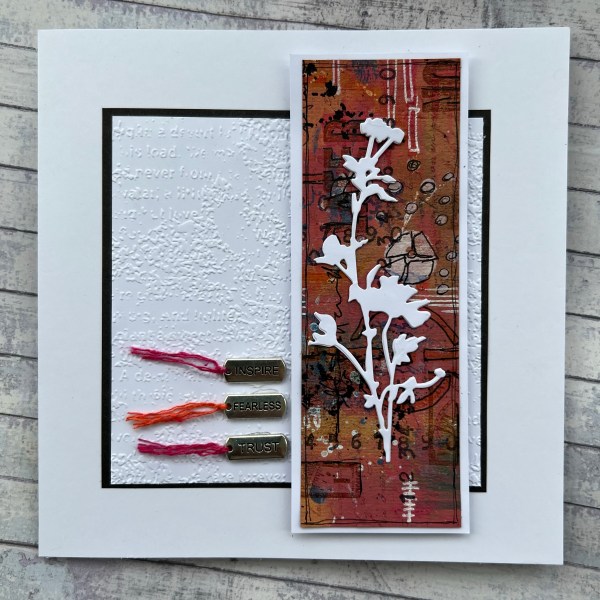
So here is card number one…
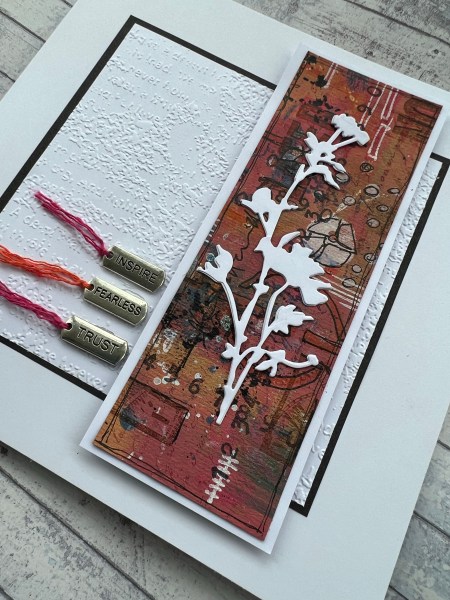
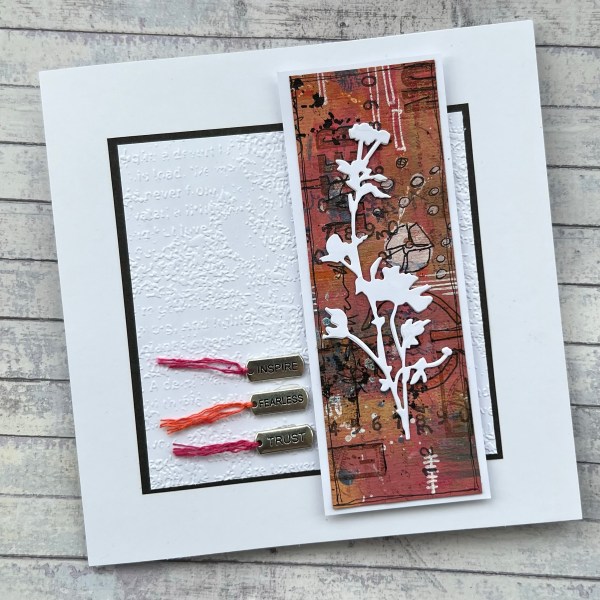
A slimline panel mounted onto white with a white die cut flower on the top (stacked three layers of die cuts to give it strength). Kept the background quite simple with an embossed panel using the Old Paper embossing folder. Mounted that onto black.
I then found three charms, added coordinating thread and added those.
Simple and elegant I think! I say simple clearly this took quite a long time to make the background but it was all good fun!
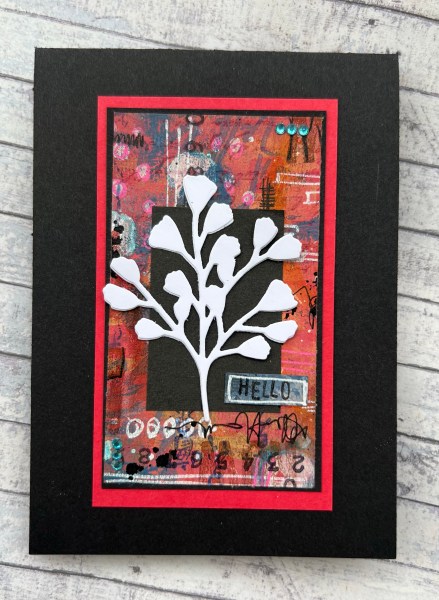
Next a smaller card with a smaller panel of the master board.
Whilst the theory was the same with the white die cut using black as the. Base and then the pop of the bright card stock mount completely changes the feel of the card.
Also added some gems to this in the blue to draw out that colour from the background.
Just love playing with a master board like this … whilst the background is super busy with lots to look at it changes when you add a bold focal image and becomes a background again.
So happy with my creations!
I did also do something with the piece I put in the frame but not go round to blogging that either … watch this space.
Happy crafting!
Catherine
Ps the video for the making of the cards is much shorter than the video for the making of the master board
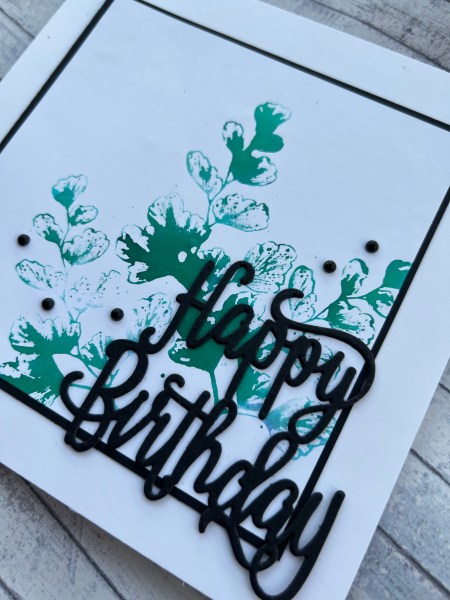
My lovely Dad celebrated his birthday today … he is actually having a few days away with my Mum so not celebrating with us at the moment. I did send the card with my Mum to give him today so hopefully he has seen it by now.
As usual it is always my challenge to make it completely different from the Father’s Day card given they are usually on display at the same time. So given the Father’s Day card was mixed media and a bit grungy I went clean and simple and fresh looking for his birthday card.
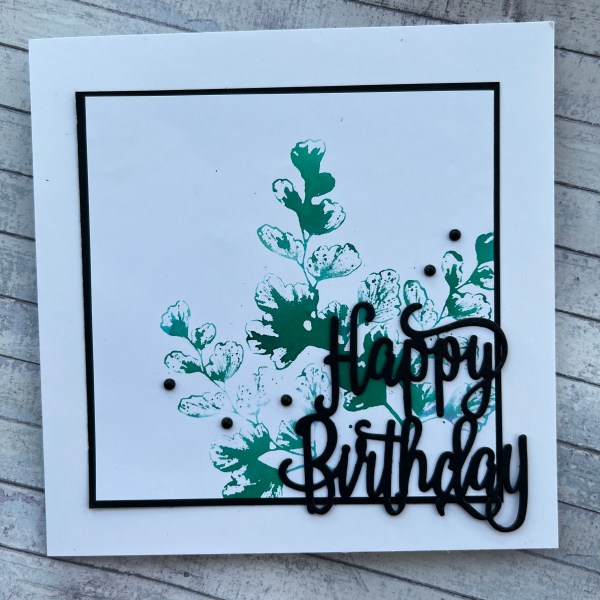
I started with a square piece of white card add stamped the leaf images from Natures Prints using brushos that I had sprinkled onto the glass mat and added water to and then stamped into to pick up the ink and then stamped down. This gave a really lovely imperfect stamping water colour effect.
I then mounted it onto black for a frame and added that to the card blank. Then I die cut the Happy Birthday die and stacked it up so it was a strong and more dimensional focal point. Added that and some gems and decided it was done!
Inside I took a smaller piece of the white card and added more stamping with the brushos. again mounted onto black just to add a little something to the inside of the card.
Just love how this turned out … simple but I think very effective!
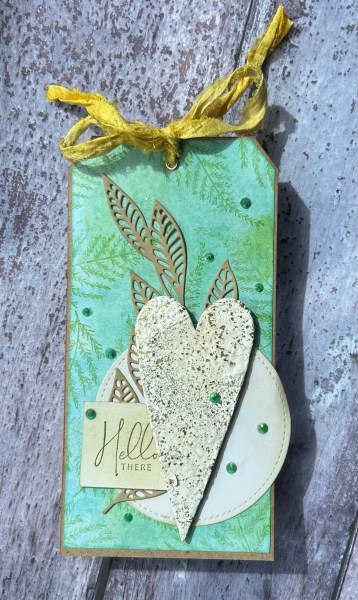
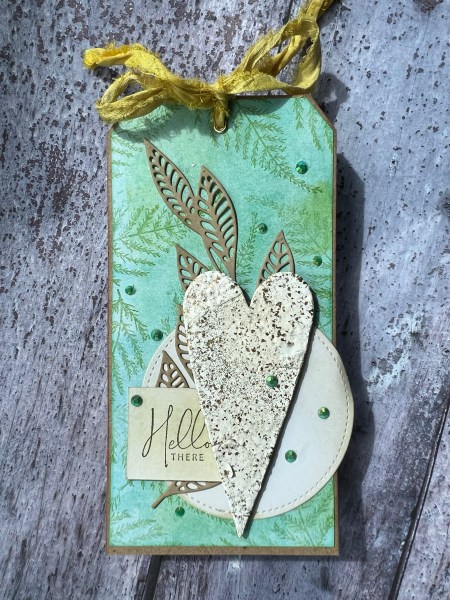
Today tag originated from wanting to use up stuff off the desk … like the die cut leaf, and a clean up paper that I created when wiping off my brayer during an inky hello plate play! I also created a shiny textural heart from a chipboard piece that had been handing around for ages and the die cut circle was also leftover from another creation!
Not bad for a boys and pieces creation!
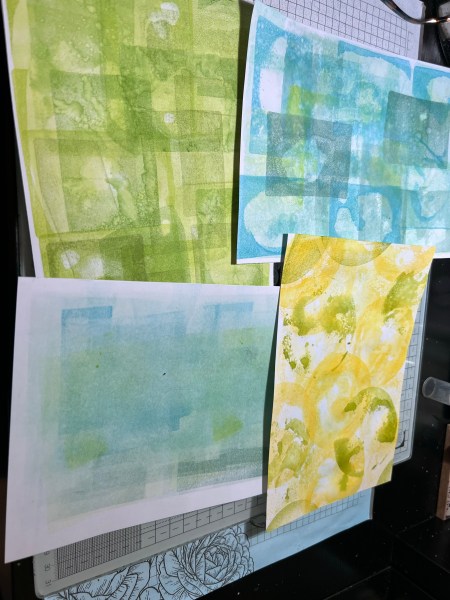
So the paper started like this in the bottom left…
And I cut it down and then added the leaf stamping using one of the natures prints stamps.
I also edged the panel and stuck it to the brown ranger tag. Then I added inking to the circle die cut and added that so it hung off a little to the right.
Next I added the die cut leaf. I love this die cut … it’s so fun to play with.
Then I stamped the sentiment, inking that too so it coordinated.
Next I created that fabulous heart with lots of layers of the frantage embossing powder. Once dry I cracked it so it has the cracks in the surface.
I love how this looks and all the texture.
I finished with the sari ribbon and the iridescent green gems.
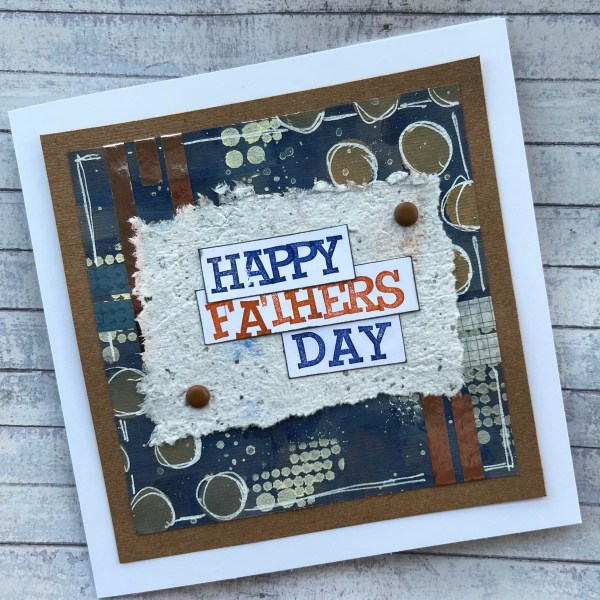
Firstly a big Happy Fathers Day to all the dads out there especially my Dad and my lovely hubby.
Here is the card I made for my Dad. I went all mixed media and painty and generally had fun making it.
I used the Paperartsy fresco finish paints for the background and then through some stencilling. Then posca pens to add doodling. I then added some strips of washi tape including the shiny rose gold one to add some shine.
I found some handmade paper and added that as a layer and then using brads added it to the background. Then stamped the sentiment in a rough and ready way.
Then I added a layer of Kraft card stock and decided it did the job perfectly and I had had fun making it!
Hello! Welcome to my blog (welcome back for those who have stopped by before)!
Today I have a design team contribution which is actually a card I made quite a while ago for a friends 40th birthday but I saved it as a design team project as I was so happy with it!
I chose to use Kraft and white with lots of embossing and and a tiny pop of black with both the mat and the embellishments.
I made a background using a mixture of the Happy Celebrations stamps and some little Paperartsy ones and lots of white and pearl embossing powder and then I coloured in the open space with white Kraft ink and water. Then did lots of splatters of the Kraft ink to finish off!
I created the last part of the sentiment with embossing and layers of the card but then decided i wanted to add a die cut star as the focal point.
I cut the star using the Tidings and Trimmings dies and stacked it three high to give it some dimension. Then stacked under the sentiment to make that sturdy too.
Then I grabbed the black star embellishments from the stash to add some more fun. I layered this background with a few layers and then added it to the 7×7 card blank and then grabbed my foam letters/numbers and added that to the front of the card … after all it was a special birthday!
Inside the card some simple stamping and more of the black stars to finish off!
Really pleased with how this ended up and think it is a nice card style that can be adapted for different recipients with a change of colour or embellishment!
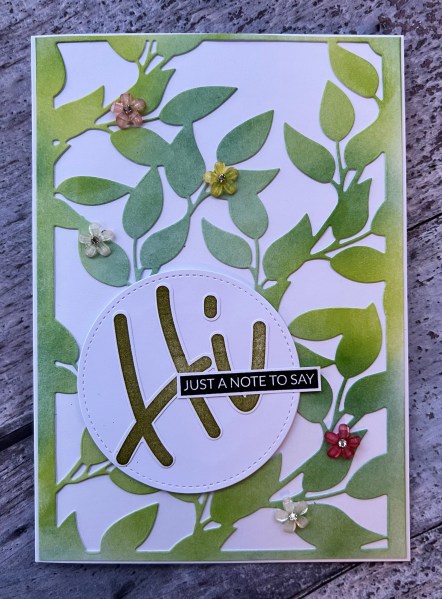
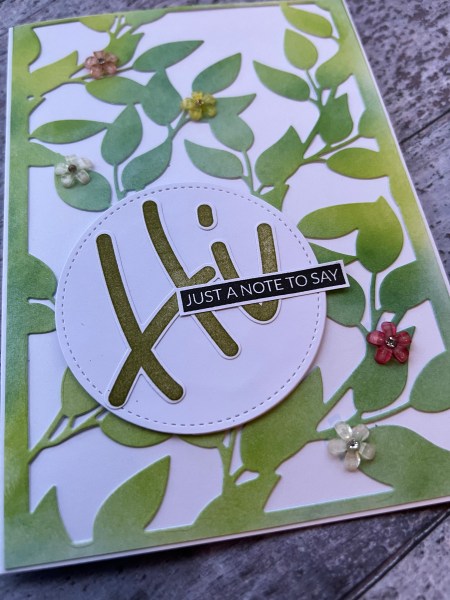
This time I have a 5×7 card I’ve made using the leaf background die from Honey Doo Crafts.
I started by inking some white cardstock with different colour greens and then I die cut the whole panel. I did have to slightly trim the top and bottom to fit on the 5×7 card blank I have but it looks so fabulous covering the whole thing I think that is ok.
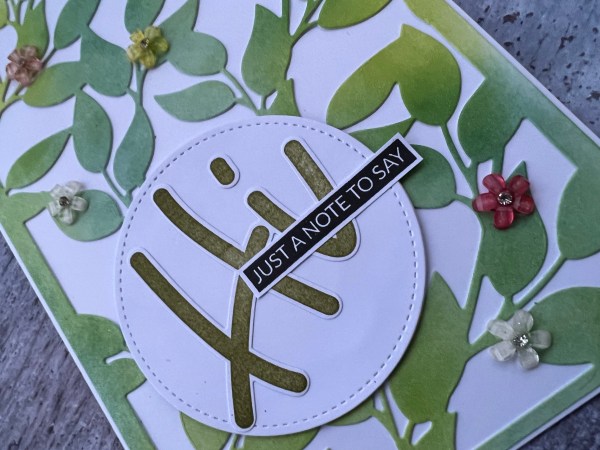
I then added the stitched circle die cuts and the Avery Elle sentiment stamps/dies to add the focal element.
I then added the little gem flower embellishments that I had in the stash … aren’t they so cute?
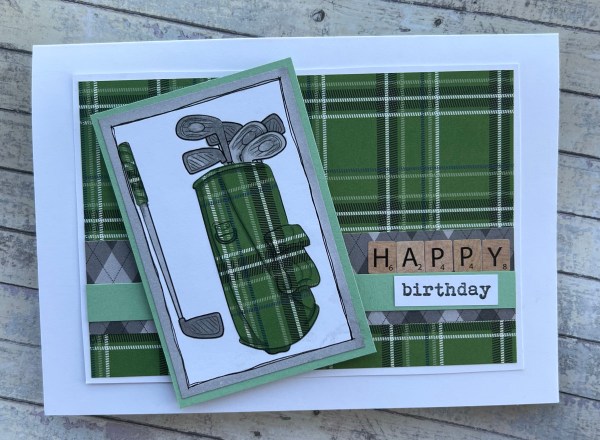
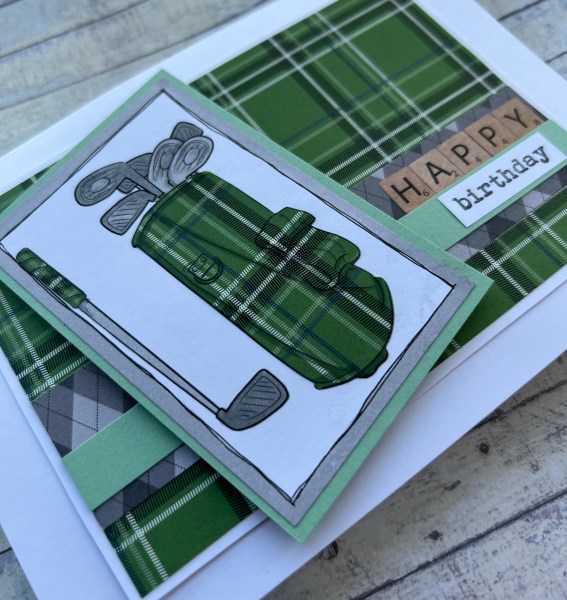
Today it is time for another design team challenge. This time the challenge at Creative Knockouts is Outside Fun and we’ve been sponsored by Dr Digis and I was gifted the golf clubs image to play with.
I chose to print it on both the card and the patterned paper to do some paper piecing.
So the base image on the white I coloured with my Stampin Blends and then I also added some shading to the golf bag to help the image stand out and look more dimensional. Then I edged the white with the same grey pen and then added some doodle lines around.
I used the same patterned paper for the background along with a strip of the reverse.
I decided to use some letter stickers for some of the sentiment and raised the main focal image on some foam for dimension. And that was pretty much it. Simple!
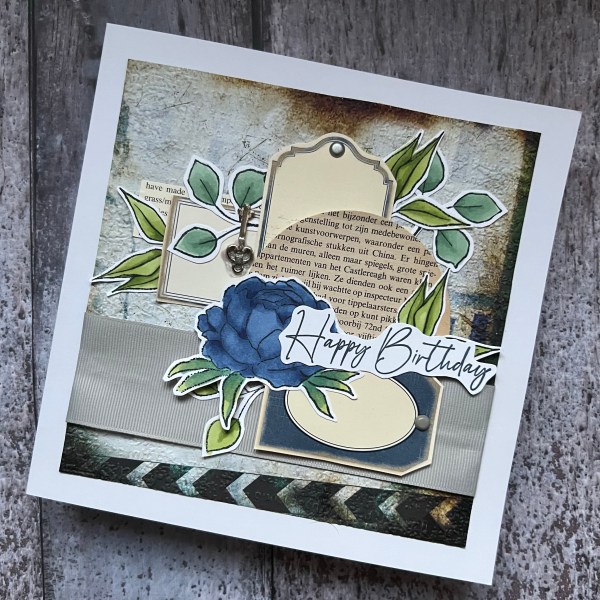
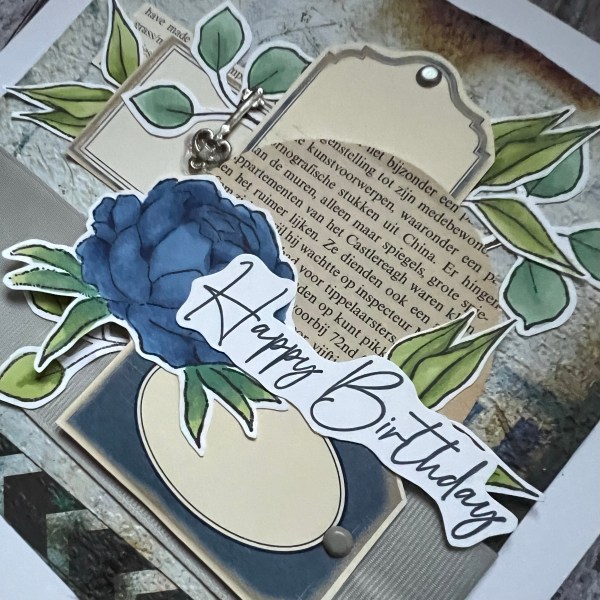
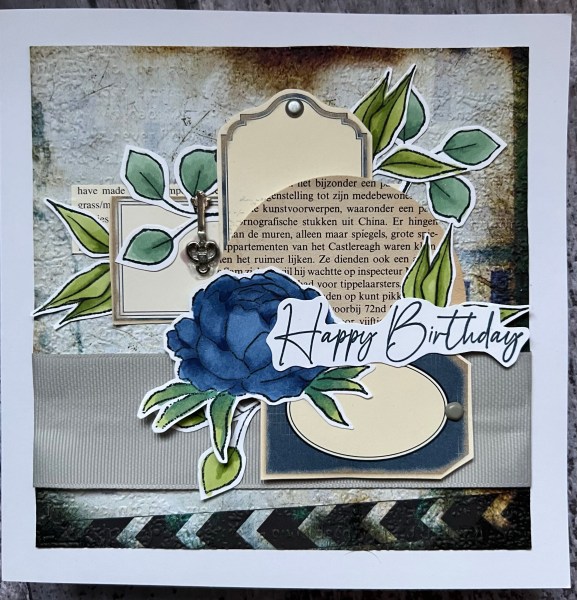
Today I have the card I made for this months Design team contribution for Happy Little Stampers anything goes birthday challenge. I actually made this ages ago as a card for my Aunties birthday back in the spring! But I saved it to share on the blog.
I used some patterned paper that is quite grungy as the background and ran it through the Old Paper embossing folder.
I added a ribbon to give some more texture, choosing a wide grey grosgrain ribbon from the stash. Next I chose lots of panels of the dsp left in my stash from the patterned paper play I did a few months ago.
Next I chose to use some gorgeous stamped and coloured flowers and leaves to intersperse with the panels and tags.
I added some brads and the little metal key charm too to add some different types of bling from my usual kind of gems … nice to mix things up occasionally!
I then stamped and fussy cut the sentiment and added that on the top!
Love how it ended up … a bit different from the usual cards I have previously made for my auntie but I am sure she liked it even if not the usual pinks or yellows.