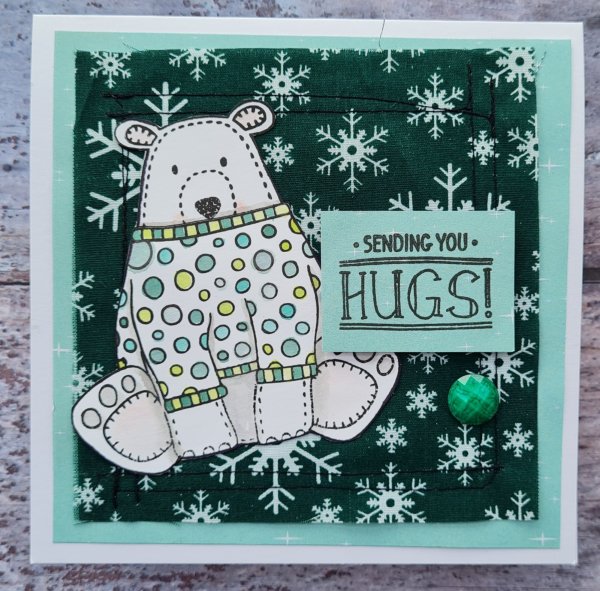
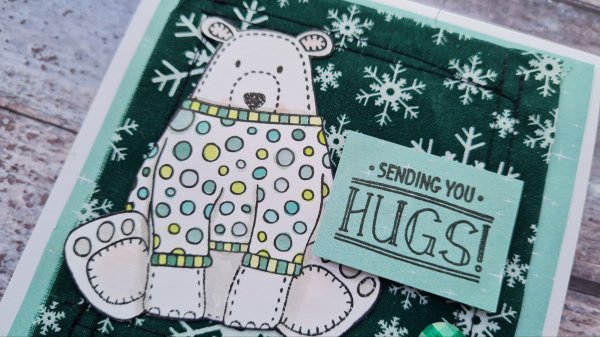
Day 3 of Martin’s challenge was Warm & Cosy so I grabbed these old favourite stamps from Creative Stamping magazine and stamped the bear in his lovely woolly jumper.
I added some ink to the image using a waterbrush and then cut him out. Then I added a fabric layer to the patterned paper and sewed around the edge … I figured the fabric would give the Cosy element. I added the sentiment to the patterned paper and raised it up on foam to add dimension.
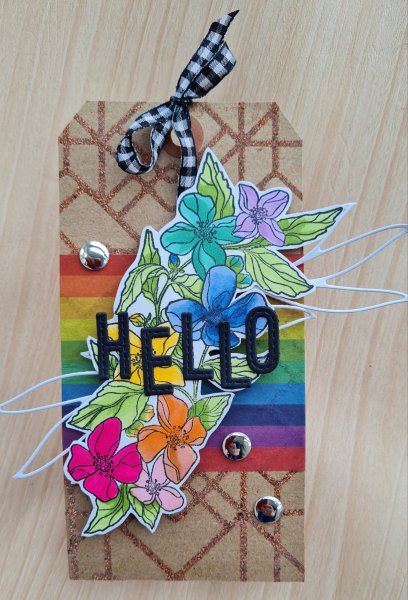
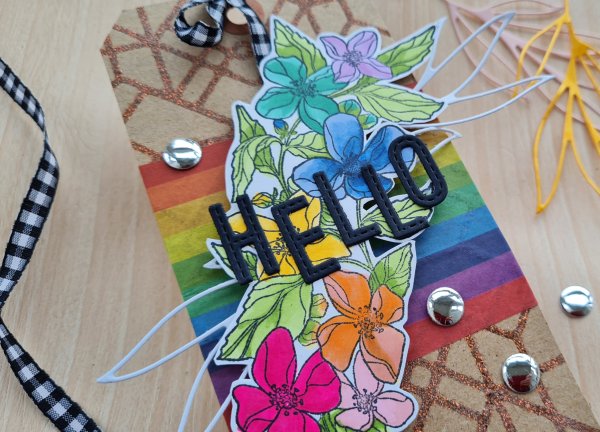
Hello… I played with some Creative Stamping magazine stamps and die cuts and made a rainbow themed floral tag for this months UK stampers forum tag swap and I love it! ❤🧡💛💚💙💜🤍
I started with a kraft tag that I had previously embossed with the Baked Texture embossing powder using versamark I had added to a stencil and then popped through the big shot to apply the ink. I’ve had this on the desk for the last few months as I actually did this way back in July! I decided however I wanted to play bright rainbow so added the wide rainbow washi tape, then decided on what image I wanted to use. I actually ended up using an image from Creative Stamping magazine kit that the stencil came from as it had the right number of flowers to make a rainbow of flowers.
I coloured the flowers in using a mix of Promarkers and Stampin Blends and then fussy cut it out. I added foam underneath and added the long thin die cuts from Splendid Stems underneath cut from white to add contrast. Then I decided on a simple die cut Hello for the sentiment.
For embellishment I chose some mirror card candi … if you closely enough in the photos you may glimpse me taking the pics because they are that shiny! I also chose the black and white gingham ribbon for trim as again it ties in the black and white for on the tag against all that bright colour!
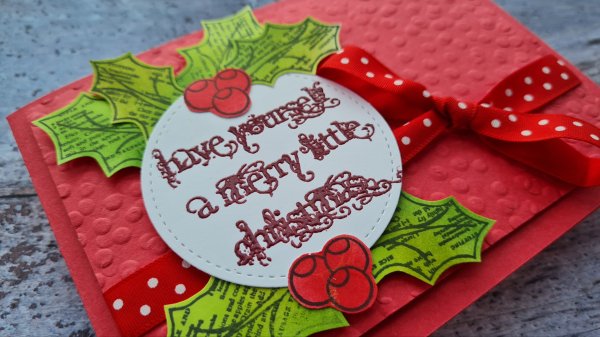
Because I am a little mad I’ve joined in on another Christmas challenge …. this time the one Martin is hosting.
Day 1 was … Something Red … so here is my card using the lovely Paperartsy stamps my friend Darcy designed. Coloured them using ink blending, embossed a layer and added a ribbon. Sentiment heat embossed with a dark red colour powder.
I raised the sentiment circle and the leaves up on foam to give dimension. Cute! Well I think so.
Will be unlikely to do every day for the 30 day’s but will share what I do/did make.
This one came from looking at a little pile of scraps of coloured cardstock …
I decided to make all the strips 3\4 of an inch wide and then cover a panel that was 2″ wide… this made the central panel for my card.
Then I grabbed all the leftover paper I had from True Love dsp with this kind of flower on it. I fussy cut them all out so there were lots of flowers to surround the sentiment and the colourful panel. Then I added them all.
All of the flowers were ‘edge’ pieces but this kind of design is perfect as just just tuck them behind and create layers.
I also added in some black die cut pieces from the Splendid Stems set as this works perfectly to add in a bit of contrast without overwhelming.
I then added a cluster of the dsp and cardstock around the sentiment … for which I used both the Picture Perfect sentiment and the Biggest Wish for the bigger Happy.
I then found some cute gems in the stash and added those around the card for some bling!
I’m a little sad I actually covered up most of the strip panel with the mixed colours but still love the final effect on the card of the pop of colour.
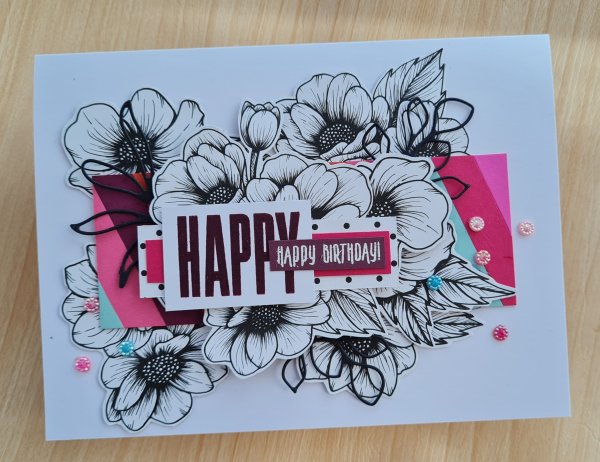
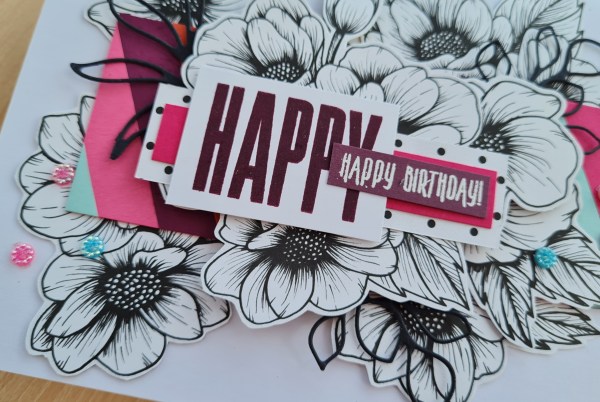
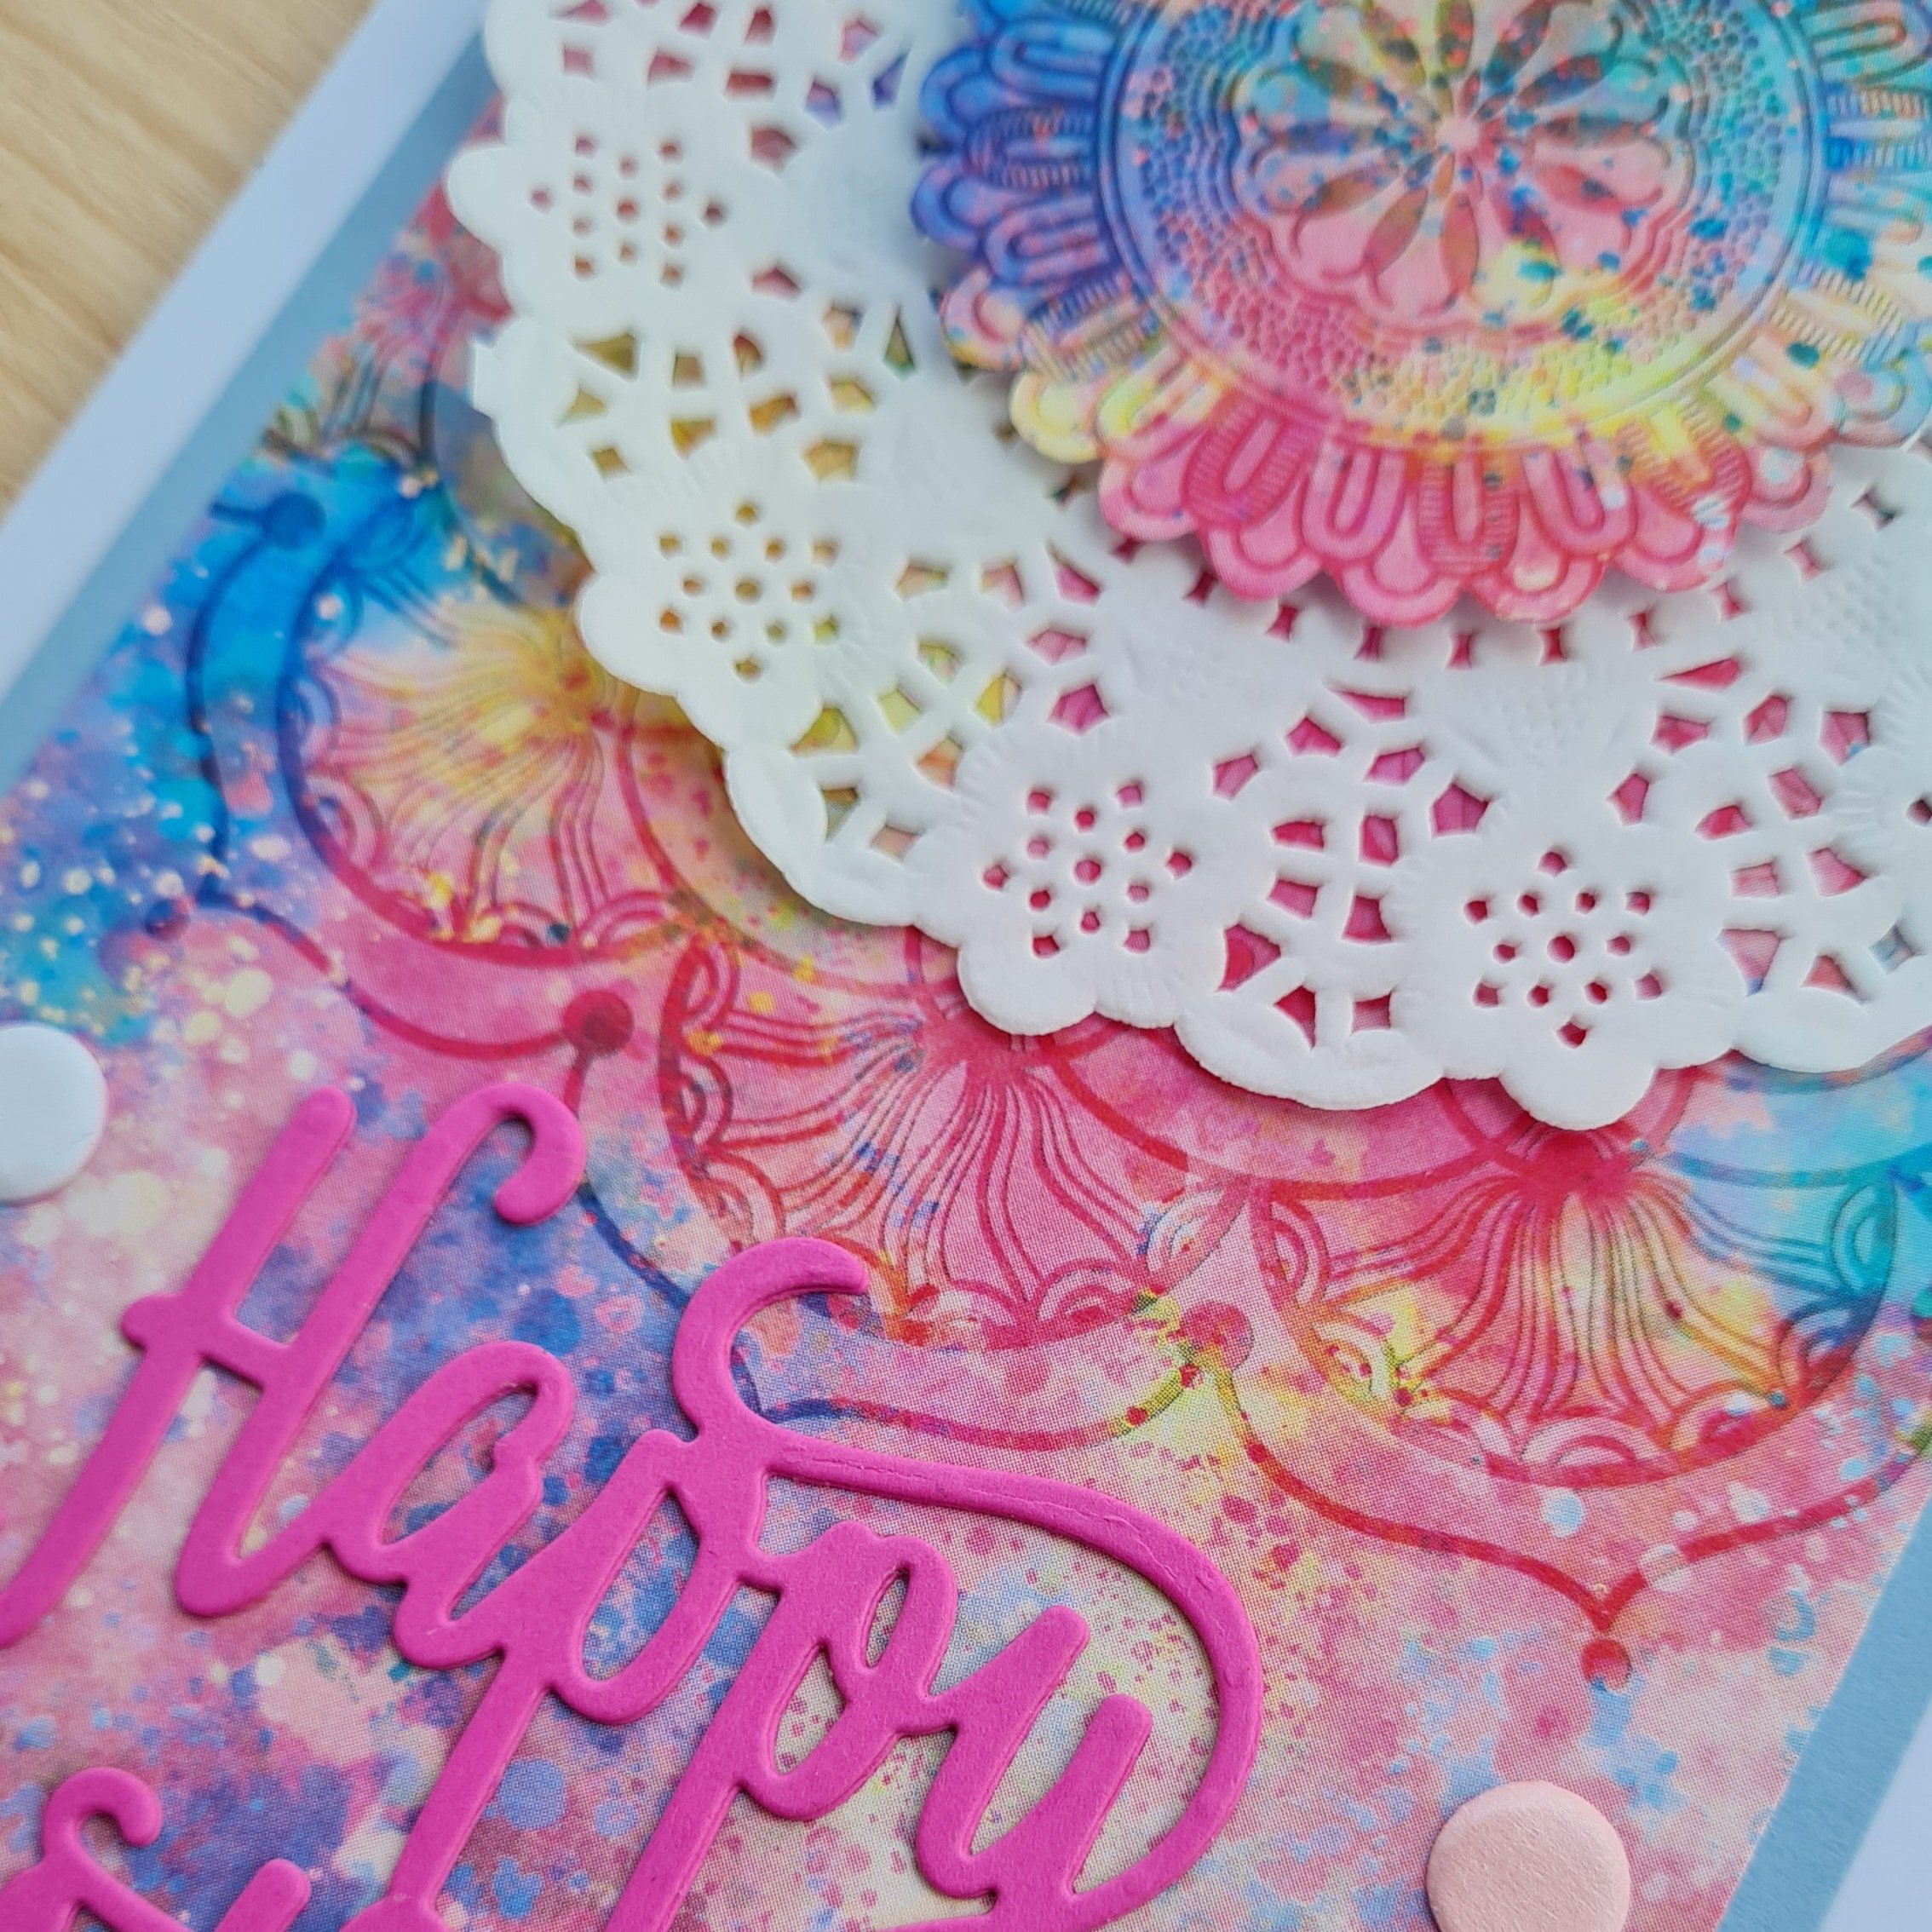
Hello there! Time for another Craftyhazelnuts patterned paper challenge blog design team contribution… once again I delved into the old Making Cards magazine stash and made these two cards…
This kit was a difficult one to use as the patterned paper was actually 2x a5 pieces of dsp which had a mandala of sorts on it… so I played with layers and added doilies to make it a bit more special and then added the Happy Birthday sentiment die as the focal feature.
Each card I added a whole panel of the paper and then fussy cut part of the mandala out and added the doily as an extra layer. Then the sentiment I cut from the pink cardstock. One of them I added pearl embossing to the top layer and off set the white background… the other I kept as plain pink (Magenta Madness).
Both card I added card candi as embellishments and with the bold patterns taking over I called them done!
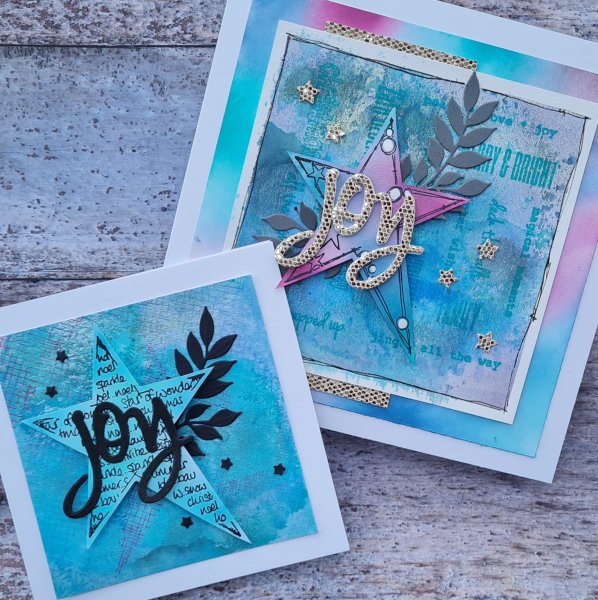
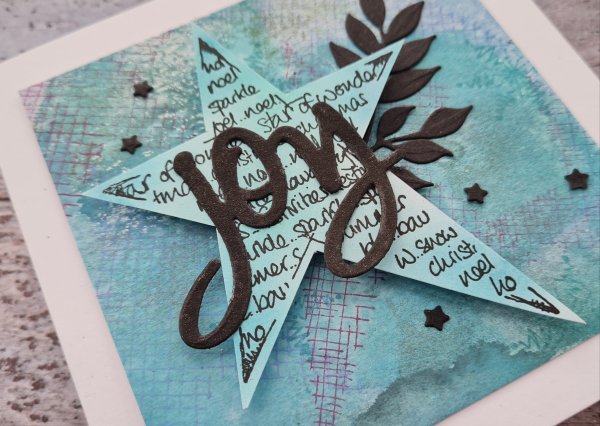
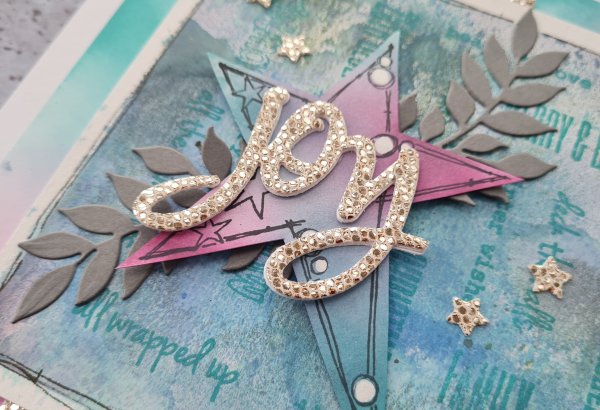
Todays Christmas cardmaking challenge theme is star. Now I remember using the Tidings and Trimmings stars last year but as I used that set last week I wanted something different. So I scoured the stash and found these fab Jofy star stamps and decided to go a bit mixed media.
I stamped the stars onto basic white and then ink blended over them to add colour using my distress oxides. Then I grabbed some mixed media cardstock, distress oxides and my Gelli plate to create some fun backgrounds… I love the randomness of this and the different patterns it can create. Onto one of them I decided to stamp more of the stars and snowflakes from the same stamp set and then cut down the background to fit a 5×5 card. Then I added a black die cut branch and some black star and the fabulous Joy die cut from Colorado Craft Company.
This was my simple card … I did pop the star up on foam tabs but kept the whole thing simple.
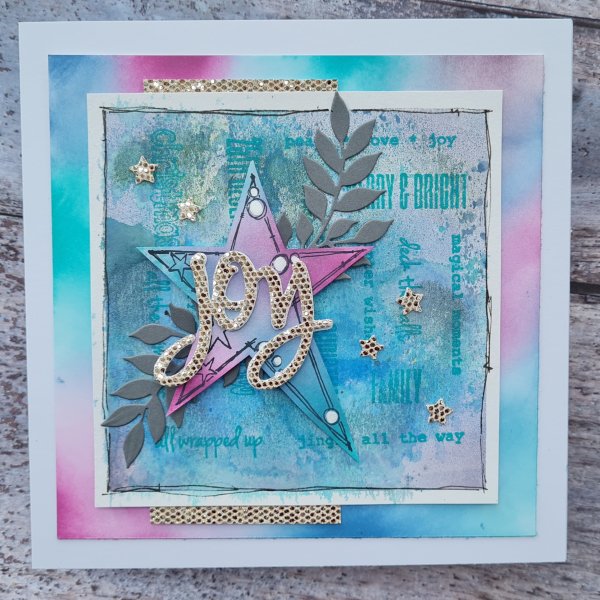
The other one I grabbed a different Paperartsy stamp set that has lots of sentiments and made them into a square shape on the stamp platform so that I could stamp in one go and make a background.
Whilst it is still subtle I love how it looked (in fact I made two more backgrounds similar but not done anything with them yet so they are in the “still to play with pile” for now.
I decided to make another layer and make this into a bigger card so blended the bottom panel with the same colour of inks but kept it random, like I had on the star.
I added the fab glimmer paper onto this too… with the stars, the little strip that went top and bottom and the word die. I also stacked the word die so it was nice and chunky!
This time I did some grey leaves but top and bottom and also added white paint pen to the design on the star.
So these are my star themed cards for this week. Are you joining in with my challenge? If so I would love to see what you are making so please let me know here or over on Instagram.
Some days I just want to keep my crafting simple by taking pieces of patterned paper, cutting them up and making them the main part of the card … and this is what happened with this.
I just took some Indigo Blu paper and fussy cut the butterflies using the number paint splatter background as a panel and mounted it on Soft Suede cardstock. I did add some dimension underneath the Biggest butterfly and also the sentiment. And then added gems. To step up the cars a little I did a peeking bit of the paper top left and curled the cardstock back.
But otherwise simple and pretty using one a4 piece of Indigo blu paper and a stamped sentiment. Jobs a good’un!
Tonight I have a house full of teenagers having a halloween themed night … so I decided to dig through the folder of images that were already stamped and coloured. This includes images that I no longer own the stamps for or were gifted from swaps. I think this particular monster image I have had for several years and coloured using my Prismacolour pencils. It is good to get some old stash used occasionally. This monster ended up being a Halloween themed card!
I fussy cut it out and then decided to add a stencilled background as I remembered I had some Tim Holtz Halloween stencils.
I decided to just stencil a small patch in the middle and then flicked both the orange ink and some purple ink splatters. Then I stencilled the word Boo as well using the Black Soot ink.
I then added a little foam under the little monster so there was just the smallest amount of dimension and adhered him in place. Then I added the glossy accents to his eyes too.
Todays blog post I decided to film the making of … so check it out on YouTube.
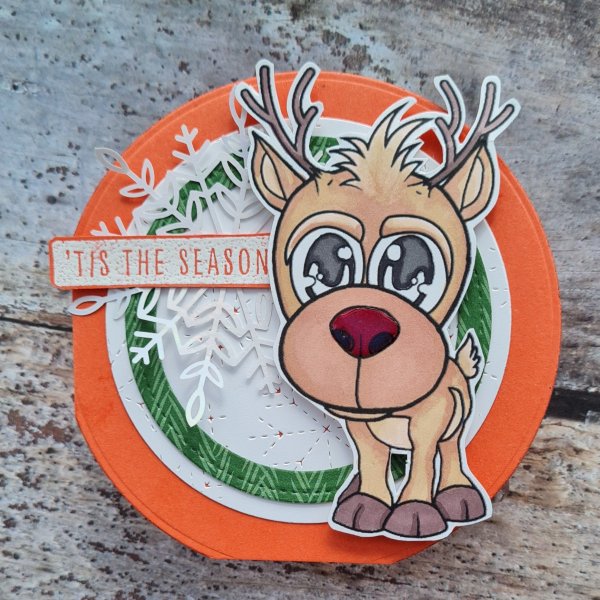
It is a design team contribution for Creative Knockouts and the challenge is to make a card that is anything but square. We are sponsored by LeeAnn’s World 101 and I received the Rudy image to work with.
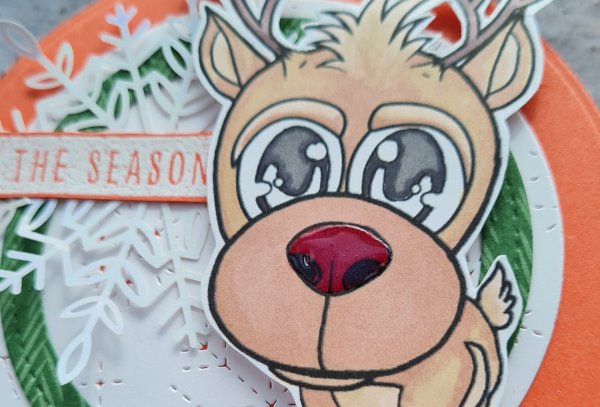
I decided to colour him with promarkers and then fussy cut him out.
I decided a circle shaped card would work OK with the image and my largest circle die was just about the right dimensions to cut out the card blank.
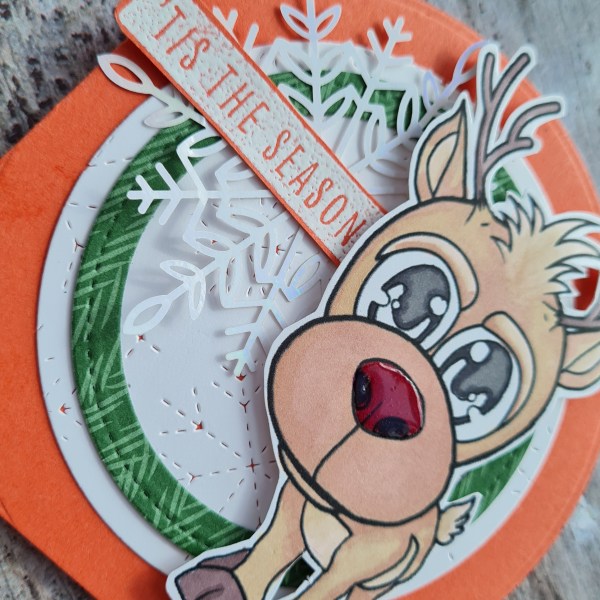
I then used a panel I had already die cut with the stitched snowflakes and die cut the circle and then the green ring were already on my desk.
I added the sentiment on the front and in the middle from the Christmas to remember set in white embossing.
I added the lovely laser cut snowflake embellishments and glossy accents for the finishing touches.