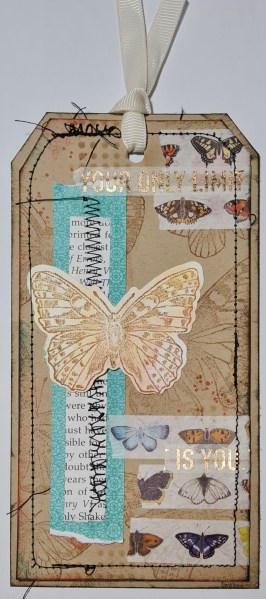
Today for Tag Thursday I have the tag I made for this months swap at UK stampers forum.
I used the lovely Butterfly Bouquet suite… and made my tag from a few layers of the Crumb Cake cardstock.
I was actually making a few things using these papers and stamps at the time so it seemed sensible to make this tag at the same time.
I used the stamp on the background along with Vintage photo distress ink. Then added some splatters using the Gorgeous Grunge stamps and Calypso Coral ink. Next a little bit of stencilling using an old Tim Holtz stencil.
Them I added the strips of the paper and the bookprint and stitched it with my sewing machine… to be honest my sewing machine started having a little hissy fit making this tag so it’s a good job I was going for the grungey look!
I then added the washi tape and the stamped and die cut butterfly, before sewing round the edge, and inking the edges.
I then adhered it to another piece of Crumb Cake that I cut to size and also inked.
Finally a bit of ribbon from the scraps basket and called this done!
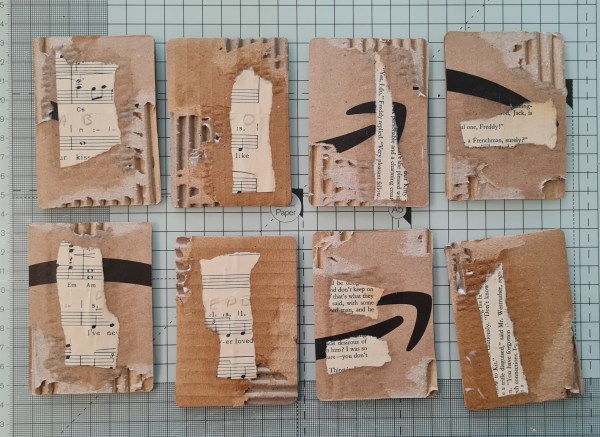
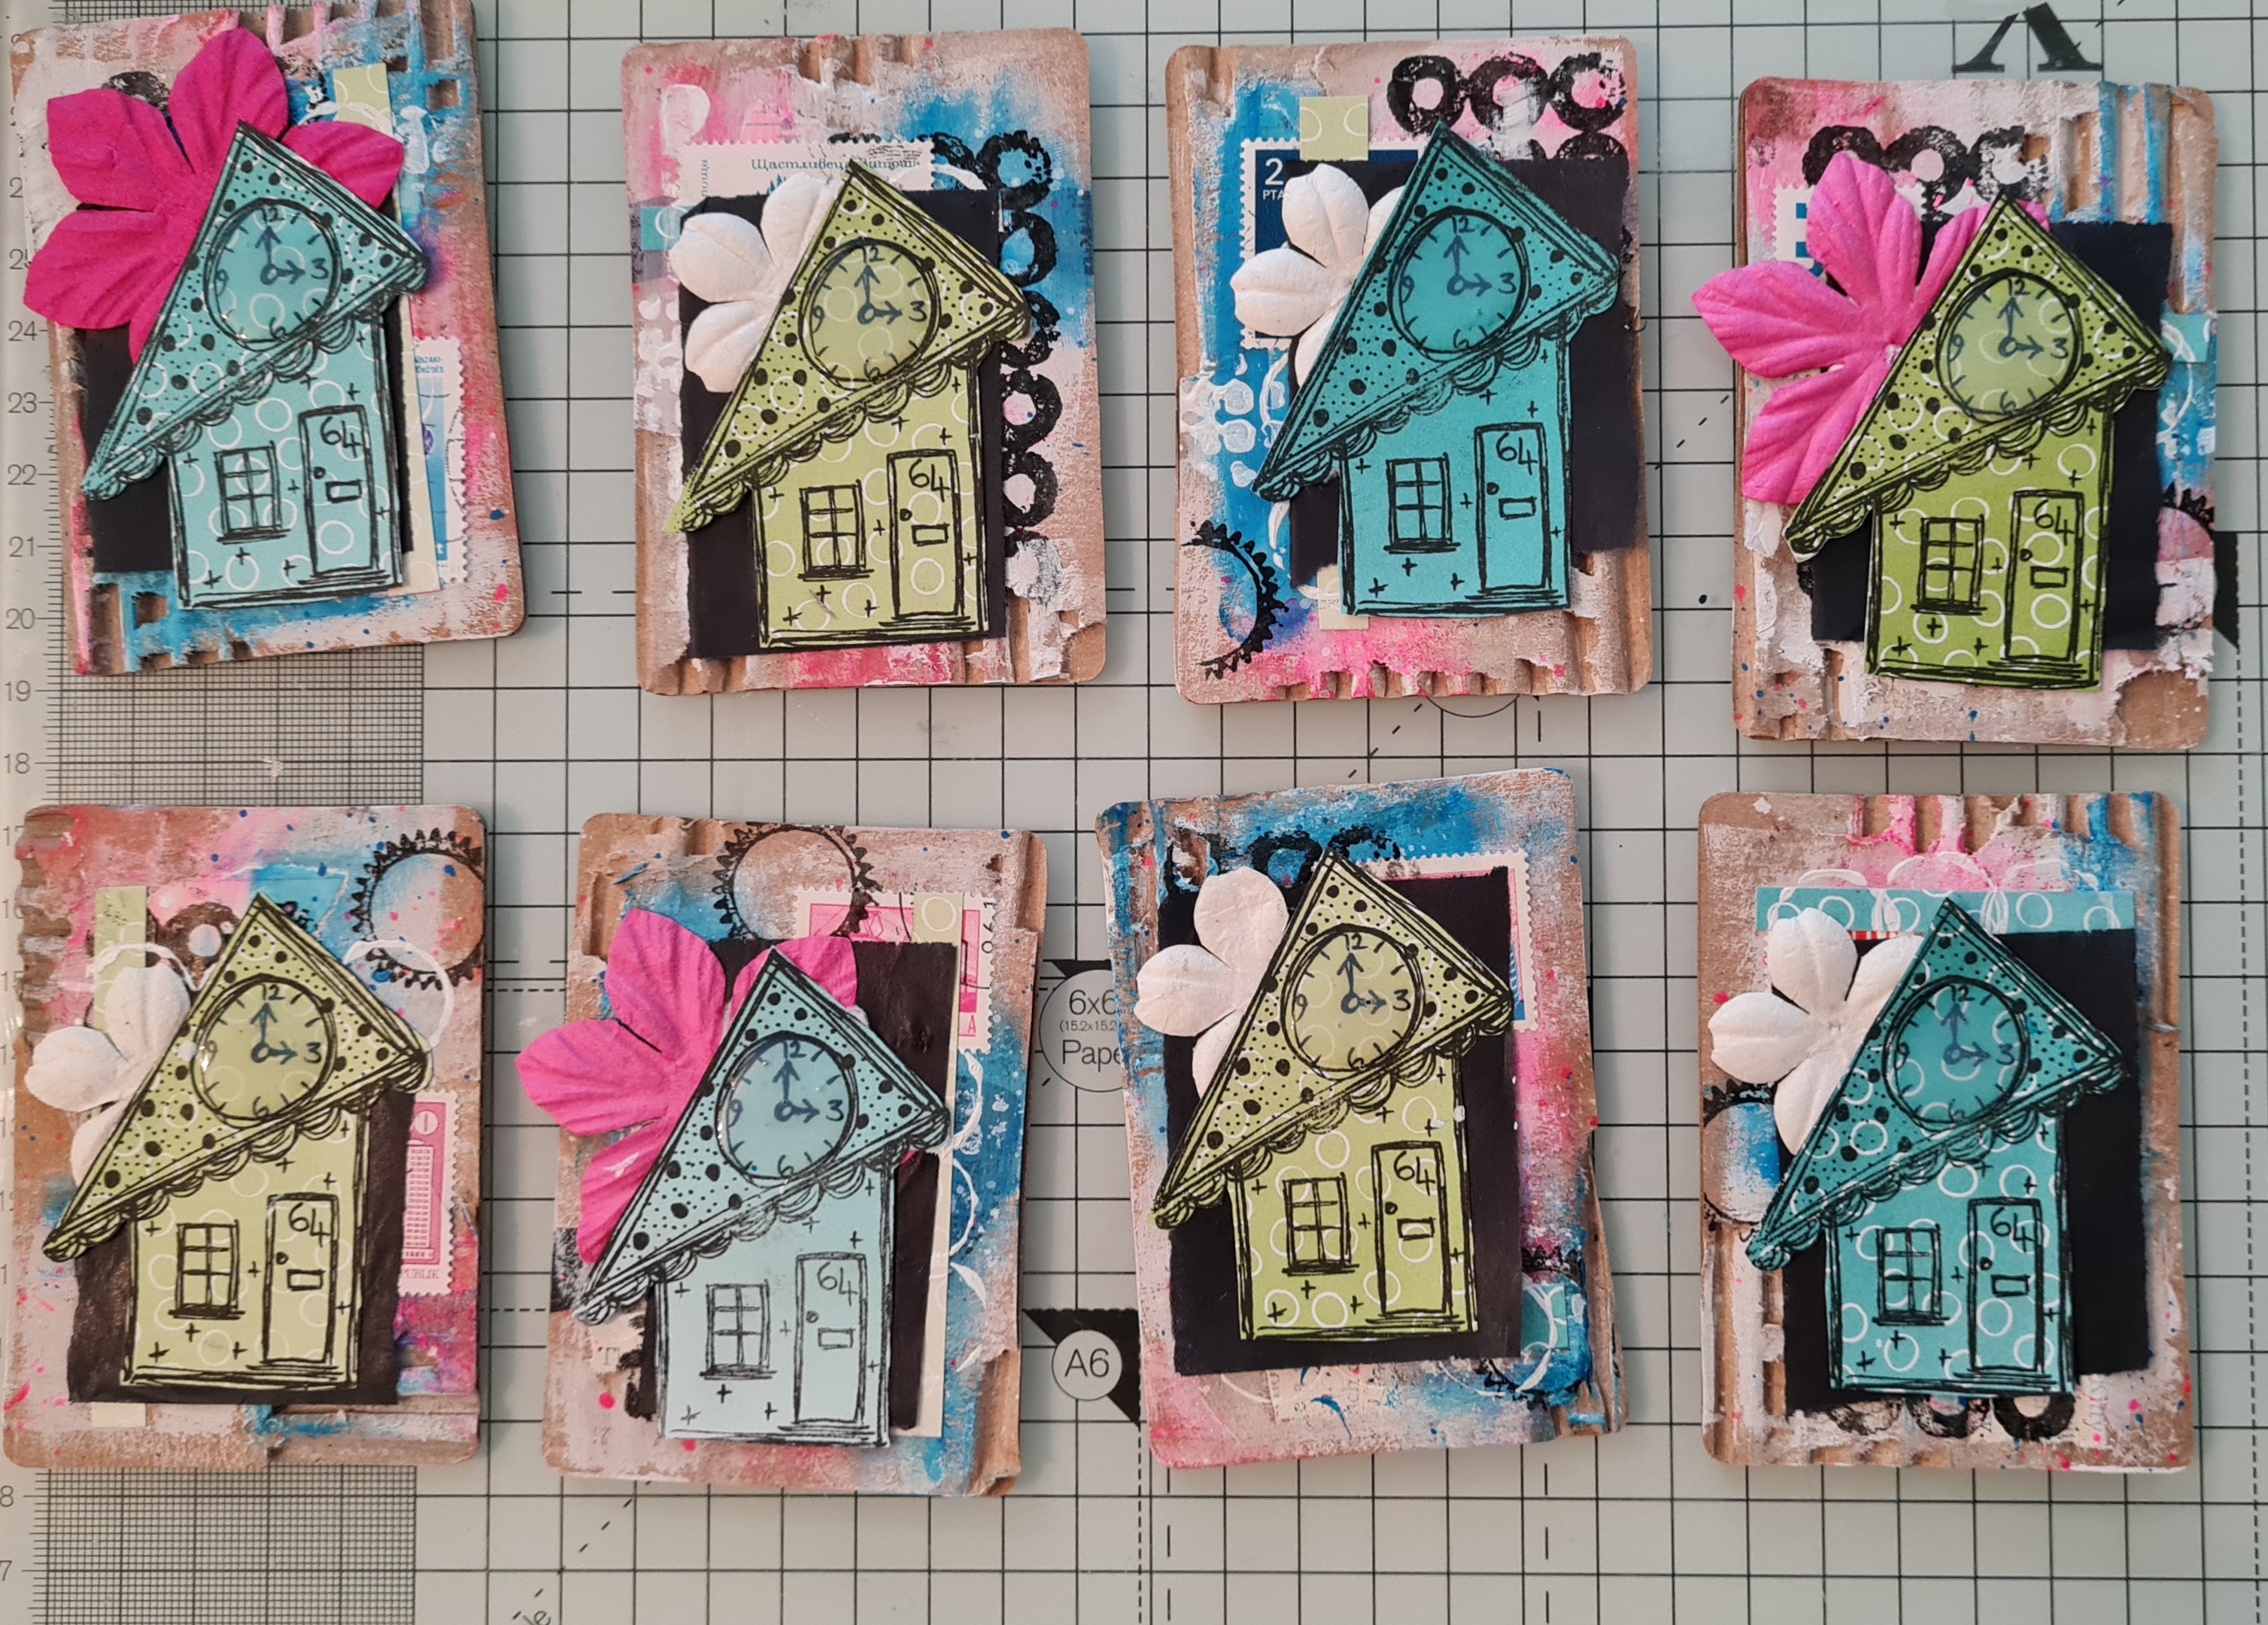
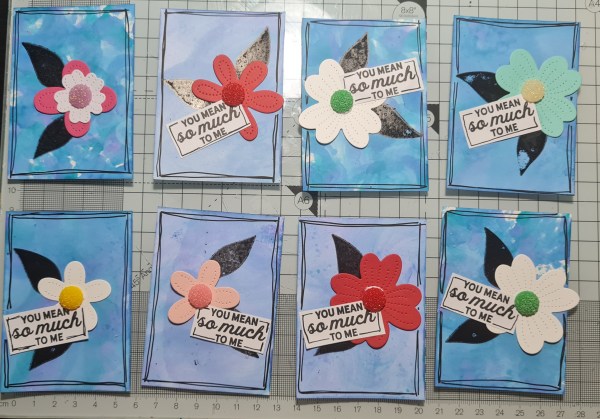
I decided to make some cute ATC flipbooks for my raggy doll sisters as a little treat to send through the post. It took me a few different sessions to put these together so bear with me with the many pics of the process.
Session 1…
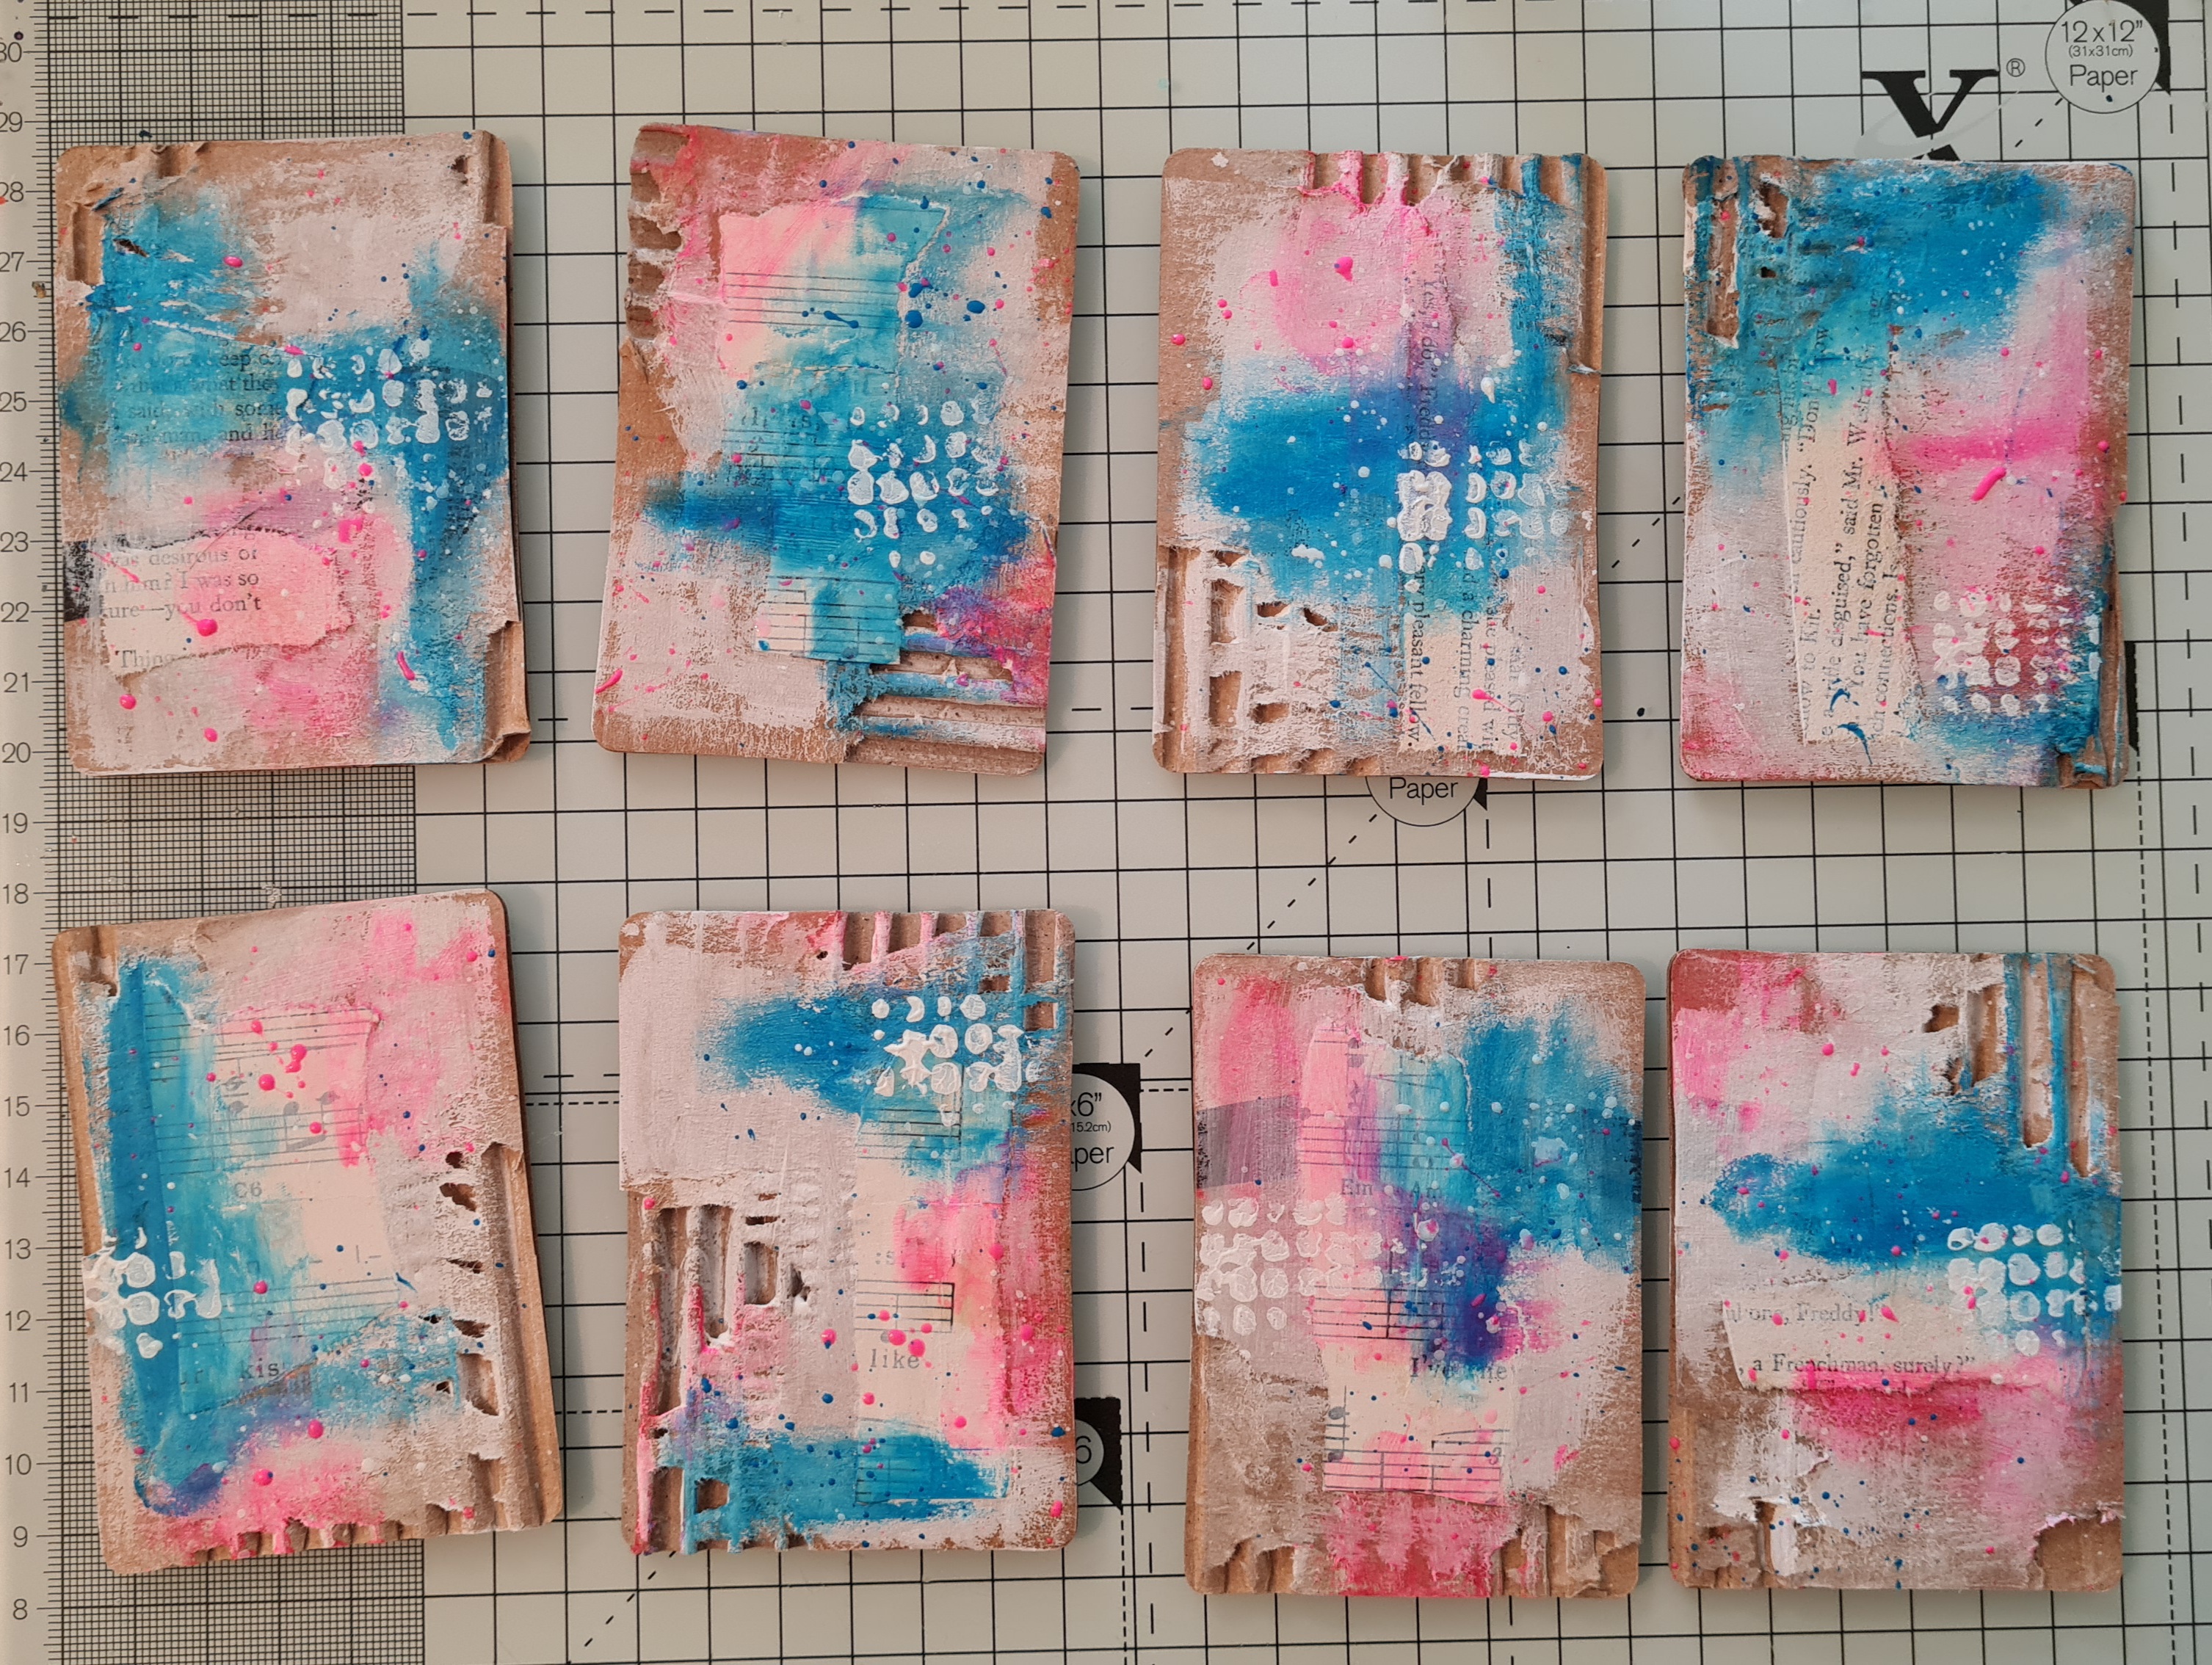
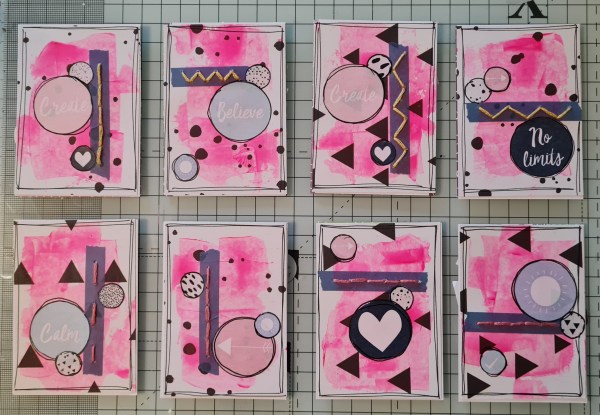
I started with ATC cut from amazon packaging and made lots of layers of paint, paper and stamping.
I used a lot of different supplies and had lots of fun creating these (there are 8 of us in the group so I made one for me to keep too!).
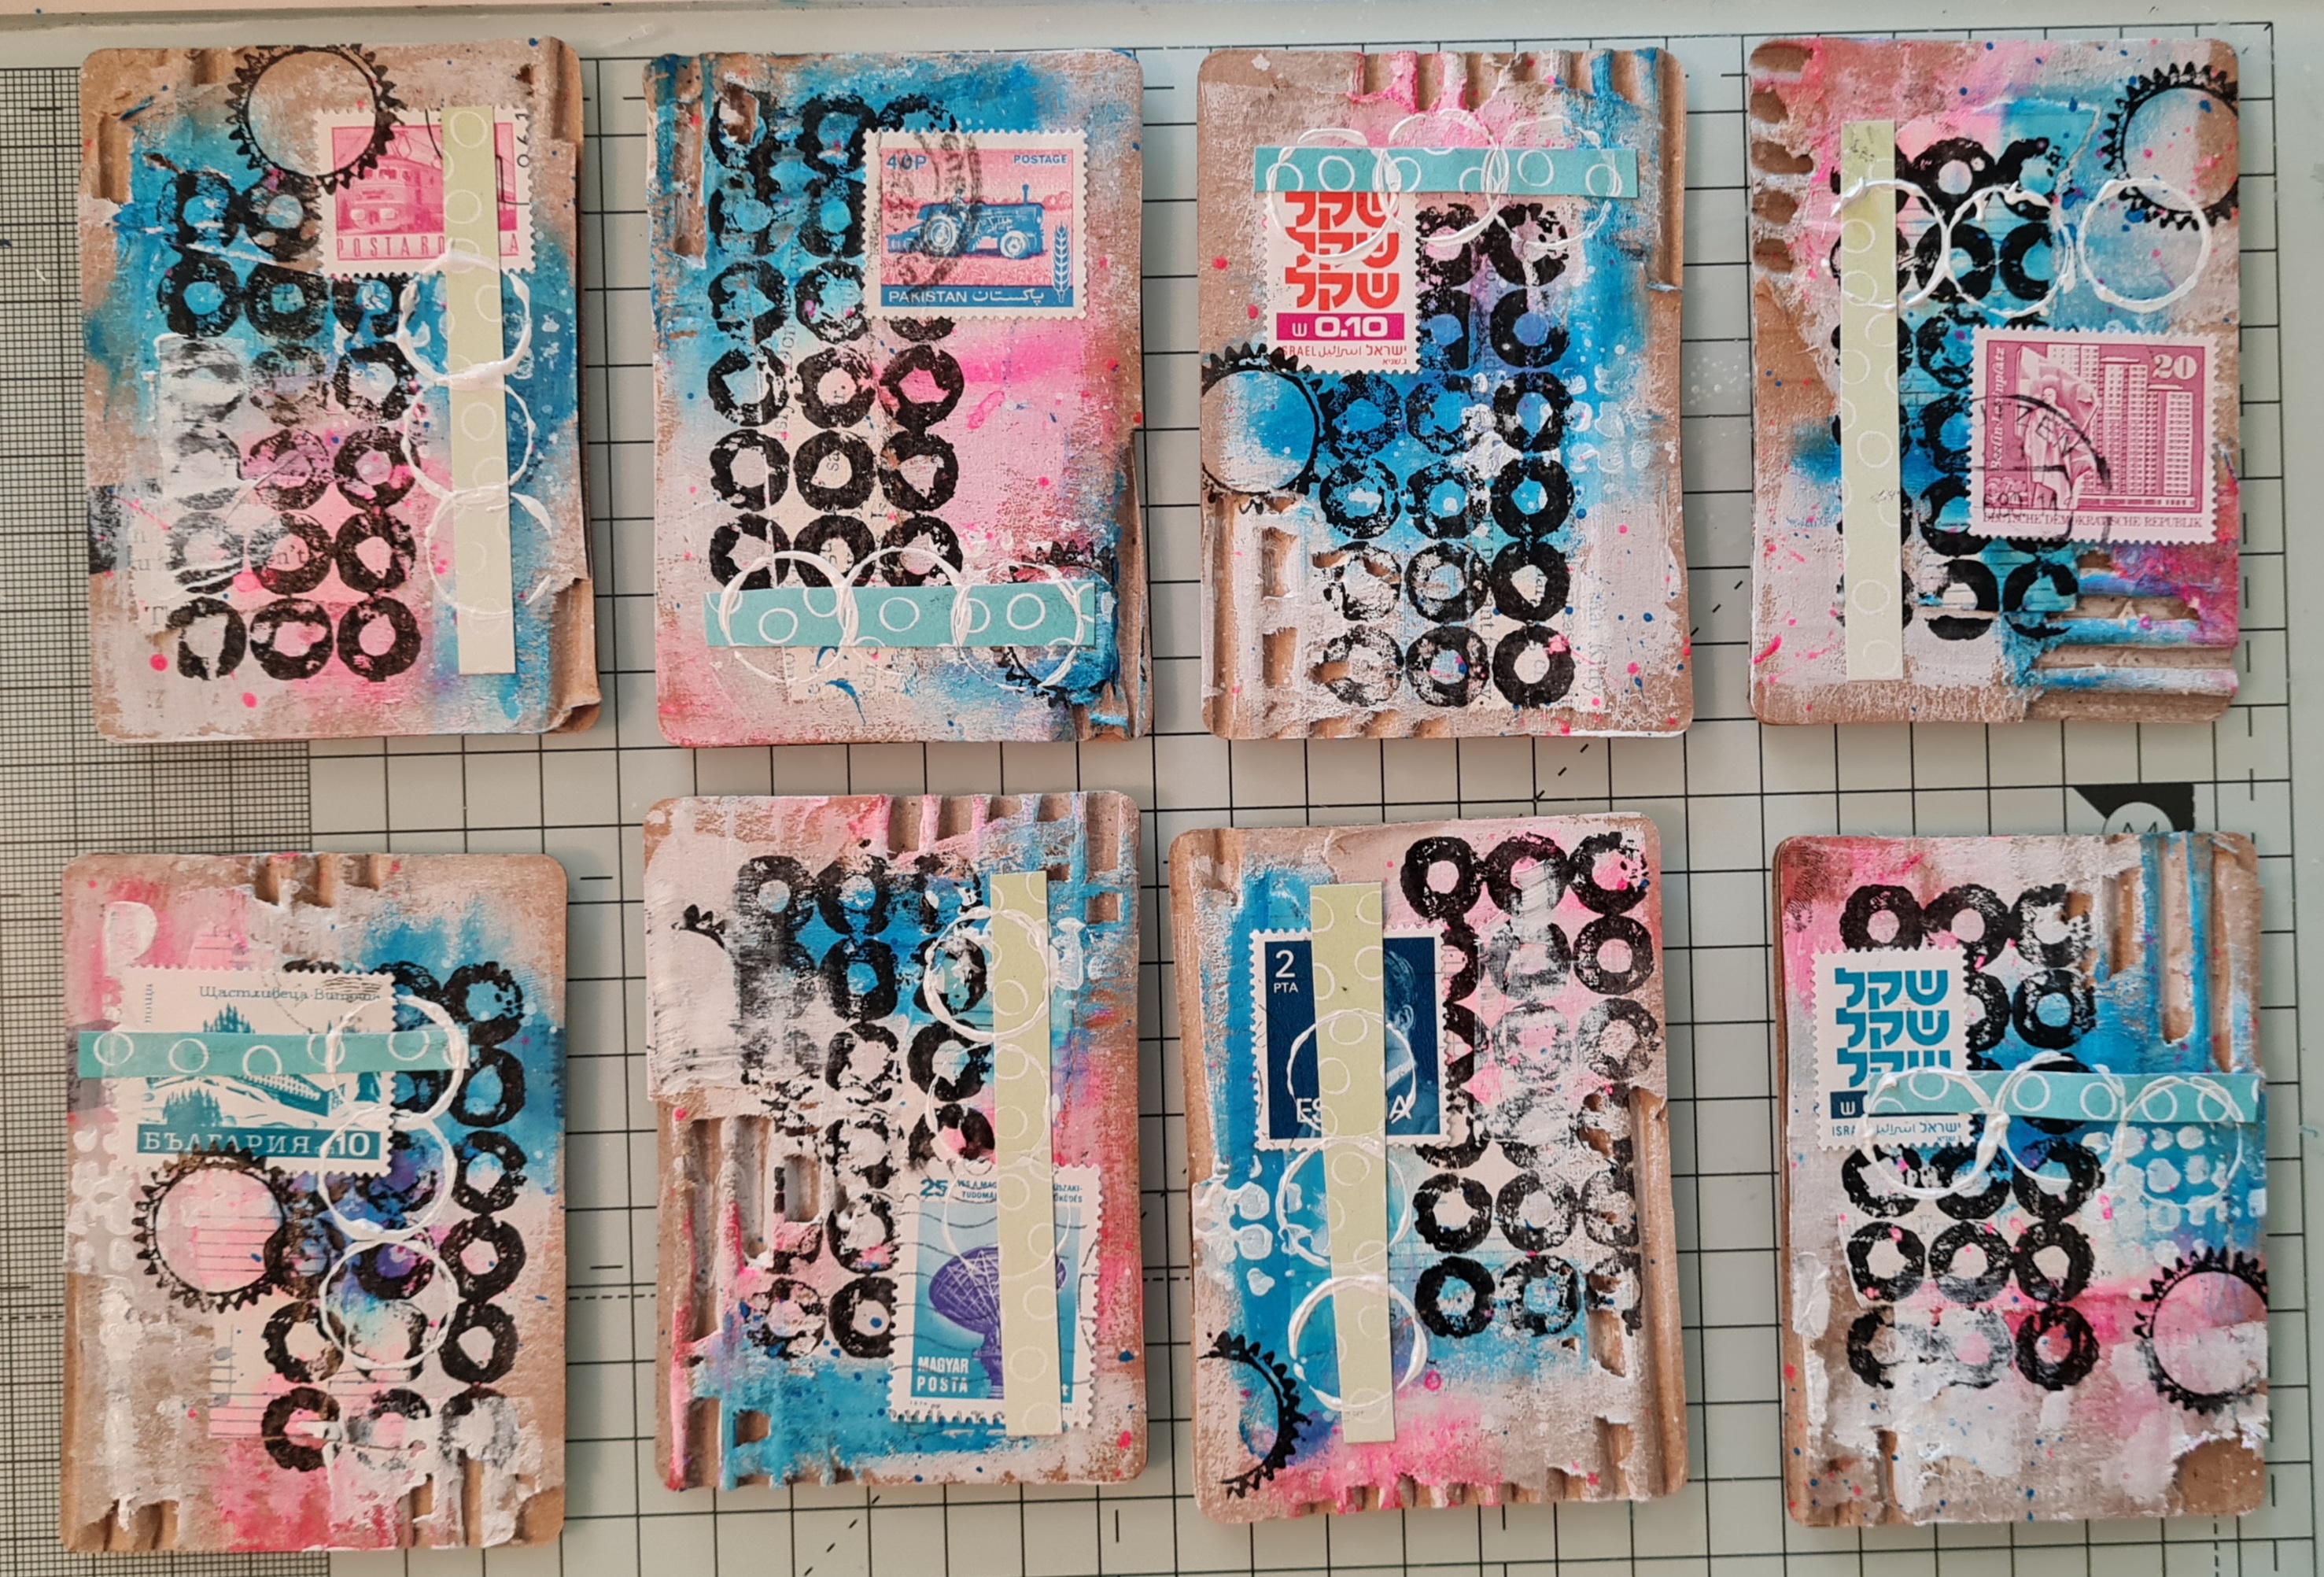
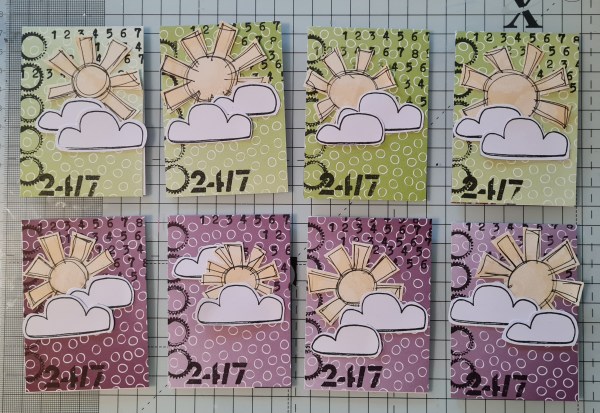
Next I made page two …
Side one (awaiting finishing touches) and side two…
Again it was fun to just play with supplies I had to hand and make some cute ATCs.
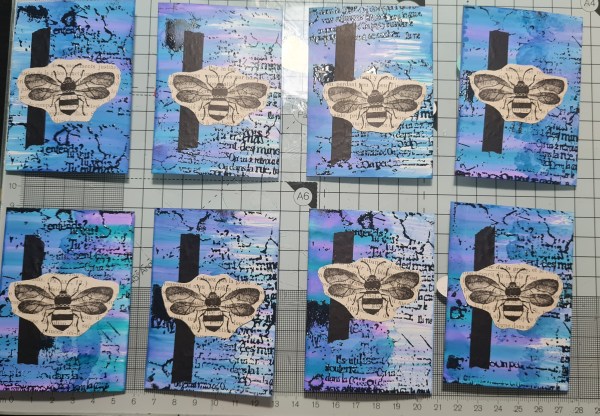
Next session I played with alcohol inks on slightly shiny card and created these cards… after playing with the alcohol ink, I stamped and embossed a grungy background stamp from the stash, added back washi and then stamped the Bee onto some French bookprint.
The reverse I used the same alcohol ink but more of a blended finish and added some stamped leaves, die cut flowers and a sentiment with a fun resin centre for each of the flowers.
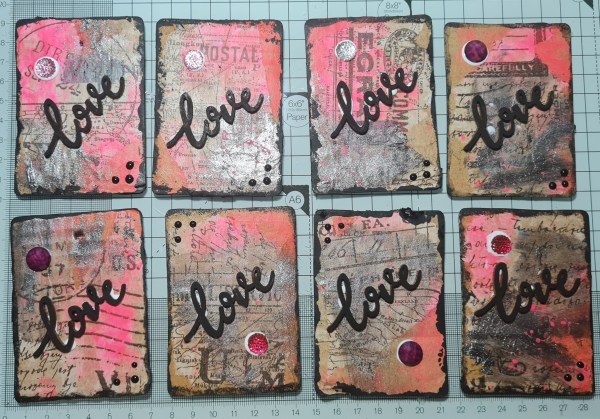
I also worked on the back card which I also made from corrugated card and added more of the neon pink paint.
This time I added it after adding some Tim Holtz tissue wrap with matt medium and also added some black gesso round the edge. I then used some art alchemy paint in black for some sparkle (it doesn’t really show in the photos unfortunately). I then used black gesso to paint the wooden Love word and glued them into place and added a sparkly gem and some dots of black enamel to finish off. They were still drying in the picture so not the best pics but you get the idea.
I kept the back really simple with scrapbook scrap paper and a stamped and sticker date. I later signed my name but that didn’t make it to the photo archive! Also the odd one out here was the one for me as I ran out of the paper I had been using for the rest!
I did add a couple more pages but didn’t photo them whilst unattached … plus included little messages for my friends. I did however make a little flip through video and share it on YouTube.
Then I punched the top of each card with my cropadile and used a colourful book ring to fix them together.
I then went mad with ribbon scraps adding little colourful bits of trim to each of them… here they all are on my floor ready for packing.
I hope you liked this little project, I certainly had lots of fun making them and thinking lovely thoughts about my friends, whom I got to know 10 years ago this year.
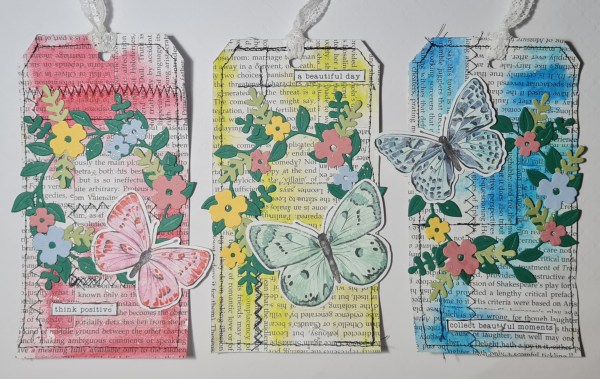
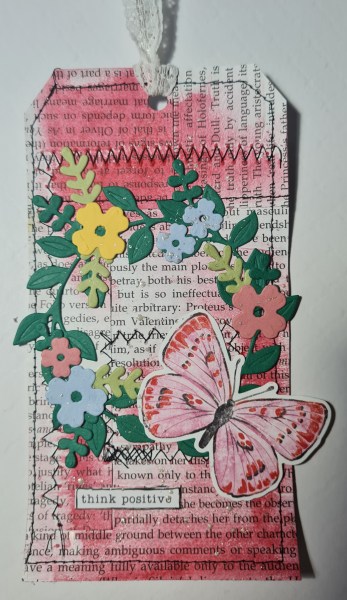
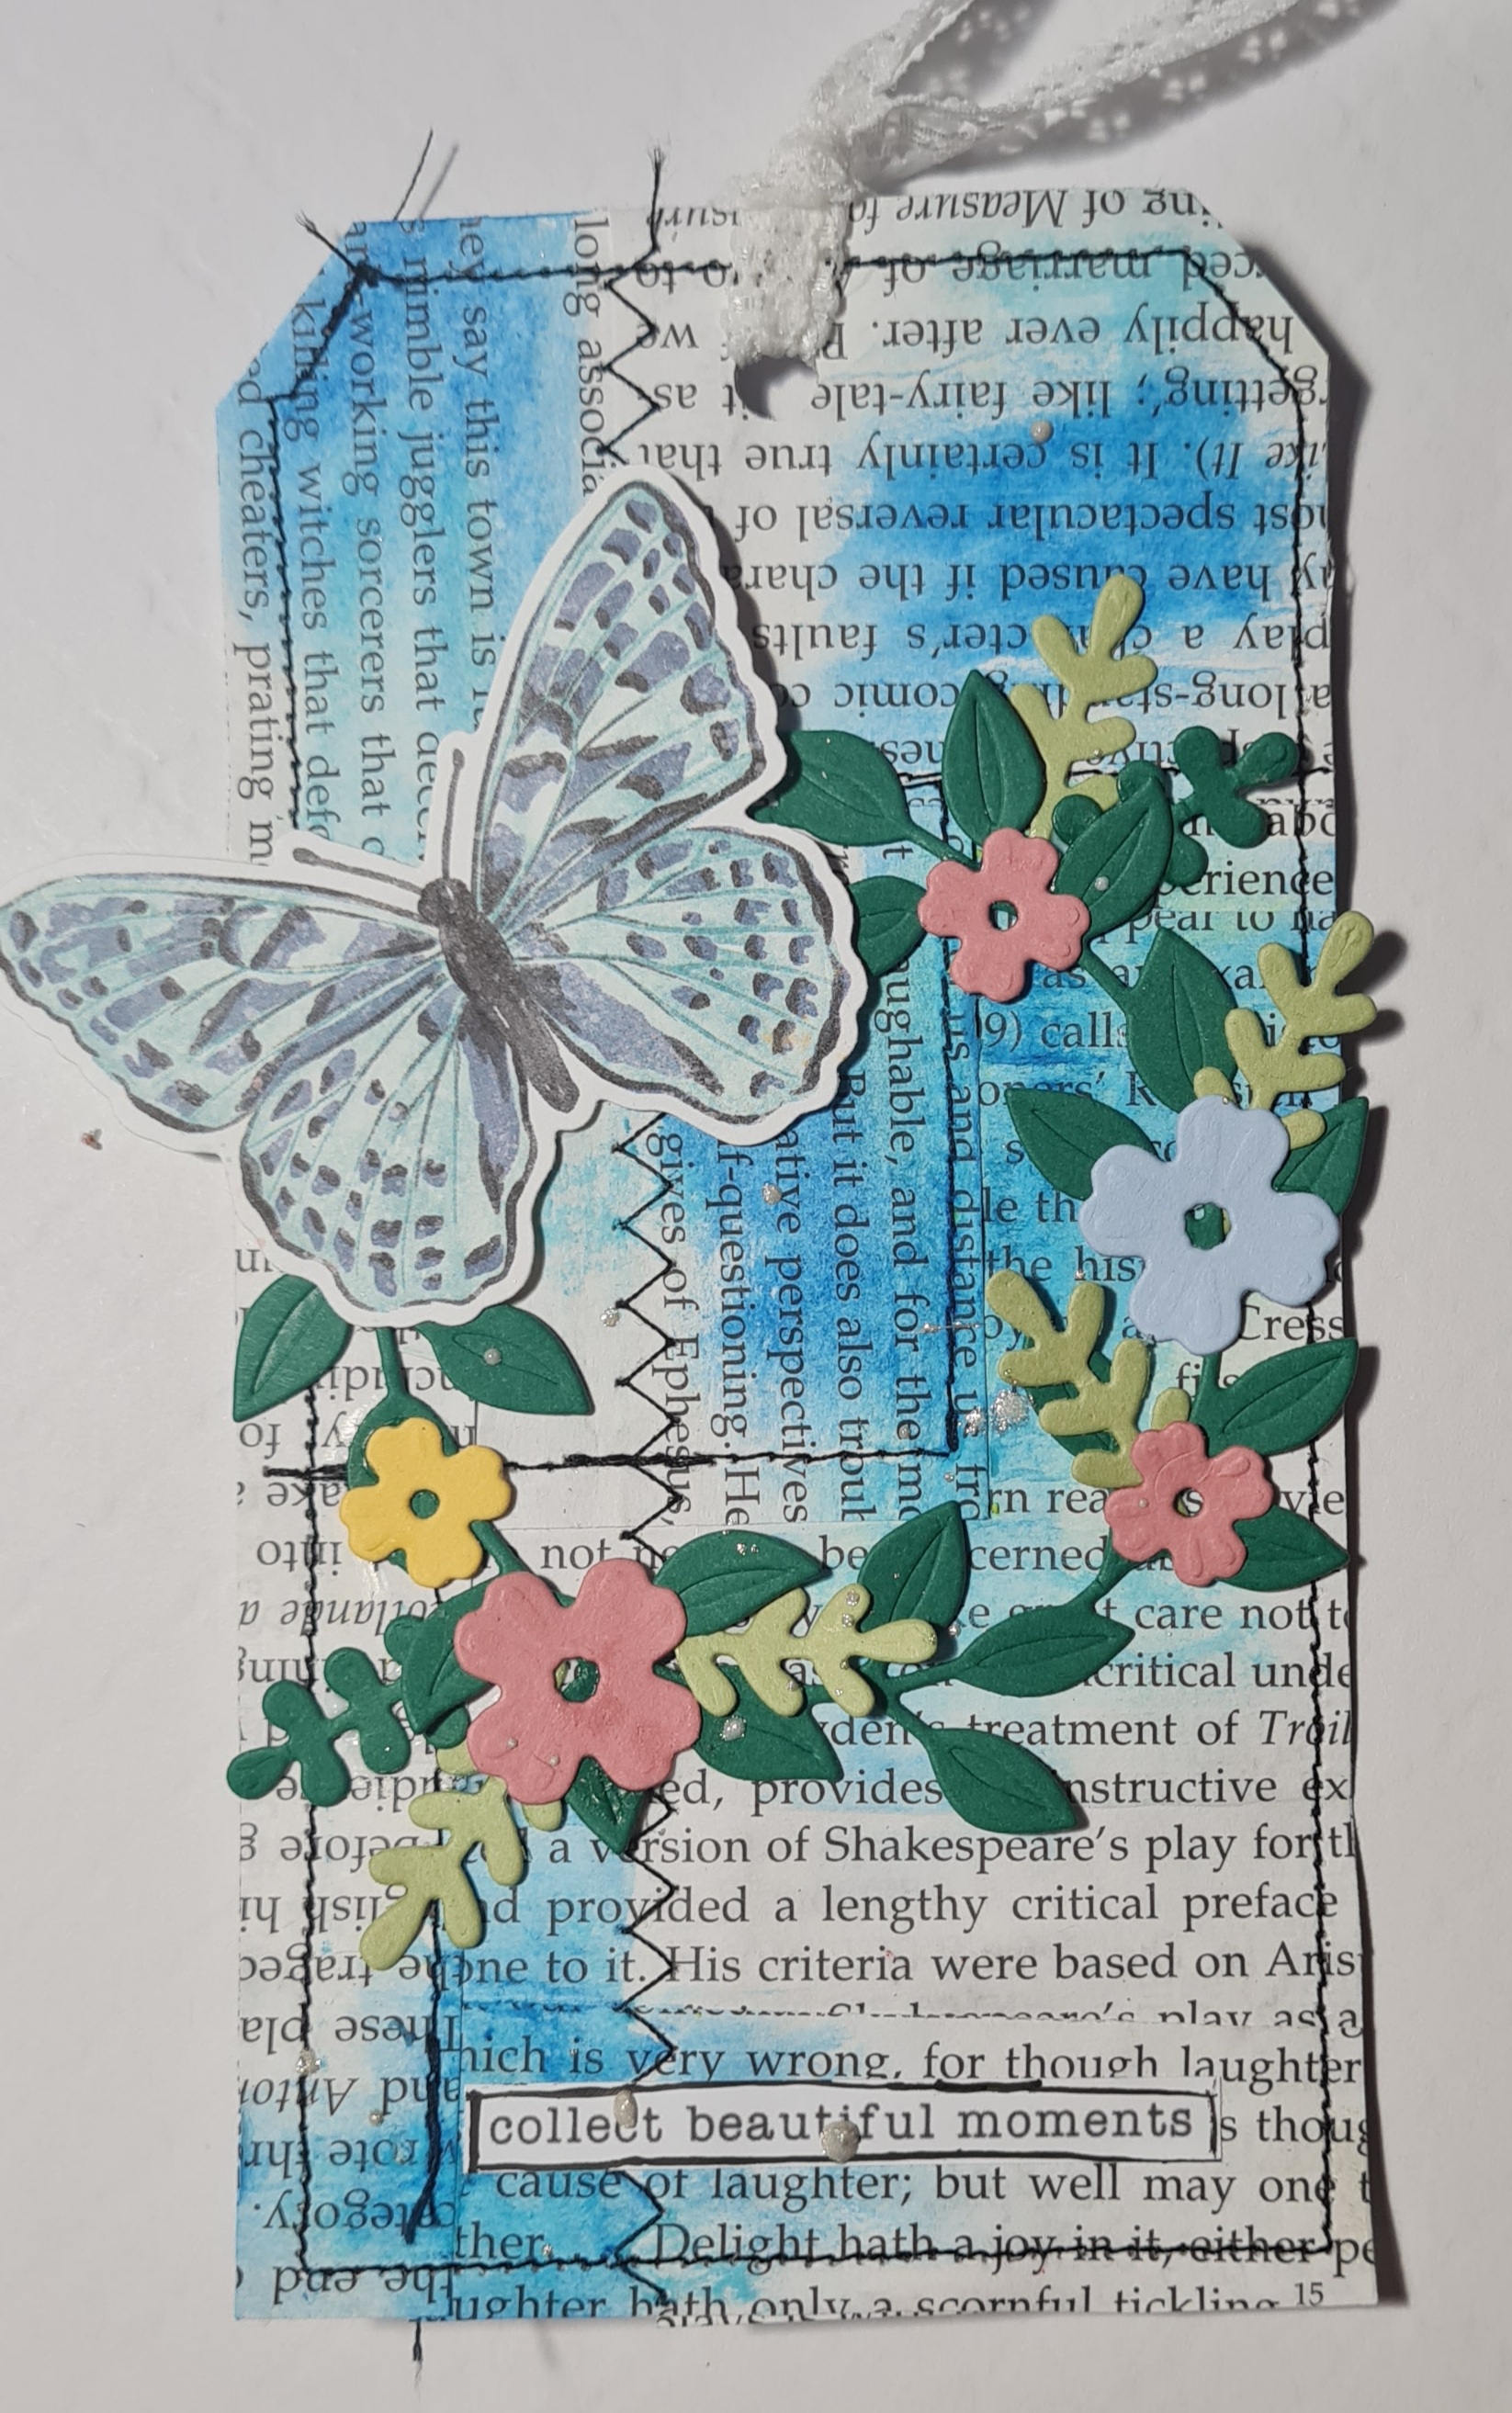
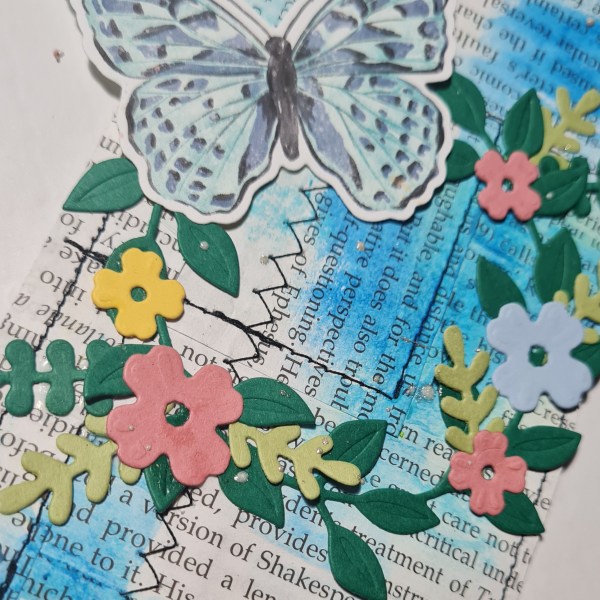
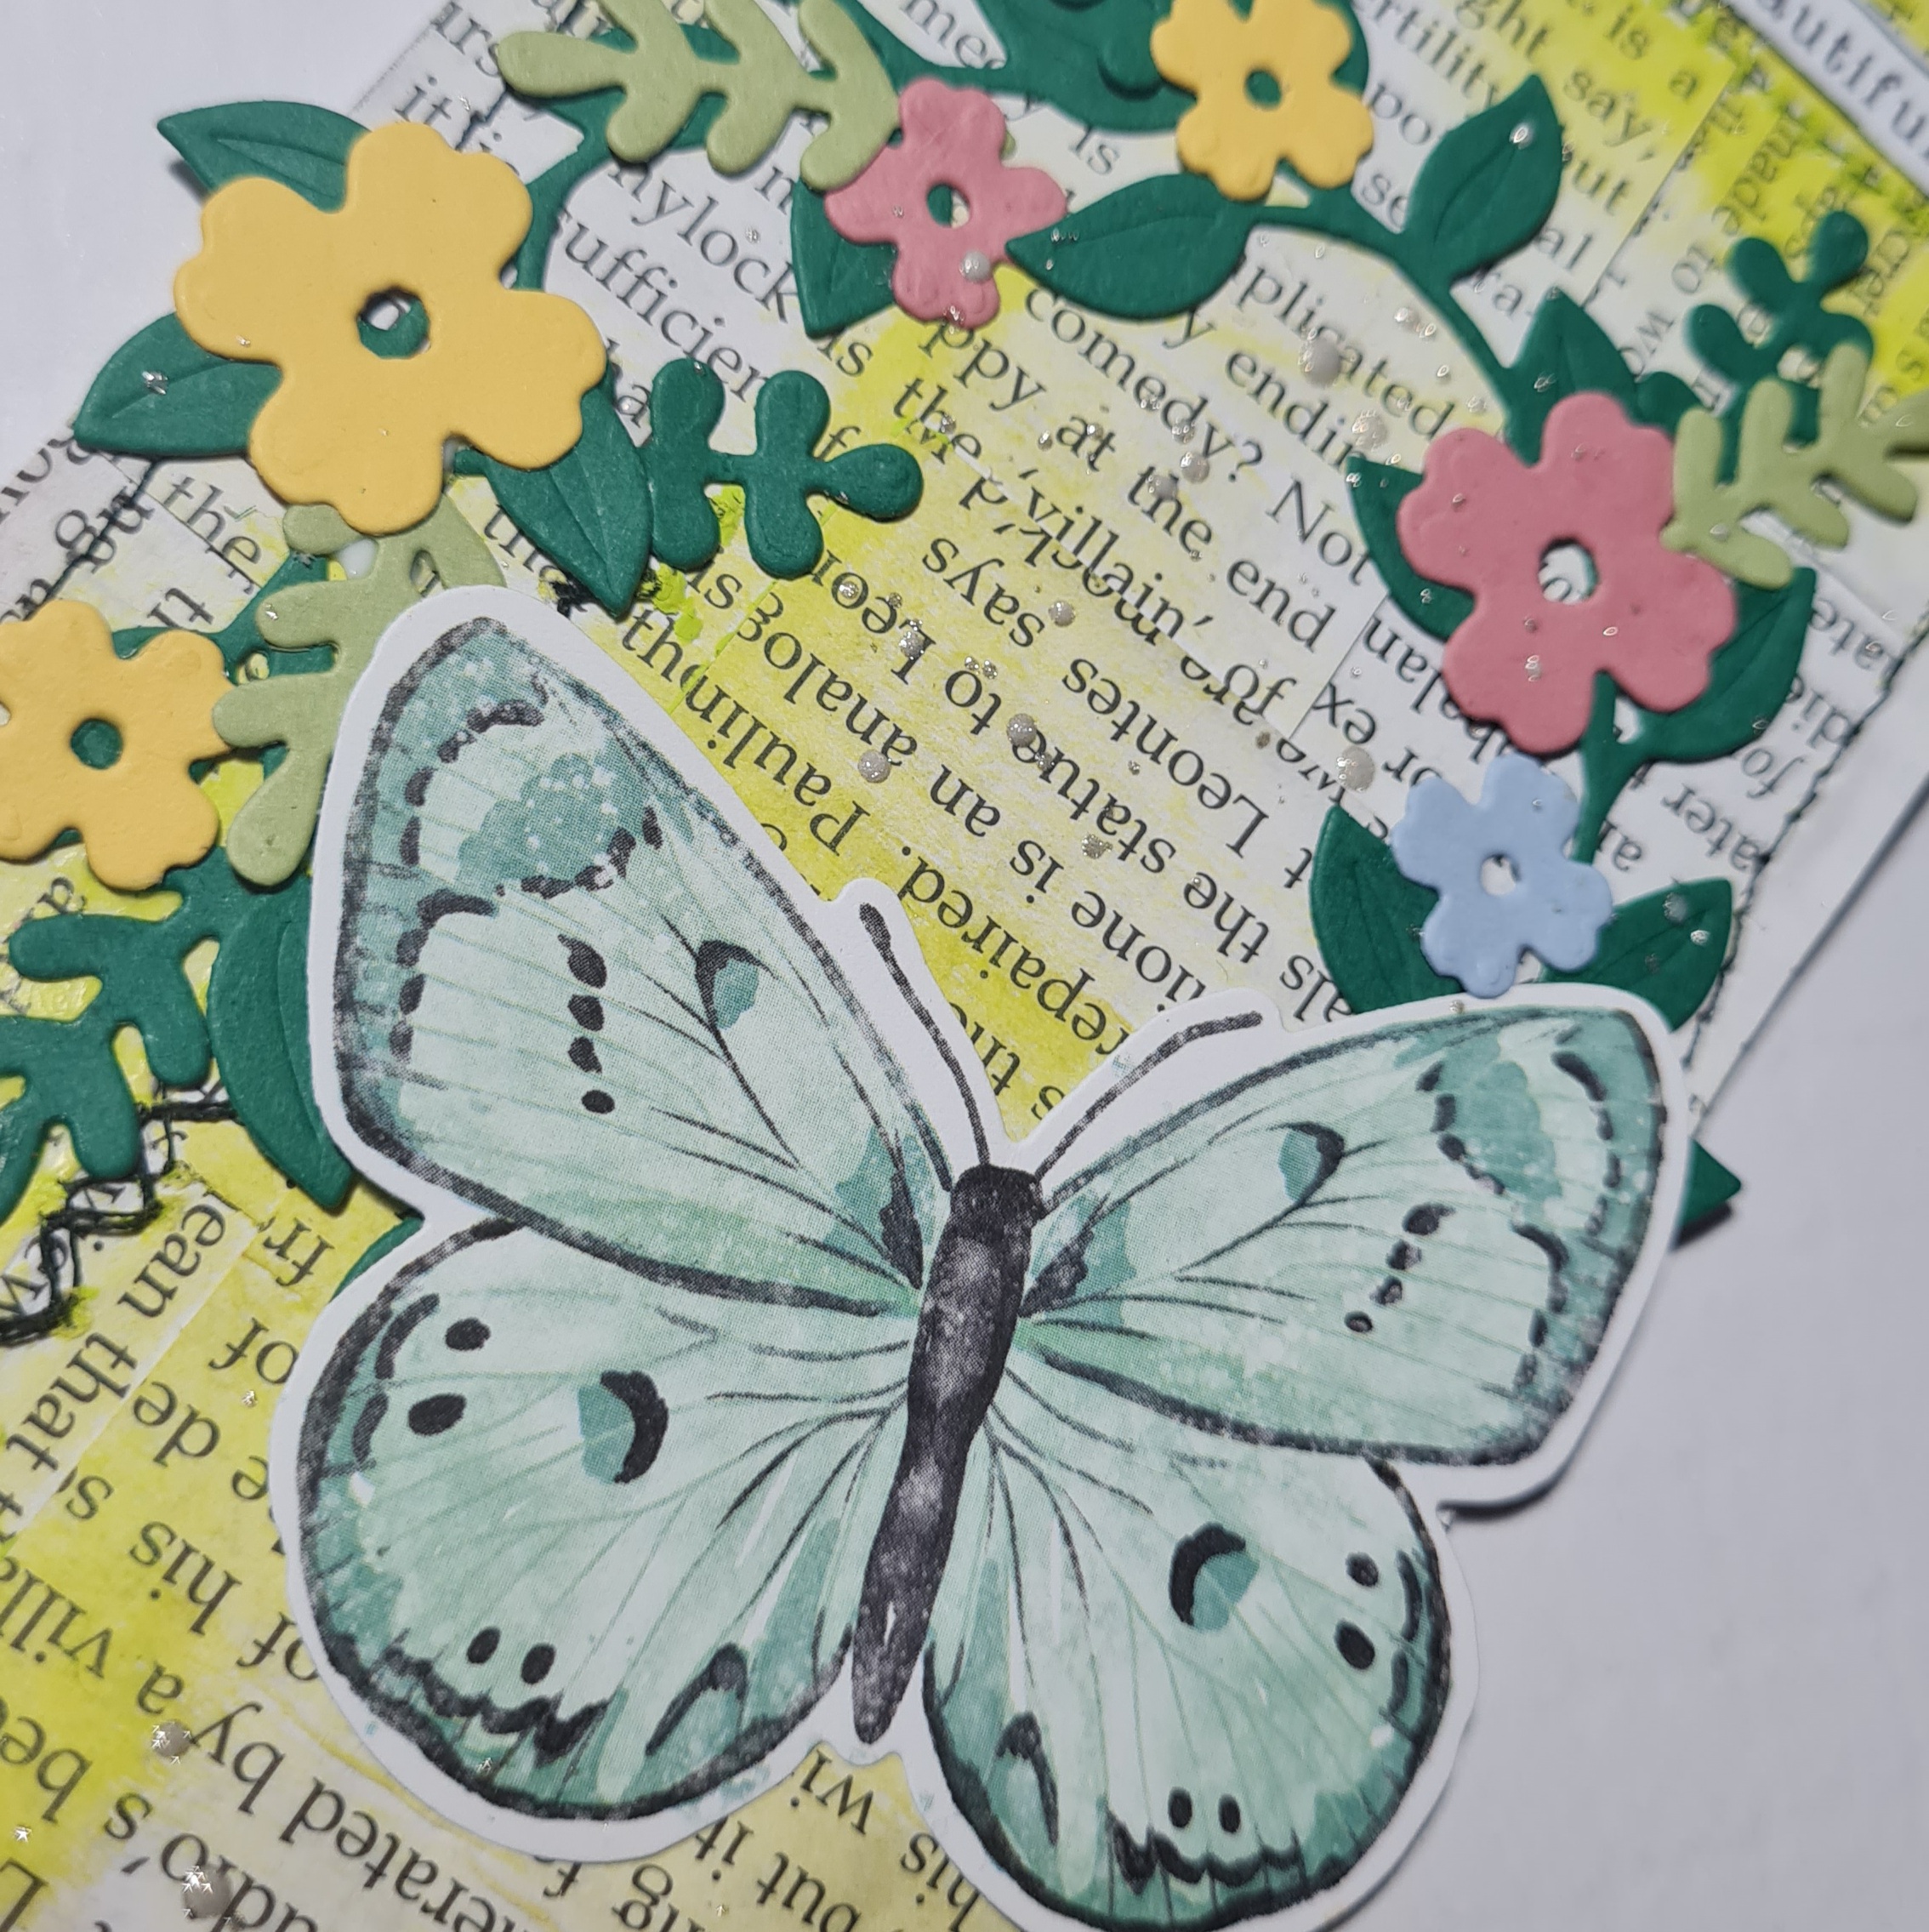
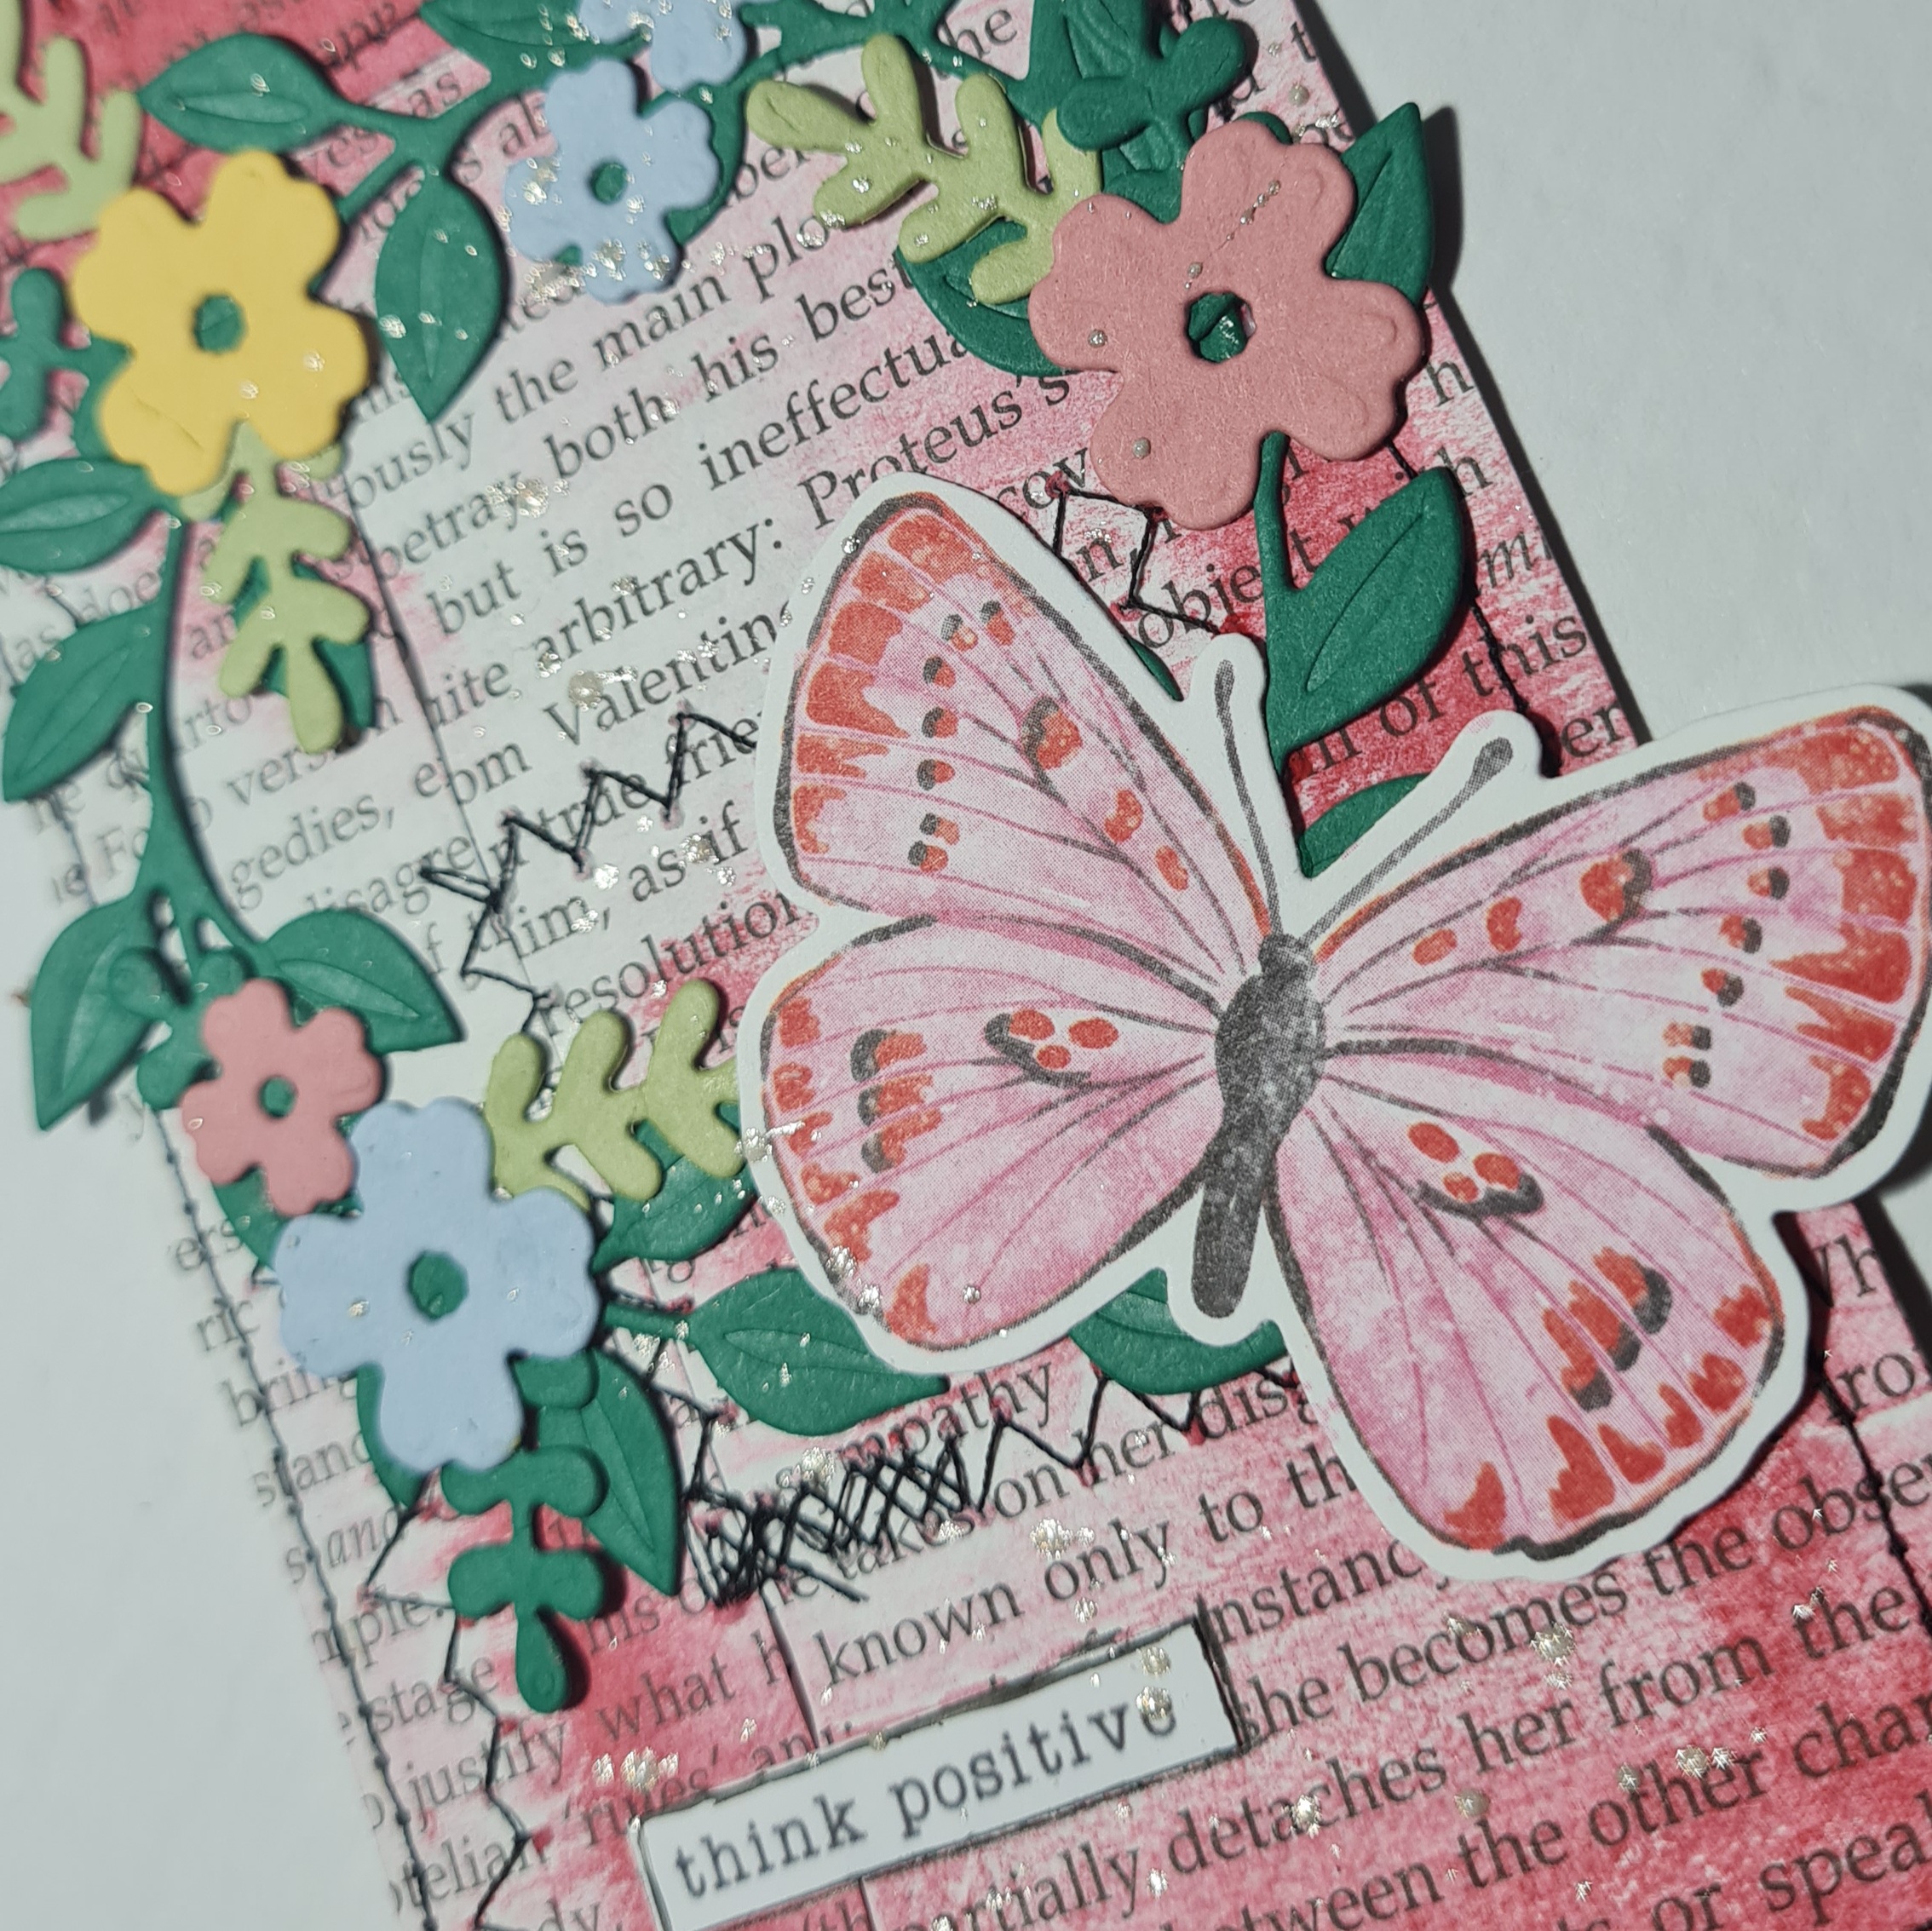
The tags were made from collaged bookpages using a technique I saw from Joie de Fi on YouTube. There was lots of sewing and then after cutting them to size, more seeing round the edges too.
I then added gelatos to the three tags in three different primary colours and added water and smudged them with my fingers.
Next I die cut three wreaths and flowers and some additional leaves from scraps of cardstock, and three butterflies from the Butterfly Bijou dsp.
I then layered them us and stuck them down and chose a quote sticker for each which I outlined with pen to help it show up against the book print.
I then splattered a glimmer ink to add shimmer all over the tag.
Absolutely delighted with these and the technique Joie has introduced me to. Absolutely going to be doing this again!
Hope you like my mixed media tags for this months die cut challenge… certainly a different way to use your die cuts against this simple to make and fun background.
This week one of my friends at work left our team for a superb promotion. It’s been an emotional week, as whilst I am really proud of her and wish her well, I am going to miss working with her on a daily basis.
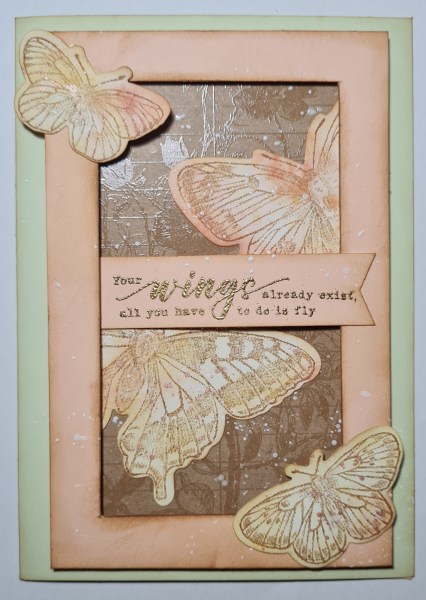
This is the card I made for her.
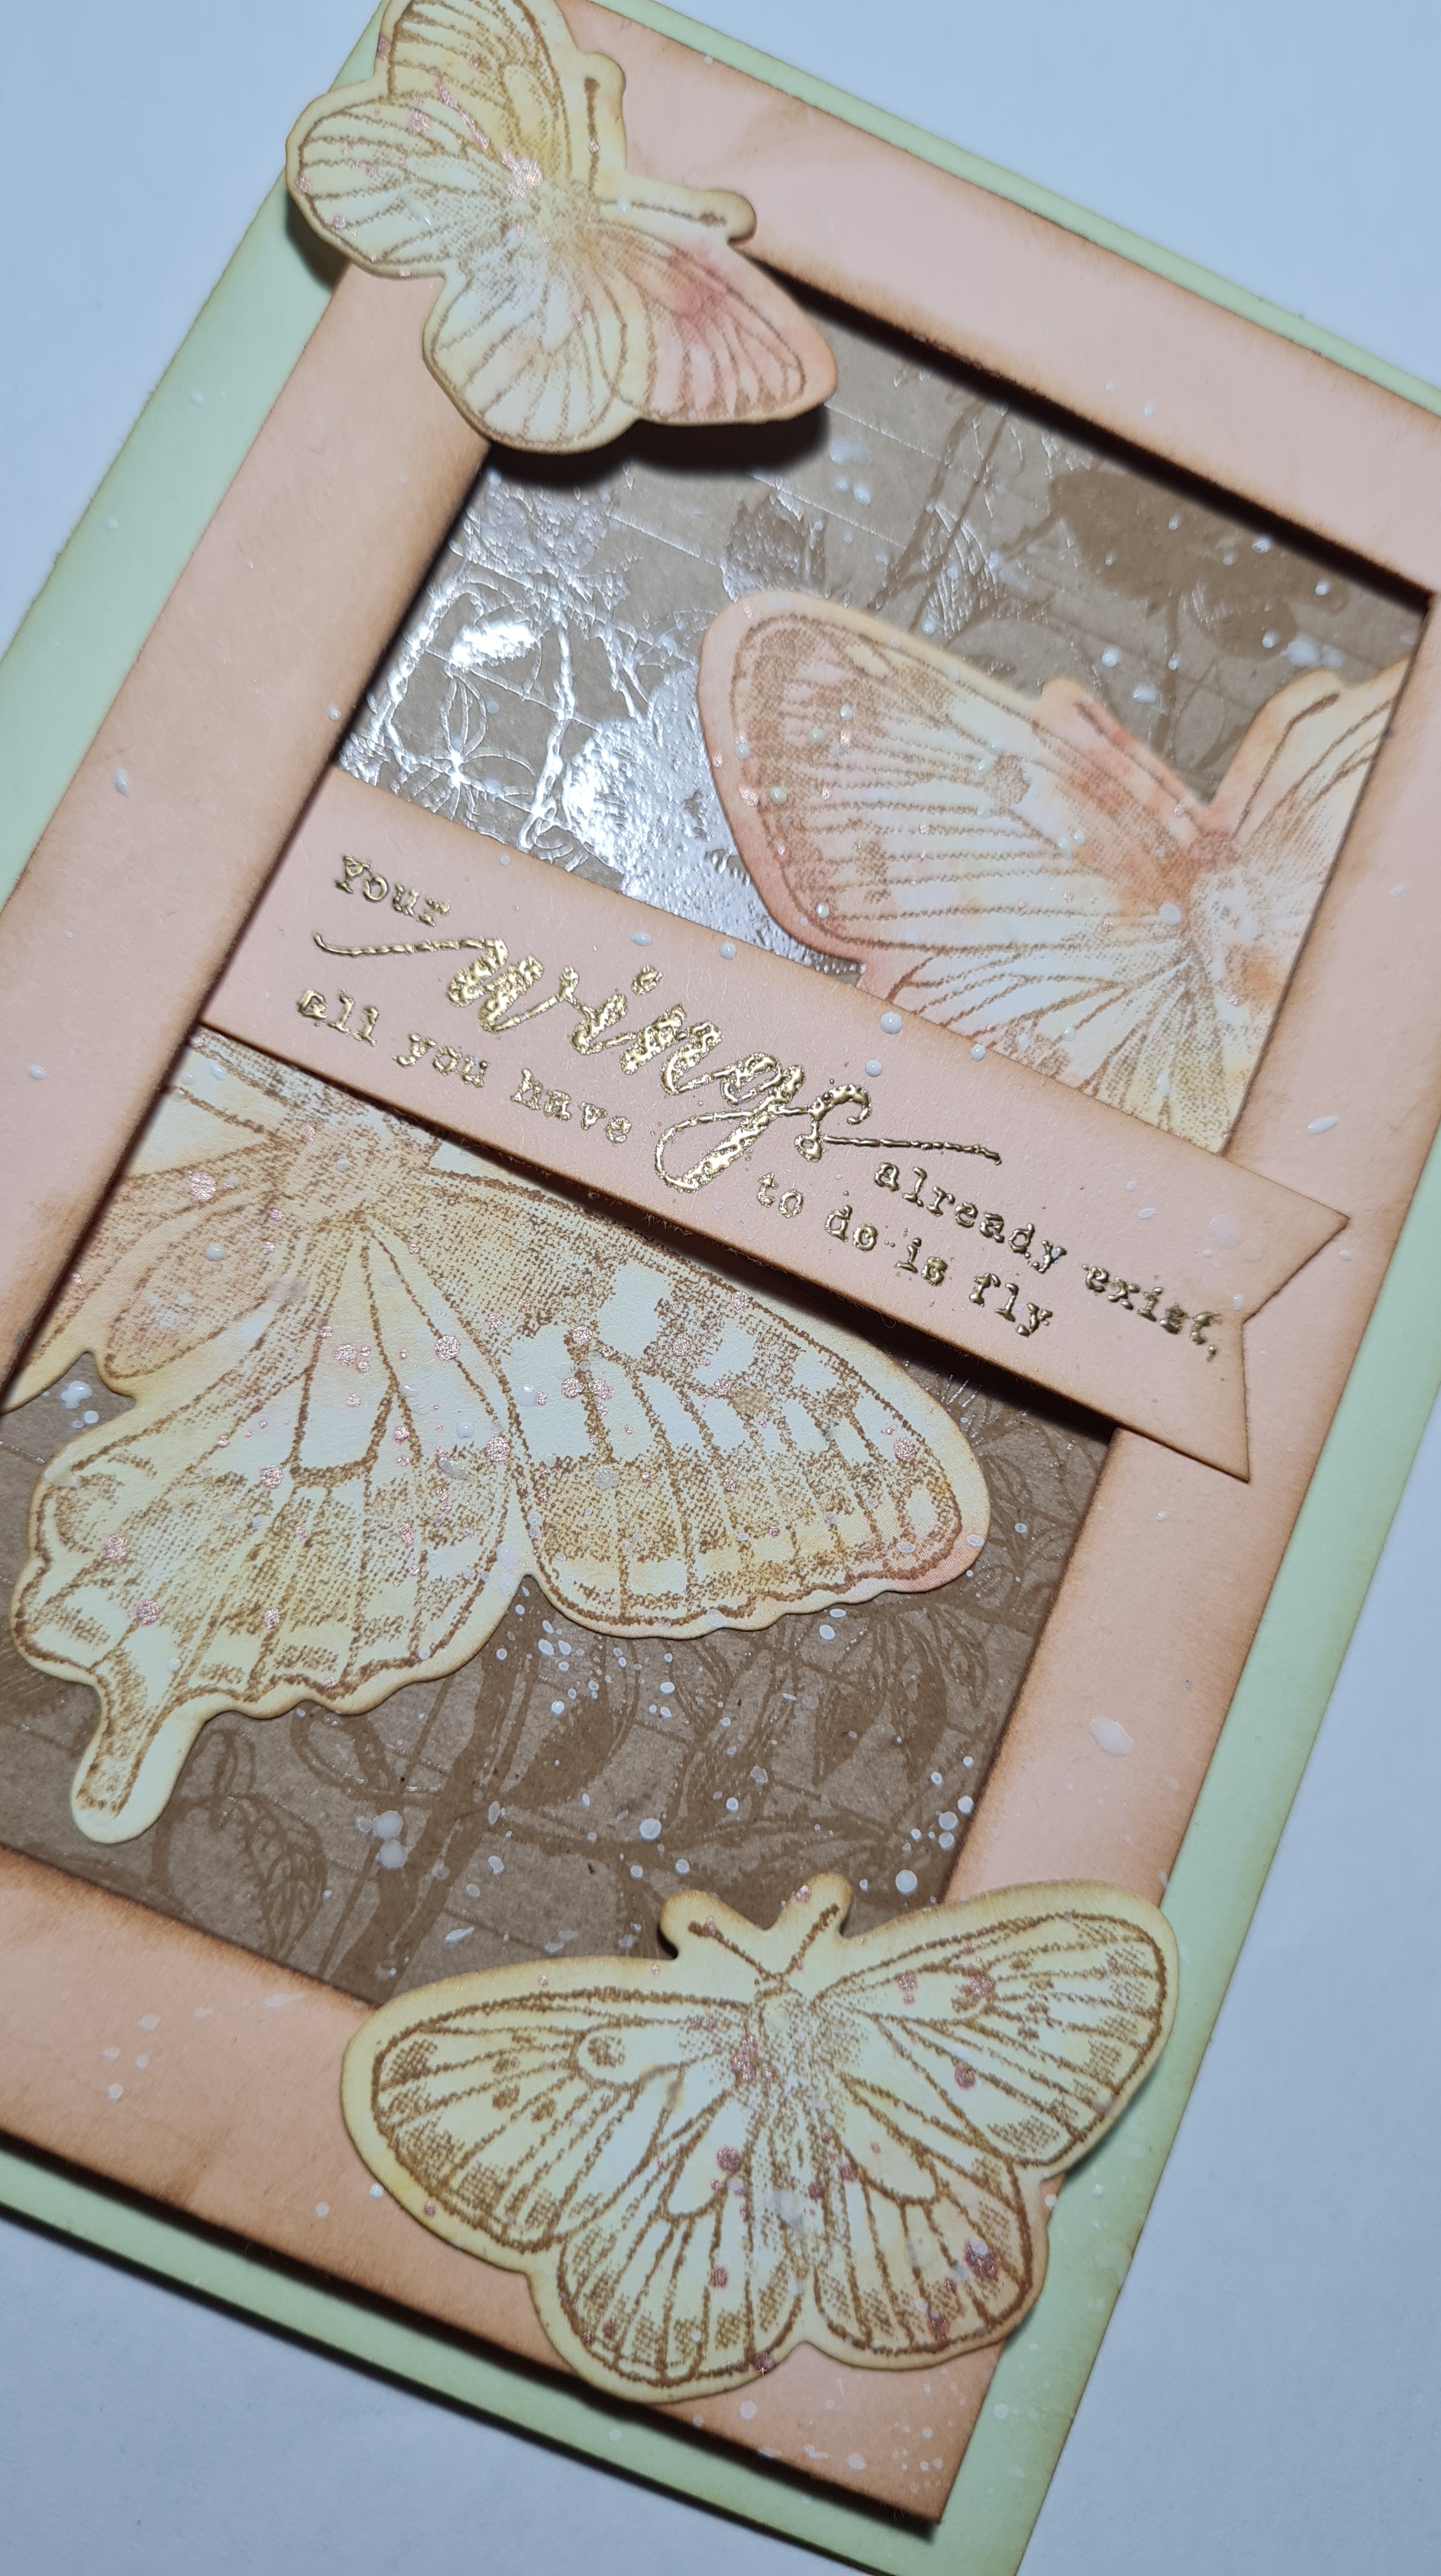
I decided to stamp the Butterfly Brilliance stamp onto some of the Butterfly dsp and die cut it. Then I used four of the butterflies to make this card.
I created a frame with the Petal Pink cardstock and the background using some very old embossed speciality paper I stumbled across in my stash. I then had two butterflies inside the frame and two on the top.
I gave the frame panel some splatters of white gesso and some shimmer ink to add some fun arty splashes and also inked up the edges using my distress oxides.
I chose a Crafters Companion stamp set for the sentiment and embossed it in gold and punched one end into a pennant. I then added the frame panel to a card made from soft sea foam which I had lightly inked around the edges.
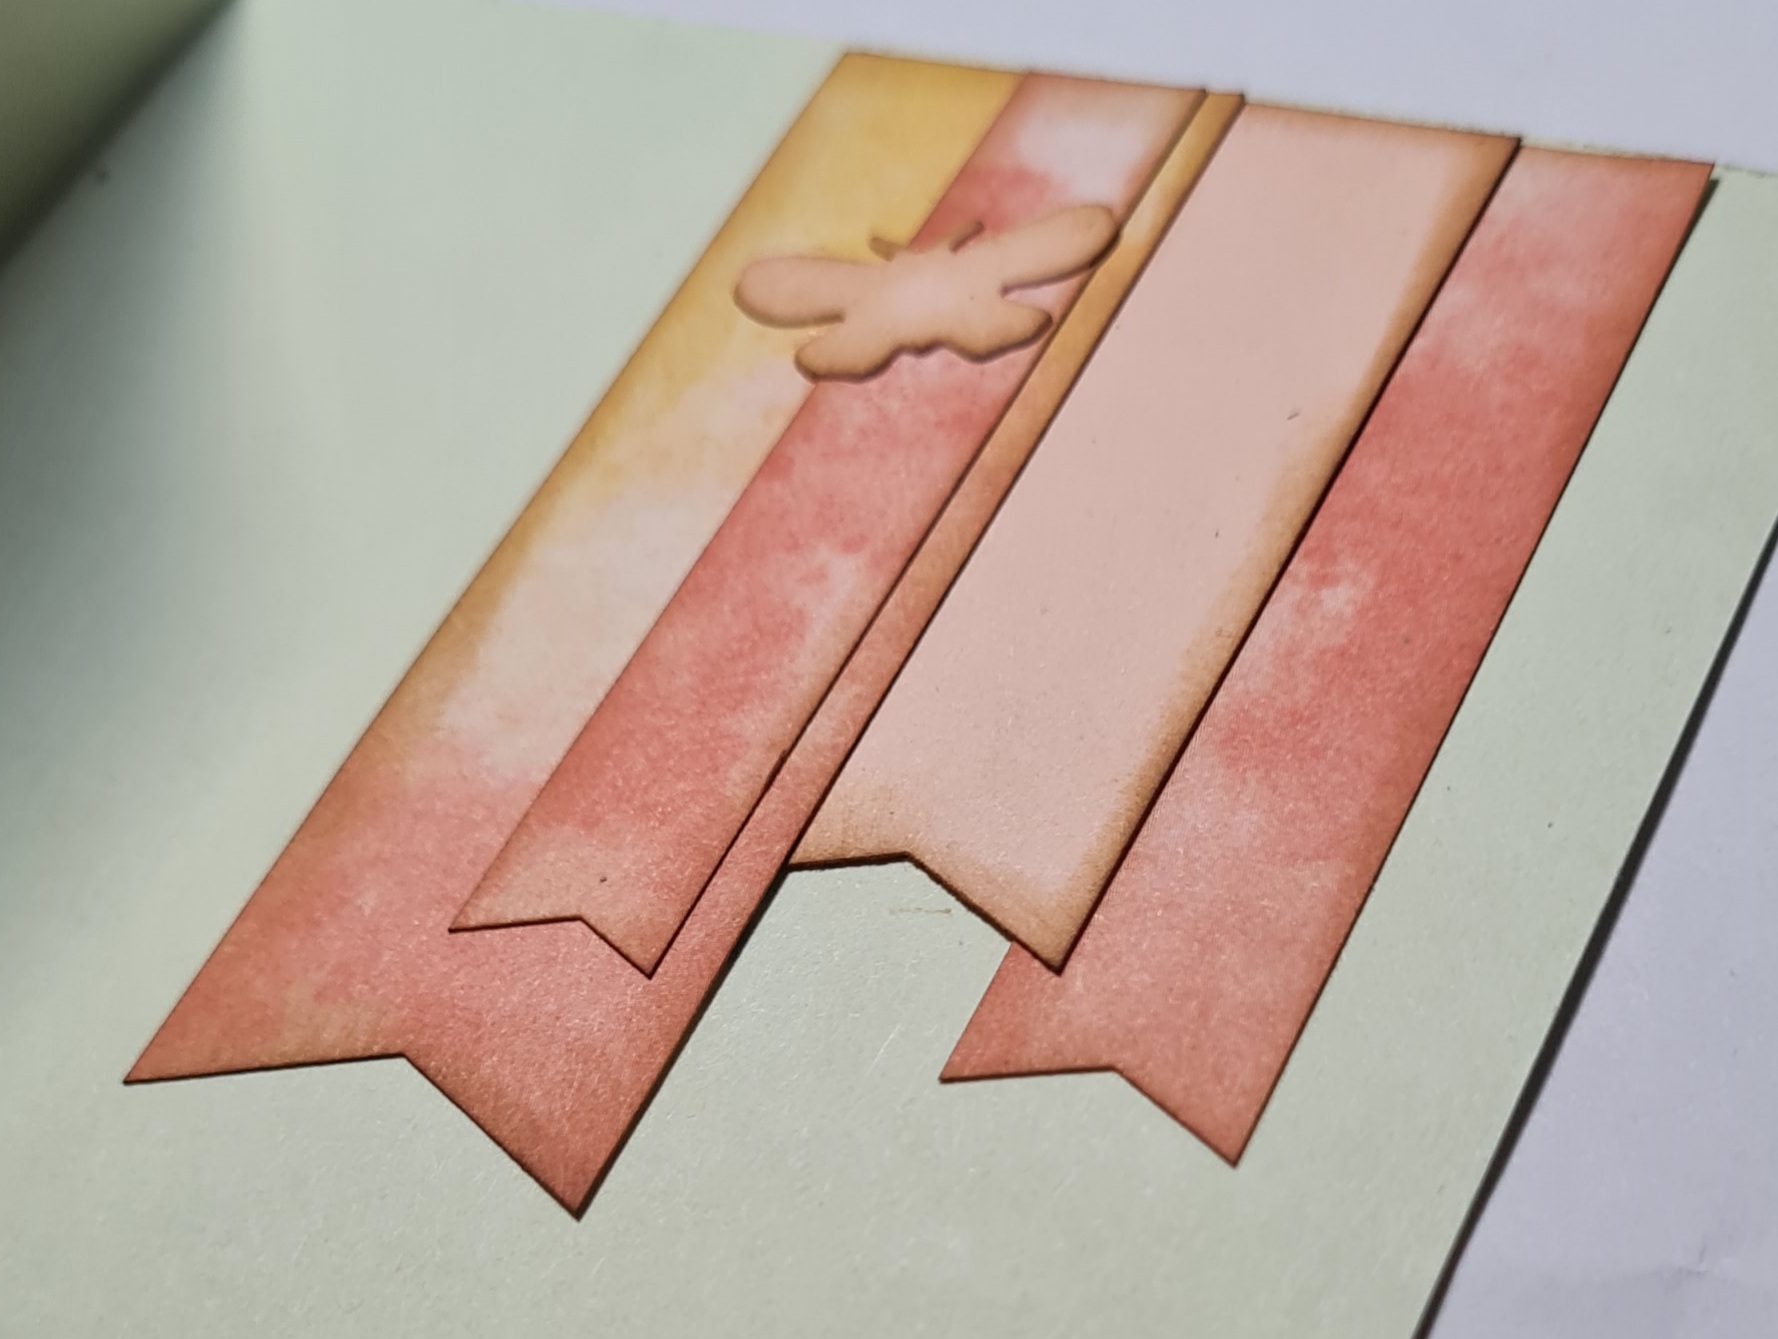
Inside the card I added some strips of the dsp and cardstock I had cut into little pennants and inked and added a little die cut butterfly to finish off.
Really happy with how it came out.
Wishing Abbie all the best and know however much I will miss her, she is doing the right thing.
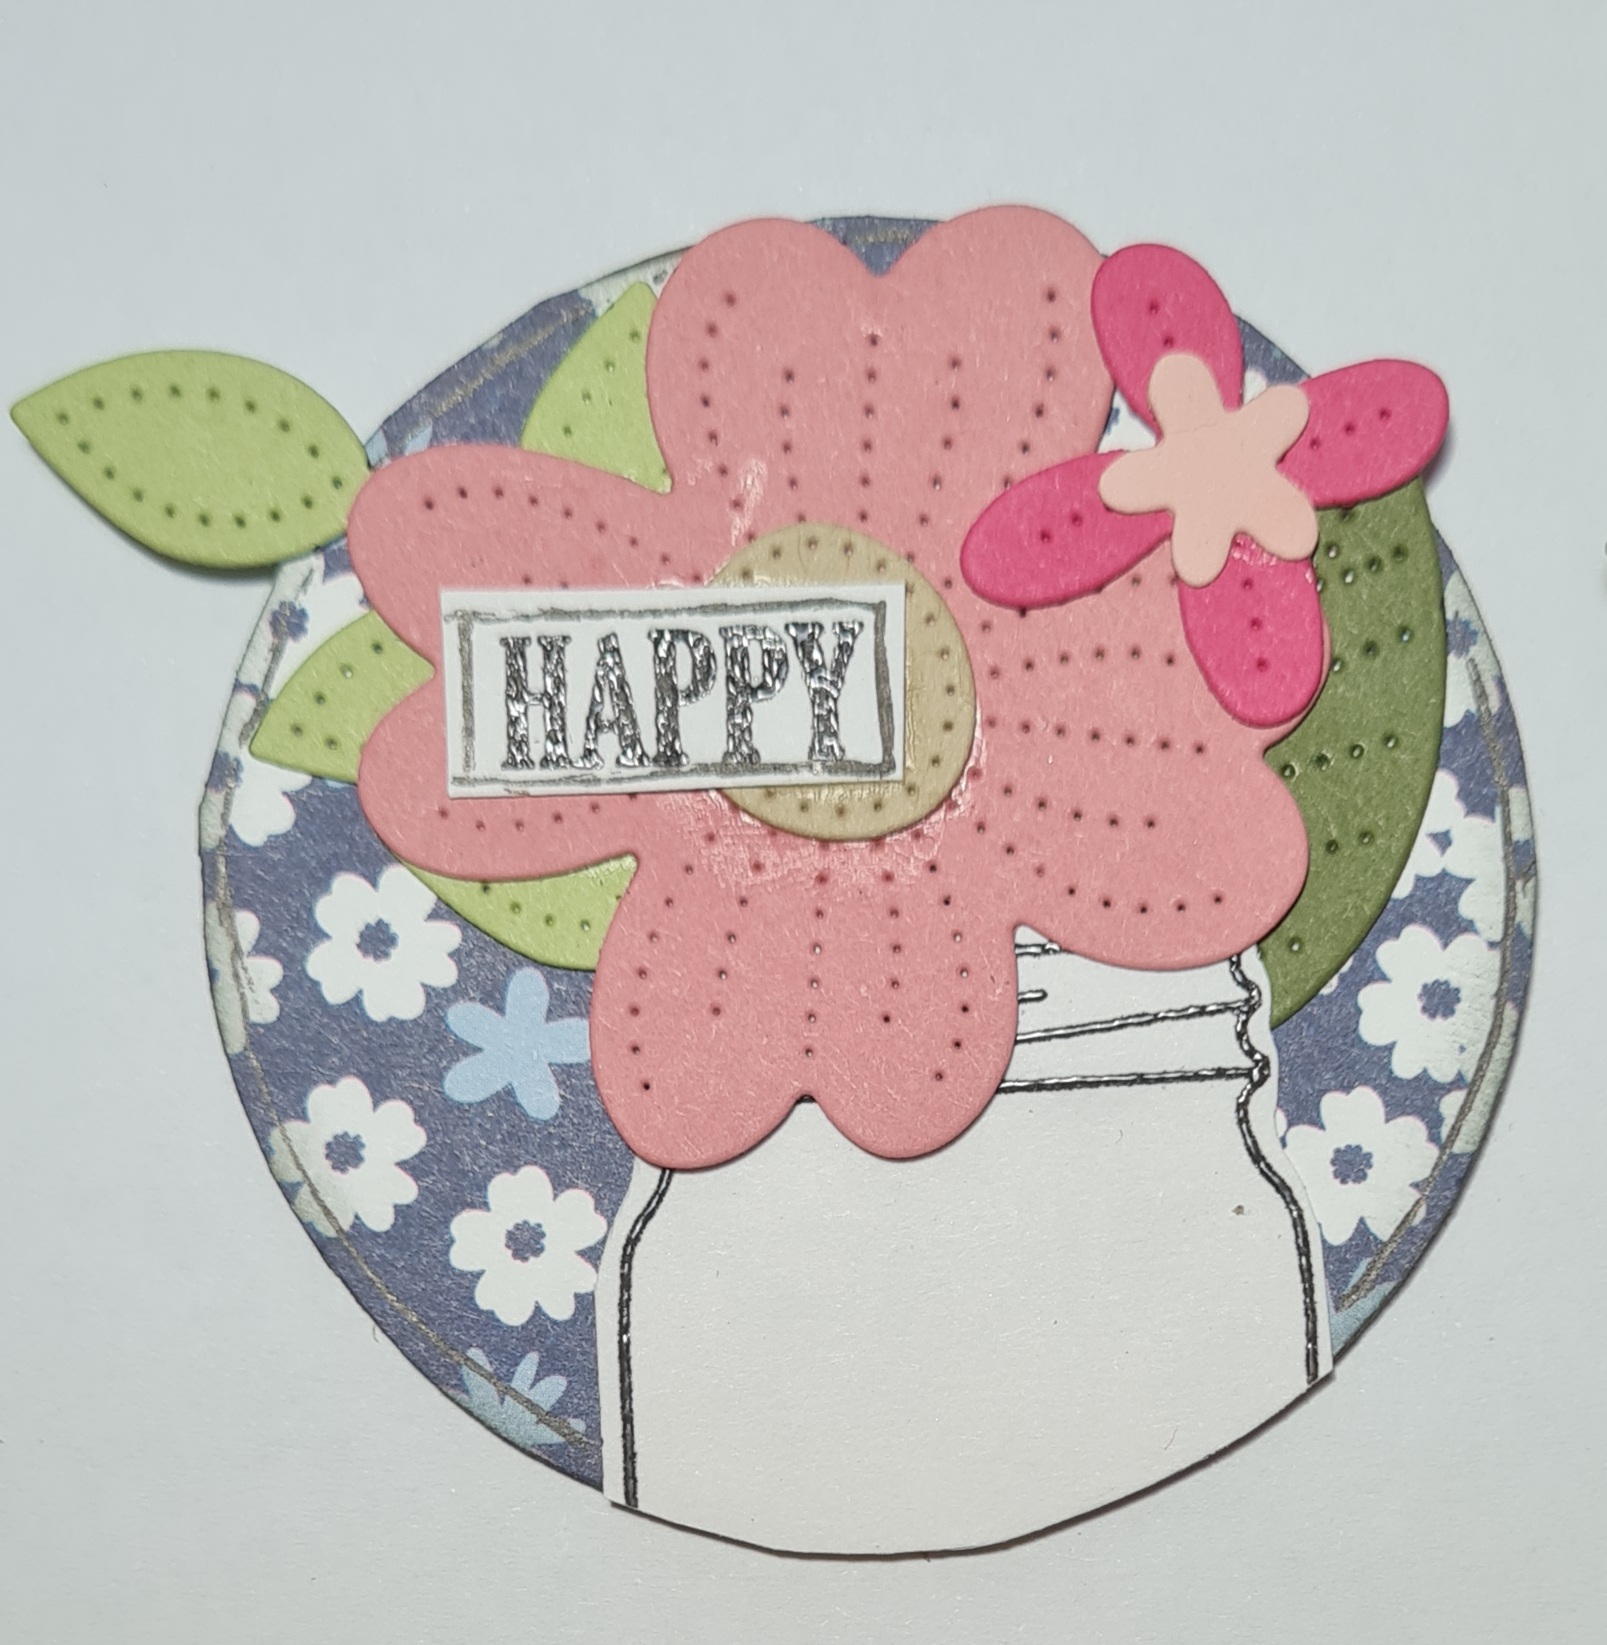
This week for the Stampin up Sunday Post I am sharing the coins I made for this month over at UK Stampers Forum. I also have a Video showing how I made these.
Loved making the bouquets of flowers to sit in the vases. So cute!
Love these pierced blooms dies and the Lots to celebrate jar and punch (I can report for those that watch the video that I managed to fix the punch after I finished filming – phew!).
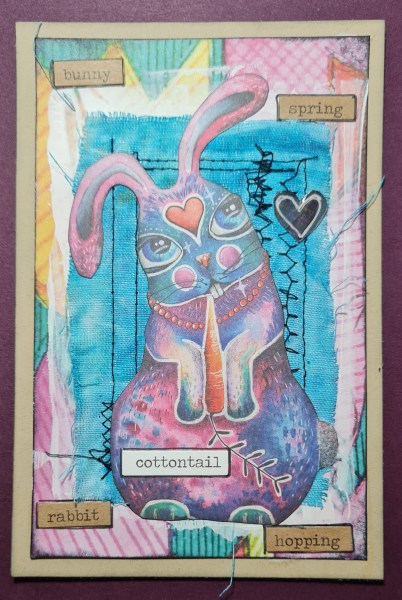
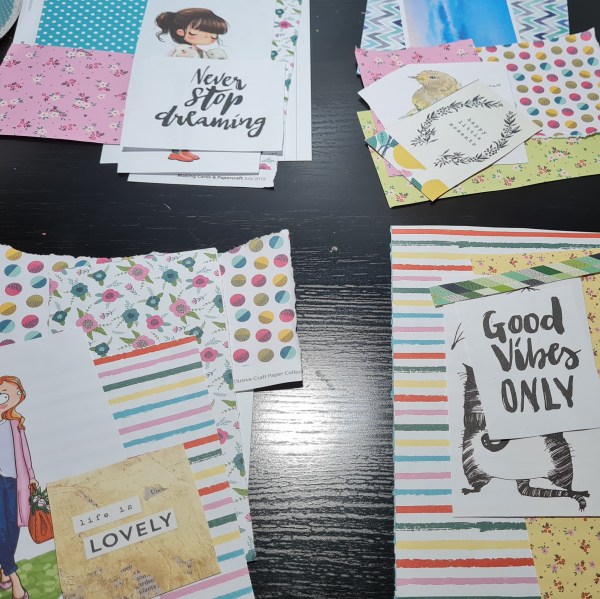
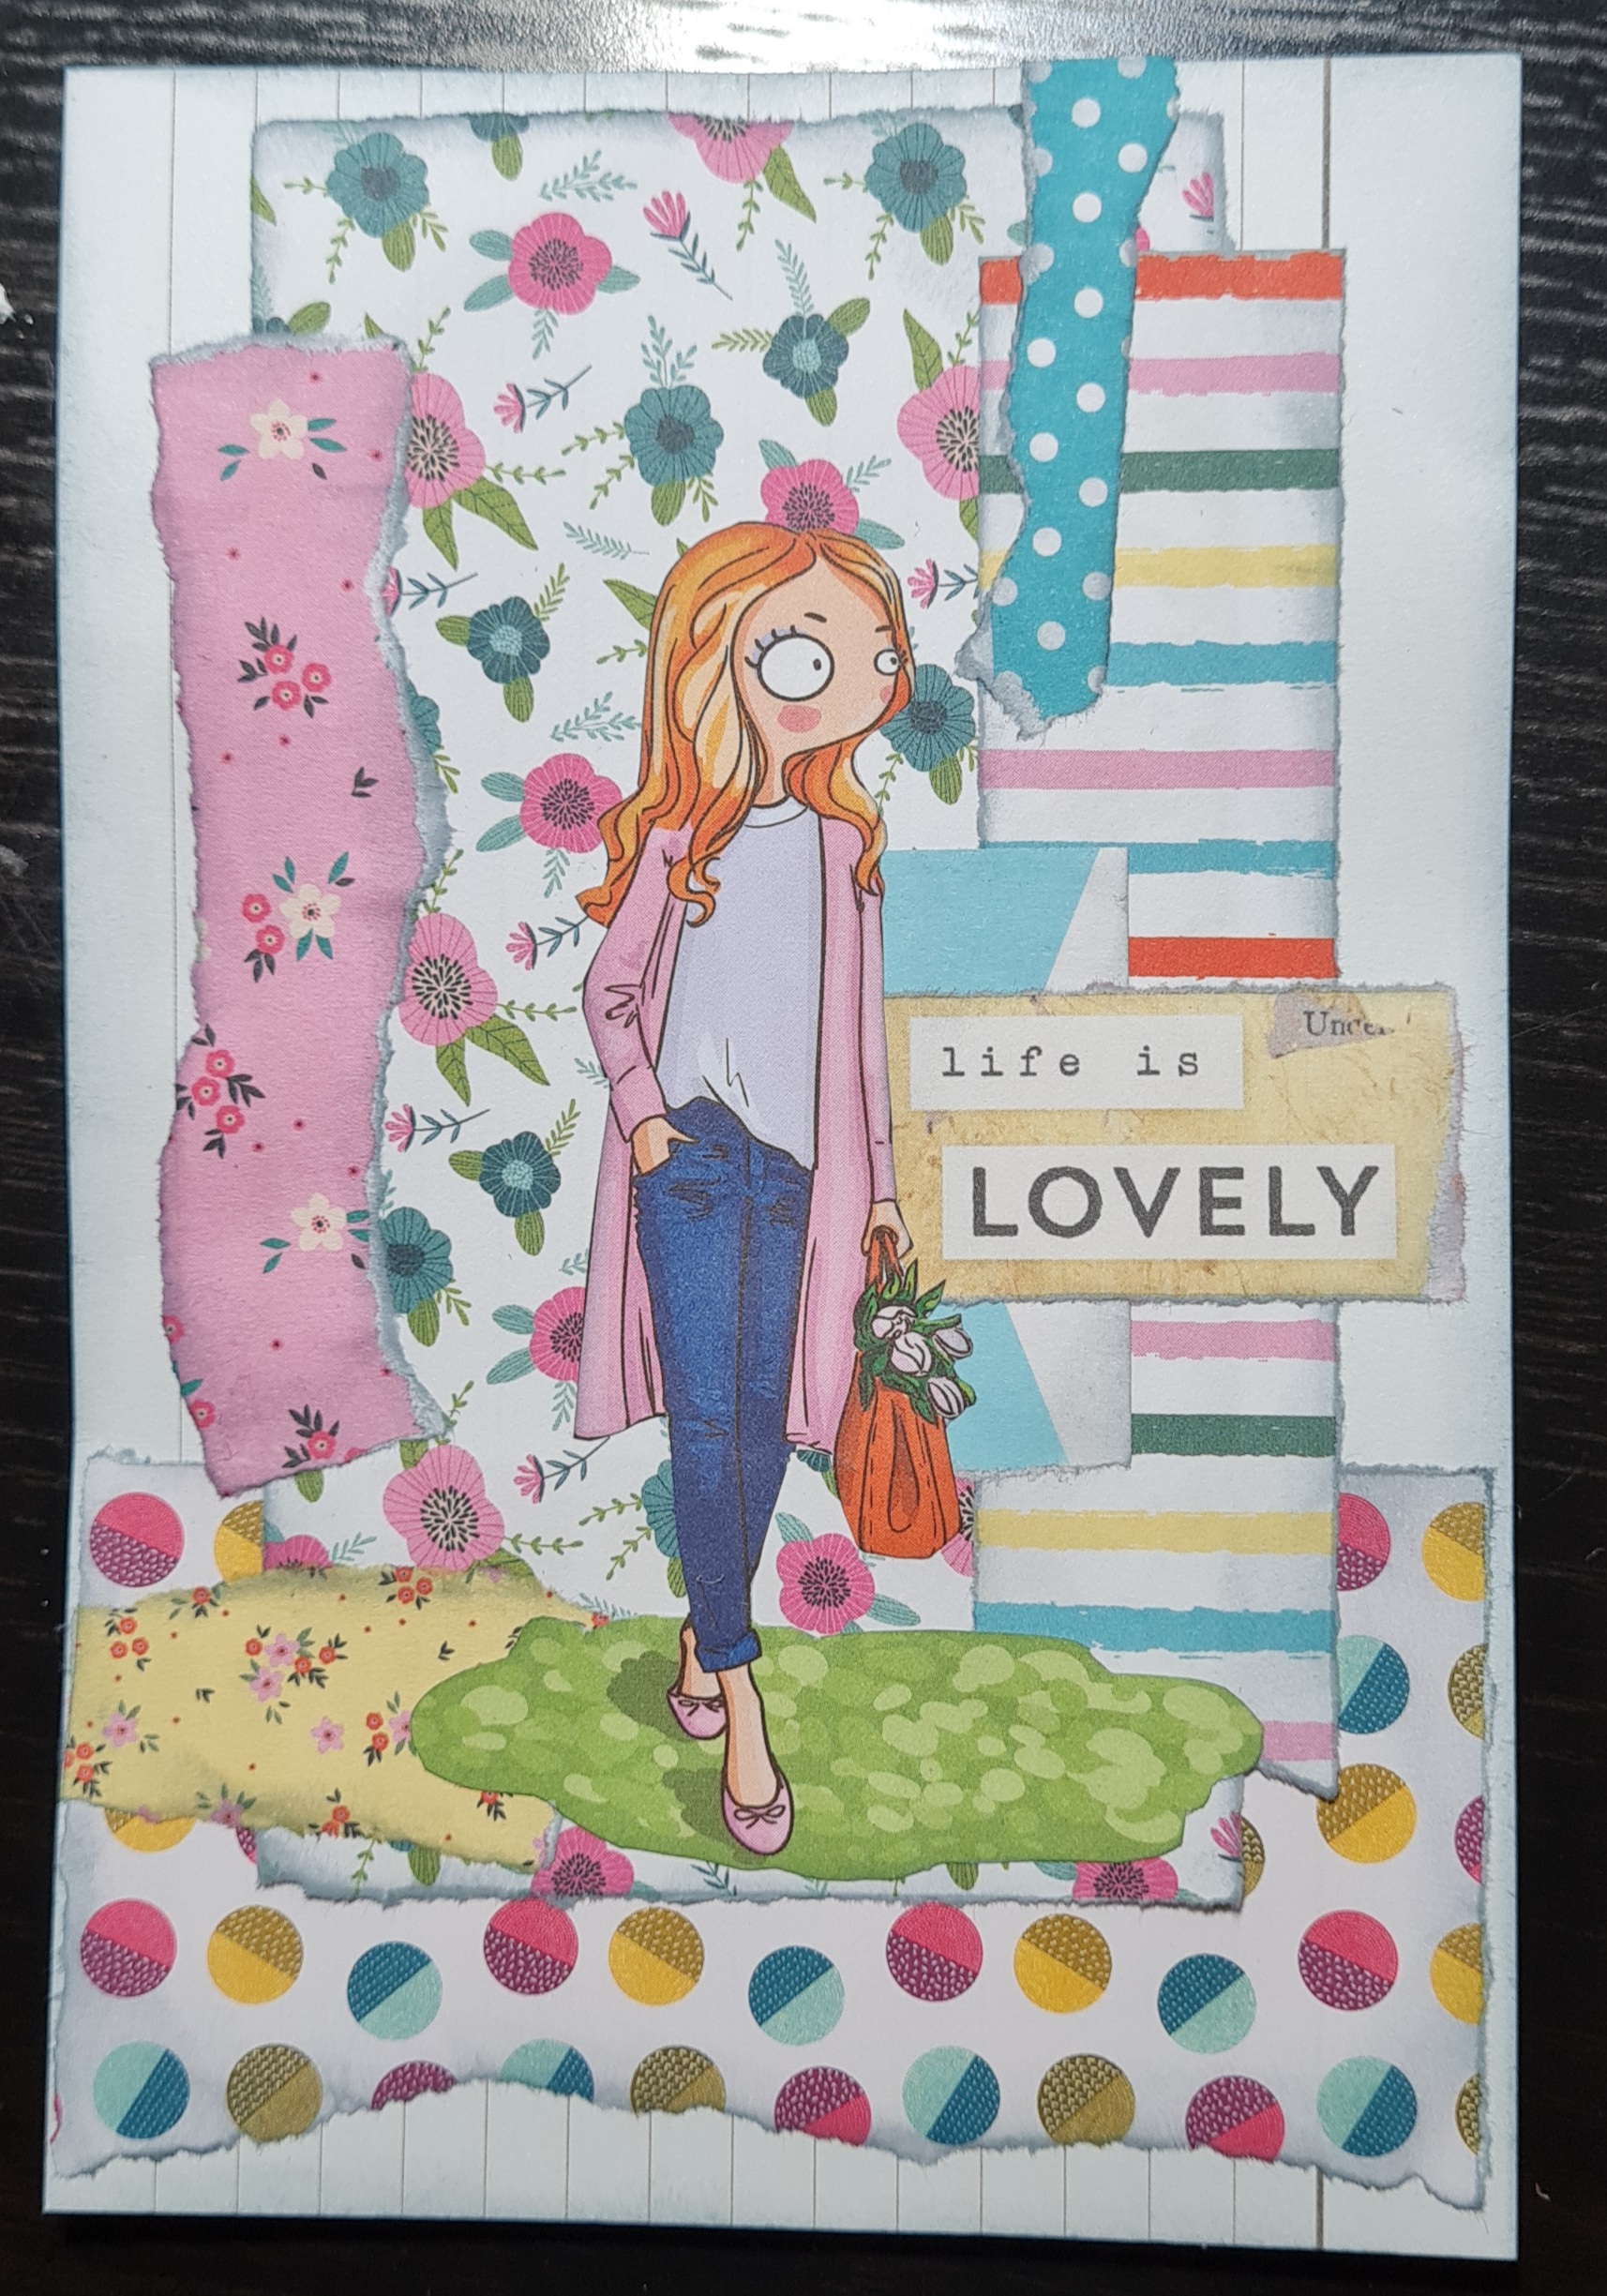
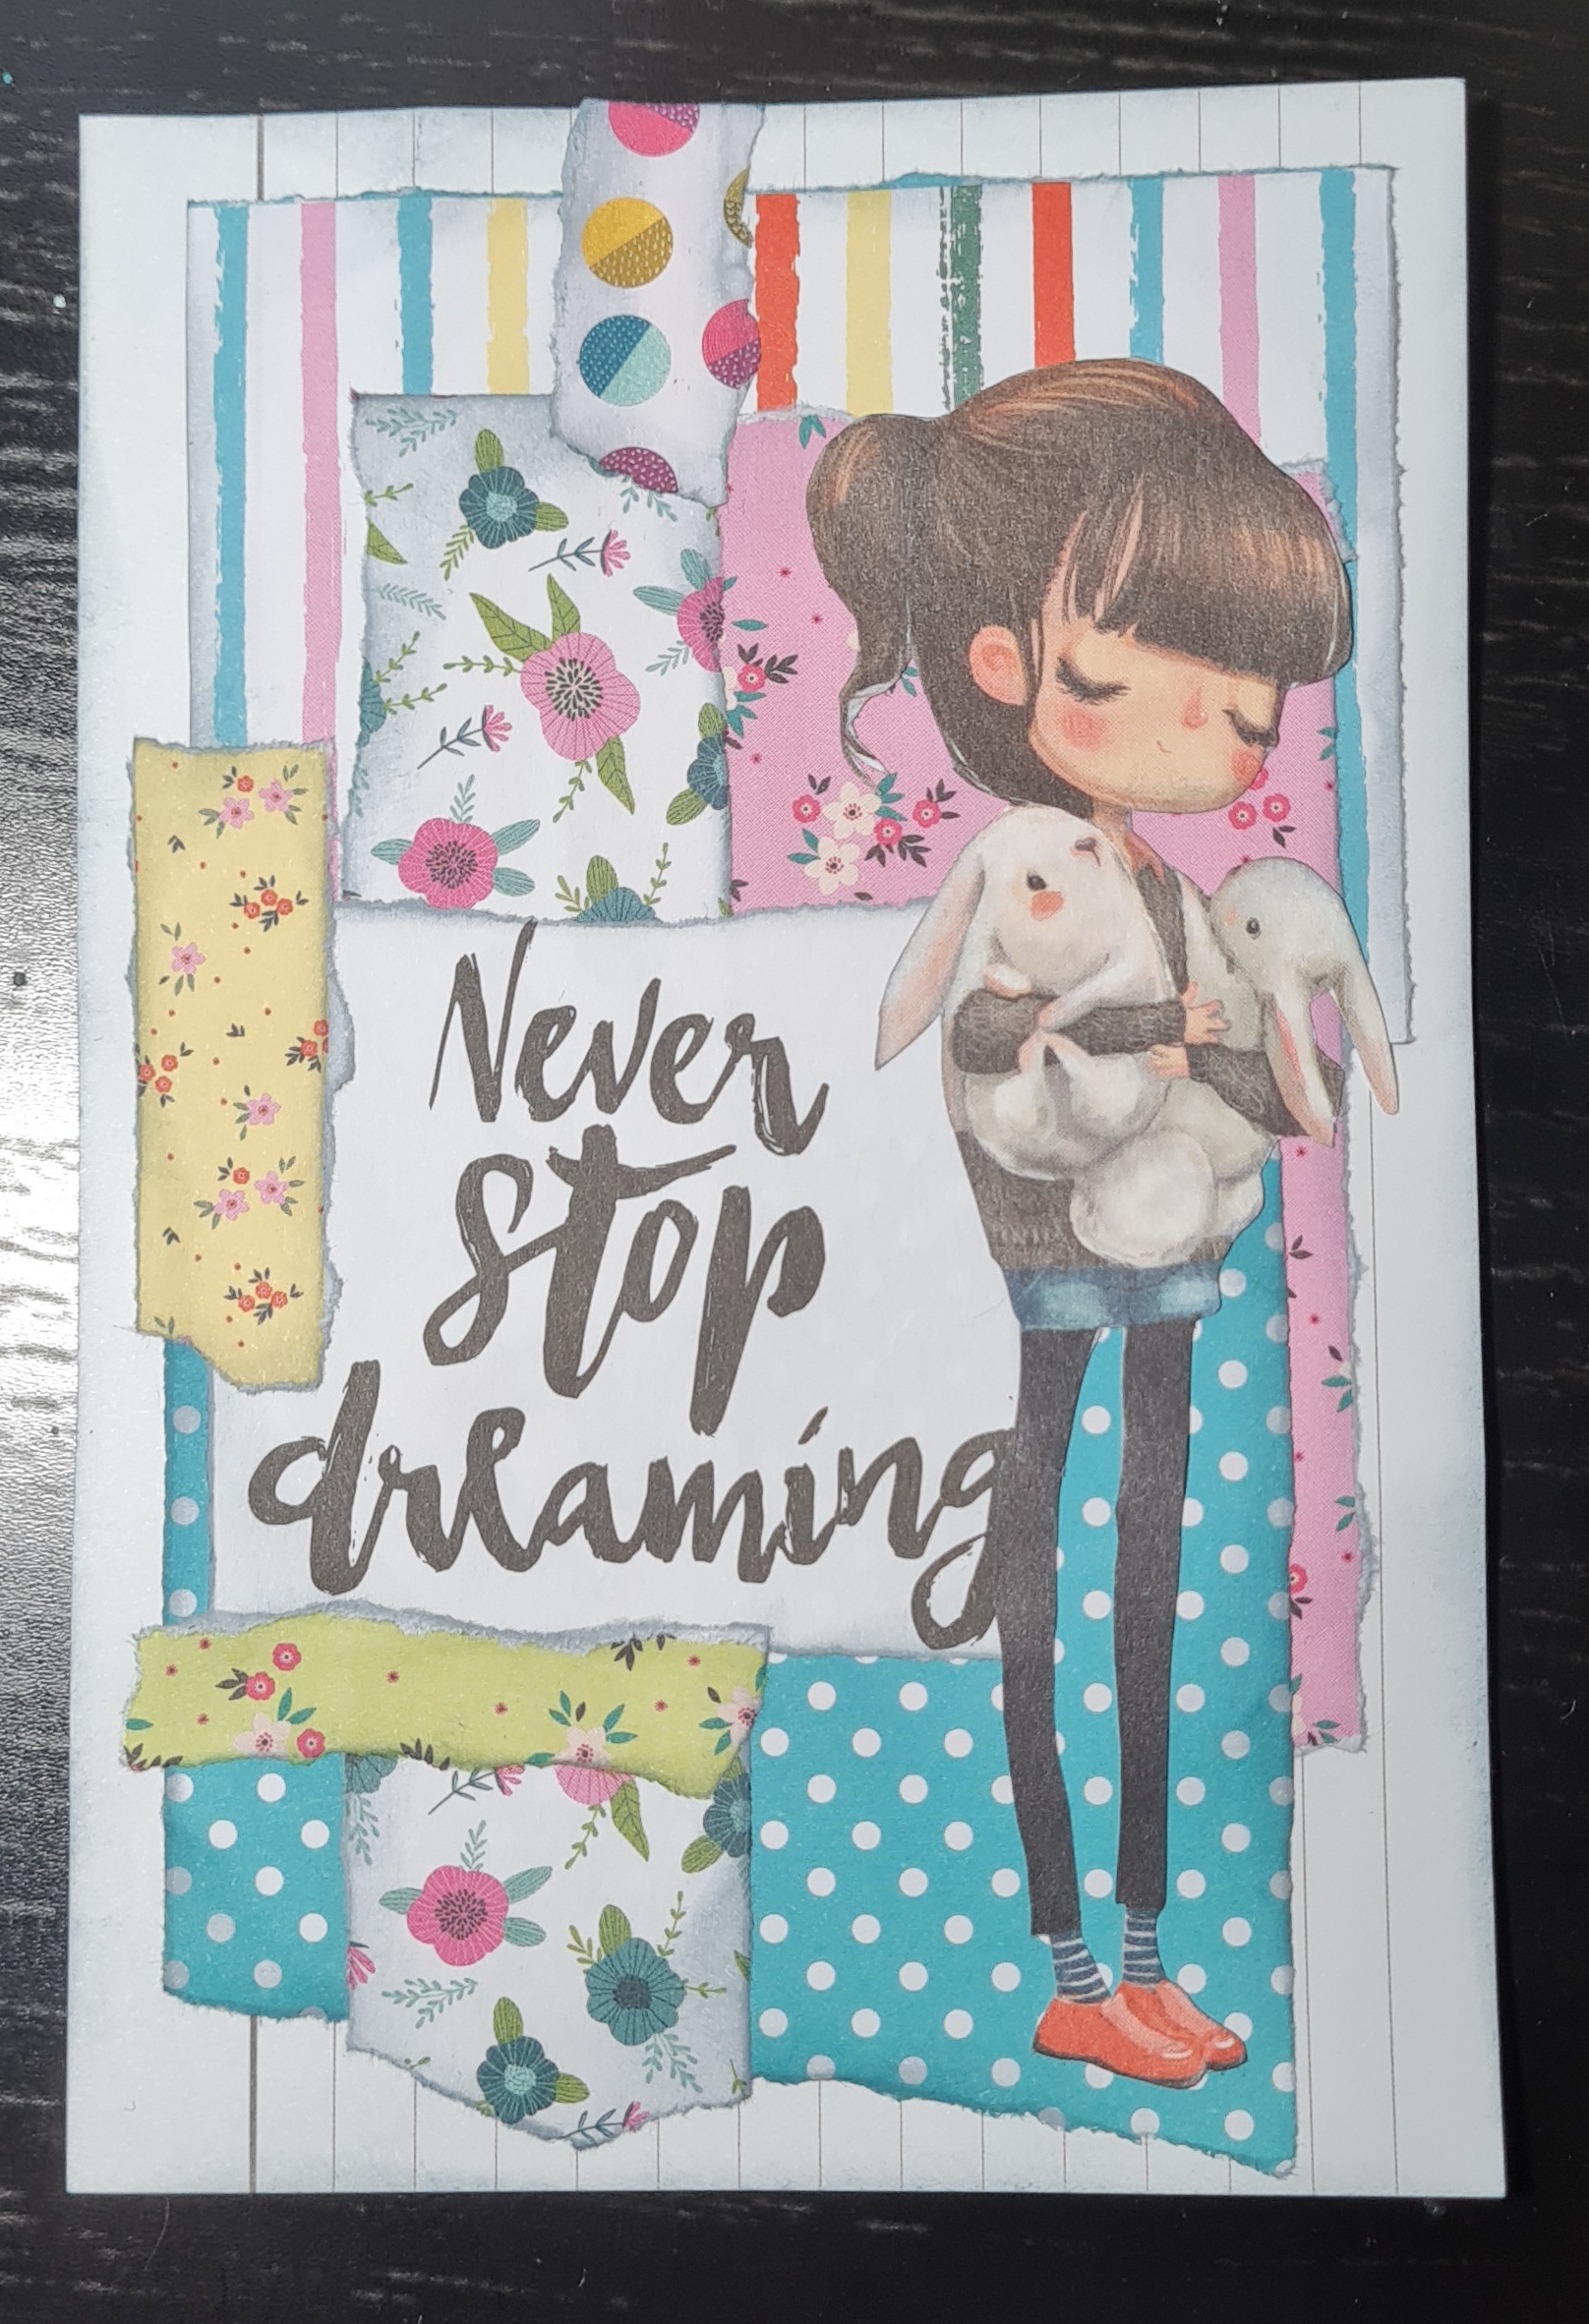
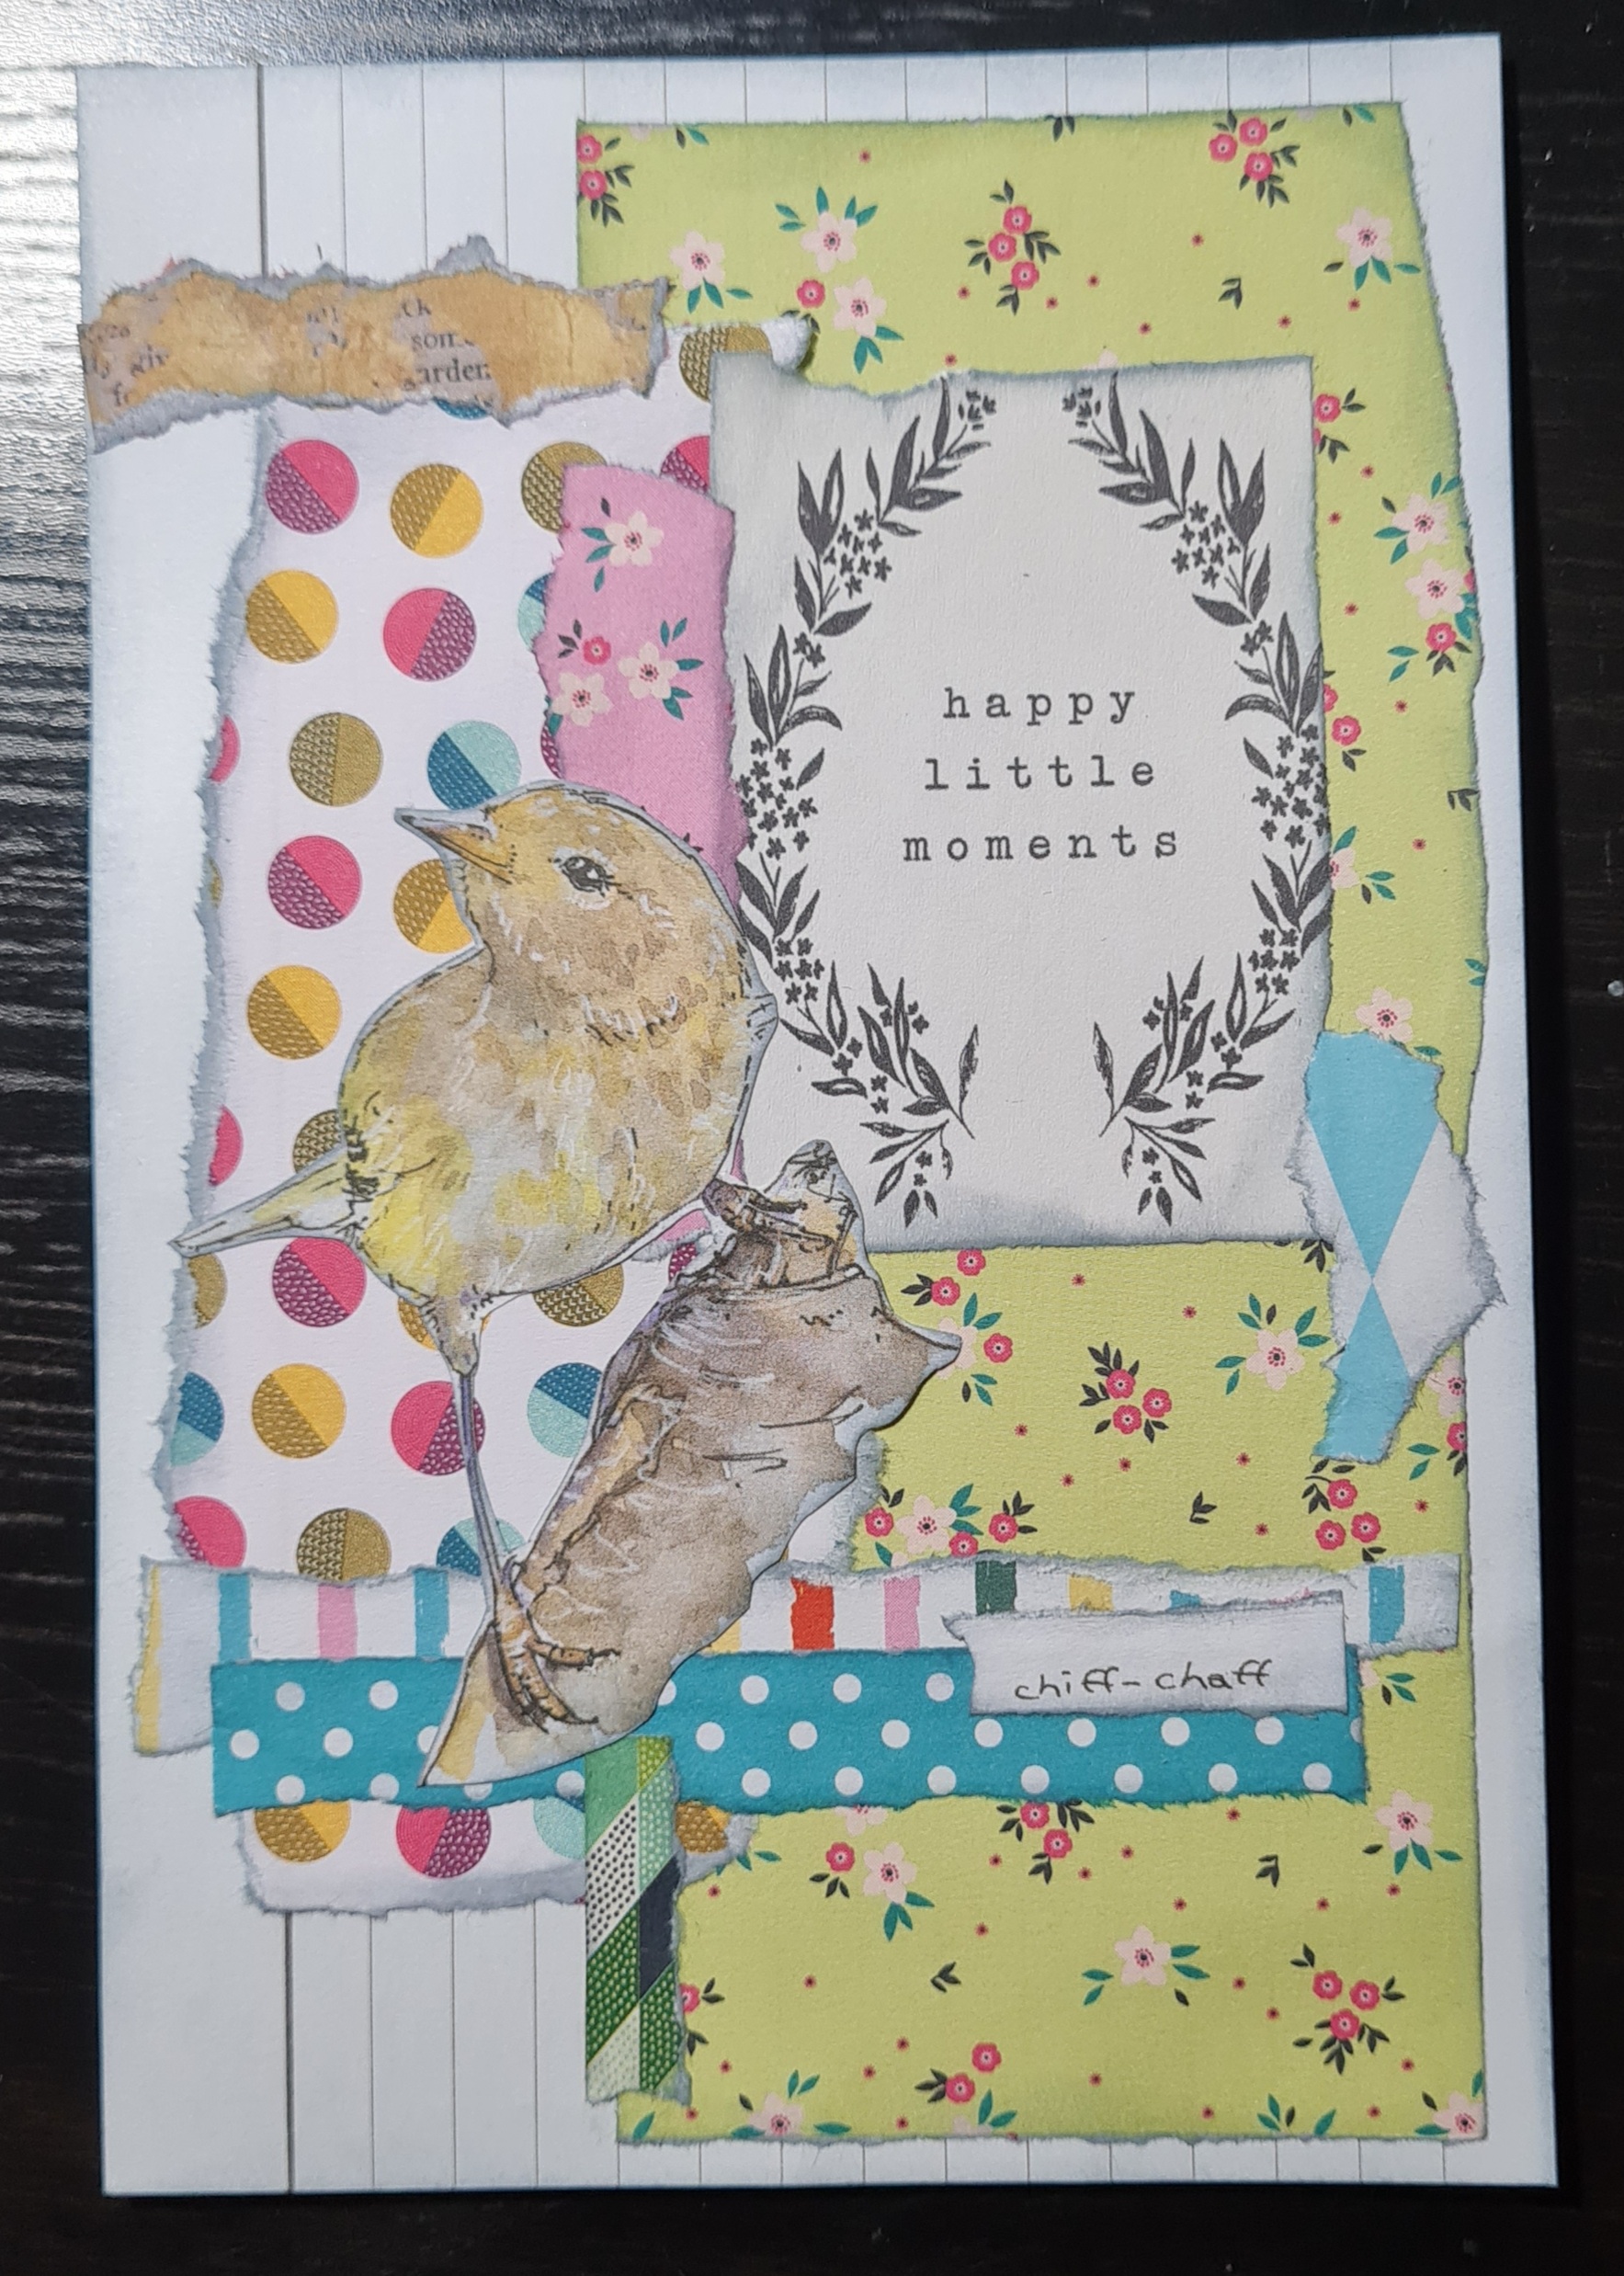
Another swap project to share with you today and this time the challenge was to collage on index cards using the theme of Spring.
I decided to go through my stash of Making Cards magazine kits and pull out things that made me think spring. I organised them into 4 piles (one for each of the index cards)…
Then I started tearing, and inking edges and glueing!
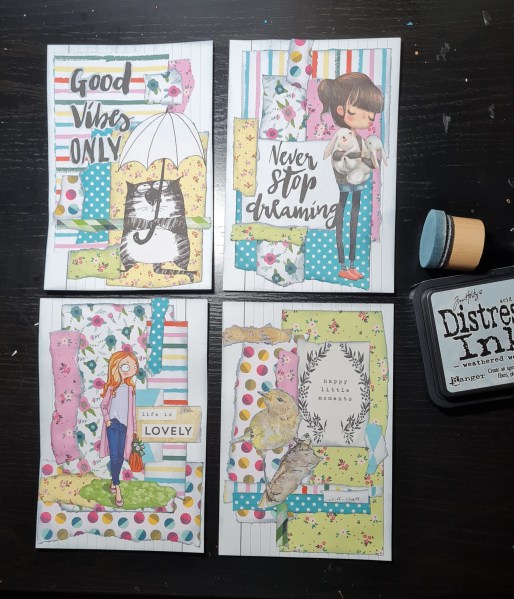
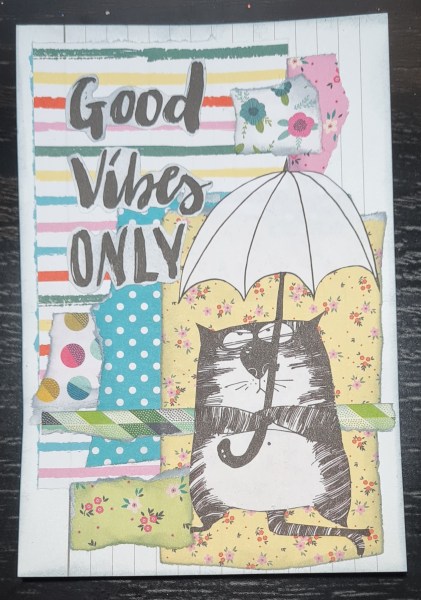
So clearly all four are using the same papers but each has a different focal image from different collections.
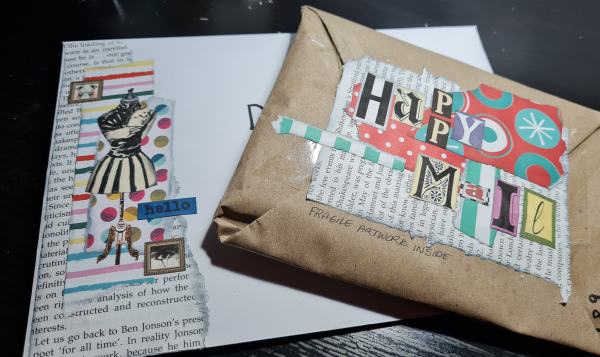
Love how they came out and had so much fun tearing and inking and layering the patterns… in fact I carried on creating collages with the leftover for decorating some Happy mail packages I was sending…
I sense a new obsession creeping upon me… making happy mail collages for the backs of envelopes!
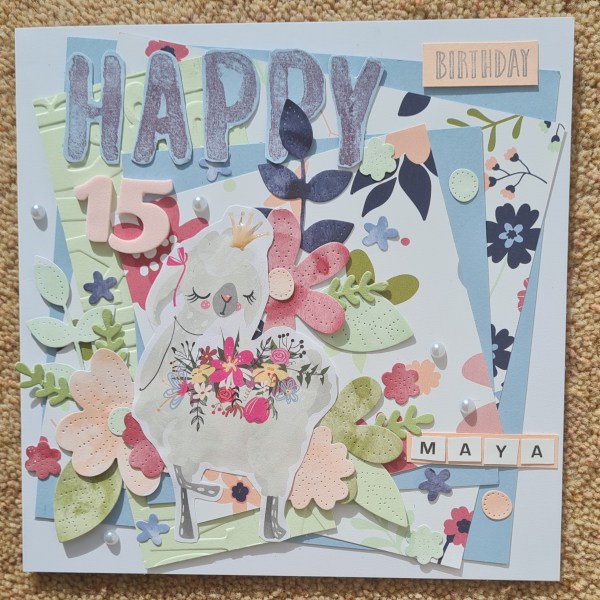
Today is the 15th birthday of my baby girl! Boy do I feel old!
Anyway it’s a day for her (yes I know everyone else is doing mothering Sunday but mine has been postponed for a week!)… and so of course todays blog is her birthday card.
It was mainly SU products… admittedly the paper is saleabration so no longer available, not are the sentiments… but I think it still qualifies! 😄
I went a bit overboard but love how it came out! Paper Blooms dsp, Soft sea foam, Petal Pink and seaside spray cardstock all layered up with a bit of embossing and Pierced Blooms dies.
I added the Happy Celebrations stamping, some letter stickers for her name and foam stickers for the 15.
The focal image was from a Making Cards magazine that I thought worked nicely. Then finished off with pearls and some wink of Stella and a glossy accents on the crown.
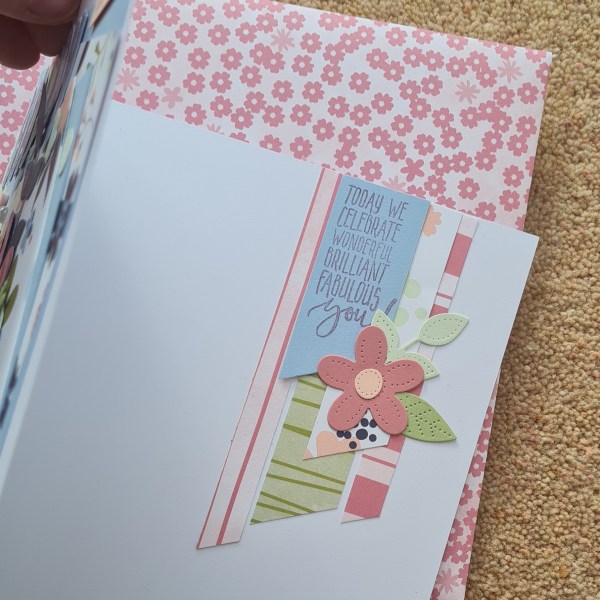
Inside the card I used the off cuts of the dsp and stamped a sentiment from an old stamp set (Picture perfect birthday) which I thought worked well, and added more die cuts.
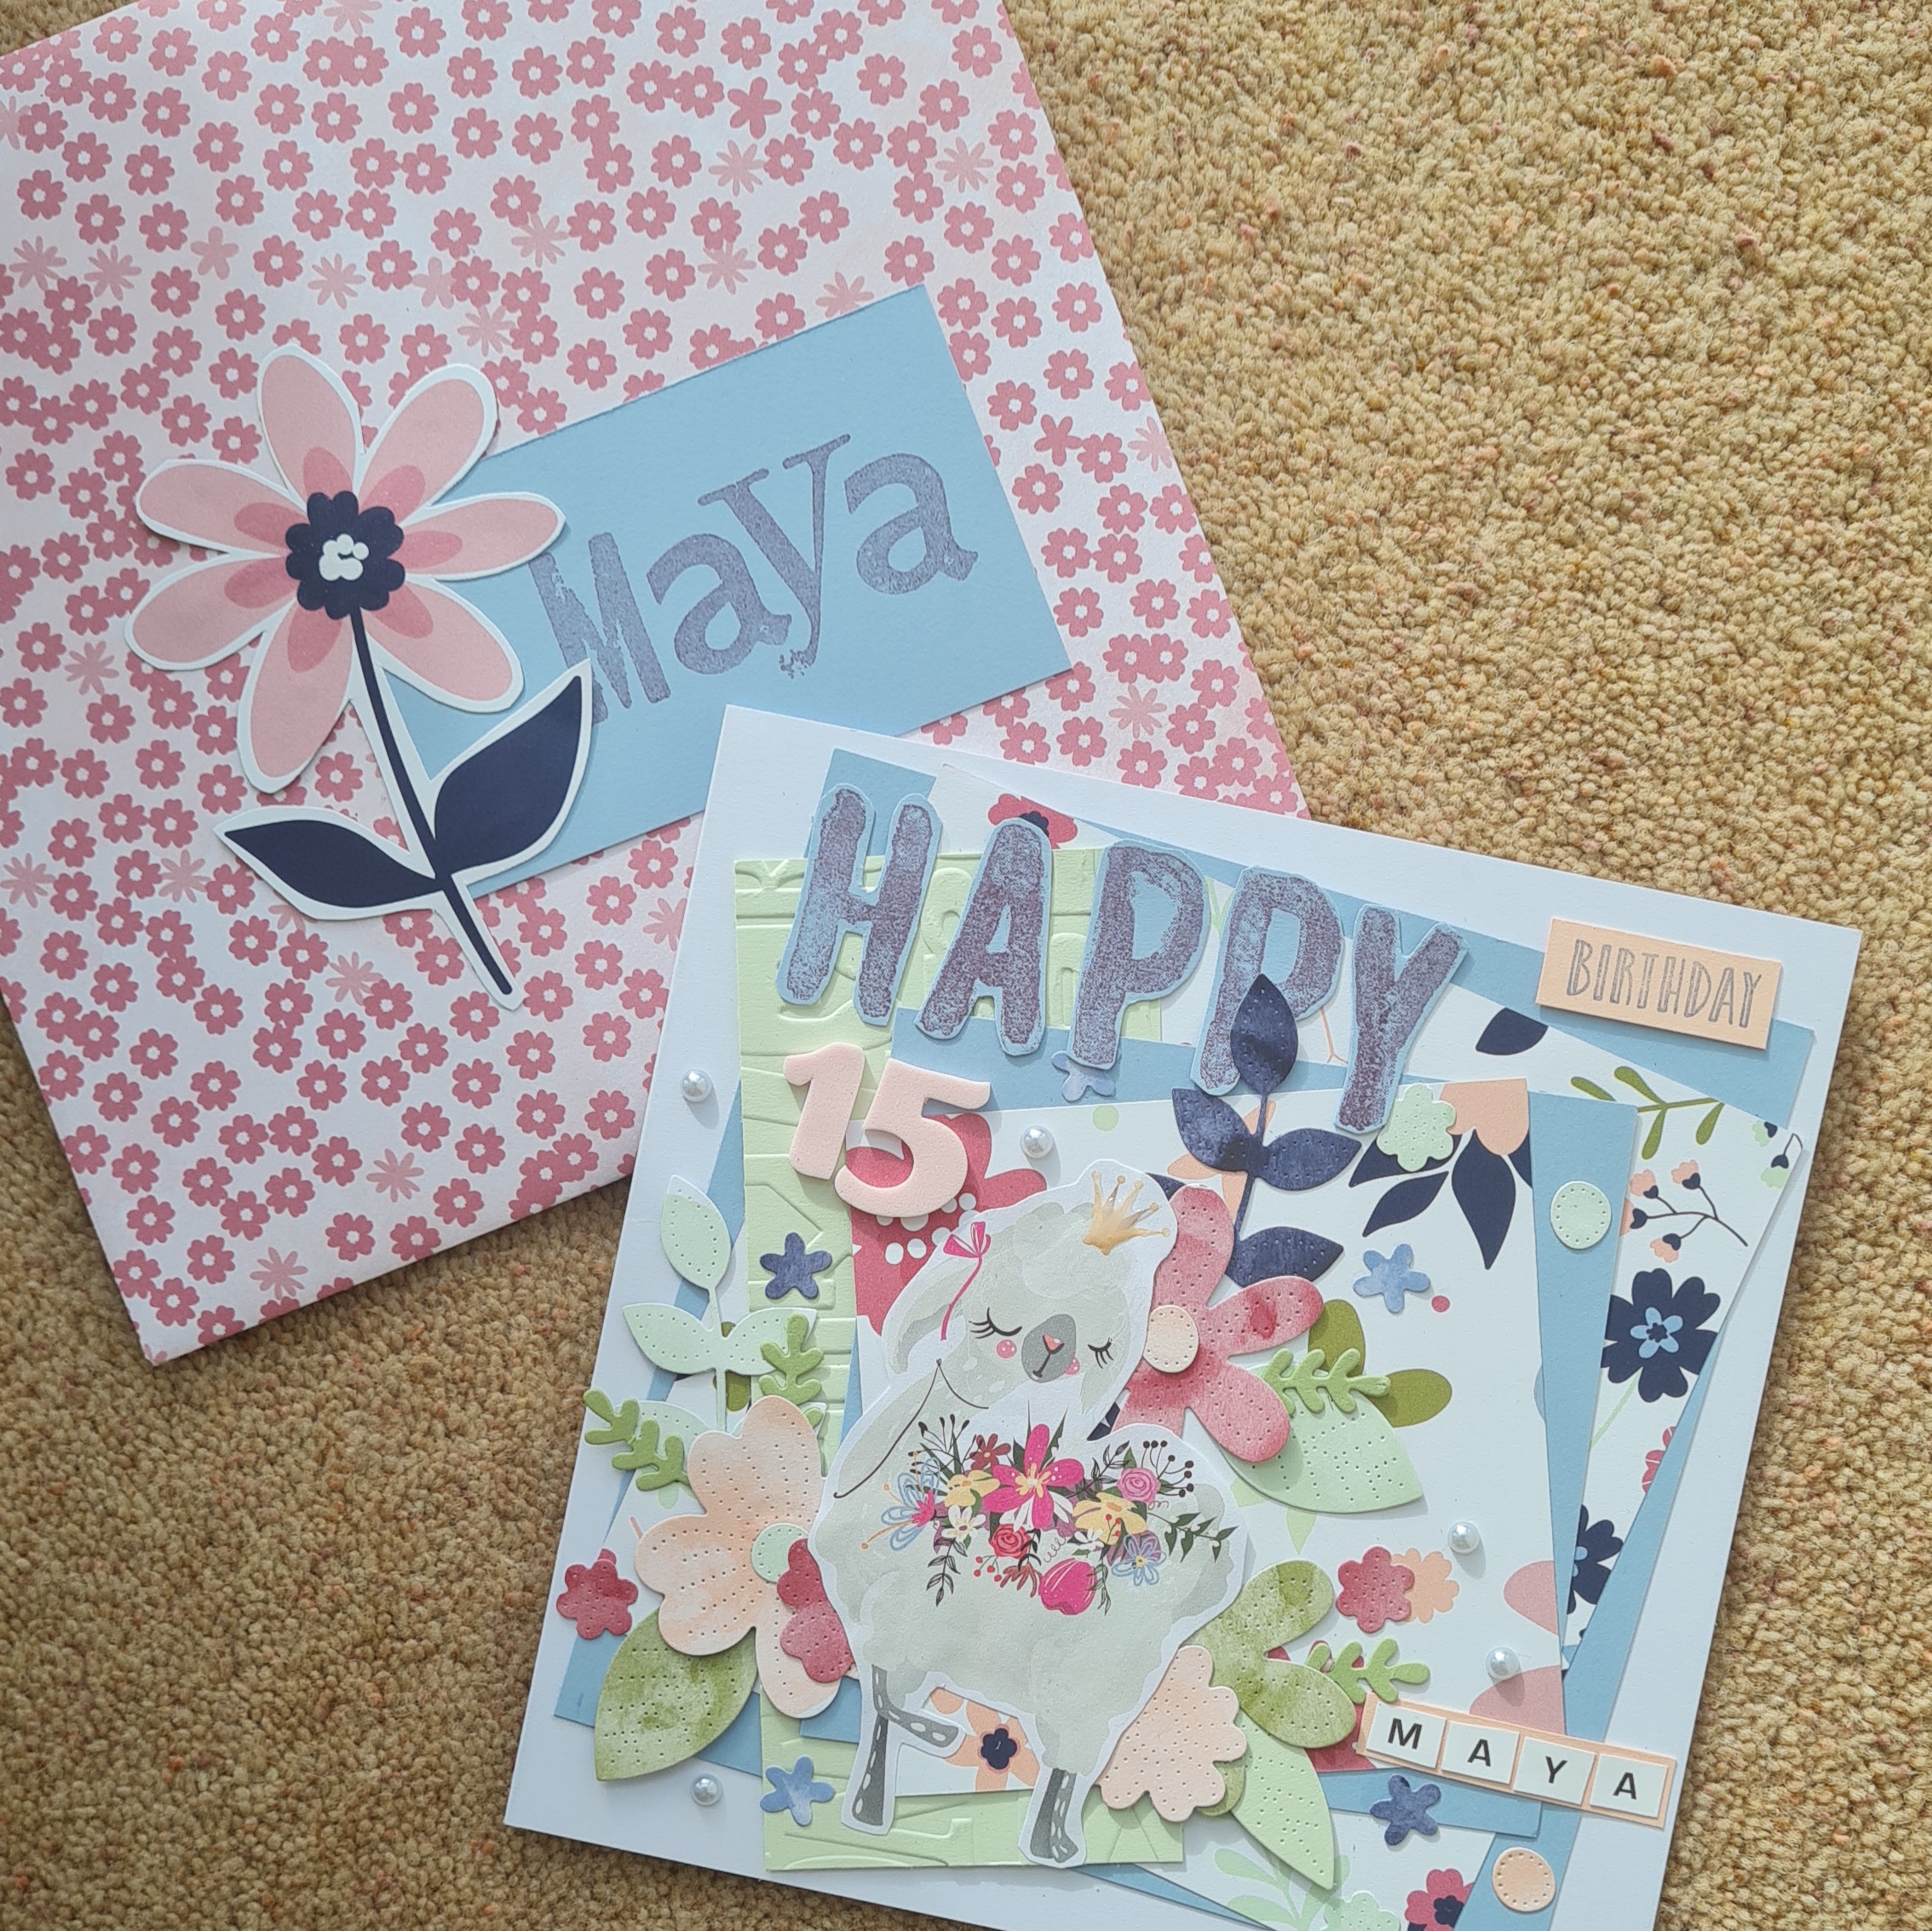
I ended up having to make an envelope as I didn’t have any big enough (it’s a 7×7 card). So I used some of the dsp, and leftover card. I stamped her name and then cut out the large flower from a piece of leftover dsp.
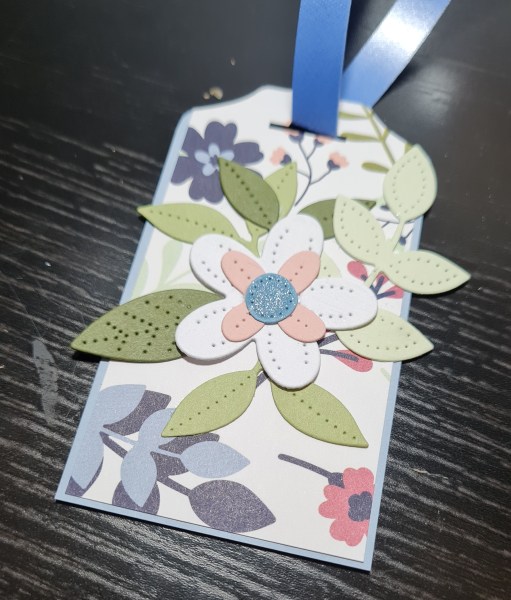
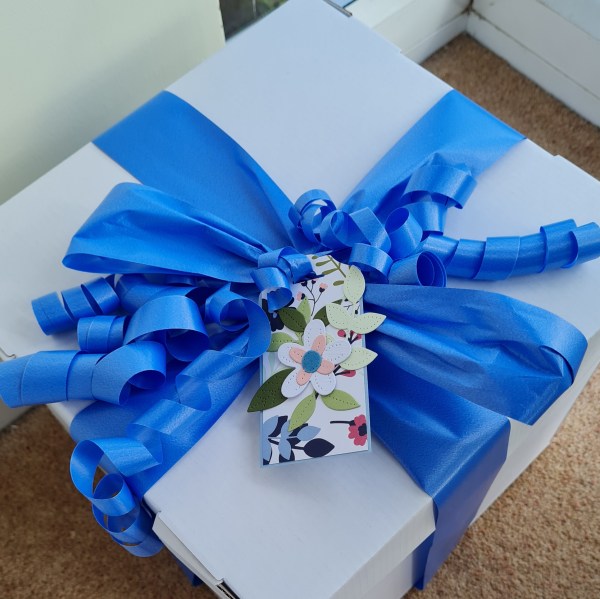
I also made a coordinating tag for on her gift…
So happy birthday to my gorgeous princess Maya xxx
Entering the card into the Use an Embossing Folder challenge at Just us Girls
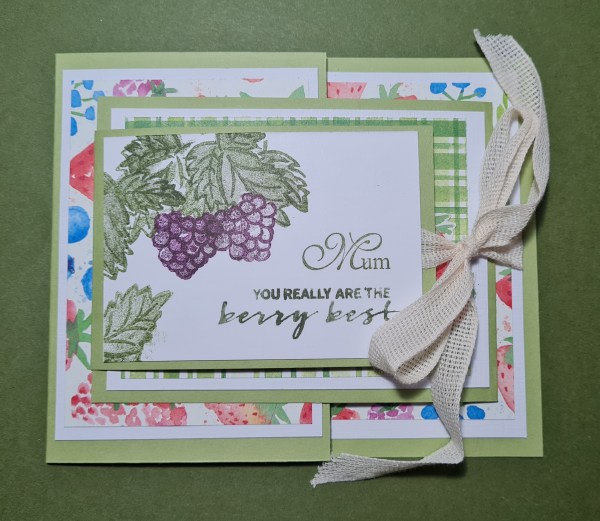
Tomorrow is Mothers day here in the UK (it’s also my daughters birthday so going to delay celebrating it for me by a week!) and so today I am sharing the card I made for my Mum.
Now I actually made this in January following a tutorial Sue Boothby did with us on a craftalong zoom session with my SU teamies.
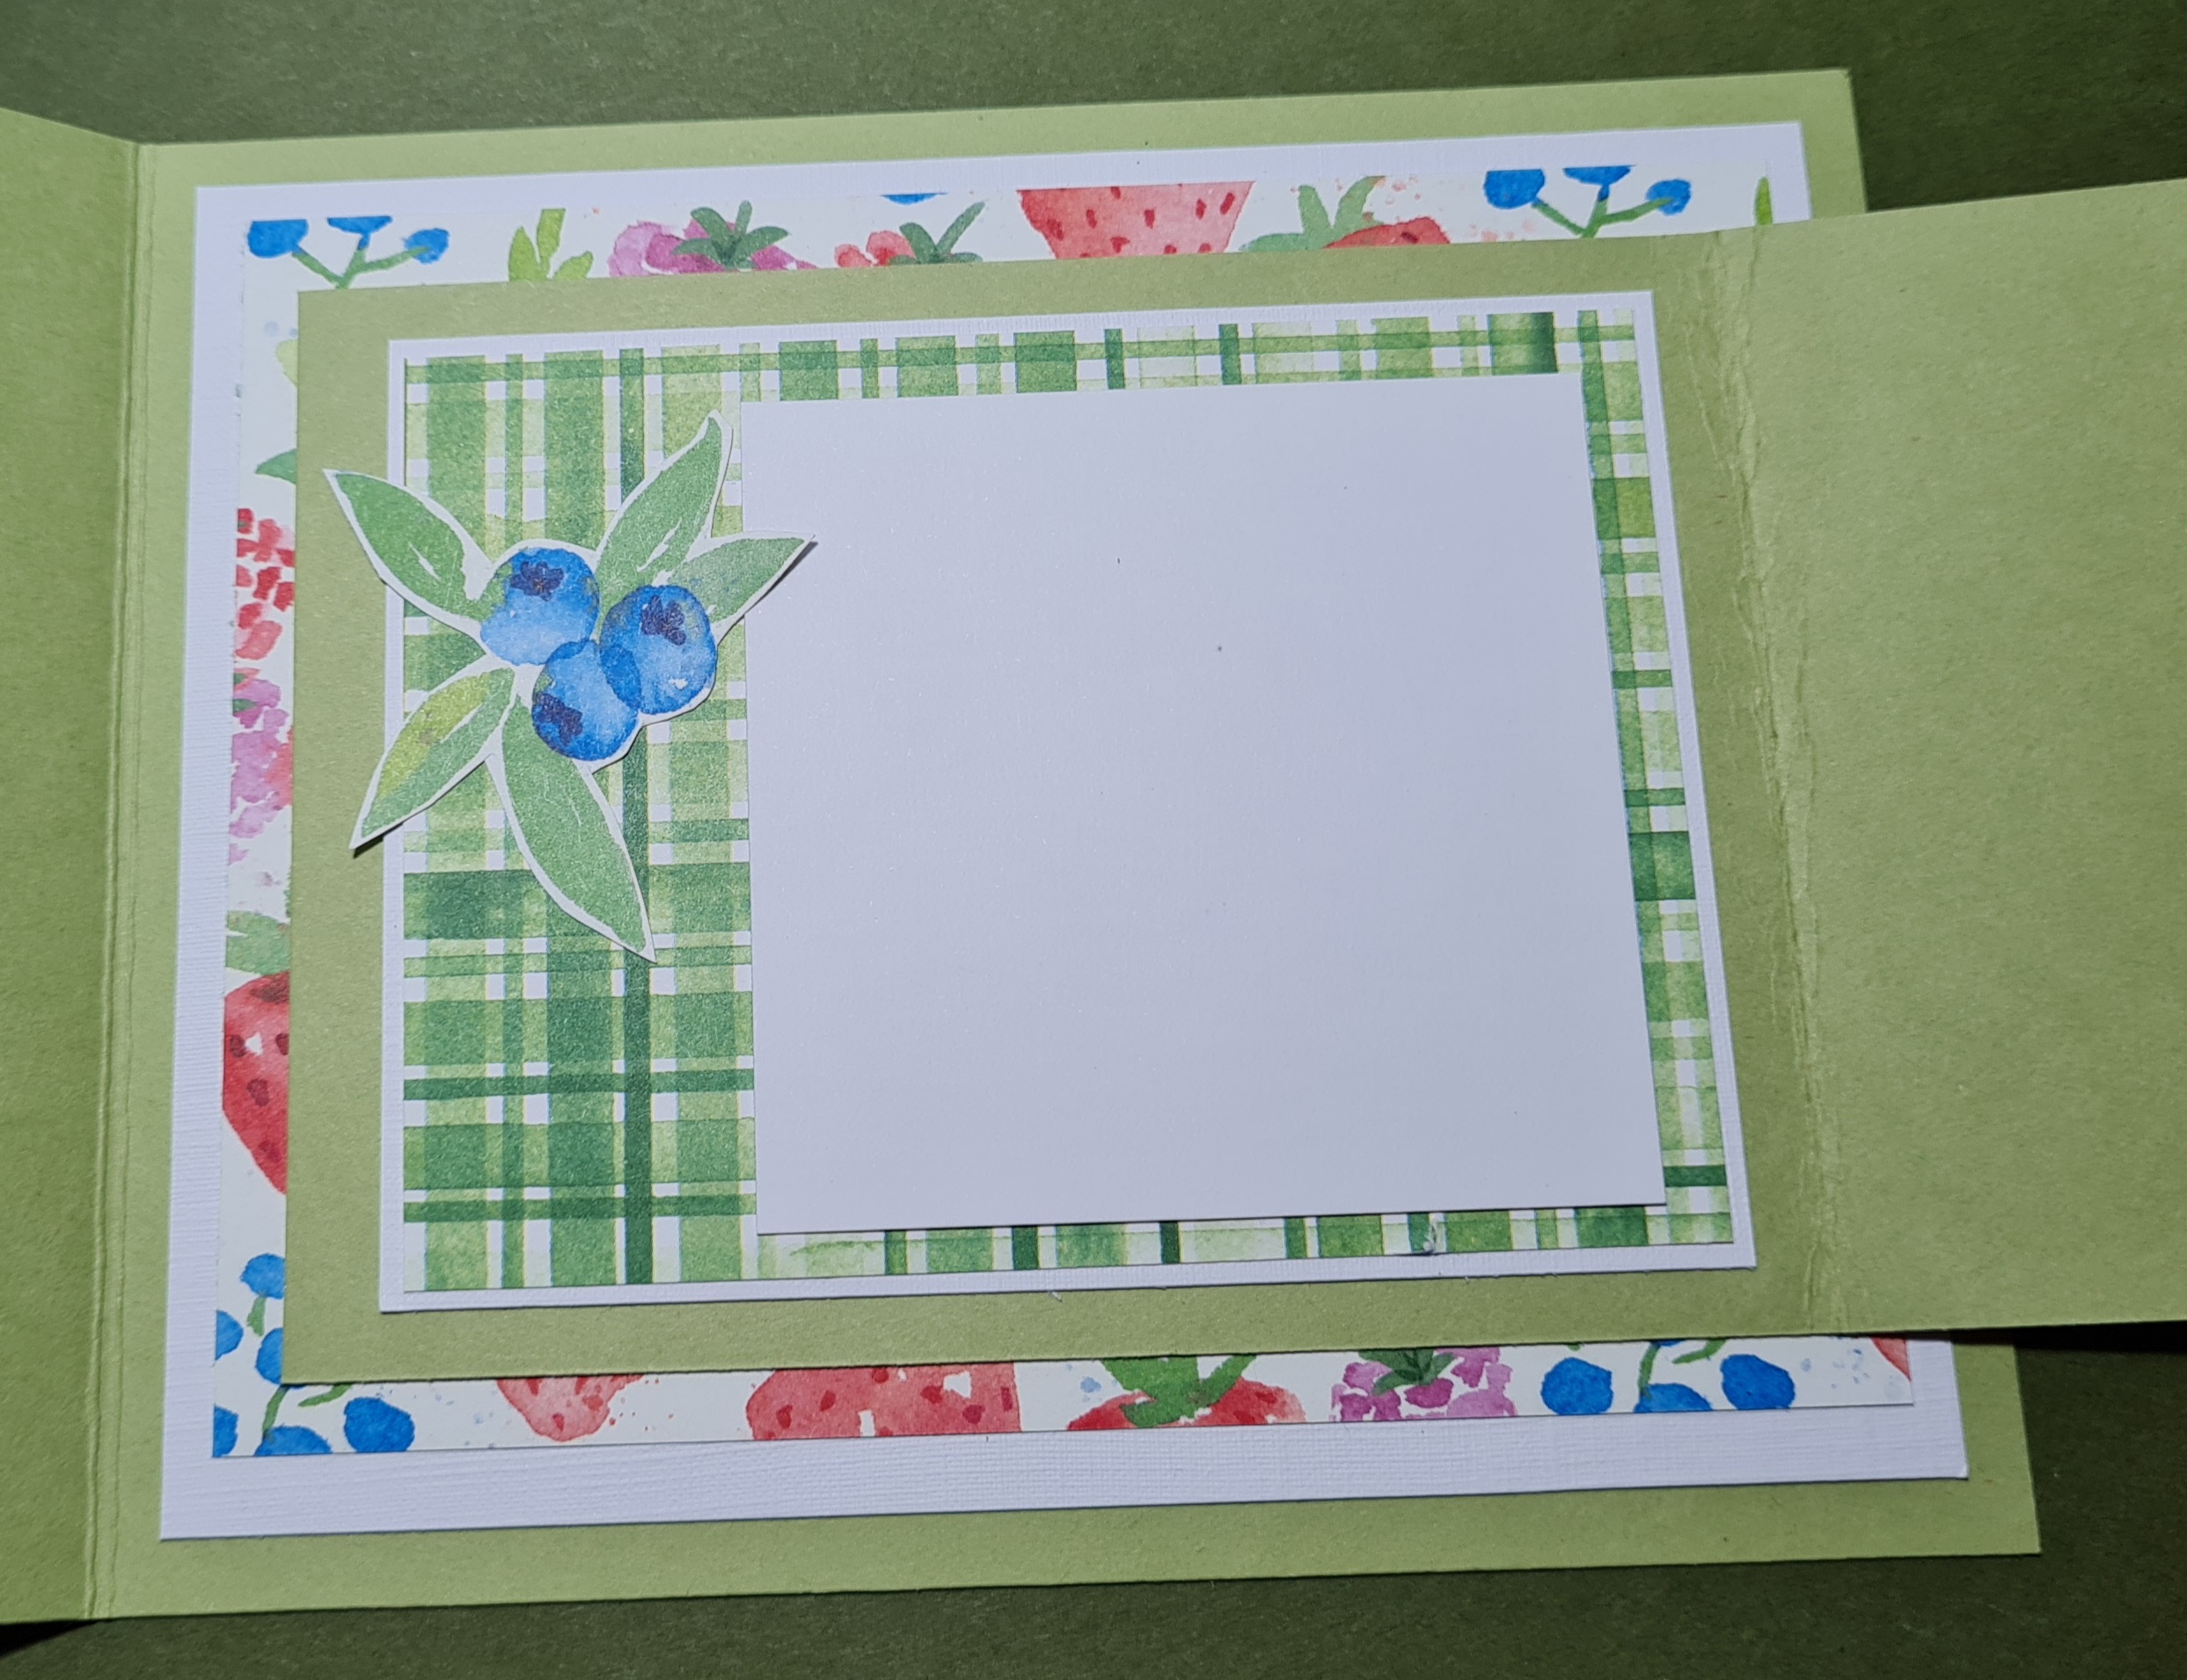
She also used the Berry Delightful dsp but chose to use the Snail Mail stamps … I kept to the Berry theme for mine however as my parents surname is Berry so it seemed apt!
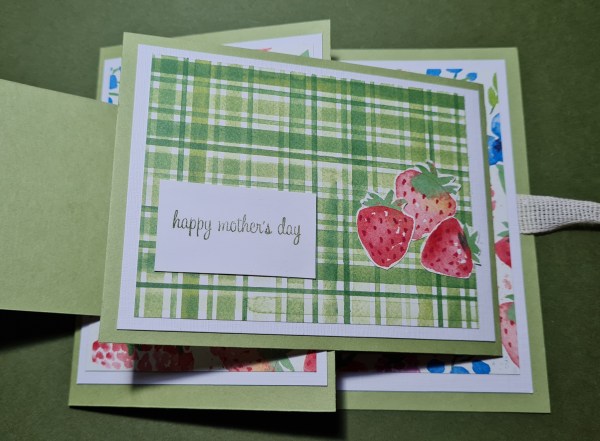
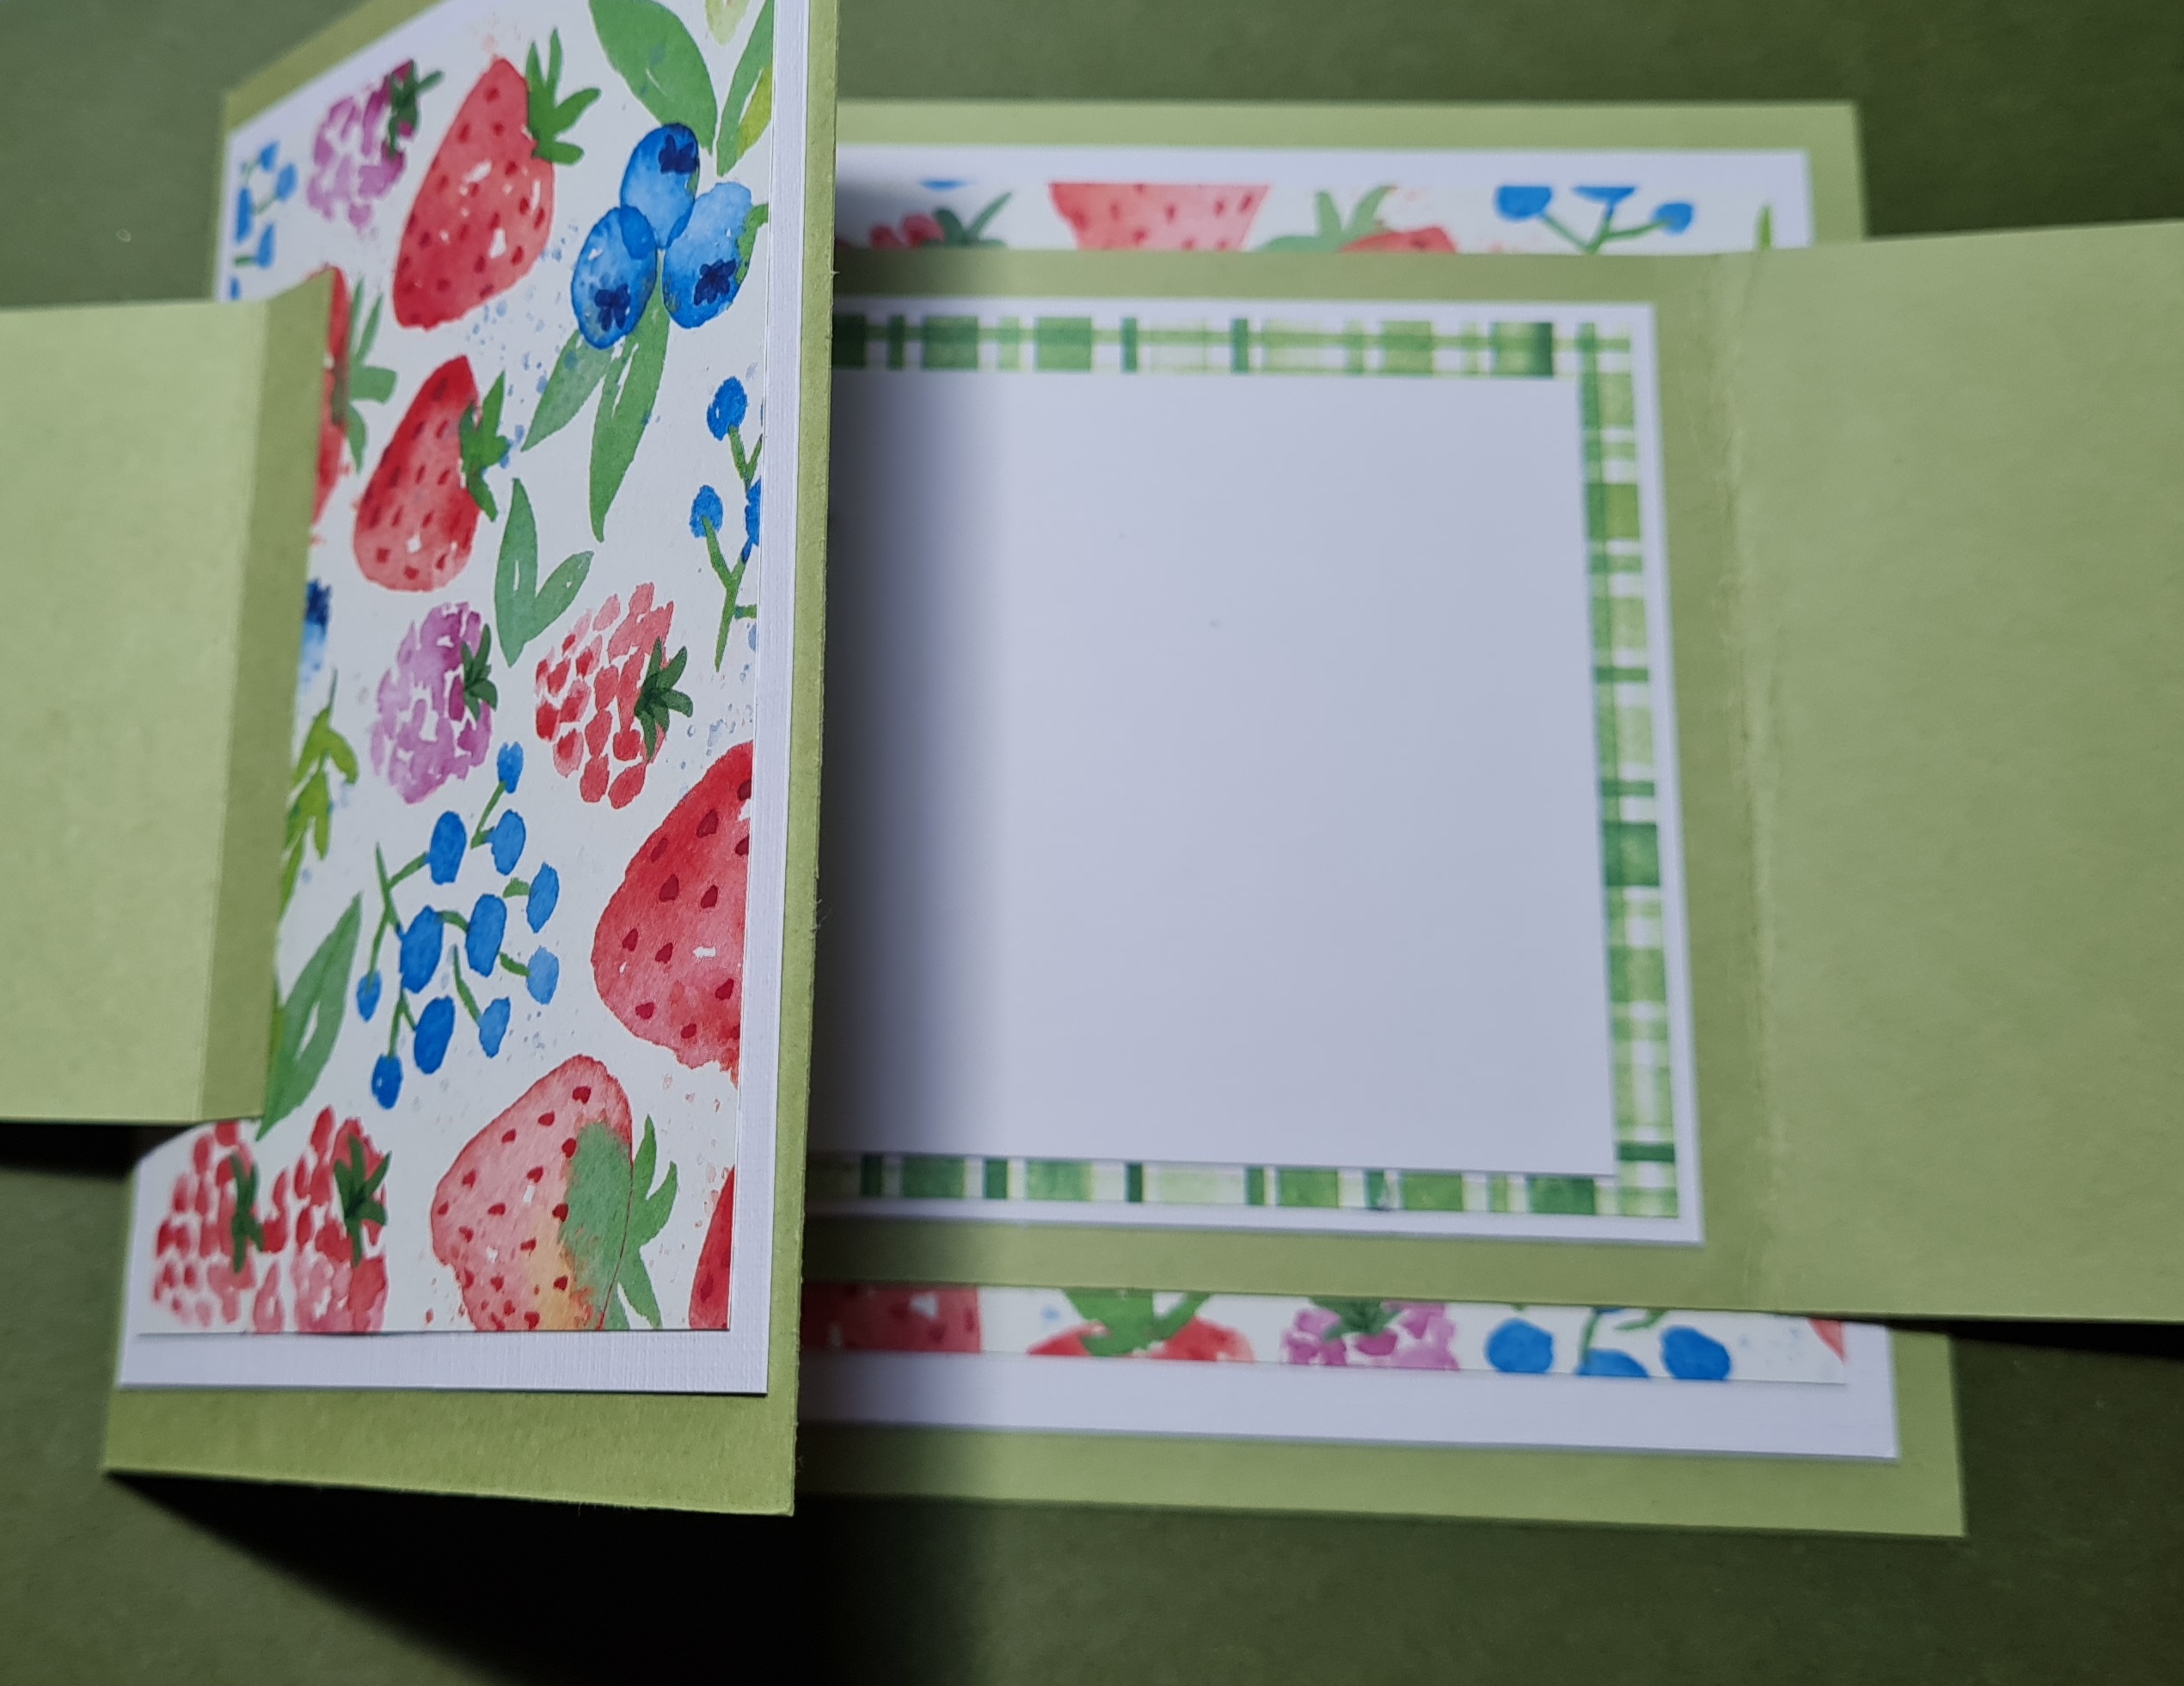
It was a complex card to make with all the panels and layers and mine didn’t quite work perfectly (I am rubbish at following instructions) but I made it work!
So there were panels and cards going backwards and forwards… its sort of difficult to explain so hope you get the idea from the pictures!
I just love the fresh look of these papers and the card was so special it had to be turned into a Mothers Day card for my Mum.
Hope those of you who are celebrating mothering Sunday tomorrow have a wonderful day.