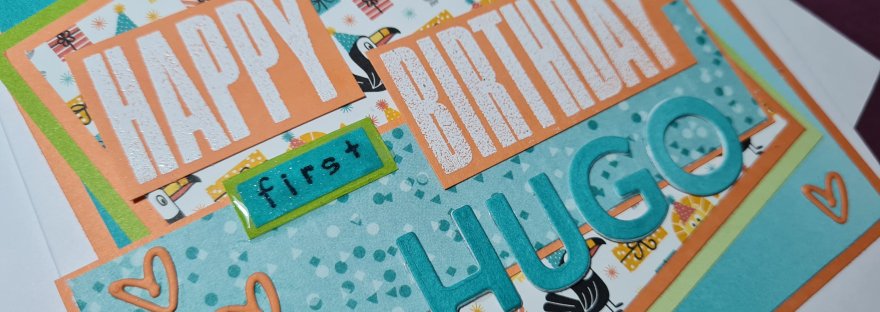
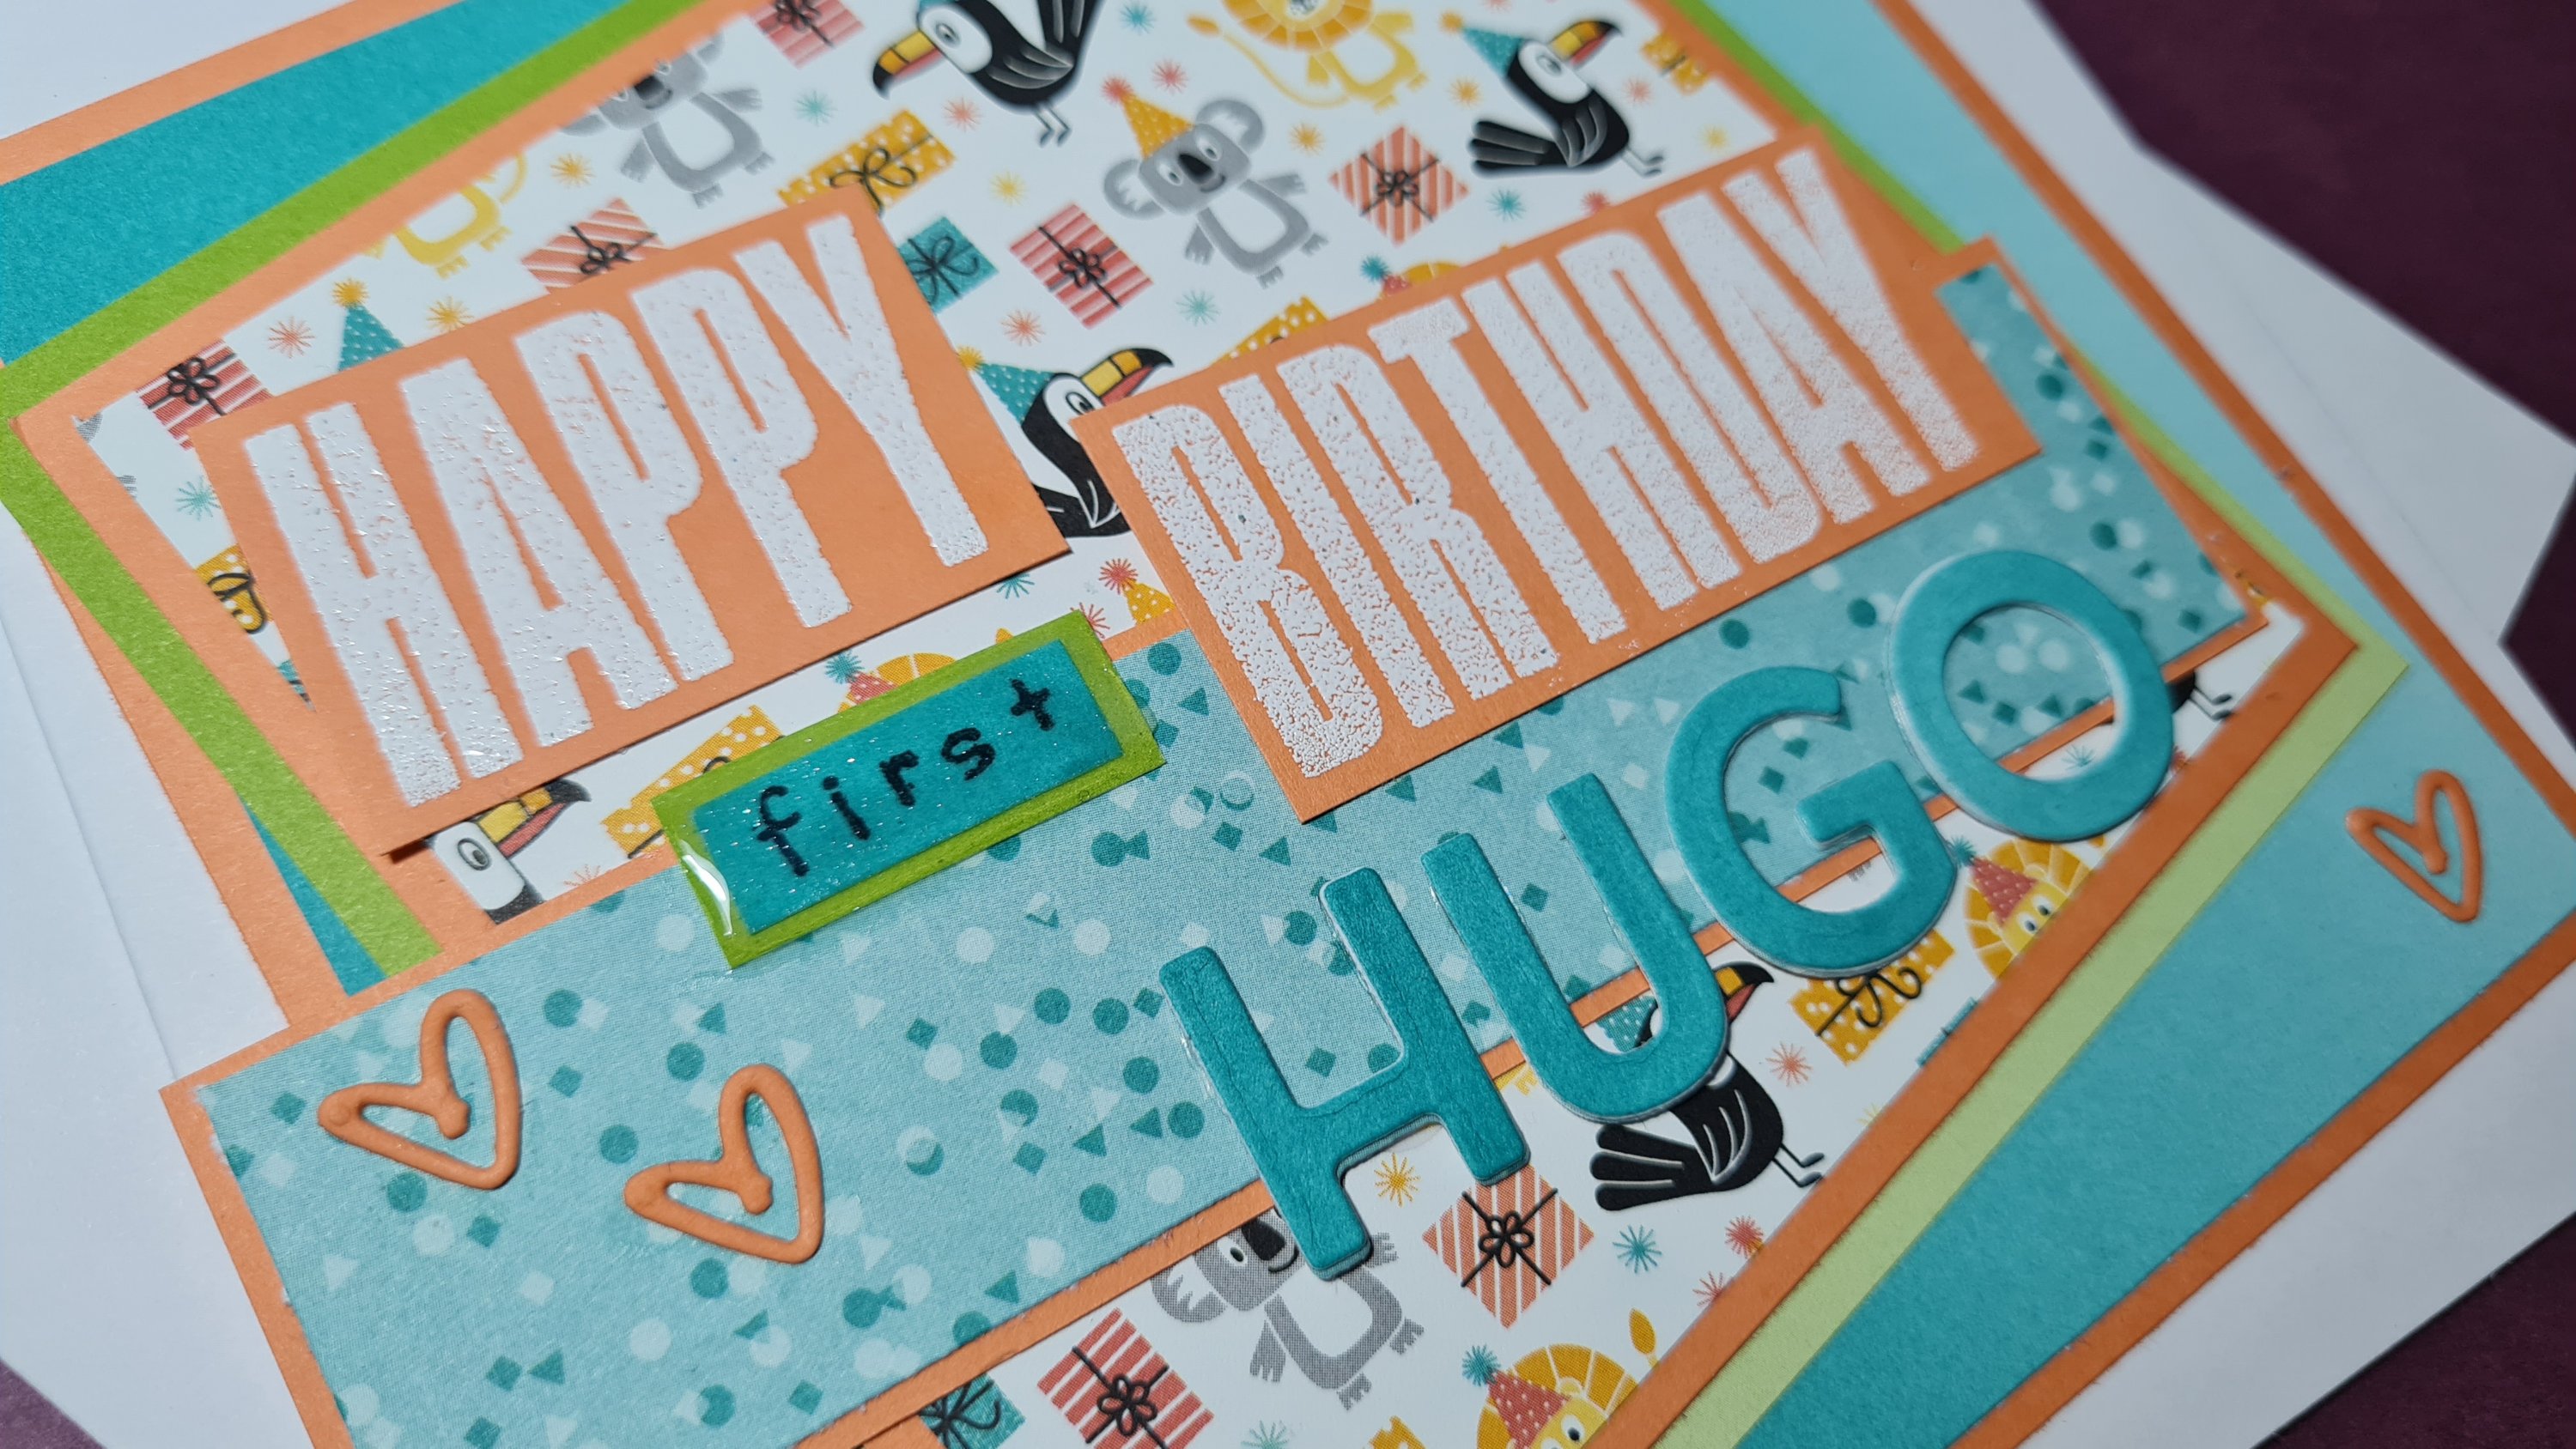
I’ve been awol for weeks and weeks now because I’ve had zero time to craft. But my youngest great nephew turned 1 this weekend and I made this card for him.
Love the bright colours I chose and the cute paper from the stash. Used the Biggest Wish stamps and the Playful Alphabets dies to make up the sentiment on the front. Also those little heart dies I found in my stash in a gummipan set. So cute!
The little first I stamped using some mini alphas and then used wink of Stella and glossy accents to turn it into a raised sticker effect.
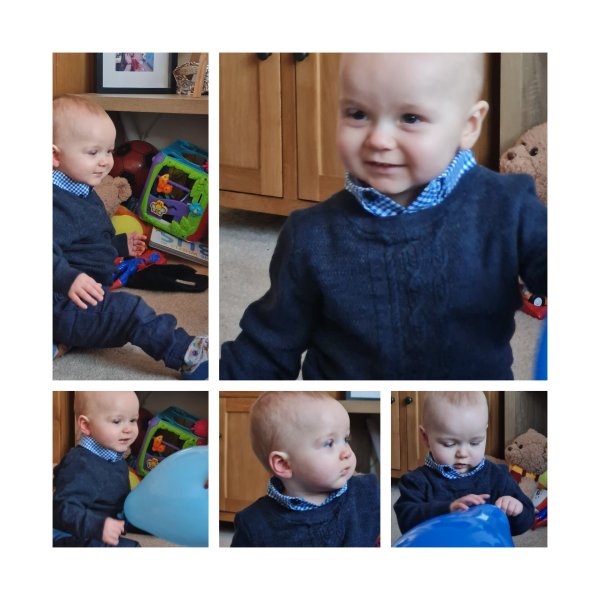
Had a lovely day yesterday celebrating with Hugo and some of his family.
Hoping to find myself a bit more craft time in the coming days to get back on top of the Christmas challenge that has completely gone to pot!
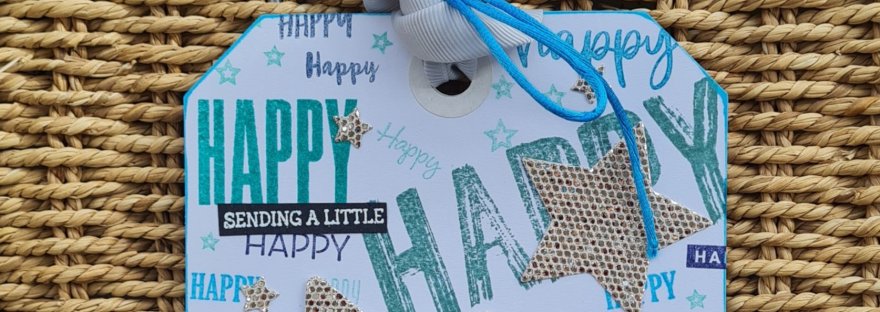
Hello! Another month flew by and time for another DT contribution for Happy Little Stampers Anything Goes with Dies challenge blog.
This month I went to town stamping on a large tag in the stash and embellished with loads of different sized stars which I die cut from the Trimmings and Tidings bundle.
I added some stamped stars too and then made a title for the tag using a stamp set to make the start and the end of the title embossed onto black and then the Biggest Wish stamp to create the focal word.
Just love how this turned out. Fun to make the patterned paper with all those Happy stamps from the stash.
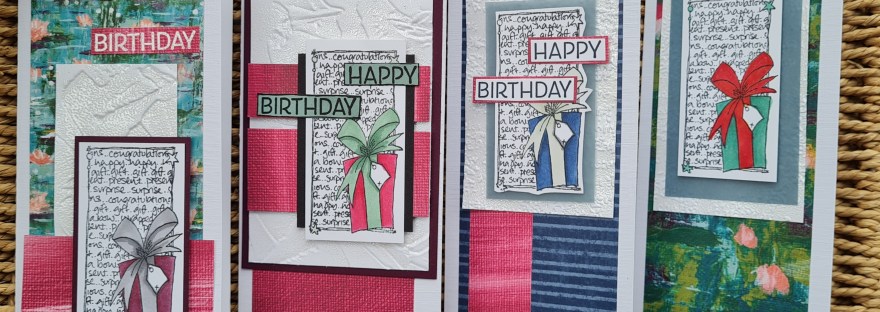
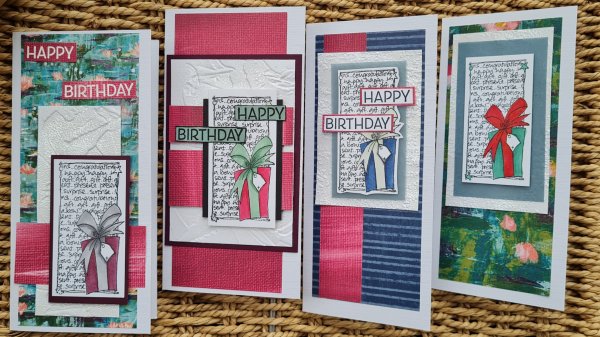
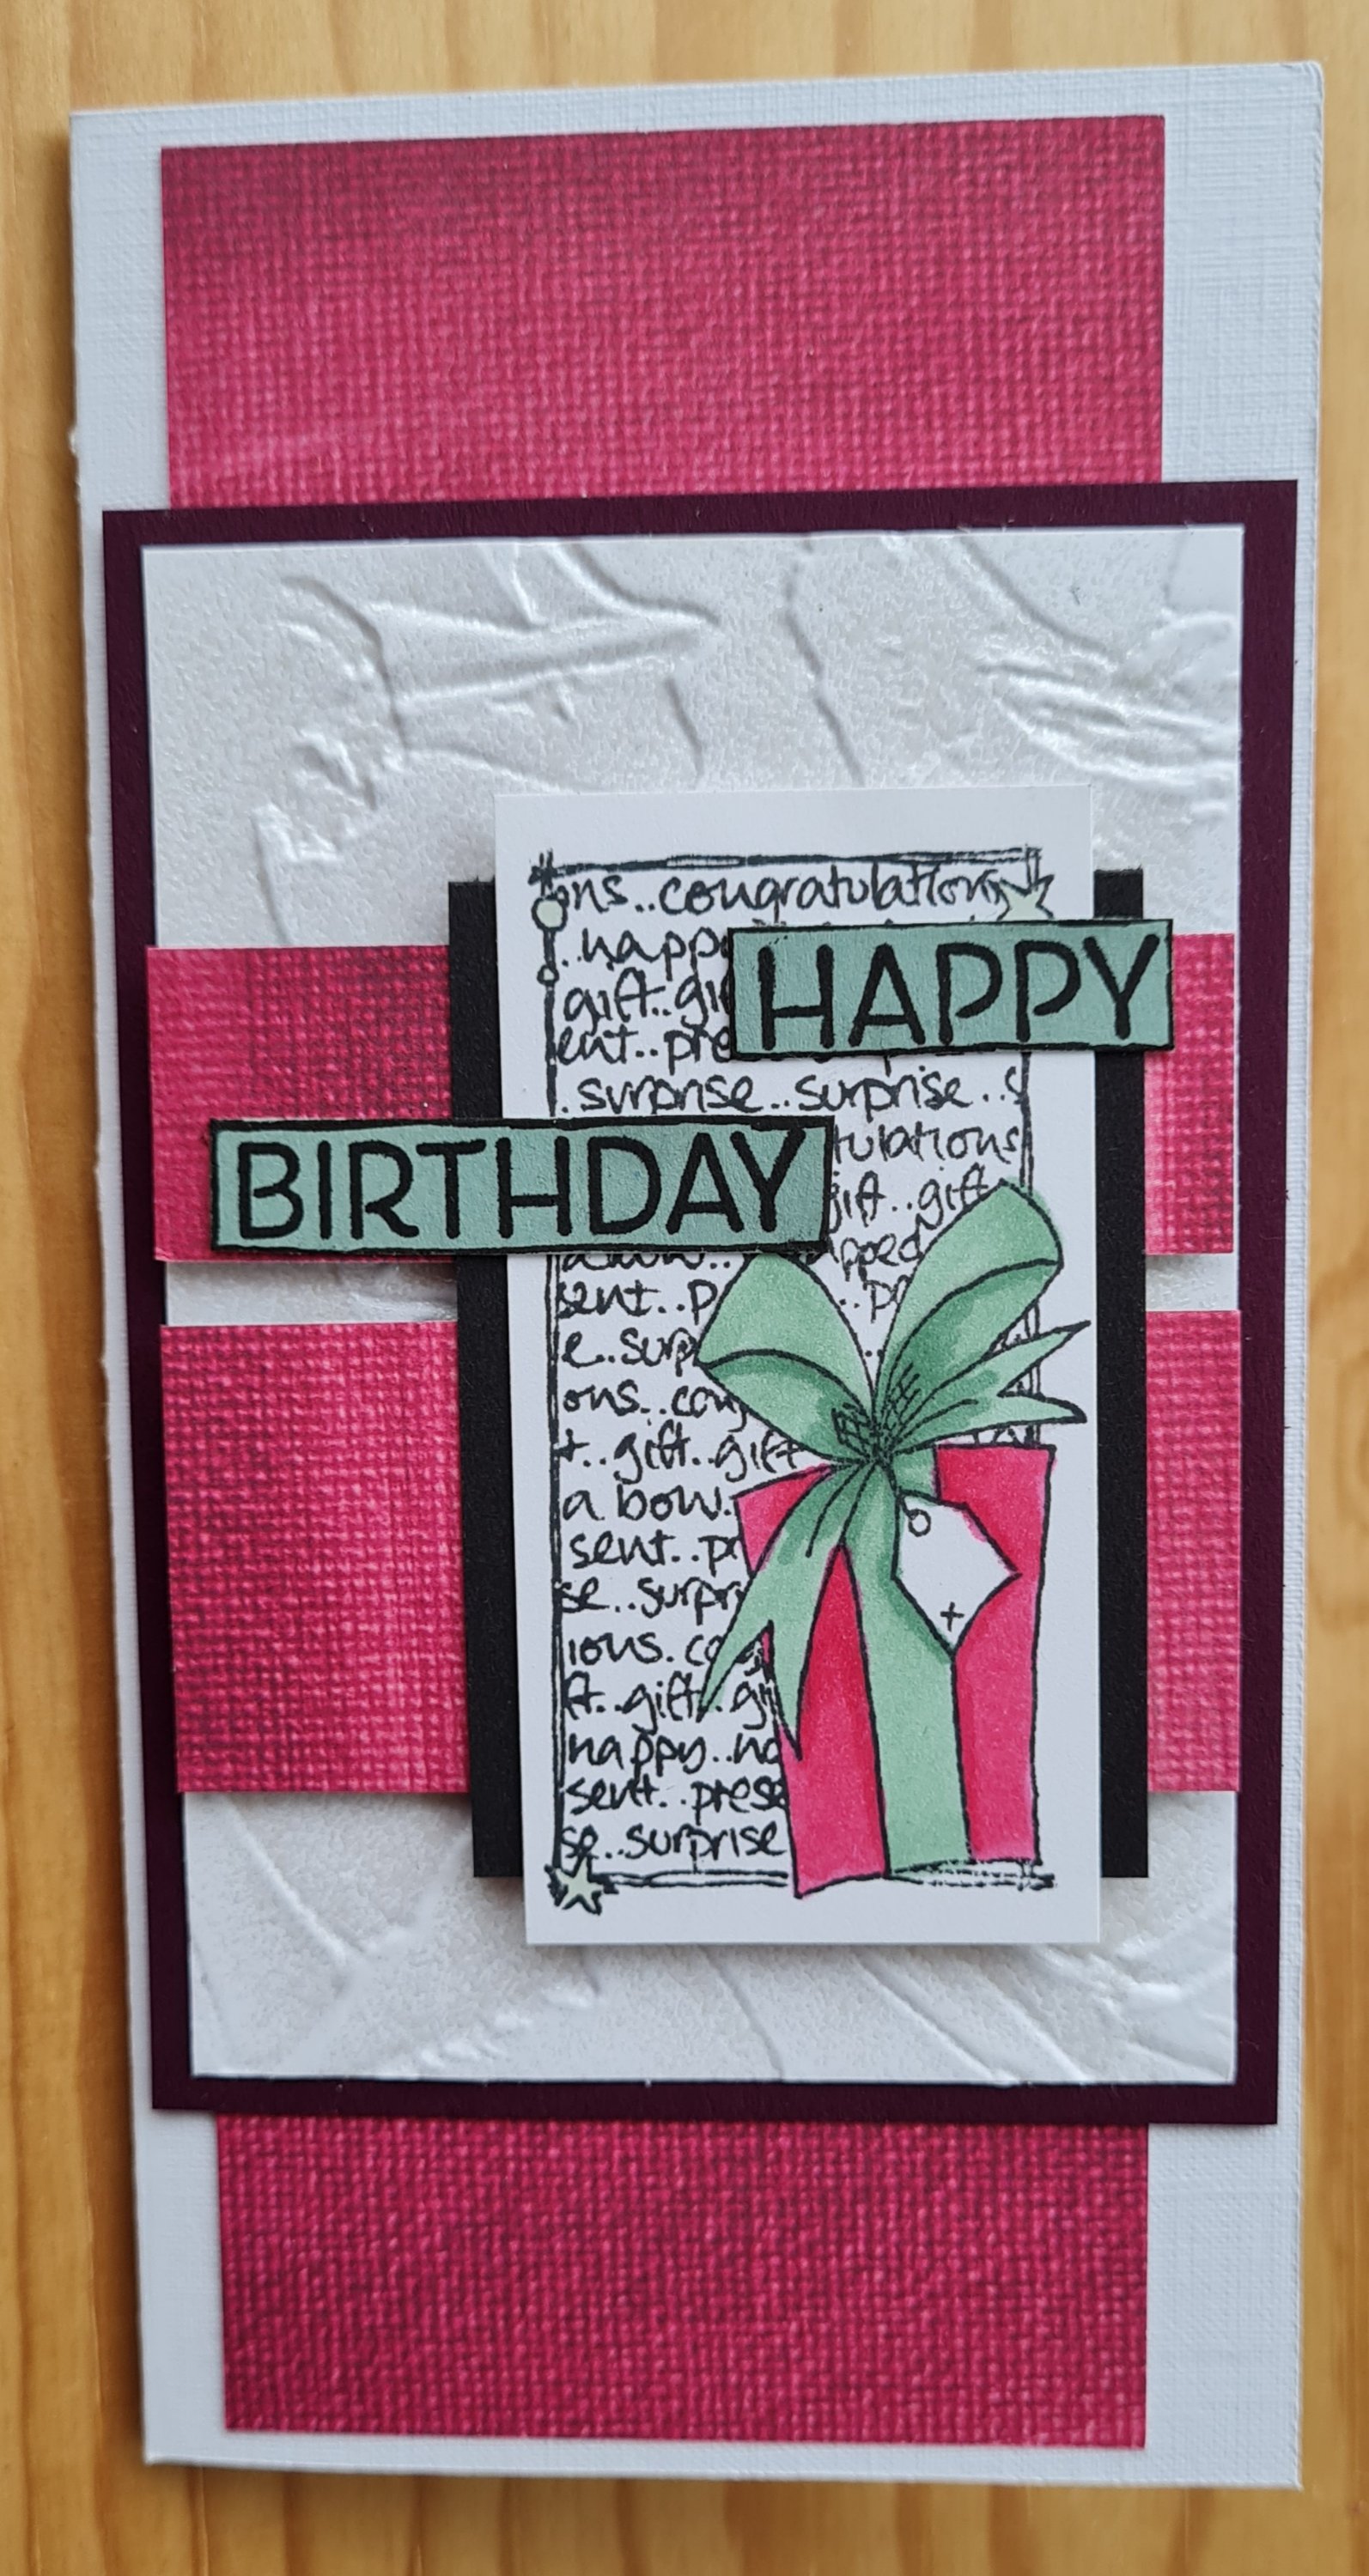
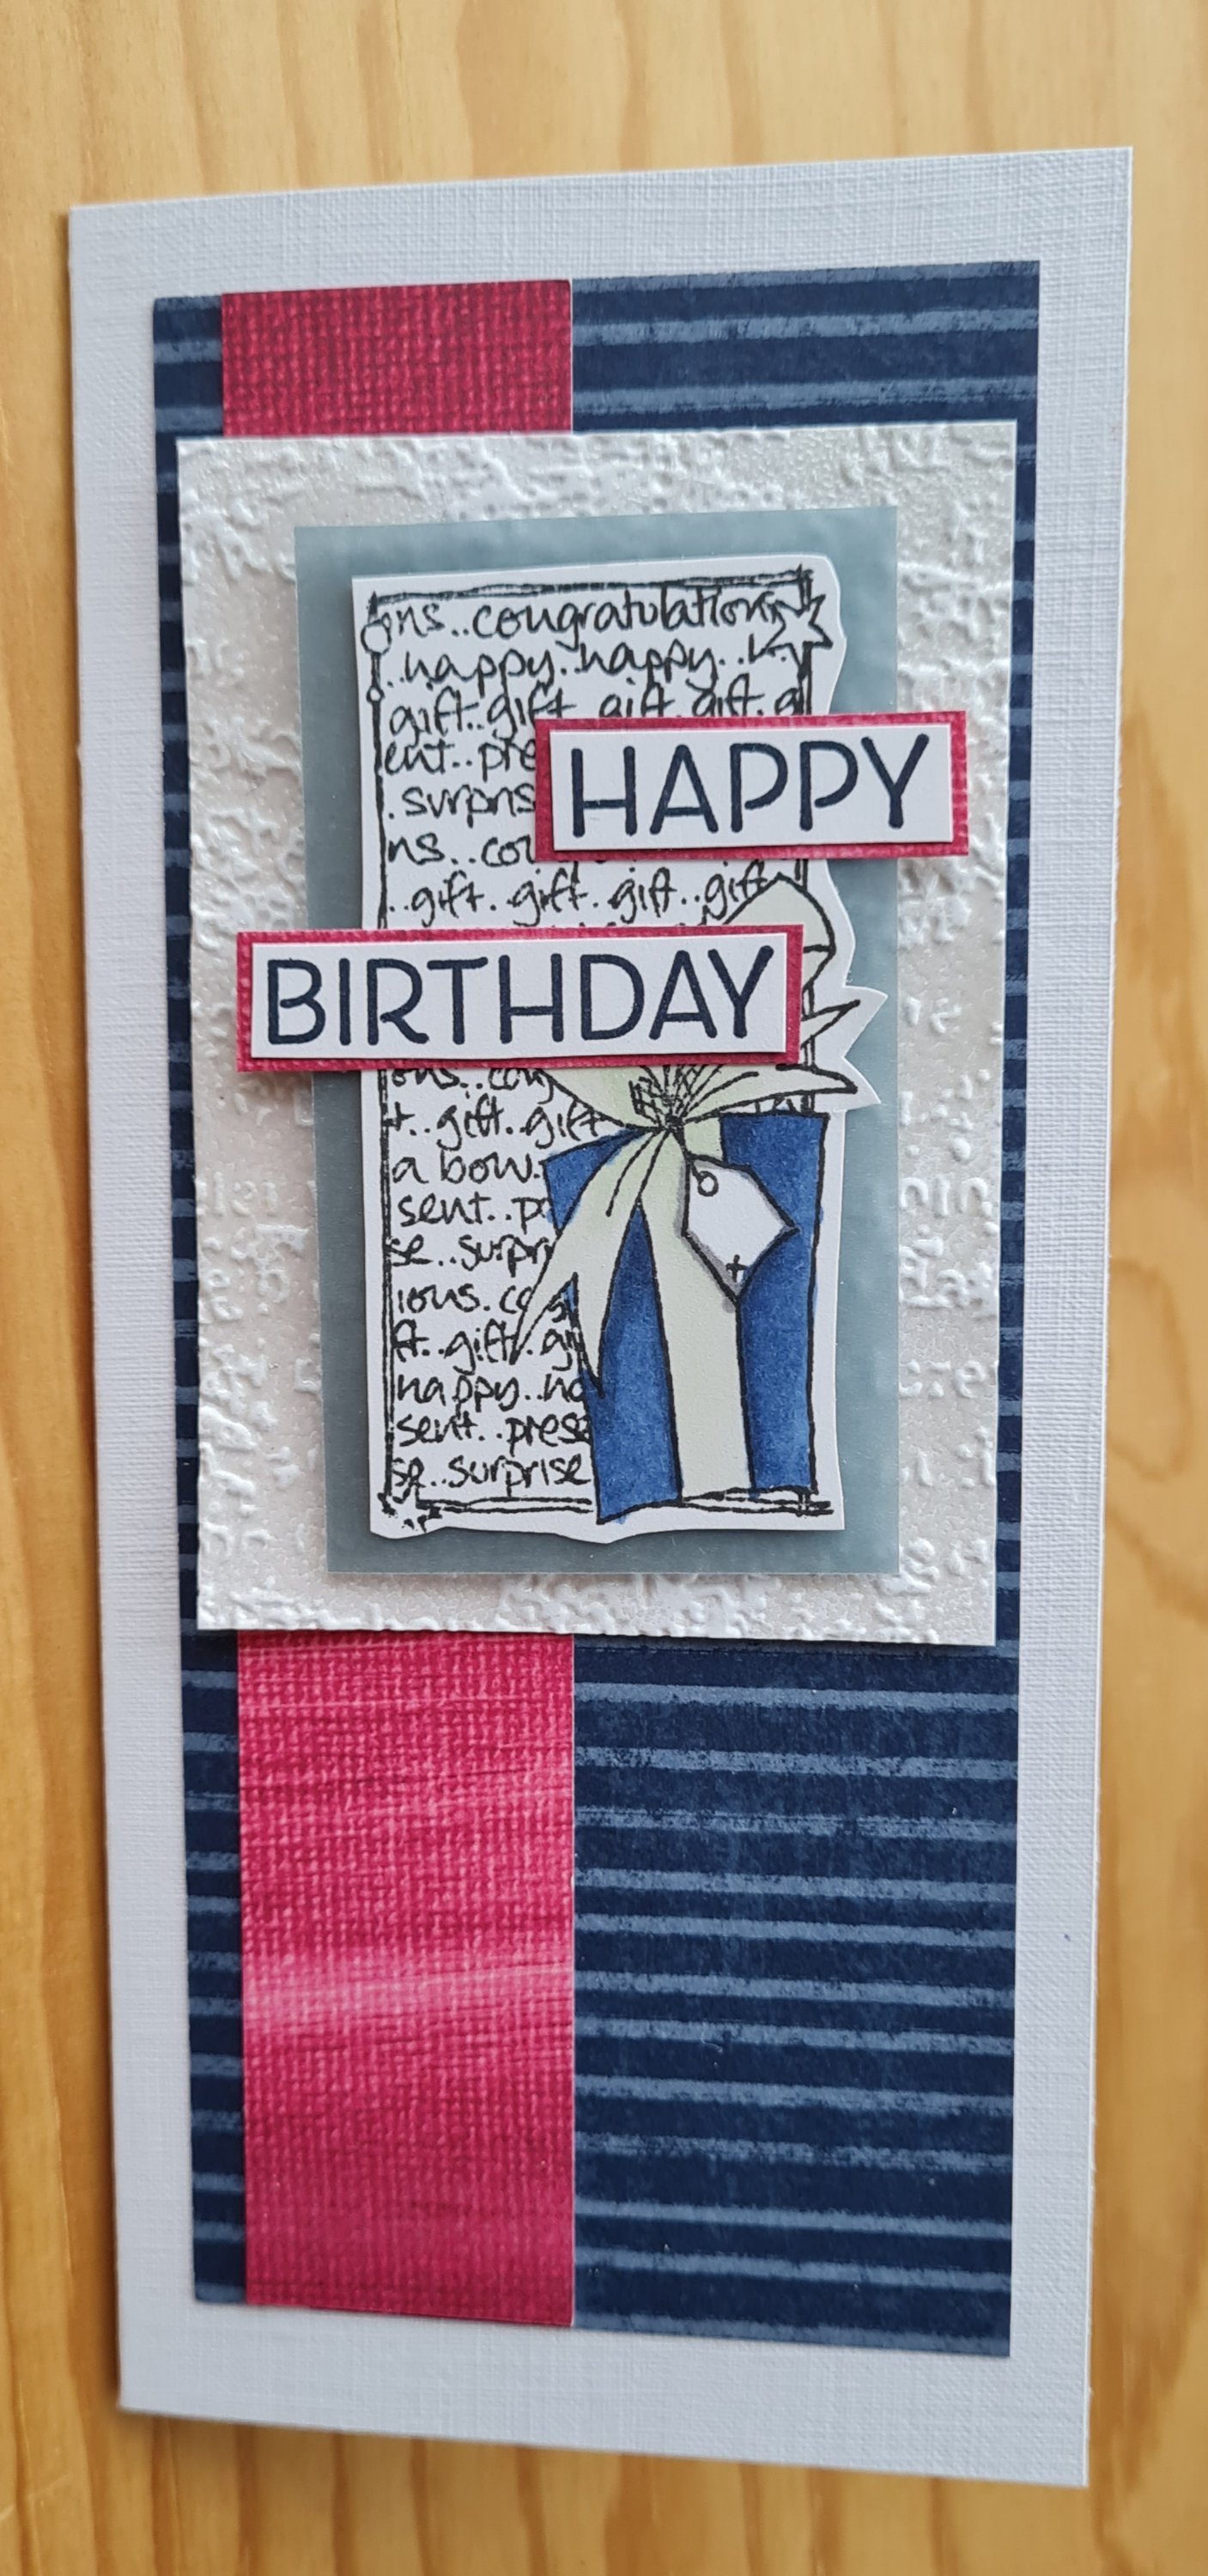
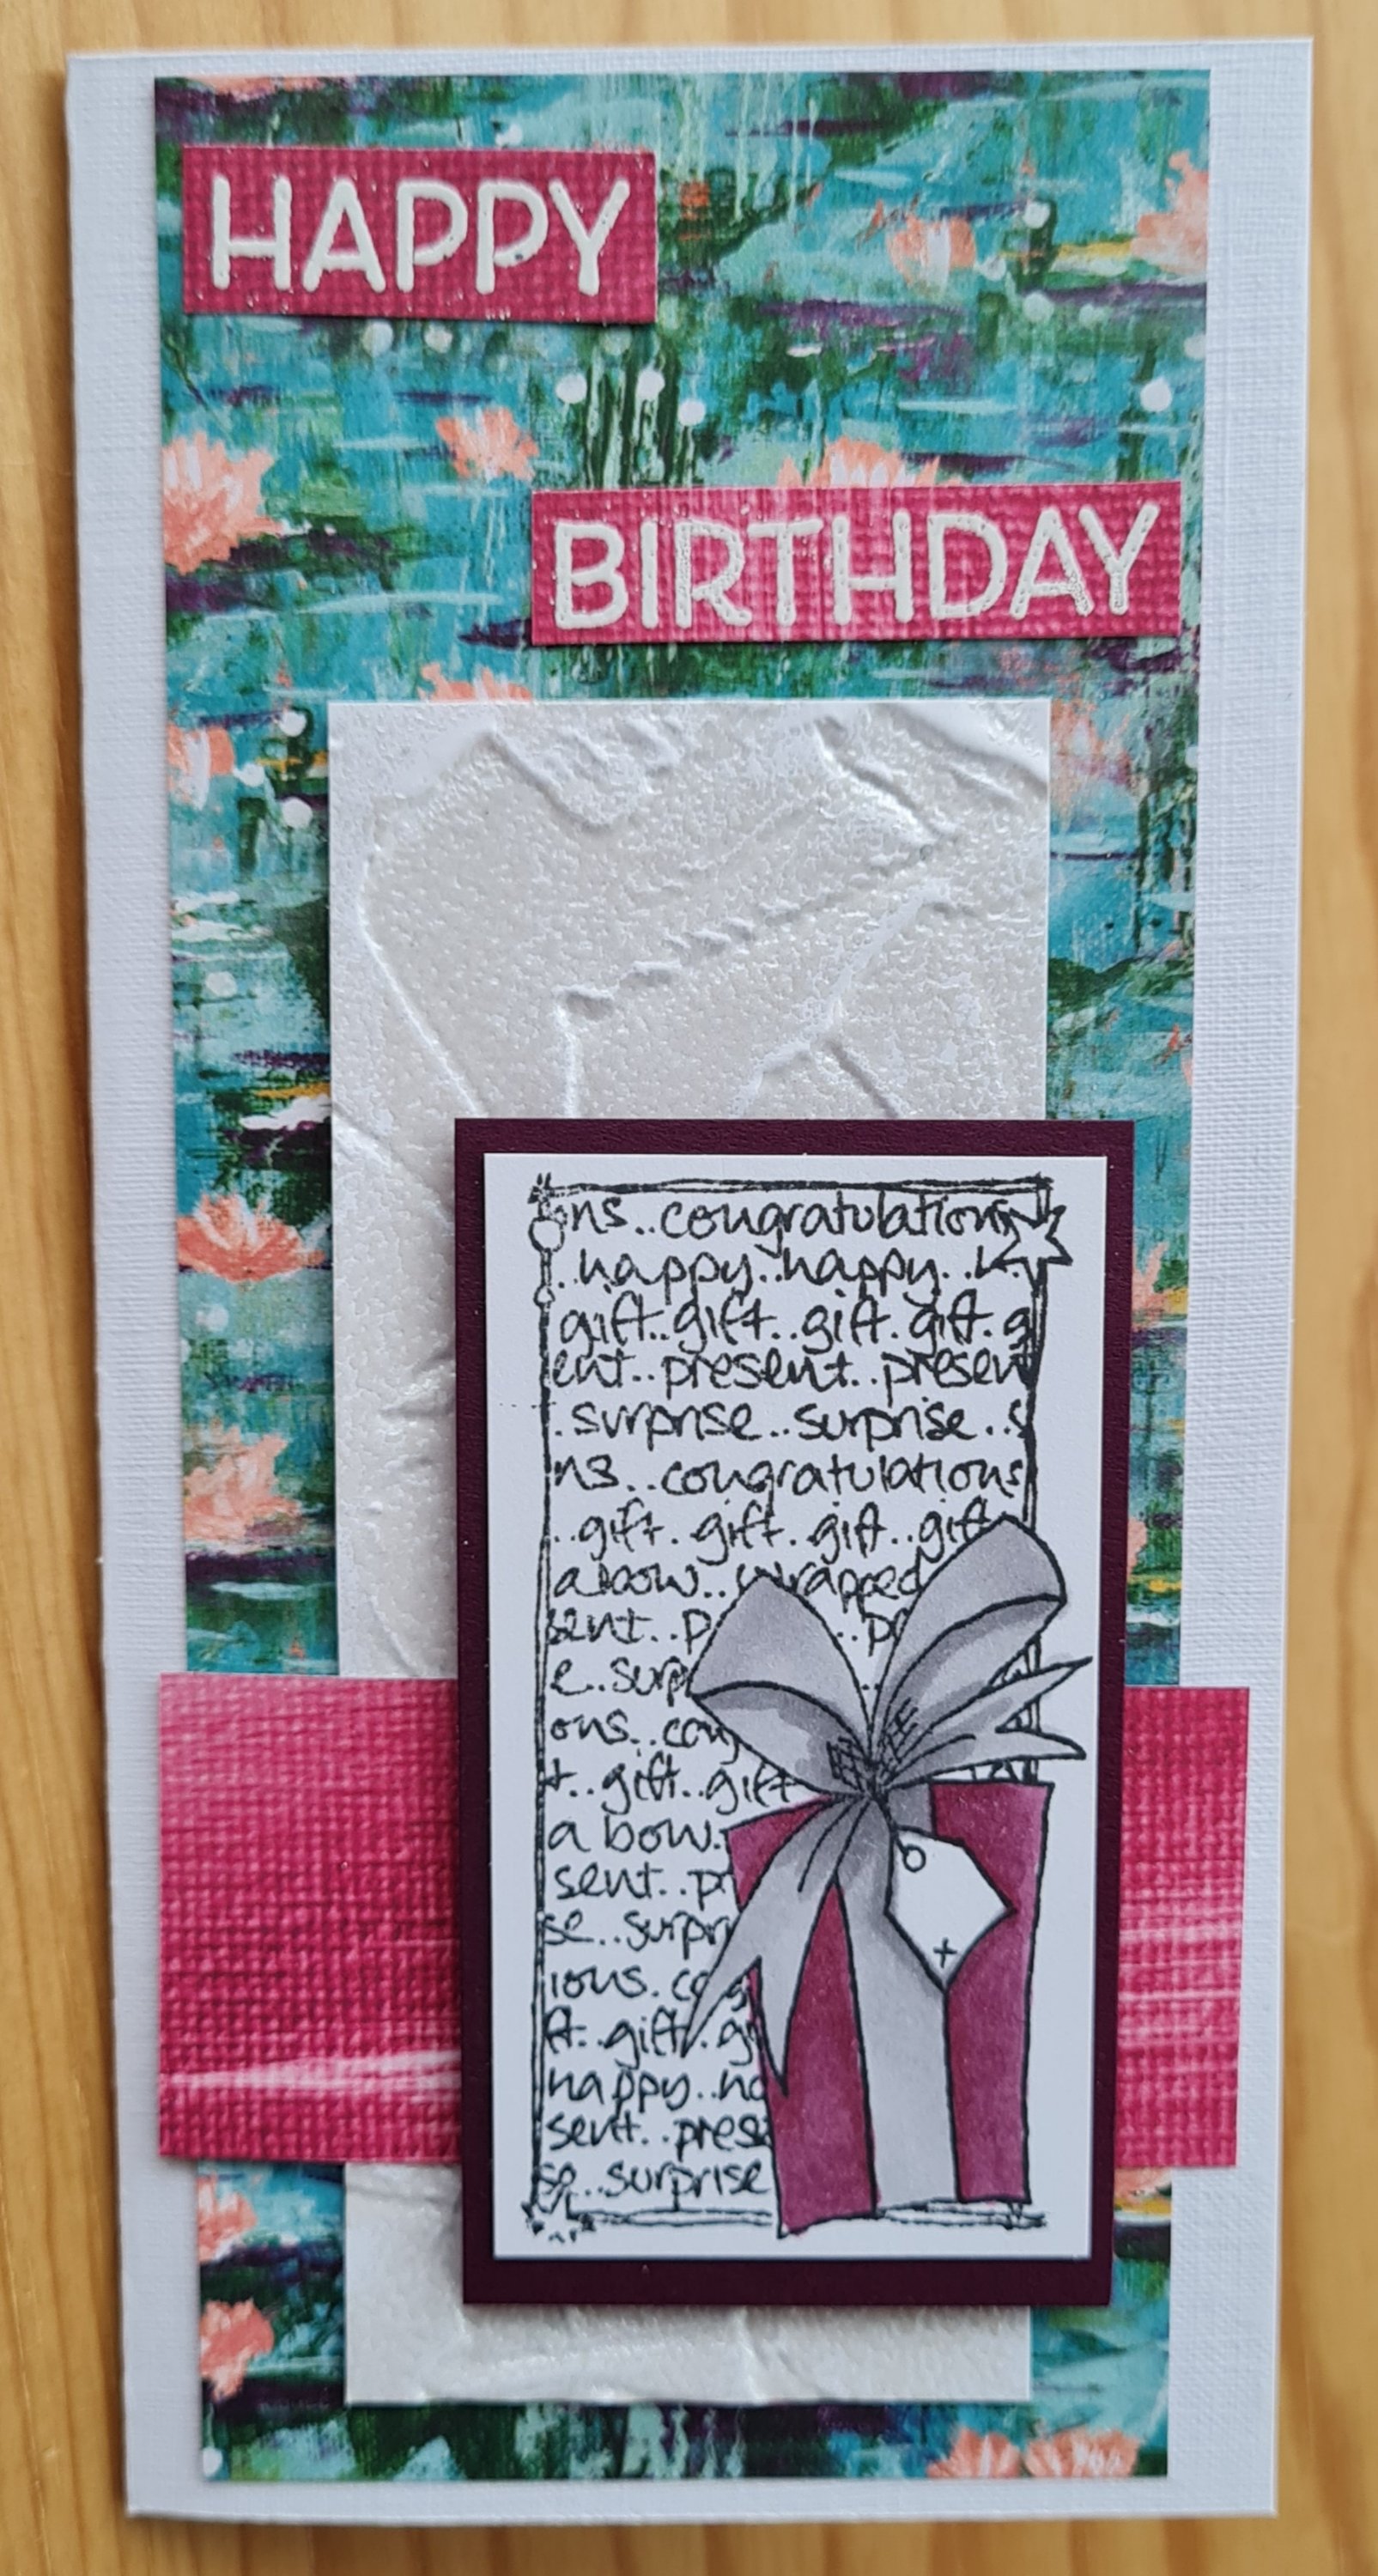
As its the first of the month it is time for a Craftyhazelnuts patterned paper challenge blog design team contribution… and once again I shied away from a OSW and instead decided to play with old dsp and a JOFY stamp to make 4 slimline cards.
They are all individually made and all approx 3×6.5 inches in size so at some point I will also need to make bespoke envelopes but hey ho… aren’t they cute?
I stamped and coloured all the images first and then started pulling out papers that worked with the colours I had used. They were all retired dsps that were in my stack of 6×6 papers.
I also added a double embossed panel on each of them. What’s double embossing, well you add versamark to the inside of the embossing folder, then run it through to create the texture, then add embossing powder and heat. I used a pearl white powder and it have a gorgeous sheen and really stepped up some plain white cardstock.
I added a sentiment to three of them and some wink of Stella to the bow on a couple of them too.
Love how these came out…. mainly using scraps of cardstock and some old dsp!
Of course it helps that the stamped image is pretty fun too!
Onto the second half of the challenges now … and this week it is snowflakes!
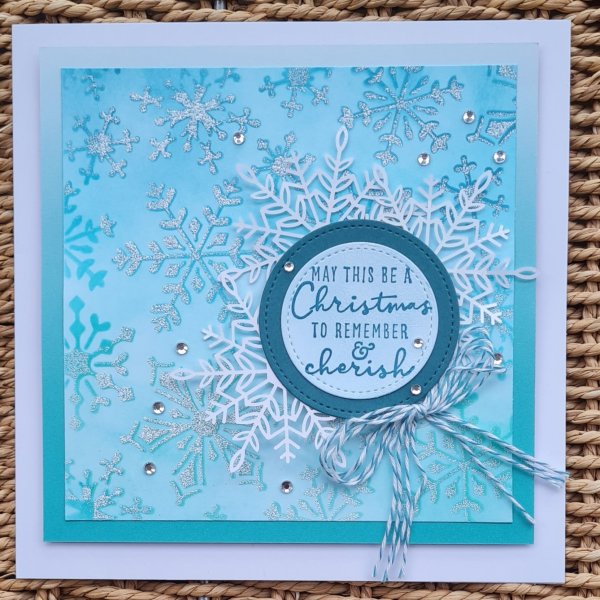
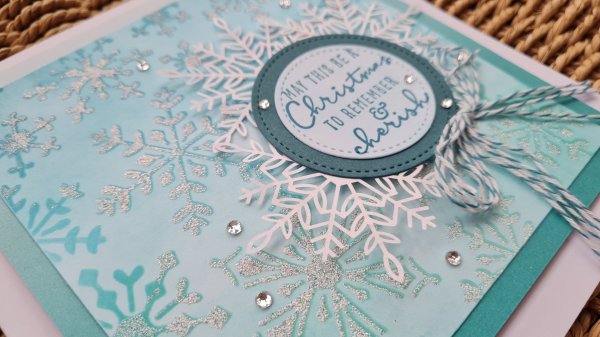
This time I’ve made one card only… but it is a larger card as its 7×7 in size.
I started with the snowflake stencil and blue inks and the blending tools and created a blended background and snowflake images. Once I had got all the ink down I then added versamark through the stencil and used a sparkly embossing powder to add some glitz to the snowflakes.
Love how this created some shine, but also the colour came through to give dimension.
Next it took three of the iridescent snowflake embellishments… these are so pretty. I created a cluster of them to go under my sentiment. I added some of the ink left on the blending tool to the sentiment to make them match.
I mounted the snowflake and sentiment cluster onto some foam for dimension and added the twine bow from some twine from the stash. I mounted the panel onto a 6×6 ombre paper from the stash and then added some more foam underneath to add more dimension.
Finally I added plenty of bling with the gems.
So happy with this card and think it might be going to my parents for this year as it’s one of the larger cards I’ve created. Sure they will love it.
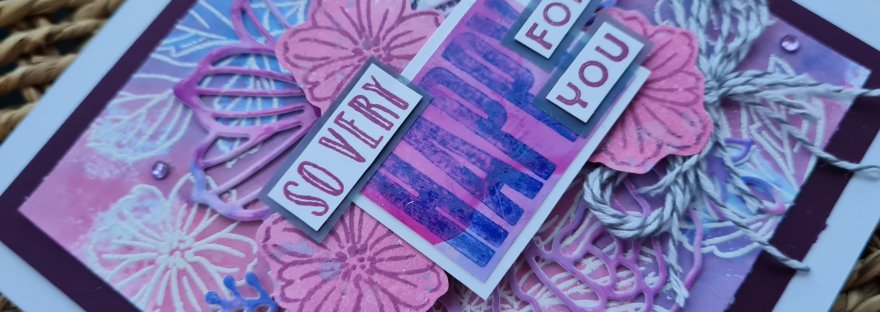
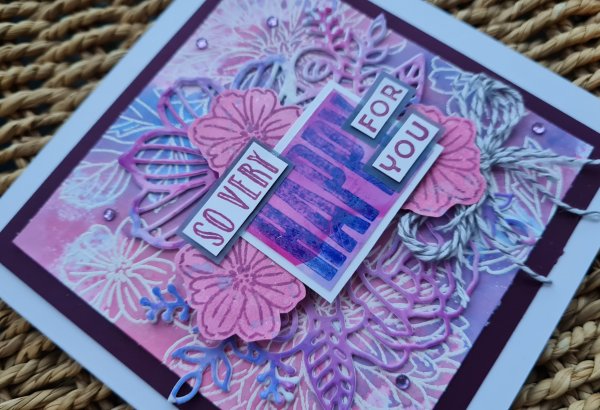
My lovely colleague and friend Abbie has a new job and I am delighted for her as much as I am sad that we will no longer be at the same workplace together.
I had to make her a special card though to let her know how happy I am for her.
I started by stamping Delightful Dahlia stamps on cardstock in Versamark and embossing them in white and then plenty of distress oxides and the smooshing technique made a cool background. I also wiped away the excess ink with a piece of glossy photo paper which I ended up using in the card too.
I stamped a few of the smaller flowers for the card too and inked up using the same colour oxides.
I cut down the panel for the background and then got out the Artistic dies as I love the flower cluster one. I cut it from the photo paper and again from white cardstock so I could layer them to give it extra dimension.
Next I created the sentiment. I was inspired by the sentiment in the Delicate Dahlia set but wasn’t keen on the font so instead made my own using lots of other stamp sets and of course the Biggest Wish for that fab Happy part. I added the twine bow and plenty of foam under the sentiment and flower cluster so this is a VERY dimensional card.
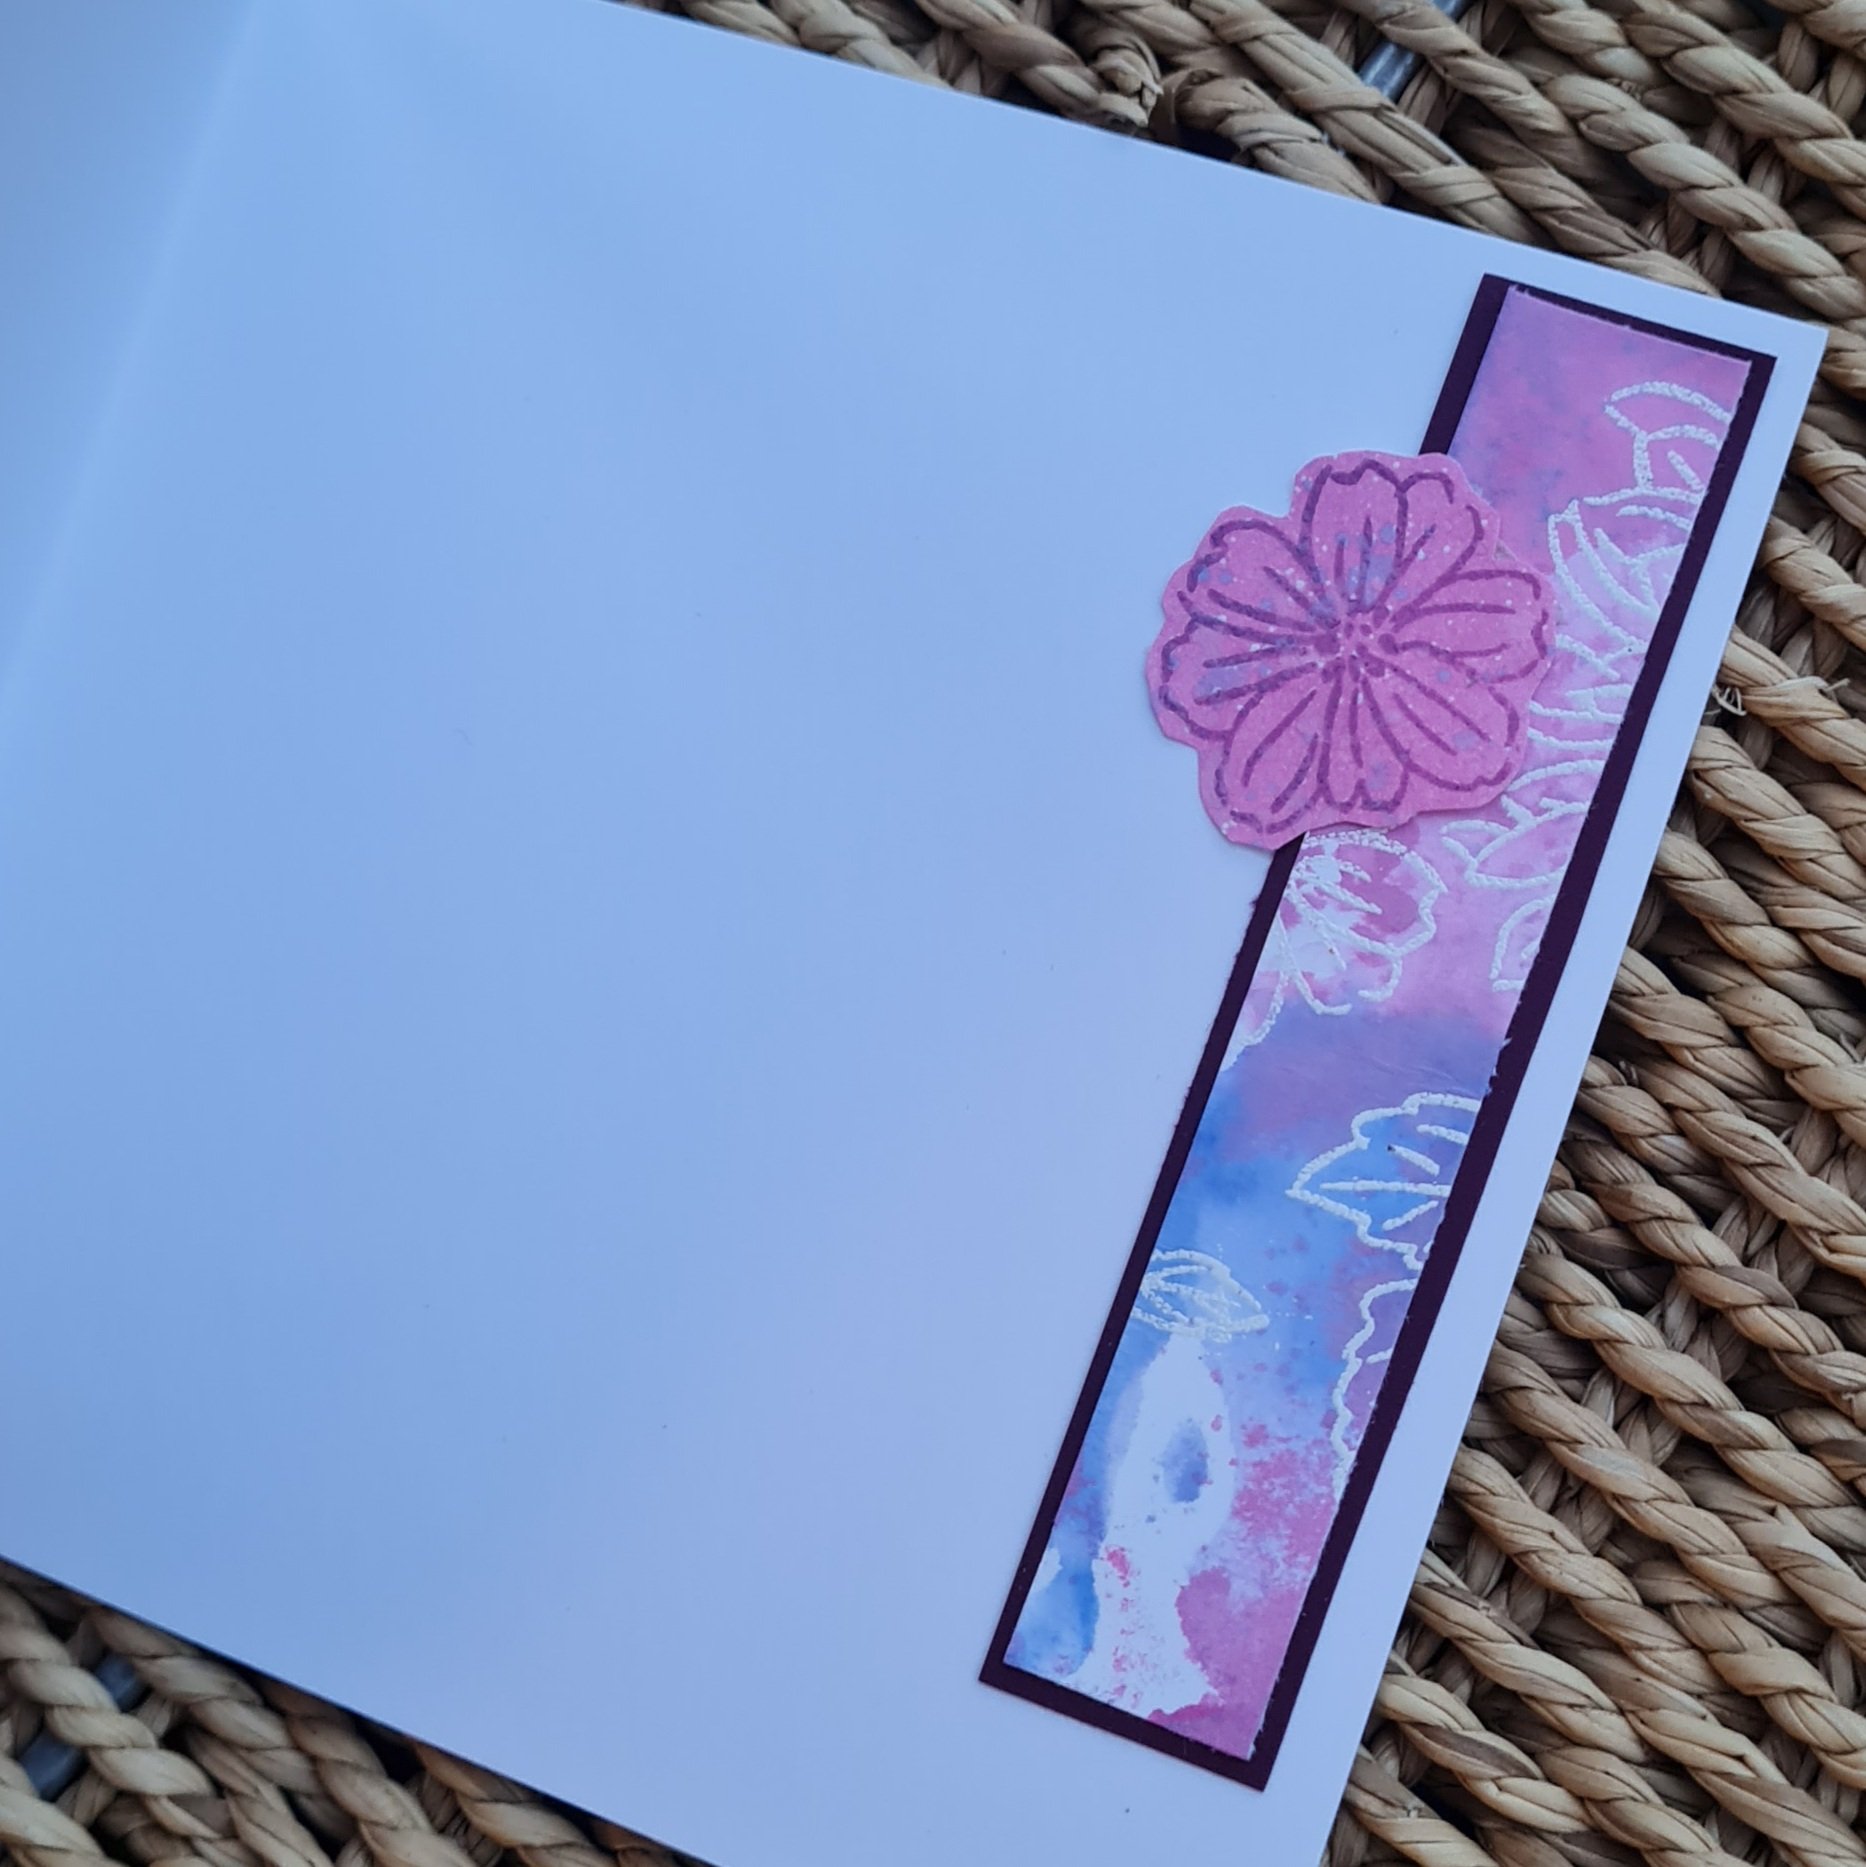
I added lilac gems from the stash an a mount of the Blackberry Bliss cardstock. I then stamped (badly) the Dahlia onto the envelope and blended some ink over the corner.
And inside the card a strip of the background I had trimmed off and mounted it on blackberry bliss and added the final small flower.
Love how this came out. I know Abbie will appreciate the love I put into making her card and I hope she knows how much she will be missed.
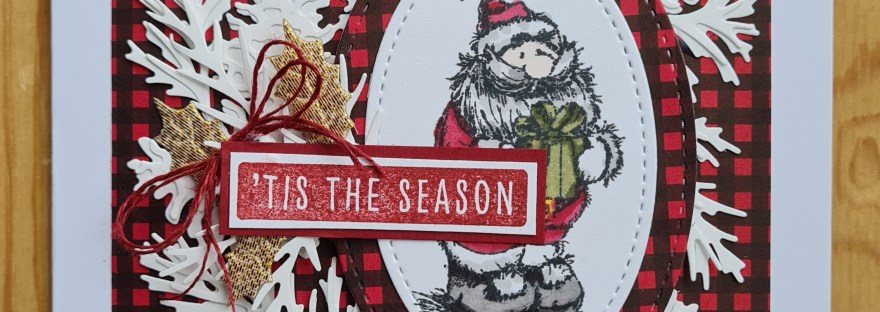
Week 6 … already … oh my … running a little late on the posting today … but better late than never!
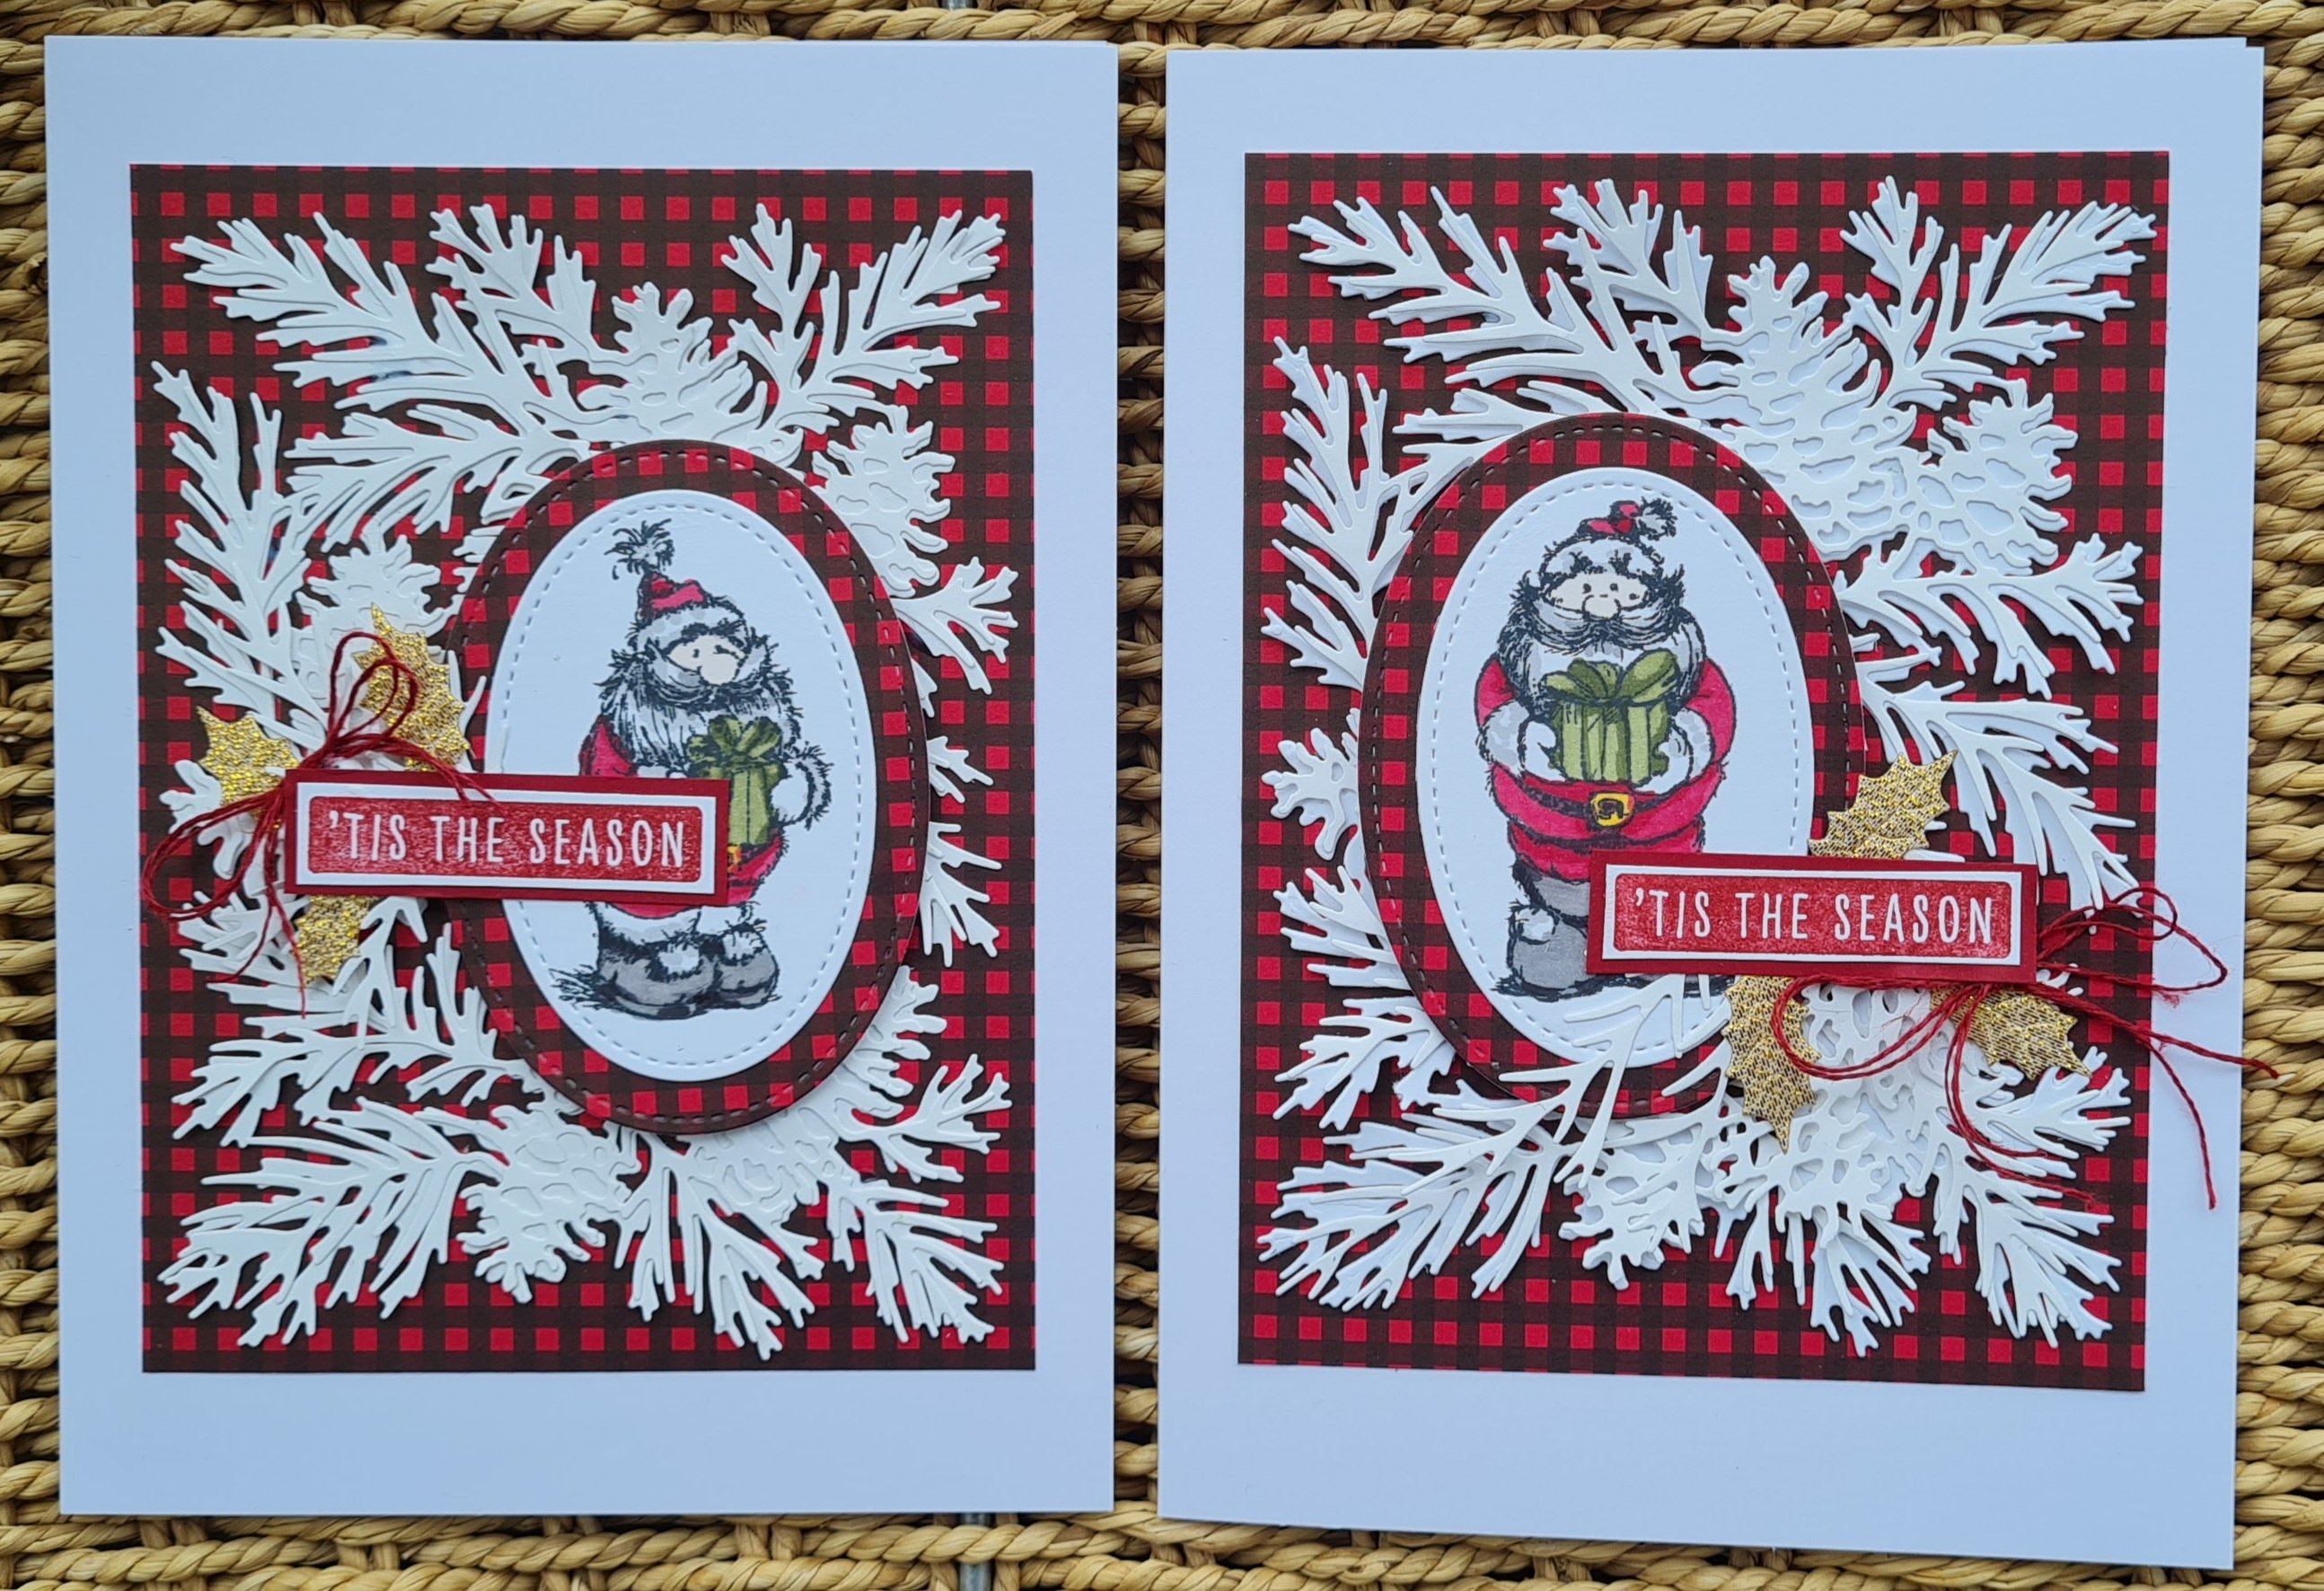
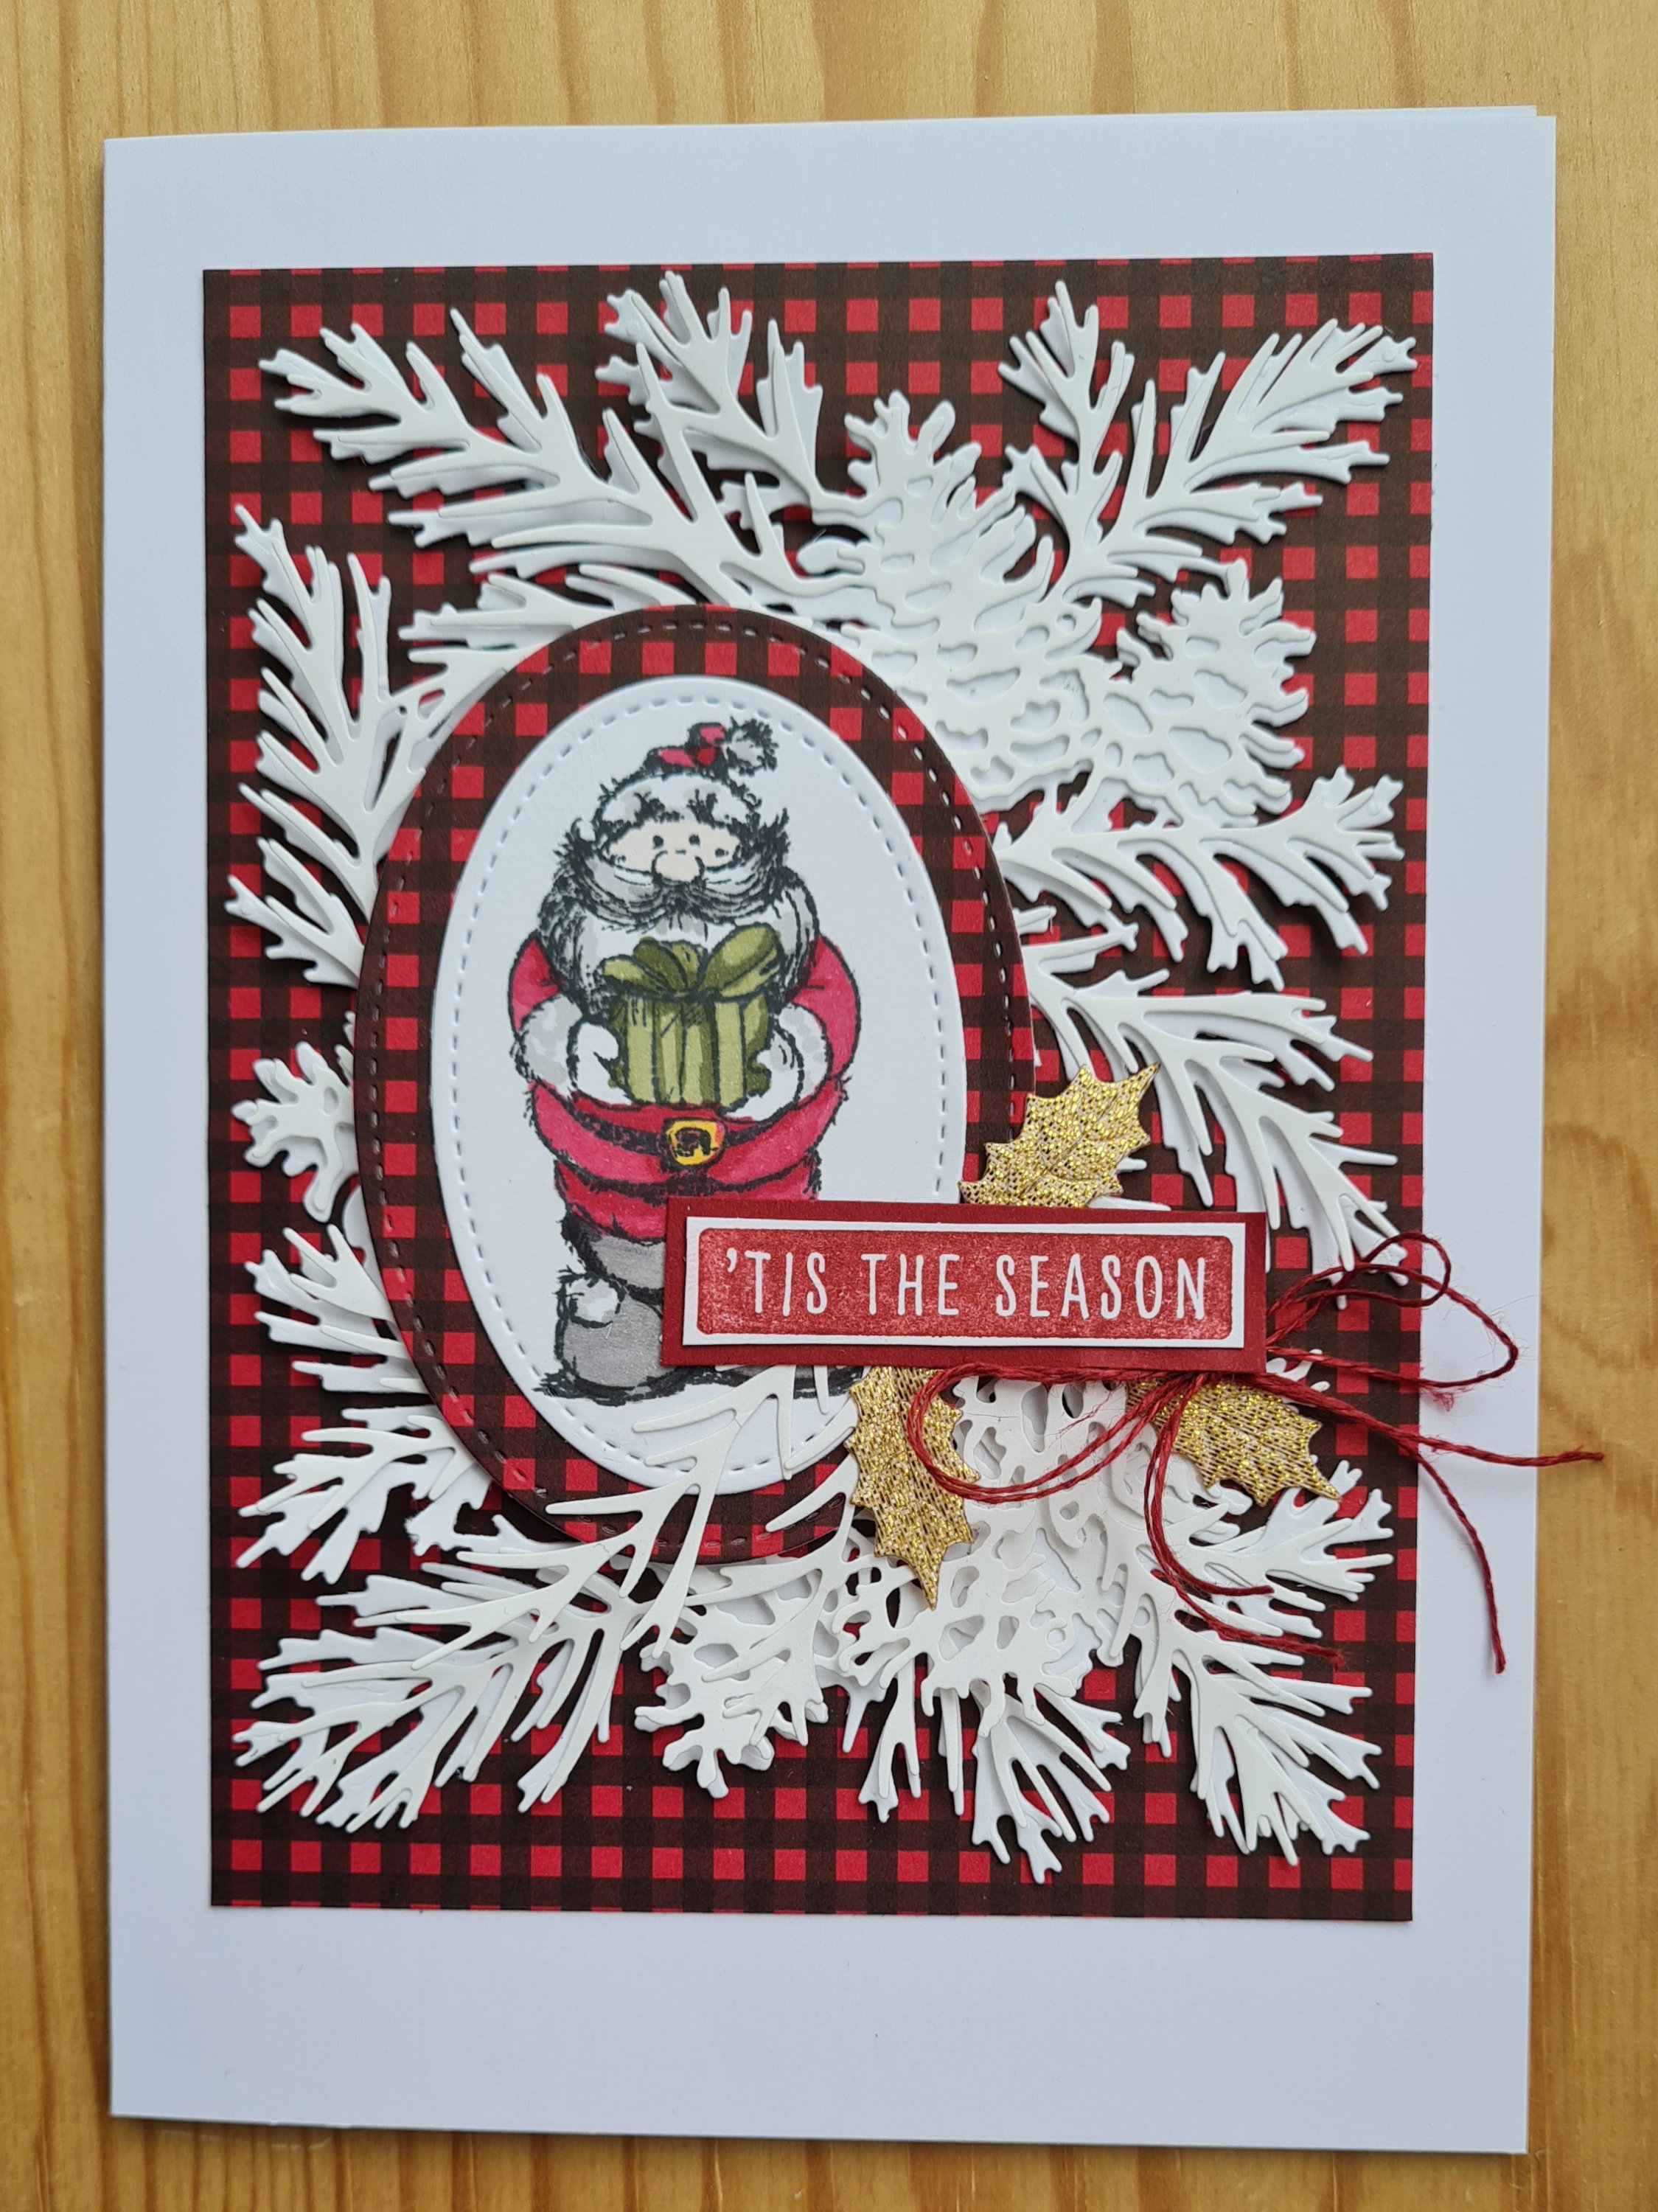
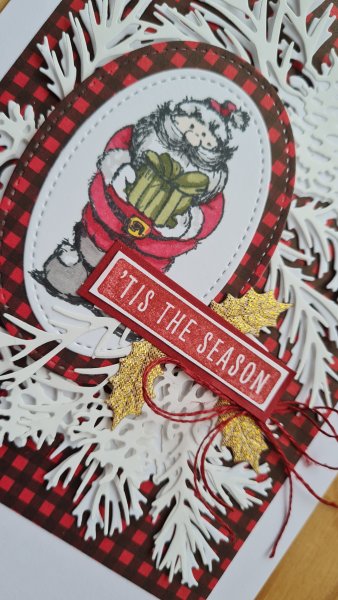
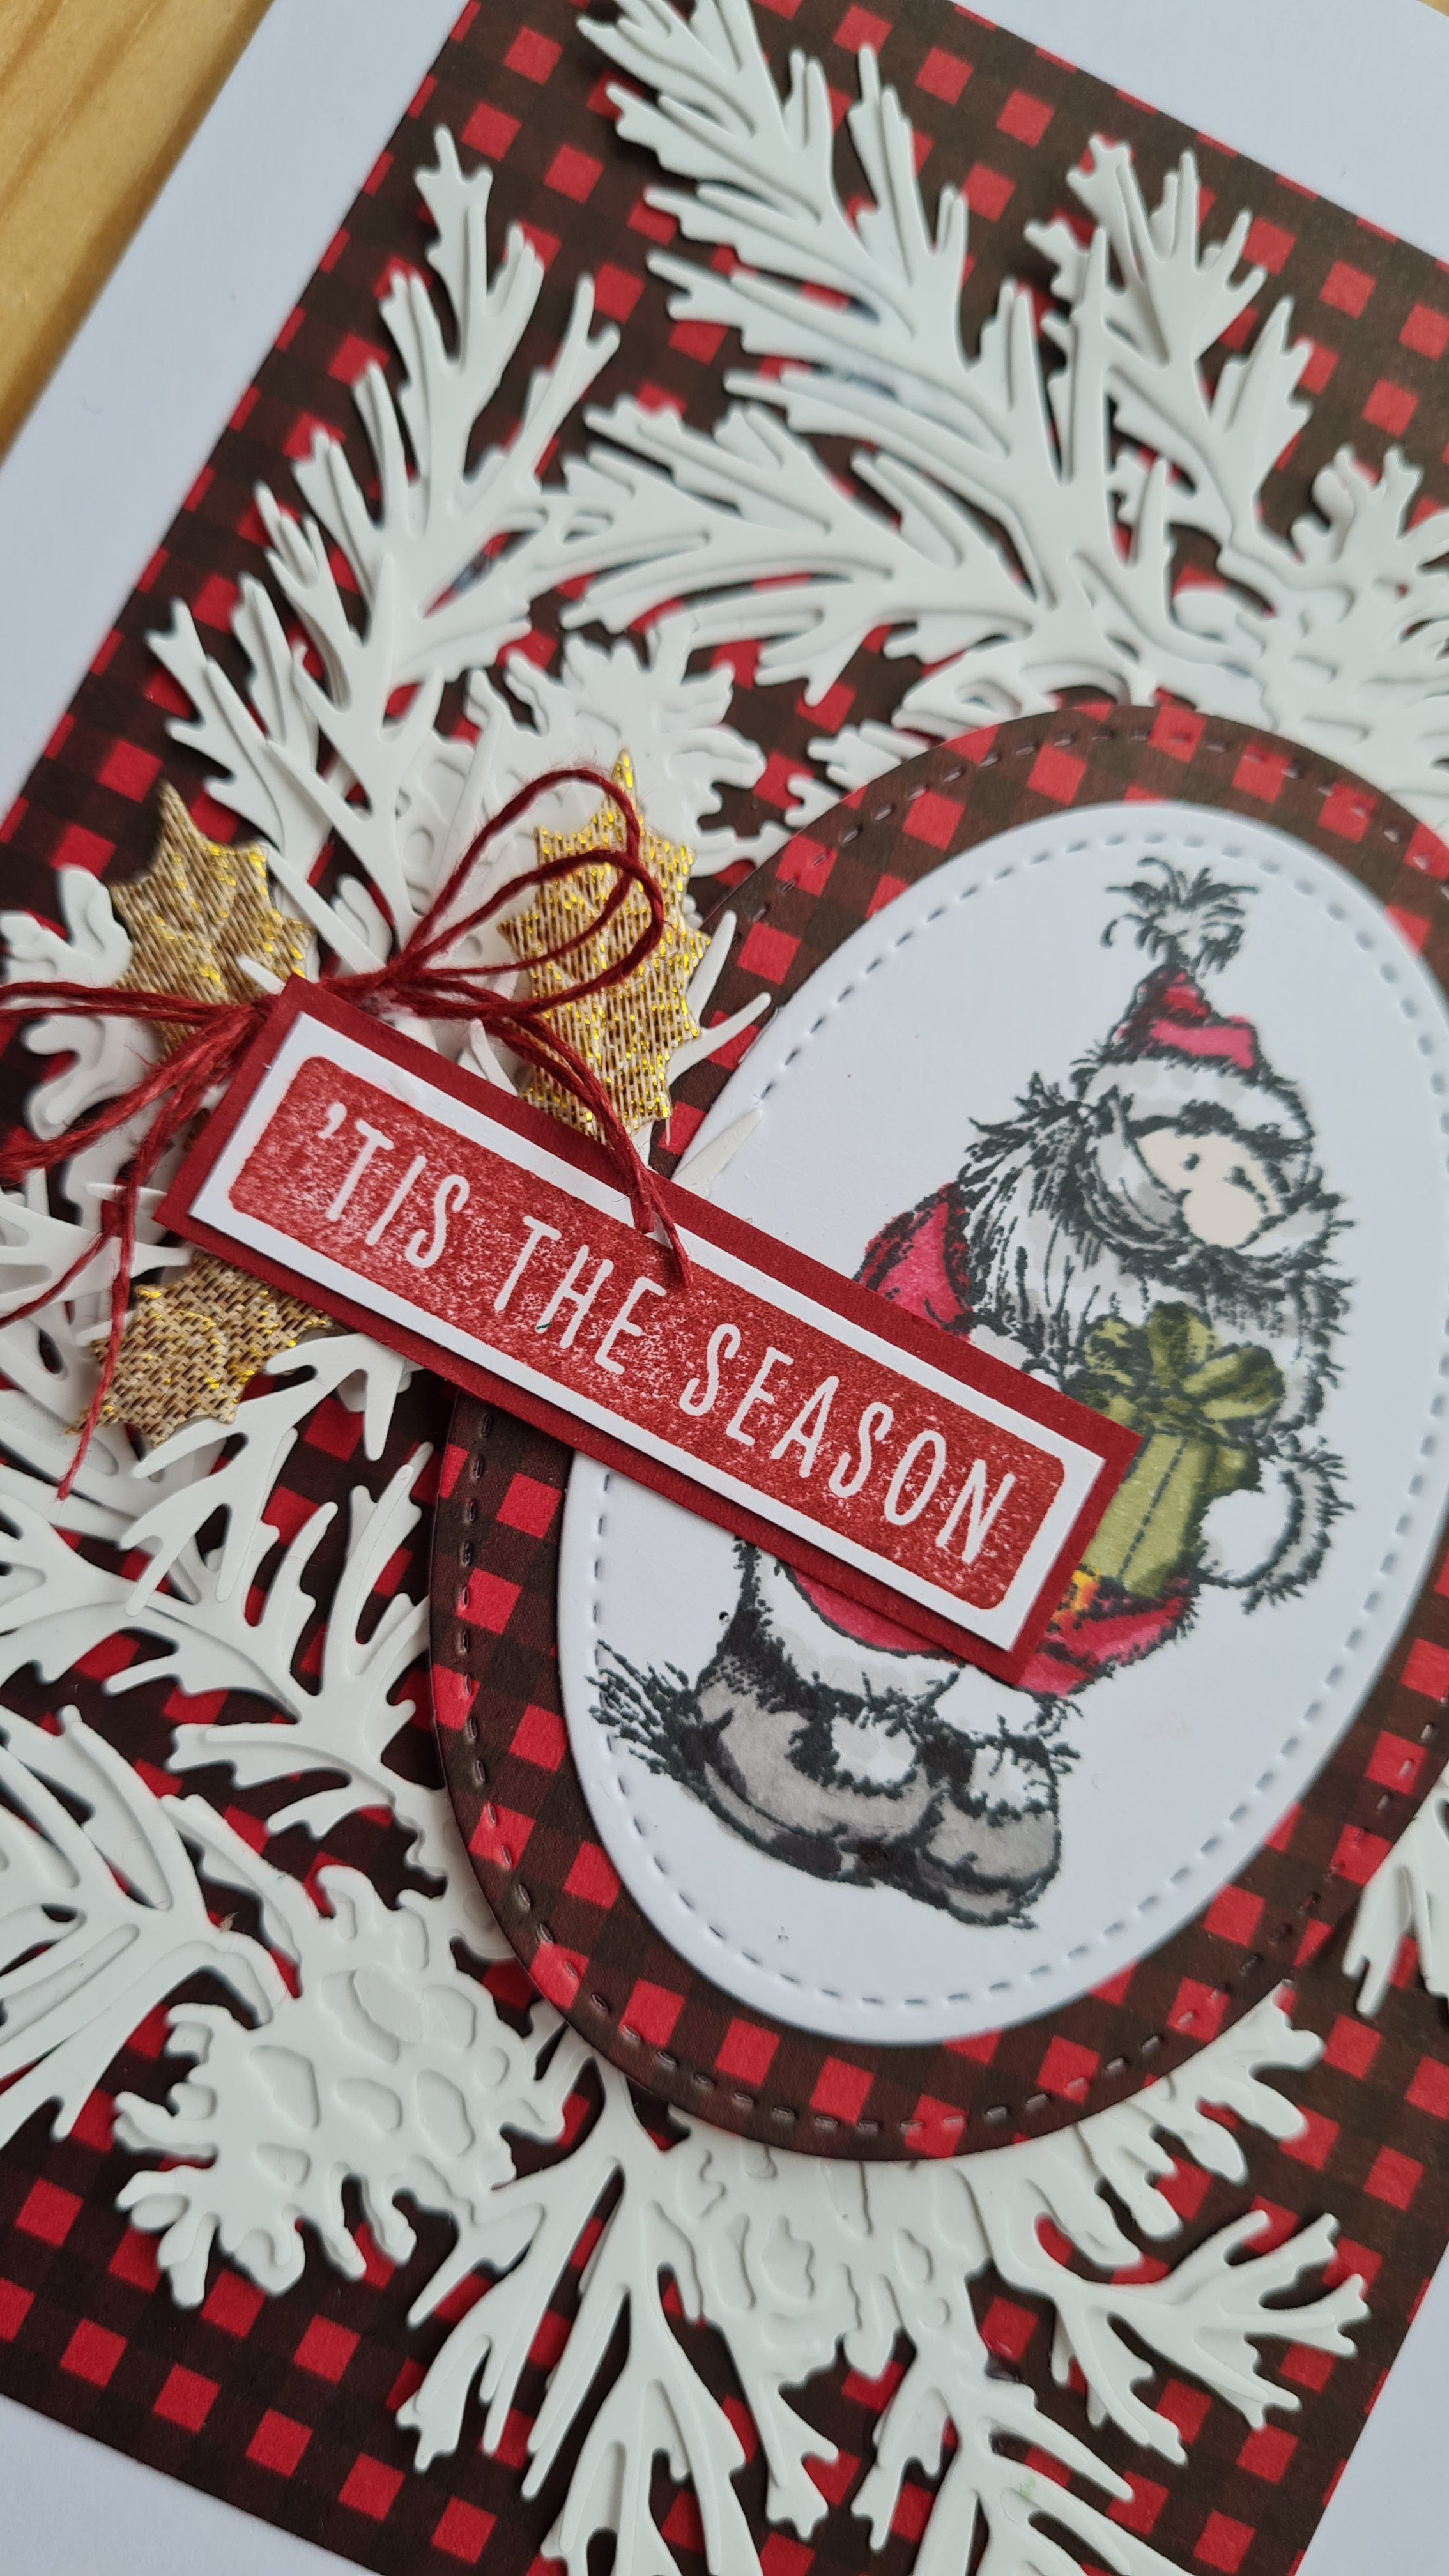
So it was time for the main man to arrive. Except then I realised I don’t own many Santa stamps. I ended up digging some old Making Cards magazine stamps out to make the focal image. I stamped the Santa’s and coloured them using my Stampin Blends.
I grabbed some of the dsp I got in Saleabration and cut some plaid panels and the mounts for the images.
I then die cut the christmas pinecones large foliage dies in white with an extra one which I could cut up and use for additional embellishments.
After putting the layers together I decided to also add some of those gorgeous gold leaves and some cherry Cobbler twine. The sentiment I stamped from the Christmas to remember stamps… wish I had used the stamp platform so I could have got the colour darker but hey you learn from your mistakes! And it looks lovely regardless.
Don’t forget if you are playing along to add #christmascard2021IFCchallenge so I can follow along.
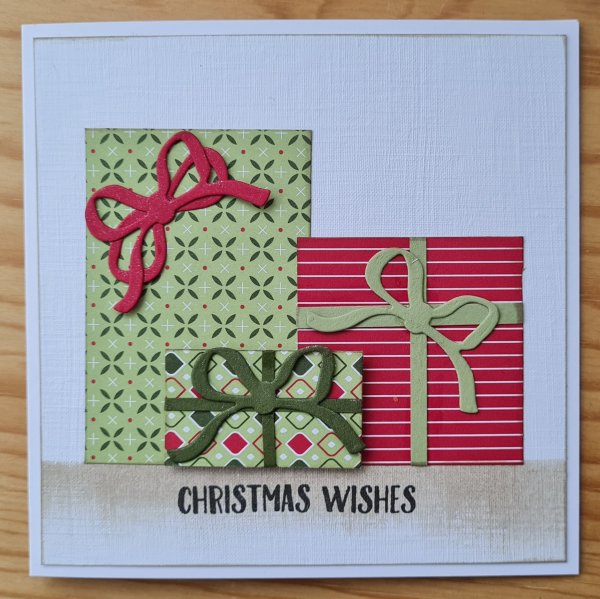
So I am at the point of the challenge where I wonder what my brain was thinking in giving myself the prompt of gifts. Turns out I don’t really have many gift stamps or dies in my collection. So I had to think outside of the box… in fact I had to make the box to think outside of!
I started by grabbing the Heartwarming Hugs dsp and cutting lots of squares and rectangles to make my gifts. Then I started die cutting bows from some scrap coordinating cardstock. This die is the one from the retired Wreath Builder set (I forgot there was a bow in tidings and Trimmings!). I also cut some slithers of cardstock too.
Next to construct my gifts and work out how to use them!
I decided to make piles of boxes and add dimension using shading and pen work… well sort of!
First I went in with my Sahara sand ink and inked the edges of the boxes and created a ‘surface’ for them to sit on.
Next I used the grey alcohol pens to add shadow and dimension.
And on this one I added some sketchy pen lines…
Think I actually prefer this last one of all three but maybe it speaks to my mixed media grungy messy heart.
I had some boxes left over so made three tags to match… so it became a little collection of cards and tags.
Love those bow dies … still think SU should never have retired this bundle! Ah well!
And love those papers… so pleased that they are still available!
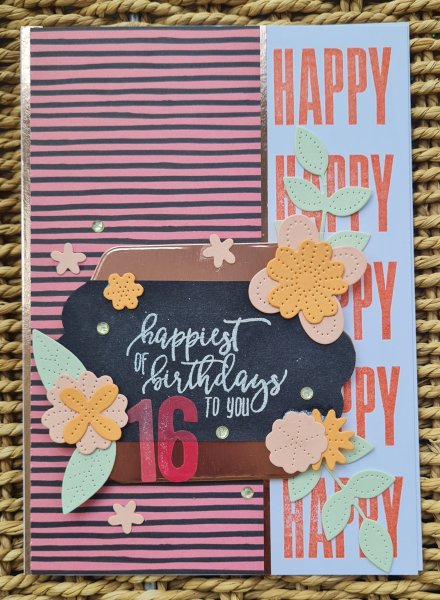
So I decided to make another 16th birthday card as there are quite a few ‘sweet 16’s’ to celebrate this year. And as I used a fair few dies it was perfect to use as this months DT contribution for the Happy Little Stampers Anything Goes with Dies challenge.
I decided to start with the stamping on the right hand side… no idea where I was going with this but I had woke up with the idea so decided to go with it! And of course it is one of my favourite sets to use … Biggest Wish.
Next I added strips of rose gold washi tape and the panel of the stripey dsp.
I decided to go for a large label panel so grabbed the Seasonal Labels die and cut one in the rose gold cardstock and one from black, and then trimmed the black one down top and bottom so it was a stripe across the label.
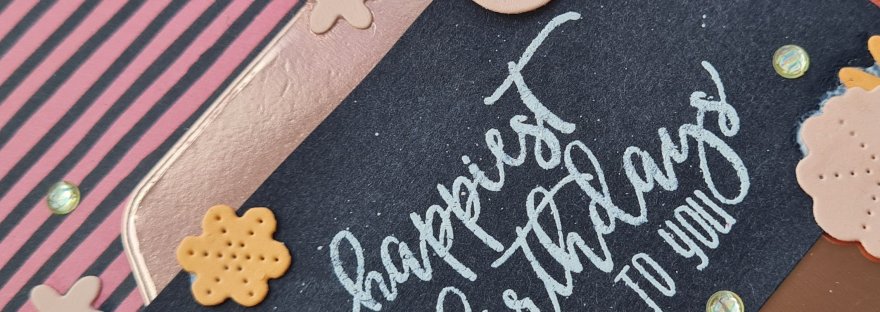
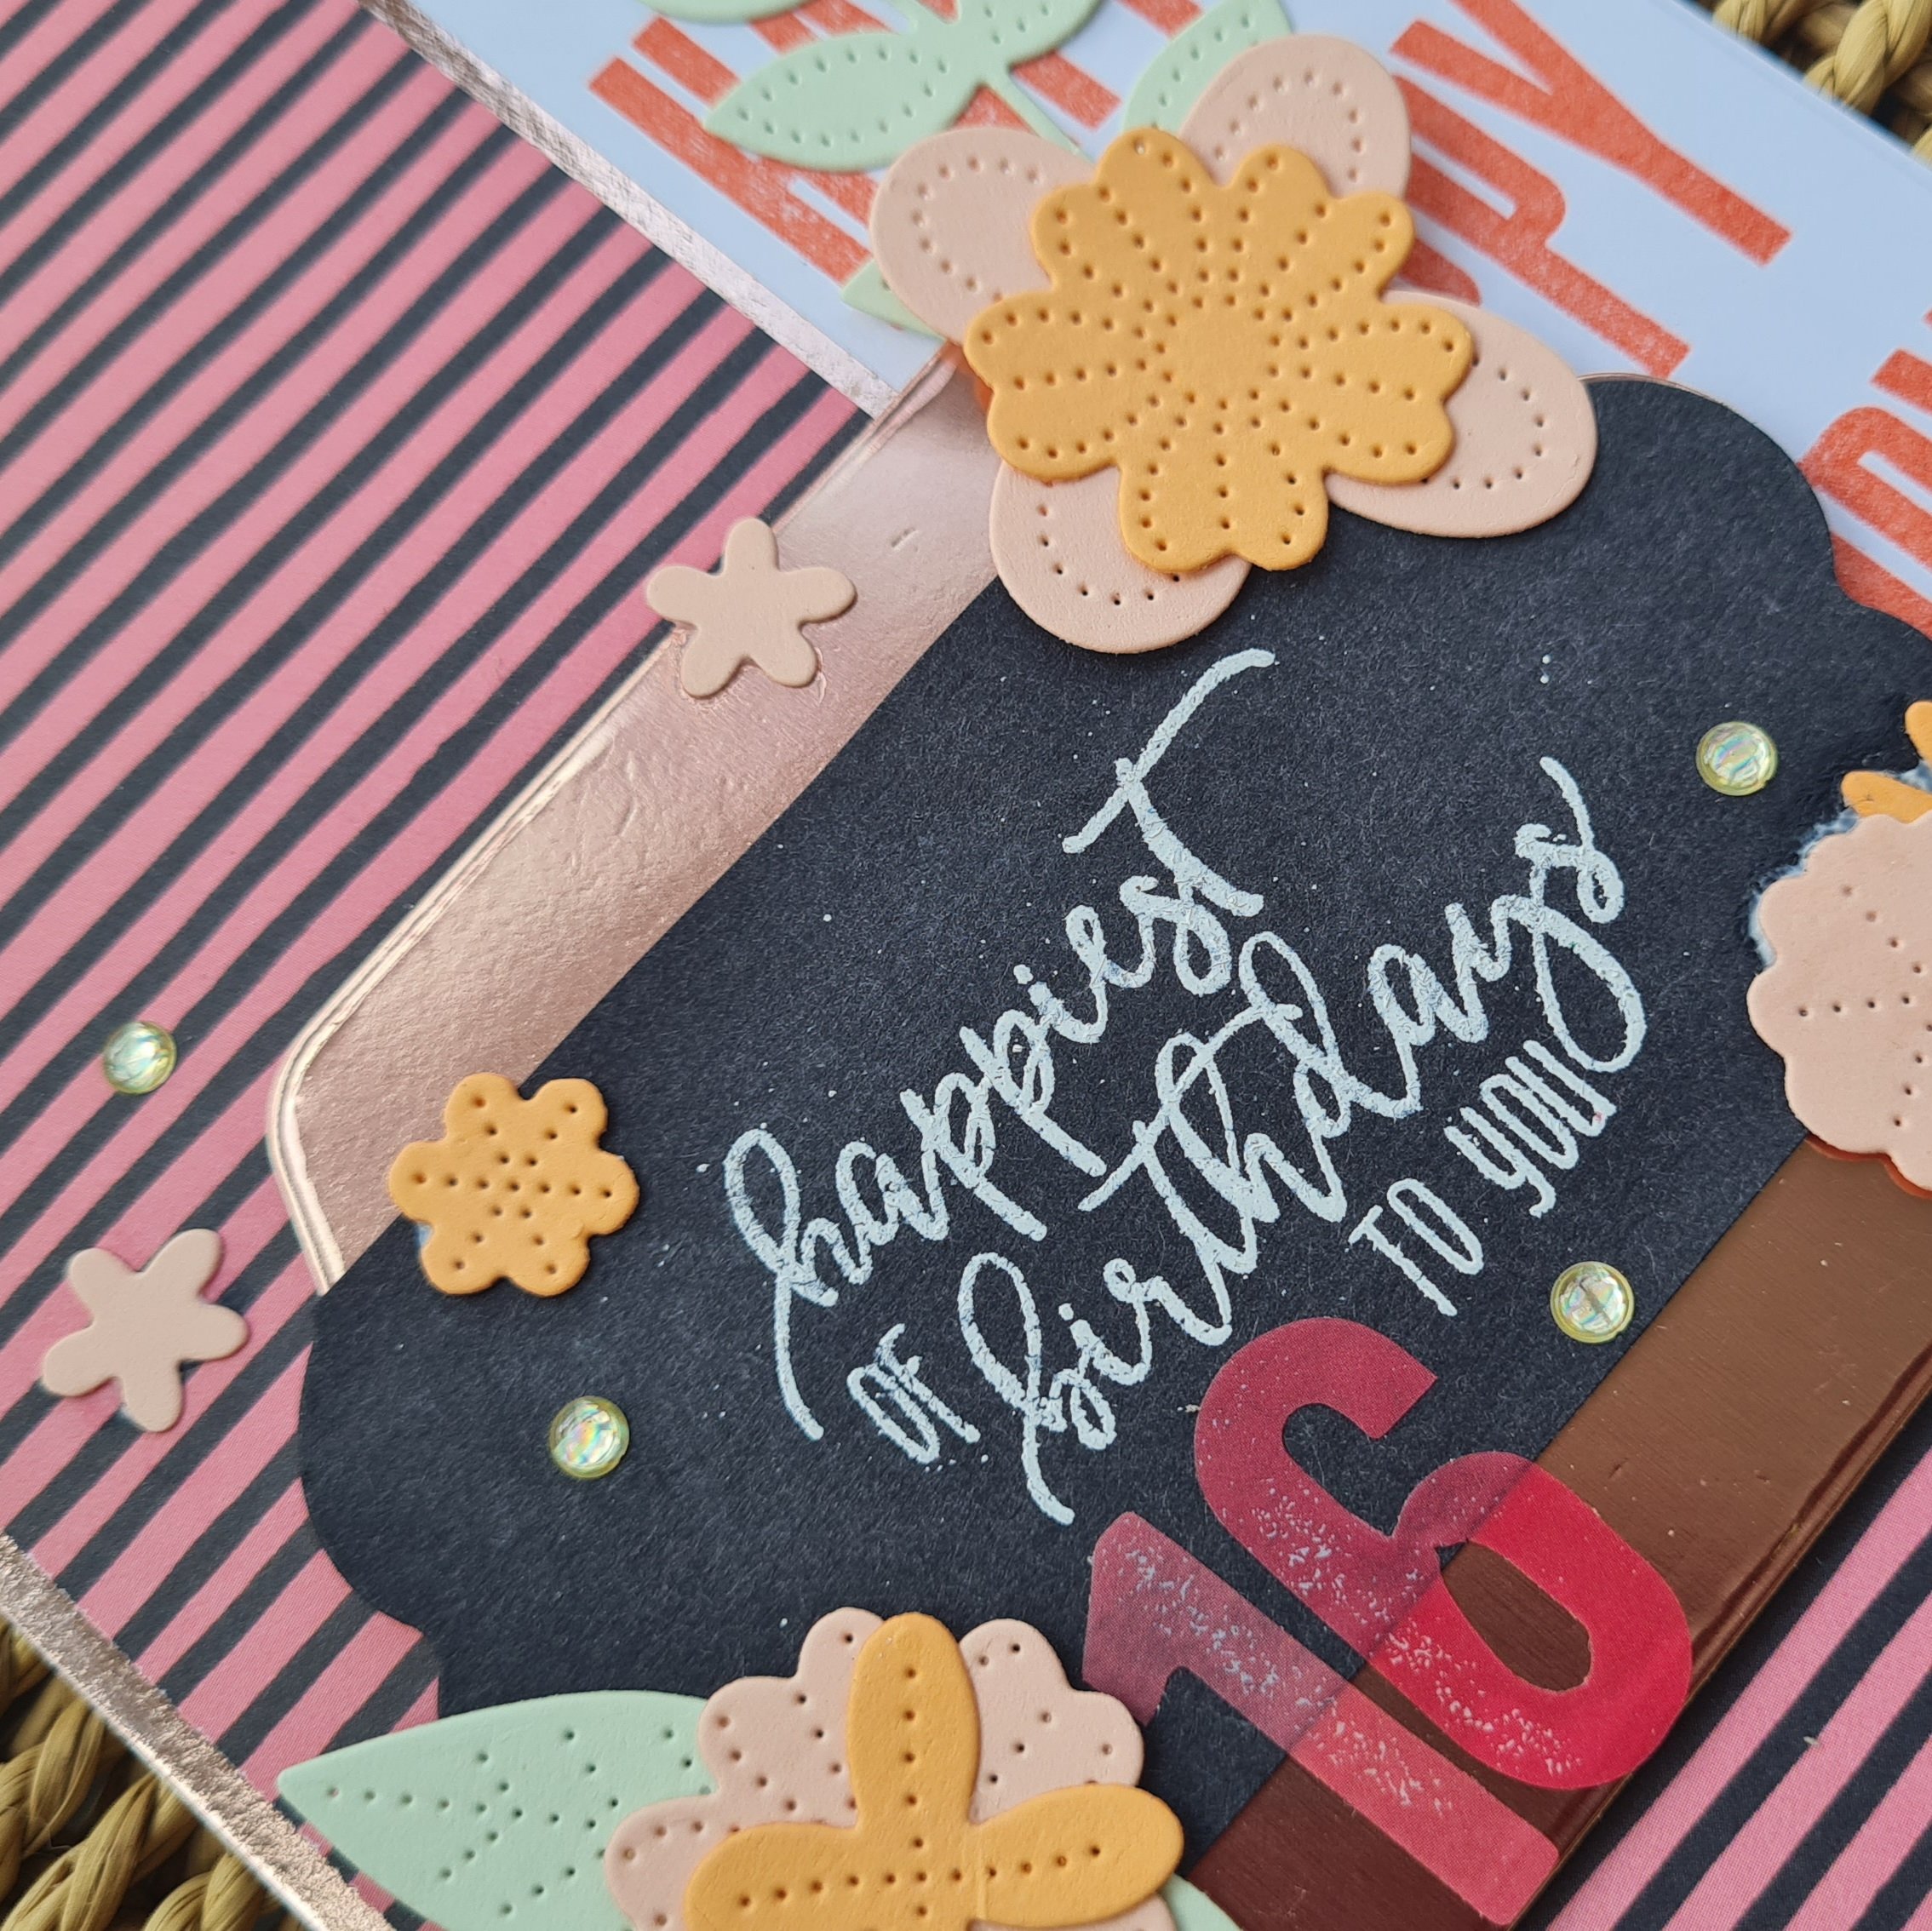
Next I embossed the sentiment from an old set (Picture Perfect Birthday) and
I then grabbed the Pierced Blooms dies and used scraps of different pink and peach coloured cardstock to cut flowers and the Soft Sea Foam for the leaves.
I raised the label panel up on foam and then created the flower clusters and dotted a few small ones around.
I finished off with the number stickers and some sparkly gems for the obligatory bling.
Really happy with this. Slightly wishing I had used a different colour for the Happy stamping at the beginning and that it had been more pink rather than Calypso Coral but I still think it works together.
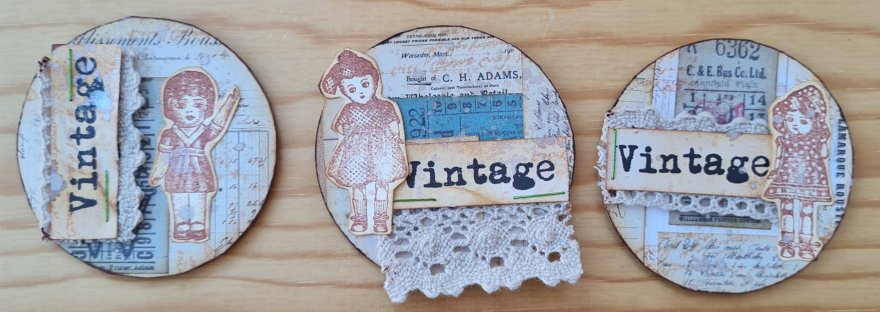
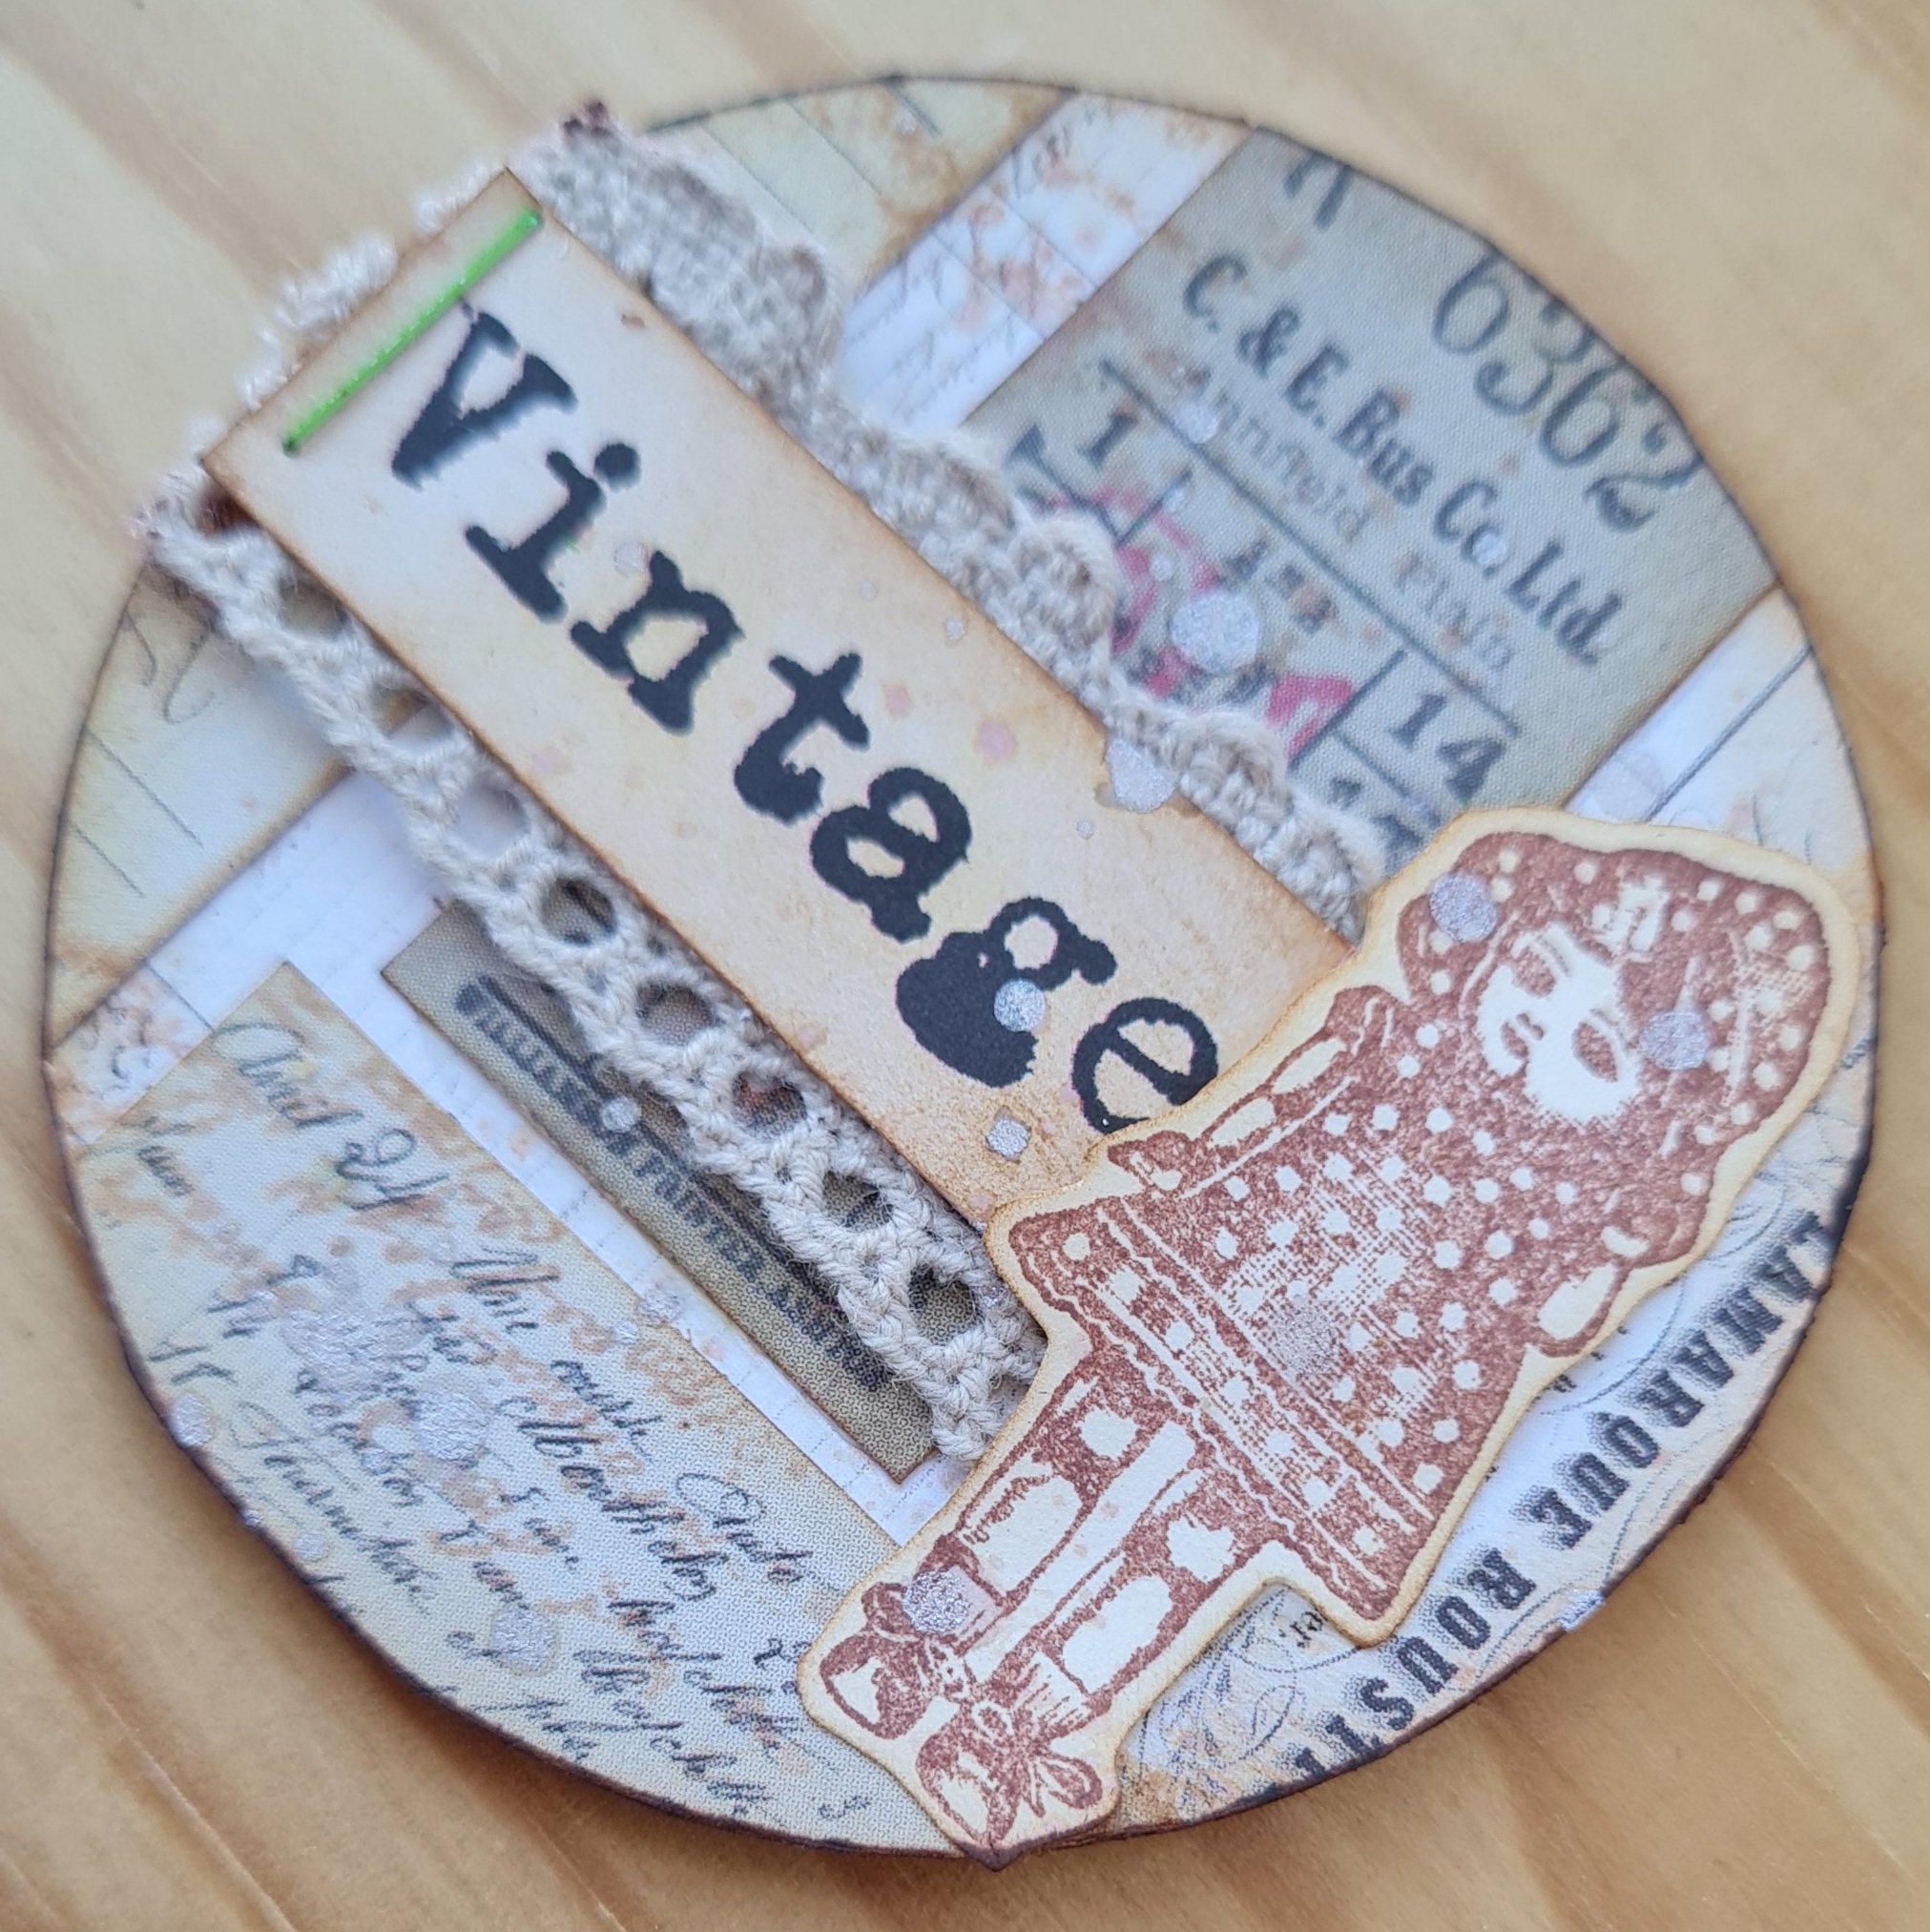
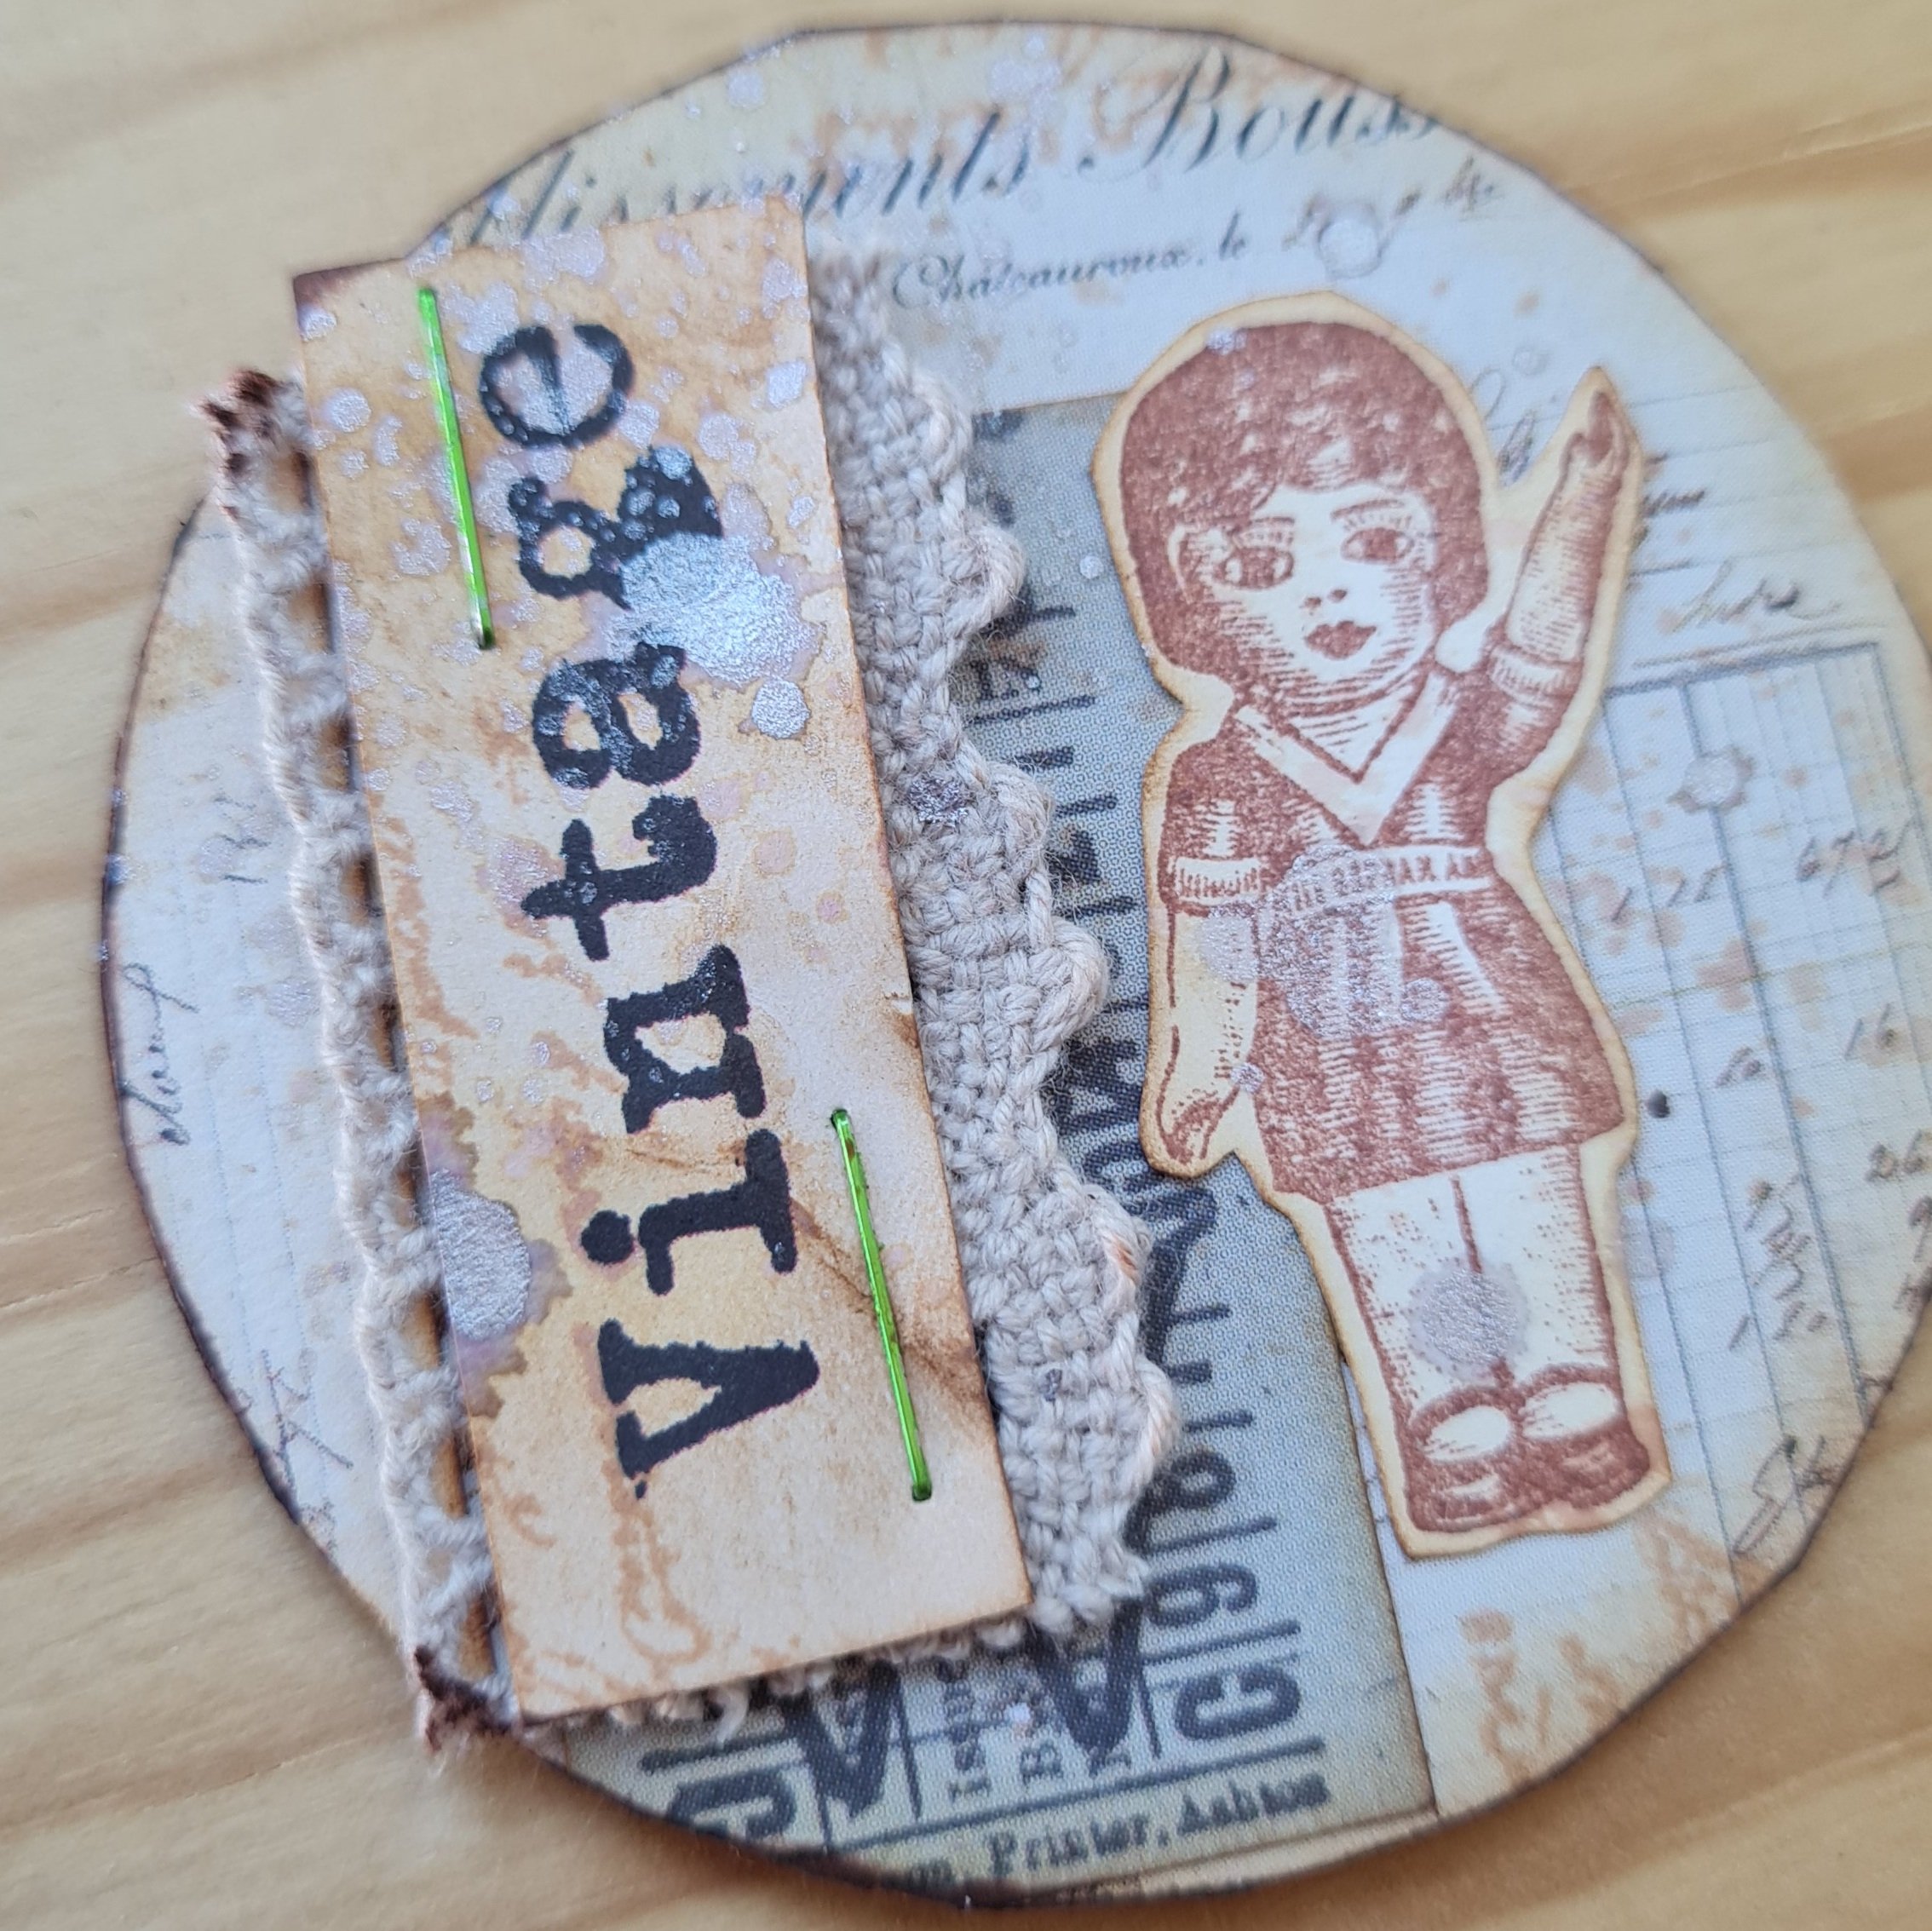
I’ve actually pulled out of doing most swaps, including the one I organised as a result of not having time energy or mojo for making them… but then suddenly I got a bit of motivation to make these coins. So I will be sending them in to the UK stampers forum swap. I used some vintage ephemera papers to cover each of the coins and also the little vintage doll stamps to create the focal image for each.
I then added some crochet trim and the word vintage to each to finish off.
I did also add a little stamping in sepia ink and a splatter of a shimmer watercolour paint to them as I wanted a bit of Grunge.
Another week has whizzed past and we are already onto week 4 of this challenge… and this week Tree is the prompt.
Now I love tree stamps and dies but this year I haven’t bought any new tree based stamps or dies. I love the Whimsical tree set but not yet managed to sneak that into my basket so I was going to use old stash … but then I spotted the tree themed paper in the Tidings and Trimmings dsp and an idea came to mind! So this is what I did!
I took one sheet of Soft Succulent cardstock cut in 4 and 2 6×6 sheets of the dsp cut into half lengthways and decided to make 4 cards in different styles/finishes using the same base supplies.
Card 1… kept this one simple. Dsp mounted and then run through an embossing folder. I stamped and die cut the sentiment (Christmas to Remember) and a couple of Holly leaves and berries from Christmas Season. I also added some linen thread and a vellum die cut frame to give the sentiment some definition. Simple!
Card 2… again fairly simple … I scrumpled and distressed the paper and the edge of the cardstock panel. I mounted the dsp onto a piece of foam to give it dimension and then stamped and die cut lots of different leaves from Christmas Season to create a central cluster focal point.
Card 3… this time I decided to added some ink to the cardstock panel and make it ombre before adding water splats, ink splats and white splats to create a fun background. Of course I didn’t want to cover it up so added the dsp on an angle after edging the paper to give it definition. Again some stamped die cuts added and the vellum from under the main sentiment.
Finally… Card 4… this time I added to the dsp with ink blending and stamping to make the paper more vintage (Very Versailles text and Forever Fern dots). I decided to die cut the sentiment to create a label and used some brown string from the stash to make it rustic.
I love how these came out and pleased with the ideas I used to make them all different although of course they started the same.
Hope that’s given you some ideas for stepping up a simple bit of cardstock and dsp!