Playing in my journal… out of the box

Today I’m sharing a video of last weekends playtime in the craftroom. I had nothing in mind when I sat down to play other than I needed to do something with colour! And the result… well I’m very happy with the final page. The video doesn’t cover the doodling which I did the day after to allow for everything to dry properly.

Here is the link to the video. 

Hope you enjoy watching the page emerge. 

Happy crafting!

Catherine

Swirly scribble framelit card

I saw an idea on Pintrest that I wanted to have a go at using the swirly scribbles framelits to peep through a white card to a colourful background. Of course I now can’t find the original inspiration pin. But thanks for the inspiration whoever came up with the idea. 

I created a background using a couple of inks colours and some water.  Then I layered up the white cardstock and cut two panels to the same size (larger than the final die I used to cut them out). 

Then I took the white panel and die cut the swirls.  I then sat the main die back in place and then adhered the two side pieces onto the background.  I then adhered each section back into the gaps before I then took out the die cut. 

I then die cut the panel into a card topper. 

I love how this came out and then added the butterfly from Watercolour wings and edged the panel with the same pink ink. 

Finally added the little glitter gems to embellish 

Happy crafting!

Catherine 

Brusho mop up ATCs 352 & 353

Hi…

Today I have two ATCs to share where I used mop ups from playing with brushos to create some ATCs featuring magazine collage elements.

Both of these have a background of a few brusho colours where I just dipped the paper in and mopped up after another project.  This gave them a loose and delicate watercolour appearance.

To these I added the flowers I had cut out of a magazine.

I also added the stamped and embossed sentiment and some outlining of both the image and the edge of the panels, before adding them to red cardstock bases.

Love how the delicate flowers and background contrast with the bold sentiment and the black outlining.

Happy crafting!

Catherine 

Poisonous inchies 

Hi

A quick post with some inchies I made for a swap… 

I added some Tangerine Tango and Tangelo Twist ink to the mixed media cardstock. I then added some stamping using the Tim Holtz stamps. Then I inked the Poison stamp and stamped that.  I also added a little Dusty Concord sponging to the edges. 

Cute and spooky! Love them.

And then a mini disaster struck… one got lost in the post. Yes the envelope carrying these and some other swap items got damaged and one Inchie slipped away. So I had to make one more to send onto the swap organiser (didn’t want anyone to go short!) So I made this… 

Same technique and colour and a different focal stamp! 

Happy crafting! 

Catherine 

Happy birthday Eleanor

My cousins little girl turned 5 earlier last month but I’ve only just managed to get the card and present to her. I really am rubbish at posting things out! Here is the card I made for her. 

She is a girly girl so it was nice to pull out the pretty colours and gorjuss girl stamp to make this. 

I used the fabulous Marbled stamp to create the background paper using Crisp cantaloupe. The embossed paper was gifted me in a swap and I just added a little of the ink with a blending tool to tone it in with the background. I added a stitched circle die cut too that I blended the ink onto lightly.

Then I coloured the girl in with promarkers and added some copper thread behind her. I then die cut the sentiment from the copper foil sheet.

Love how this came out. I chose three sequins to add the necessary bling! 

And a positive coming from the lateness of me passing over the cars is that this qualifies for the “lots of layers” challenge at Always fun challenges blog.

Happy crafting!

Catherine

Scraps off the desk… 347-351

Scraps off the desk always make interesting starting point for ATCs…. and here are some examples… These were using some pieces of paper I had wiped stamps off when playing with my gelli plate, distress oxides and the Burlap stamp.   I added different stamps and different finishes to them to make these ATCs…

1. Dreams take flight.

The feather stamp and sentiment came with a magazine. It’s a two step stamp and I stamped the base and the top in different colours of distress oxide and then added clear emboss to the top layer. I had made sure I dried it in between to only add the embossing on the top layer as the distress oxide can stay wet a while. I then heat embossed the sentiment in Black to make sure it stood out. 

I added a delicate amount of the black soot to the edge and then added a strip of turquoise gems down one side before mounting it on Fresh Fig cardstock.

2. Ruffle your feathers…

This is very similar to the one above but with a different colour scheme and some additional stamping using the Timeless Textures stamps and of course distress oxides again! 

3. Map your dreams…

This time I added a torn piece of map paper and some machine sewing to add texture and some different effects.

4. Fly

Same approach as the one above but this time a die cut and some heat embossing of the gorgeous birdcage image. Then I added the label word to add a graphic element.

5. Layers with wine

This time I took several pieces of the leftover scrap paper, tore them, inked the edges and layered them up. The top piece j added the stamped image from half full stamp set and added a little bit of colour to the grapes and outside edge to add definition. Love how all the layers coordinate and yet provide distinct layers.

So that’s 5 different ways of approaching the scraps on the table and turning them into mini artworks.  Very happy with these! 

And now only 16 to go to the target… whoop! 

Happy crafting!

Catherine 

Mini pink canvas

Today I have a mini canvas to share with you that I’ve made for a swap. The theme for the swap is pink and to raise awareness of breast cancer. 

So let’s talk about that first. I have several breast cancer survivors in my group of friends and unfortunately one friend who lost her fight a few years ago. So understandably this is something close to my heart! 

What can you do? Well …

  • checking yourself monthly for changes and abnormalities is one simple thing. Catching it early significantly improves your chances of surviving.  
  • Attending routine screening appointments is another simple thing… if they send you an appointment through the post, prioritise it… you are important and your health is critically important.
  • Spread the message… these two things are simple to tell people about.

And finally… support charities who are supporting those with cancer and those trying to find cures… do what you can and we can hope for a future where breast cancer isn’t an issue.

Ok … So now the crafting… I made a 4×4 canvas board and videoed the process… it’s always fun to watch me create after all!!! (Well that’s what I am told).

And here are some close ups…. it was nice to just play with no real expectation of the outcome.

Love the sentiment from Badass artchick stamps too! It felt so right for this project theme.

Happy crafting!

Catherine 

Enchanted ATCs 344 – 346

Three ATCs for the Lindsay Mason ATC swap, where the theme is Enchanted Forest.

I used the distress inks to create the blue and purple background on the linen cardstock and then overstamped with the Indigo Blu Bare Forest stamp using the stamp platform to try and get the image dark.

Then I die cut the fairies from mirror card and then decided to add some embossing with the sentiment and a little cluster of fairydust.

I then decided to also add embossing to the edge to frame the little artworks.  Cute! 

I’m entering these into the challenge at Artistic Inspiration challenges blog which is an Anything Goes with the option of using Cool Colours challenge. 

Happy crafting!

Catherine 

Halloween card swap

Hello

Today I have a card I’ve made for a swap with UK stampers forum. The theme for the card is Halloween.

I inked up the panel using Seedless Preserves and Spiced Marmalade distress oxides. I then added some splodges of water and dried off the panel. I then used a stencil to add the cobweb. 

Next I embossed the sentiment using Black embossing powder.  The skeleton I then heat embossed using white powder onto the black cards and cut it out. 

I added it to the card using the pinflair glue gel.  

I am also entering this into the challenge of Anything Goes at http://craftingfromtheheartchallengeblog.blogspot.co.uk/2017/10/challenge-178.html?m=1

Happy crafting!

Catherine 

Deb’s Patwits circle journal 

Hello there

I have another circle journal page to share for the Patwits envelope journal. This time it is Deborah’s journal and her construction is similar to mine but bigger! 

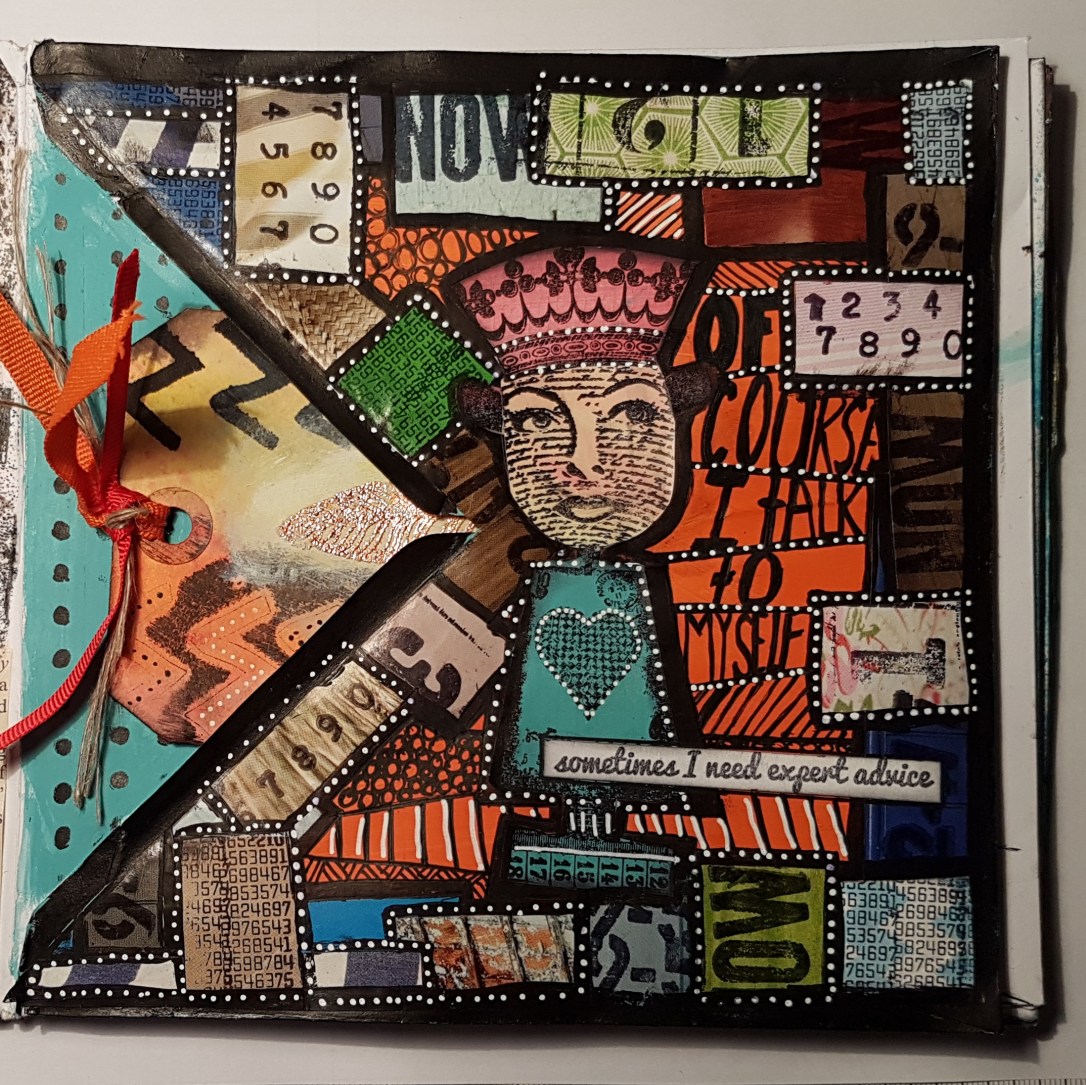
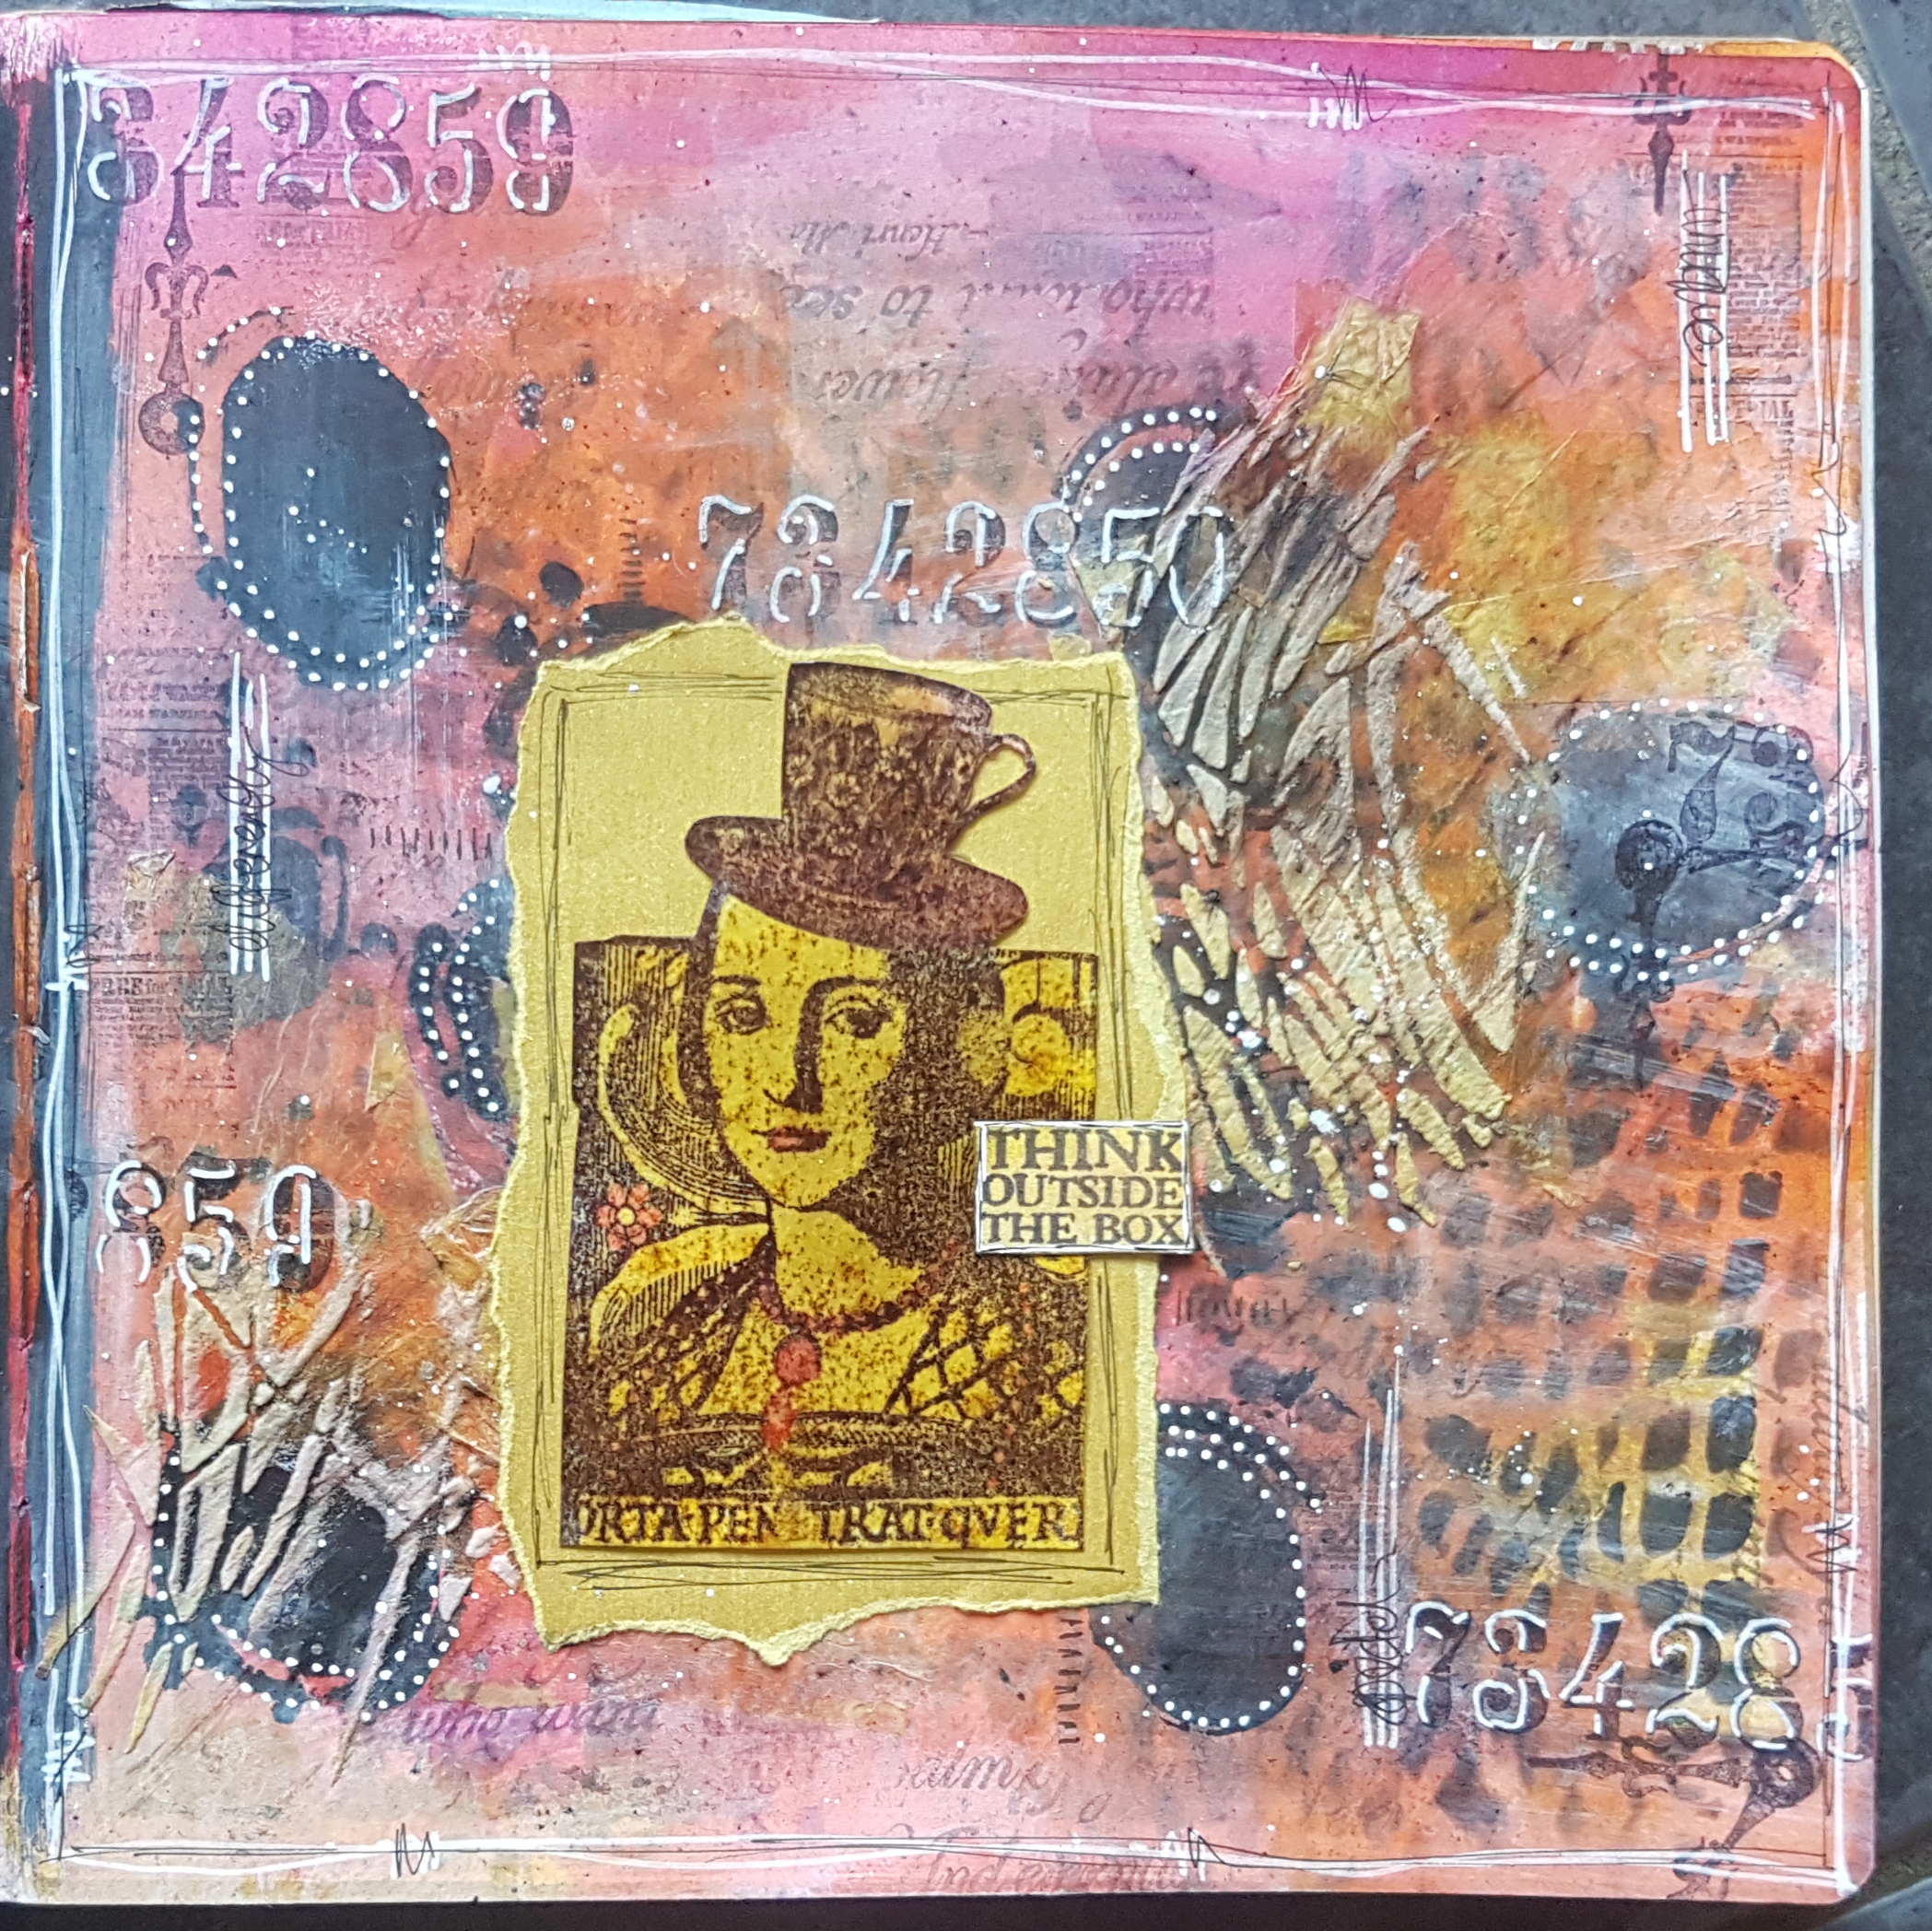
I decided to go all Teesha Moore style. I started with painting the envelope with the Bora Bora paint.
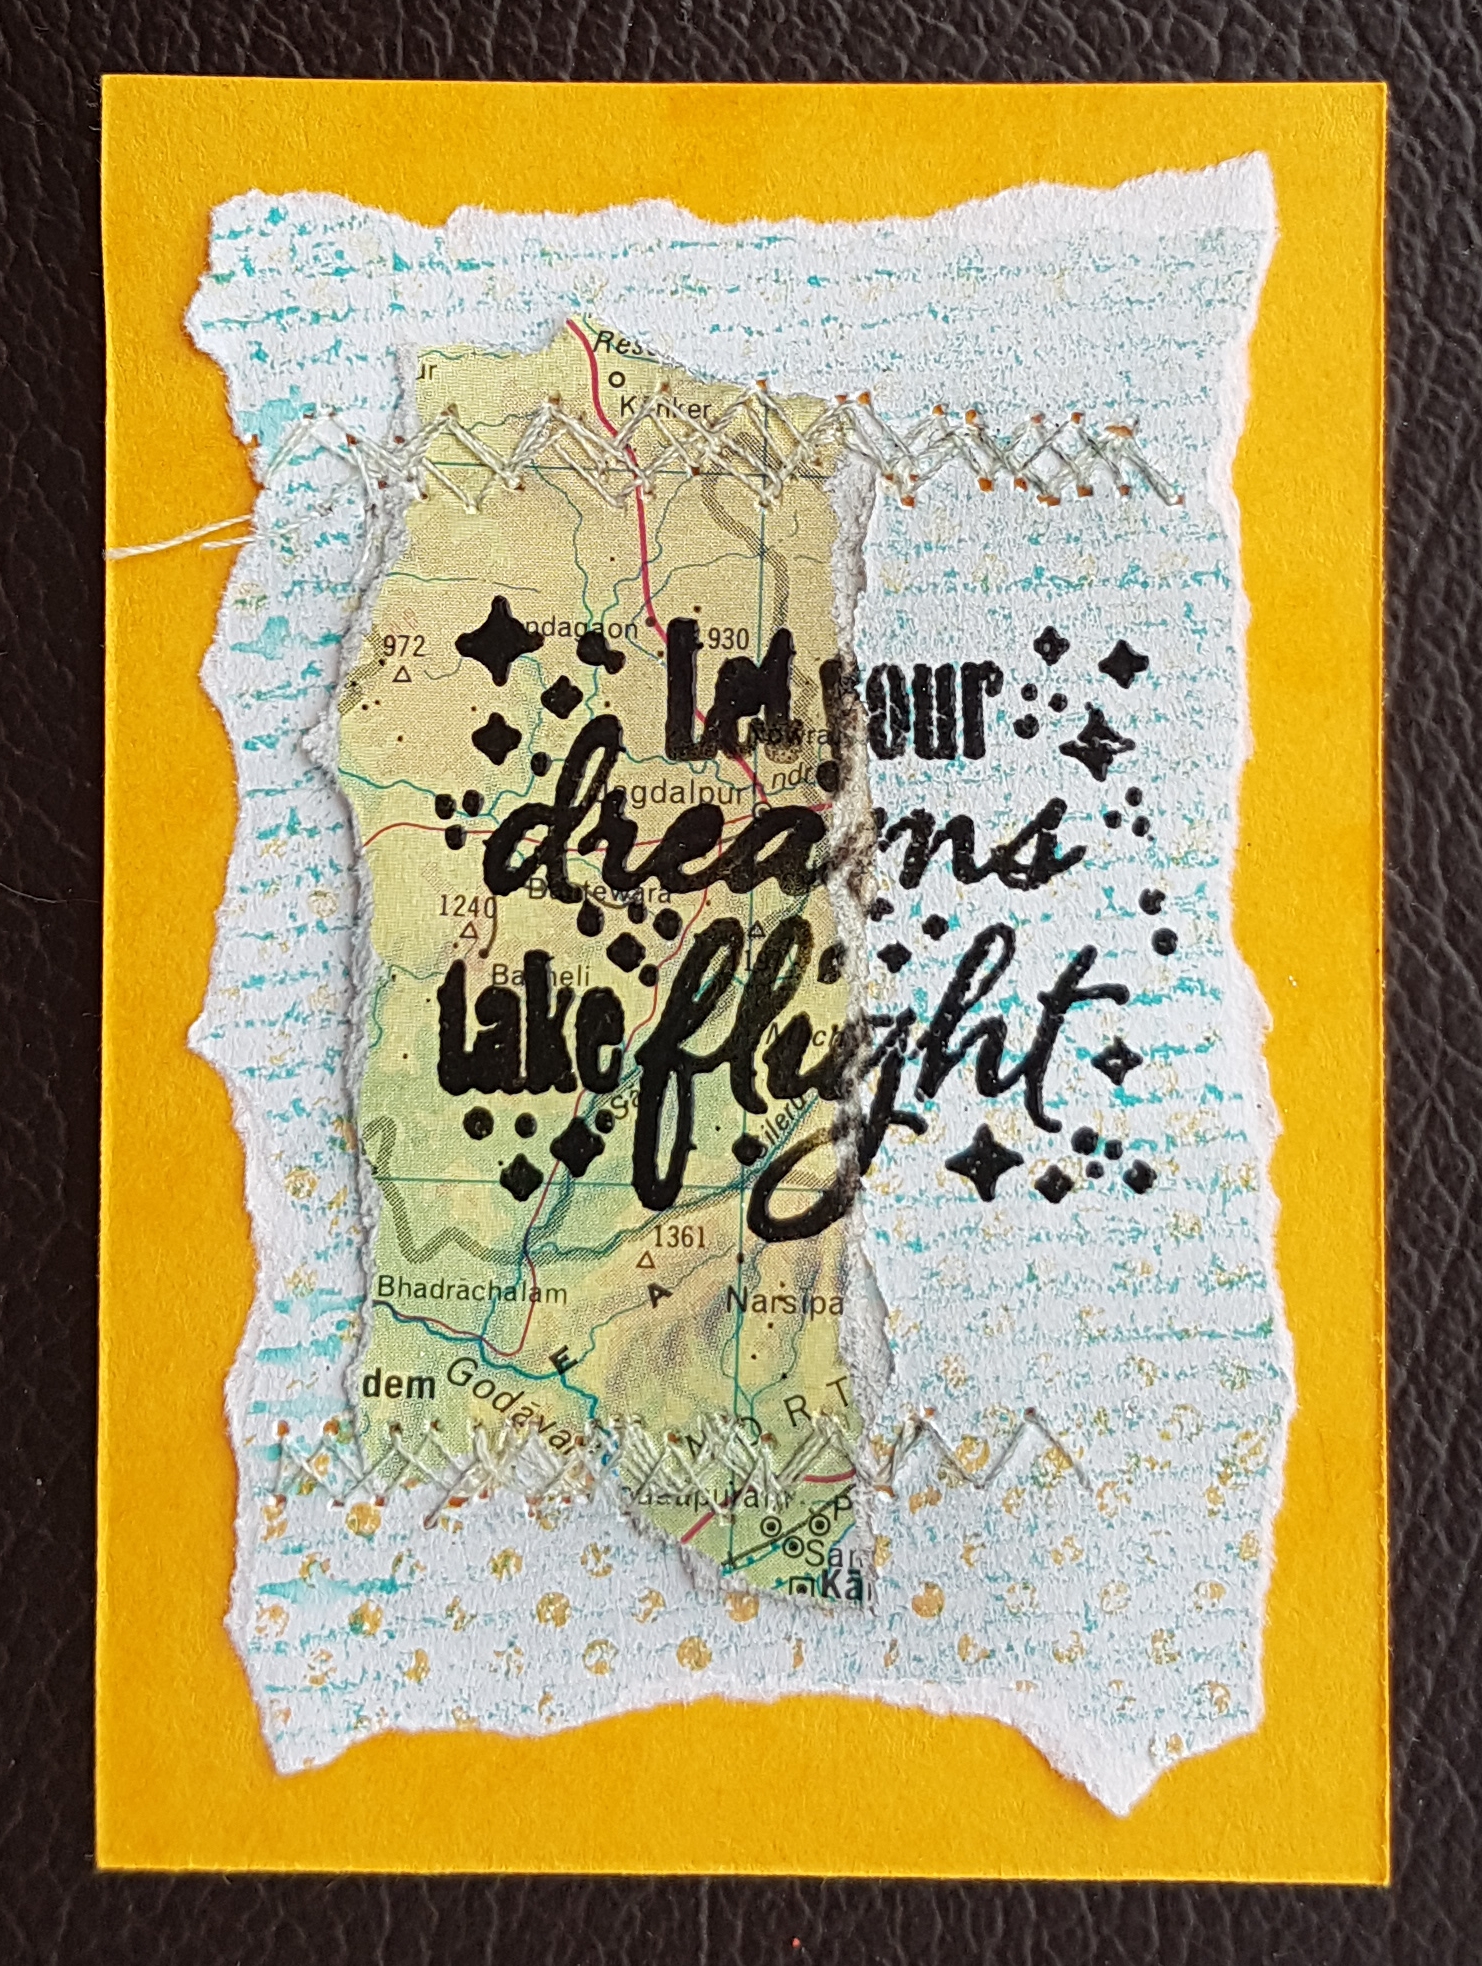
I then cut a piece of paper to the size of envelope (not the base where it opens) and added a base of Autumn fire Paperartsy fresco finish paint and then added all the magazine collage papers.  I then added stamping to them using a mix of number and word stamps from my Hot Picks stamp sets. 

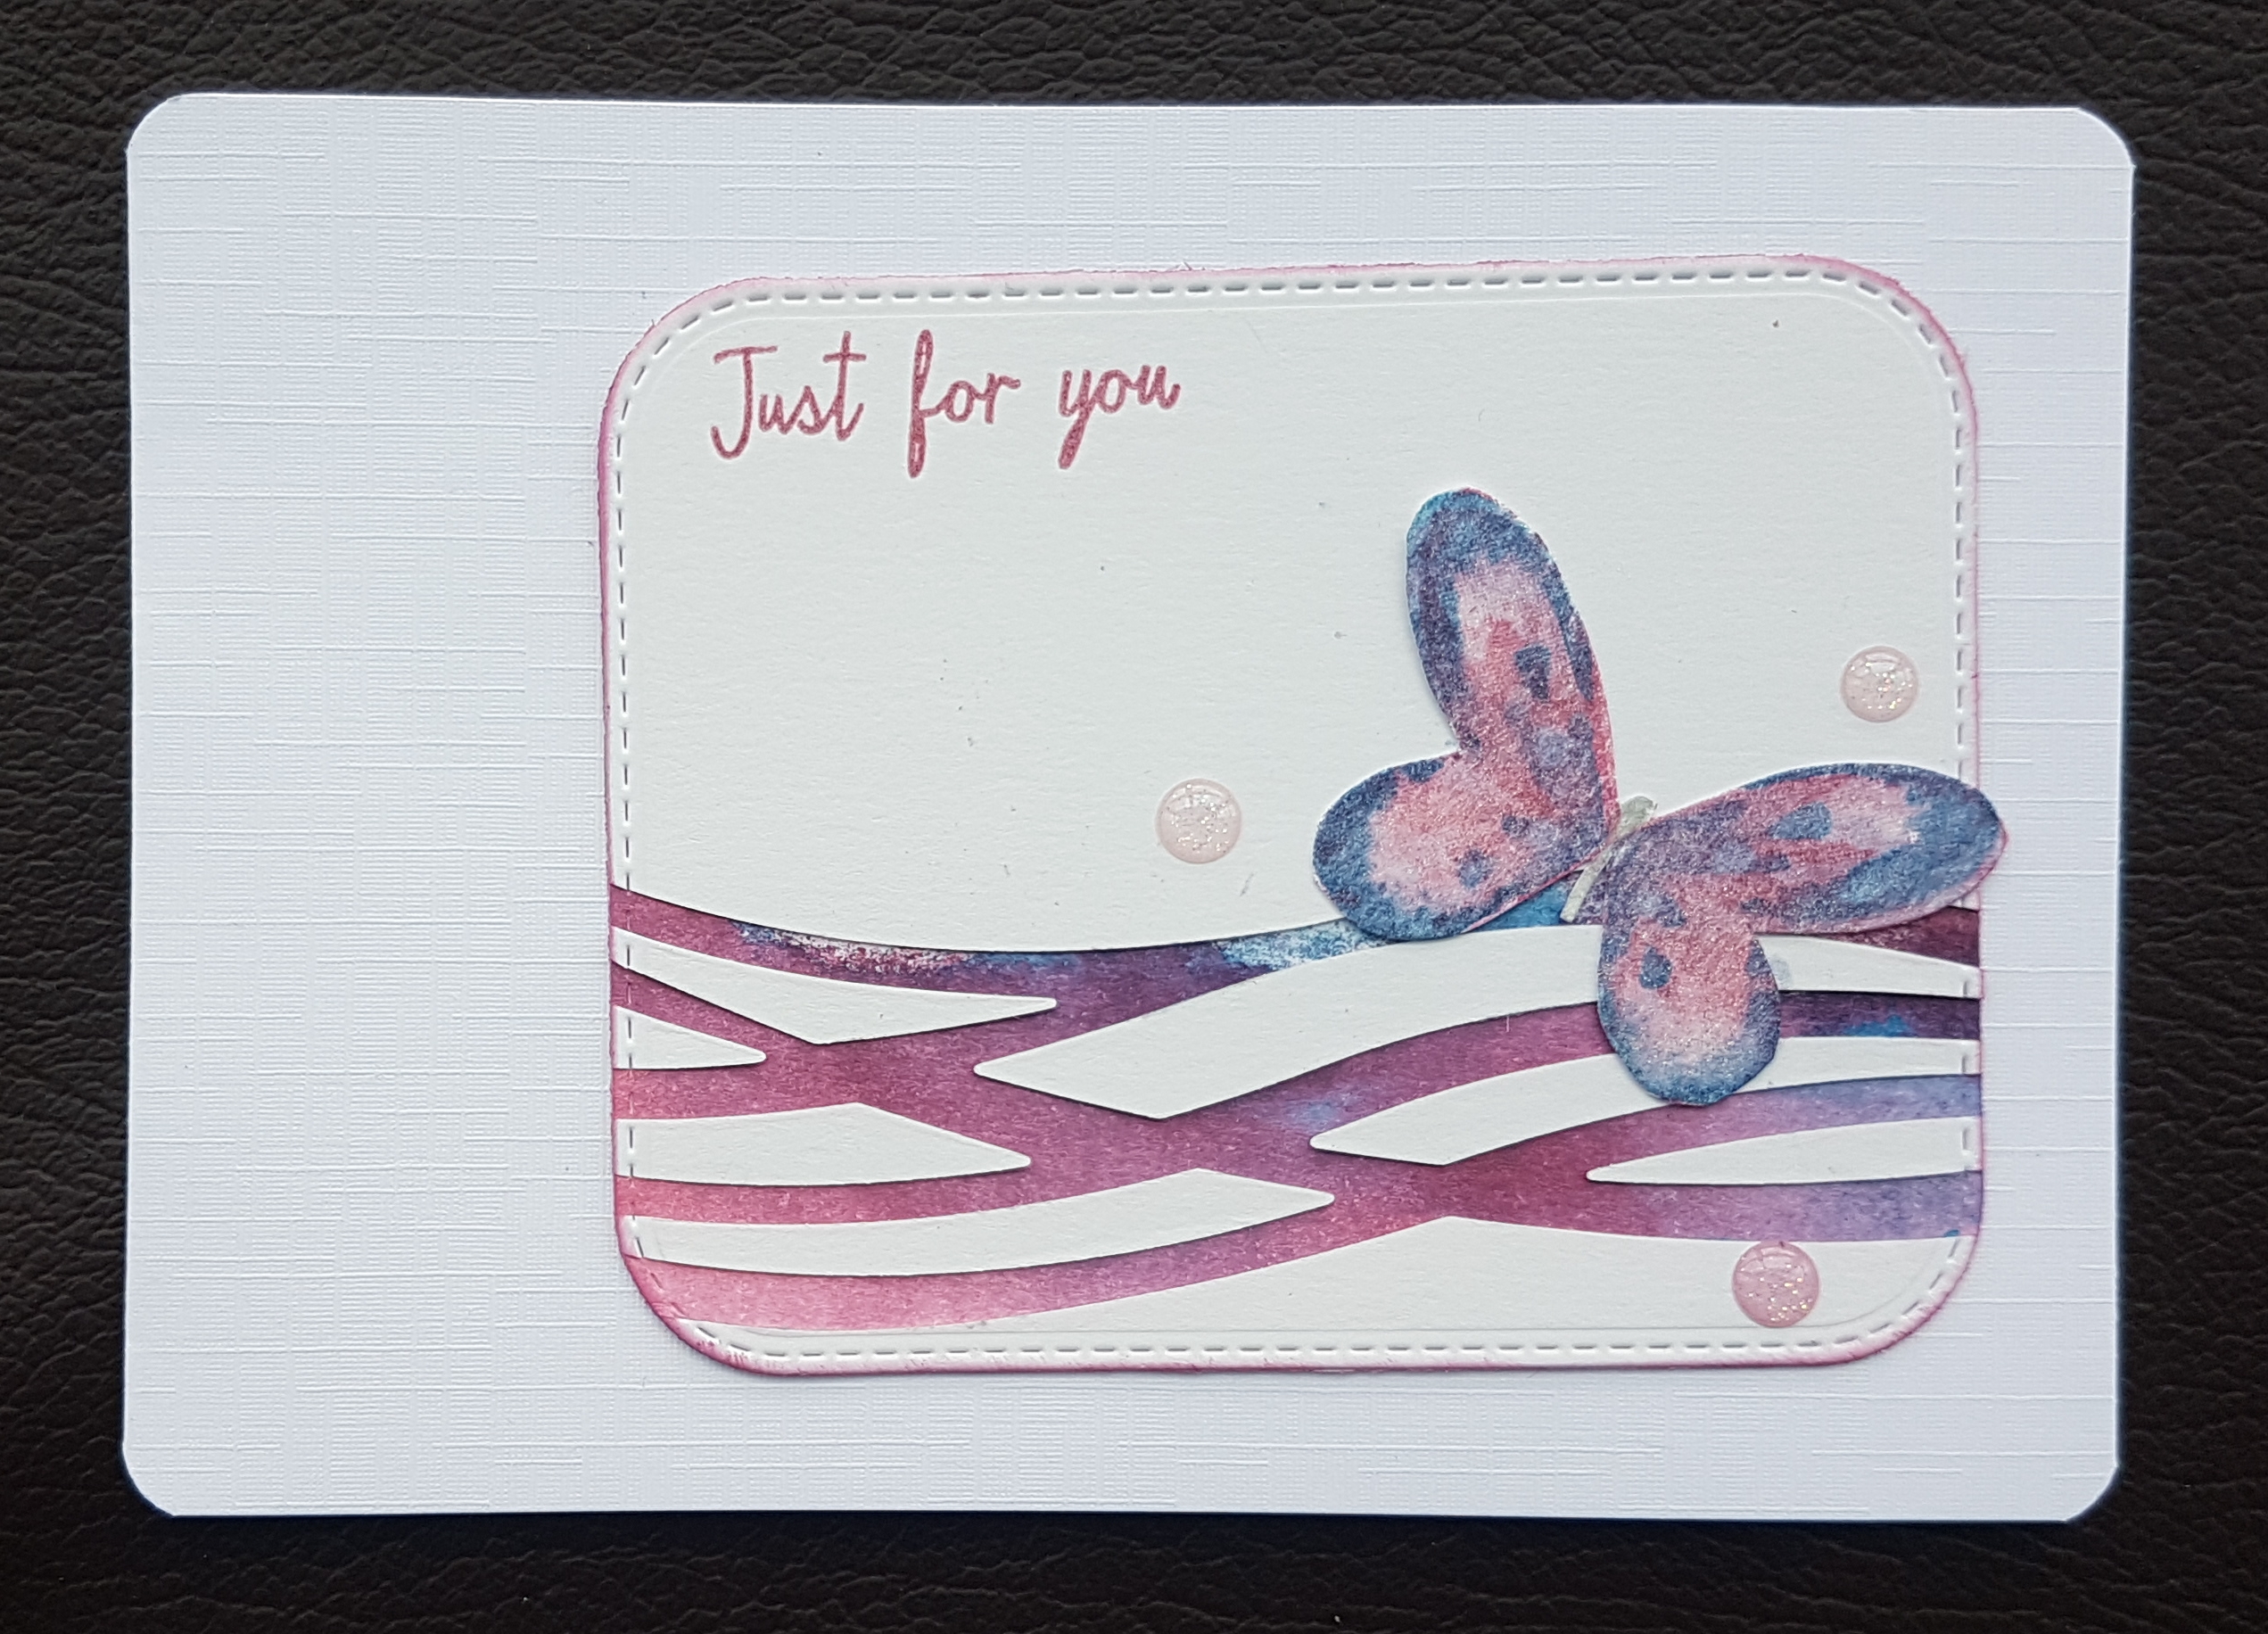
I then stamped the queen stamp onto some paper I had coloured with Paperartsy fresco finish paint. I then added that to the envelope and added black paint for the borders and then some doodling and the sentiment.  I used white paint pen to add the dots. 

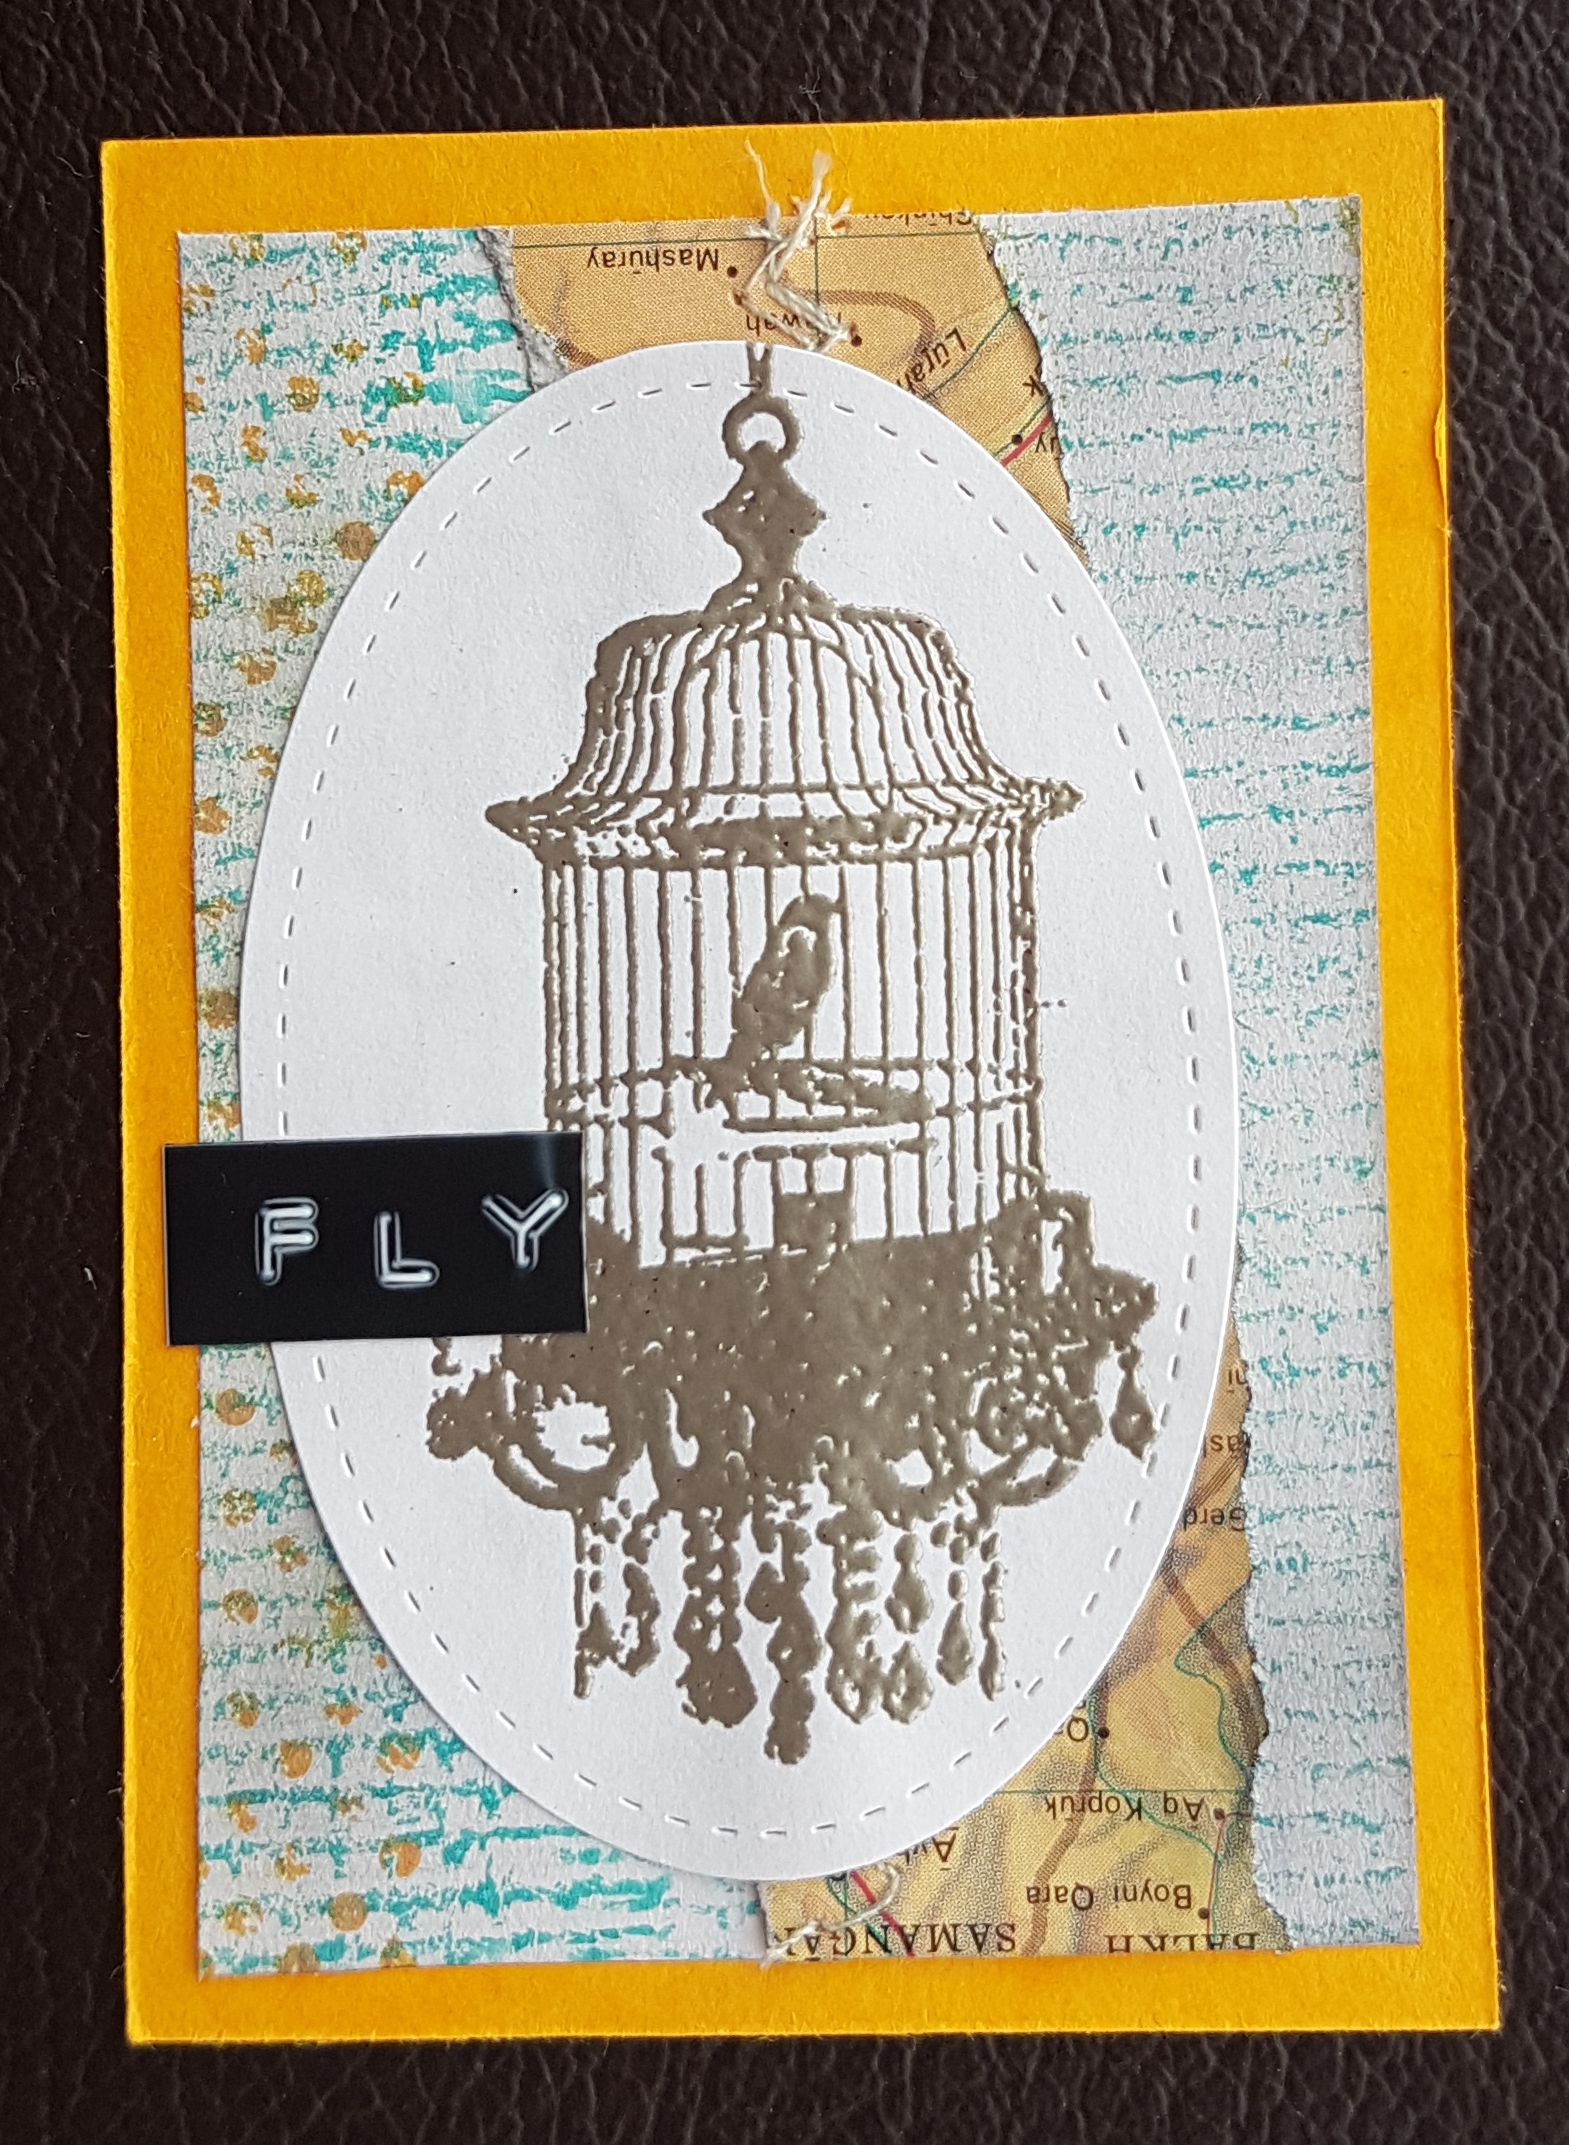
I then added some dots through the stencil for the inside part of the envelope still visible as it needed some pattern too!

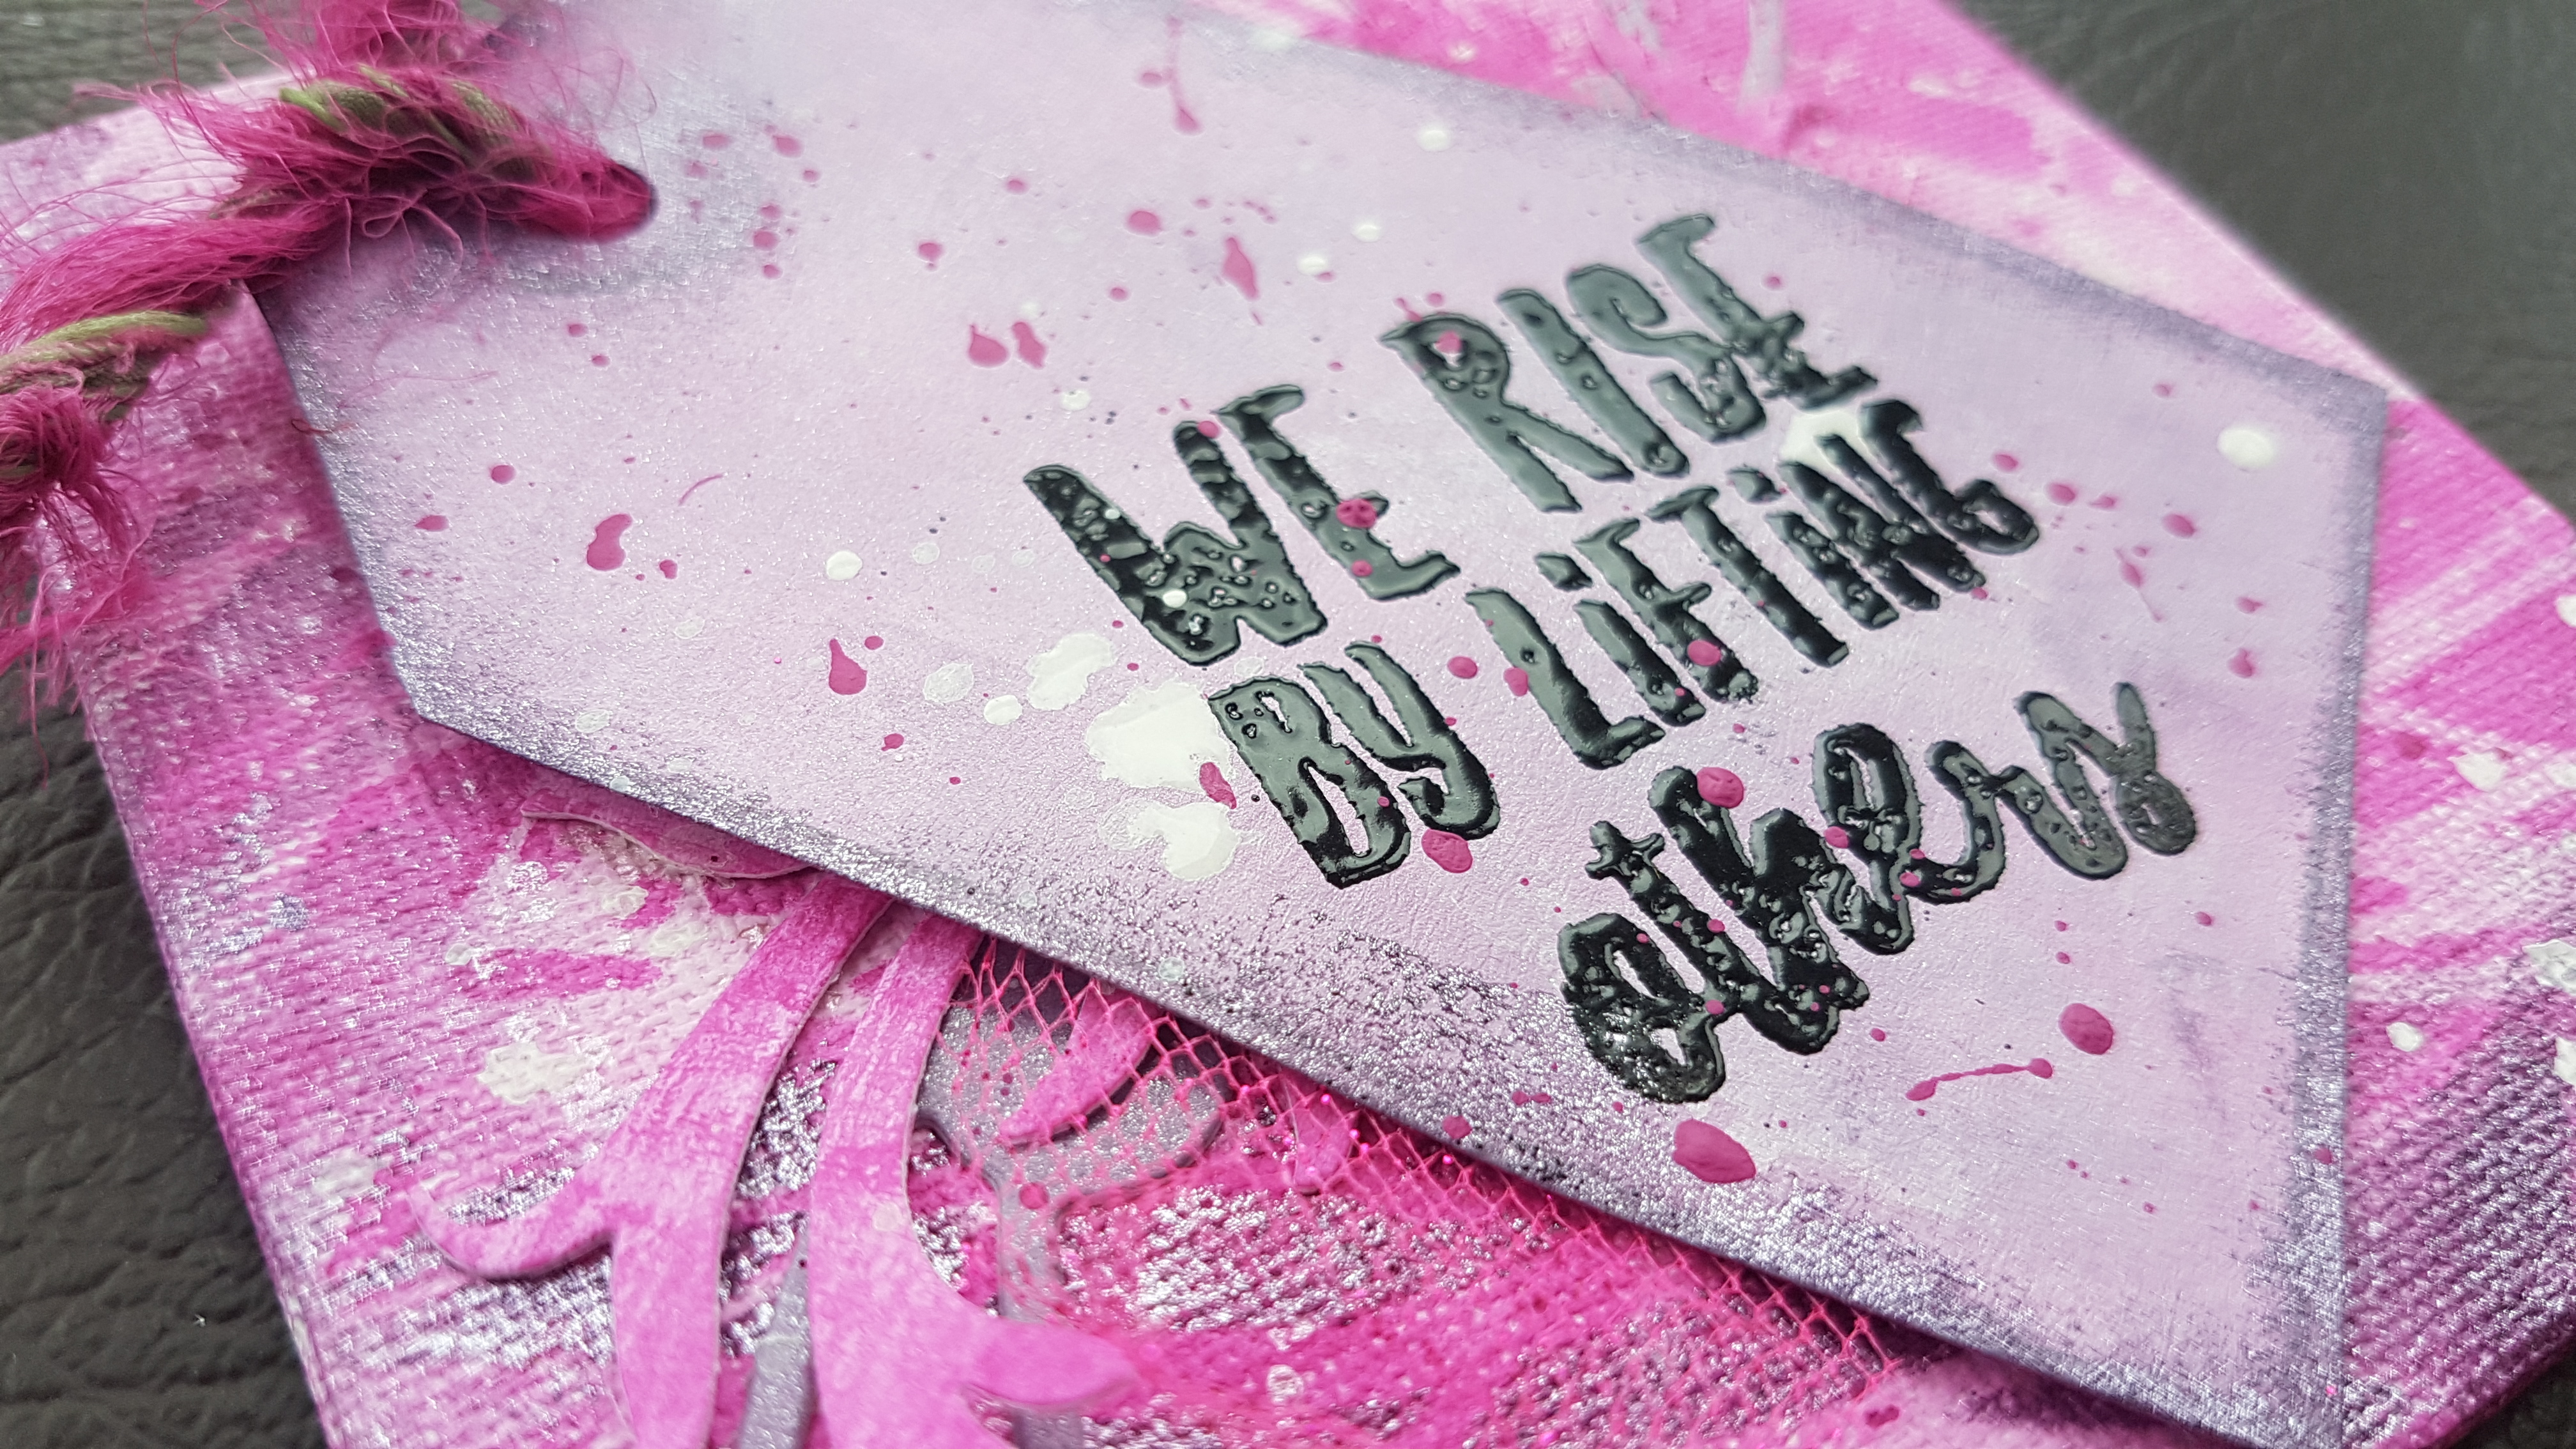
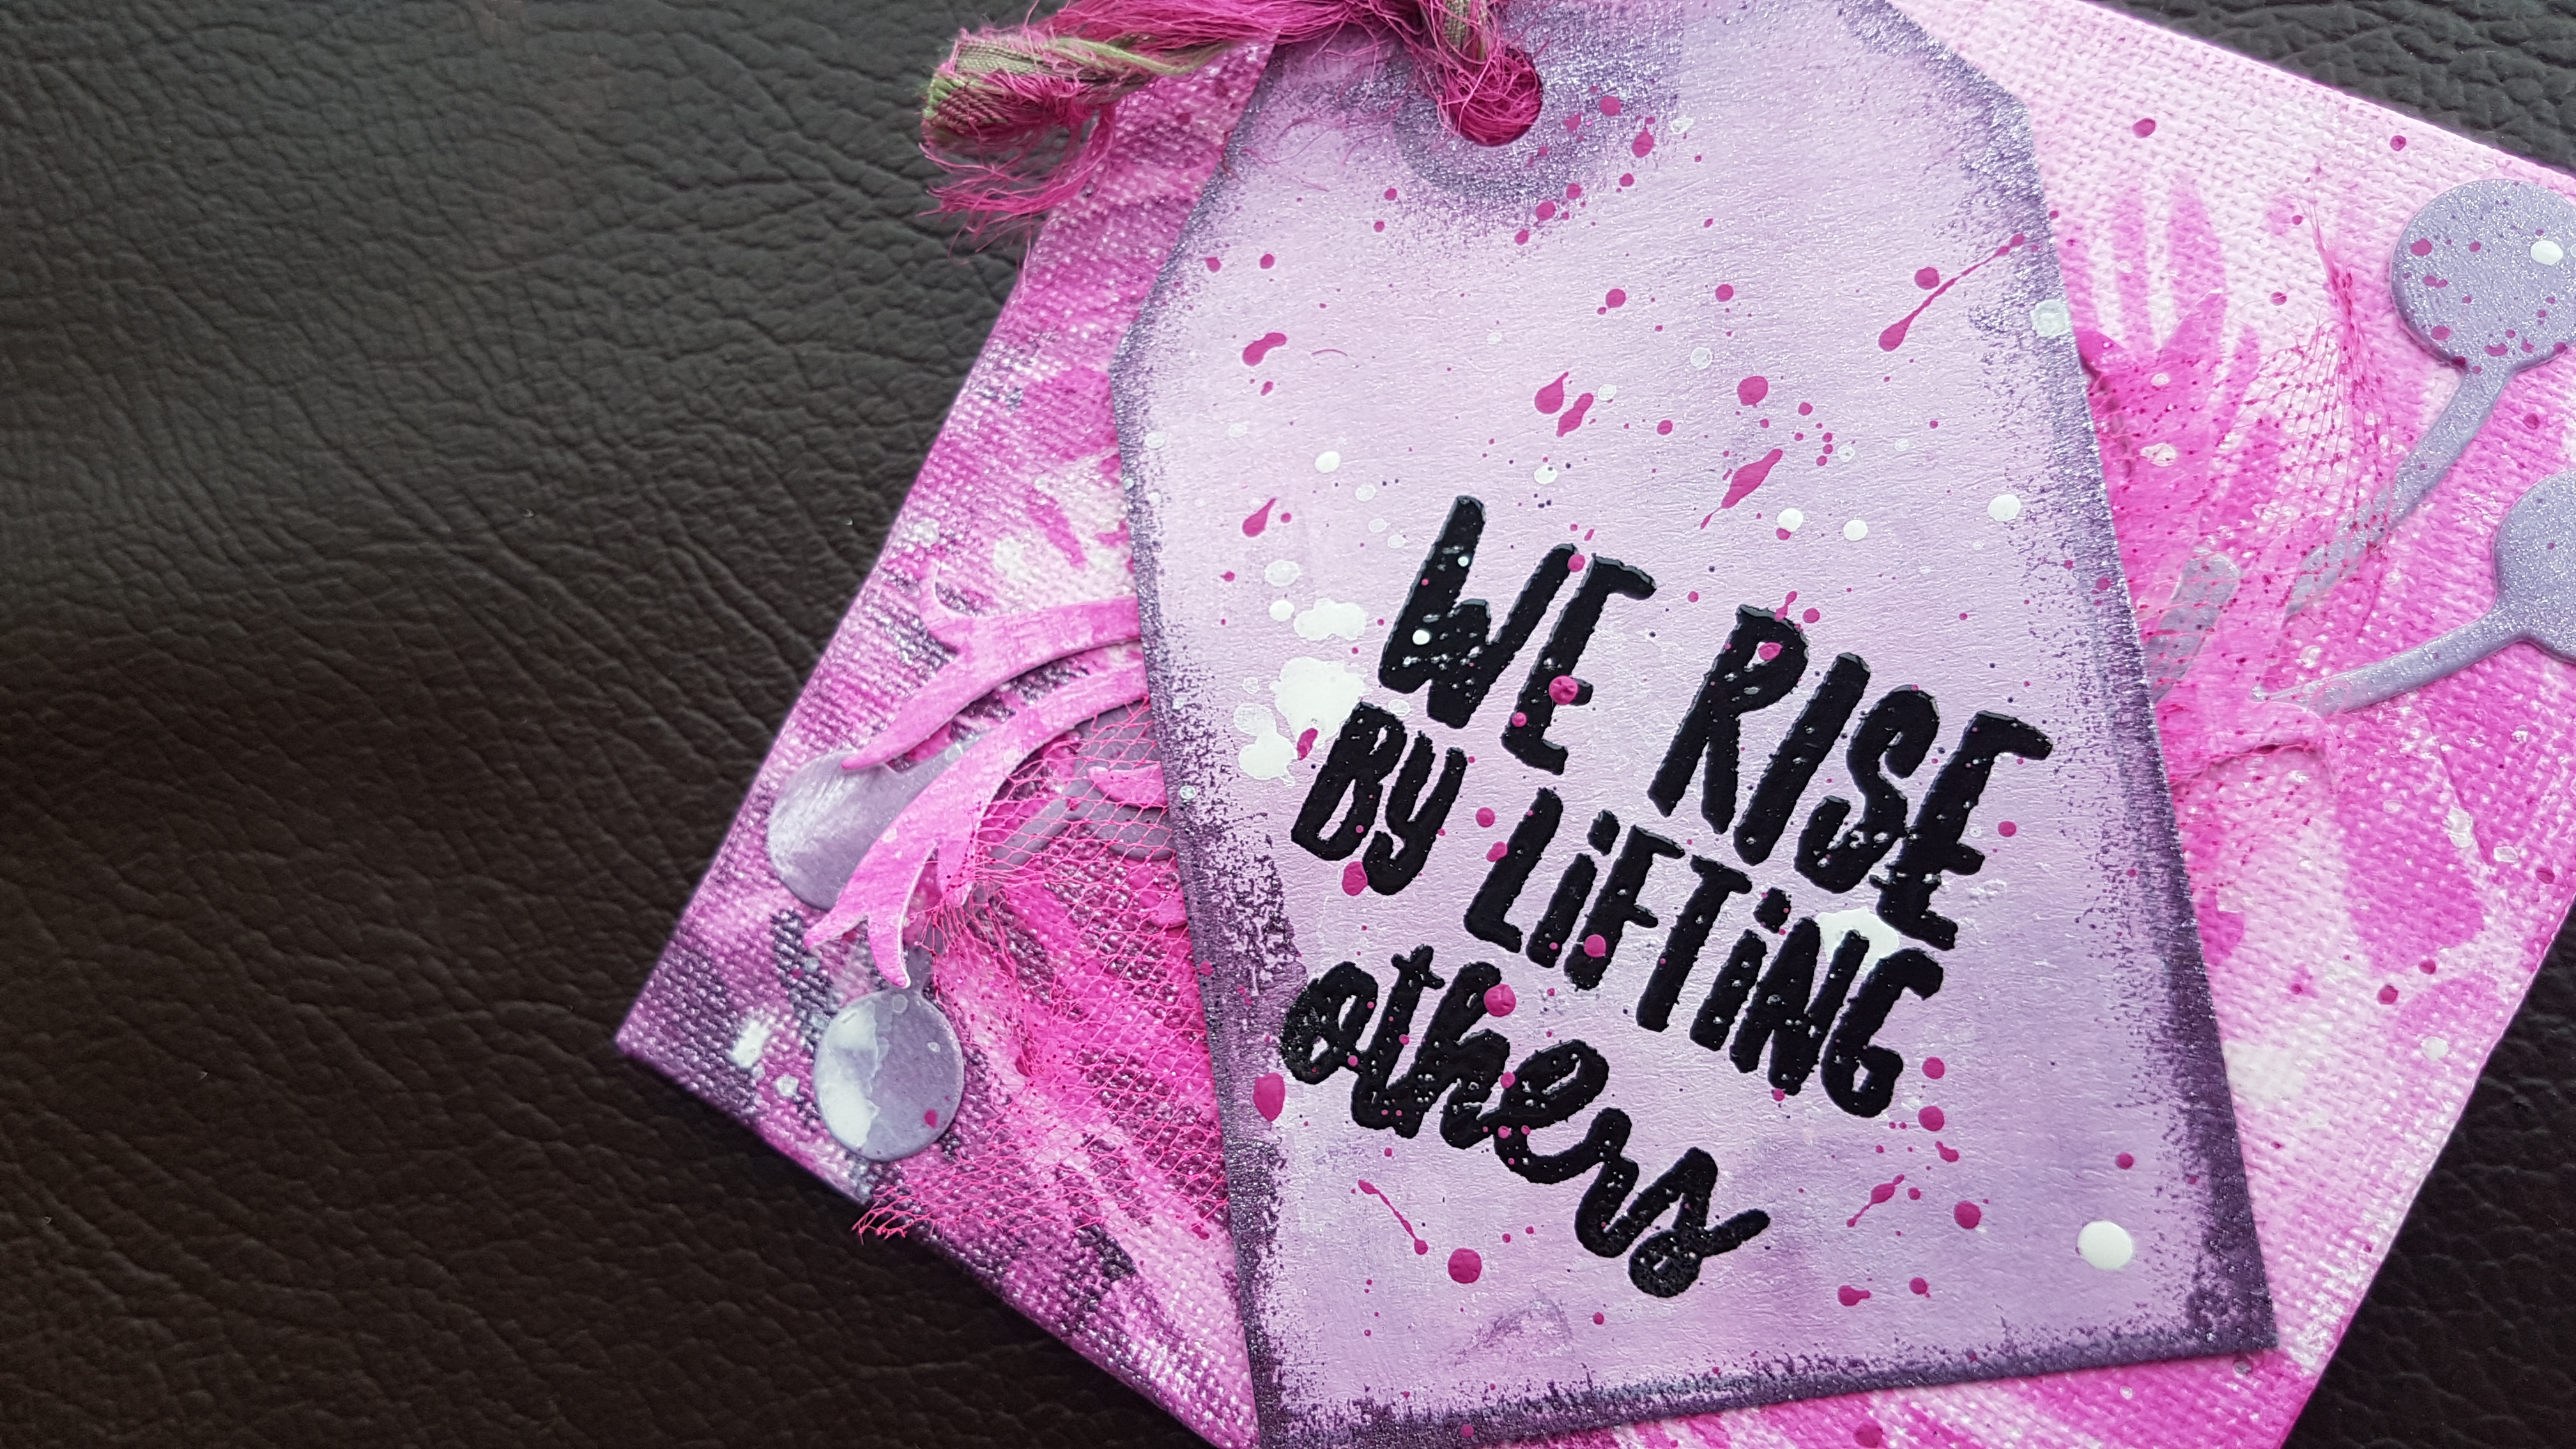
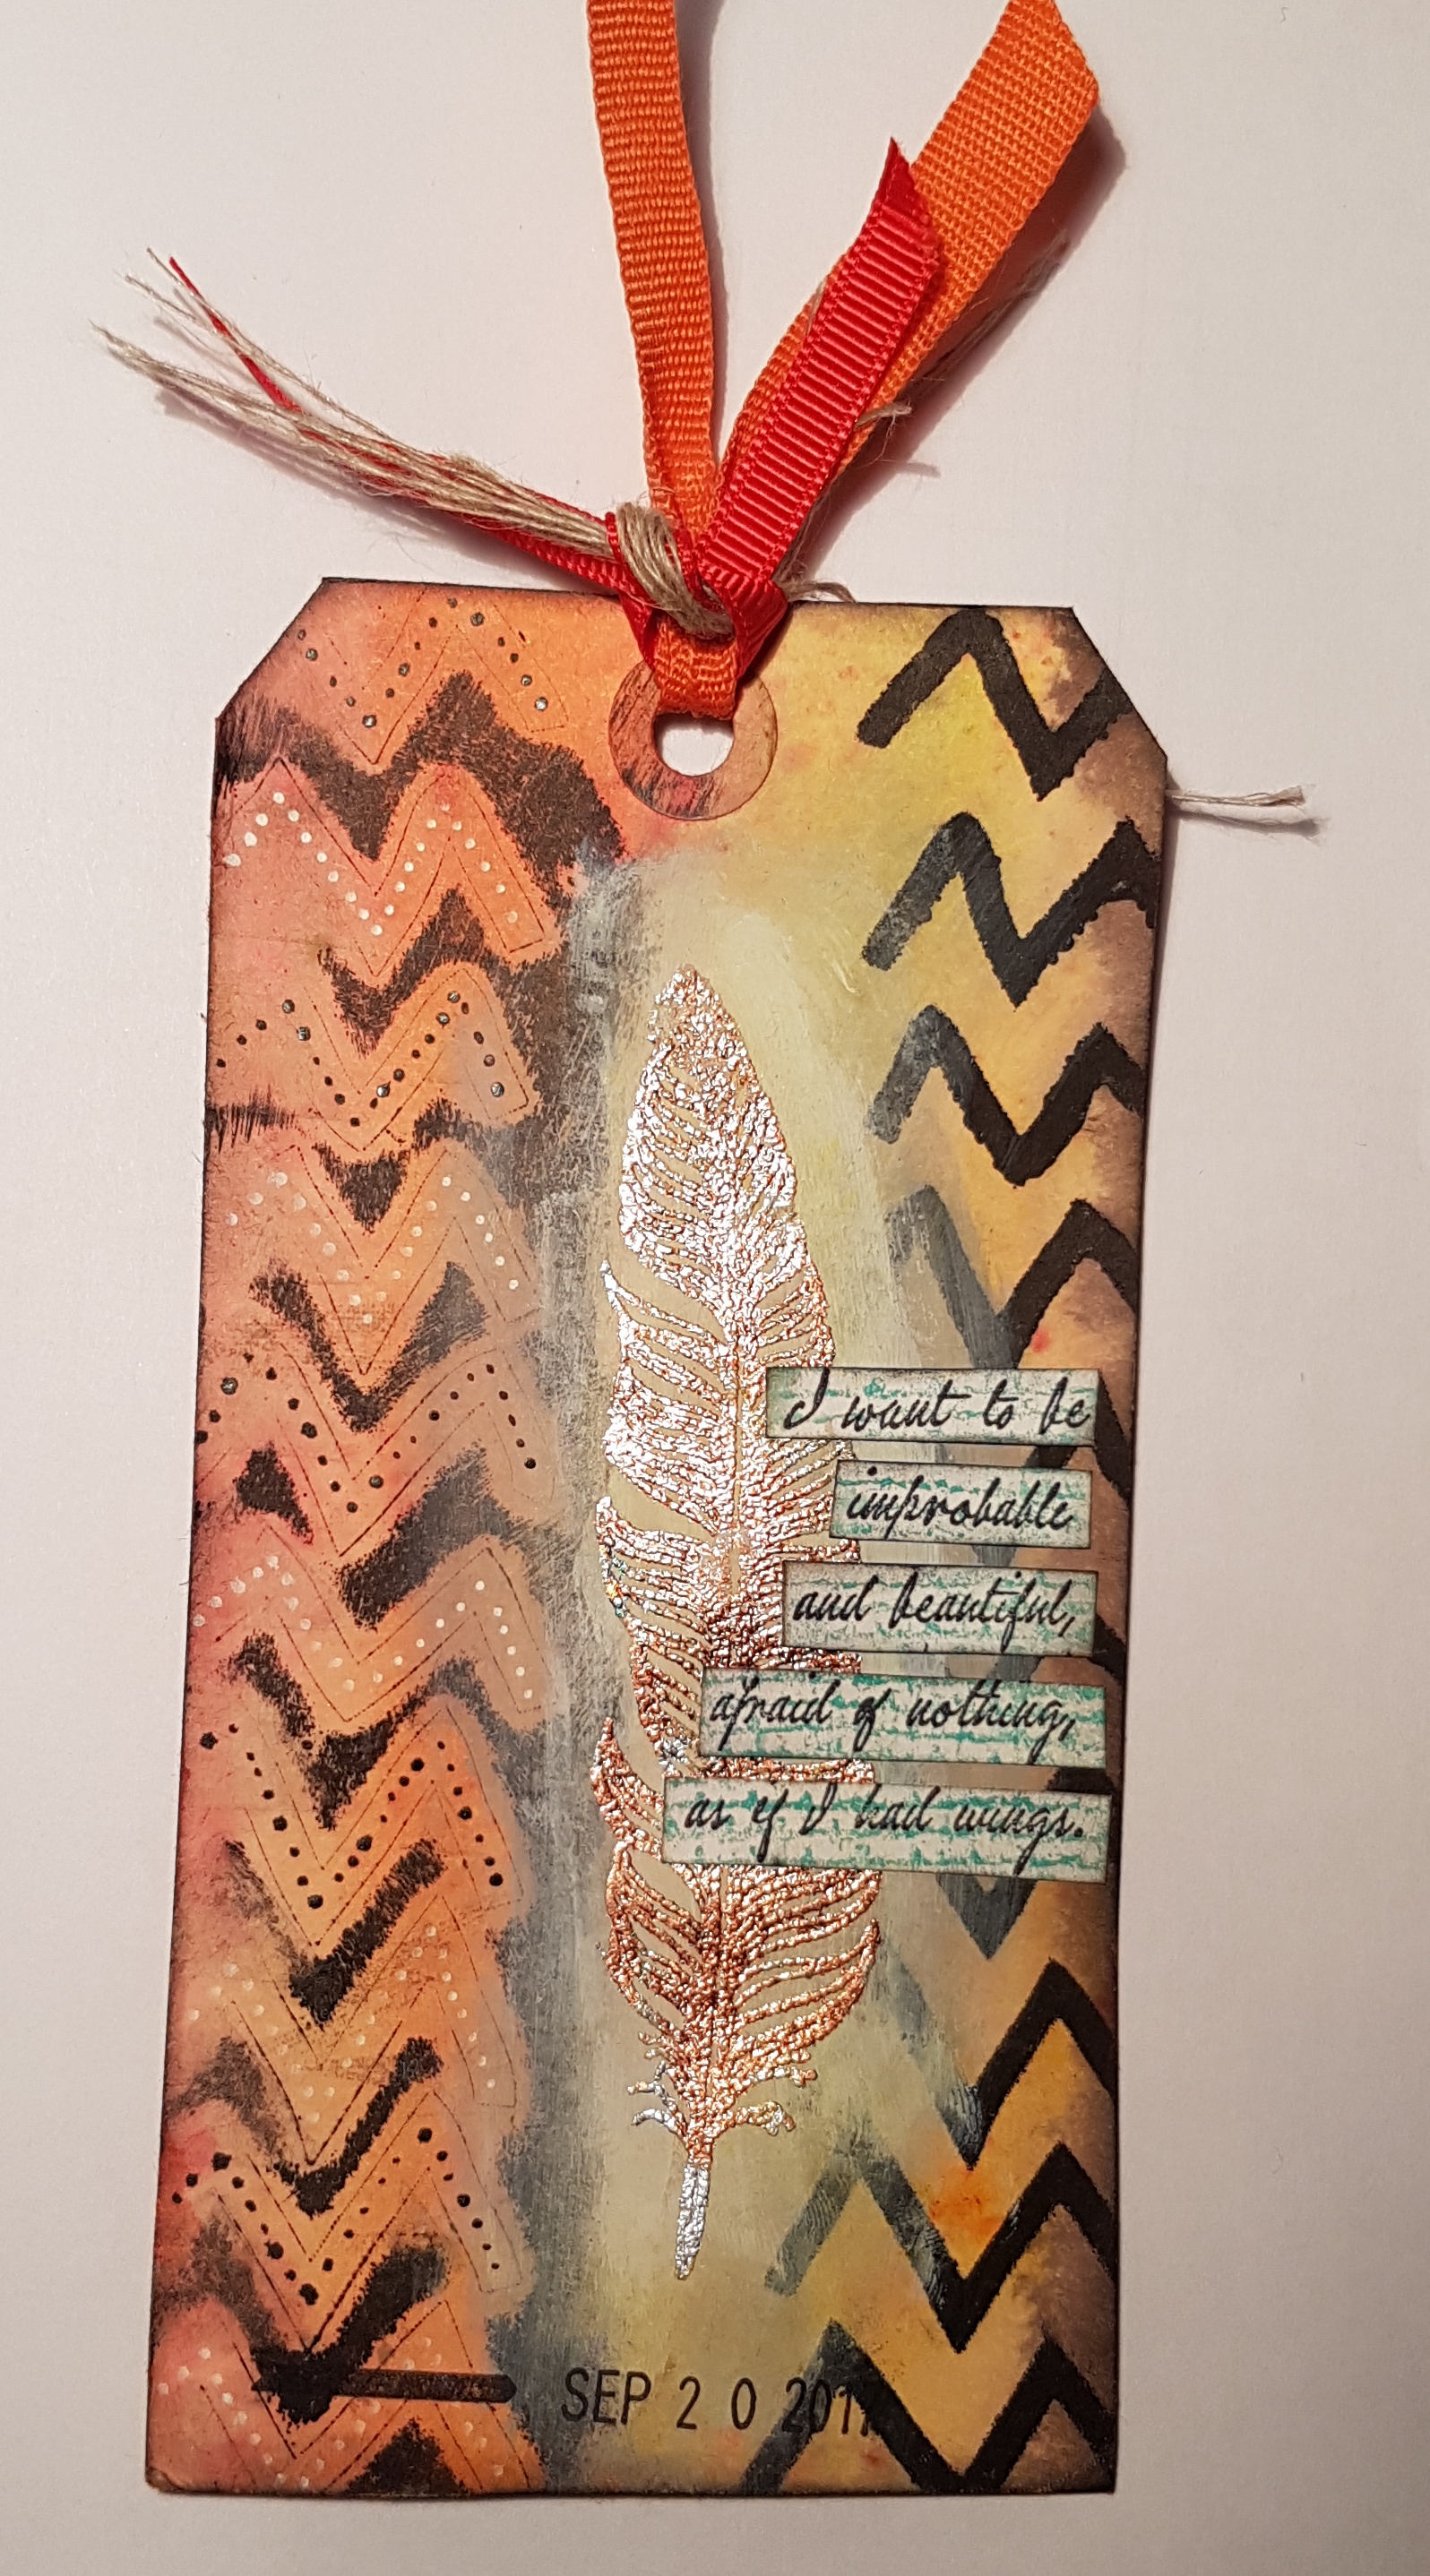
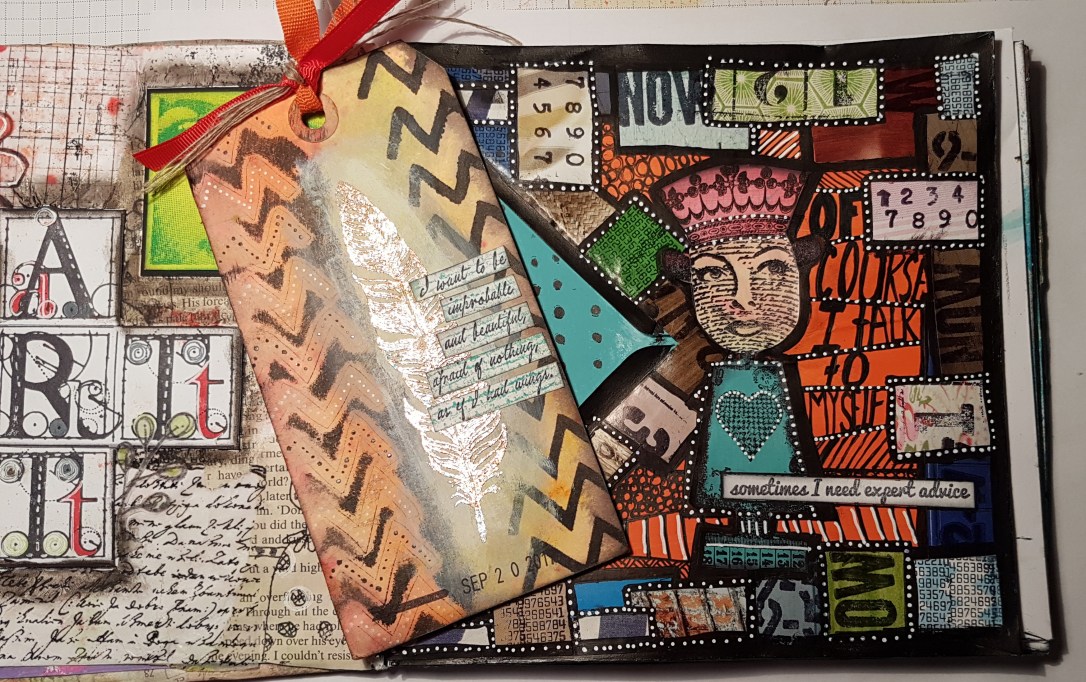
Next I decorated a tag to peek out of the envelope.  The envelope is partly sealed which means it fits perfectly in the gap and sits in the middle! 

I decorated both sides … but the back gas a message for Debs so only showing the front of the tag here…

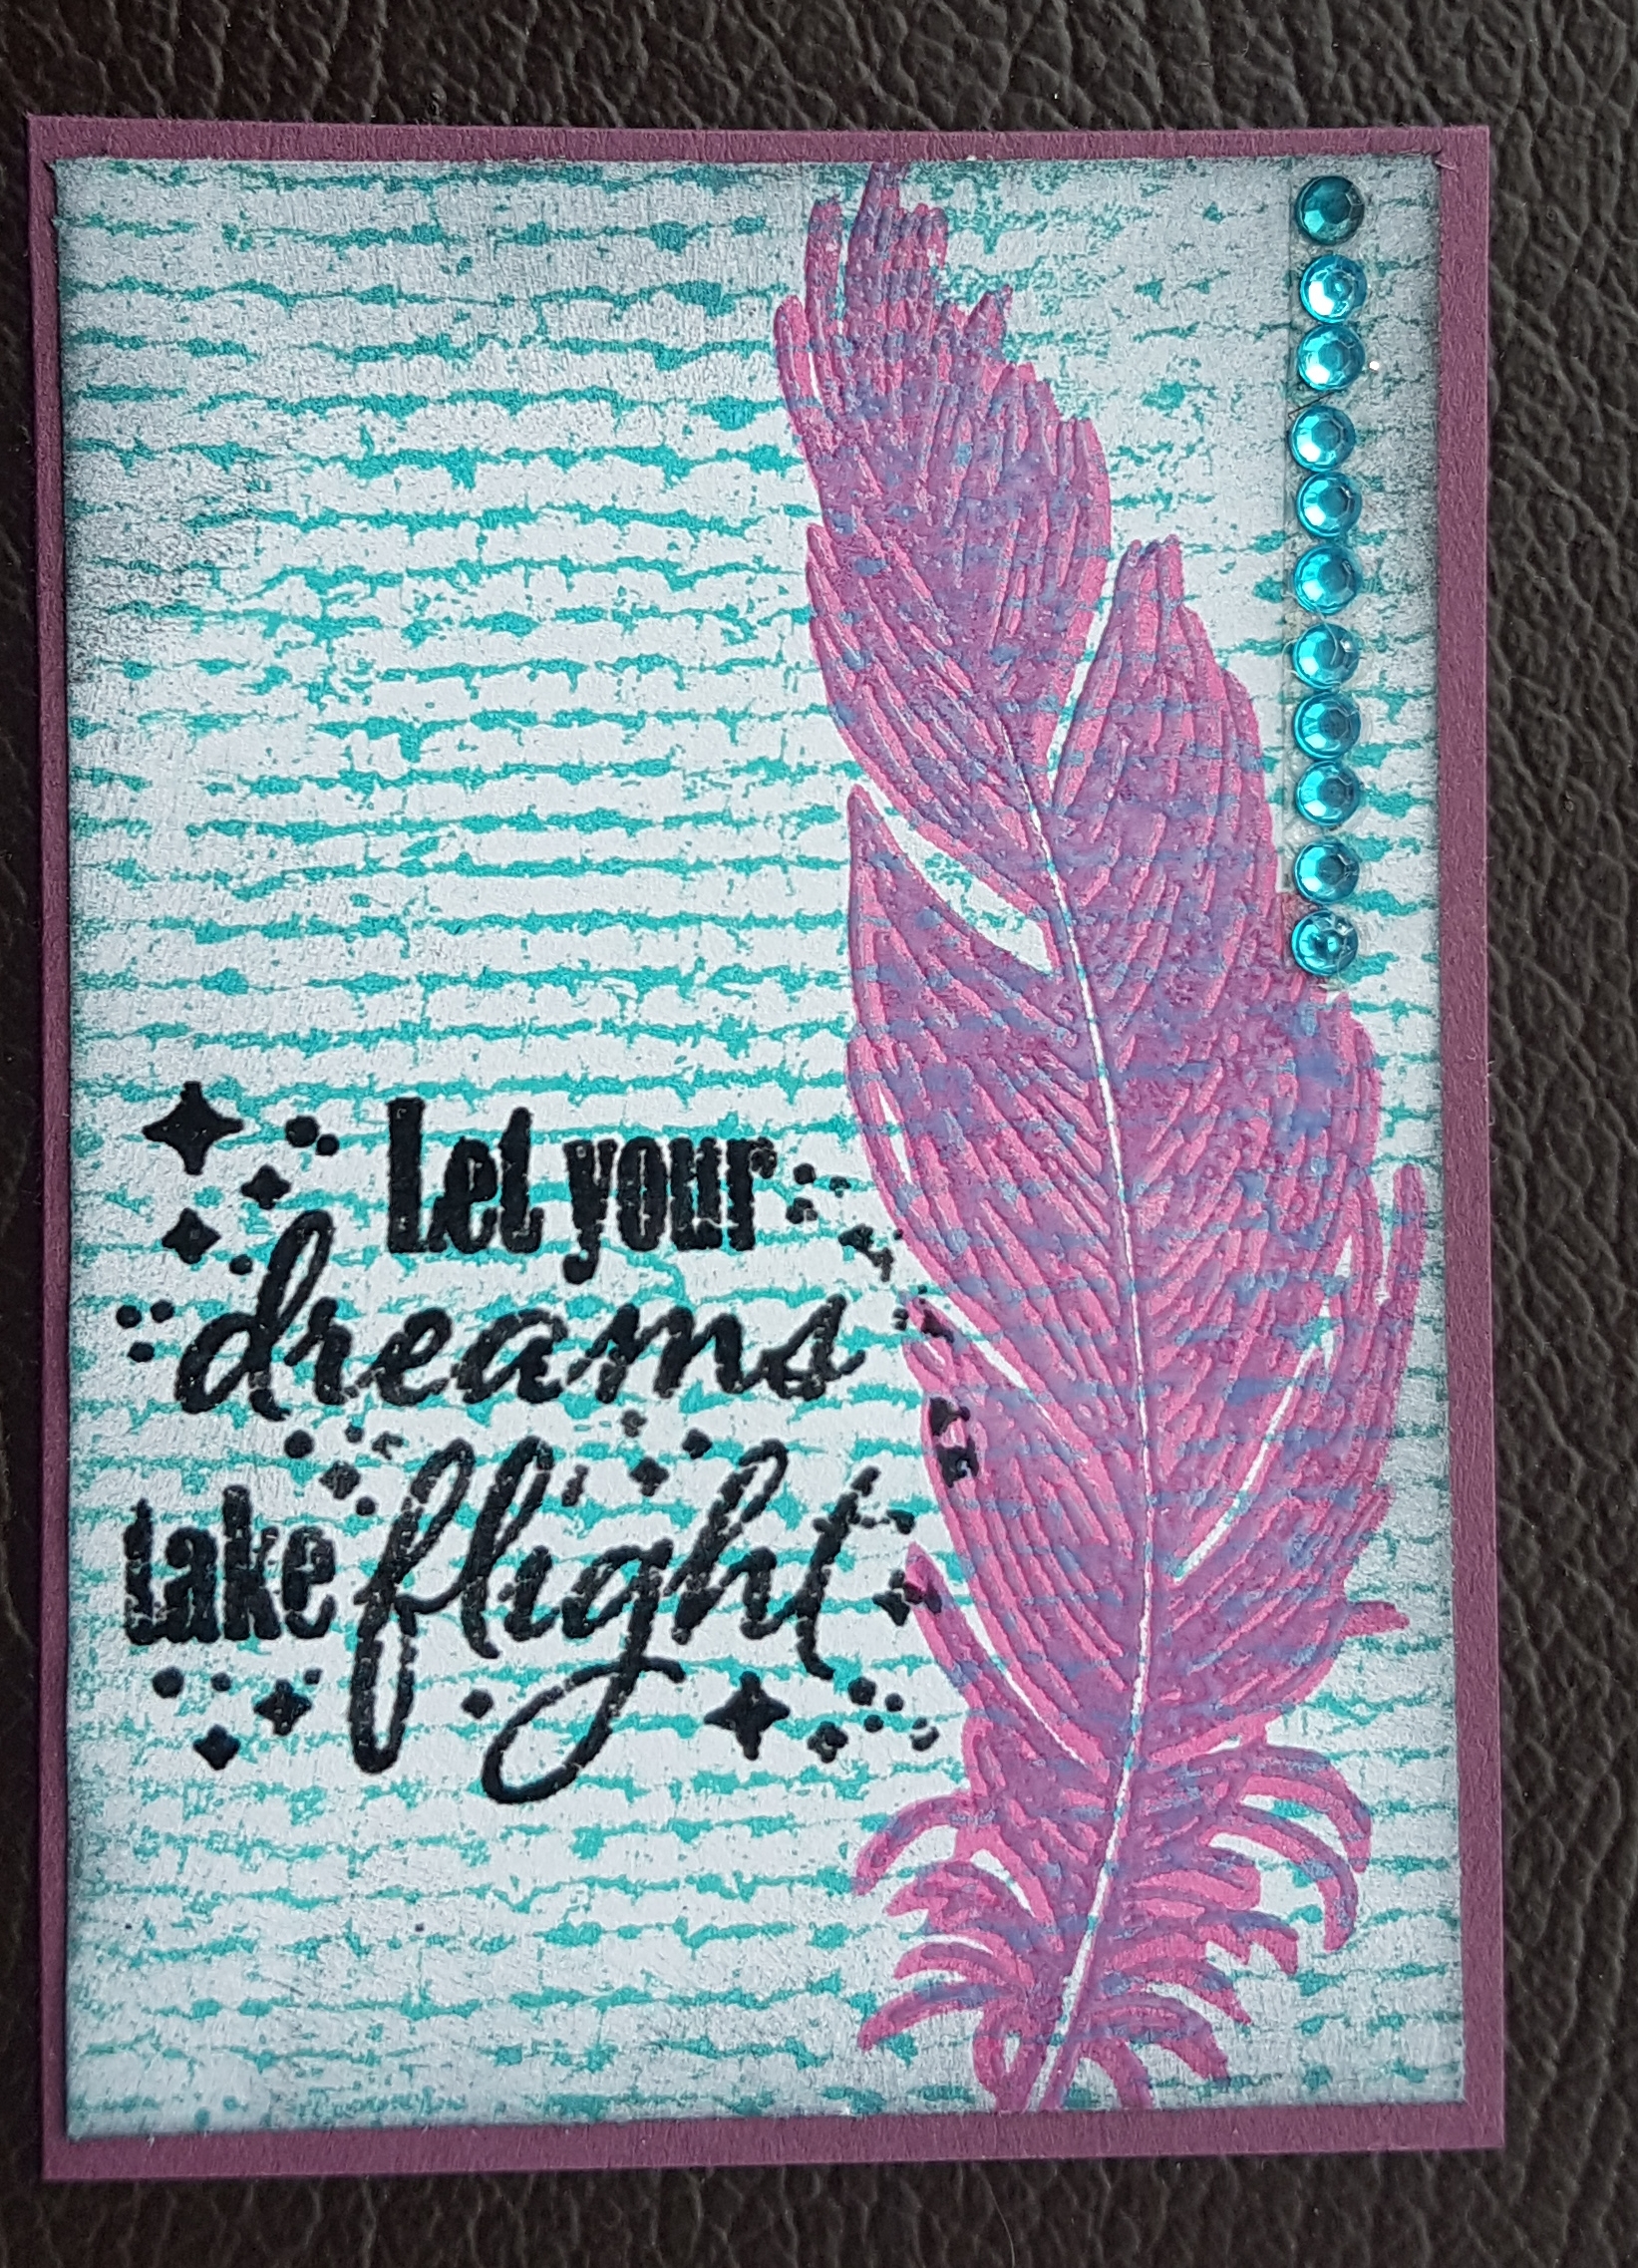
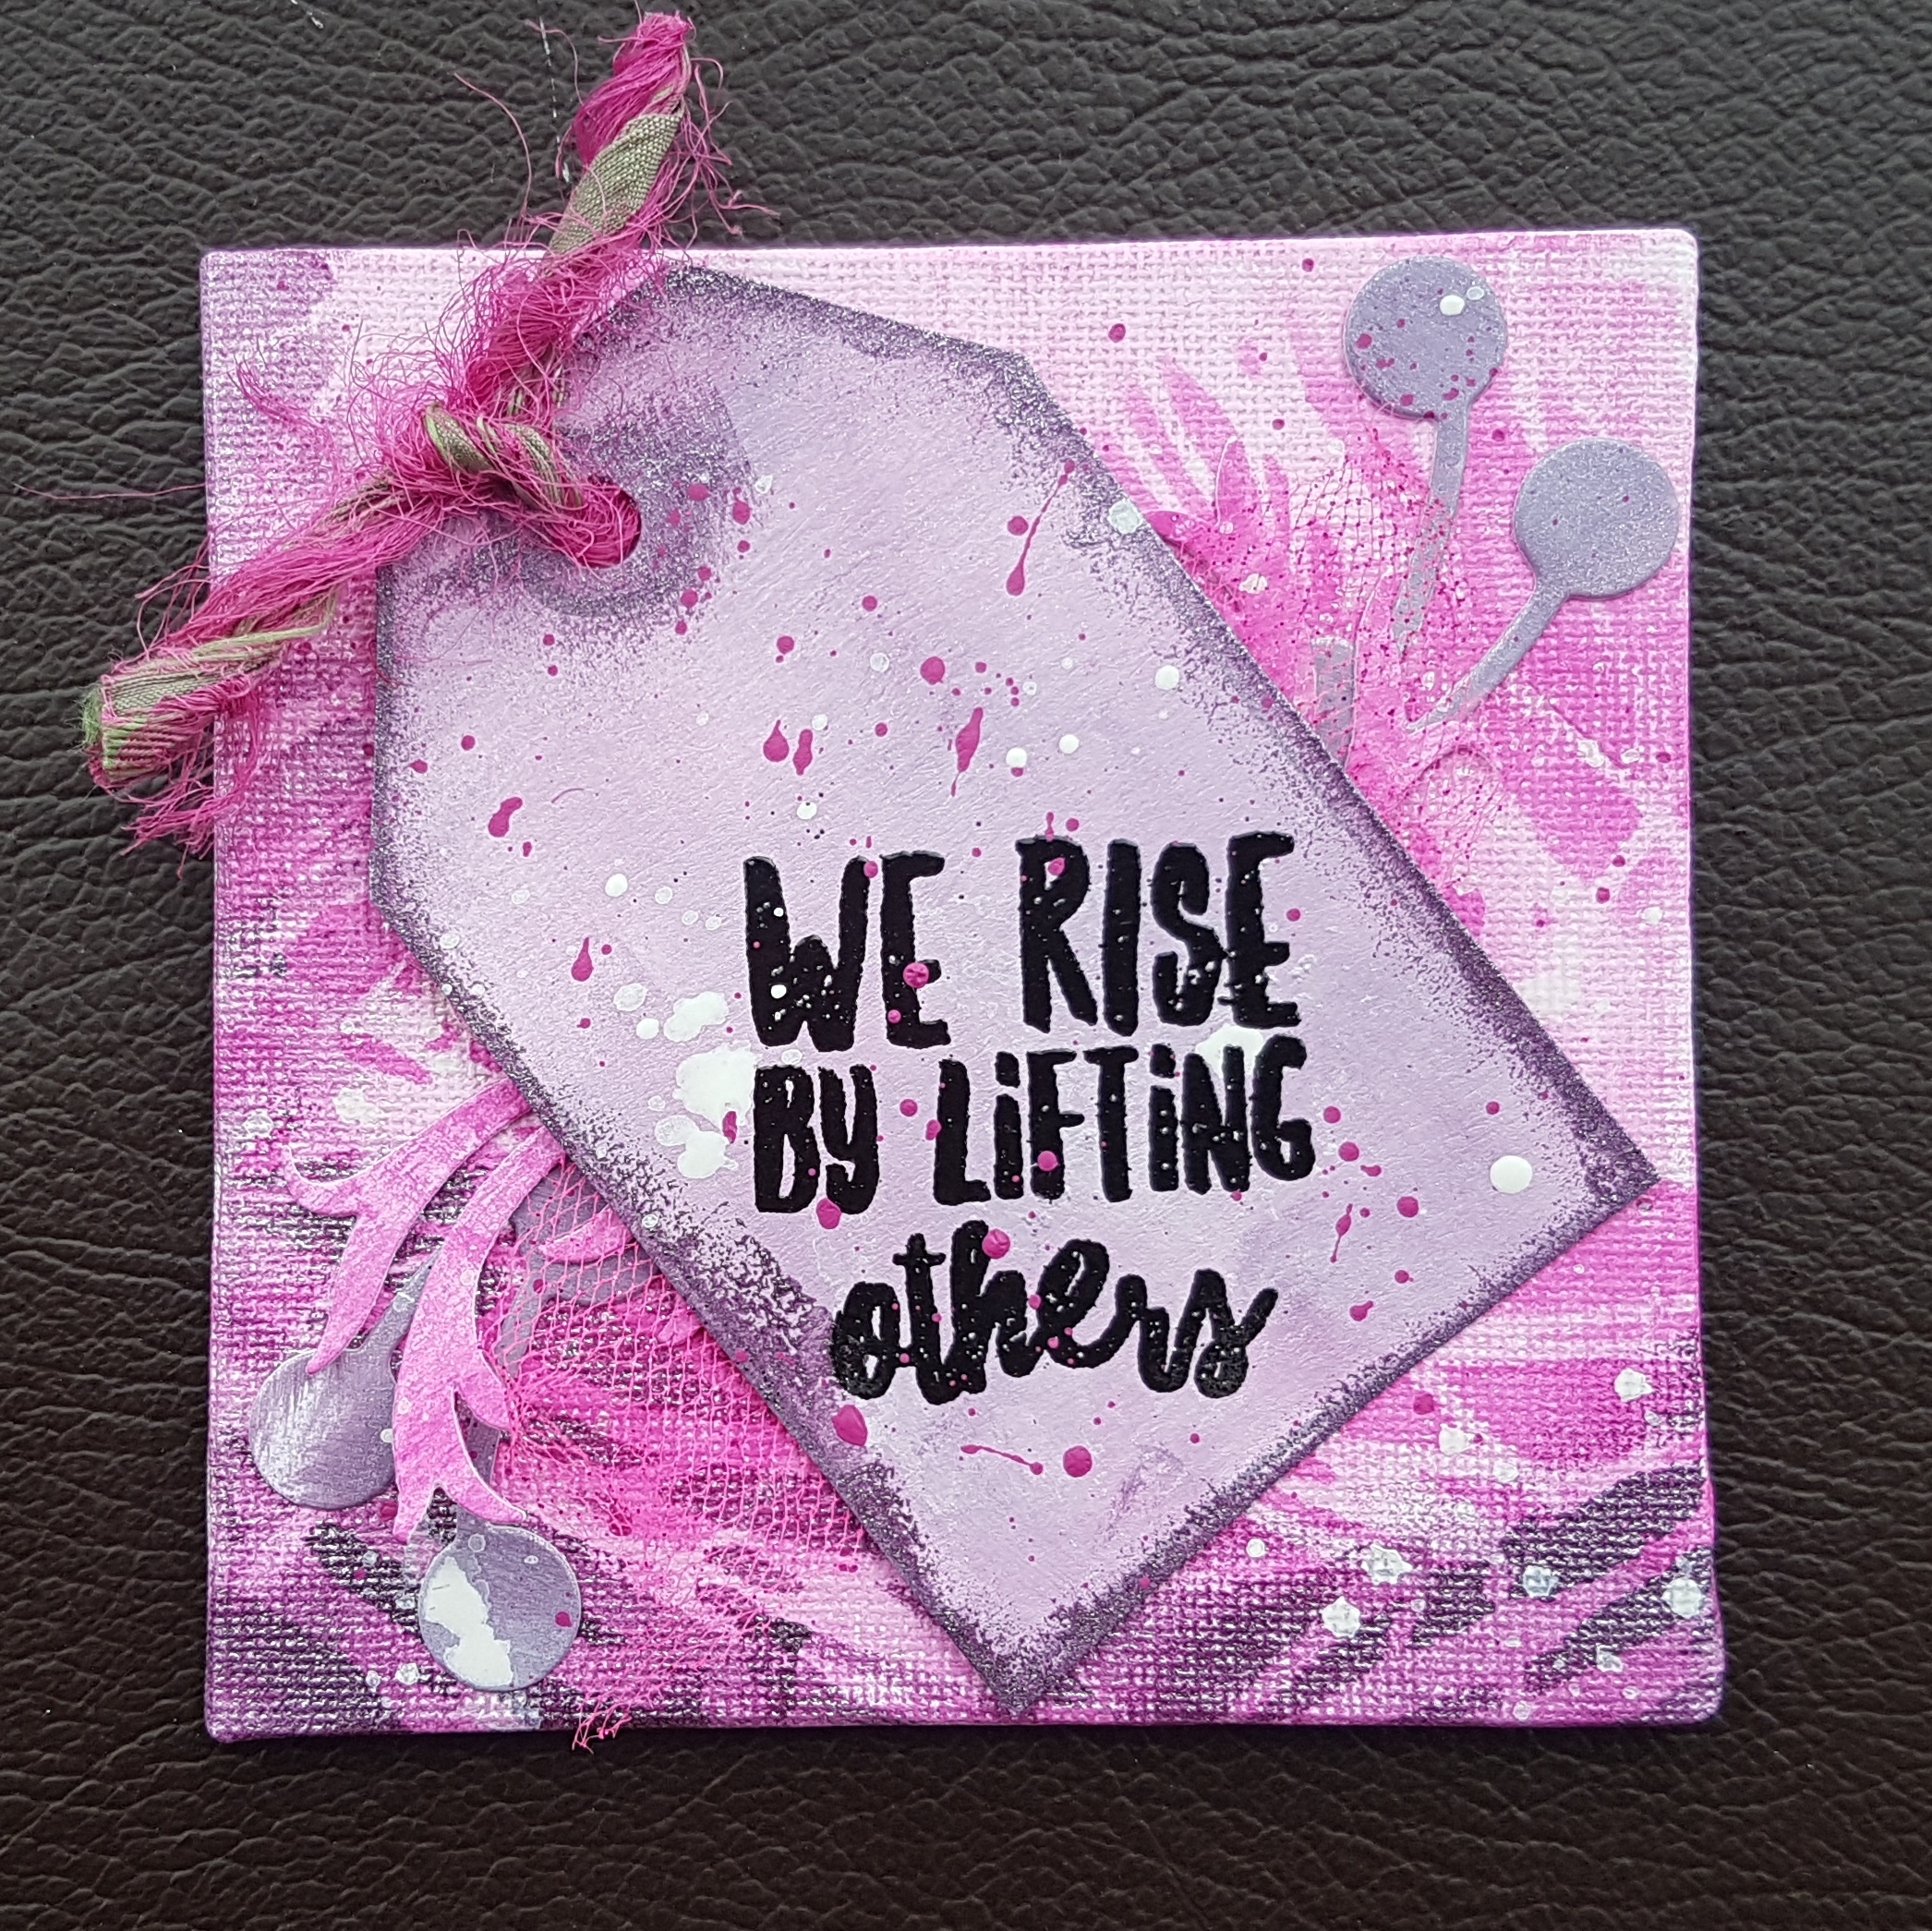
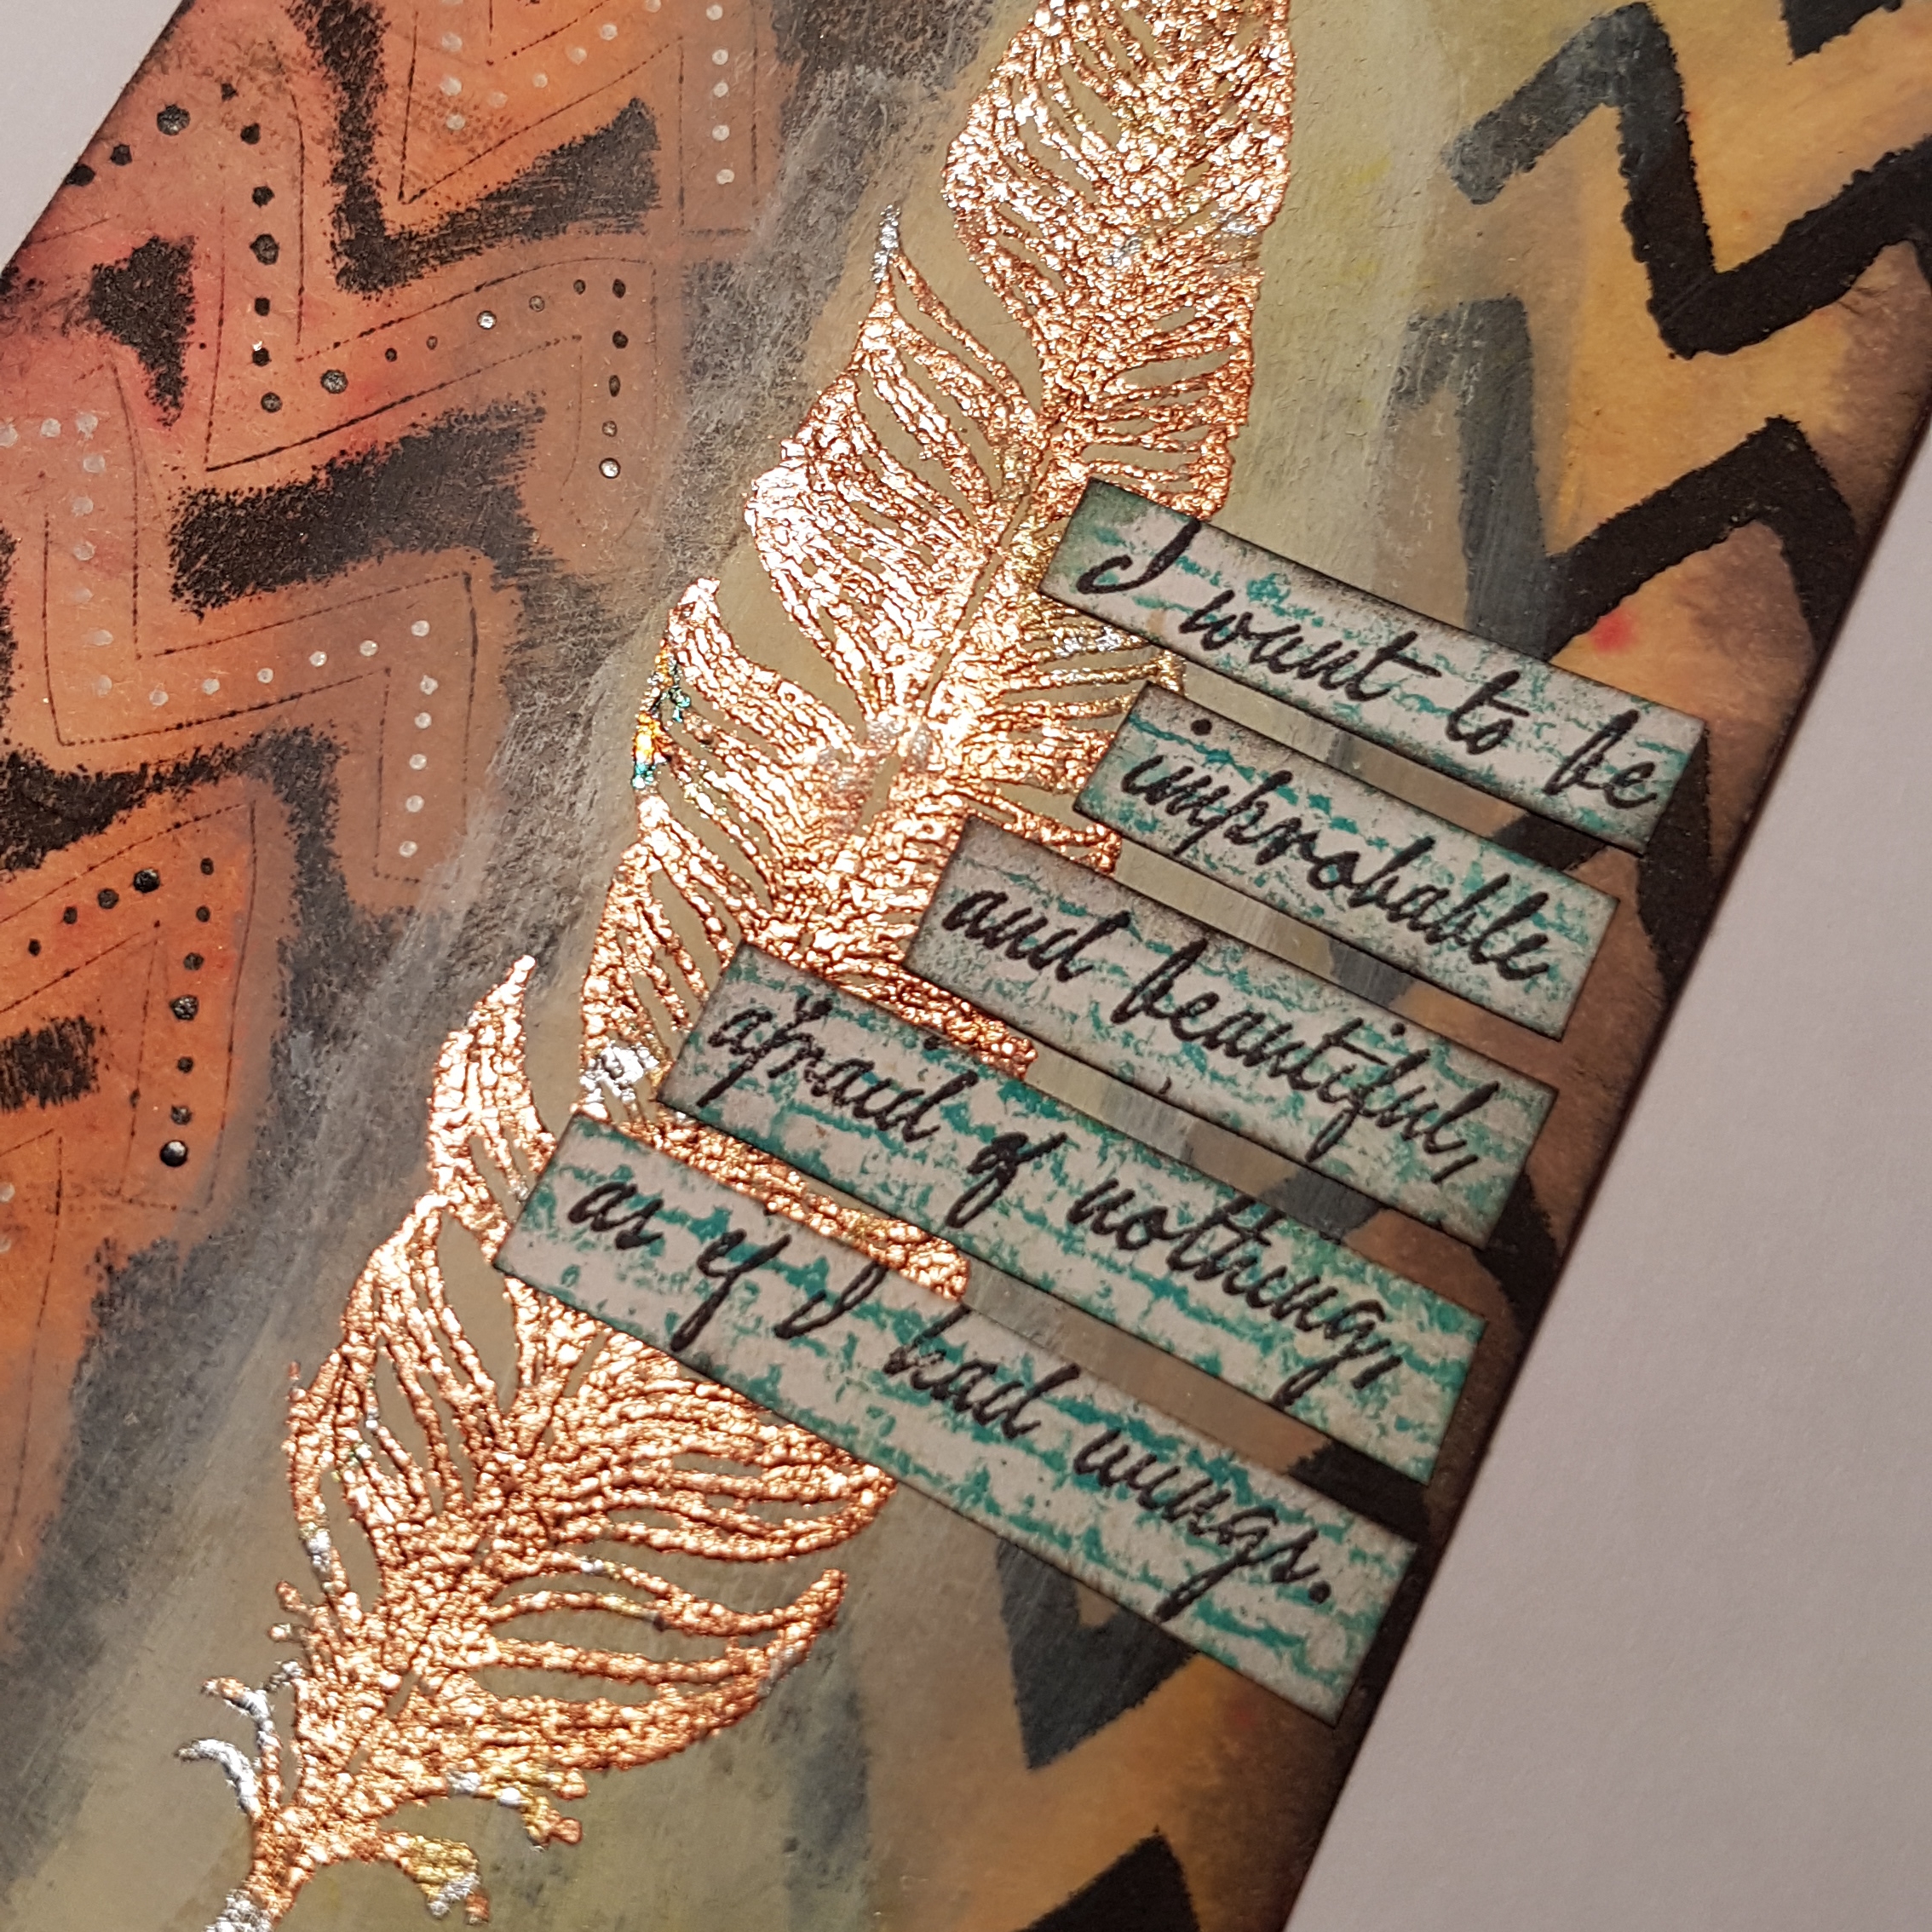
I used brushos and distress stains to add colour and then black paint through a stencil to add the zig zags.  Then I used gesso to mute a bit of the colour and pattern and added Darcy’s feather stamp and gilded it with the gilding flakes.

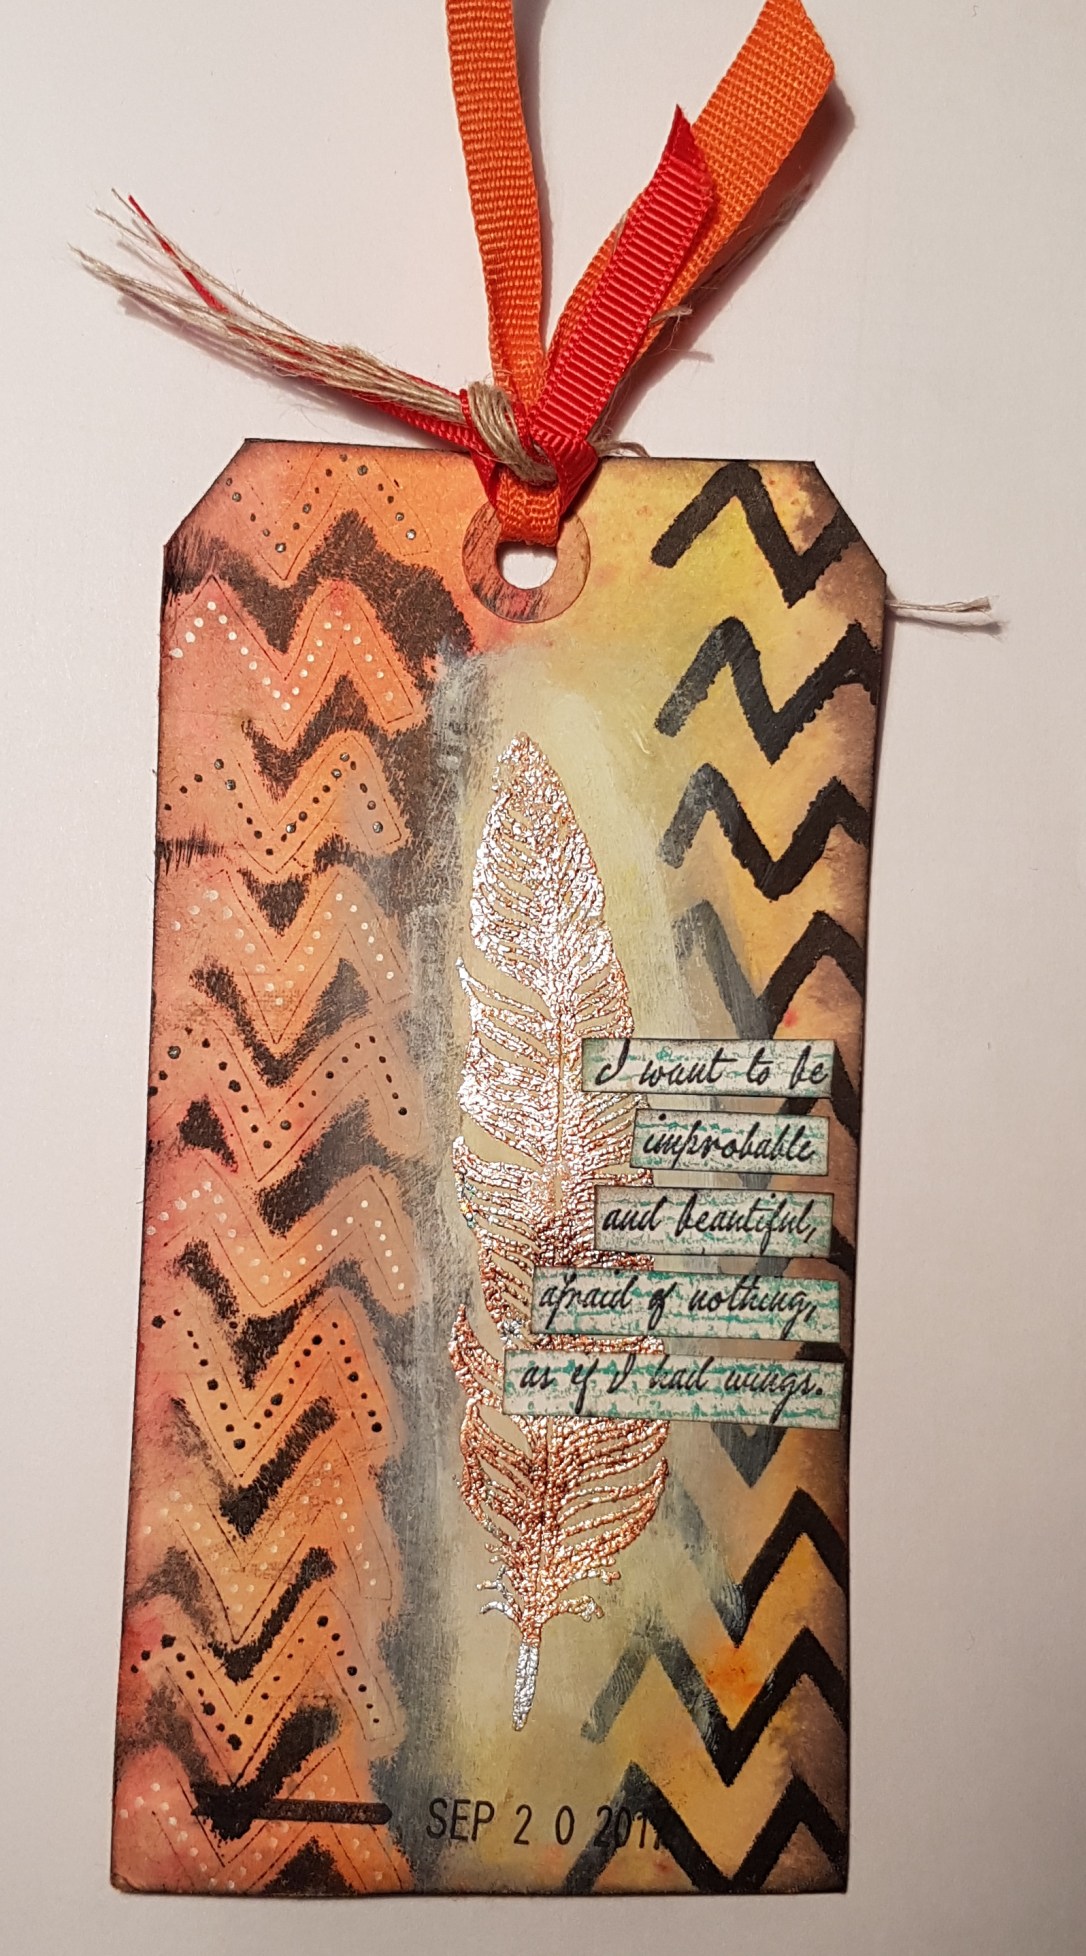
I added the tiny dots to add some interest to the left hand zig zags and then stamped the sentiment from the same Darcy stamp set onto a scrap of paper I had stamped a background onto with Distress oxide. I cut that out and added that on the top. 

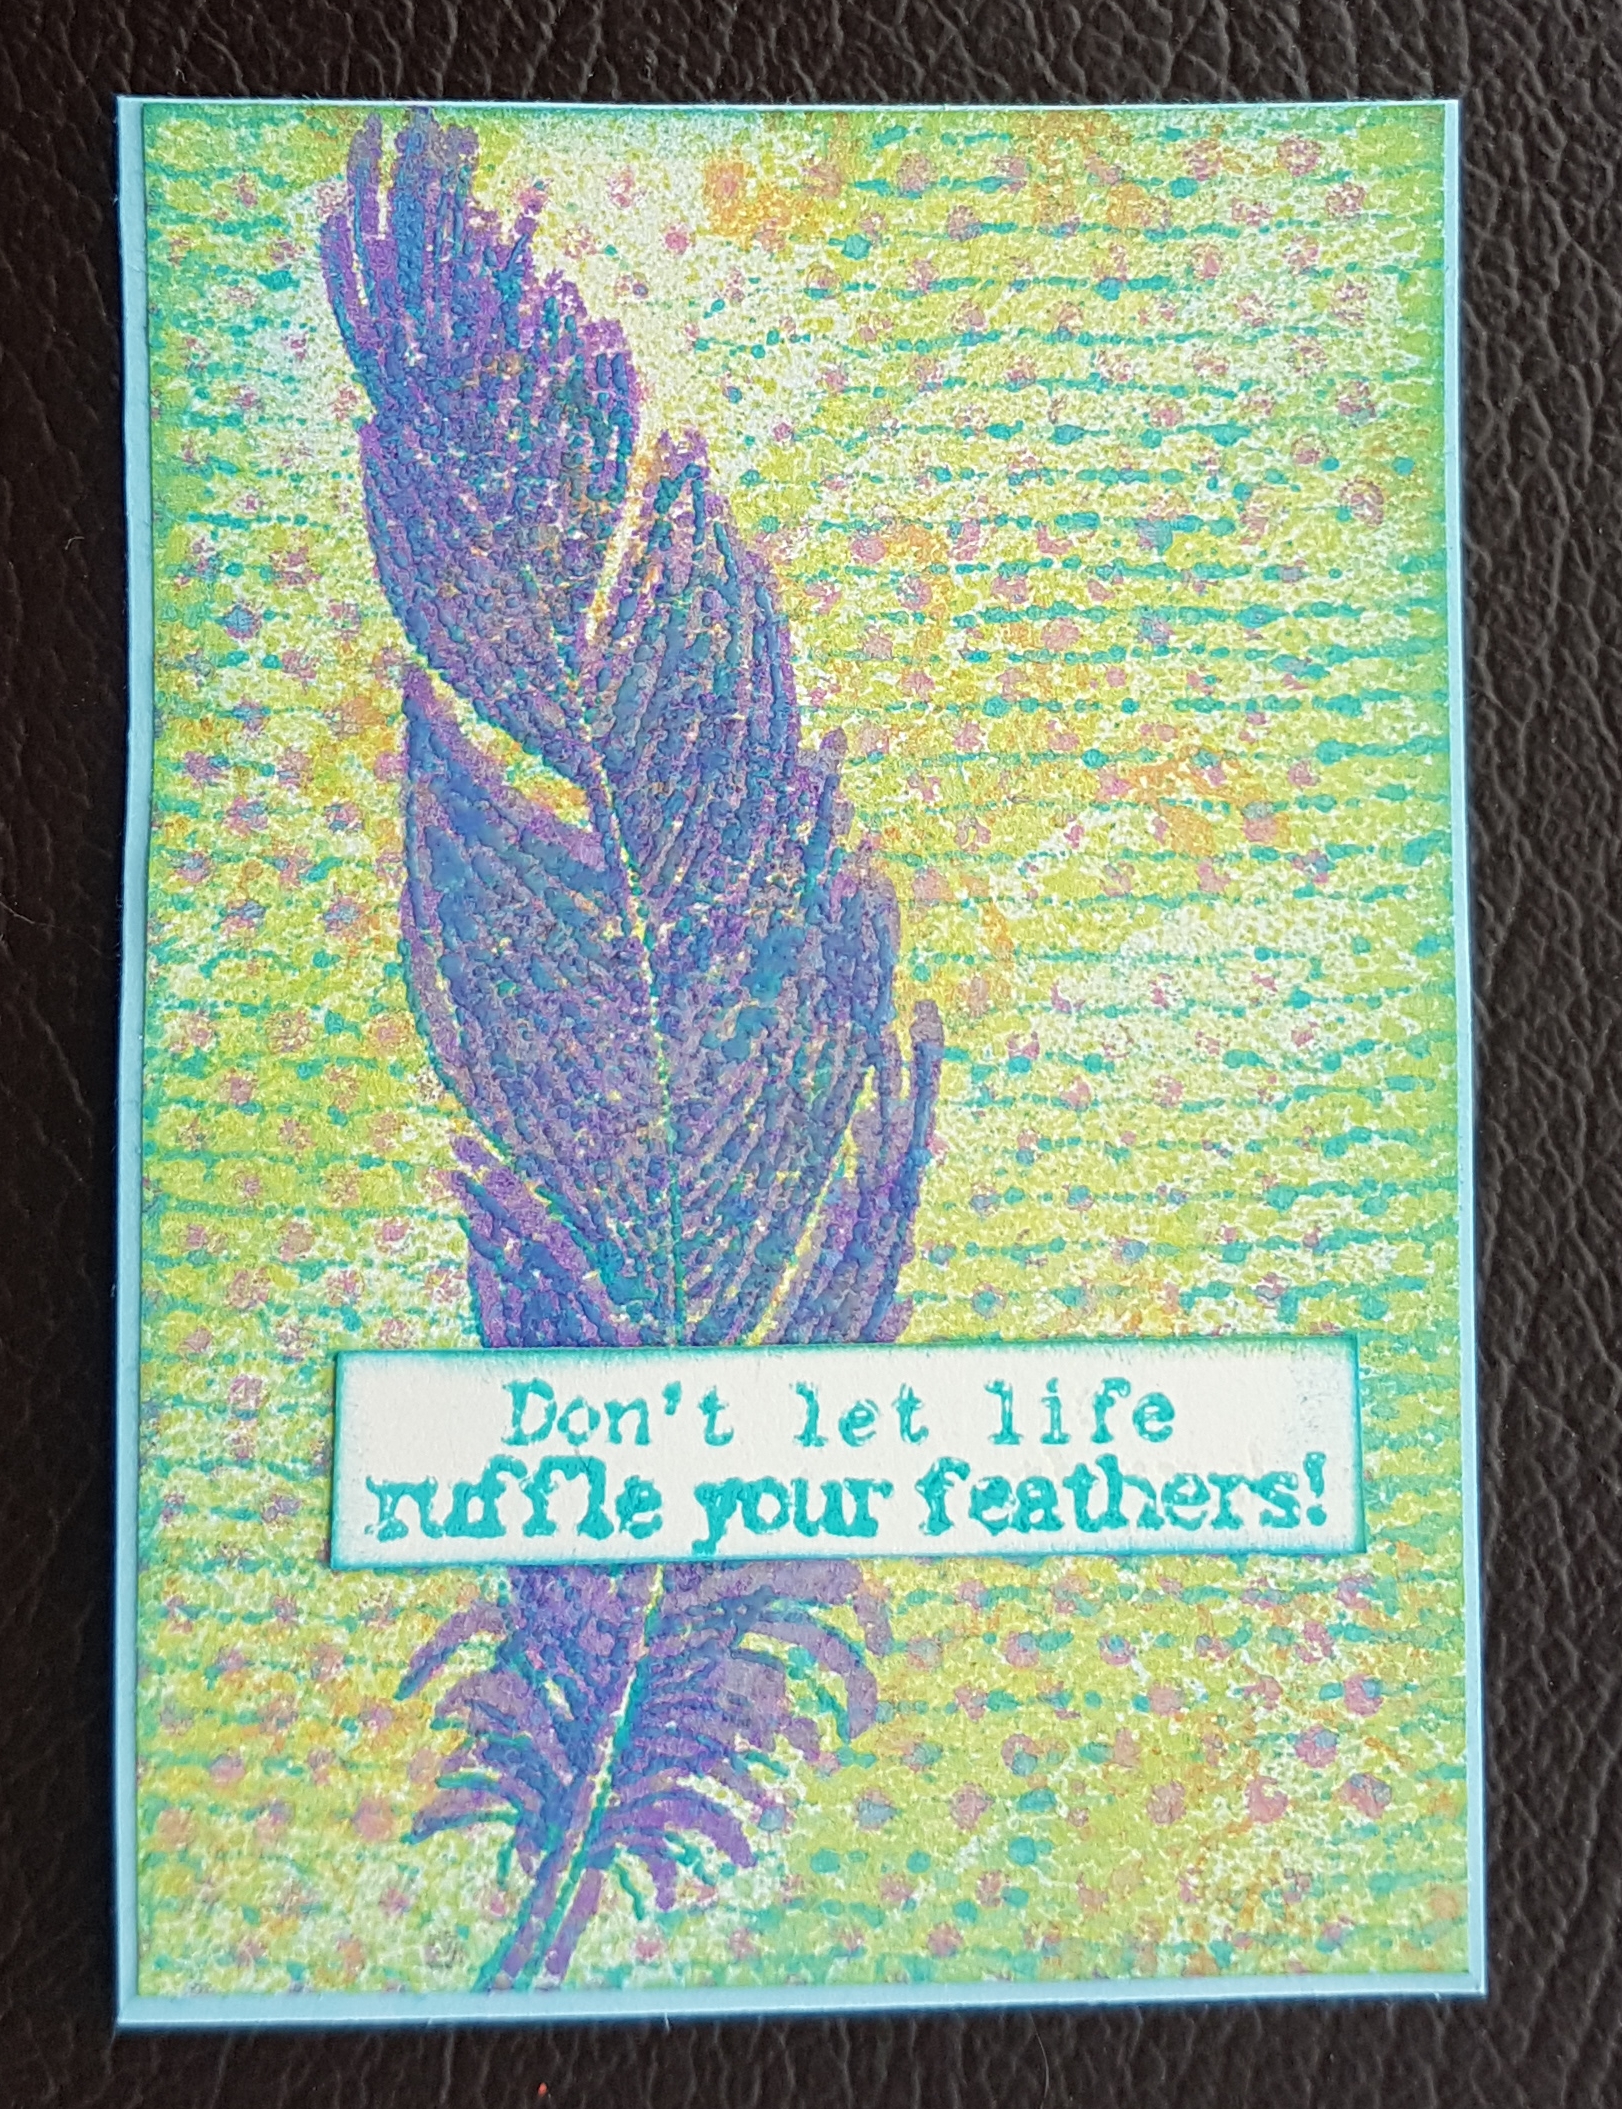
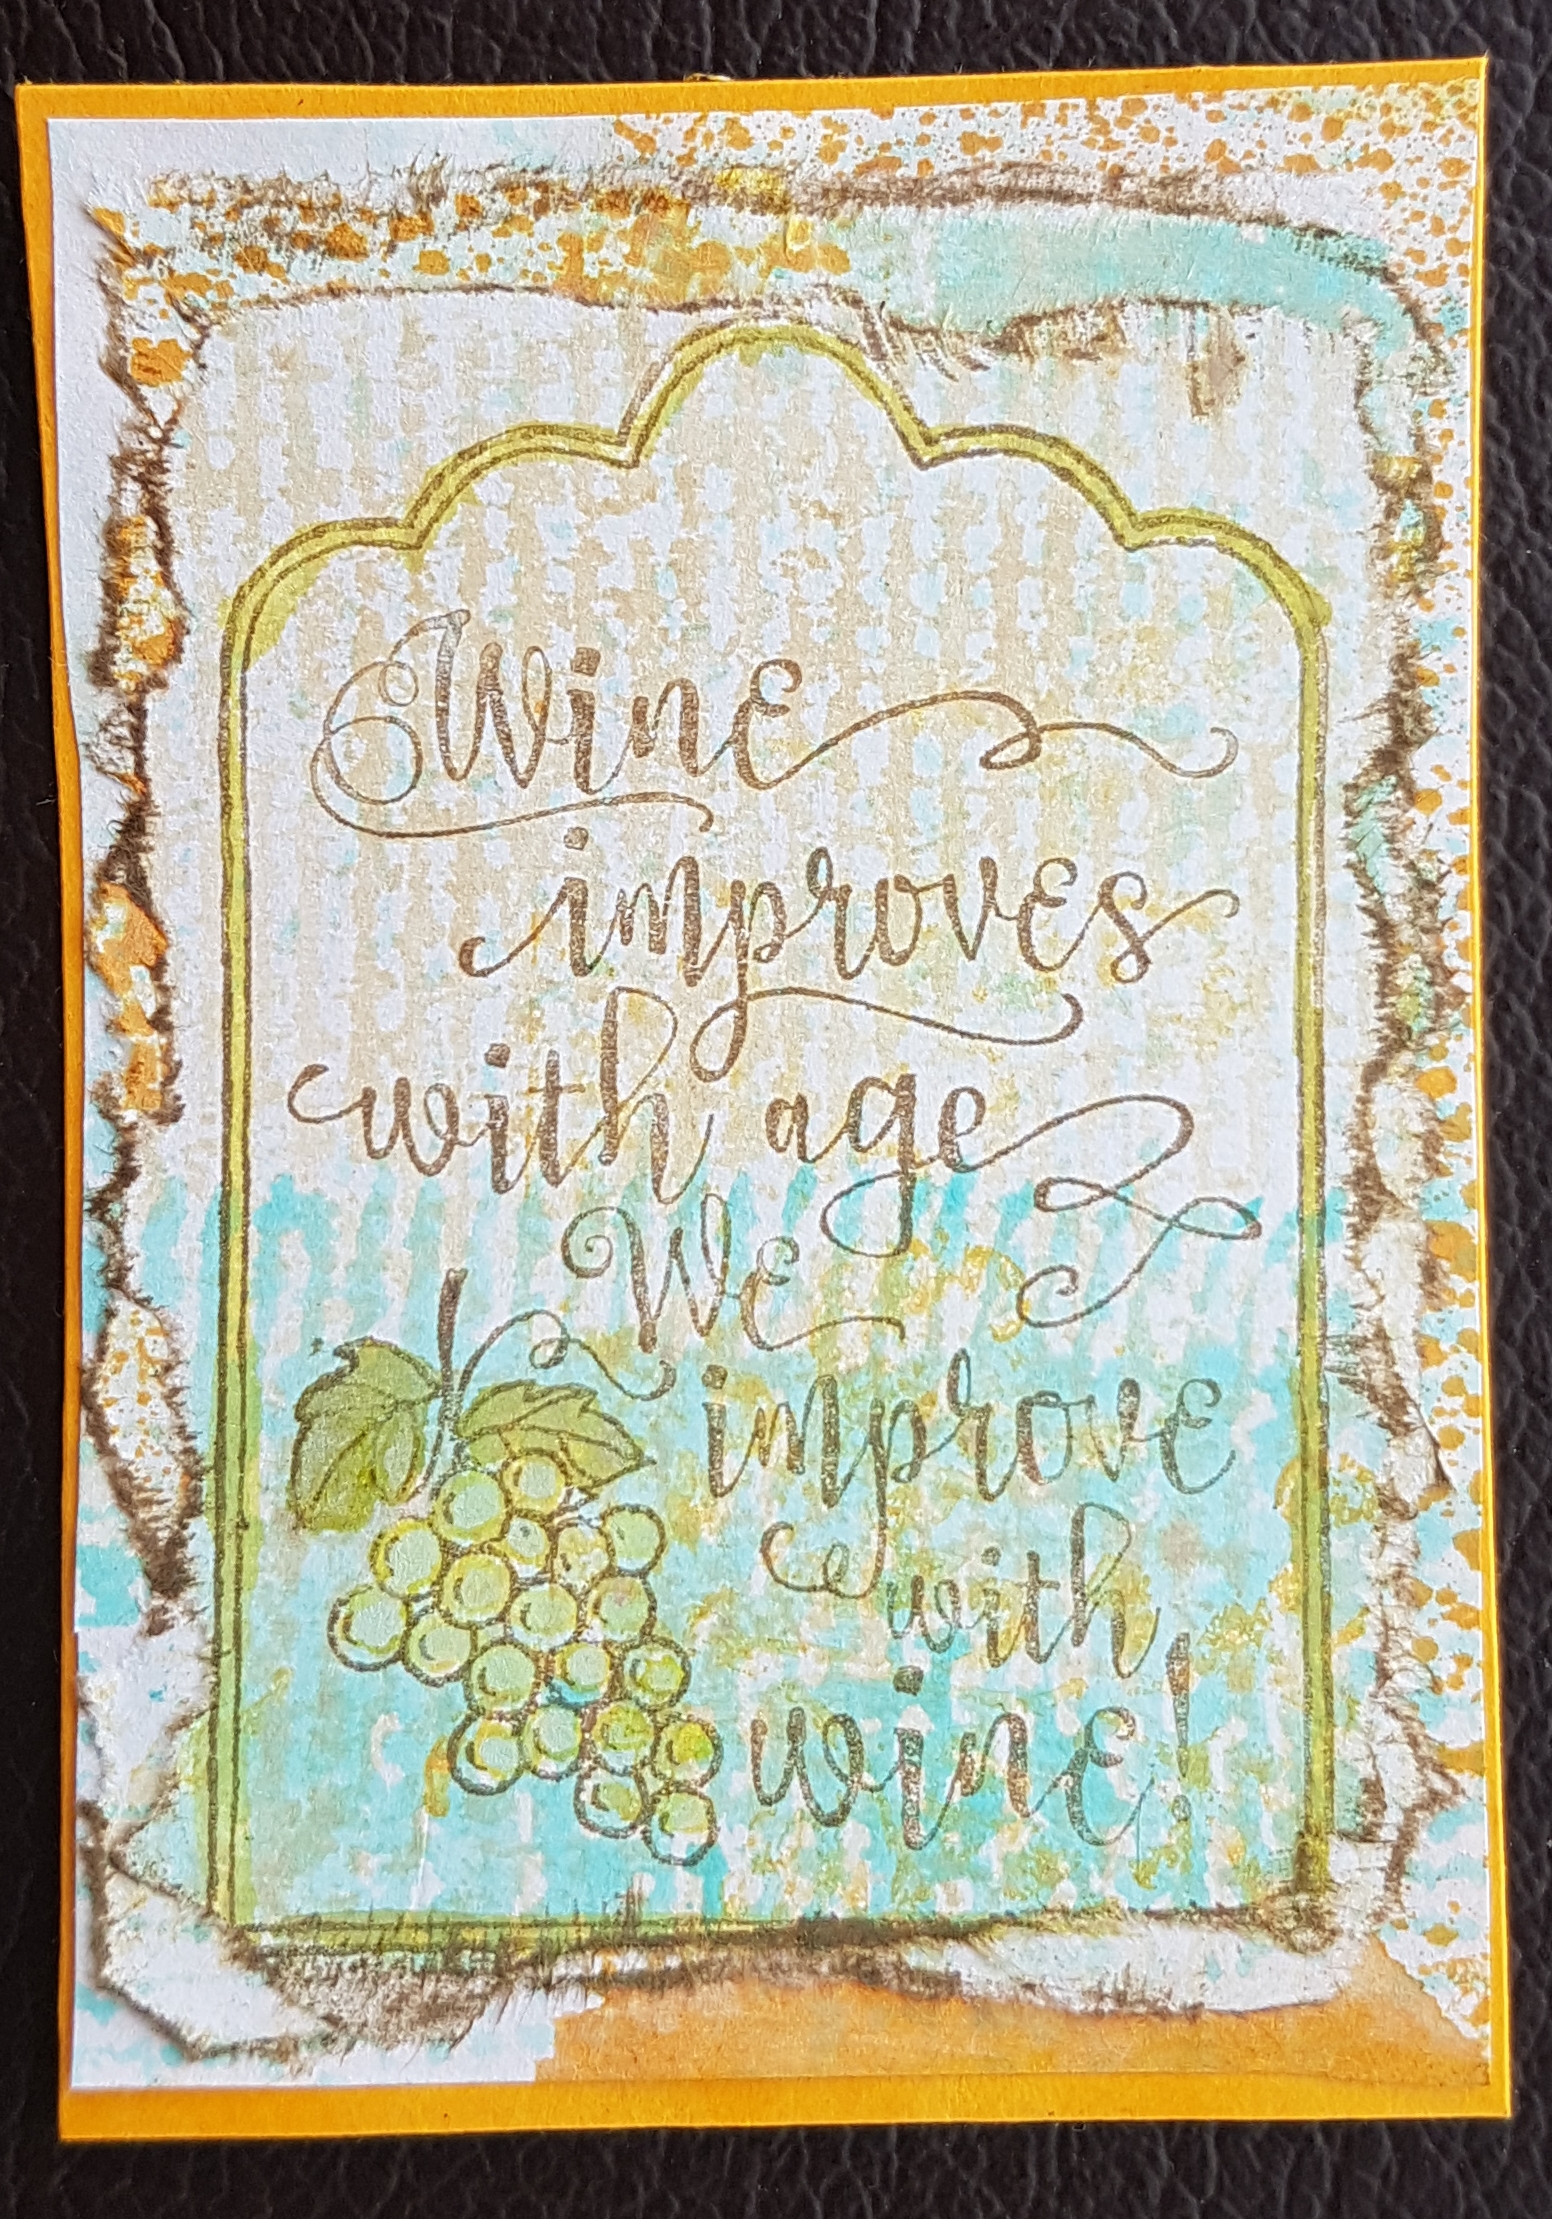
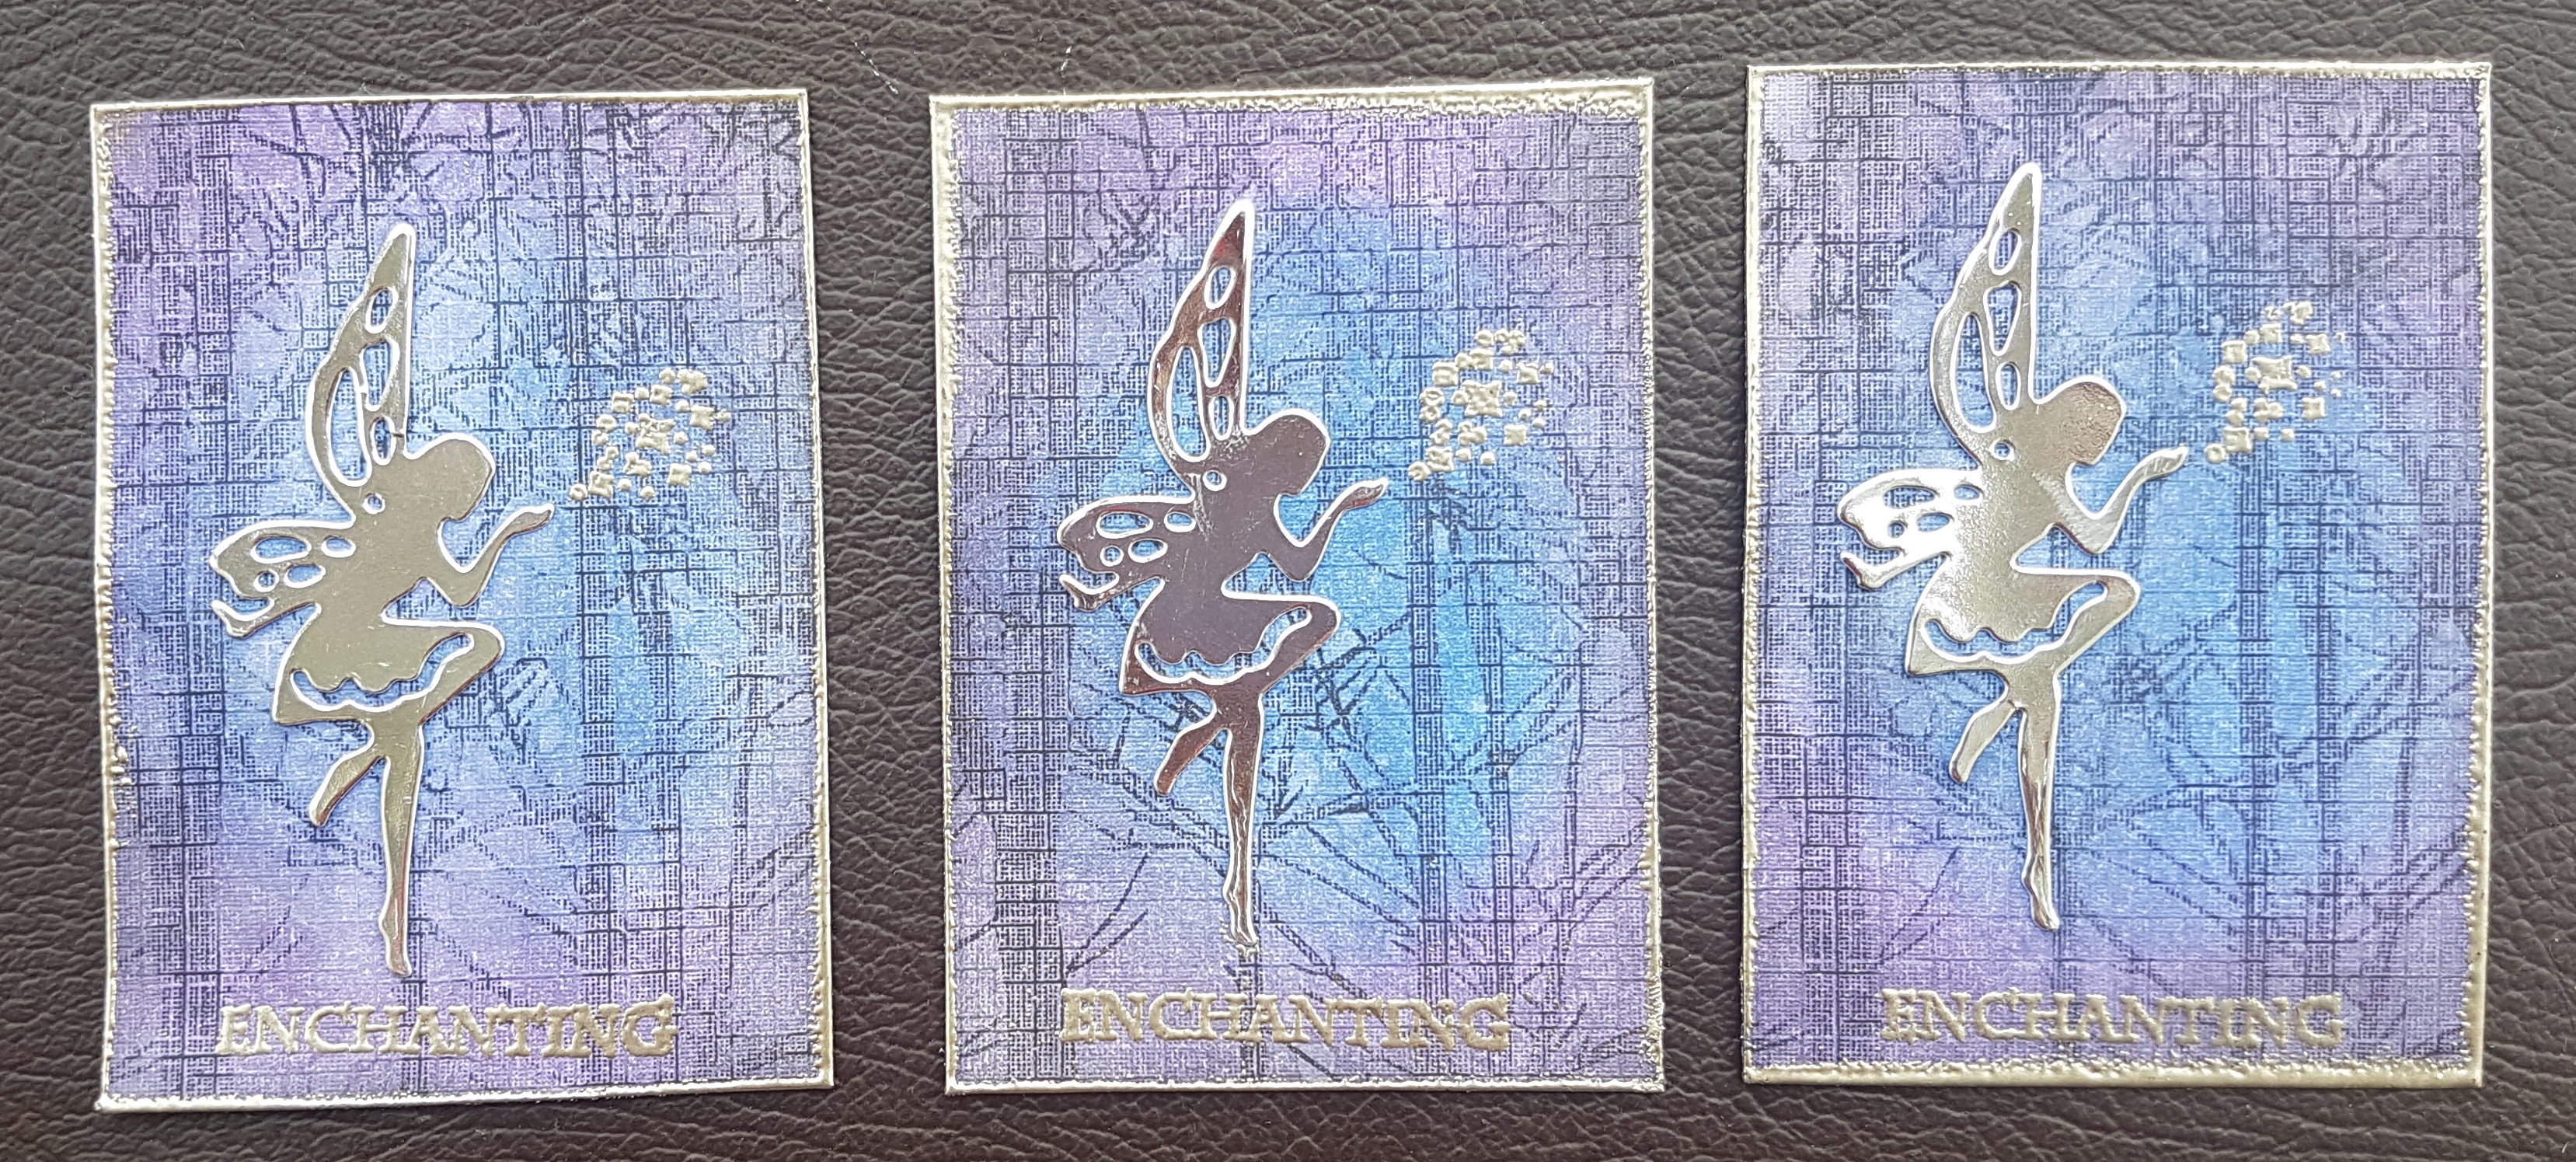
And a sneak peek of the other side of the tag…  I used distress oxides and another Paperartsy stamp set to create this autumnal leaf tag! I stamped the leaves with a mix of archival inks to make it a red and brown leaf and then clear embossed… I love my stamp platform for making these techniques so easy!

So there you go… another Patwits circle journal page complete. I hope Debs likes my experimental Teesha Moore style page.

Happy crafting!

Catherine