Another Art coin

This artist trading coin was made because I had some yupo on my desk and fancied playing with alcohol inks. I made the background first and let it dry and then added texture paste through a stencil.

Once that was dry I die cut the circle and then added more of the ink and included the gold mixative. This created a fabulous rich finish.

I sanded back the texture a little to see if that made a difference to the numbers… it did but only a bit.

I added the sentiment sticker but then I decided to sew the yupo to a backing piece of cardstock to make sure it stuck well.

Once I had done this I added the die cut flower and then stamped and die cut the bird from the petals palette stamp set. I used oxides to stamp and colour the bird.

I love how this came out and enjoyed playing with my alcohol inks and combining the different textures. And that gold mixative is fabulous!

Happy crafting!

Catherine

Flowers postcard

The theme for this month at the Postcard art swap group was flowers in my garden… well I don’t really have many of those so I’ve used some creative licence and used the flower from Butterfly Basics to add the floral element to this postcard.

I added the Tim Holtz tissue wrap and then gesso to the panel and then lots of brushos using the Matt medium to make them less reactive. I stamped in archival and coloured using the Brushos again. Then I added some subtle texture and pattern stamping too.

Next I added the glitter paste through a stencil to create the chicken wire type fence. I mounted the artwork onto some pale kraft cardstock I had stamped with hardwood to give it a frame.

Happy crafting!

Catherine

More Artist trading Coins for fun

Hello… I made two more ATCoins just for fun and inspiration for the swap group I have started. These were using some mountboard I had added some paint and stamping to for another project and thought why not make another couple of coins… after all I am slightly obsessed with them at the moment.

After creating the painty stencilled and stamped background I added the Paperartsy Hot Picks stamps using Versafine and clear embossing. Just love how the texture underneath the bird is still visible in places.

So these were so simple to make… and pretty much followed the way of making the previous ones but with a simple single image rather than collaging.

If you fancy having a go at making these Art coins and want to swap … pop along and join the group over at Facebook to find out more.

Happy crafting!

Catherine

A non sympathy waterfront card

Just to prove that this stamp set doesn’t have to just be for sympathy cards…

I again used brusho to stamp technique I had got from Understand Blue YouTube channel… seriously this is a very talented artist. I love her work. I now need to look at other stamps I can play with this technique for!

This time there was more water involved and I did use a wet brush to move the colour a little.

I added glitter washi tape to the card base and then under the sentiment to add some sparkle.

Entering this for the challenge at your next stamp using the colours as inspiration.

Happy crafting!

Catherine

Brusho sympathy

This card is one I loved making until I had to turn it into a sympathy card.

I was watching YouTube videos and came across one using Brusho and the waterfront stamps and had to give it a try. Here is a link to the blog for the original artist and I encourage you to check out her YouTube channel too. She is amazing.

I love this technique and camt wait try it again… but hopefully next time I don’t have to then turn it into a sympathy card.

Happy crafting!

Catherine

More Making Cards magazine cuties

Used some more of that fabulous bright fun paper in the latest Making Cards magazine to create some cards.

First I took an image and partially die cut this and then added layers of both mirror card and embossed vellum underneath at funky angles.

I added Wink of Stella and some glossy accents to the image to bring them to life and add texture. Of course I also added some sequins.

Next up one of the little flying unicorn images…

More mirror card and some white card to mat the main image.

Again out came wink of Stella and glossy accents to add the extra sparkle.

Again I love these cute and cheerful cards.

Happy crafting!

Catherine

DT: Craftyhazelnuts patterned paper challenge

Another month and another design team contribution to share for Craftyhazelnutspatterned paper challenge.

I went to town on this card and love everything on this… the digital image coloured with promarkers and paper pieced and then lots of layers of card and paper and doilies… and of course super cute die cuts.

And don’t forget the ribbon and glitter glue dots!

So this is what I did with my paper stash… wonder what the rest of the team did with theirs? Well it’s time to go over to the blog and find out!

Happy crafting!

Catherine

Making Cards magazine pop up

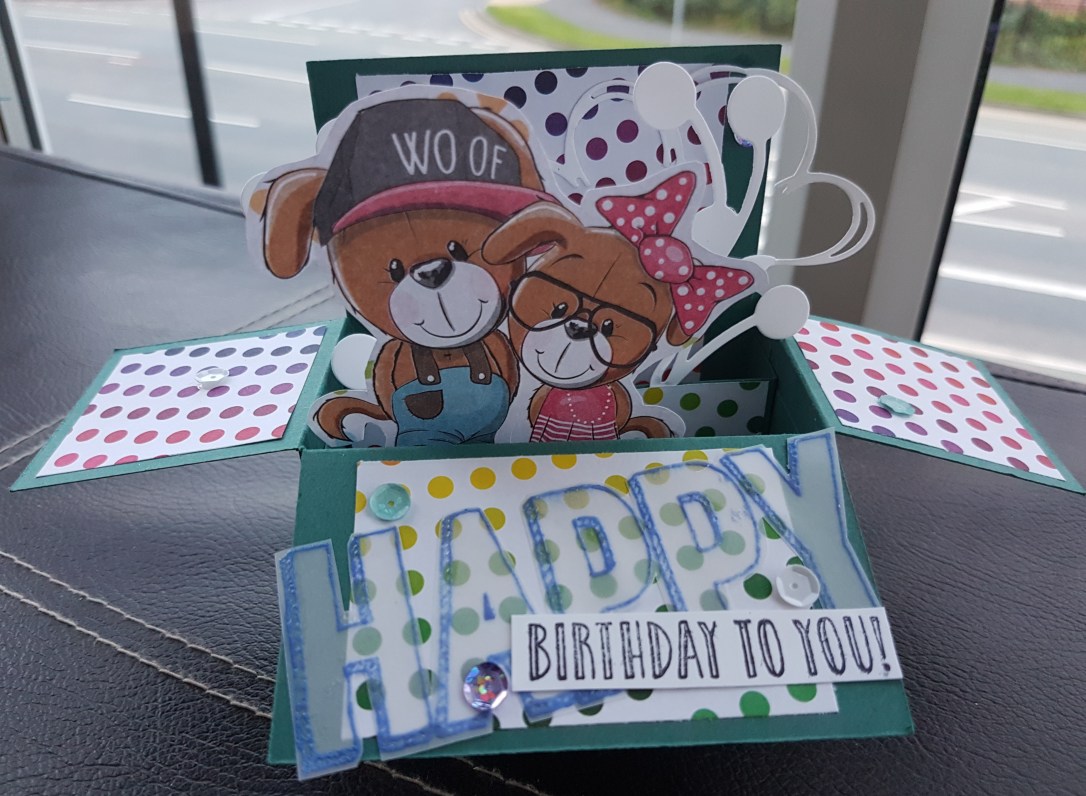
I made another pop up box card and I loved it so decided to make another using the papers and an image from Making Cards magazine.

Again I started with the same Tranquil Tide cardstock base making the rectangle pop up box.

This time I added die cut flowers and clouds from my stash. The sentiment I embossed on vellum and then fussy cut it out before adhering it onto the box front.

Love how cute this is.

The theme over at the Paperartsy blog challenge is boxes so entering this into the challenge.

Happy crafting!

Catherine

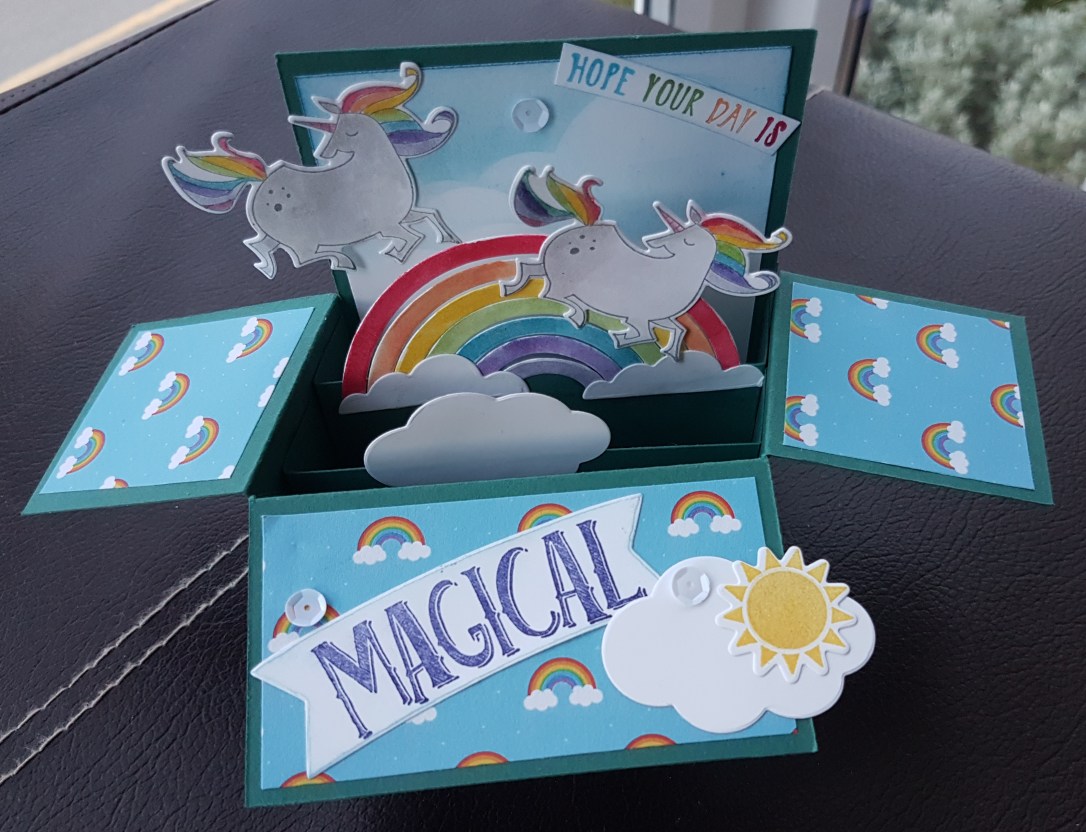
Unicorn pop up box

During yesterday’s mammoth crafting session I wanted to make a fun pop up box card using both Magical Day and Sunshine and Rainbows stamp and die sets.

I started with a base of the Tranquil Tide cardstock and made the base using instructions I found online.

I stamped the unicorn a couple of times using grey archival ink. Then I added colour using SU inks and a water brush. Then coated them in wink of Stella and die cut them.

Rather than die cut lots of coloured cardstock for the rainbow I die cut them from white and used the same colours for the unicorn and watercoloured them.

I die cut the clouds from the white and the sun which I had stamped in Daffodil Delight. I also stamped the sentiment and diecut that separating the first and second part of the sentiment.

For the paper I added some from the latest Making Cards magazine as the rainbows matched so well. For the background I created a sky scene using the cloud border die from the Sunshine and Rainbows set as a stencil. I kept it soft using a stencil brush.

Then adhered it all together and added some sequins from the stash.

Love how cute these unicorns are! So sweet!

Happy crafting!

Catherine