Background swap arty session 

Tonight there are a few of my friends coming round for a crafting session.  Originally this was pre Christmas but it ended up being a date no-one could make…so instead it’s tonight for us to have some fun with Distress Oxides. 

I decided that we could all make some pretty papers and then make cards from them… but with a twist… once we’ve made the paper we cut it into pieces and then swap so we have some of each other’s papers. 

I did however need to make a couple of samples to see if we could design cards regardless of the style of the papers we made… with similar elements…. 

… so I first made a vintage themed background with Peeled Paint, Faded Jeans, Vintage Photo, Frayed Burlap and Walnut Stain. 

I used a selection of stamps… Timeless Textures, Affection Collection, Butterfly Basics, Sheet Music.

Next I made a bright and funky one… Picked Raspberry, Twisted Citron, Spiced Marmalade, Cracked Pistachio, broken china.  And stamped using stamps from Tap Tap Tap, Handcarved, Happy Celebrations, Butterfly Basics.

Then I cut them into panels… 

… And then started to put together cards based on the same sketches that I put together (whilst eating lunch at work I managed to get some ideas down on paper! 

I started with an inlay die cut using the swirly scribble thinlits die. This provides a lovely finish and needs very little to finish it off.  I just added a stitched framelit oval and a sentiment to each of them and changed the orientation of the cards.

Next I took the other larger panels and I die cut a frame effect using two rectangle dies.  I popped the frame up on foam pads and then added the diecut birds to the middle panel before sticking it back in place.  I added some wink of Stella to the bids and a die cut sentiment label and added twine to each of them … one the linen thread and the other the bakers twine. 

I decided to change the orientation for each of them again to show two possibilities for the card design.

Next up I wanted to use die cut sentiments.  As I was layering two panels of the cardstock I did add a little ink to the edges to give them more definition.  I felt one needed a white sentiment and the other a black.

So onto another layered layout.  I couldn’t resist using this dragonfly die cut for both of the cards.  I just adjusted the position of the bottom panel for each card and chose a different placement for the sentiment.  I die cut both dragonflies from white adding colour using my clarity brushes to keep it gentle.

And finally I gave both of the final cards a mount of black and on one I tore an edge and the other I left it straight.  Then I layered two flower die cuts that i had done in black and white and reversed the order to give them a different look.  I added lots of wink of Stella to the black top level on the bright card as it needed some shimmer.

I am really happy with how these came together as samples… wonder how the session will go and if we will manage to do something different? I’ve diecut loads of bits and pieces and so it will be interesting to see what people use! 

Happy crafting! 

Catherine 
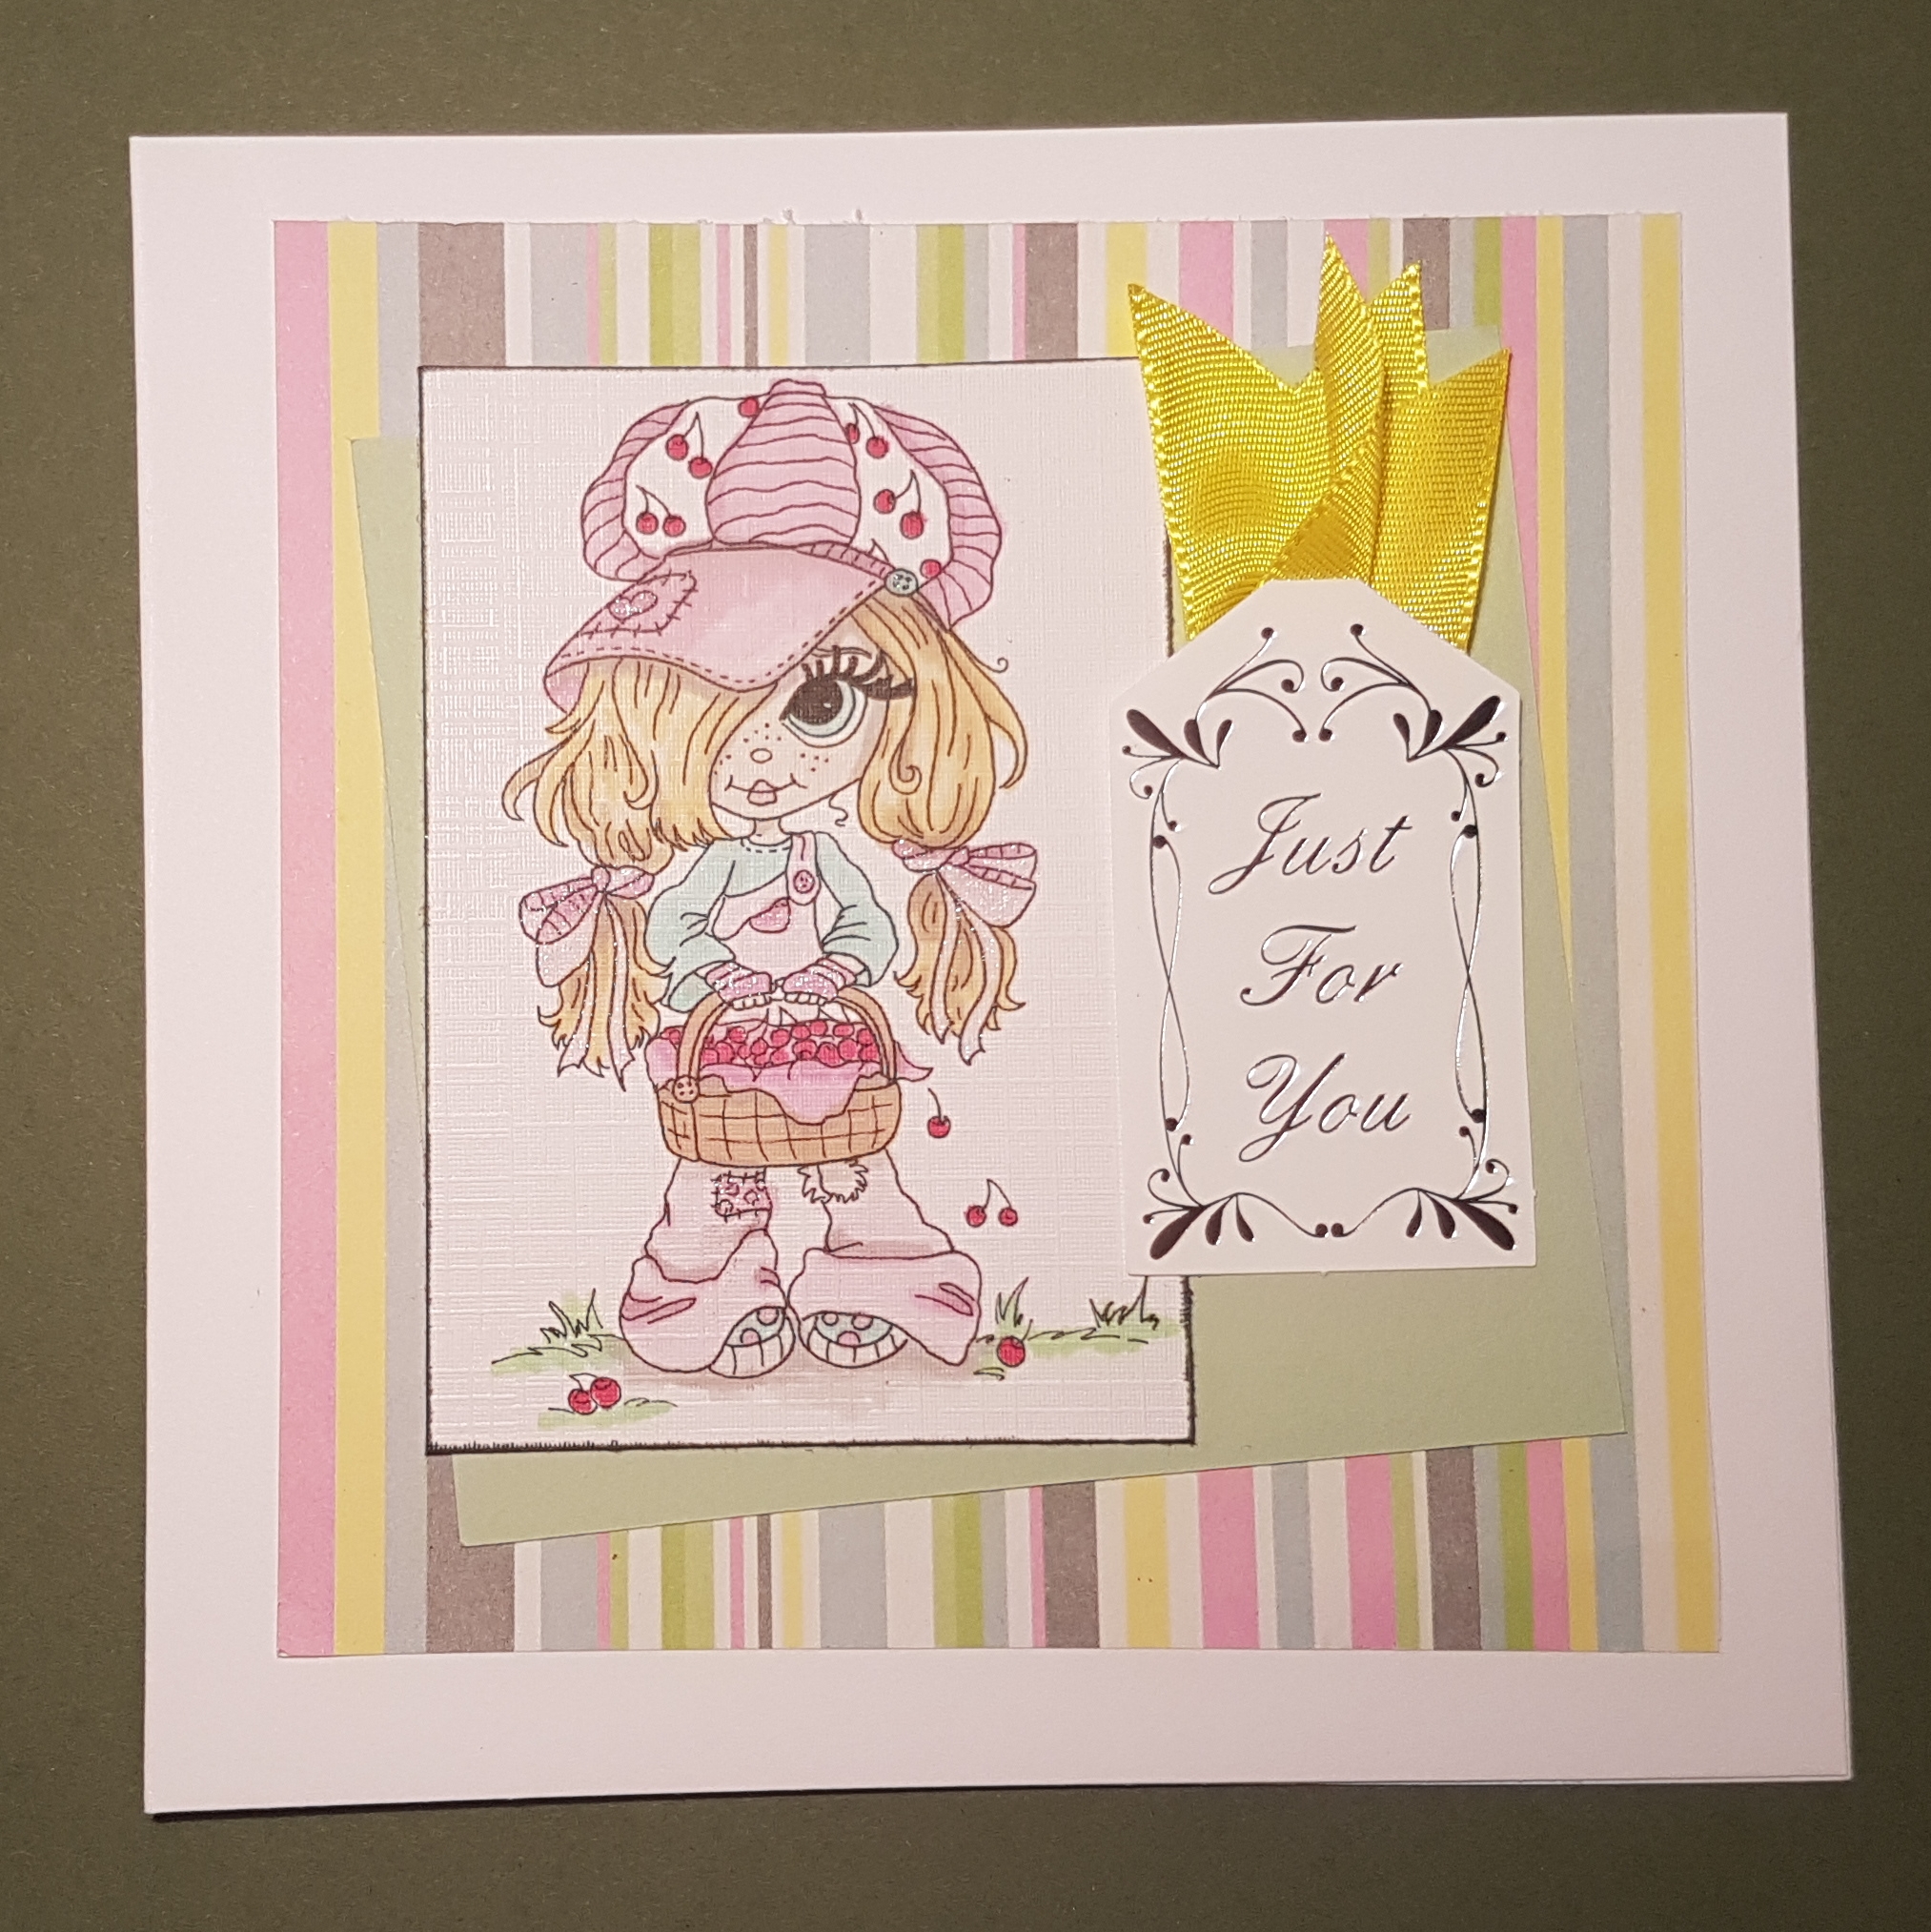
Cherry picking fun! 

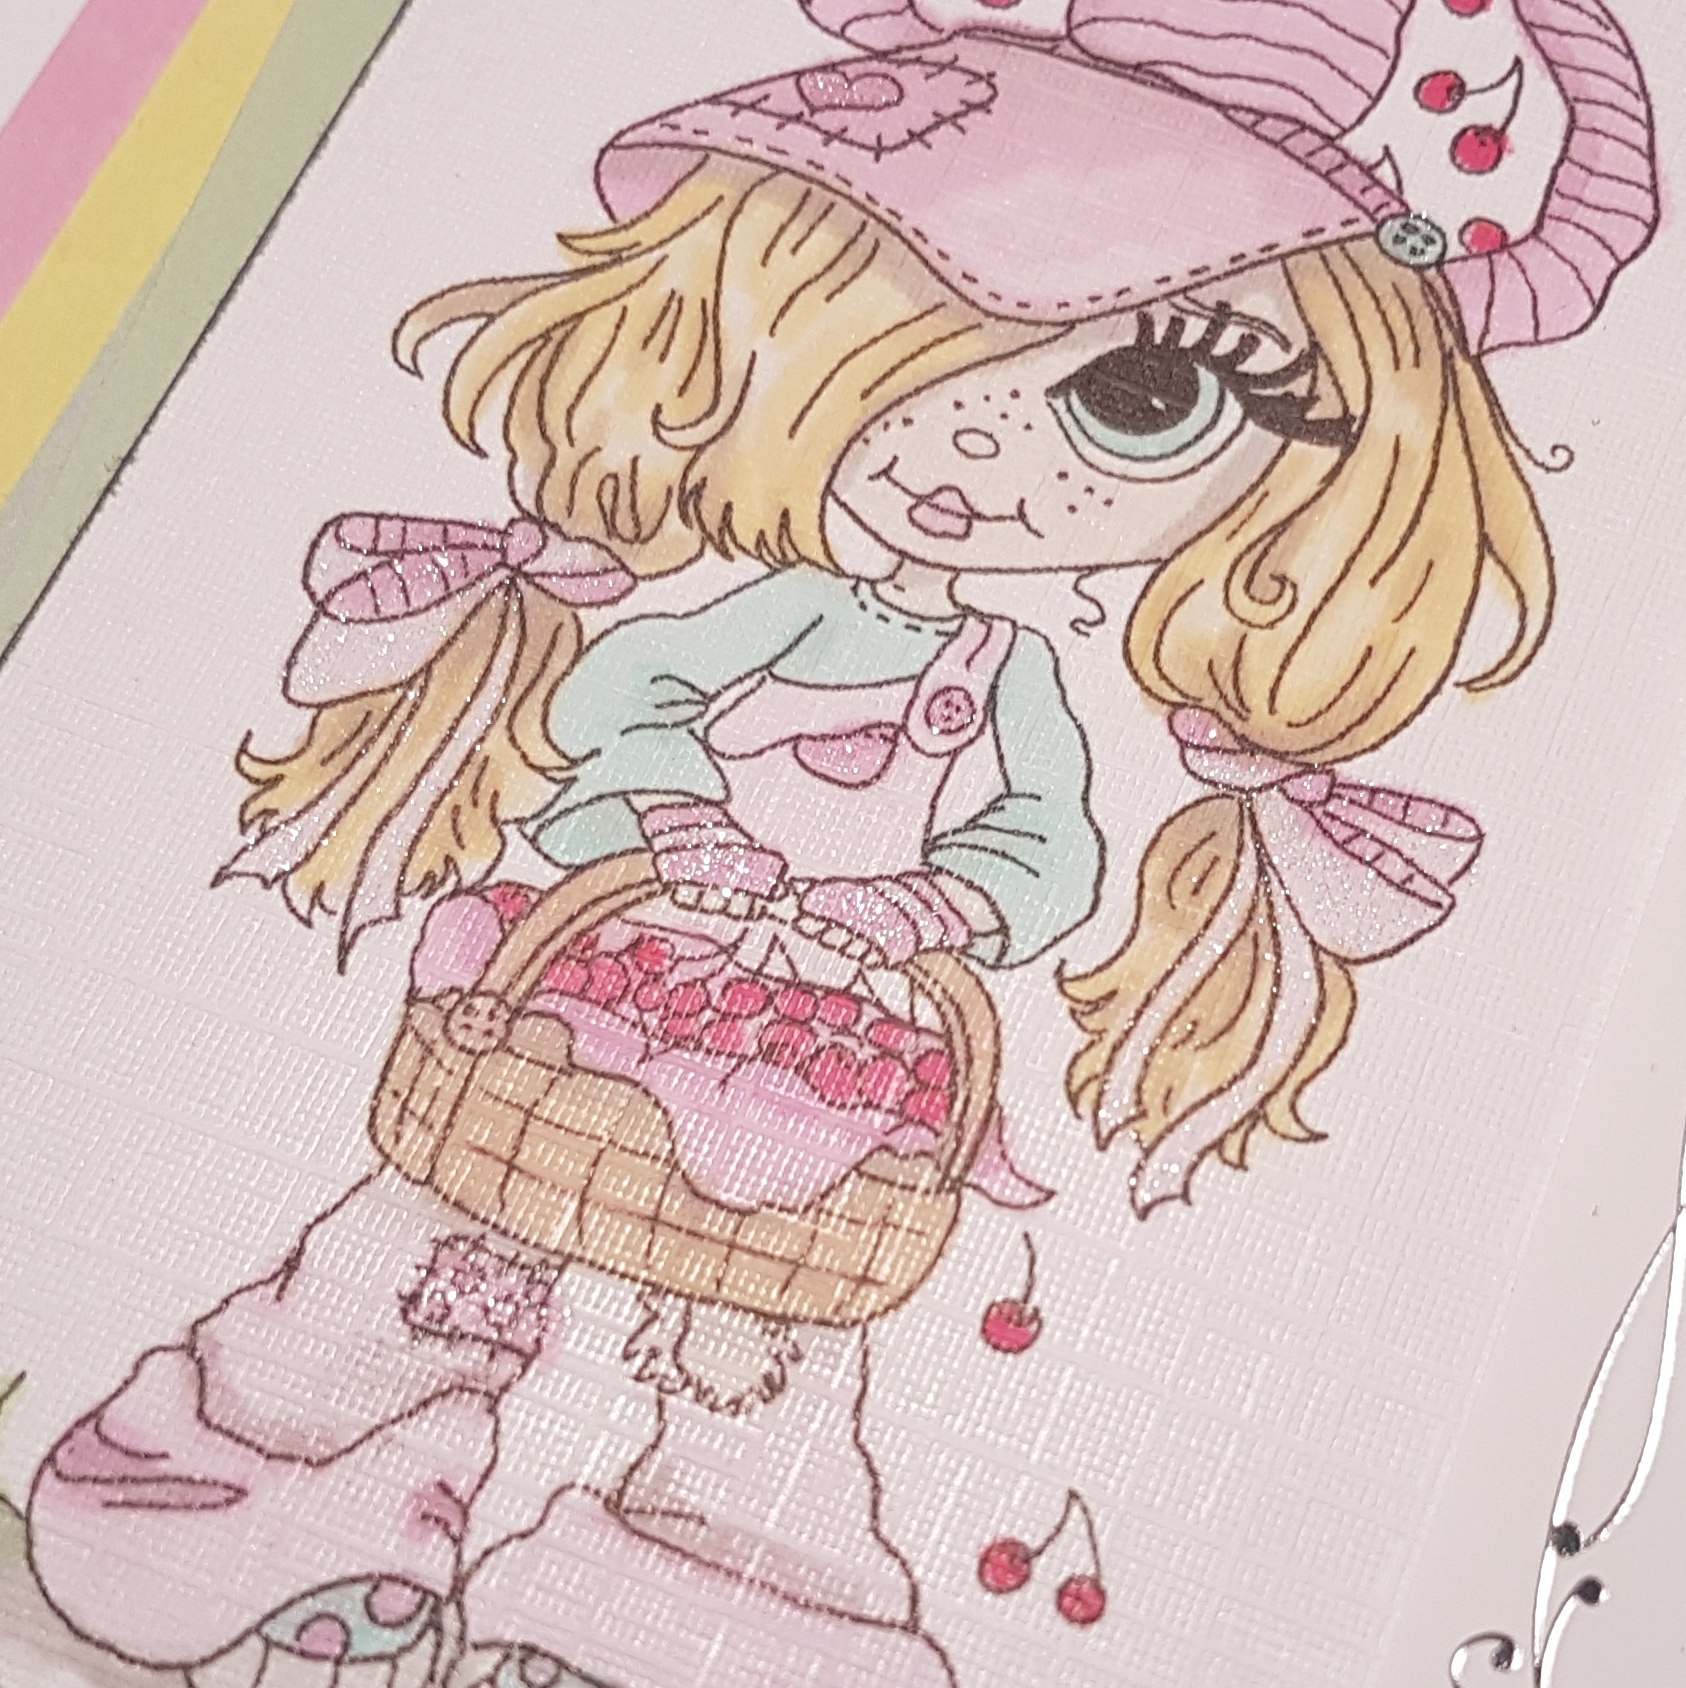
Another cute digi stamp from the batch I found the other day and made some cards up from.

Again I chose some patterned papers from the scraps box and a foiled sentiment to make up the card with a scrap of bright yellow ribbon.

I added some wink of Stella to a few parts of the image to add some shimmer.

Love how this looks… so delicate and sweet!  

Tomorrow I will be back to my mixed media work I am sure after a few days of cardmaking… but it’s been nice to do something a little different for a while. 

Happy crafting! 

Catherine 

Pretty dog card

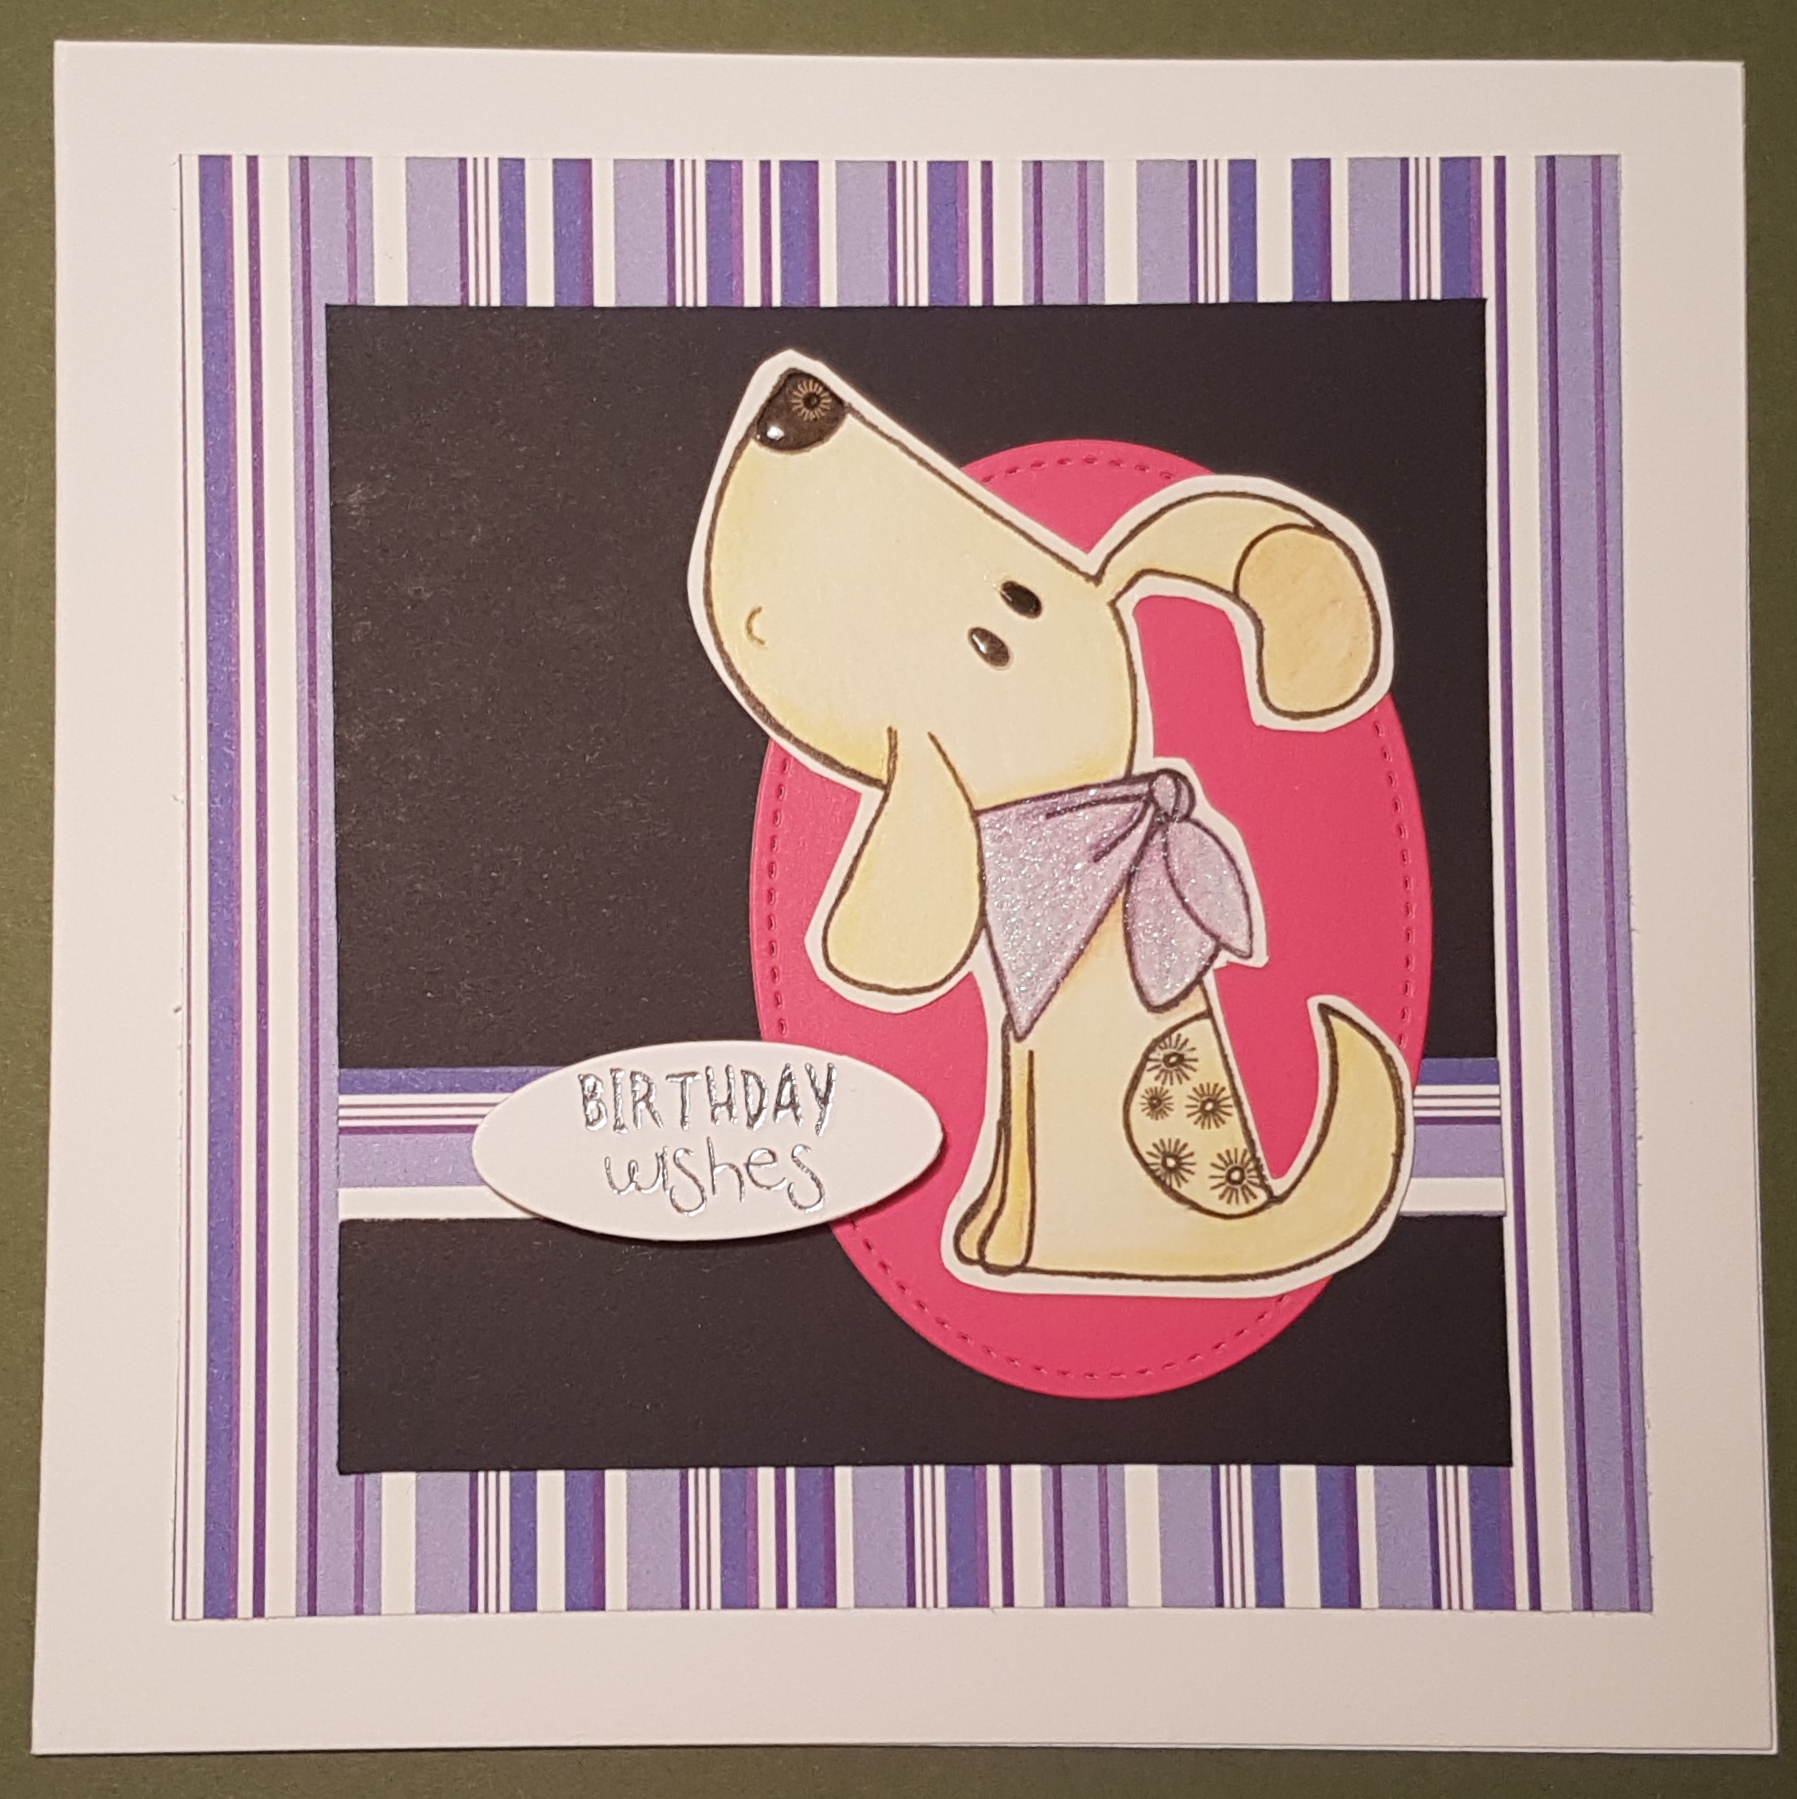
When I was making the card I shared yesterday I found some digi stamps I had coloured and decided to make a few cards. Here is the first one… 

I used the purple stripey paper and some black card to make the background and then the pink card that I die cut a stitched shape oval from to make the image pop! 

For a change I chose to use a die cut foiled sentiment from a batch I found in my stash and had forgotten about. 

Nice to find something and make use out of it.  Tomorrow I will have another card I made from the stash of digi stamps I found! 

Happy crafting! 

Catherine 
Happy birthday Big Bro

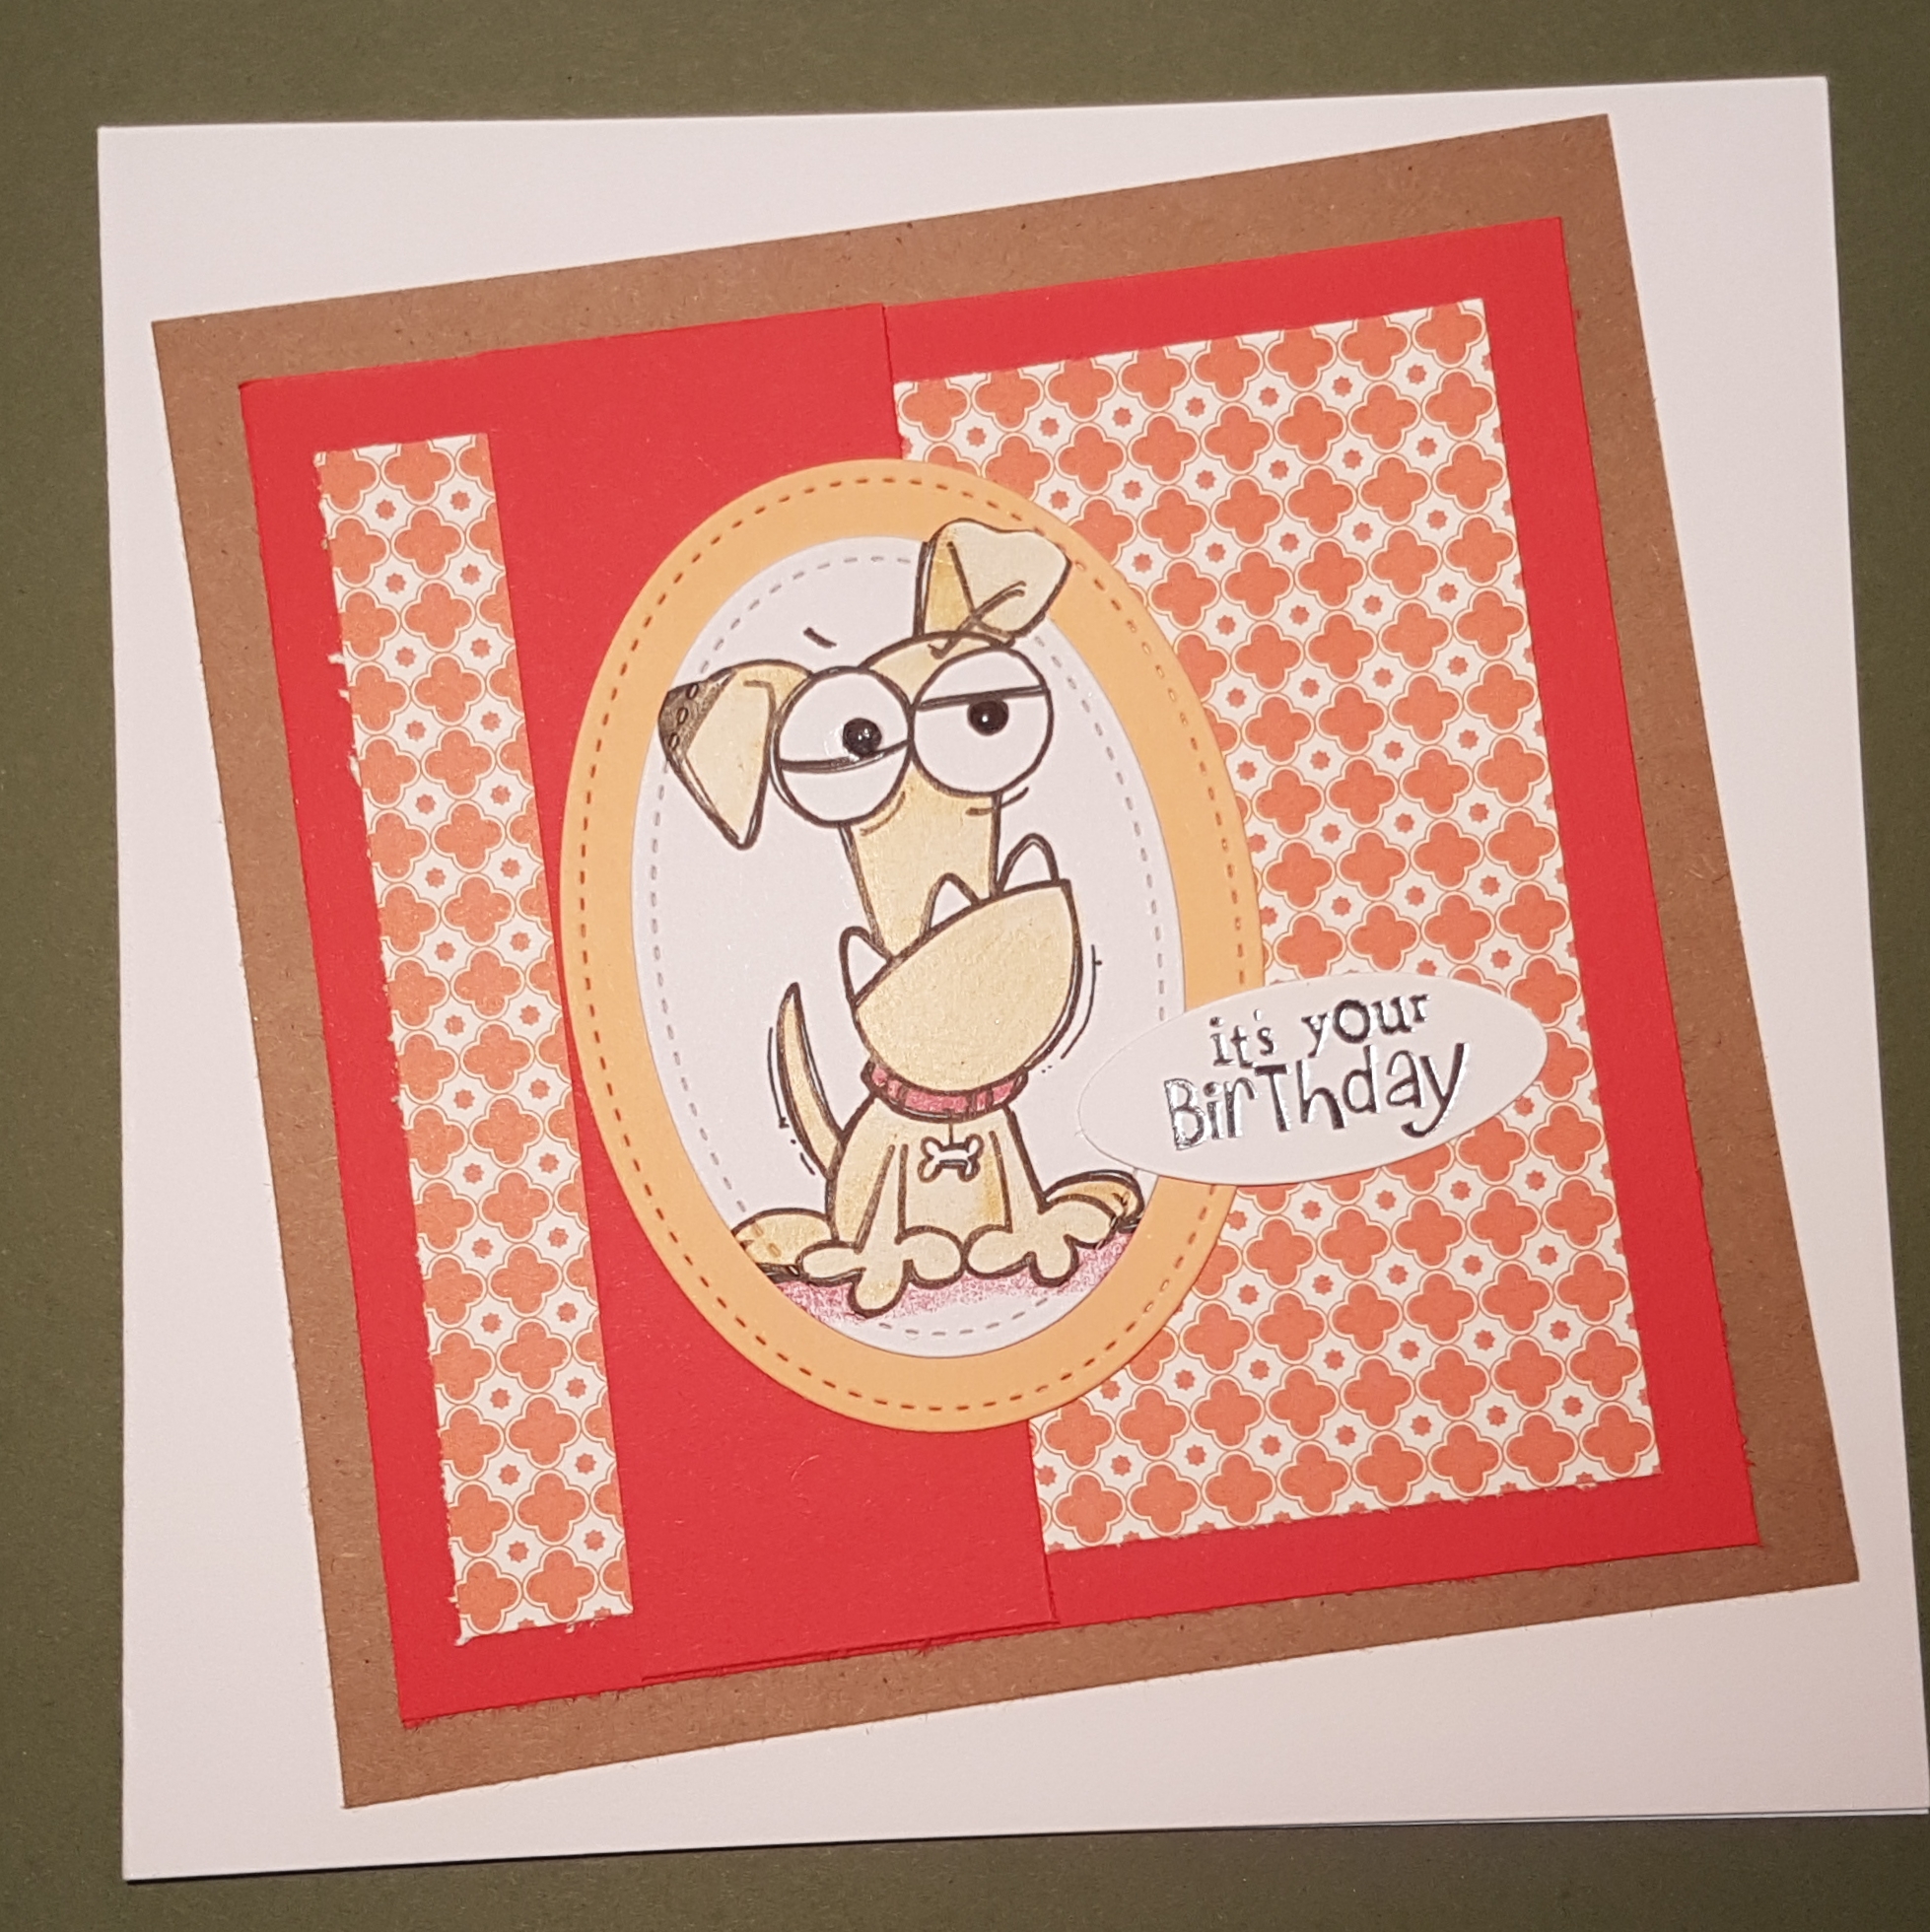
It was my brothers birthday a few days ago and I made this card for him.  No idea why but the grumpy looking dog made me think of him! Ha Ha Ha! 

I used some pieces of patterned paper and scrap cardstock to make the background and the mat for the image and I did the partial die cutting technique so that his ear came out of the oval shape. 

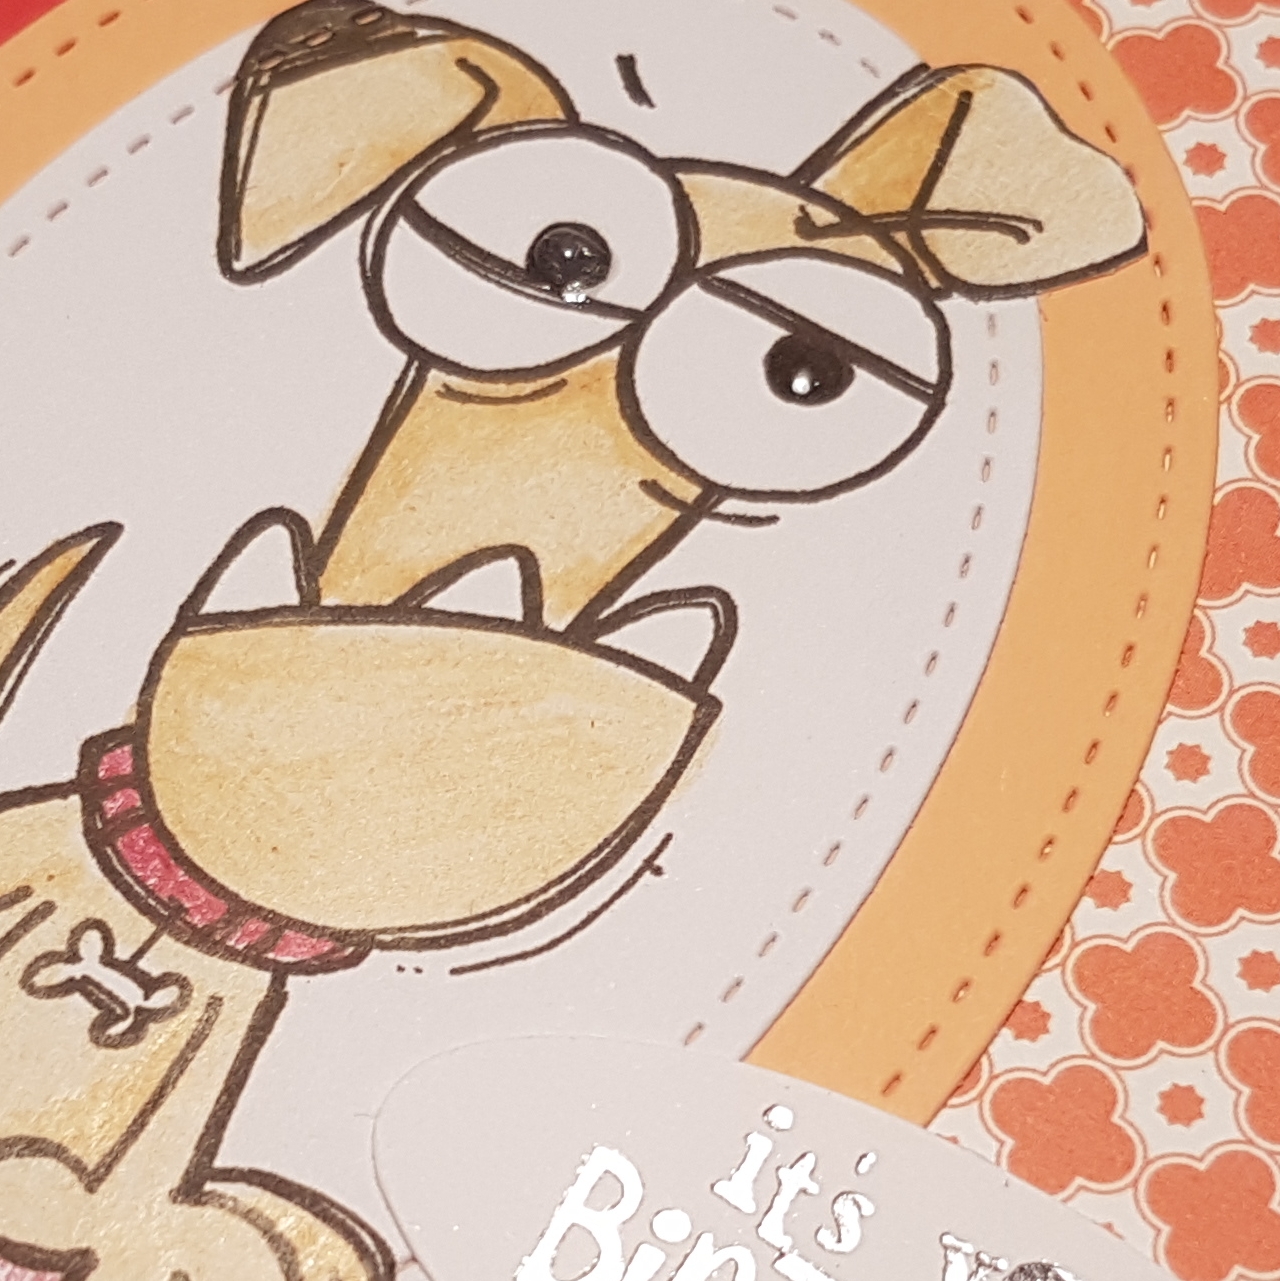
I coloured the inage using my spectrum noir pencils.

I added a tiny drop of glossy accents to the dogs pupils too to add some dimension. 

Cute and fun and hopefully my brother liked his card. 

Happy crafting!

Catherine 
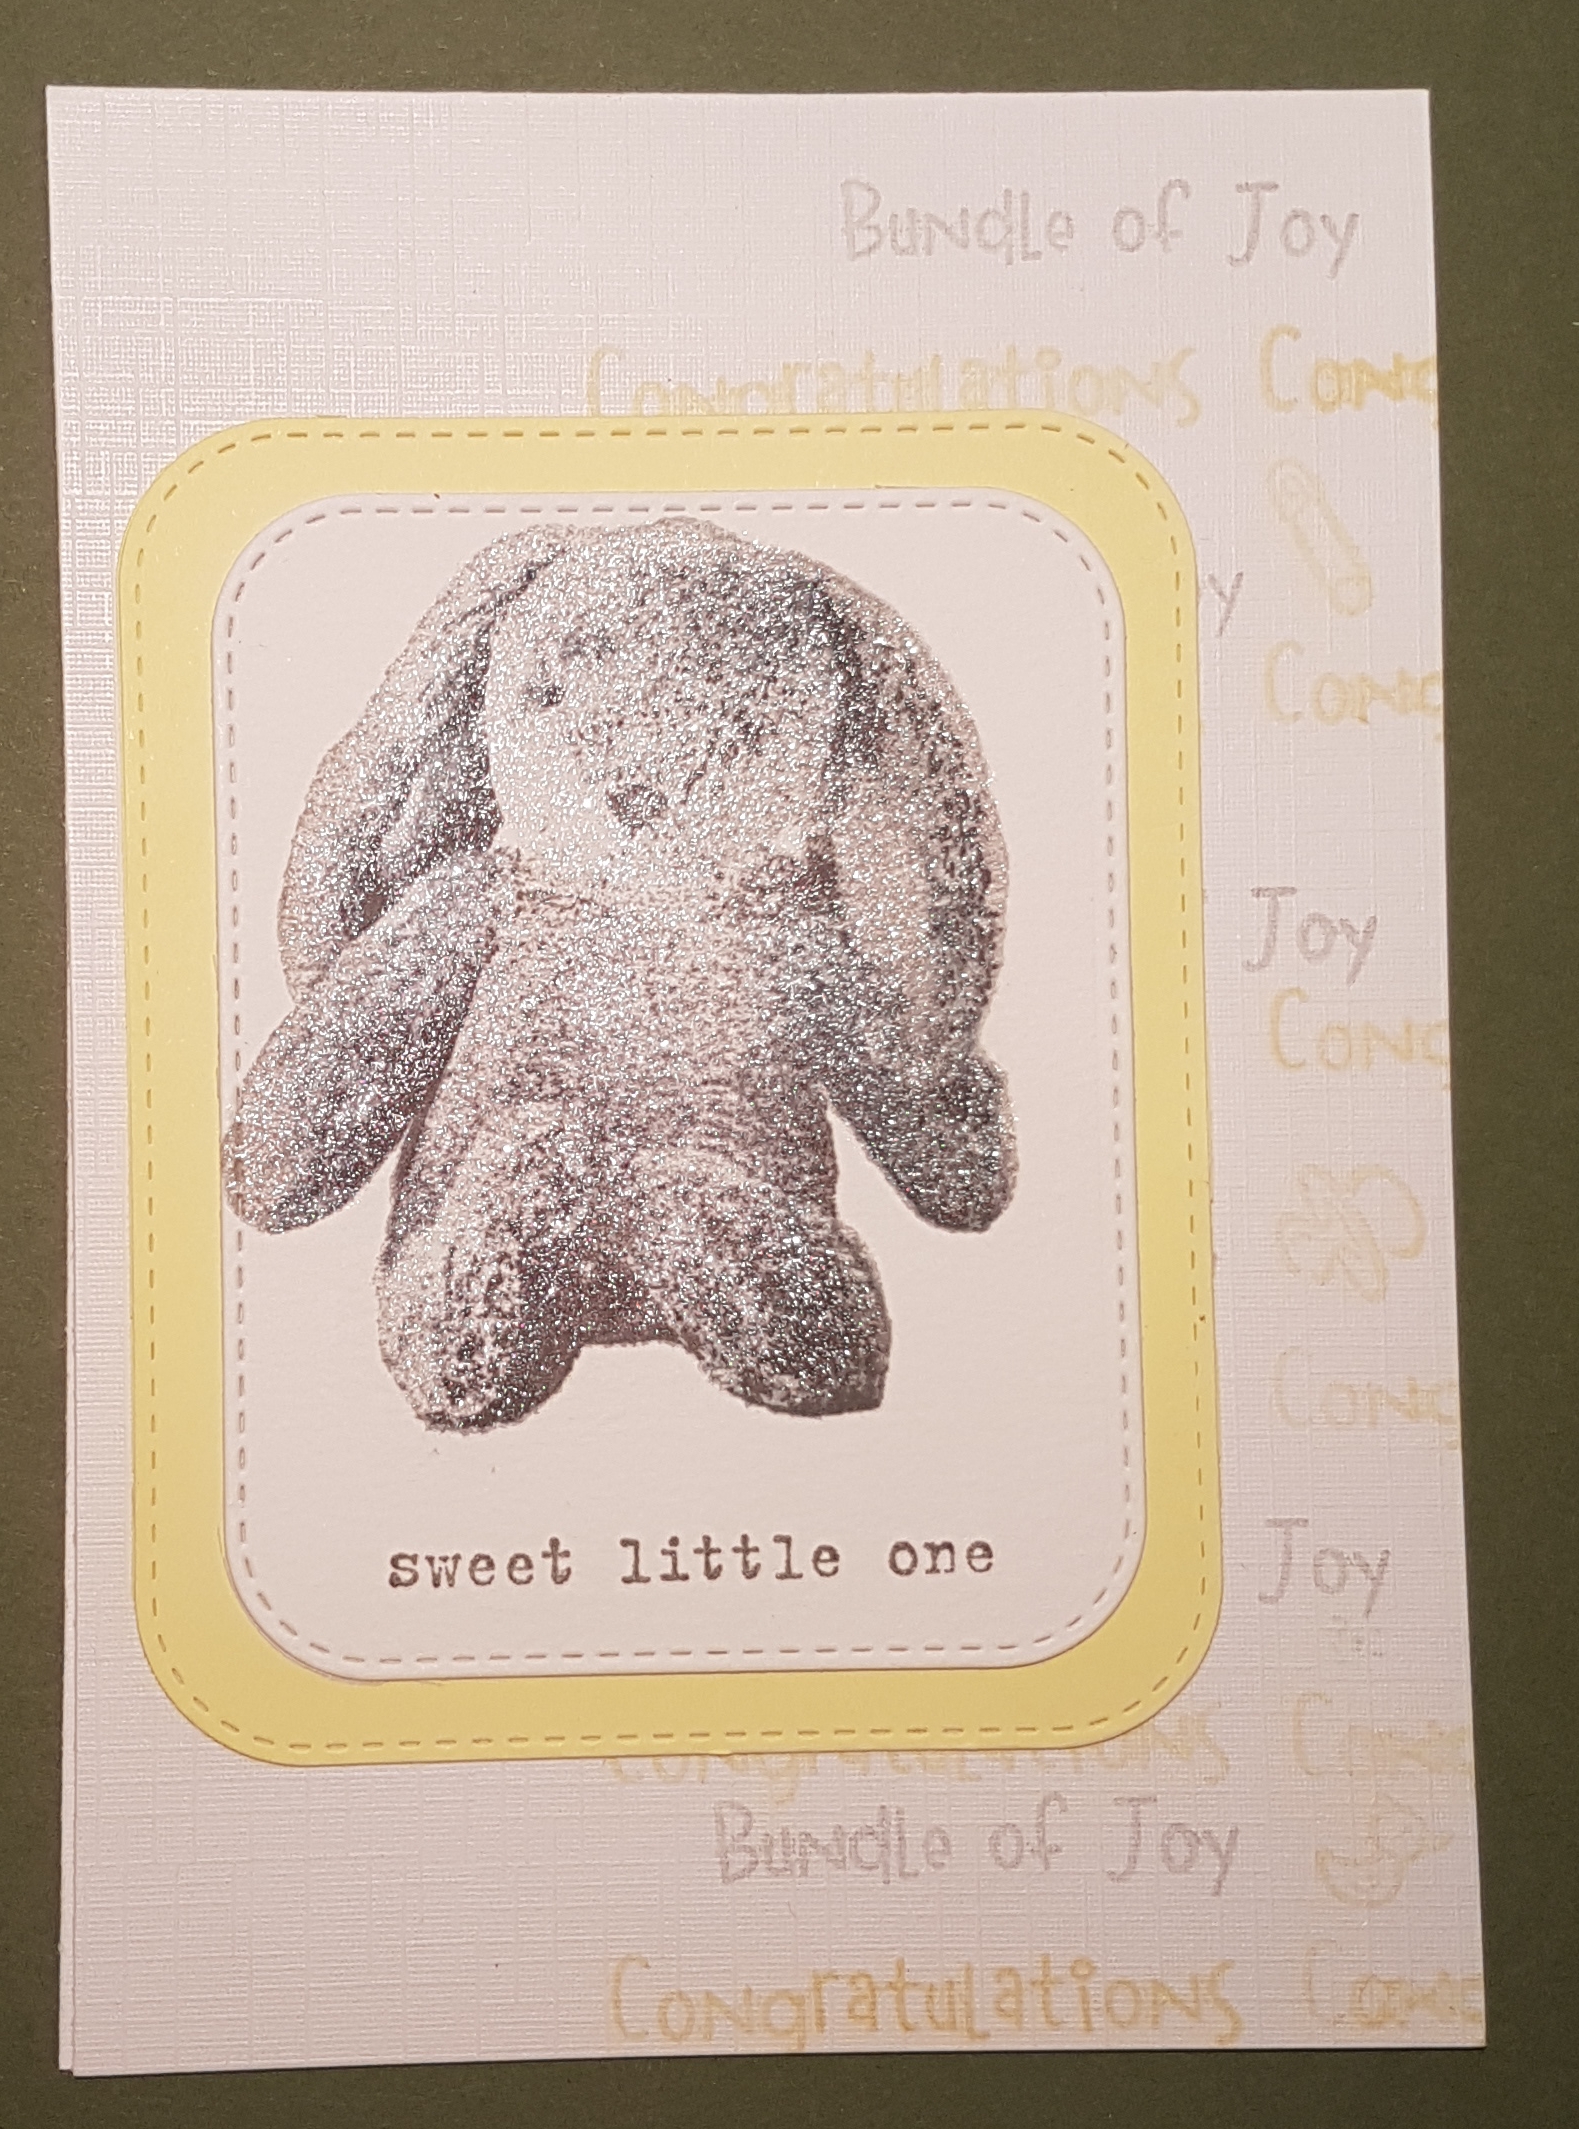
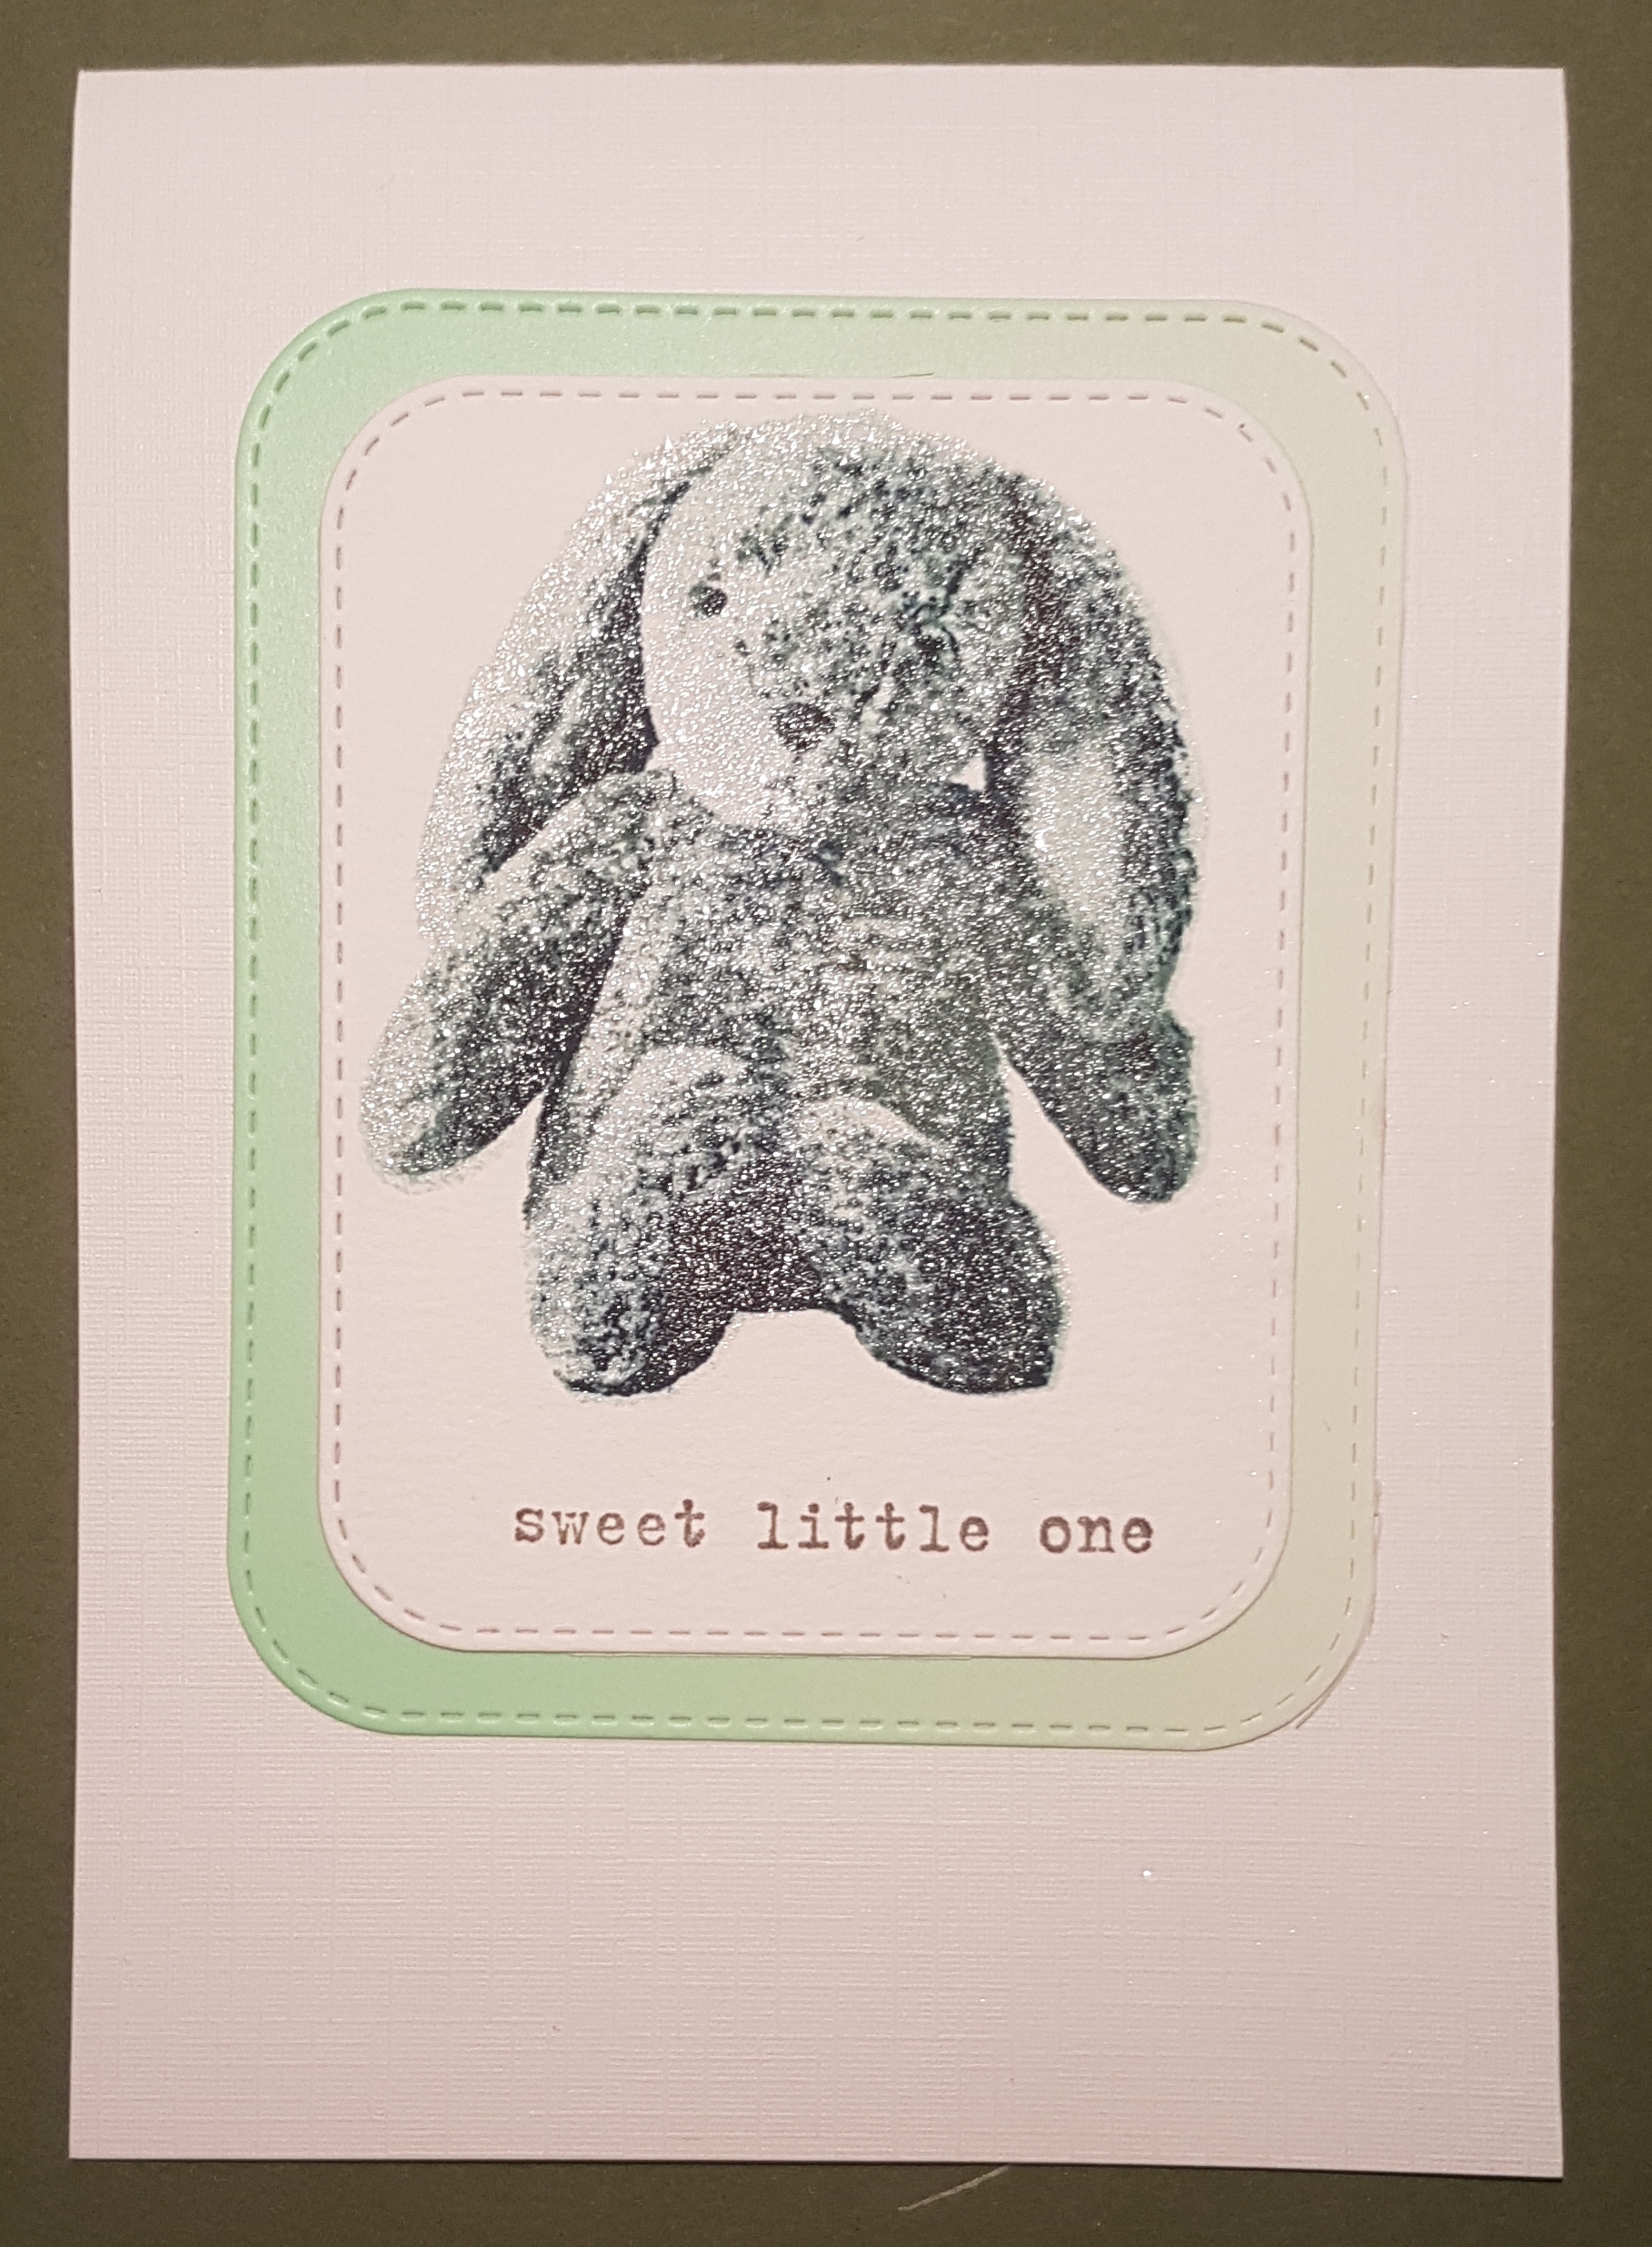
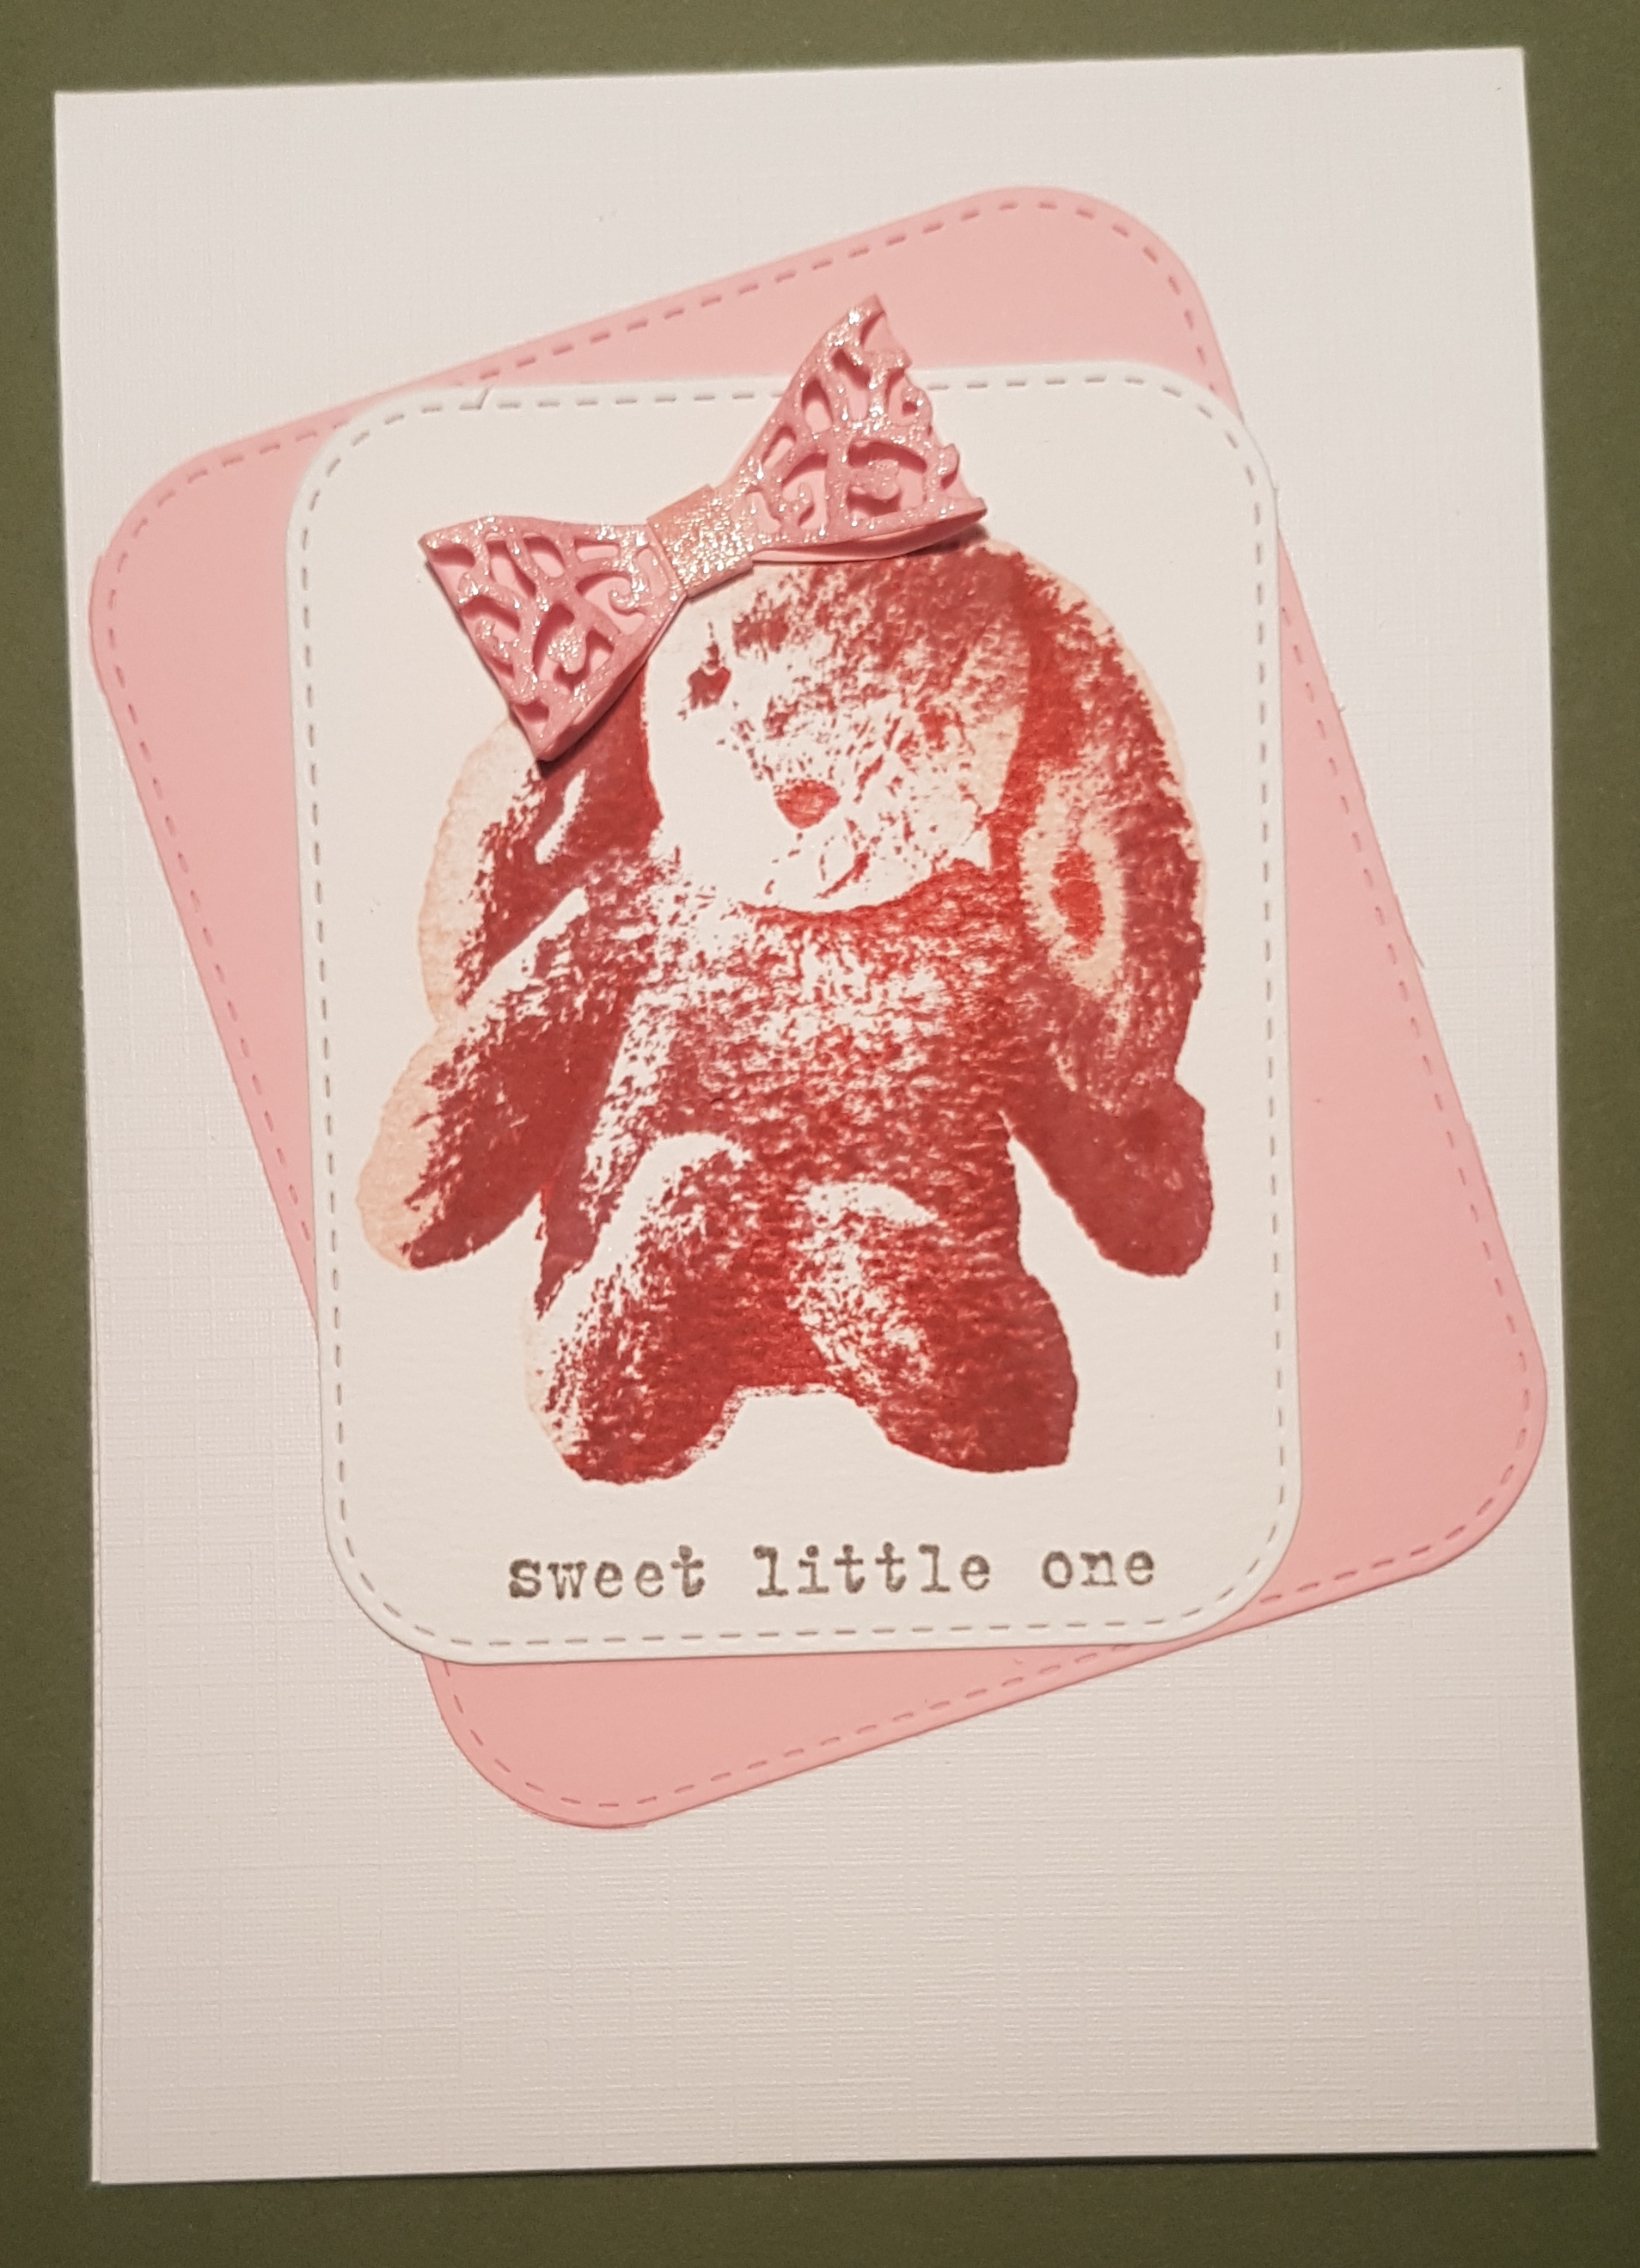
Sweet little something

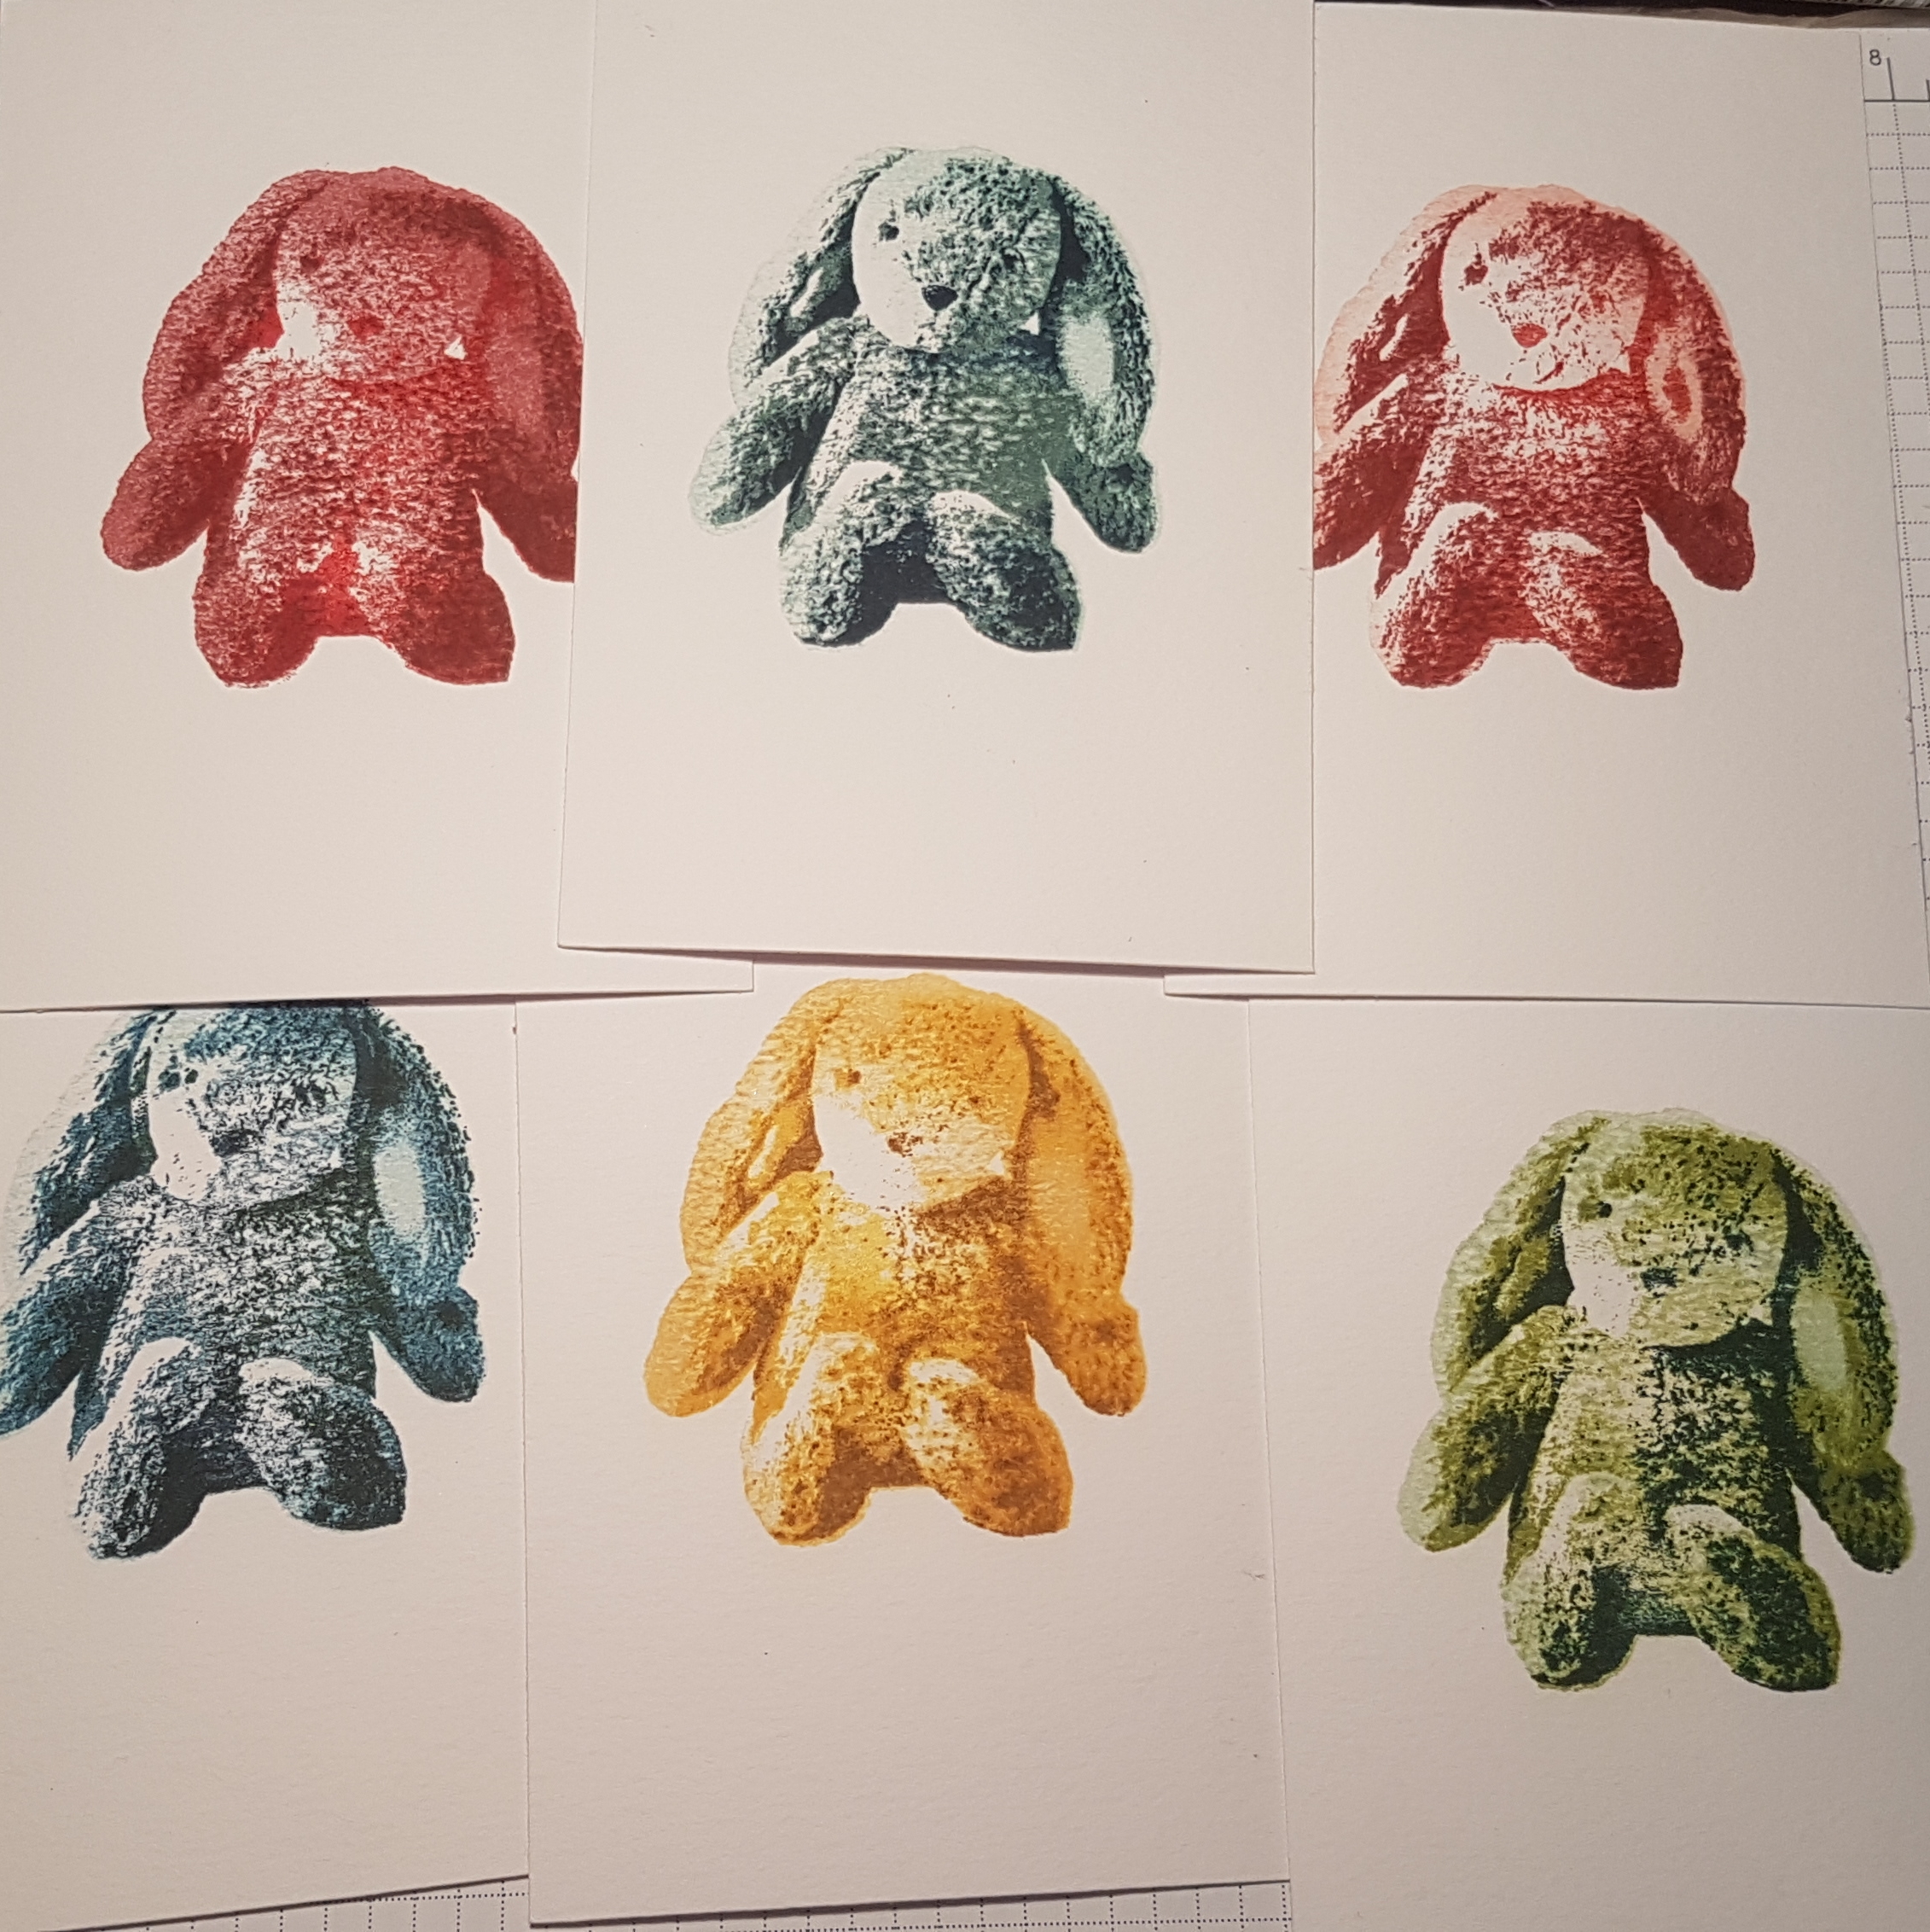
I spotted this cuddly rabbit layered stamping set in the new catalogue and knew I had to have it for making baby cards. So I had a play. 

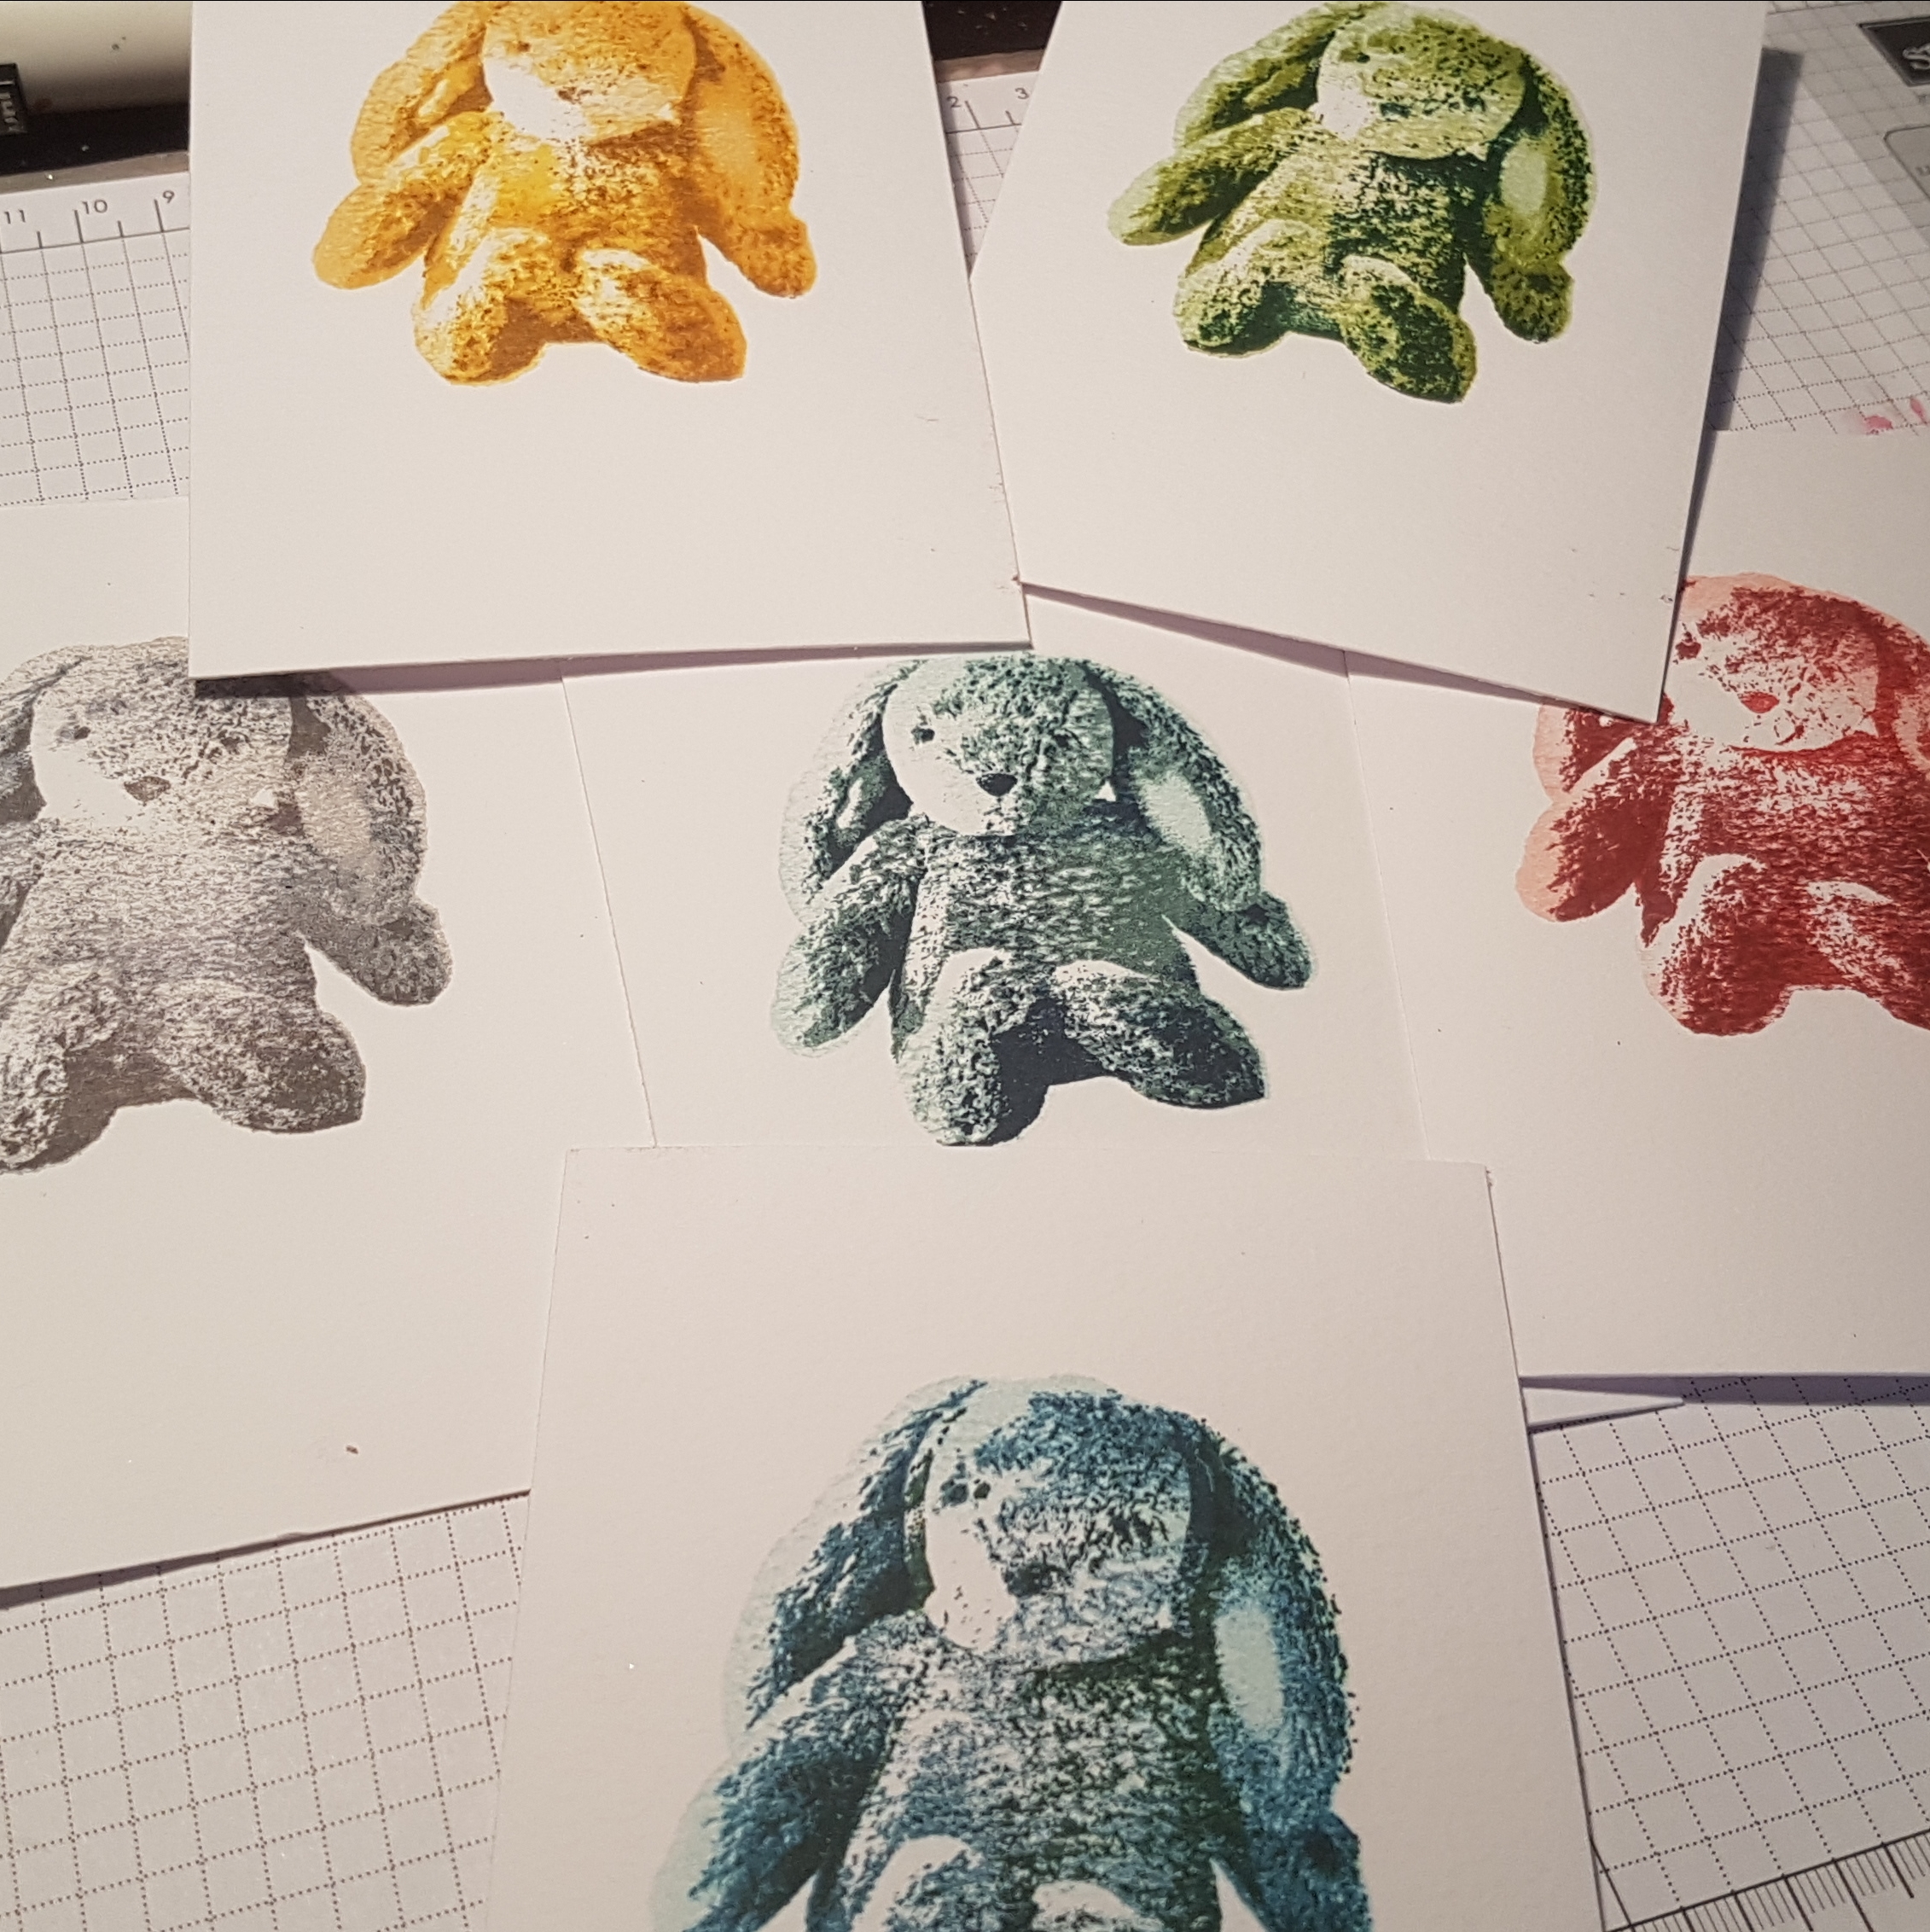
First lesson … use the right kind of card for the best results… This mixed media cardstock I was playing on is not the best card for stamping… Oh well I decided to persevere. 

Second lesson… choose the right colours or your cuddly starts looking evil! 

The top left got turned over so I could create a grey one instead… much less scary! 

Make sure you line up your stamps properly or the eyes go wonky like the bottom one! 

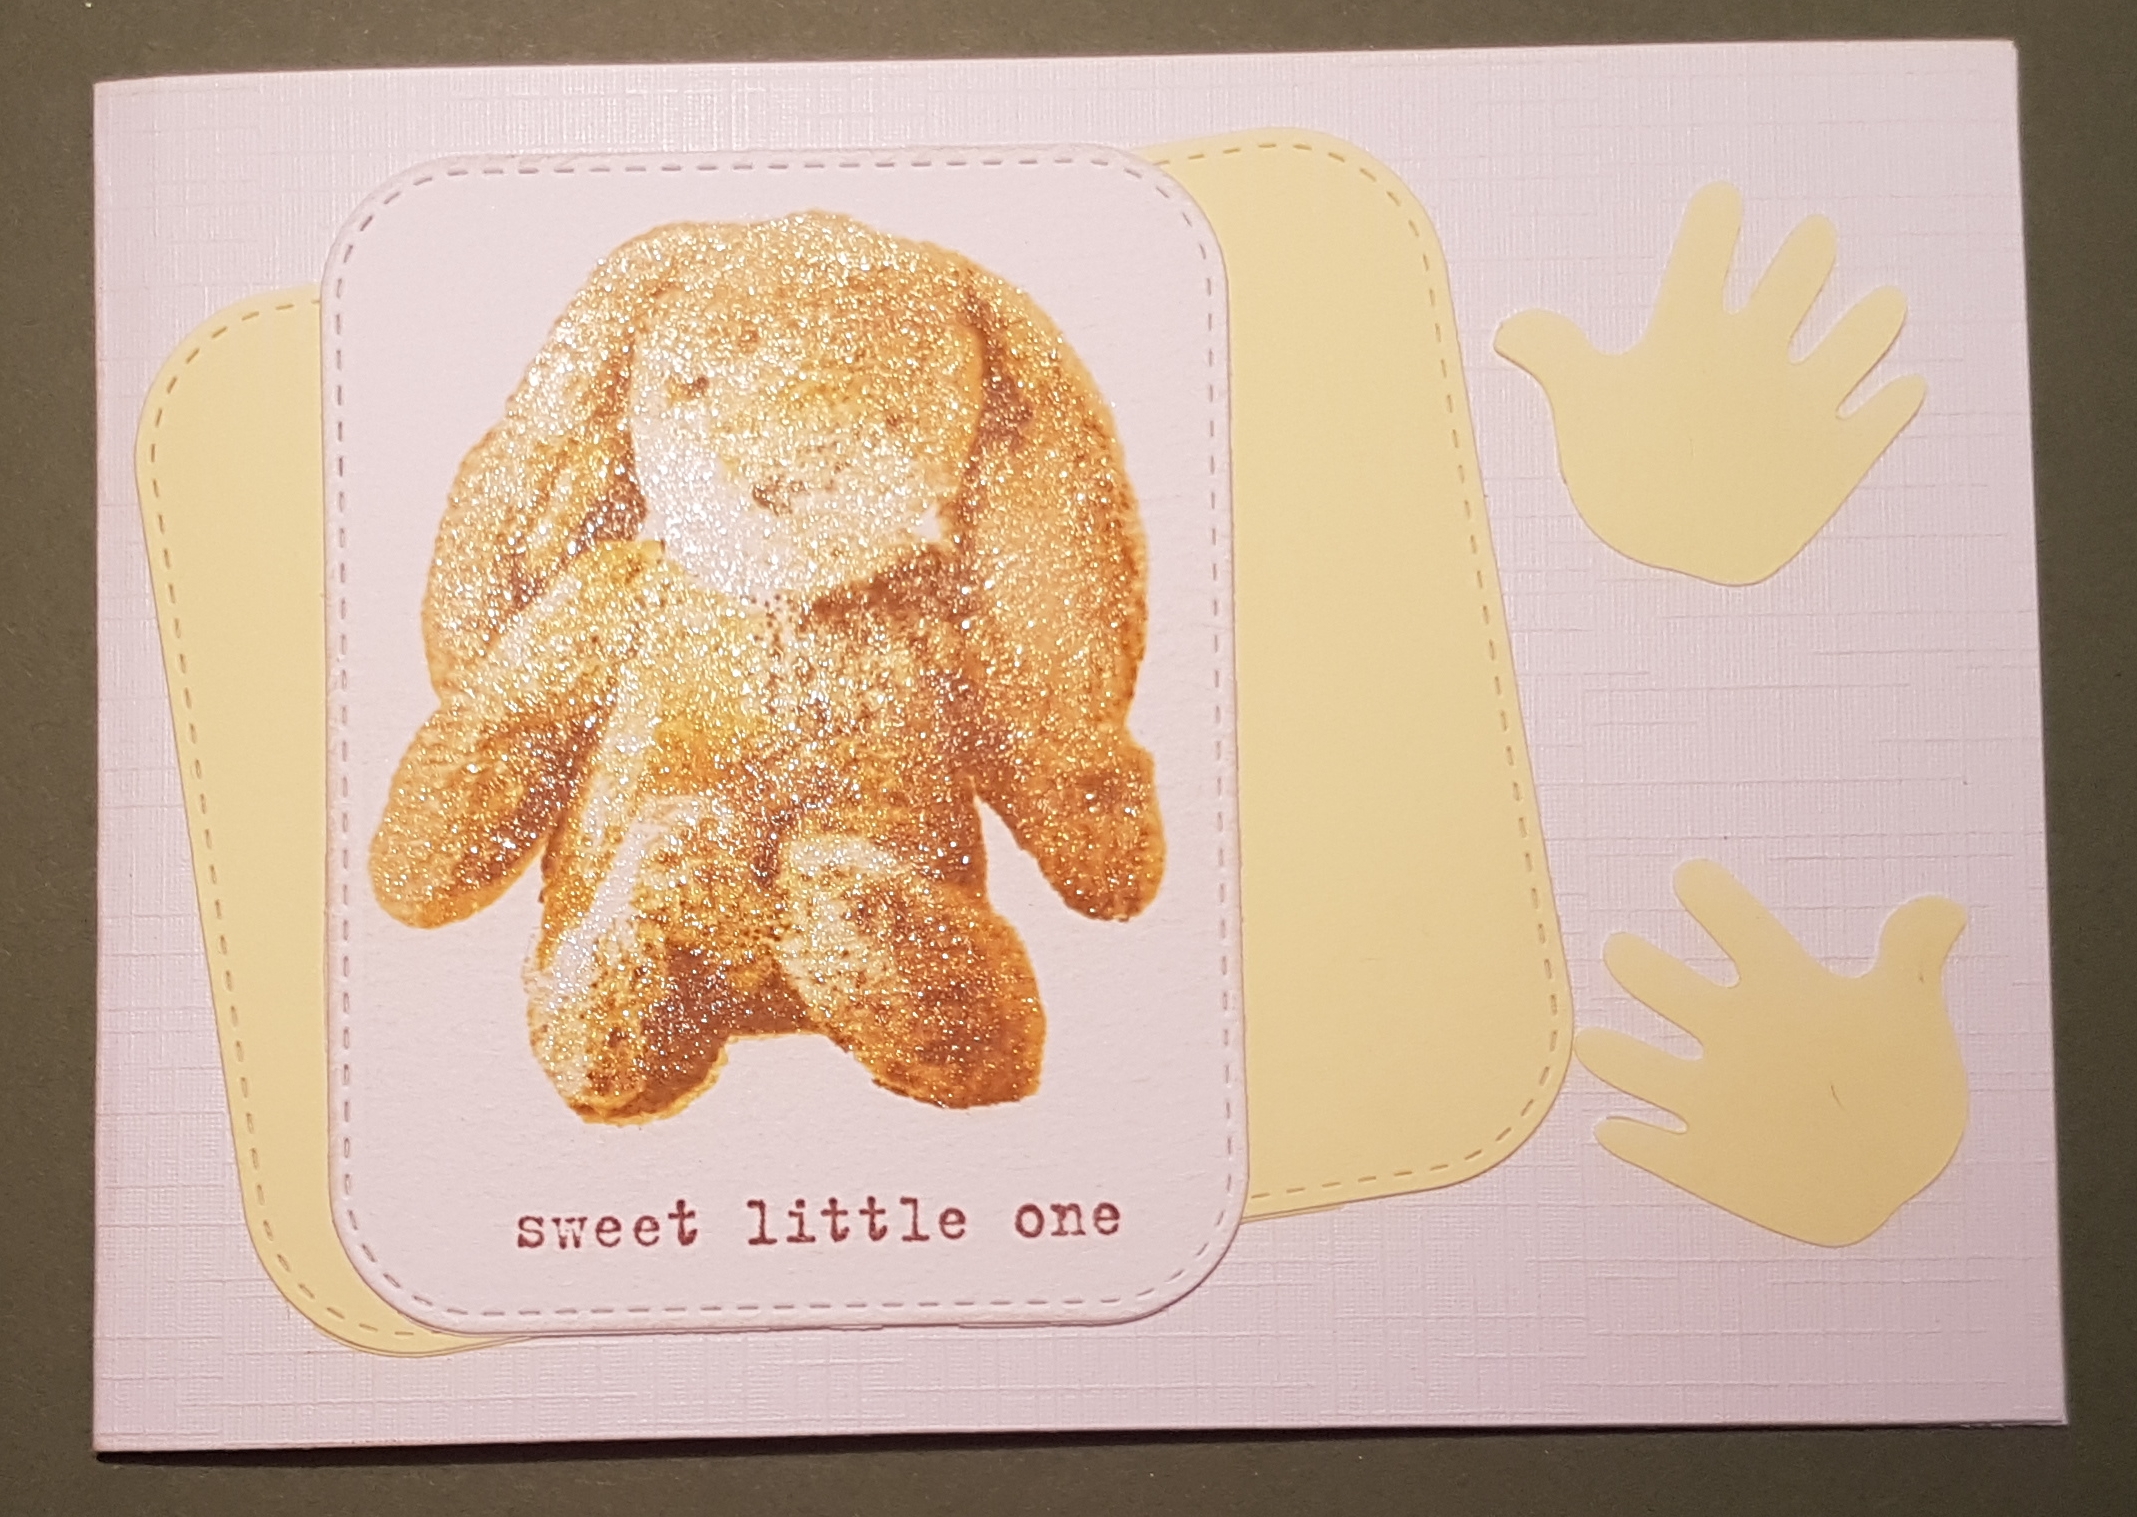
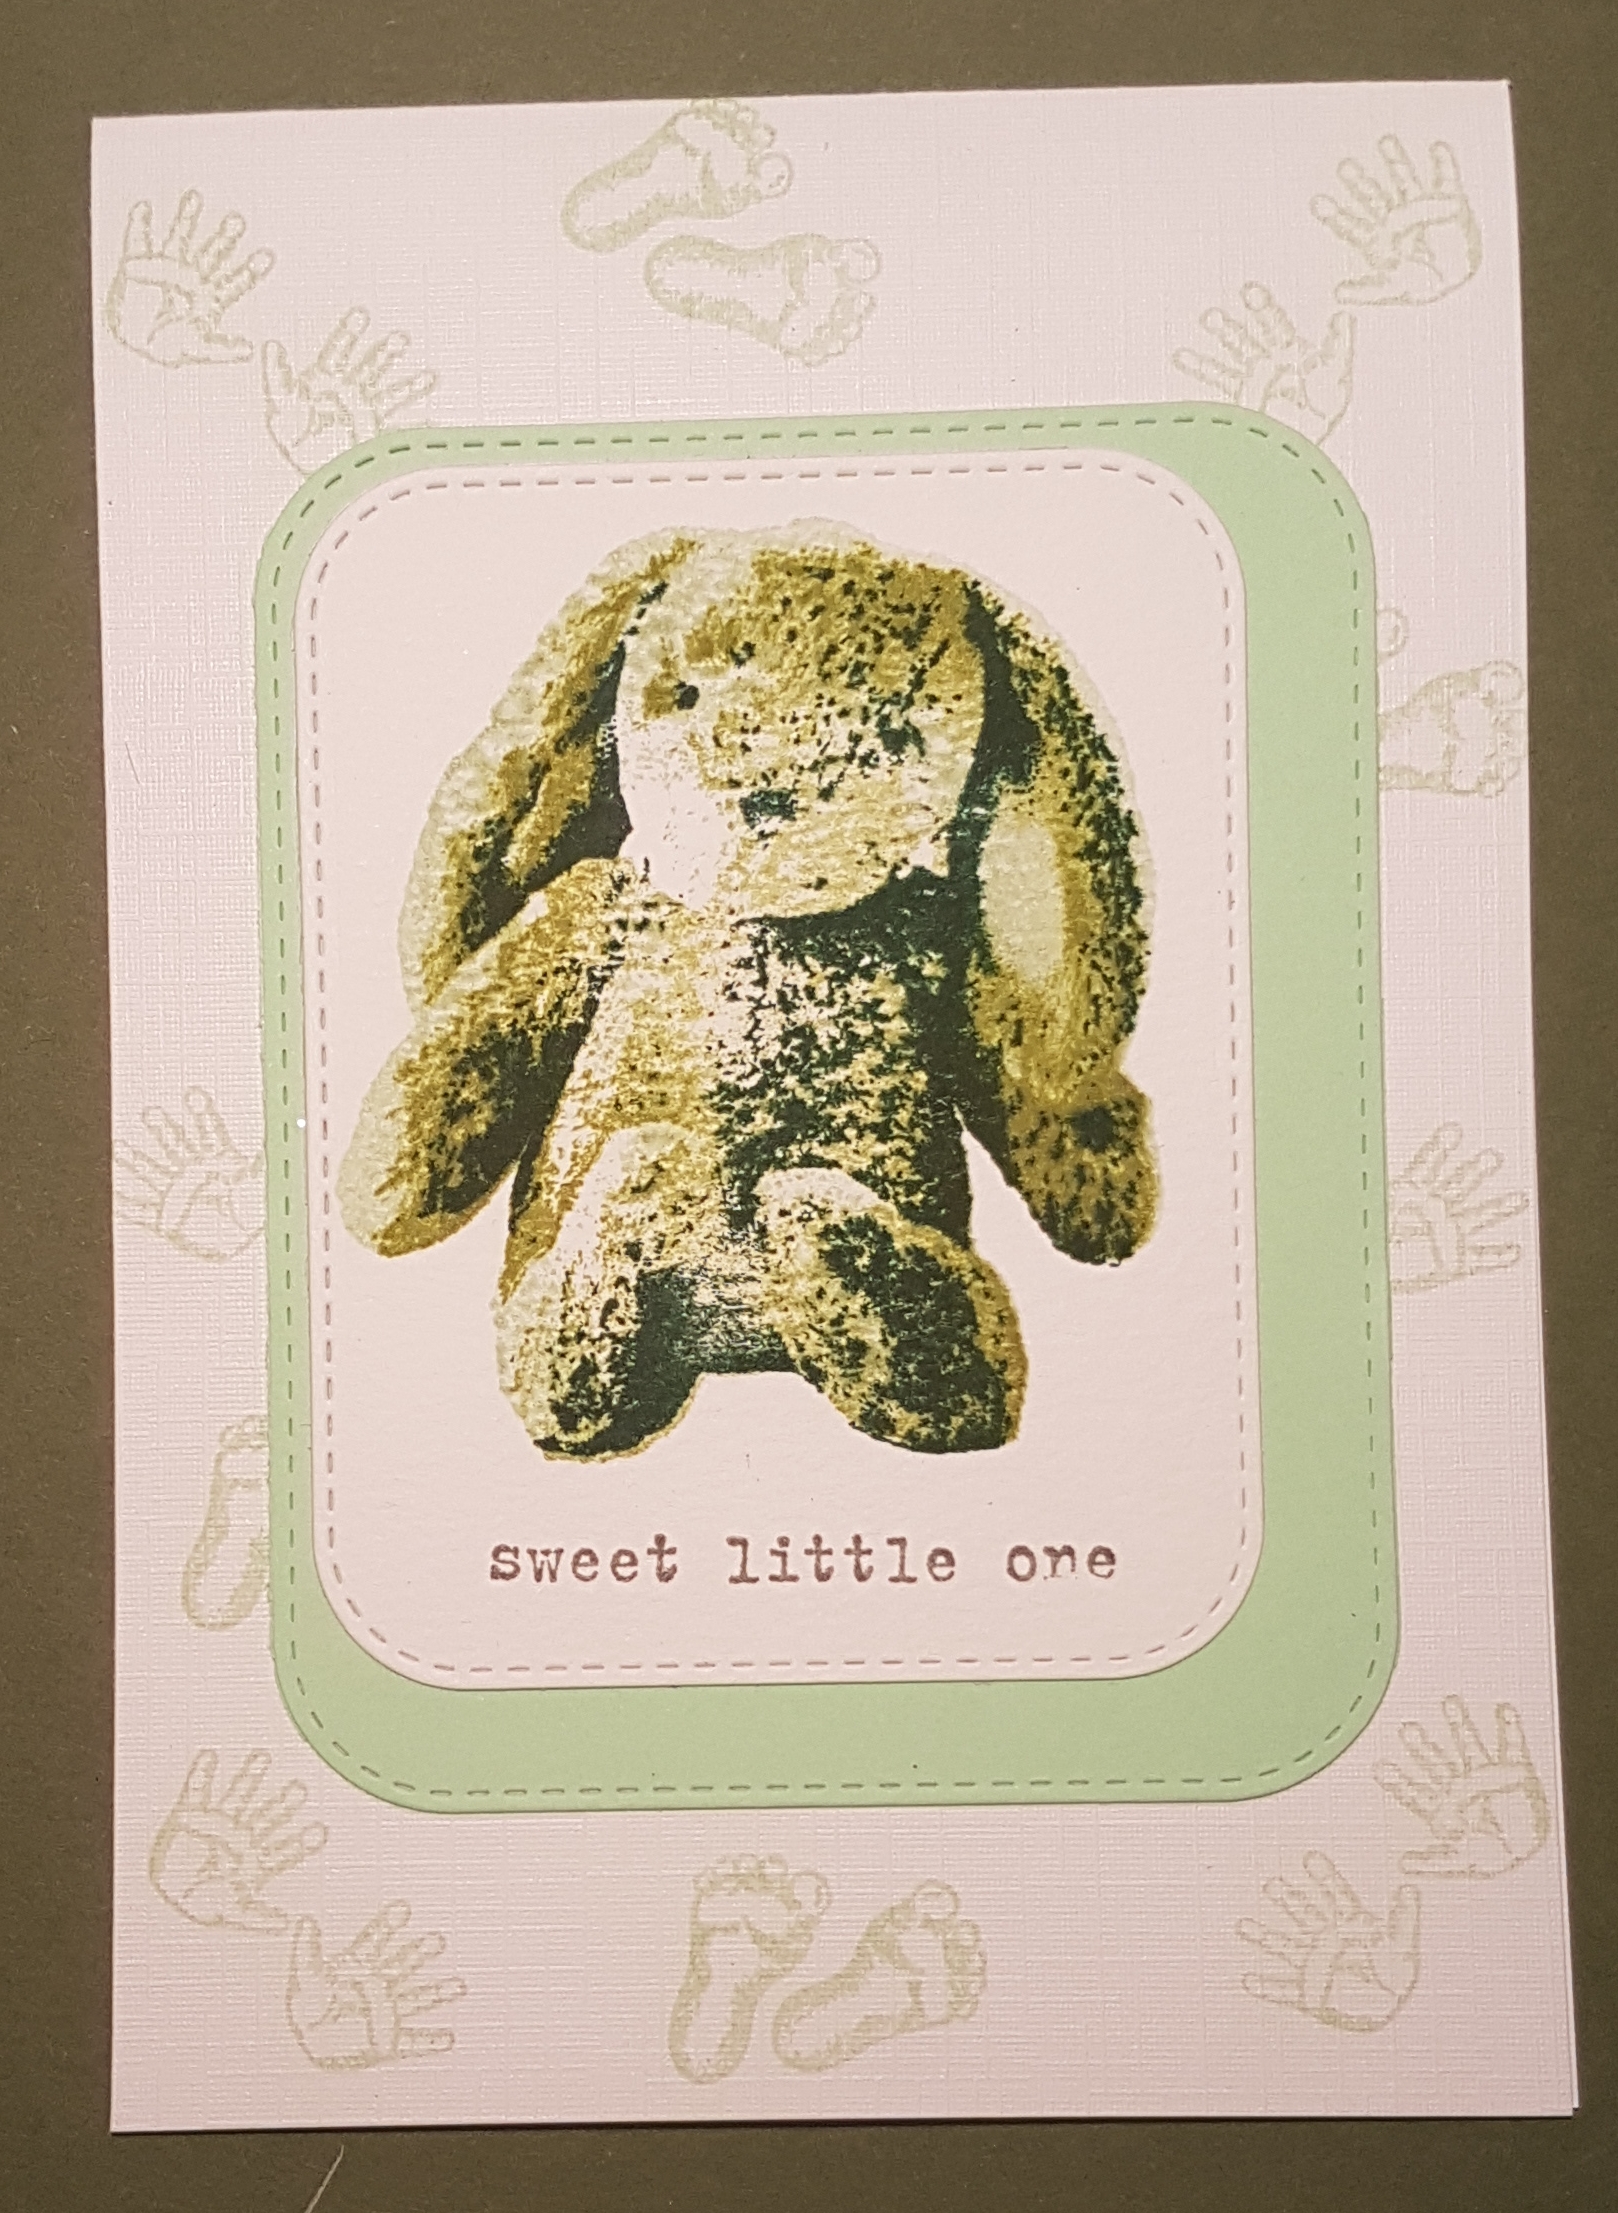
So once I had the best five I could do I ended up with these cards.

All of them on linen effect card blanks a6 size and using the same set of rounded rectangle stitched dies and the same sentiment stamp I have had for ages.

On each of them I made the cards a little different by changing the design or adding little details in the background. 

Love how these came out. 

Entering these into the celebrations challenge at https://craftaholicsrus.blogspot.co.uk/2018/01/challenge-1-celebration-cards.html?m=1

Happy crafting! 

Catherine 
Petal Palette cards

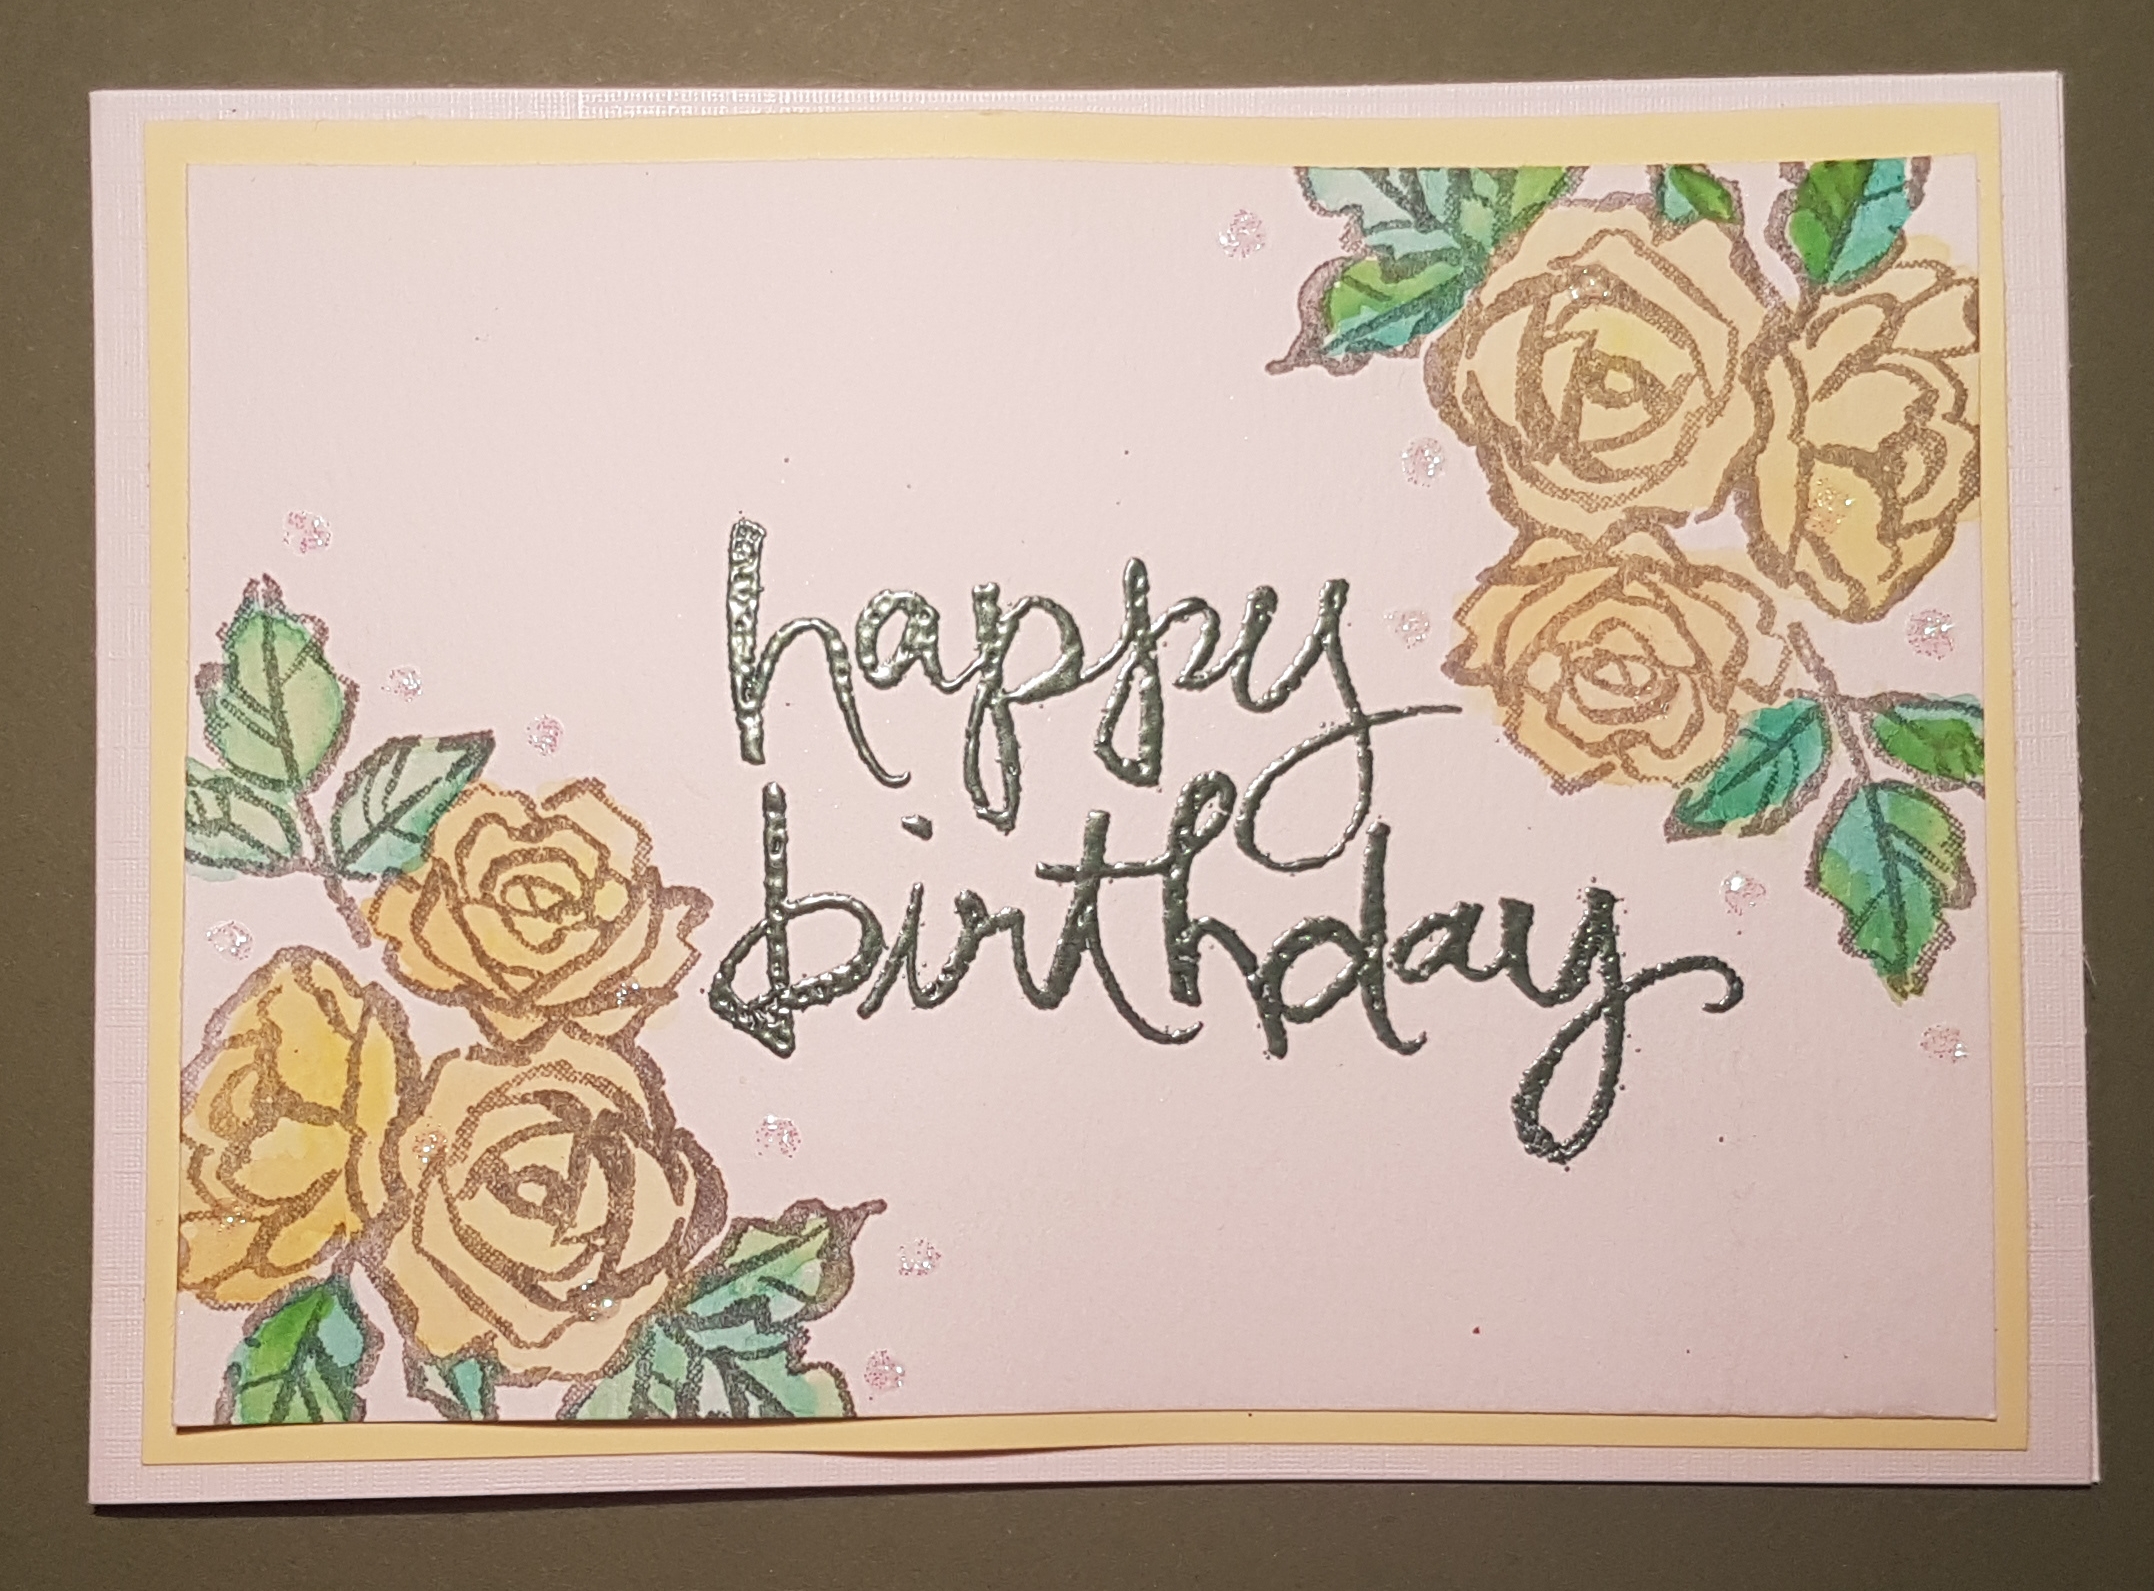
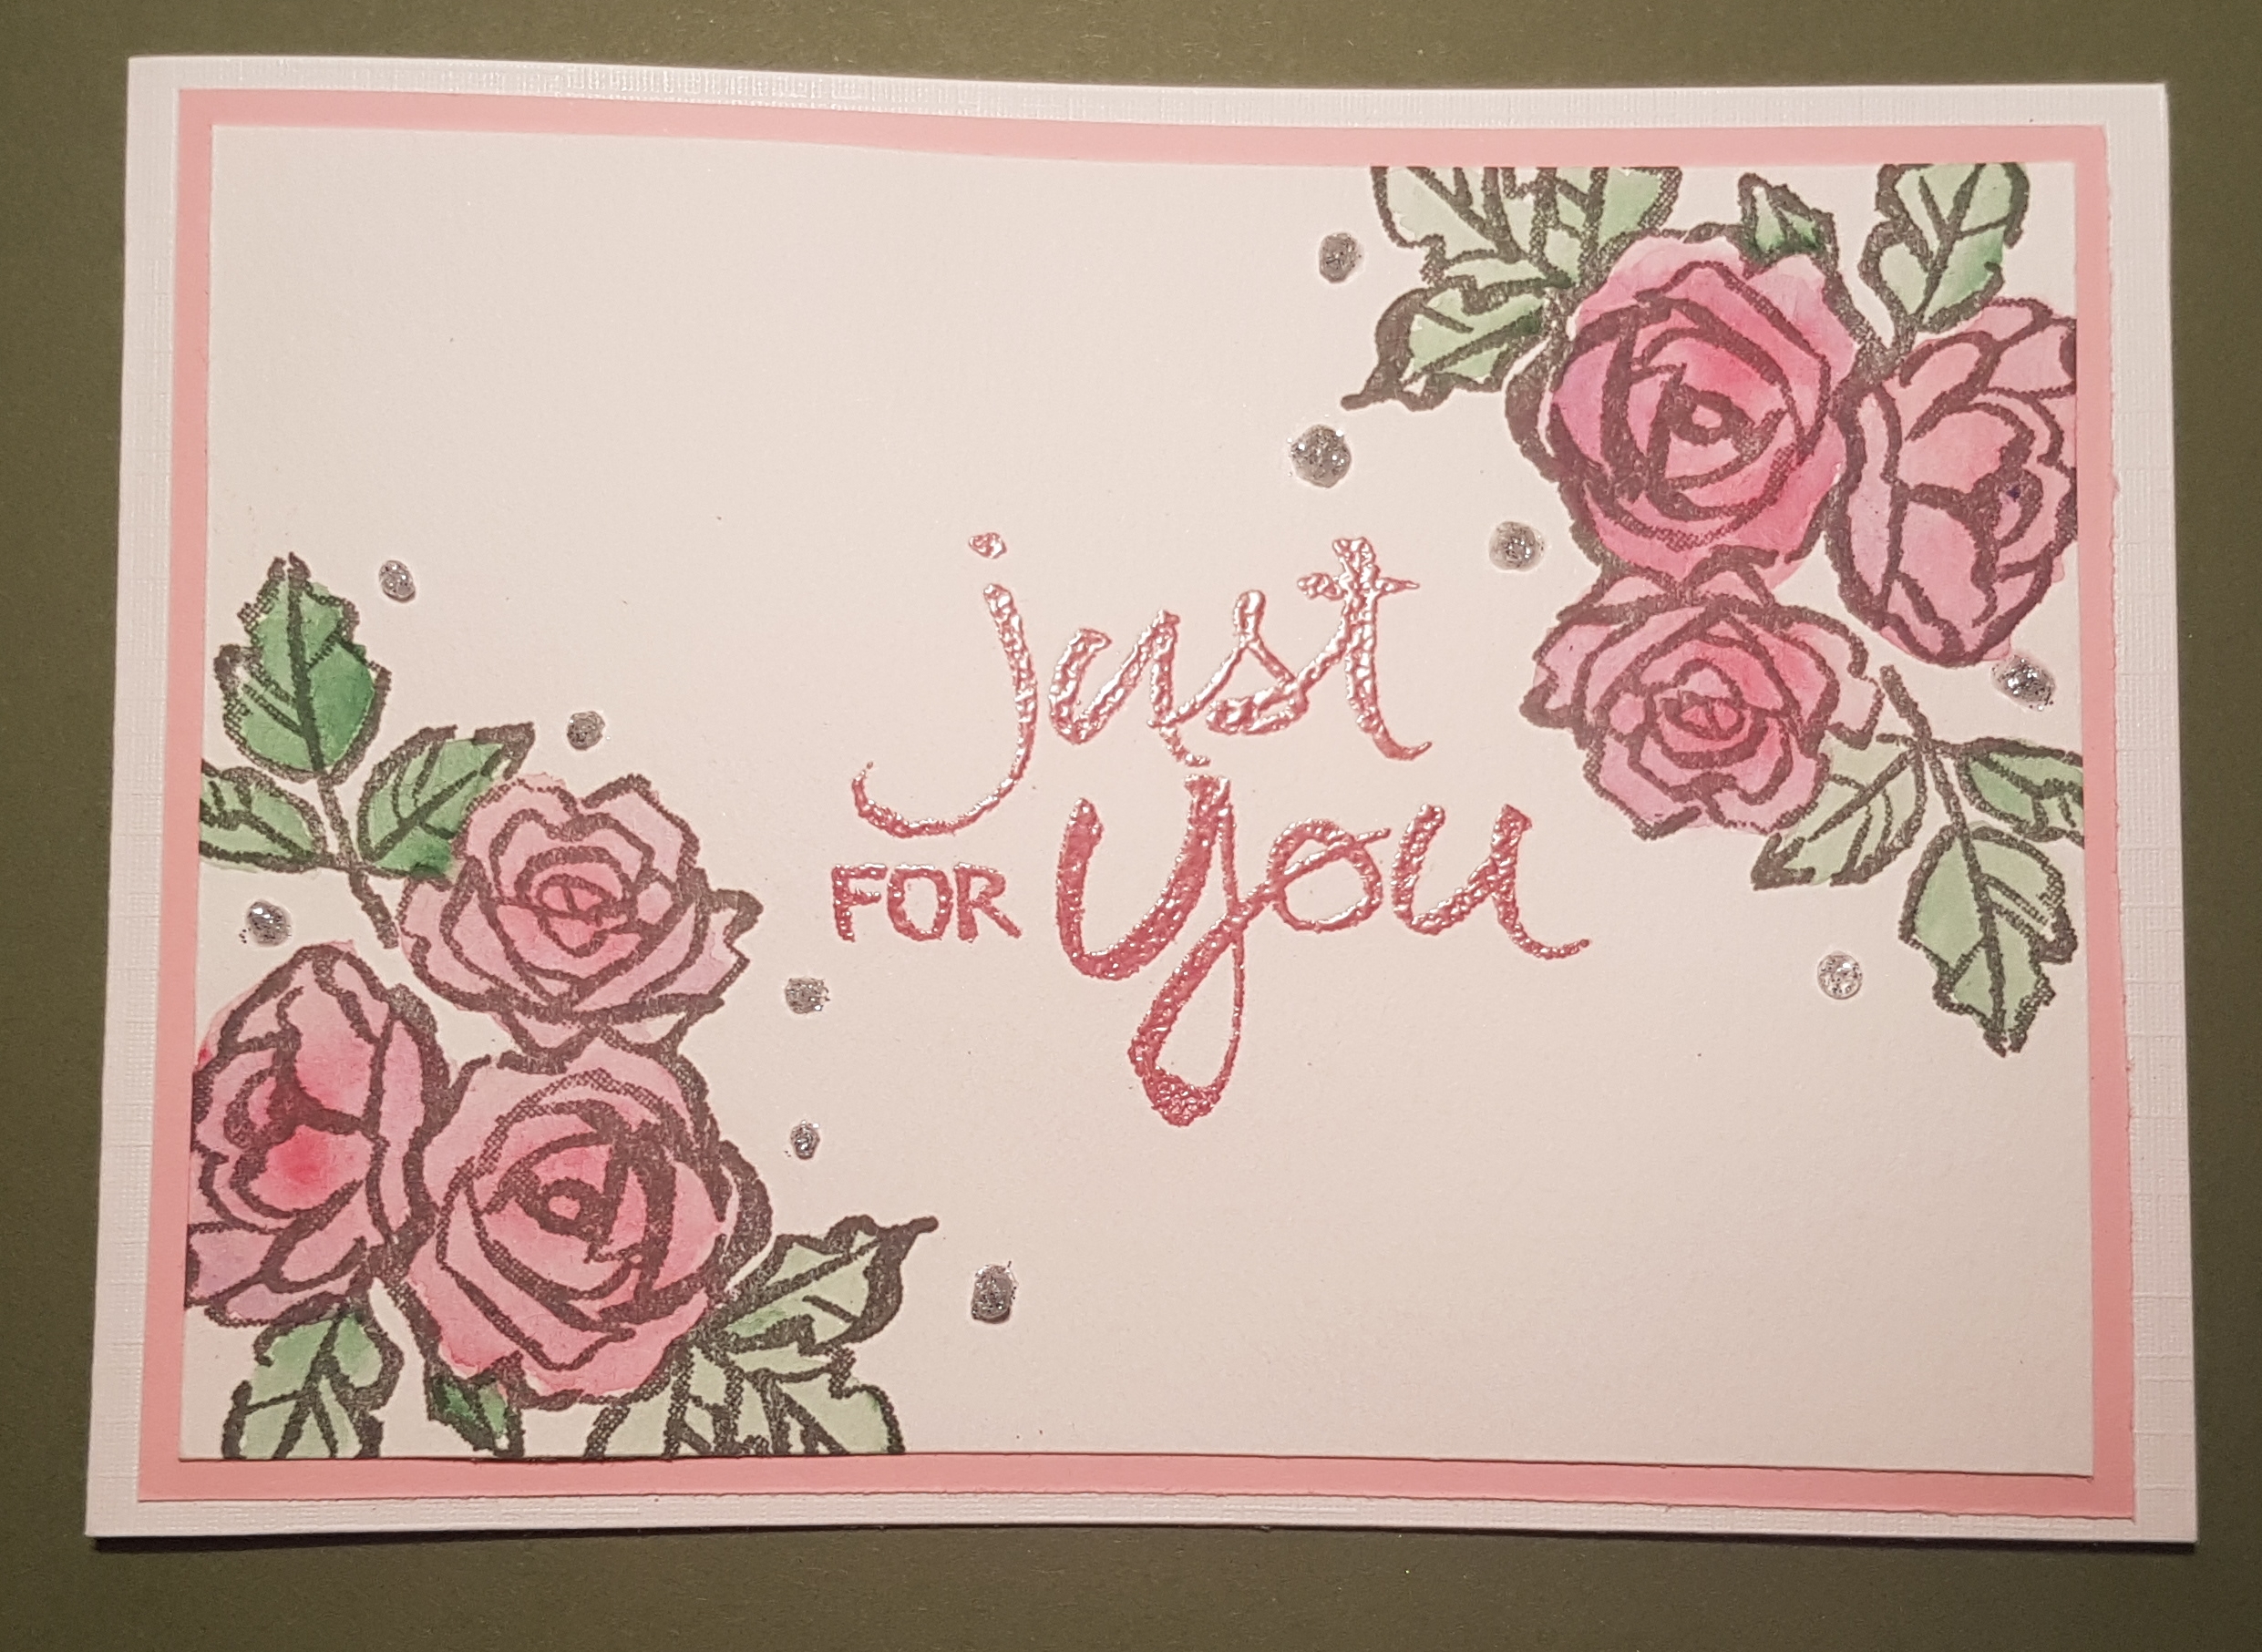
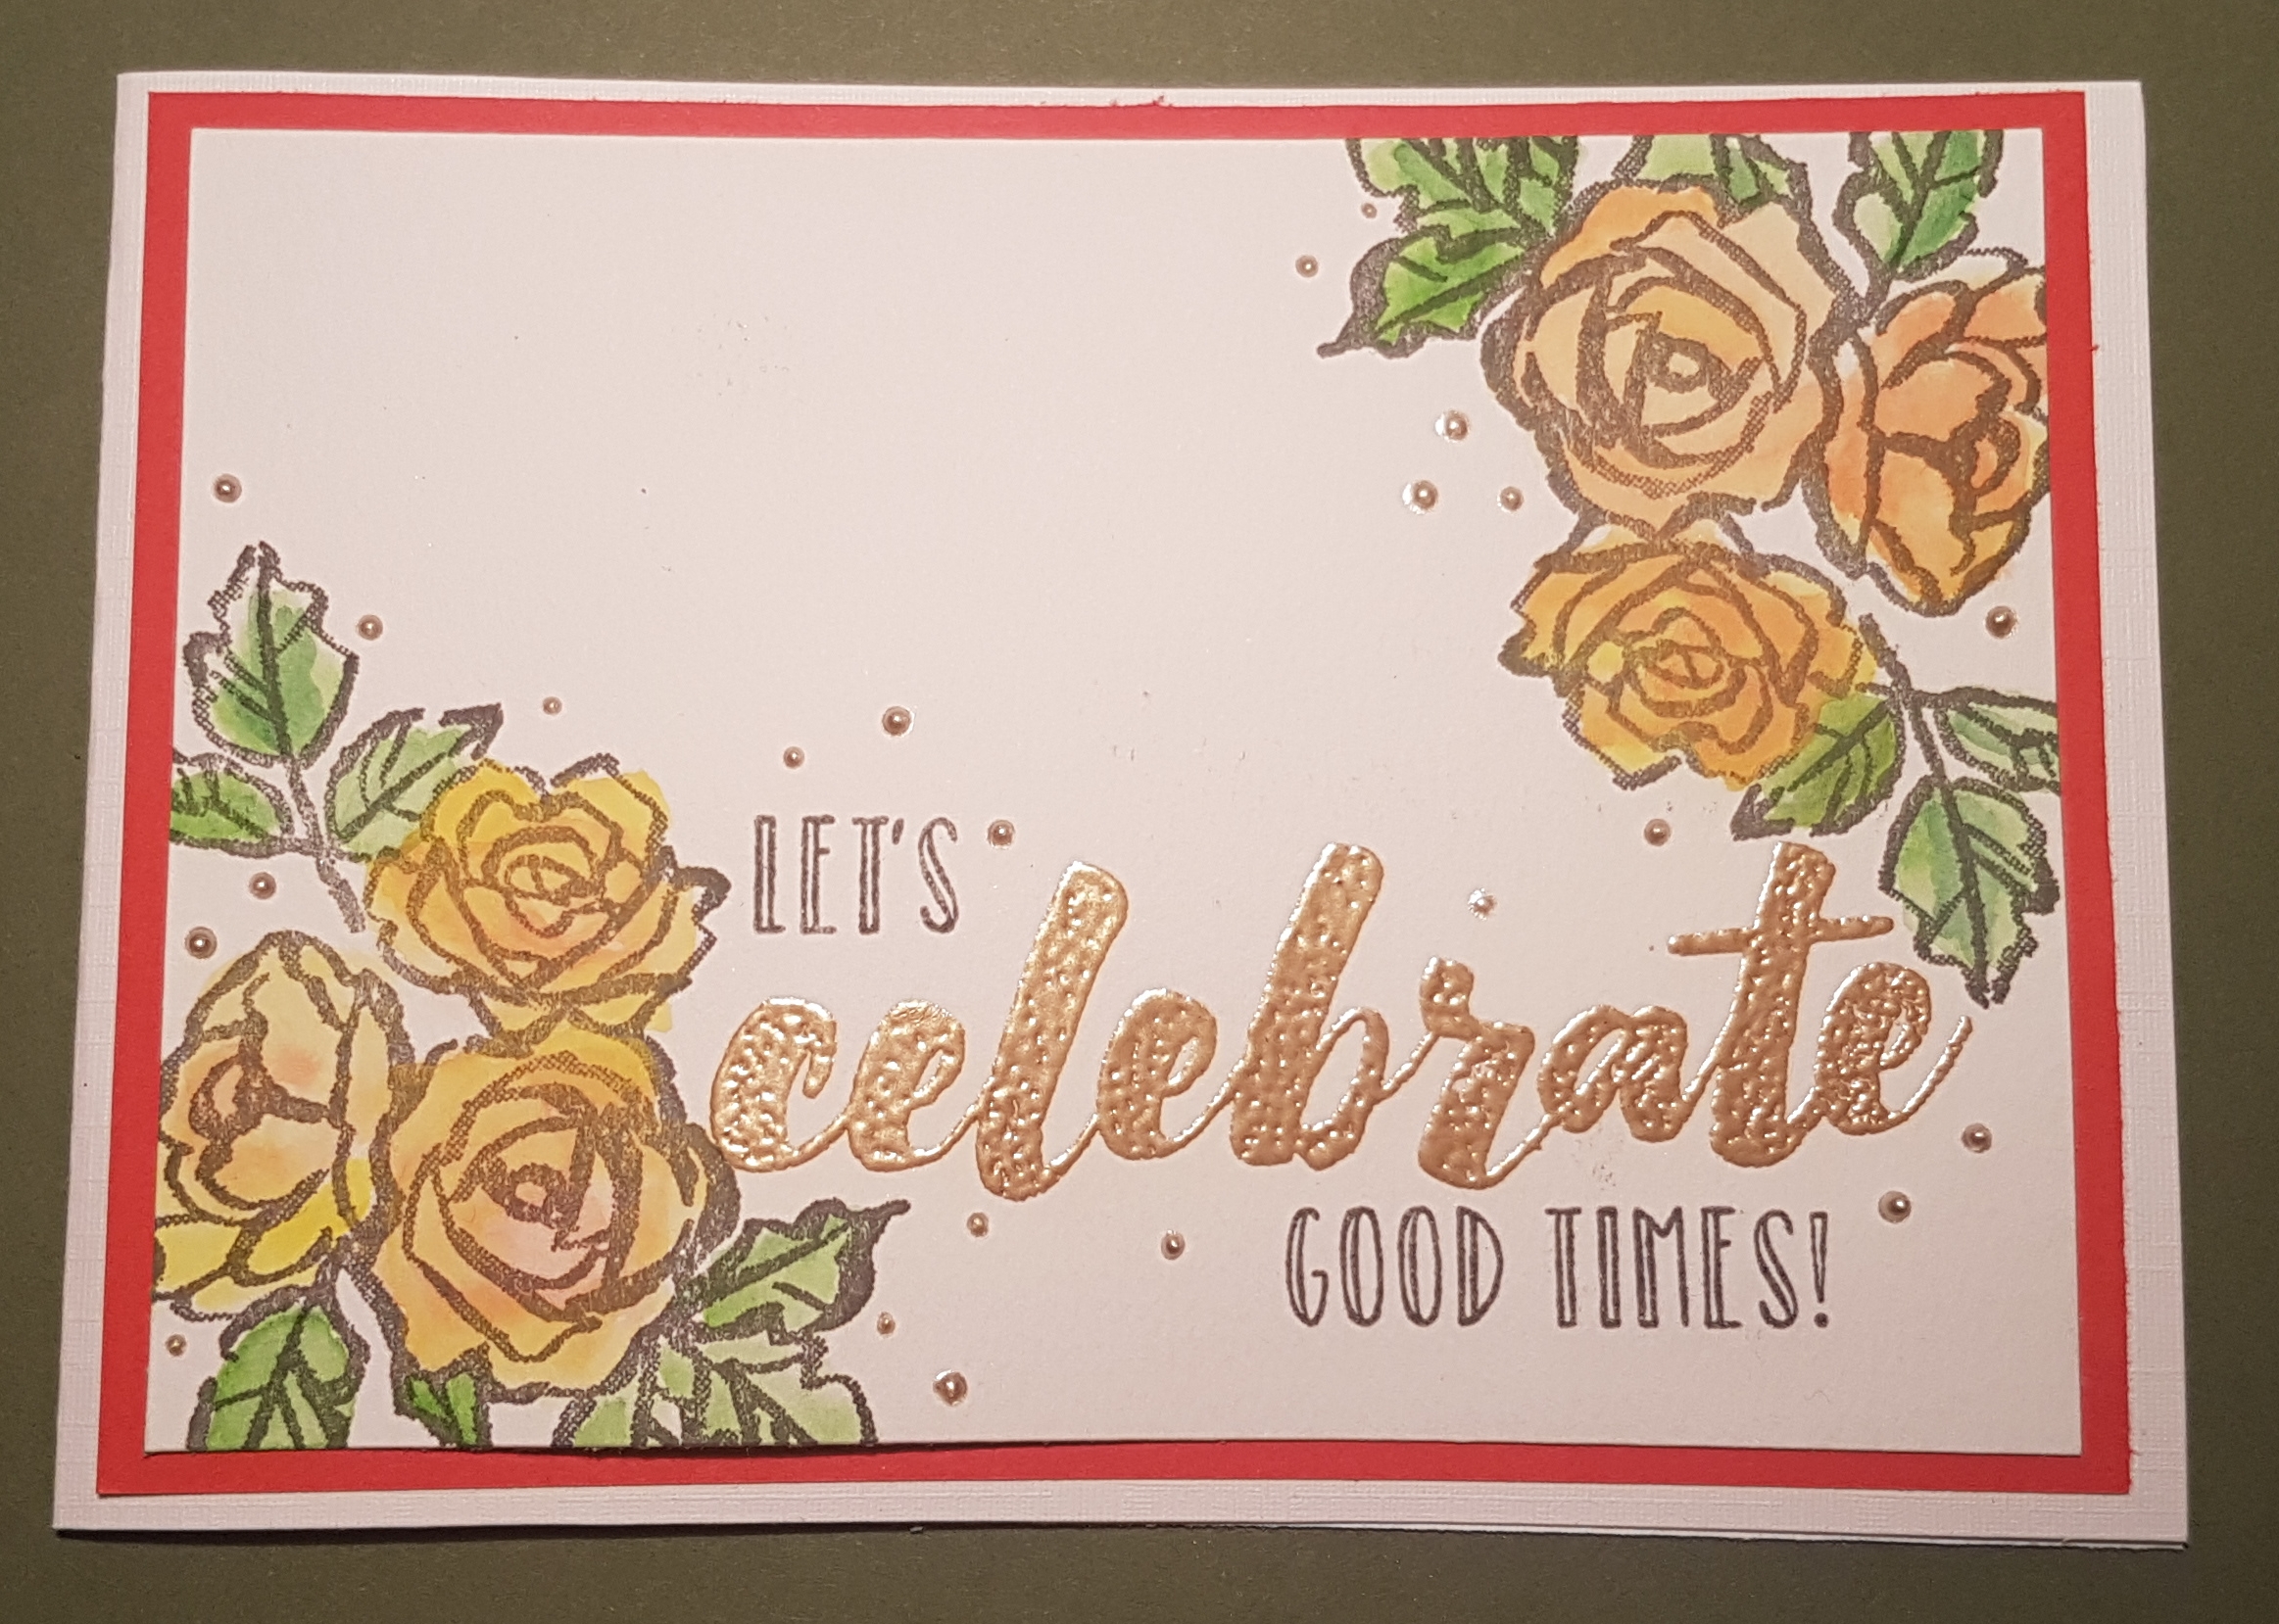
Whilst I had the water colours out to play I made three cards using the lovely Petal Palette new stamps from SU. I did the stamping using the stamp platform to make stamping all three panels super easy and then coloured the images using watercolours. 

I then chose to finish each with a different sentiment.  This one is a gentle happy birthday using the Watercolor Words stamps and then I added the glitter dots to add some shimmer.

Next I chose to do another with the watercolor words stamps.  This time I chose a different colour embossing powder and stickles. 


The final card I chose the happy celebrations stamps and embossed the large celebrate and then stamped the rest of the sentiment in the same grey archival as the flowers.  I also chose liquid pearls for the dots for this.

This is a beautiful stamp to use and I can see me using it lots and lots in future for these simple but beautiful cards.

Entering these into the watercolour anything goes challenge at happy little stampers and the embossing challenge at stamp ink paper. 

Happy crafting! 

Catherine 
Watercolour background card making

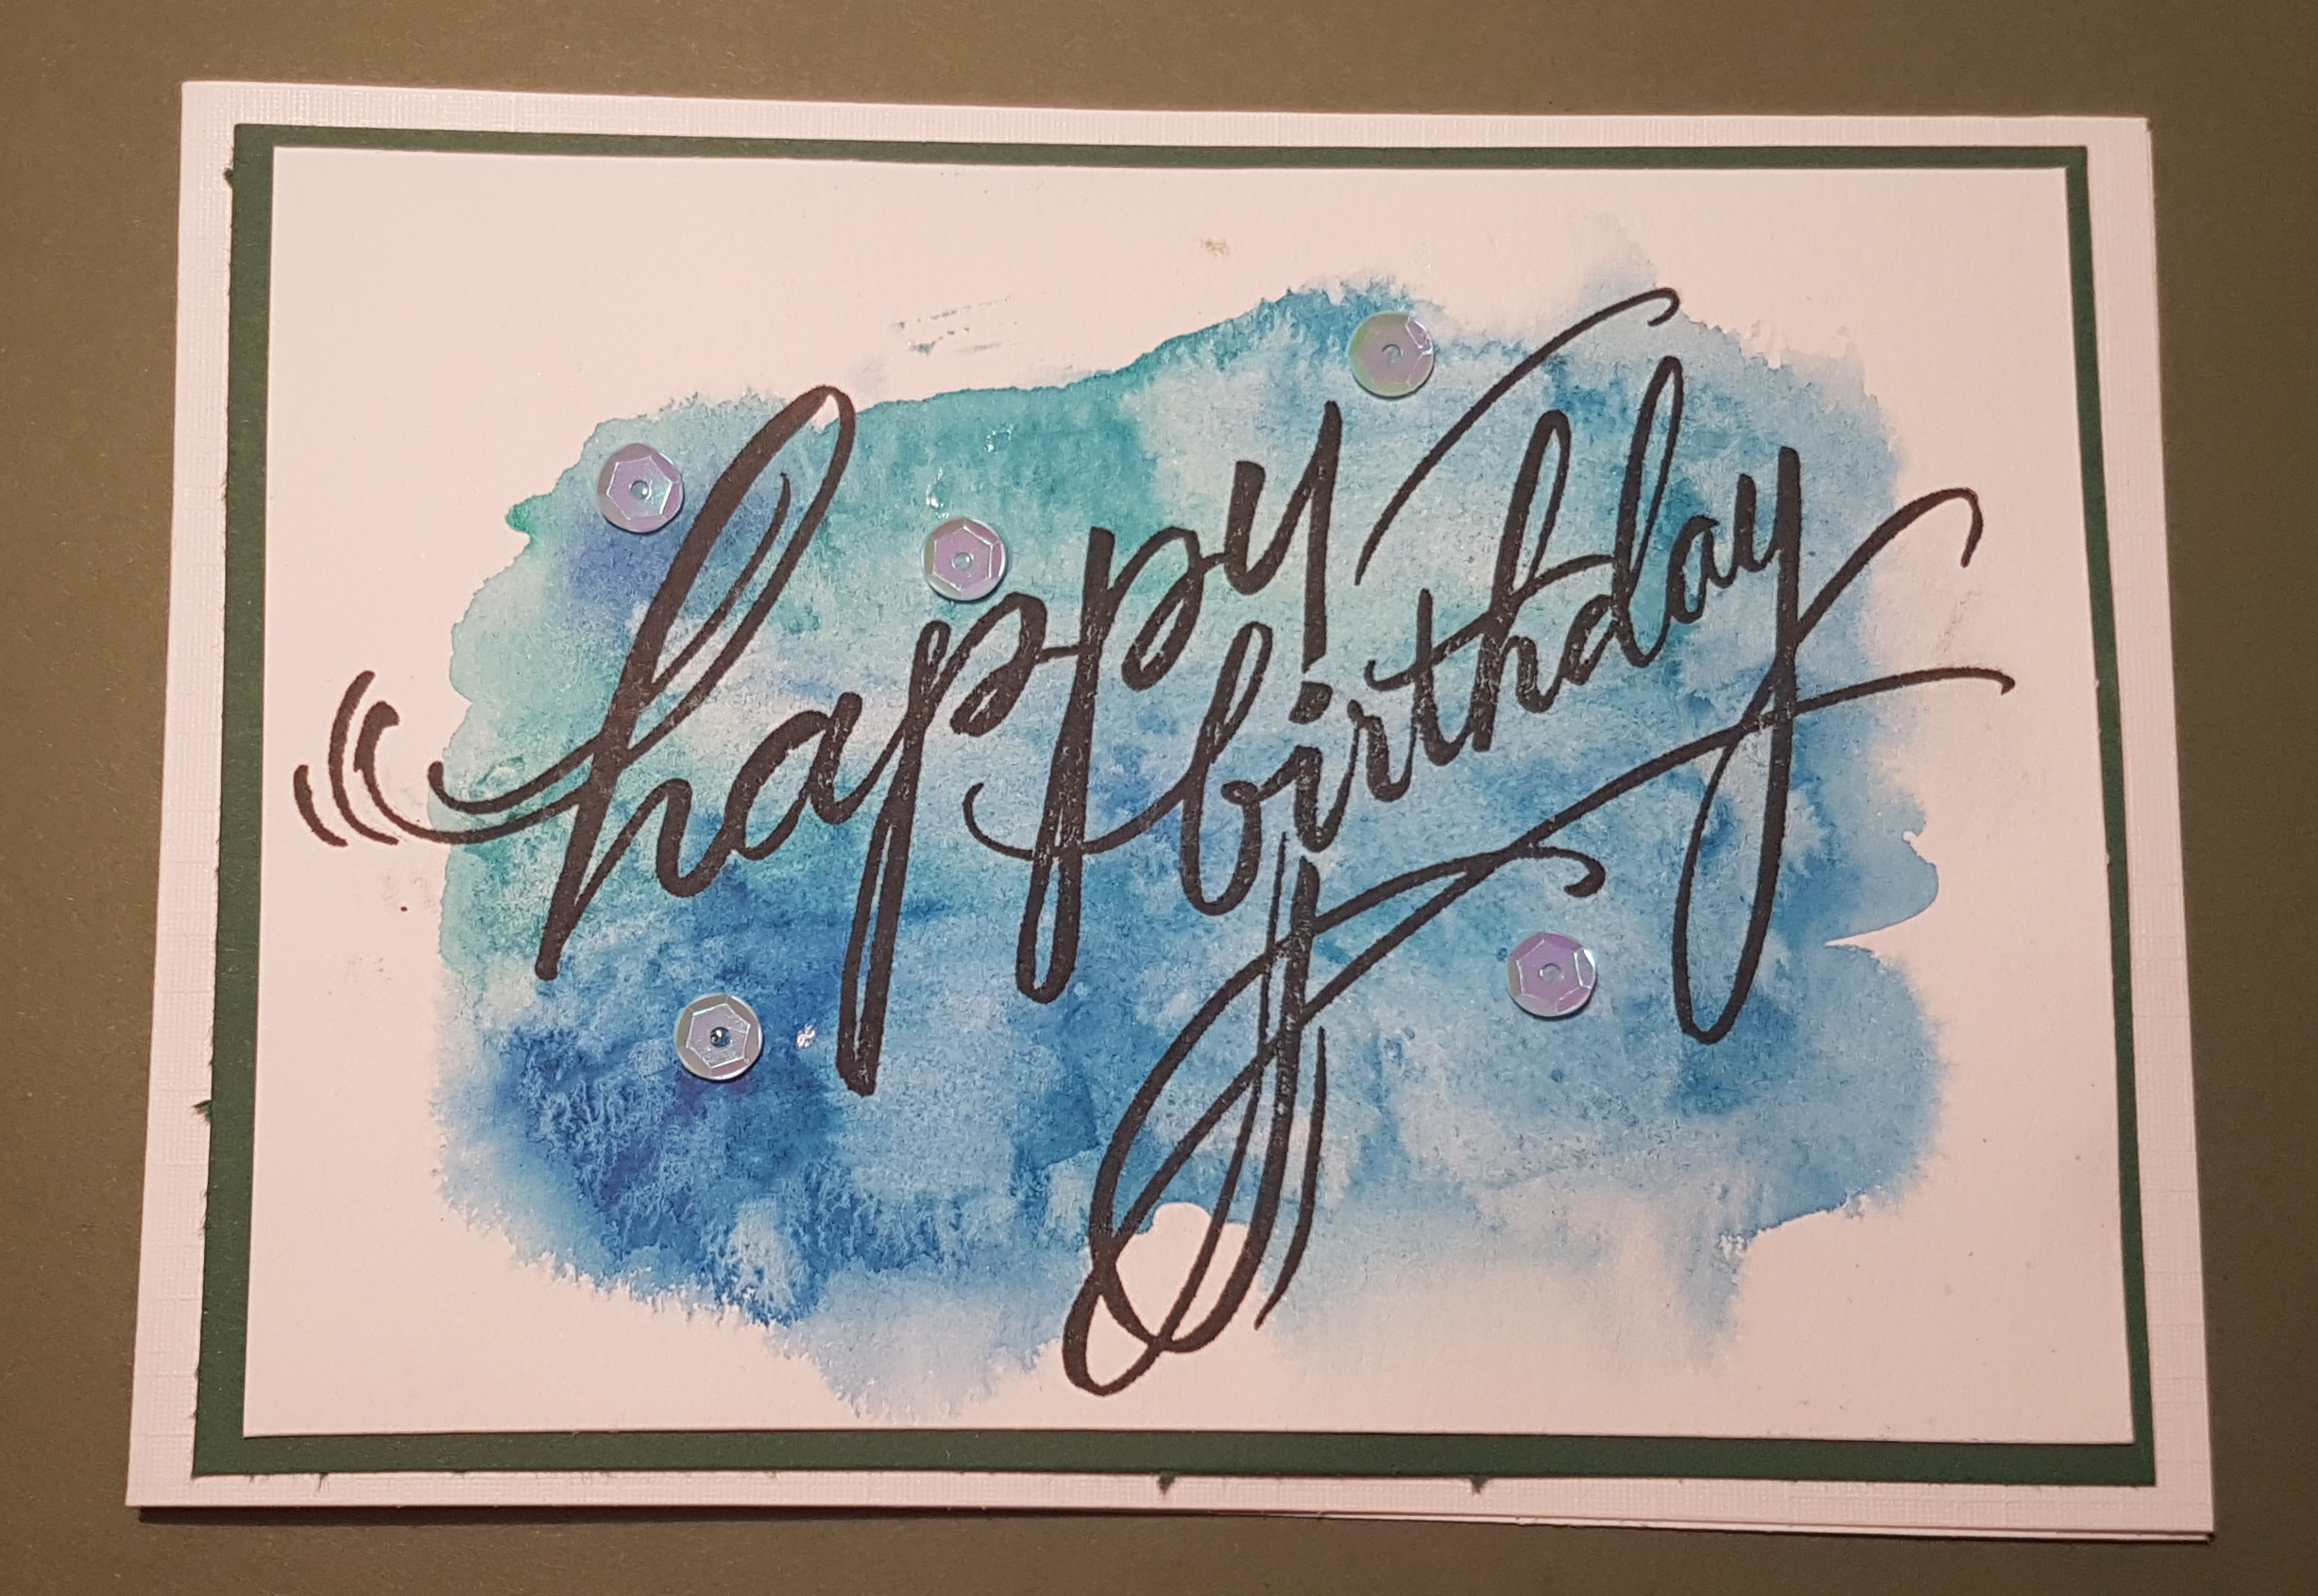
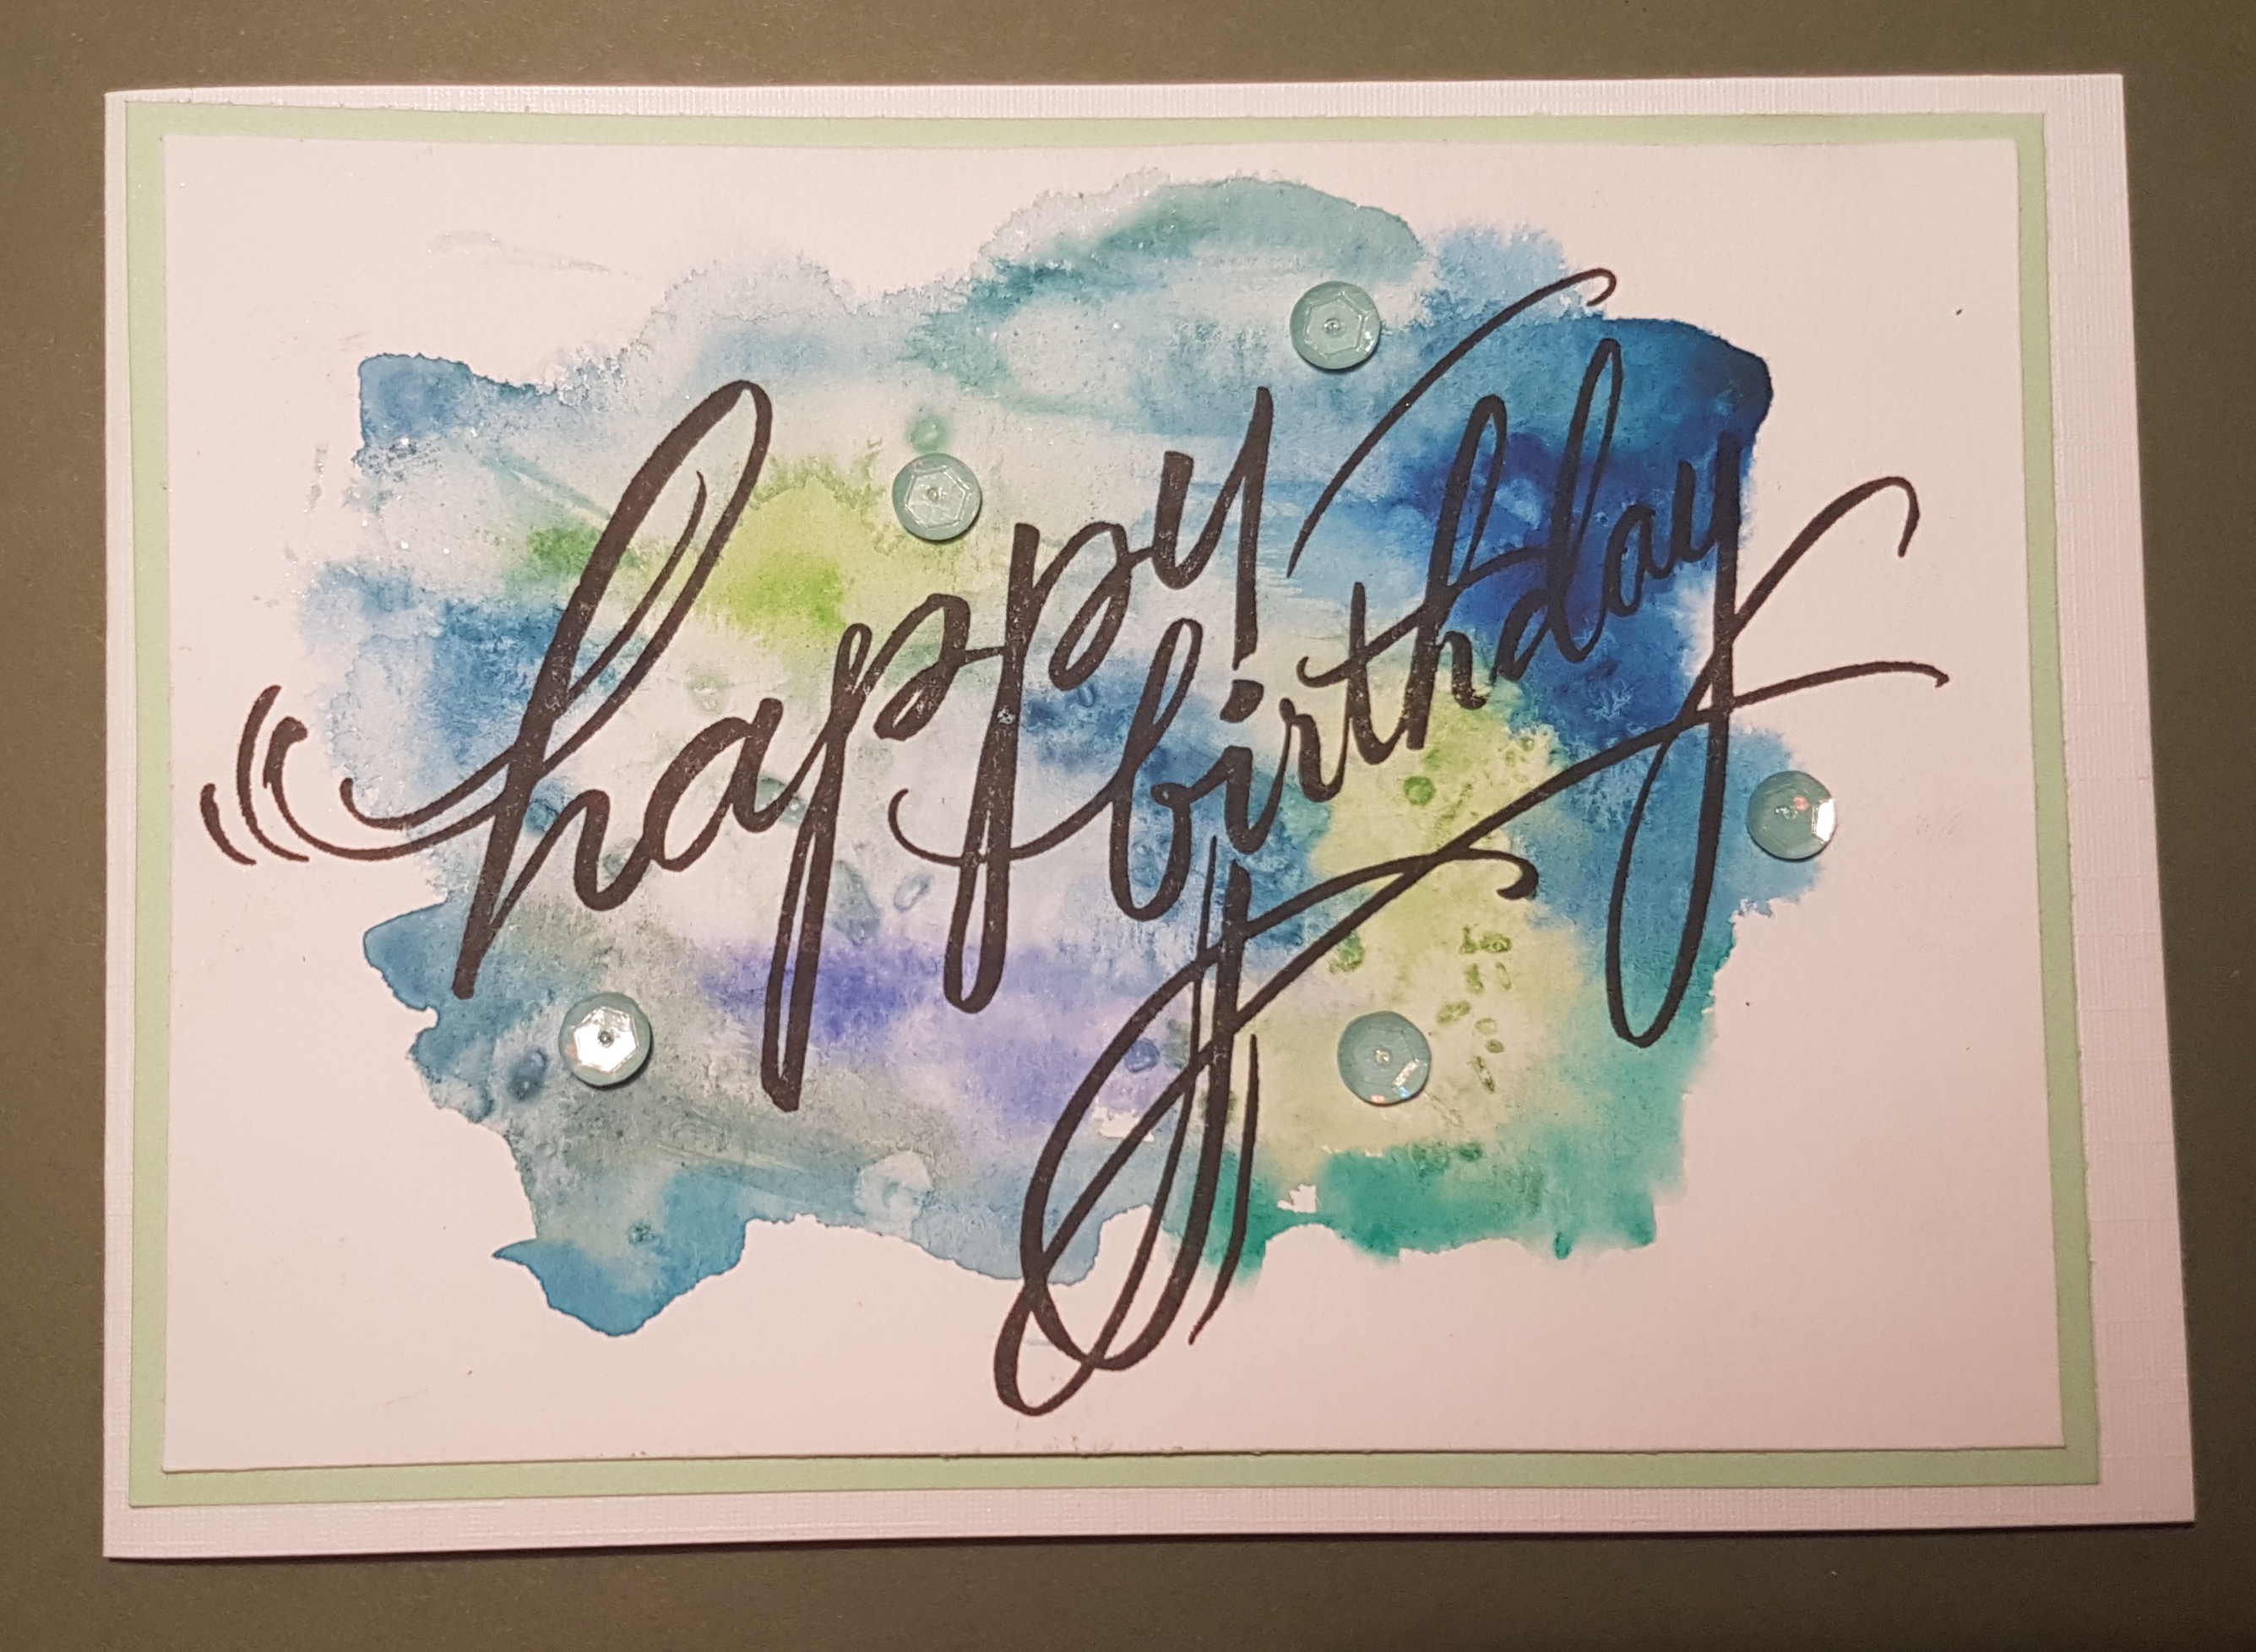
I’ve four cards to share that I made when playing with watercolours a few days ago. (Oh how I wish I was still doing this now and not back at work!).

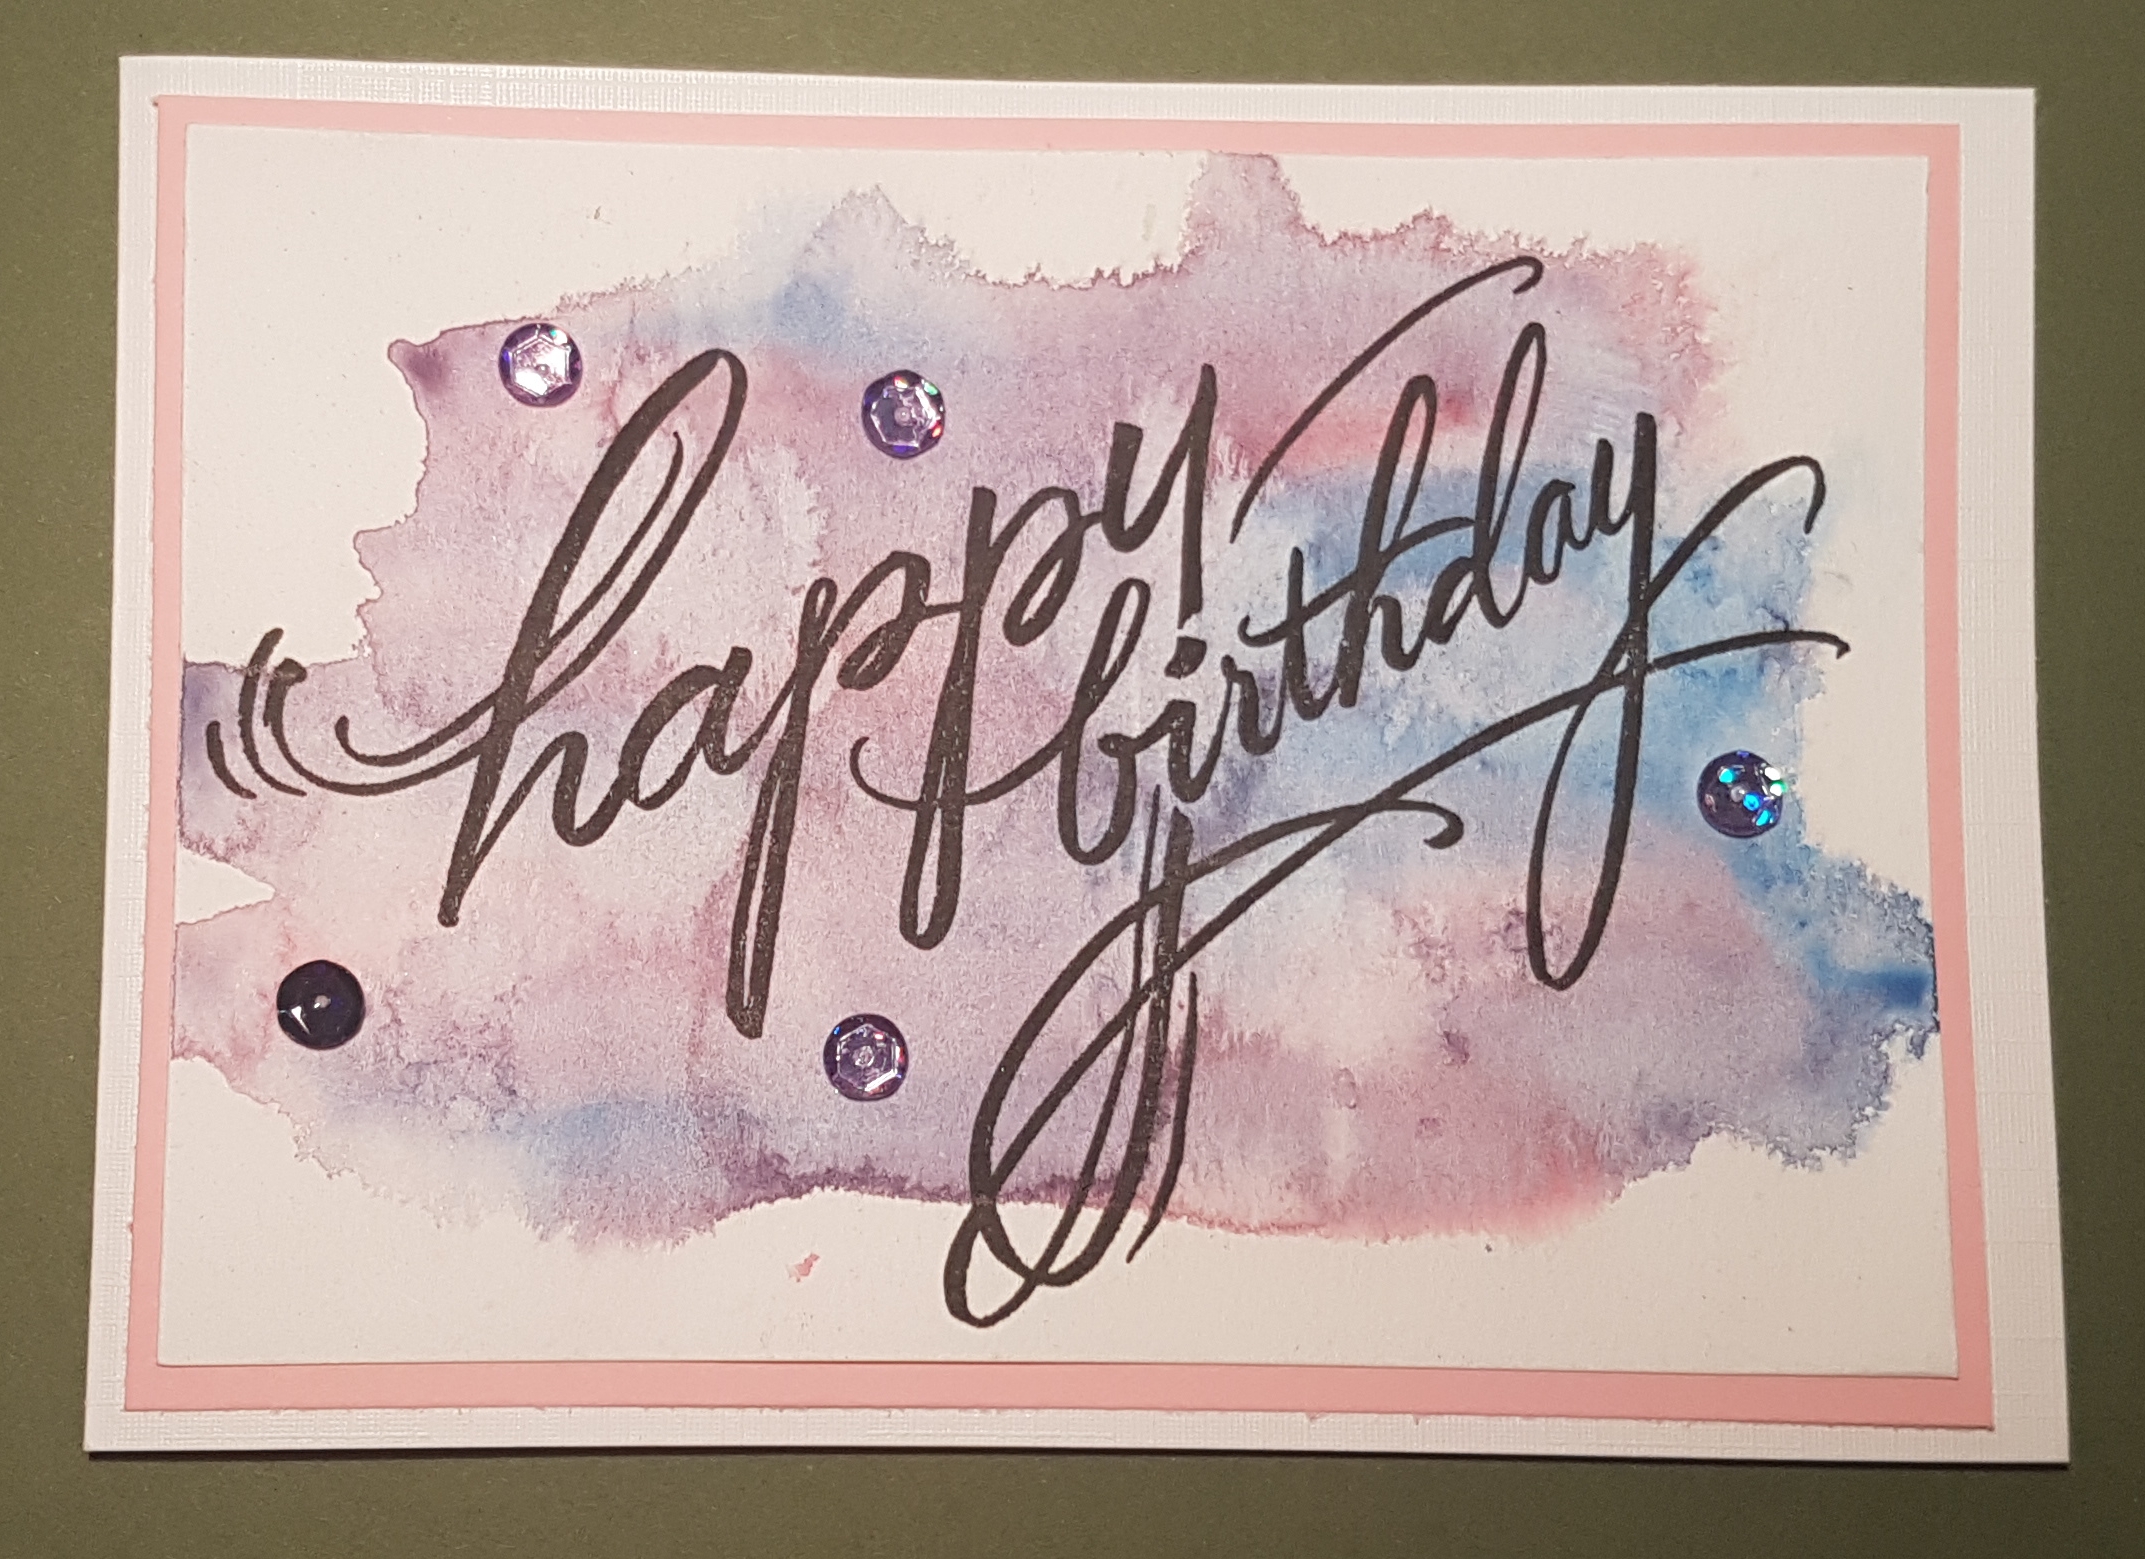
I made four panels and added watercolours to them ensuring I chose colours that wouldn’t make mud if they mixed and then added salt flakes on the top for them to dry.  This added some interesting variation to the patterns on the finished pieces. 

Once they were dry I stamped a large sentiment from the stash (stampendous) in versafine using the stamp platform so I could make sure they stamped perfectly. 

I finished them off with a mount of coloured cardstock and some sequins.009

Love how fun these were to make and love how easy they were too. Simple cards full of fun! 

Entering these into the watercolour challenge happy little stampers… at https://inkyfingeredcat.me/2018/01/03/watercolour-background-card-making/

Happy crafting! 

Catherine 

Thank you cards

Back to work today after the lovely Christmas break! But of course we have to pause and say thanks for people’s generosity so I made a little batch of thank you cards. 

1. A fun background made with paints and stamps. 

2. Some stamped stars.

3. Stamped sentiment.

4. Shiny sequins.

5. 4×4 card blanks.

Jobs a good’un!!!

Happy crafting!

Catherine
Happy New Year! DT: Craftyhazelnuts patterned paper challenge 

First let me wish you a happy new year! I can’t believe it is 2018… It sounds so futuristic! Hope you had a safe passage into the new year and wishing you a happy, healthy and creative new year! 

Now my first post of the year is a design team contribution for Craftyhazelnuts patterned paper challenge. I chose to make a batch of cards using the pack from Making Cards magazine. Now I know it was Augusts magazine but I’ve just had it sitting there waiting for me to use it so I decided now is the time! 

I made six cards in total, layering the papers and images with cardstock from the off cuts pile and added simple sentiments from my Emma Godfrey Paperartsy set. I use these so often as I love the font. 

And this is my favourite (it reminds me of my princess!) … 

On all of them I chose to add wink of Stella to the flower embellishments and the butterflies/ flowers on the main images. It’s difficult to see on the photos but here are some close ups. 

Love how these turned out. Really pretty and tropical Zen cards! 

Now please do pop over to the Craftyhazelnuts Patterned Paper Challenge Blog to see what everyone else has been making with their stash of patterned paper and why not join in with us? 

Happy crafting!

Catherine 
Playing with paint cards

I really needed some painty time last week so I took some spare cardstock and started playing. 

I mainly used decoarts fluid acrylic and Americana paints. I added the paint with sponges and a gelli plate and then a paint brush. I then used a stencil too. 

I love all of the different layers I created. I also added some stamping with Postscript background stamp.

Next I added some sparkle using the Art Alchemy sparks paint.  Then I cut it into two panels for card topper backgrounds.


I then decided that I would raid the Artful Days goodie box and assemble some cards. 

The first one I used a metal embellishment and a paper flower and leaf.  Then some stickers and a heat embossed stamped sentiment.

The second one I added a wooden circle and some flowers and sequins.  I also added the heat embossed sentiment too. 

Love how these came out. 

Happy crafting! 

Catherine