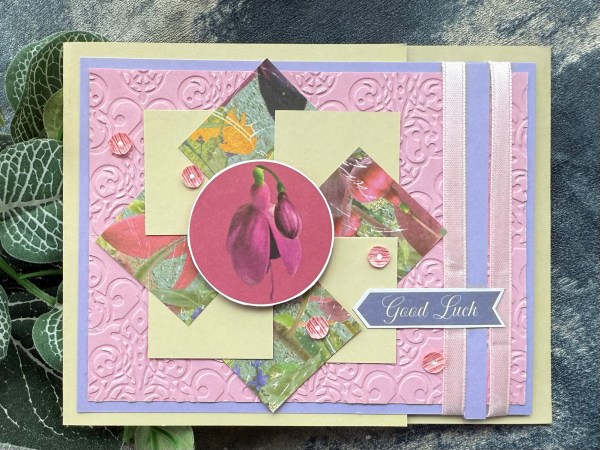
So sometimes things don’t quite go to plan … mainly when you lose a piece of the paper needed to make the sketch … so you only do half the sketch and then randomly make stuff up!
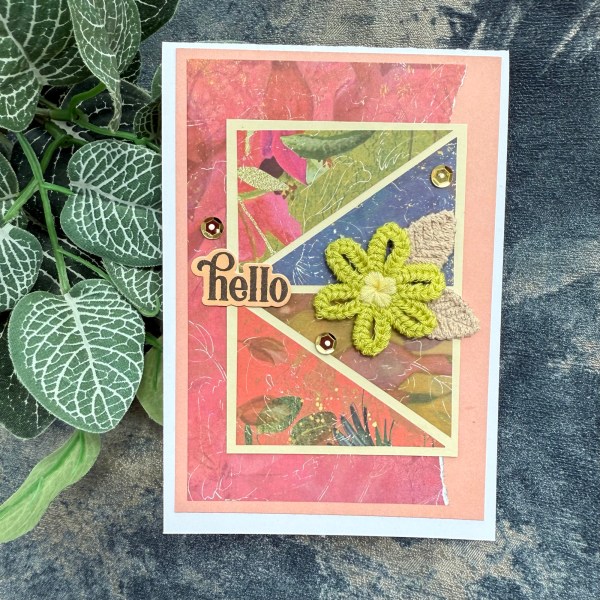
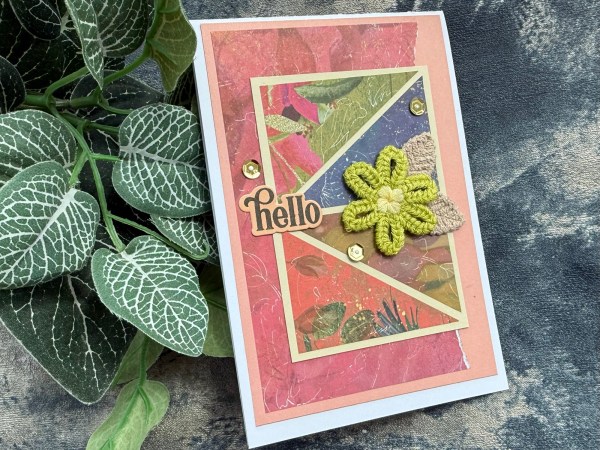
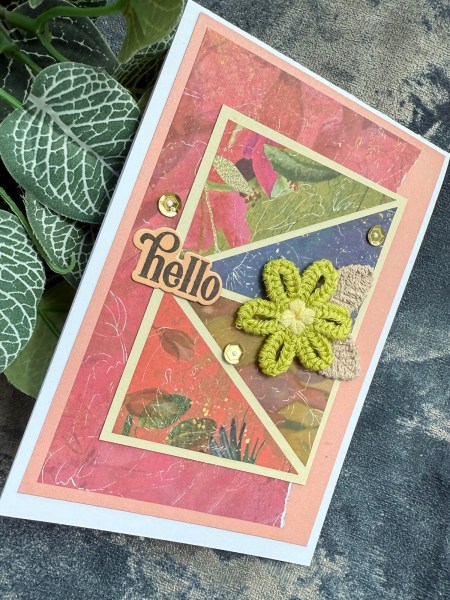
Yes that’s what happened with today’s card using the magazine kit I’ve been working through and using KCC19 to create some cards. The triangle panel should be twice the size it is as a full background but ended up losing a triangle and so only did half the panel!
I then added the torn paper to the background and decided this worked as a fun card regardless of not being the actual original plan!
I decided to ignore the rest of the magazine kit then and added a crocheted flower and leaves from Hey Little Magpie embellishment kits.
I also added some sequins and then the Altenew sentiment.
So a cute card – and although frustrating I can’t work out where the other triangle went I still love how this came out!
Didn’t end up putting the magazine kit stuff away for very long! Grabbed it again! So this card turned out to be far more involved than I originally planned as I turned a KCC19 sketch into a fun fold card -yes that’s right I did another fun fold! Seriously what is wrong with me?
I’ve been working through using up papers from the Crafters Companion magazine kit as part of a series on YouTube and then did a #Kcc19 which I am slowly working through.
This is one of the sketches with the fab pinwheel type of design. I turned the sketch to make a landscape design and added embossing to the pink background panel. I also added some scrap ribbon from the stash.
As I went to make the card blank I had the idea to make a sort of gatefold card so it became a fun fold!
Inside I added another panel of embossed card and then some other cut apart elements from the magazine kit … I struggle a little with these sorts of cut apart elements so it was good to get so many used on one card!
Yes you read that title right I made fun folds again!
I loved doing the tutorial that Tricia put together and I shared yesterday and I thought it would be the perfect way to make up the Patterned Paper cards using the large landscape type toppers that were in the cut aparts so I went for it … and even amended the direction for the second one to make use of the landscape topper.
This one I chose a teal and a turquoise cardstock to go with the moody image and the graphic papers.
I followed all the same directions as the original one although did have to cut the main image down a little as the dimensions were not quite right so it has more of a border to the left and right than the top and bottom.
I kept the rest of the card simple – a foiled sentiment from the stash and a single card candi in black to embellish!
A lovely way to use up these papers and the topper I think!
This one had a landscape image but I realised the card still worked if I turned it so again I kept to similar directions as the original – but turned it so the topper could remain orientated correctly.
This one I made an effort with the inside of the card as it becomes more visible with the white insert and more of the star themed papers.
I added the stamped and embossed sentiment on green and then two silver card Candi to finish off!
Tricias tutorial came along at exactly the right time for me to make these as I really don’t think I would have ended up with anything as cool as these cards without it and the papers and toppers I think are elevated as a result of the fun fold!
So thanks again to Tricia and please do consider her as your SU demo if you need one and are Europe based.
And there we go – another pouch of old magazine papers used up!
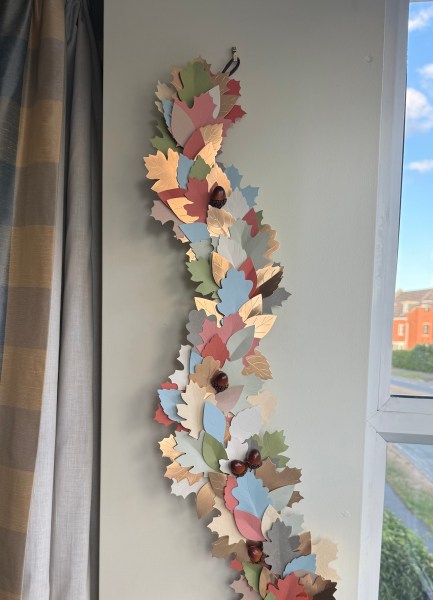
I bought some stuff from Stampin Up a week or so ago all because I spotted this gorgeous Harvest Home Garland kit and I couldn’t resist it!
And today after doing quite a lot of the day job on the weekend (I was behind on a big piece of work) I decided it was time burn away my fingerprints – aka use a glue gun – and construct it!
I haven’t yet decided on where it will be displayed for Autumn but for now it is hung on a hook next to my work desk and in the window and it is splendid!
You can see on this close up that it is a mix of rose gold and then different textures of card and paper in different colours and it is just gorgeous!
I am struggling to get a good picture so hopefully the video helps …
I love the little acorns!
I think I may actually turn it the other way round and add a nice bow at the top to finish up – or maybe find somewhere I can have it be more horizontal – it’s longer than I thought so our bannister on the landing which would have been where I thought to put it originally won’t be right. – but for now I think it looks fab and catches the light nicely this afternoon!
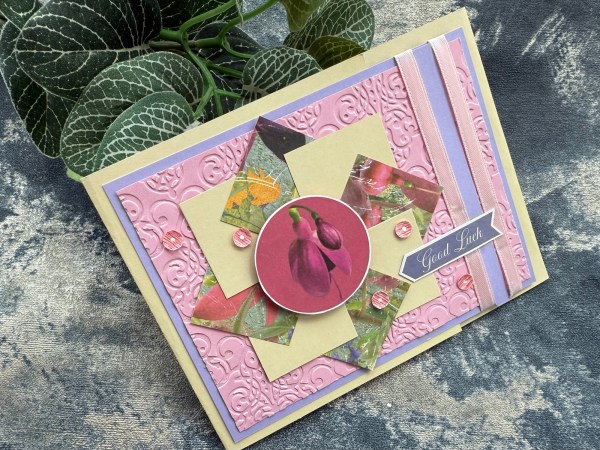
So a bonus post for today but SU heavy given the previous post was the card I made using the kit Tricia gave me using Painterly Pears! 🍐
Yes I have a fun fold card to share with you but the work behind this one came directly from my friend Tricia who sent me a couple of tutorials when she sent my SU catalogue … so thank you so much for the tutorial Tricia – and any European friends who want SU stuff please do consider Tricia for your orders. 😀
I did switch up the design a little from her example… I moved the front panel to the left and switched the paper to the B side as I wanted the die cuts and pear image to pop a little more … but otherwise the whole card was her design.
As you can see there is a stepped element and then a top card panel so it gives it so much dimension and fun. A true fun fold!
As you know I am not great at doing fun folds but this was an easy one to put together – only a little bit of measuring and so I enjoyed doing it!
I did switch out the sentiment for one I already had to hand rather than stamp one on the label she provided and also I went with tiny pearls for the centre of those cute flowers. I’ve saved the sparkly enamel gems Tricia sent for another project.
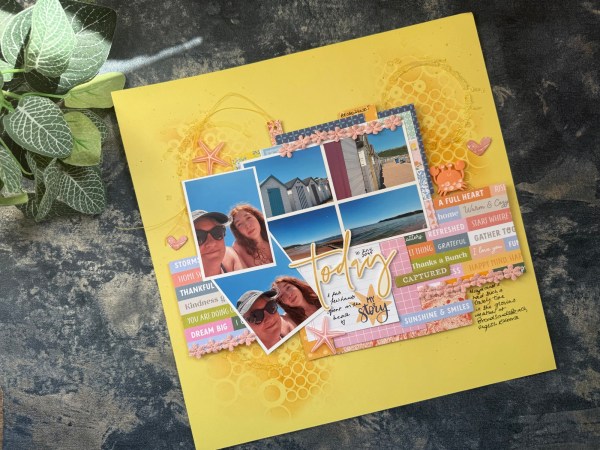
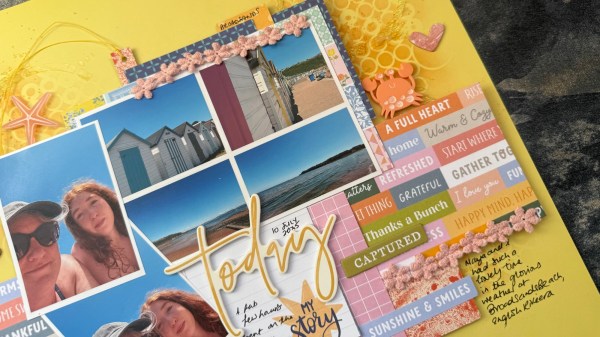
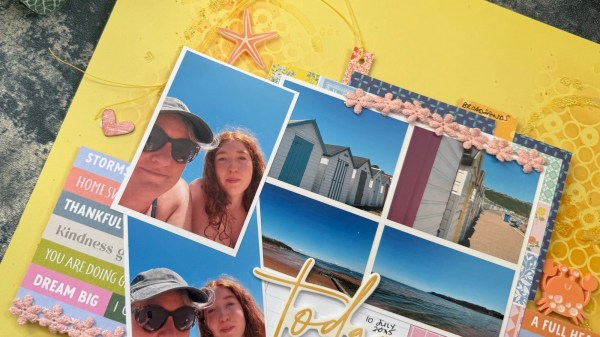
I think this will be the final page I make with the scraps leftover – there isn’t enough left to really make much of when it comes to a scrapbook page.
I grabbed all the bright pastel leftovers and created the central cluster for this page. I then did stencilling in the background both ink and with glass bead gel.
It didn’t take long to put this page together – just took a while to dry in the middle!
Love how the glass bead gel looks when it is dry – such a fun texture.
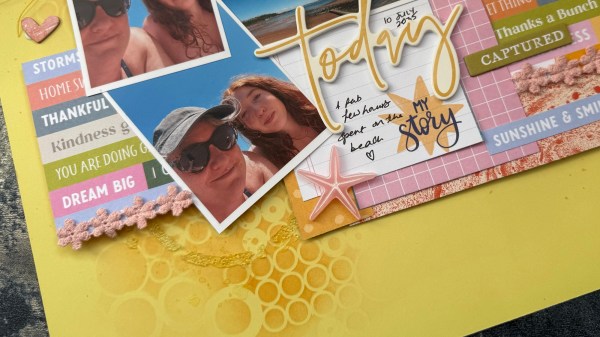
I added some perspectives, daisy trim and bits and bobs from the stash and the puffy sticker for the title. Good to use some bits up that have been around a little while!
A gorgeous page documenting a day at Broadsands Beach.
As for the scraps that are left – maybe I can get a card out of them – but definitely no more scrapping!
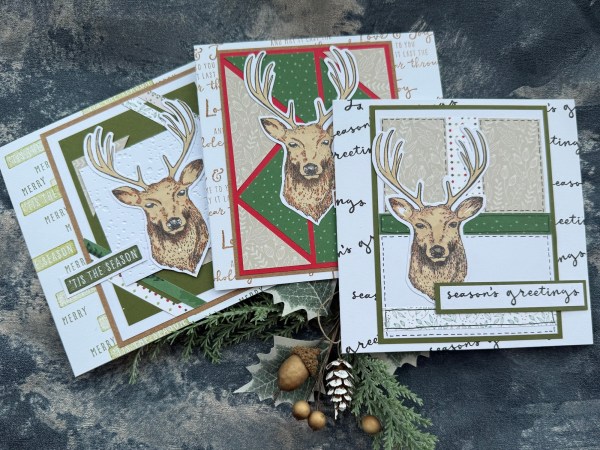
I went back to those #kcc19 envelopes that were made up ready to go and decided to make three for today’s Festive Friday project.
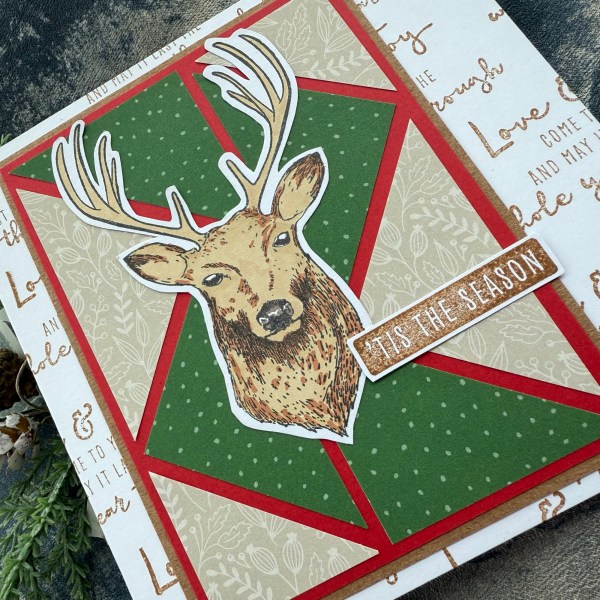
For all three I used the same focal point (the gorgeous stag which is a magazine stamp) and did the same idea for the background card blank that was a 6×6 card blank as the panels for Kendras card challenge are sized for US sized card blanks.
Let’s start with sketch 7 card which is so easy to do and definitely not a design I could have come up on my own!
After sticking the panels down onto the red and mounting it on the Kraft I added the stag head (I stamped and coloured them all using promarkers).
I then used Vintage photo distress ink to stamp a sentiment all over the front of the card blank … I just stamped randomly so that I knew a fair amount of it would be visible behind the panel.
I then stamped the main sentiment and cut it I it and added that to the front.
No embellishment required for this or any of the others as I thought that they looked done when I had finished the background and the sentiment on top!
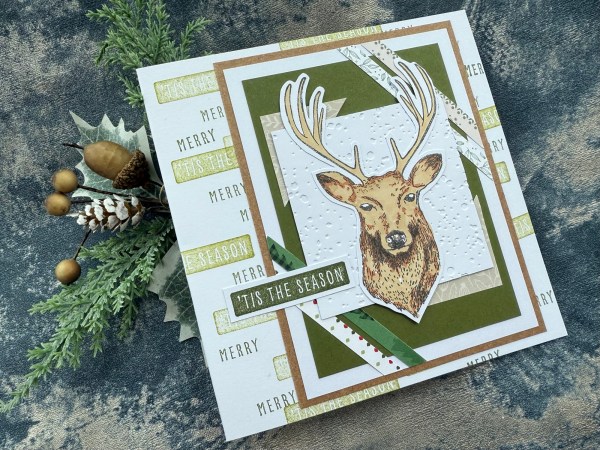
Sketch 12 has those fun triangle elements and the little strips of patterned paper but then the rest are solid panels so I decided to emboss the white panel under the stag head.
This time I chose two sentiment stamps for the background card blank and chose greens to stamp them in. The main sentiment I stamped in the darker green before cutting it out and adhering it.
Love the texture of the embossing folder (I chose the debossed side for the top).
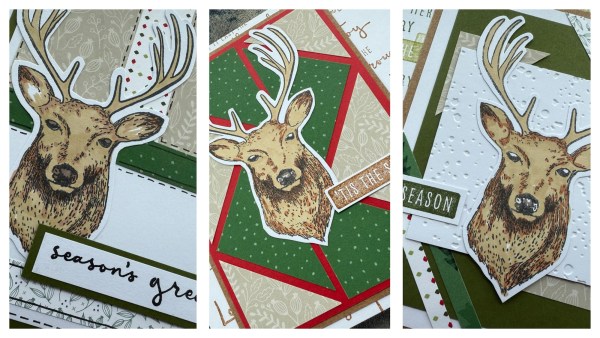
Sketch 14 felt like it needed stitching but didn’t want to get the machine out so went with faux stitching on some elements and doodled lines for the other parts.
I kept to the one scripty sentiment for the background and the focal sentiment. I chose black for the ink to go with the doodled elements and then mounted the main sentiment to give it some distinction against the background.
Love how all three came out – definitely part of a series but each individual designs with those fun sketches designed by Kendra.
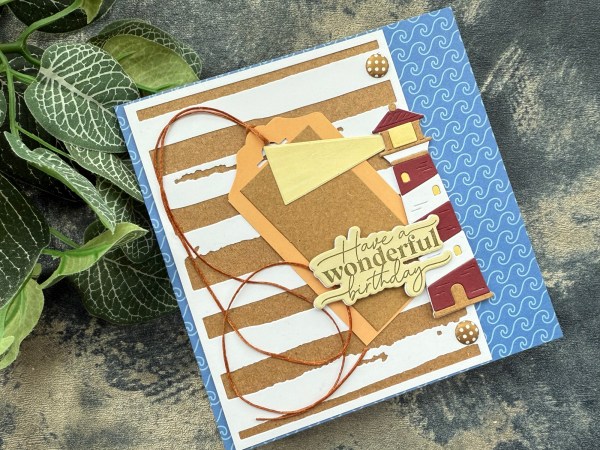
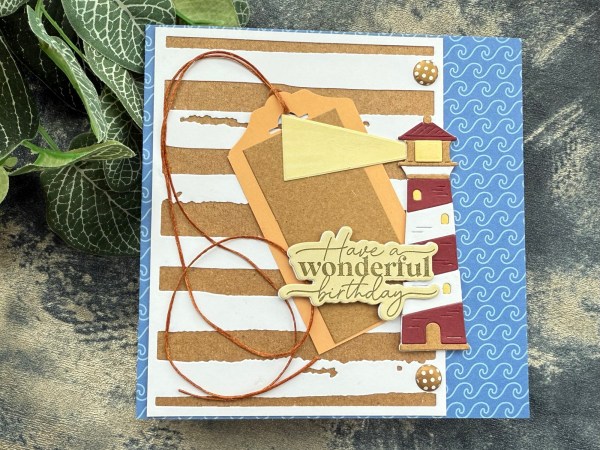
I realised at the weekend I still hadn’t done my August Make it Masculine card so grabbed the Lighthouse die set I bought a little while ago and hadn’t used and decided to go with the nautical theme!
Of course like the others in this series I did a video showing this card come together!
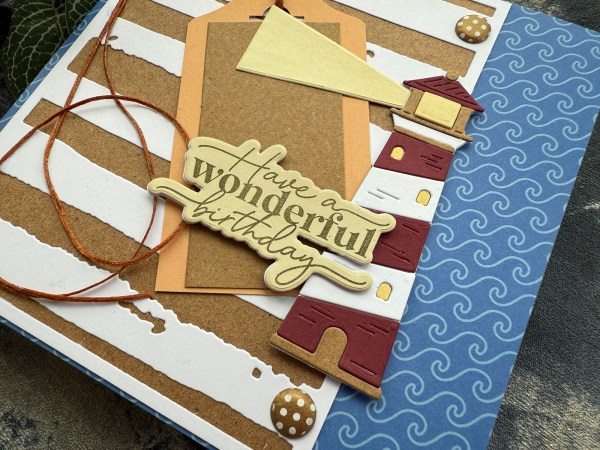
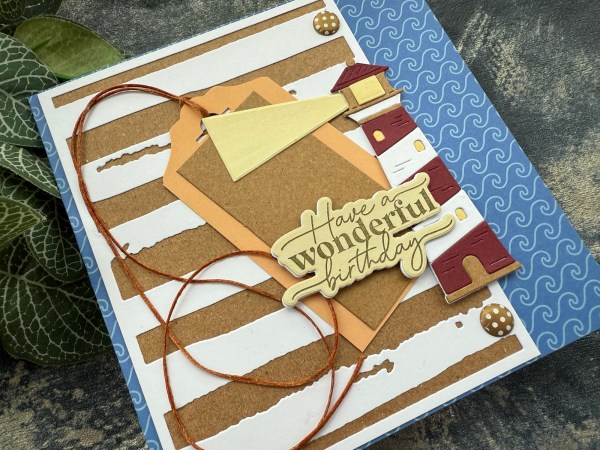
I really love the final card and the addition of the tag as I was putting it together came as a nice surprise but I think was exactly what was needed.
I love the combo of that die cut background, the cute lighthouse and then the Kingston Crafts summer collection paper with the waves to make the card base.
Was also good to have the extra texture from the waxed thread too.
Definitely a different feel from the last Make it Masculine with all the leaves and the mixed media feel … but I think it works well!
And so now that’s 8 months done on my self inflicted challenge of making at least one masculine themed card a month! No idea what the theme for next month will be but hopefully I can come up with something! Ideas of course always welcomed!
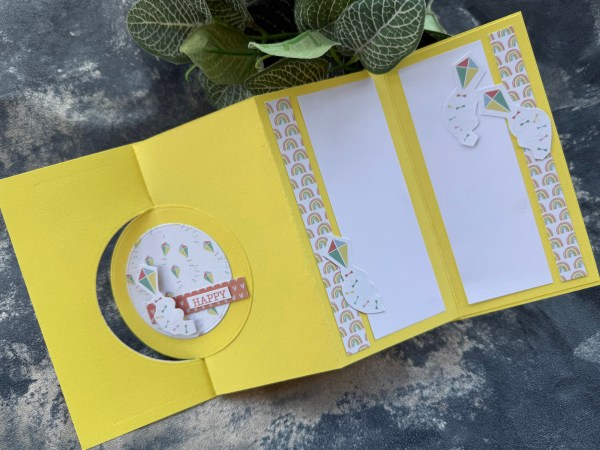
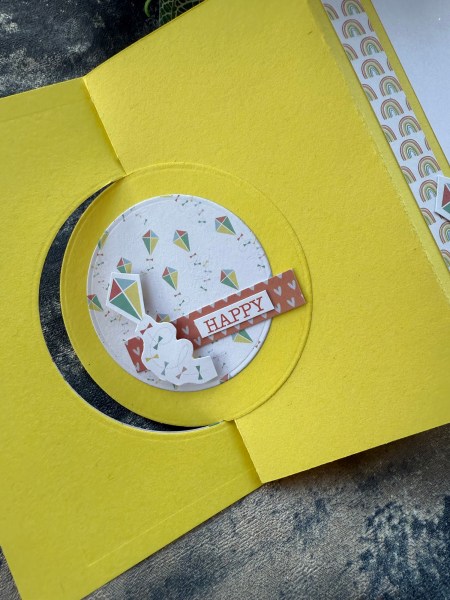
You can see this is a swing fold card and I used the gorgeous bright yellow cardstock and the beautiful slimline cardstock from Kingston Crafts.
I used the kite themed paper mainly but also added the strips of the rainbow too.
I then fussy cut the larger side of the kite card to cut out some of the kites to add to both the front of the card with adhesive foam and then inside to decorate.
I added a strip of the hearts card and then cut out the word Happy from the text print paper too.
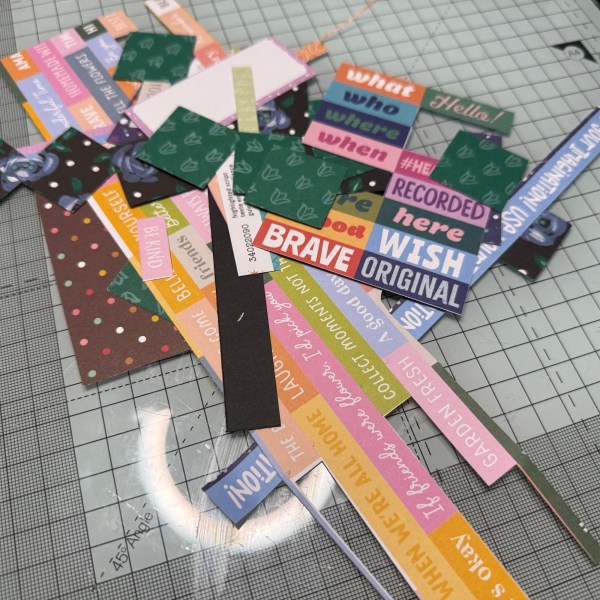
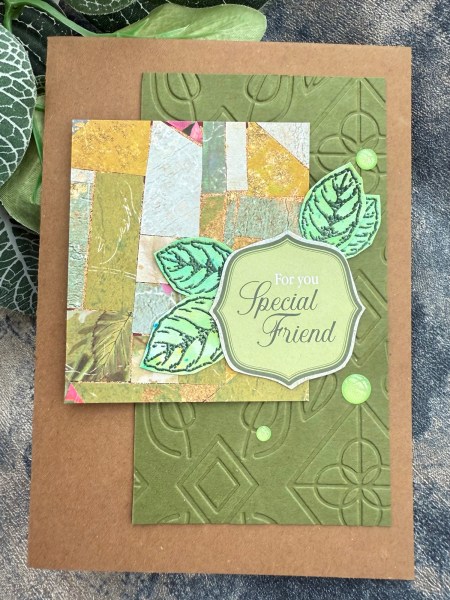
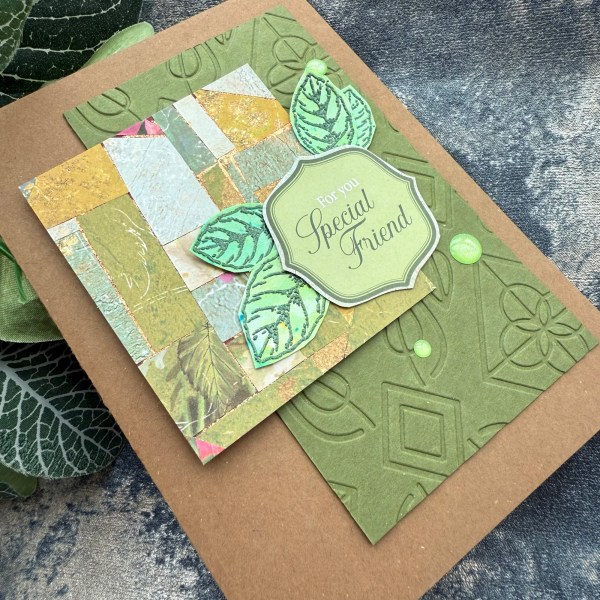
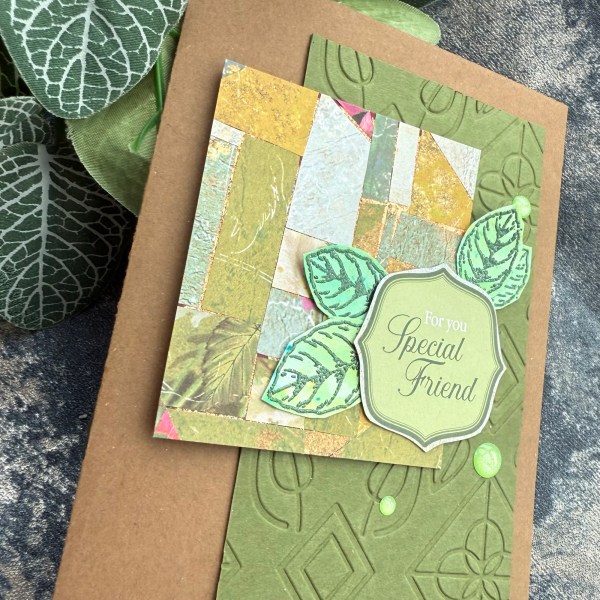
Hot on the heels of the previous use up the scraps project I did another one!
This technique I saw on Sarah’s video and decided to do it with the little bits still left on the desk from the last few projects of the Crafters Companion magazine kit I am working my way through!
After sticking all the pieces down where there were little cracks I added some gilding flakes in to make it really fancy!
I then made a card blank out of brown cardstock, embossed a panel of green with a Spellbinders folder and then added the panel with some dimension.
I then added a sentiment label cut out of the magazine cut apart pieces. I added a few of those leaves I had embossed and coloured with brushos a few projects ago when I made a Make it Masculine project!
I then added the gems to finish off!
Love how the tiny shiny cracks of gold make it a little bit special!
Ok I am putting the pouch with all the magazine kit elements in it away for a while as I’ve done quite a few the last few weeks so time to rest it a while and play with other stash instead!