Scrappin Saturday – leftover from the page kits

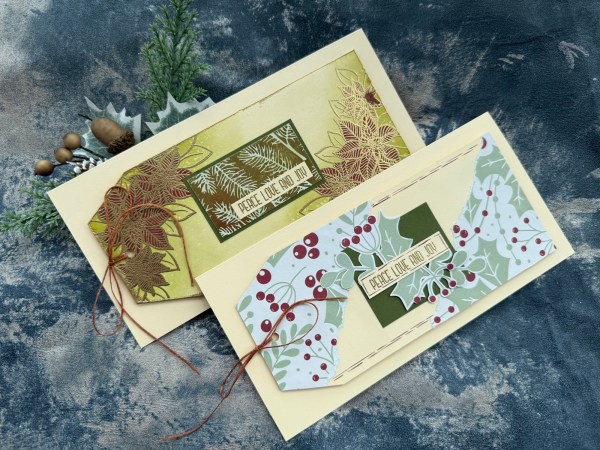
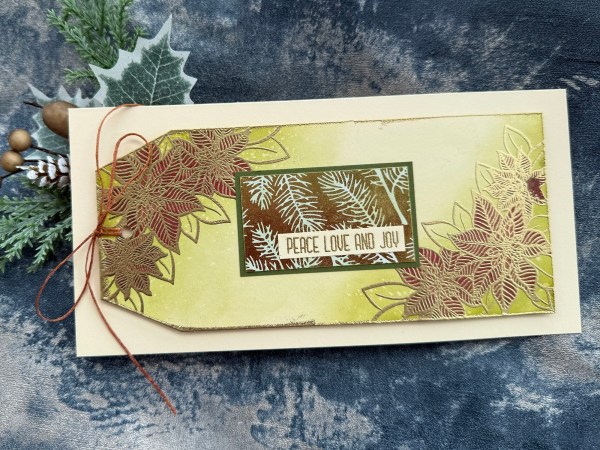
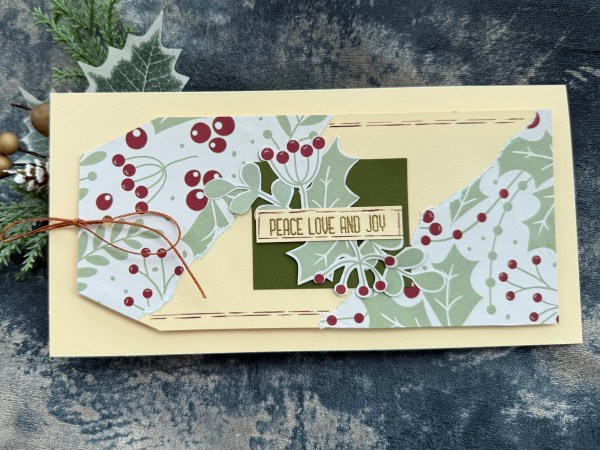
I said in last weeks post that I had managed to make two pages from the leftovers from the page kits I had made up at the crop. I always love using up the scraps and then making pages from what I have when I go to the crop and so these are the two pages I made …

I did this one first but then wanted to add something extra when I got home … so here is how it was when at the crop …

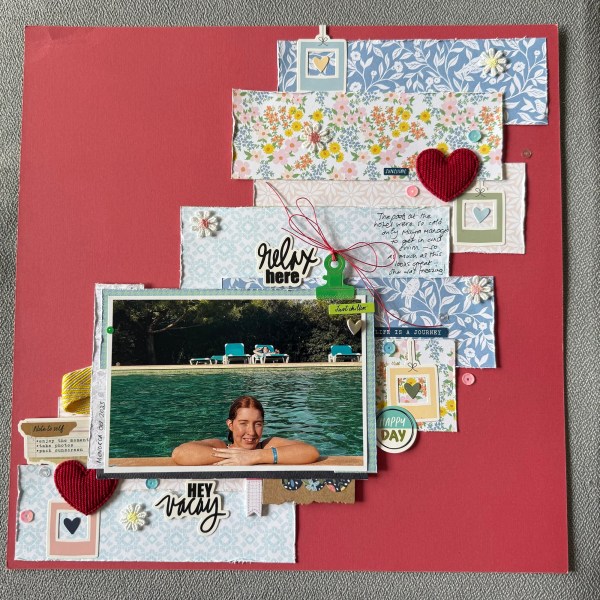
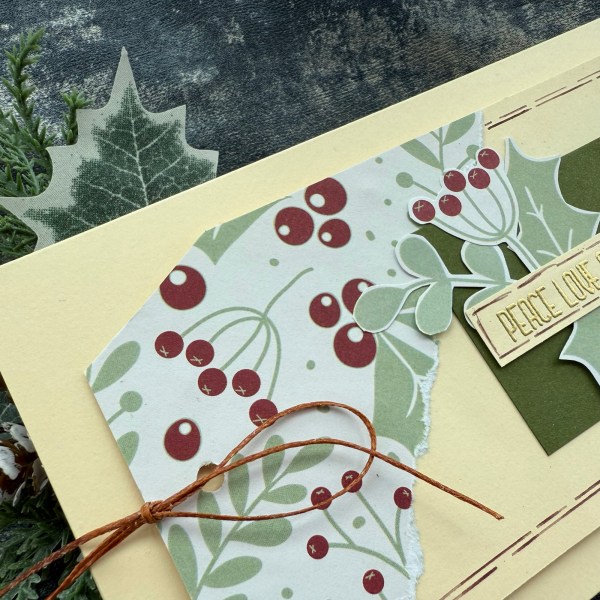
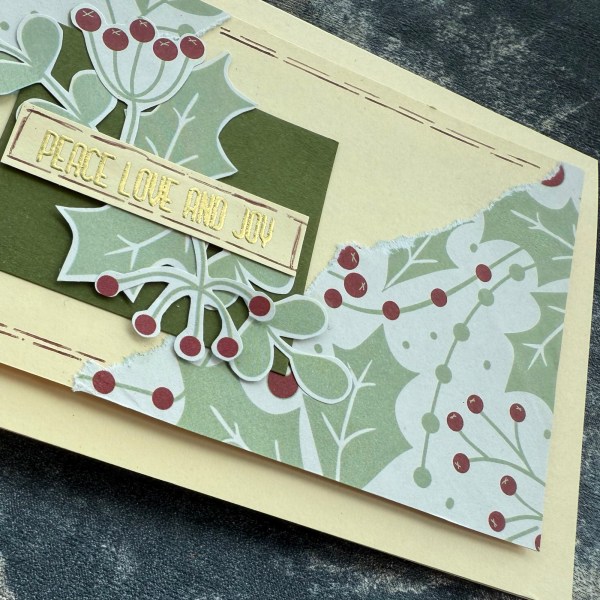
I had used up papers from the kits and some stickers etc plus some bits and pieces from my stash I took with me but felt that it needed something in the two plain corners – and because the base paper was actually white core I decided to sand it to expose the core in a few places and make it a little more distressed. It’s quite subtle but I think it works in just making it look finished!

The next page I used the larger panel of leftover from the page kit and then created a fun background using stencilling and some stamps I purchased at the crop.

The title was a funny title as we definitely didn’t have sunshine or blue skies for this open top bus trip around Cambridge but it didn’t stop Maya and I from having loads of fun!

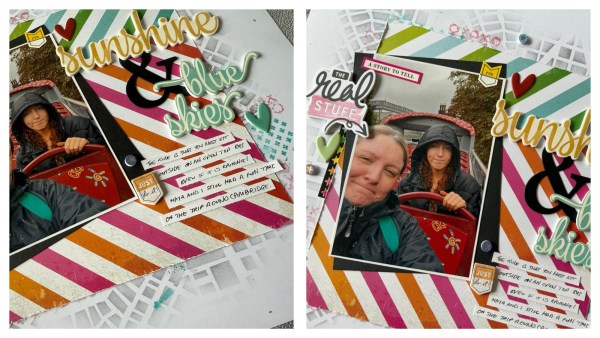
Love how this page finished up – and thank you to Helen for helping me with splatters and some design choices along the way! We both had a productive but chatty day. Always fun to spend time with my creative friend!

Happy crafting!

Catherine

#dyicad2025 final five days

So here we are at the end of #dyicad2025 and the final five days are below. It’s been fun!

Started Sunday (day 57) with the Darcy stone wall stamp and created a full wall! And then just coloured it in! Zero doodling as obviously Darcy did all the doodles for me in the stones! ❤️ all the browns and greys were fun to colour in with!

But life in my house got crazy with renovations and busy work days so missed the next few days … so fast forward to the 31st and I made three cards one after the other …

Swallowtail is one of my favourite stamps of all time! Kept it simple with the striped background and a frame and made the butterfly colourful!

Chose a triangle stamp and did some pattern building and then coloured with the pink/red coloured alcohol markers and then some doodles in and around the triangles. Fun!

Went back to a flower stamped with a doodled background for number 60! Added in just a touch of colour with the blue section dividers in the background.

As I posted these onto Instagram I realised I was still missing the final one and as it was the 31st I had to get it finished in time! So I got myself back into the craft room and made one more!

I chose to use the cat stamps from MFT and then created some inky patches behind them. I decided that was a good way of creating a card that matched my crafting name!

And just like that I have finished #dyicad2025 and I loved that I kept them simple and so even when I went away it was something I could do. Obviously being at home and the house upside down and trying to still work has been a not ideal end but even creating four in one day wasn’t too onerous! It has also been giving me some ideas for future cards as I have been doing them so it will be good to flick through this as a resource for inspiration in the future!

Will try and film a run through of them all over the weekend and will pop back and edit this to include a link when I do it!

Happy crafting!

Catherine

Festive Friday 2025 #31 and Patterned paper challenge

Ok so Christmas in July might be over but I find myself still making Christmas cards because I am back to the usual Festive Friday post – and because it’s the first of the month I am making use of patterned paper! I decided to do a few of the #kcc19 cards leftover from Christmas in July and also use up the images left from yesterday’s project… I think I deserve the keeping it easy after the mammoth amount of work CIJ was!

I made card sketch 2 for this one …

I slightly moved the central element and also made the strips behind a little bigger and the background panel cut down so it would fit on a standard UK A6 card blank.

I then added the large standing Santa for the focal element.

Next up is sketch 4 …

Again I cut down the background panel to fit the normal UK card blank and then stamped the sentiment in the gap. I didn’t bother with the circle shape for the piece at the bottom as I was adding Santa’s head there so kept it as a mat and layered square peeping out.

Unfortunately there was a little spillage accident so the top right has got a few splatters but I think it will be fine when dried and just adds to the vintage look if not! 🤣

Sketch 5 I used for this one …

I kept it to 5×7 card blank as the patterned paper goes across the panel too much to fit the standard A6. I used a red card blank and then added the doodled lines for the tag to help it standout. I also die cut the black pieces for under the Santa head image and the sentiment to help them pop too!

I love this one particularly – and it was good to get those images I coloured and cut used up quickly and out of the way and good to get a few more of the KCC done! I need to add the sketches into a pouch and then all the ready made envelopes so it’s in one place and ready to go next time I fancy using it!

Now is Christmas over? Well not exactly as I’ve agree in our Facebook group to do a monthly prompt so this months prompt is Christmas Florals so although I haven’t made my card for the group yet – have no worries that will be shared here too – plus of course my weekly Festive Friday continues!

Happy crafting!

Catherine

UK Stampers Forum decorated tag swap

Back with one final bonus Christmas in July themed project … I decided to join in with the UK stampers forum swap and made mine Christmas in July themed using some more of that fabric paper that I used on the final cards of the month and also another vintage Santa stamped image.

What I discovered was that the fabric papers are already adhesive backed and I hadn’t realised! So once cut I could just peel them back and add them to the tag!

I coated the full hardboard tag with the striped stitch pattern then added smaller bits of the others to create some interest.

I then stamped and watercoloured Santa and die cut him out. I chose two die cut light strings from the stash to go behind him and then glued it all down.

I then realised I hadn’t used buttons in my crafting for sometime so chose six buttons to add to the tag in colours that coordinated with the tag.

I also chose two sentiments which were already stamped and die cut ready for using!

I then went through ribbons to choose ones that would work and added them to the top hole.

A fun project and hopefully the recipient won’t mind this oddly out of season tag! At least it will mean they have some decor ready ahead of time!

Ok really finished with Christmas in July now- there will be a video sharing all the makes coming to my YouTube in the next few days but for now – thank you and goodbye to Christmas in July … oh hang on tomorrow is Festive Friday … perhaps I won’t tidy away the Christmas supplies just yet! 🤣

Happy crafting!

Catherine

Christmas in July – Here comes Santa Claus

I saved it until the final day of Christmas in July to focus on Santa Claus … and I then challenged myself to use the fabric papers from Papermania that I have had for years in my stash!

I managed three cards using the fabric papers and used the Vintage Santa from Dimond Press for the focal images.

I made more of these images than I needed so expect to see them again (very soon!) … plus the fabric papers will also appear in this blog very soon!

I chose Real Red for the card bases and kept all three as simple top fold card bases with a white insert.

After creating the background panels I created the stamped images and coloured them using my alcohol markers.

For these two I made life easy for myself and used sentiments already made up.

For this one the sentiment was from the same stamp set as the Santa and I die cut it and stacked it three times so it is nice and chunky.

I love the feel of those fabric papers but struggle to use them so it was good to get some used up – and I just love these Santa images.

And so Christmas in July has come to an end! Hope you’ve enjoyed it and maybe it gave you some ideas for your festive makes. Please do join us at the Facebook group too!

Happy crafting!

Catherine

DT: Addicted to stamps and more #498 – Birthdays

Hello! I have a card I made a while ago in readiness for this Birthdays challenge at Addicted to Stamps and More.

I used some scraps up making this and a digital stamp so it was an easy card to make – let me talk you through it!

The foiled piece with the diagonal stripe was a scrap of lilac I foiled with the solid foil plate and used a piece of foil I had used with the diagonal plate and this created a lovely more solid foil – although not entirely solid but more of a distressed finish.

Then the stripy panel was made with scraps of cardstock and then foiled using a Dina Wakely press plate – I love this plate for creating a lovely mixed media type finish.

I then added the digital stamp image which I’ve had for a long time – but isn’t it just so cute!

Next I used the Dina sentiment press plate and more foiling for the sentiment. I also added the pink card Candi to embellish further – I thought there was enough gold with all the foiling to use these rather than gems.

I added all those to the panel of white and then pink card used to create the DL shaped card blank.

So a simple card as made using bits and pieces already in construction – just needed assembling!

But cute nonetheless!

Tell you what – it’s a good job I think it is cute – my daughter hadn’t managed to get me a card for my birthday earlier this month so raided my stash of cards made and pulled this one for me (she knows Elephants are my favorite animal so she figured it was the best one for me) – so it turned out I made my own card! She did make an effort to decorate the inside with some drawings of her own – but still the cheek of it that I made my own birthday card!

Happy crafting!

Catherine

Christmas in July – colour scheme – Blue Pink Platinum

No idea what I was thinking when I chose this colour scheme for today’s Christmas in July but I got there and managed four cards with this combo!

A mix of patterned papers from the magazine kit made the backgrounds mixed in with pink cardstock.

A border punch made an appearance along with random dies for the sentiments. I also used four of the tree shaped die cuts I was gifted years ago to create the main toppers for the cards.

I spritzed them with the lilac and lambswool Kingston Crafts spritz which make them pink and platinum!

Then I added embossing by either stamping or embossing the embossing using the frontage mix that flings glitter everywhere! But the final trees I love so hey ho!

By adding in the punched elements and those fun die cuts for the sentiments I was able to vary these from just becoming the usual paper and cardstock mat backgrounds I would normally do.

It was also fun to add in that chiffon wired ribbon too add a different texture.

Quite fun and very pretty cards which if I hadn’t challenged myself with the colour scheme I would never have made – a good little push out of the comfort zone!

Just one more day of Christmas in July to go! We are nearly there!

Happy crafting!

Catherine

Christmas in July – Christmas Post – Carrabelle stamp

Hello – nearly there – gosh it has been a busy month but I do think I still love Christmas crafting so hopefully I will not be put off doing more festive makes for the rest of the year – but maybe not all will be videos and definitely not everyday! 🤣

So today’s Christmas in July theme is Christmas Post and I knew immediately that I wanted to use the stamp stamp from Carrabelle stamps (sadly a company that no longer exists) and to create my own little festive postage stamps!

I stamped five out, plus one onto post it notes so I could cut out the centre and mask off the edge of the stamp before stamping the images.

I then chose to use some very old magazine kit stamps to create the images and then my promarkers to colour them. I also added the cancellation stamp from the set to make them look more like stamps.

I chose to add a layer of embossed card on the card base, raised with foam. And then added the dark green panel as a base for the stamps.

I did the easy option of just cutting the stamps into straight lines – if you really wanted to go the extra mile you could fussy cut the bobbly edge but I don’t think it is necessary for this kind of design.

I added the sentiment from the Waffle flower set and then added some sparkly silver gems.

Really love using the little stamp to create little scenes and you could absolutely do this card over and over again but using different images to create the scenes … to be honest if I had the time (or needed to make more cards) I would absolutely stamp more stamps and create more of this kind of card but with different themes – I’m thinking using the cute people stamps or snowmen or the MfT stamps with the moose or the polar bears you’ve seen on other makes this month – but I don’t have time at the moment – so will just think about it and maybe revisit those ideas as part of my Festive Friday blog posts which of course will continue after July!

Happy crafting!

Catherine

Christmas in July – fun fold!

Fun folds are not my normal go to thing to do but someone had asked for me to do a fun fold when I asked for ideas for Christmas in July – so I did it!

I made a swing fold card which my lovely friend Valerie taught me to make! Apologies that my video tutorial isn’t excellent – but hopefully gives you a bit of an idea on how to make it!

I decided to decorate it with patterned papers and then the Woodware silhouette stamp of the deer.

I also added some of the puffy stickers from the spellbinders set.

Loved how this looked!

I will admit this was the third attempt at this card in this session … I made a practice card off camera that worked great … that will be on my blog sometime soon but as it isn’t Christmas themed not this month!

I then attempted this on camera and it went wrong so from the failed attempt I then made this card as a bonus!

I used the same papers and some leftover bits and then the puffy stickers to finish off!

Thanks for persevering with my fun fold experience!

Happy crafting!

Catherine

Christmas in July – sketch

Hello! Nearly there with this years Christmas in July and today’s project is based on this sketch. I hadn’t done many DL cards this time so I concentrated on this shape and also as I hadn’t got around to doing a tag for this month for the UK Stampers Forum this was in tribute to that.

I then chose to interpret the sketch two ways …

I started with inking and then stamping for this one … I added the red using alcohol makers and then over stamped the image again which I then embossed with the gold. I edged the tag with the gold embossing too.

I added a panel of the foiled scrap too and then the sentiment from the same Altenew set as the floral image.

I raised the tag on foam to give some dimension which I think just makes the card more special.

The second one I chose to use patterned paper to create the corner elements and then I used leftover bits of the paper to fussy cut some foliage elements for under the sentiment banner, I then added some doodled elements.

I used some waxed thread for the bow to finish off the tags – and then decided these were done!

Happy crafting!

Catherine