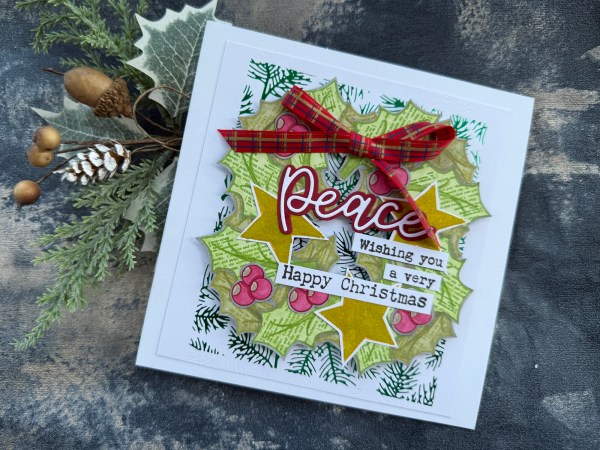
I went a little OTT with today’s card for Christmas in July! It was definitely a case of more is more!
Love using those holly stamps Darcy designed for Paperartsy. I stamped my wreath using the wreath builder and then went a little crazy with adding decoration to it!
I love the bow I added, the very shiny stars and then of course the pine needle foiled background .
With hindsight there were a lot of points where I could have stopped and gone for a simpler card but hey sometimes I just can’t stop myself!
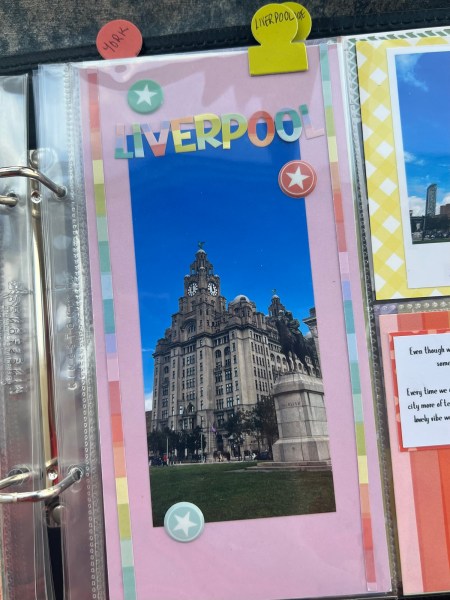
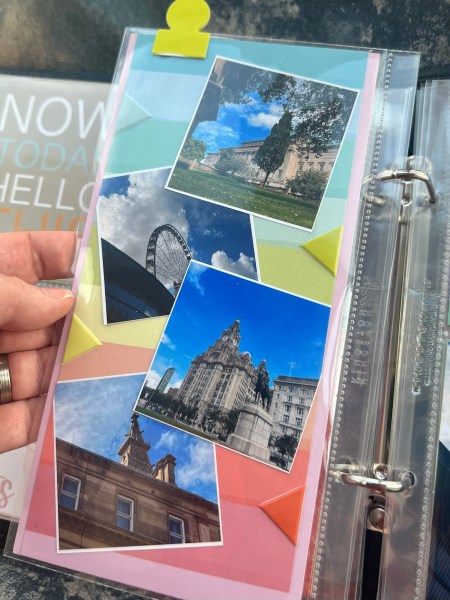
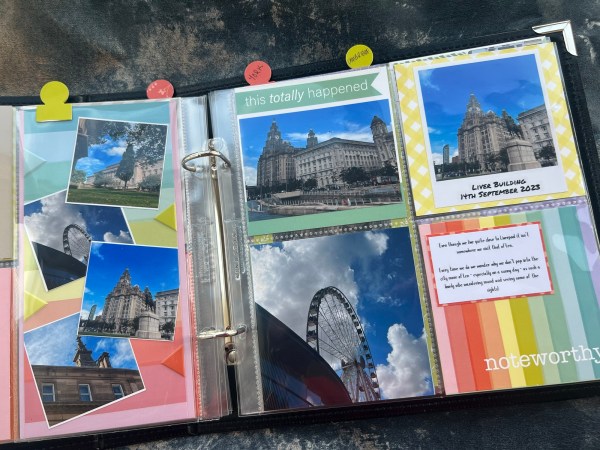
Yes it is time for another Scrappin Saturday! I am back to sharing the city breaks album I made as my design team project for Kingston Crafts using the Hello Life kit for the Everyday stories album.
These 8×8 pocket pages are so easy to do and quickly document and put together pages. I have so many building based photos from when we visit cities I thought this was a good way of keeping them!
This time the city is Liverpool! Now strictly speaking we didn’t go for a break to Liverpool – it’s 30 mins from our home – but we did spend a day being tourists and it isn’t somewhere we think to come to very often – but really was beautiful on this sunny day!
As the album will be filled with many cities when it is finished I again used my 4×8 flip its8 to create the section divider – again I used the Spring slimline cardstock for this as the colours coordinate so well with the Hello Life kit colours.
I removed the adhesive and then punched holes and it becomes a fun different sized pocket for the album.
I actually only took a few photos of the buildings the day we went to Liverpool – I took more pics of our food and drink (& the Disney Dream cruise ship which was actually the reason we chose to visit Liverpool that day!) but the genius of this kit is I can always add more when I visit again and build up my Liverpool section – I’ve just started doing that with Manchester photos in readiness for when I get round to starting that section!
So a shorter post than normal today but I did so many pages in this album that I’ve already shared and I have another city yet to share with you – but that can wait for another post!
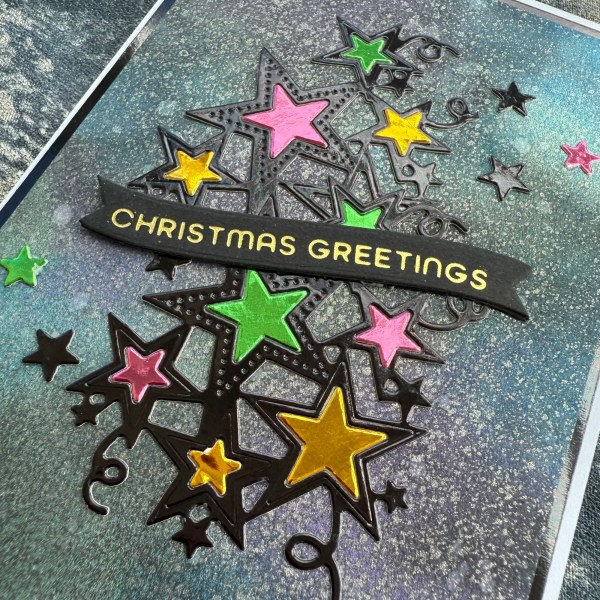
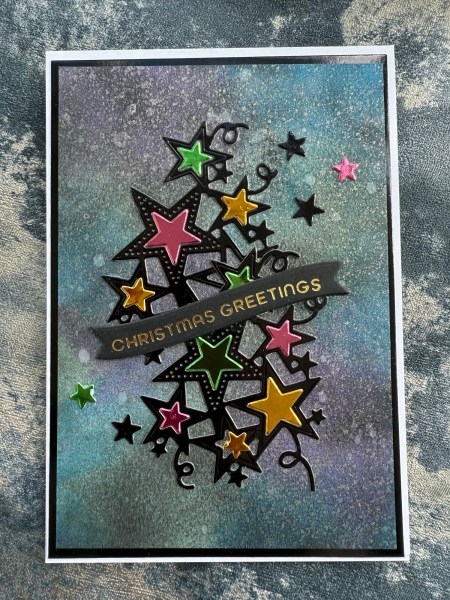
The theme today for Christmas in July is Follow that star and I decided I wanted to use the new die I bought a few weeks ago from The Greetery. I then ended up making a lovely shimmery night sky background to place the die cuts on and adding the other colours of foiled cardstock too!
The background I made using three bright colours of distress ink and then added black soot. I then added a light mist of the shimmer spritz using the lambs wool colour of the Kingston Crafts shimmer spritz! Perfect for a fun background!
The die cuts I started with the black foiled cardstock from Kingston Crafts and then added the gold, green and pink too for the star inserts.
I used a foiled and die cut sentiment from the stash – I added that to disguise the join across the two die cuts.
I also added a border of the foiled cardstock which helped to frame the panel.
A simple but very fun card!
I really love the pops of colour against the dark!
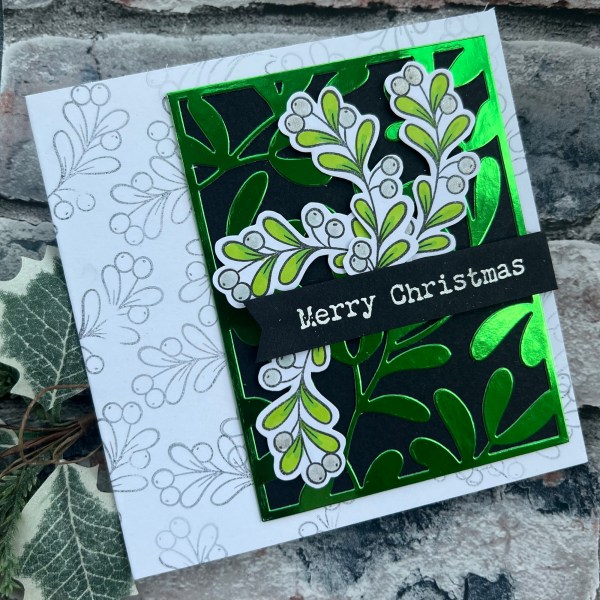
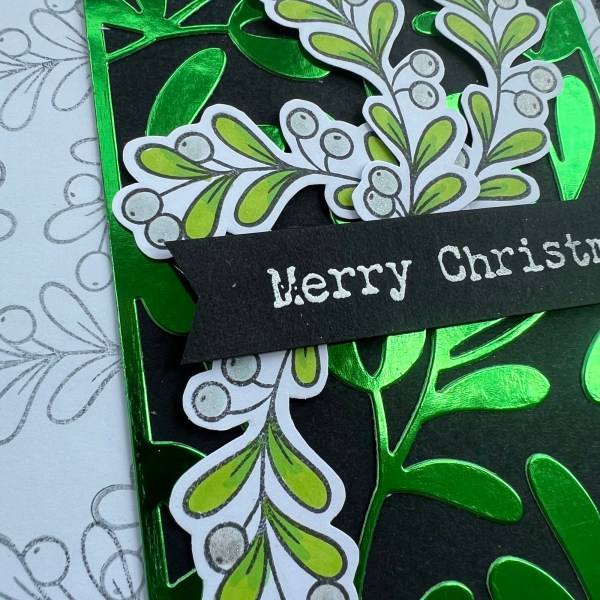
I knew for the mistletoe challenge for today’s Christmas in July project I wanted to use the MFT cover die but that was as far as my planning went!
Once I had cut it from the Kingston Crafts foiled cardstock (such a gorgeous green) I then decided to also grab the mistletoe stamp from a magazine kit and create a nice bright cluster.
I used my promarkers to colour the stamped image four times and then fussy cut them out and added some scrap strips behind them for a bit of dimension, I chose to add the cover panel onto the black base and then added those stamped ones to the topper panel.
I stamped and embossed the sentiment onto a black strip and then cut the banner element. I added that too with a little dimension so it fit nicely over the stamped sprigs.
I then decided to stamp the same image onto the card base but with second generation ink so it was paler.
Really love this modern and fun card – love the bright mistletoe images and that shiny background die cut!
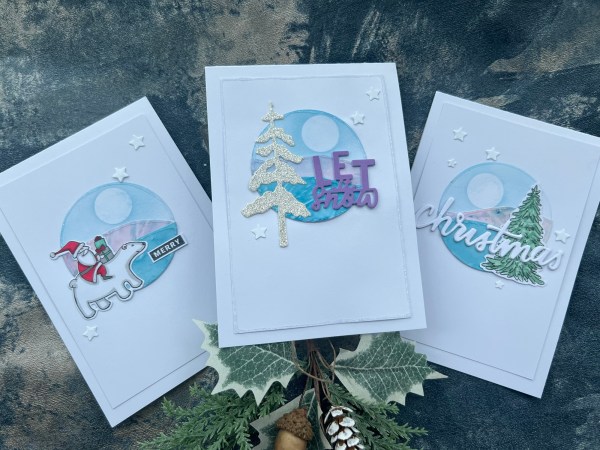
Today’s theme was to use a sketch – and the sketch I came up with was heavily inspired by a card Martin made a few years ago which I did CASE at the time and I wanted to revisit!
So thank you Martin for the inspiration!
I ended up making three cards using the sketch … which you can see come together on my video
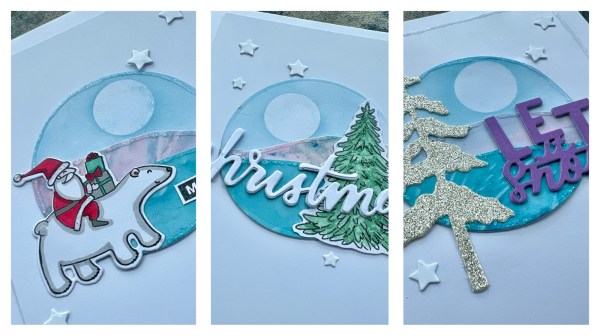
Making the circle elements was so easy – nine circle die cuts with the same size die – a bit of ink blending with the moon mask and then cutting the hills to size from the other two patterned paper circles.
And then glued the layers together – perfect for a quick and easy landscape element! (Please note Martin’s original took more effort and had lots of beautiful blending and die cutting! Mine is the lazy version!)
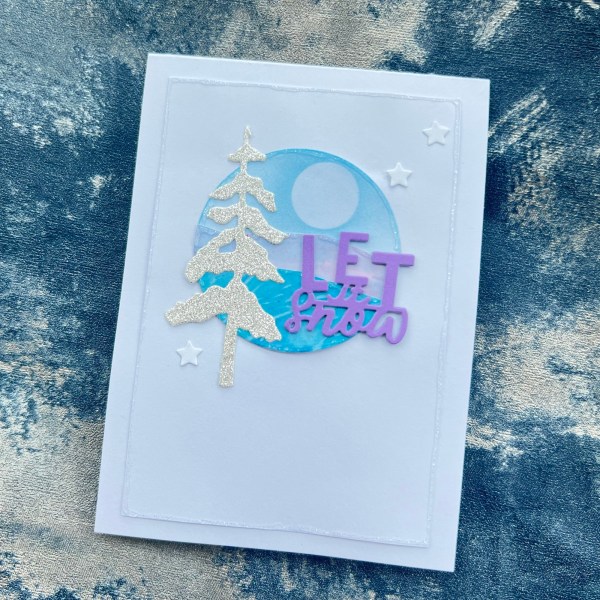
I then had to decide what to use for the other elements of the sketch – this one is probably closer than the others with the die cut tree. I chose to cut it from glitter paper and then added the die cut sentiment.
For this one I flipped the sketch and used a stamped and fussy cut tree which I coloured with the stampin blend markers. This time a larger die cut sentiment to cross the whole front.
This final one I used one of the leftover My Favourite Things cute images of the polar bear and the Santa. I then added a stamped sentiment.
For all three I added glitter glue – just in a few different ways – with hindsight I should have added the glitter glue before adding the focal elements – that would have been easier.
I also added the little die cut stars as embellishments – I kept these white and simple rather than adding more glitter glue.
Really love these cards – certainly they are easy to replicate over and over – and the sketch lends itself to different designs.
So once again a big thank you to Martin for the inspiration (as always!).
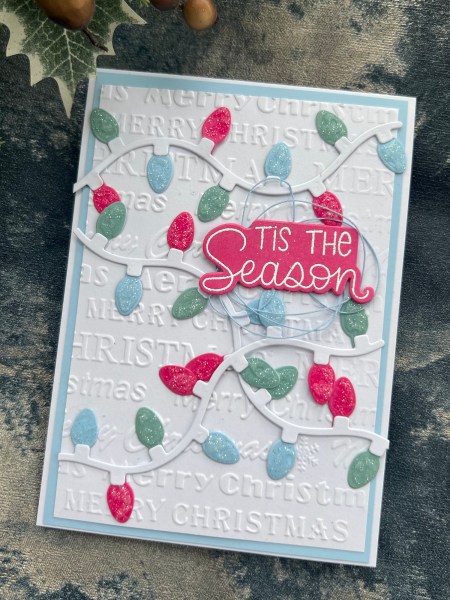
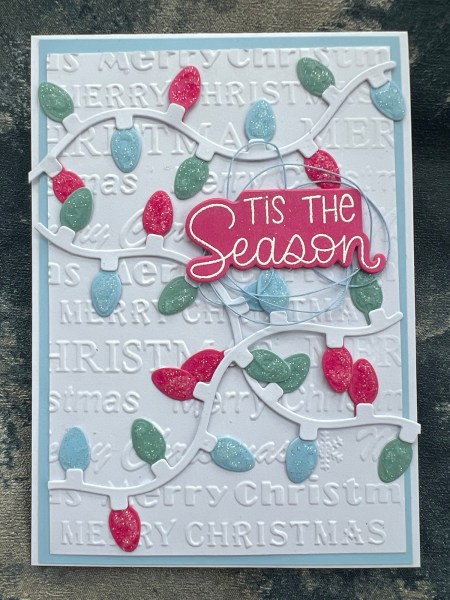
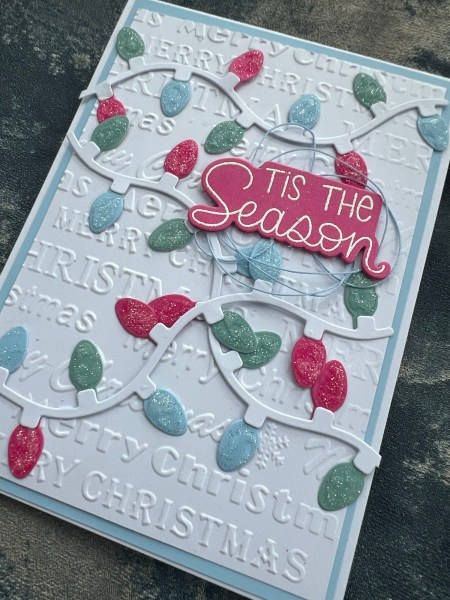
Unusually I kept to one brand for todays card – pretty pink posh – mainly because I wanted to use the Christmas lights garland die I bought a while ago for the theme of sparkling lights.
And isn’t it just so cute? Well I think so!
Die cut three of the garlands and then I cut the lights twice from each of the three colours – so there were enough to stick to the parts of the garlands I would be using!
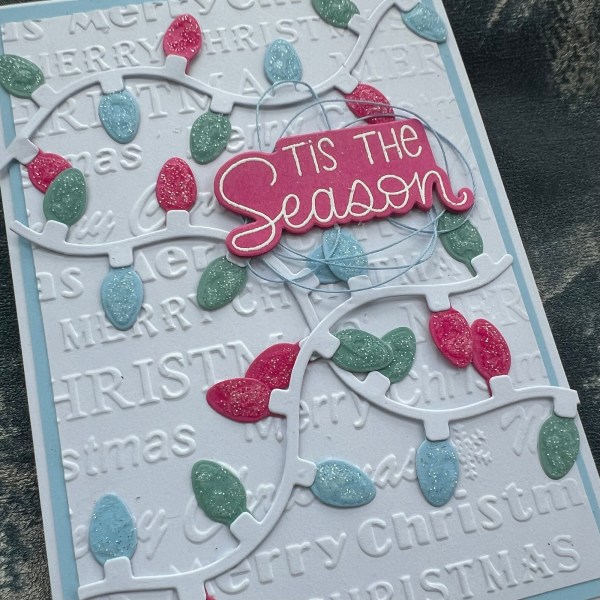
I spent a fair while sticking them together and then added the clear glitter glue to each of the lights so they really are sparkling.
I chose the blue for the mat layer and then to emboss the white with the merry Christmas embossing folder.
The sentiment was another pretty pink posh one and I used the same pink cardstock I had used for the lights. I stacked it four layers because it was going to go over the garlands. I also added some thread as a little nest underneath to add another texture.
Such a cute card!
I did have to do some fairly speedy scenes on the video as the fiddly glueing element took a while – but the process video is over on my YouTube channel – along with all the other Christmas in July videos so far in the playlist!
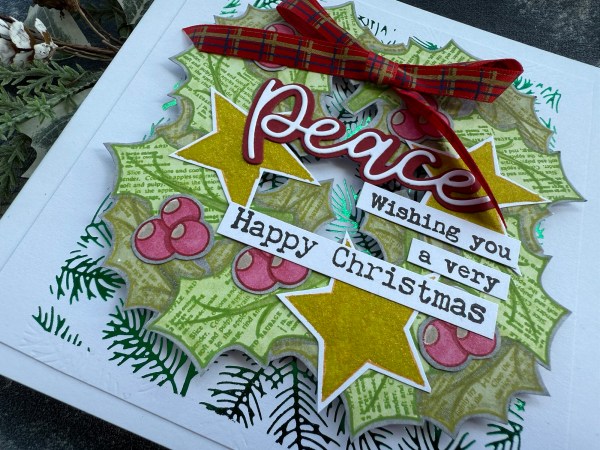
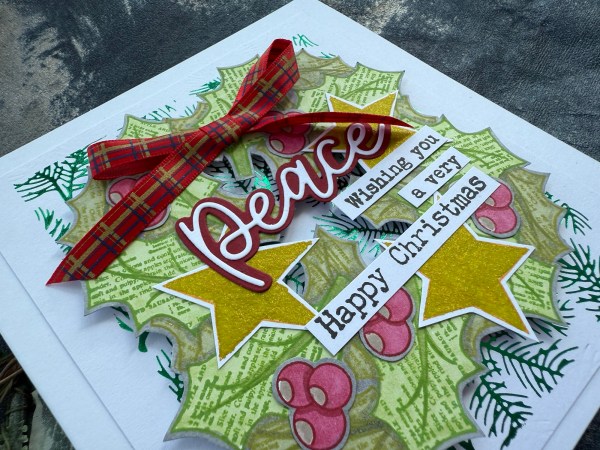
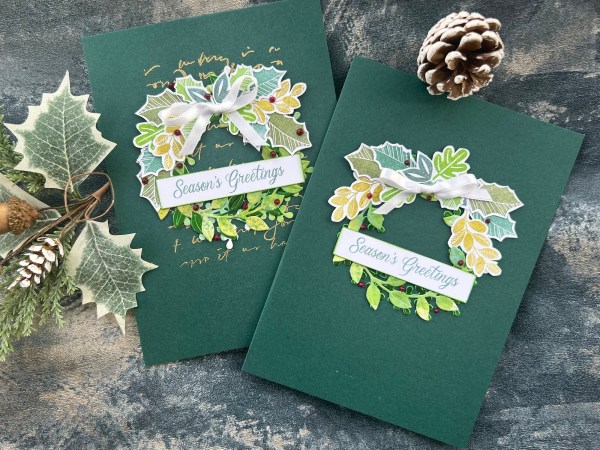
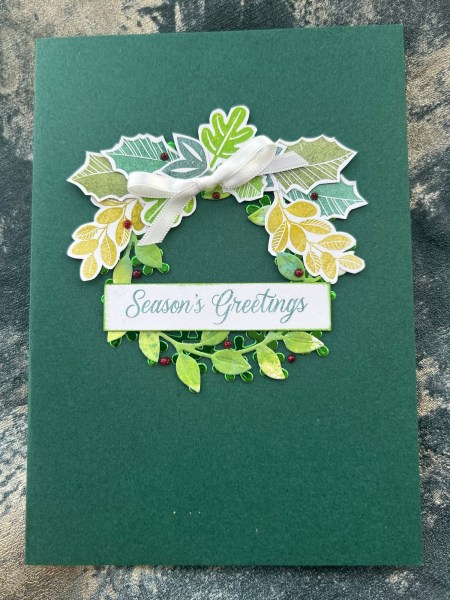
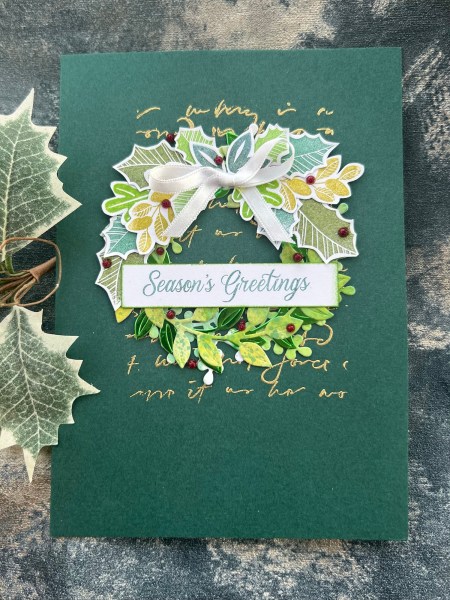
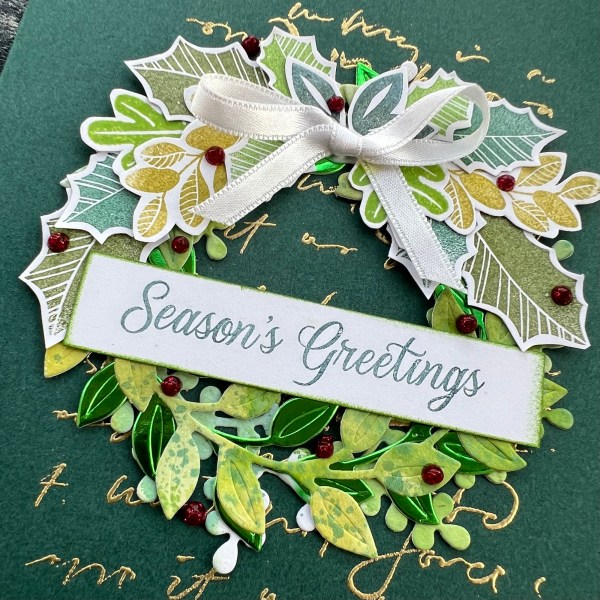
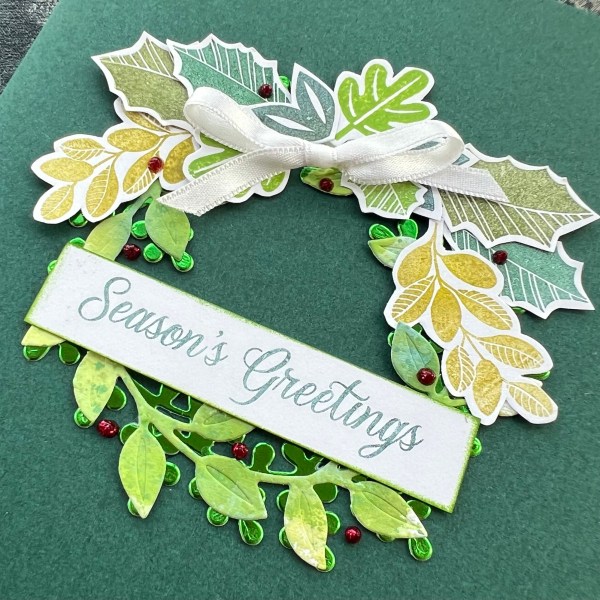
So for today’s Christmas in July theme I knew I wanted to use Arrange a Wreath but to go a little OTT adding to my wreath with other bits and pieces. I also half way through making the cards decided to make one of them a stepped up version of the card which is always fun!
Both are lovely elegant cards the the one to the left with the gold script in the background – yes that’s clearly stepped up!
After stamping all the leaves in lots of colours of green I added ink smooshing it to some scrap cardstock and this is what I die cut the wreaths from, along with two from the foiled cardstock.
I added ribbon to finish off the cluster of leaves at the top of the wreath and added a stamped sentiment which was stamped in one green and edged in another.
The wreaths were both placed on the green card bases I bought for ease during the Christmas in July season – they are a lovely rich dark green.
For the script in the background I used part of an old stamp and stamped it twice before embossing with gold powder.
I finished off both with the red glitter glue berries for a tiny pop of colour amongst the green.
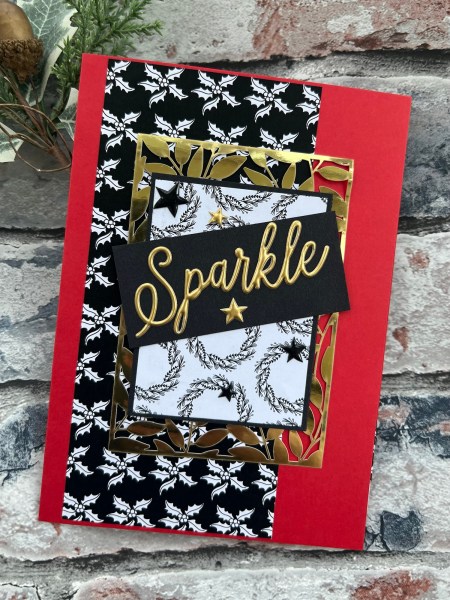
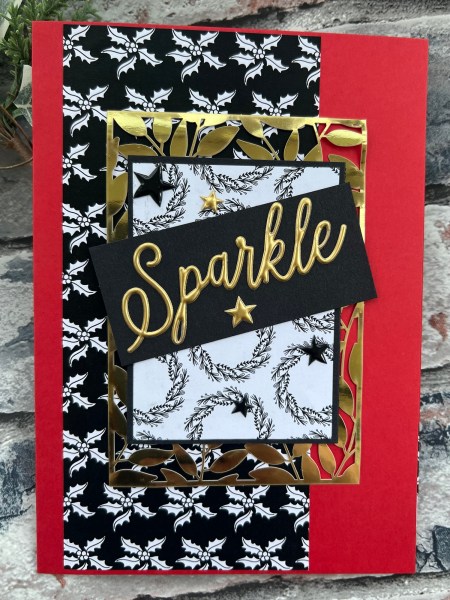
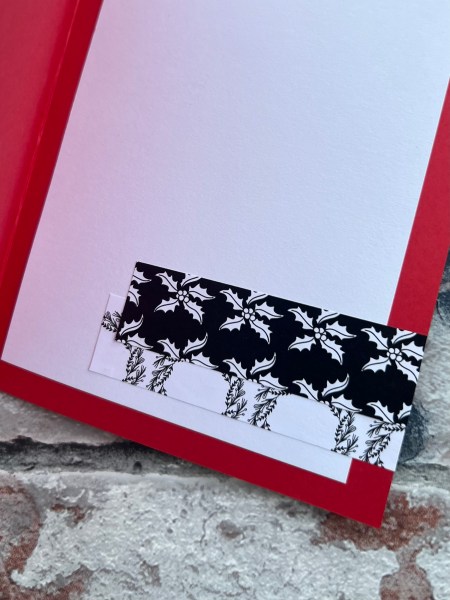
A colour scheme is the theme I chose for today – red, black, gold.
I pulled papers out of the stash along with Spellbinders stickers I had bought in the sale and then the gold laser cut panels from an old Stampin Up kit.
There really isn’t much to say about the card as it really is as simple as cutting the papers, some black card elements and sticking everything down! So it’s a simple process video today!
I used a premade card blank for the base and added in a panel of white and some scraps of the patterned paper on the inside!
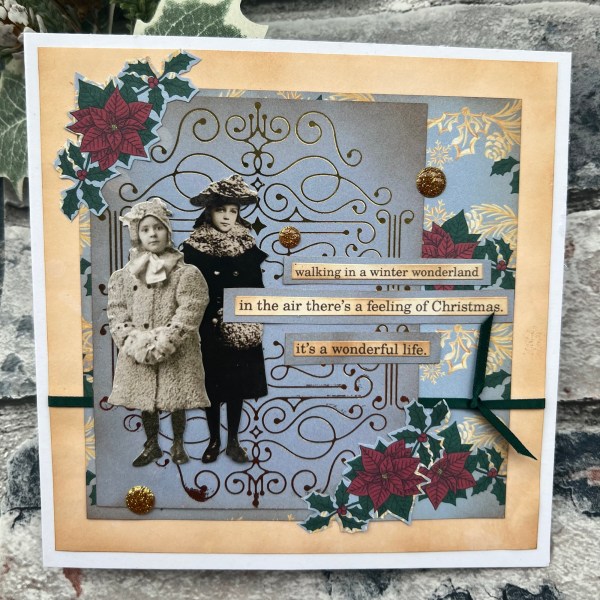
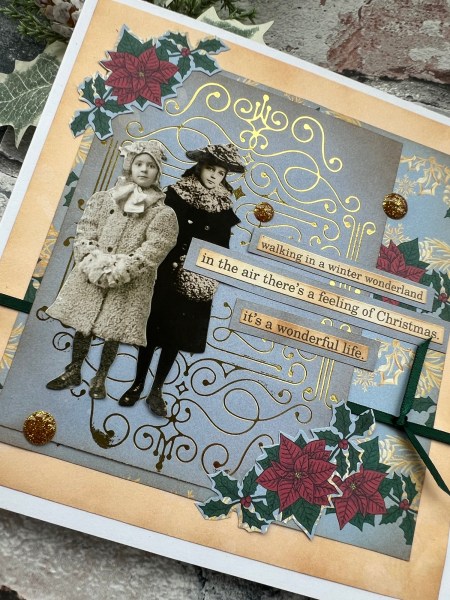
Todays theme for Christmas in July was very much out of my comfort zone and I challenged myself even more by using a paper I wasn’t exactly keen on!
But I love the final result. Some inking, some foiling and then those fun Tim Holtz paper dolls.
The foiling is a spellbinders glimmer plate and I thought it worked with the theme!
I am really pleased with the fact I remembered to grab some ribbon before I stuck layers down too as it added a nice bit of texture.
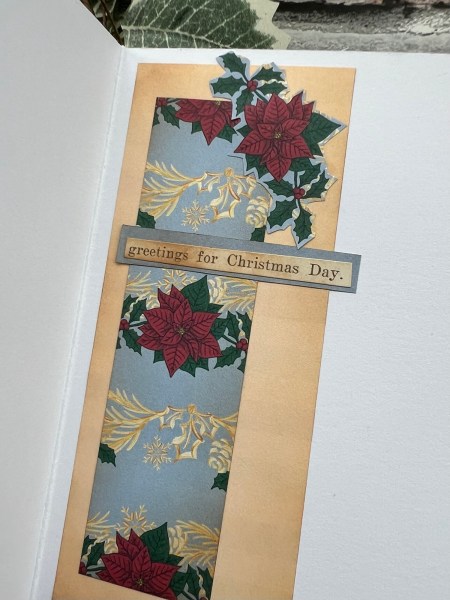
I also added in the glitter gems for the final embellishment. Inside the card I grabbed some of the leftover paper and some ink to finish off. The sentiments are stickers from Tim Holtz and they work perfectly with the vintage theme!
Interrupting the Christmas in July series to bring you a Scrappin Saturday post which is also a Design team post sharing my samples for Kingston Crafts.
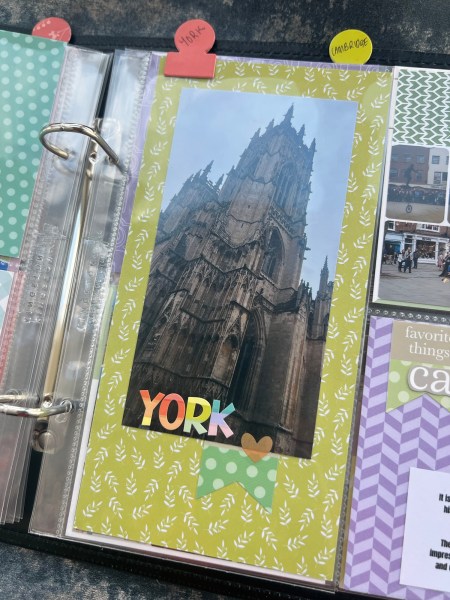
Back to my city break album and this time it is York that features. This time I went for a section divider and a double sided page.
I used the 8×4 Flip Its like last time, removing the adhesive and punching holes to add it into the album.
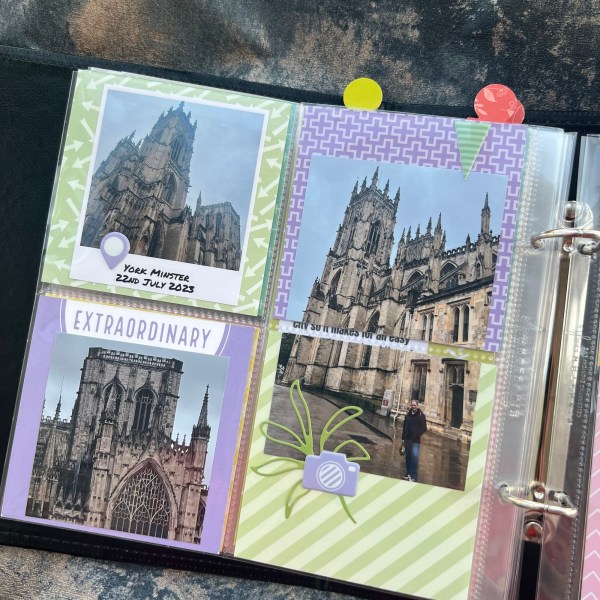
Although we go to York regularly I didn’t have many photos ready printed to add into the album at this stage – so instead I went for two collage photos and then the pics of York Minster for my pages. The good thing about the album though is that I can always add in more pages as and when I get photos printed (or we visit again! 🤣)
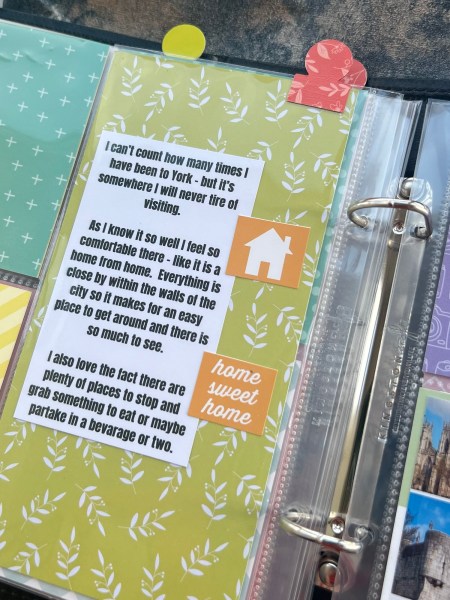
I used the stickers and cards from the kit to make the pages fun.
The section header was using the Spring Slimline cardstock which also coordinates perfectly!
Ok will save the next city page for another blog – probably next Saturday!