Two posts because I have a scrapping Saturday post as well as the card I made for Maya that I’ve already posted!
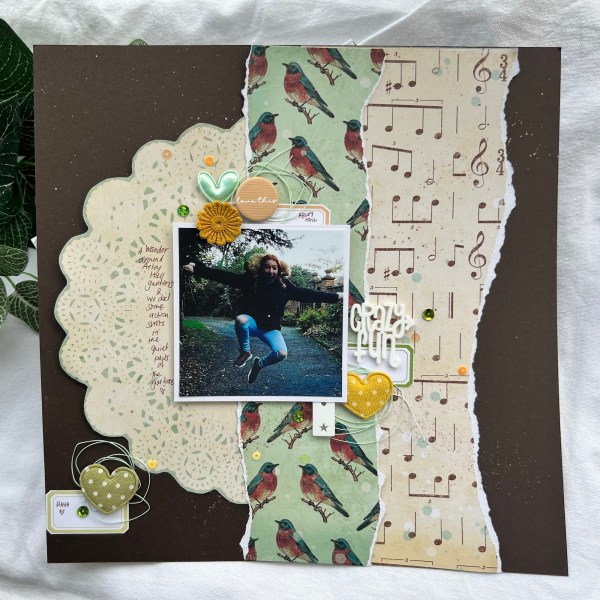
To be honest wasn’t sure I would have a scrapbook page for today or not but I did end up making a page this afternoon when I opened the Hey Little Magpie embellishment kit and felt compelled to use it!
I grabbed some old papers that I had put aside for the crop in February and never ended up using!
I videoed the process so please check that out to see how I pulled this page together.
I loved using the embellishments from both the Hey Little Magpie kit and also some perspectives from Bramble Fox.
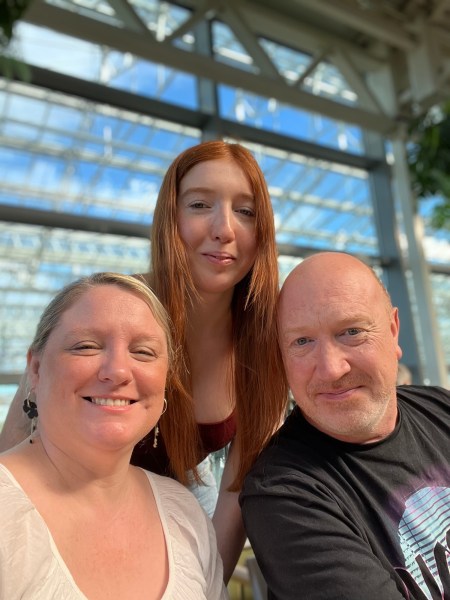
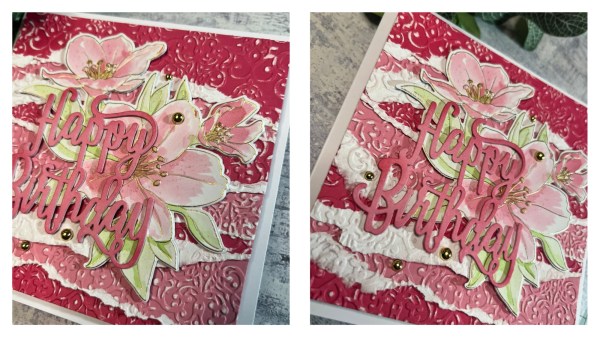
Yesterday my baby girl turned 19! So far from a baby but you know what I mean!
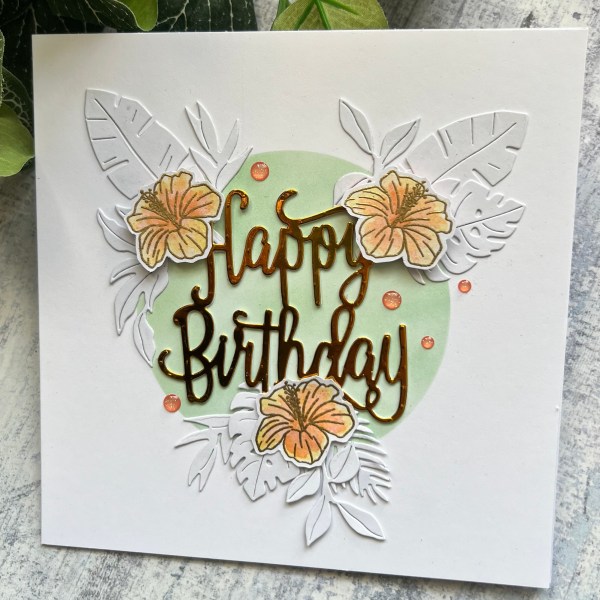
I asked her for an inspiration starter for her birthday card and she said orange hibiscus!
I didn’t think I had any stamps that were hibiscus but then as I put away an old magazine stamp set I spotted a small stamp that looked just like a hibiscus! 🌺 perfect!
So this is what I ended up creating!
A 7×7 card on which I blended a circle through a clarity stamps stencil. I chose a soft green ink and then decided to use white die cuts for the tropical leaves rather than green – I just thought it gave a different look!
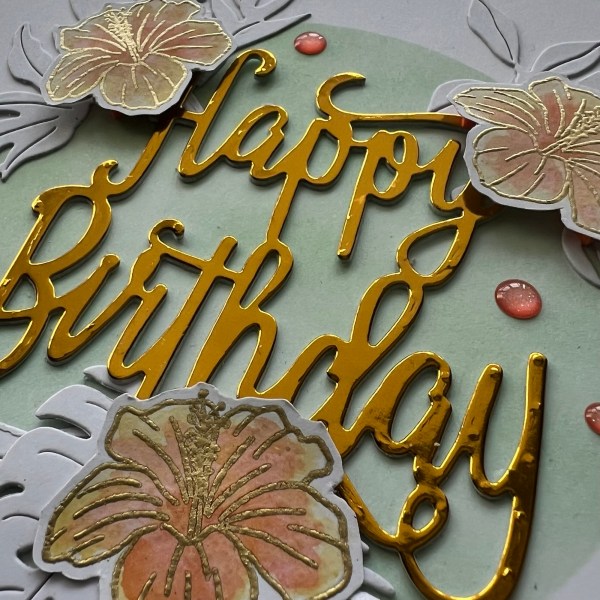
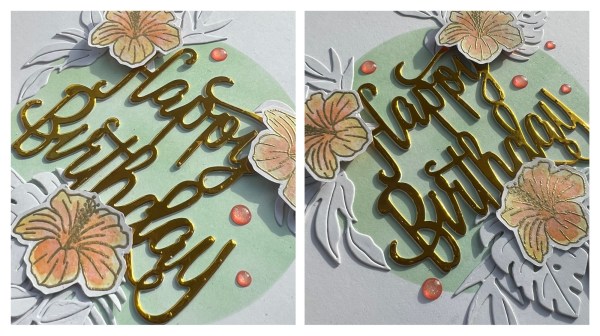
I decided to use the large birthday die with some gold foiled cardstock. I stacked it twice to give it some dimension though.
I then worked on the hibiscus flowers.
I stamped it three times and then watercoloured them with a mix of orange and pink colours and then heat embossed over the top.
I fussy cut them out and added them over the top of the white flower clusters with some foam tabs to raise them up.
I then added some peach coloured gems to finish up.
I really love how gentle and simple this was. I rarely do cards that look like this so it was nice to come up with something a little simpler!
And just like that her birthday has been and gone. We did have a lovely day celebrating with plenty of food and drink… scary to think the next birthday she turns 20!!! Gosh then I will feel old!
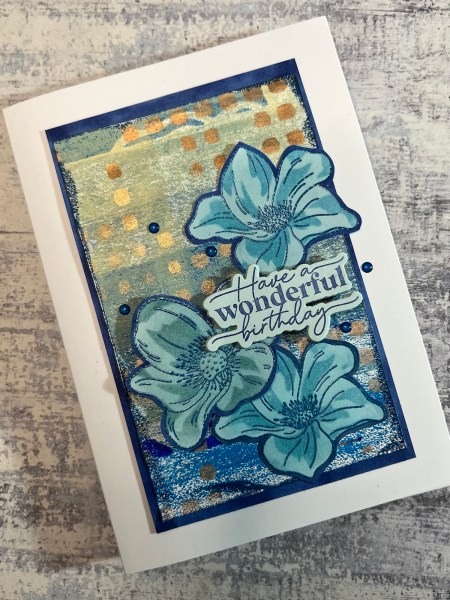
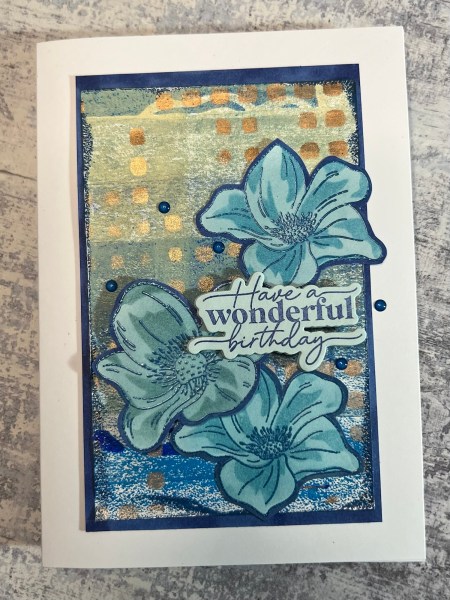
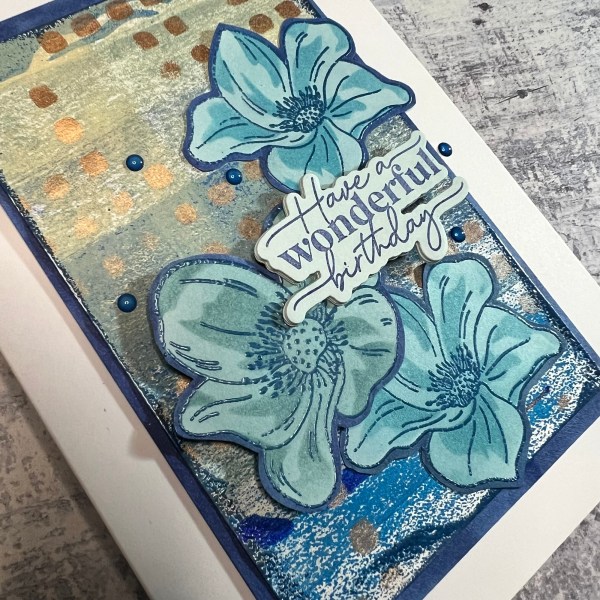
I decided it had been a while since I dug into my pouch of gelli prints I made a while ago and so that became the background for my card. I then grabbed a magazine stamp set from Altenew which features two fab flowers and a coordinating stencil (one them also has a die but I didn’t use it).
I stamped the flowers onto some pale blue cardstock and embossed with a dark blue powder and then used the stencils to add some colour.
I then used a stampin blend to edge around the outside to give it a dark edge. Then I fussy cut them out.
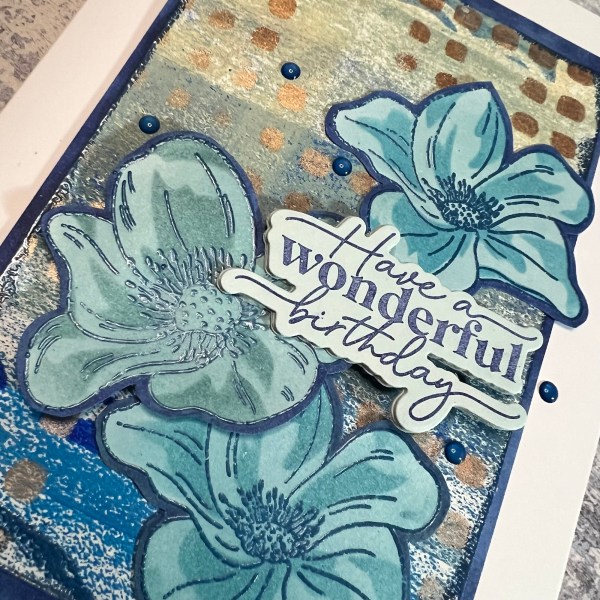
I then embossed the edge of the gelli print to tie into the floral elements and I mounted the background onto the same blue which I had edged with the stampin blend.
I glued the flowers into place but raised the one to the left with some scrap cardstock underneath and then decided to add my sentiment on the same pale blue but stamped in navy.
The sentiment is from Waffleflower and I die cut it four times to make it nice and chunky!
Again I added some scrap beneath one side of it so it was at a similar level to the flower on the left.
I then added the panel to a 5×7 card blank.
I used some blue gems to embellish and that finished it off nicely!
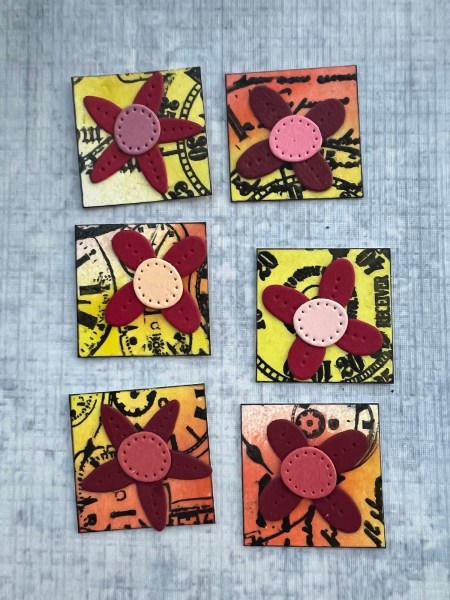
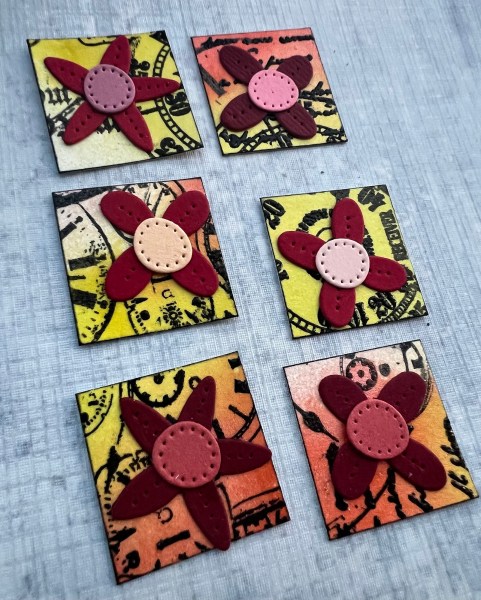
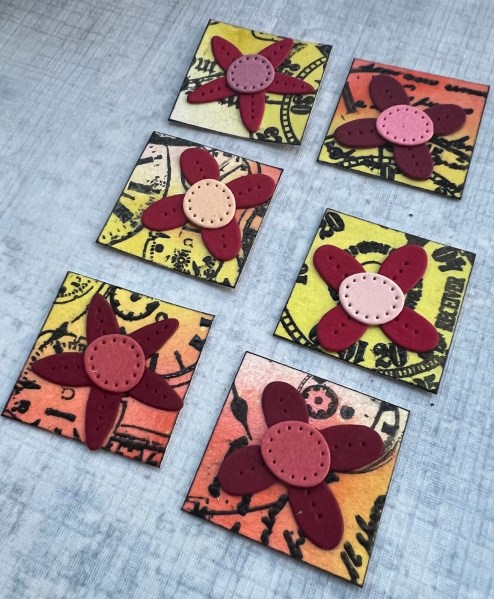
Made my inchies for the swap over at UK Stampers forum.
I made a background with some shimmer spray inks and then embossed some clock image using PaperArtsy stamps.
I cut down the inchies to size and then edged them with ink.
I then added the die cut flowers onto each one.
Love the contrast of the modern flowers and the vintage clock backgrounds – also love the shimmery finish (it doesn’t come through on the pics but in real life it is so cute!).
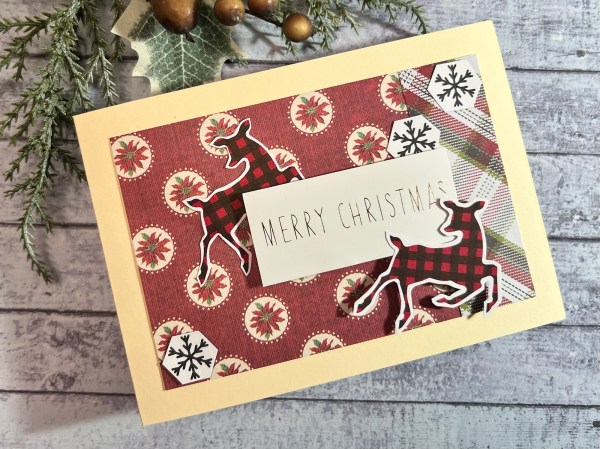
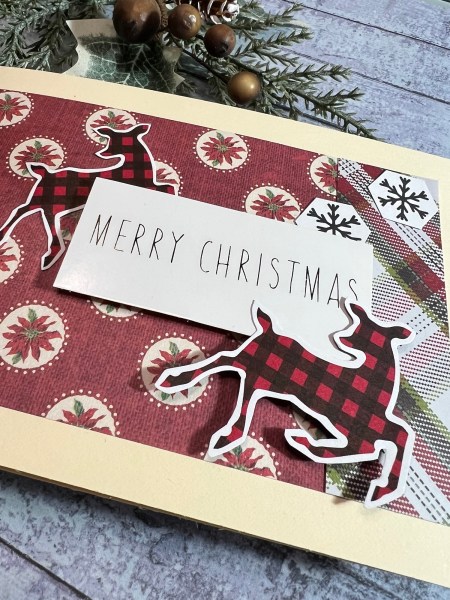
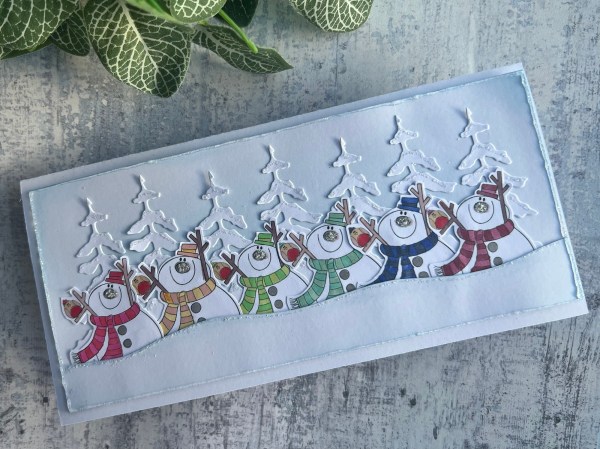
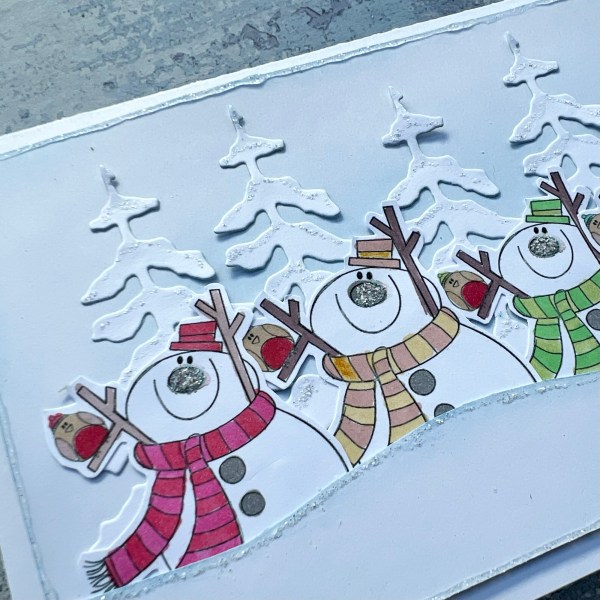
How is it Friday already? Well I have another Christmas card project to share with you. I decided to use a sheet of digital stamp images that I had already printed off and made myself a rainbow of snowmen! Definitely a change in style from the last few Festive Fridays!
The image is from All Dressed Up although I did cut apart the image as it comes with snow and a sentiment in the original. I decided to just use the actual snowman image for my card instead.
I chose different alcohol markers to colour the images and then fussy cut them out. I had in my head the size of card I was making so knew six would be perfect for the width of the card!
I die cut seven trees out for the background and then I cut a panel to go on the slimline card front. I used my blue ink blending brush to add some blue behind the trees but without adding any ink to the brush so it is quite subtle.
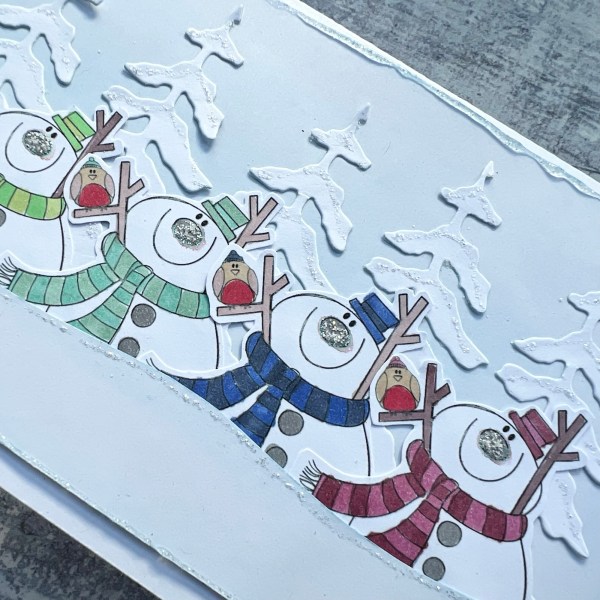
I then started glueing down the trees. I had them overlap a little and at slightly different heights. Then I added the snowmen in a vague rainbow order! I love a rainbow 🌈
As the snowmen didn’t totally cover all the tree trunks I then added a bank of snow which I hand cut. I used the blue ink blending brush to edge it and give it a little definition and then stuck that down too.
Then I edged the whole panel with the blue again. At this point I decided it needed some sparkle – so I went to town with the Kingston Crafts glitter glue in clear. I added it to the snowbank edge, to the tree boughs and to the noses of the snowmen! I also added to the edge of the panel too.
I then left it to dry overnight so it wouldn’t get smudged! I know what I am like for wanting to prod at glitter glue before it is dry! Always best to move it totally out of arms reach or leave it overnight!
I then added to the card blank. I decided it didn’t need a sentiment – there is so much going on with the card I didn’t want to add anything else.
So quite a detailed card and I am really happy with this!
Hello! Another design team contribution to share with you today for Creative Knockouts. I used the image Mushroom Girl from Star Stampz who are sponsoring this challenge.
I used a distress oxide background I had made last year where I thought the colours would work with this kind of image.
I printed the image onto cream cardstock as thought that would work well. I then coloured the image with my promarkers.
I edged the image panel with green ink and then the same with the inky panel. I then grabbed lots of die cut leaves and flowers from the pouch of ready die cuts!
I also grabbed some brown waxed thread and added that under the main image panel which I raised up on foam adhesive.
I added the panel straight onto the cream card blank.
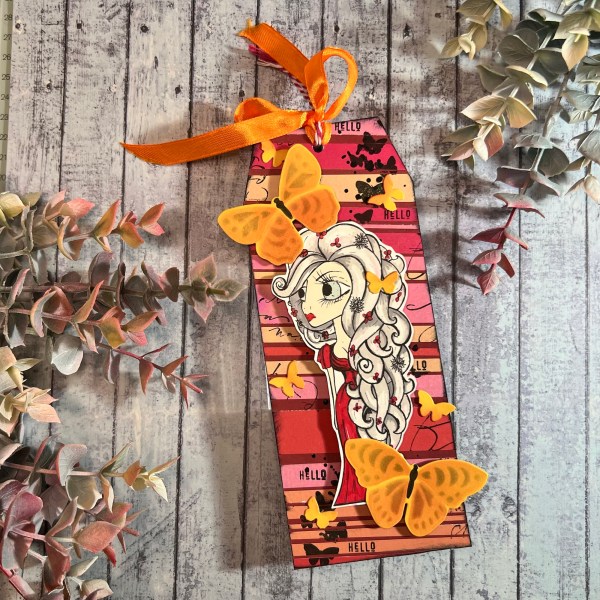
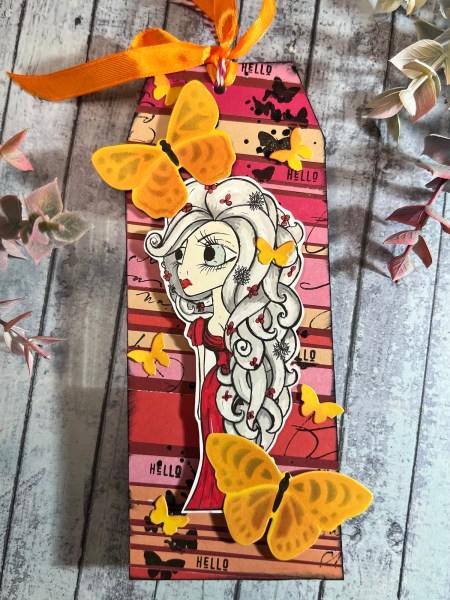
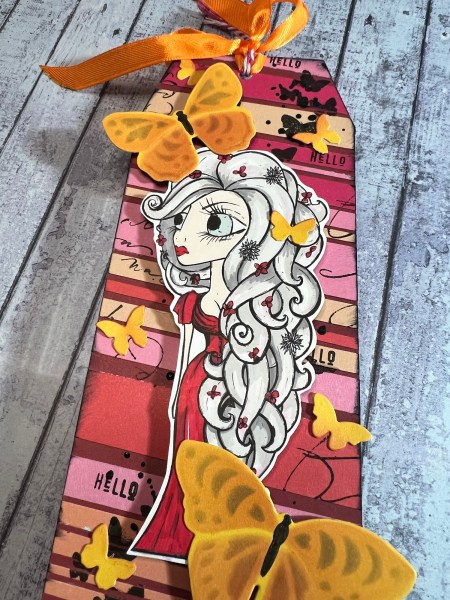
I made a tag for this months swap over at UK stampers forum which started with me just glueing some scraps of cardstock that I had on the desk after a different project…
… when I had added the first few strips I then went through the warm coloured cardstock bits in the scraps pouch and started cutting and adding those as strips too.
This created a fun and bright background.
I added some stamping to the background … the little butterflies from a Concord & 9th set and then the little Hello sentiment. I also added a random text stamp too.
I then inked the edge with black to frame the tag.
Next I chose a digital stamp image from the pouch of those already colored and ready to go and this Octopode one with the reds looked great against that background.
Then I took some yellow cardstock and added the stencilling for the butterflies and die cut them out and the little ones too which I added some subtle inking to as well.
I added the main focal image and the bigger butterflies with adhesive foam for dimension and then the other butterflies I just stuck down with glue.
I had a little hunt in the ribbon stash and found the orange ribbon and a bit of the striped twine for finishing off!
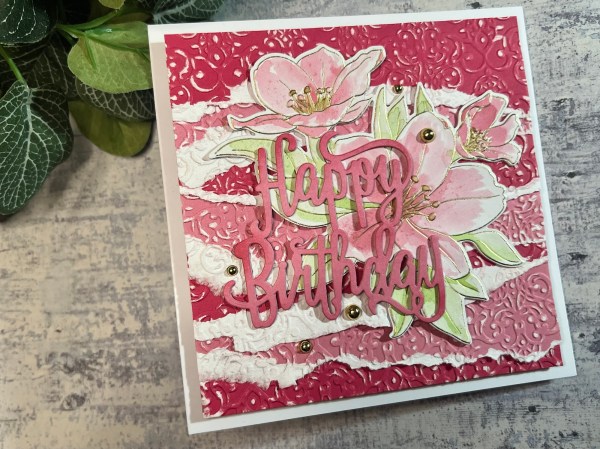
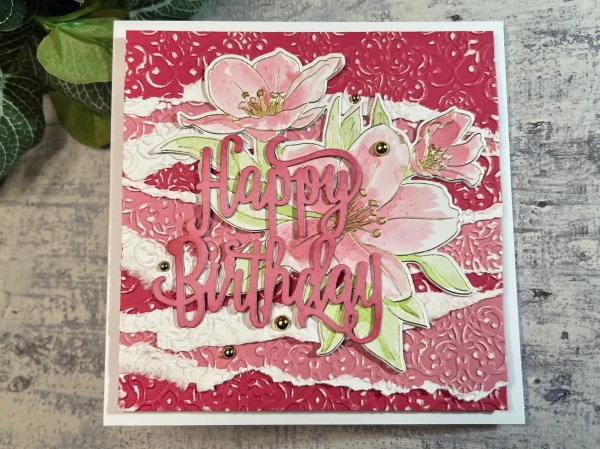
Yesterday we celebrated my aunties birthday and here is the card I made for her…
I videoed the process and something went disastrously wrong towards the beginning of the make …
A full can of pop!
… but I did rescue all the cardstock I had got ready at this point. So please check out the full process video on YouTube..
I tore all the strips and then embossed and sanded them all – it was all Kingston Crafts cardstock so perfect for exposing the white core once embossed and torn.
I added the gorgeous Splendid Bouquet set from Altenew – this time I chose to add watercolour with inks to colour it – whilst the card I used wasn’t watercolour so it sort of adds dots in the watercolour effect but this just made it look like a bit of stargazer lily! so I call that a win!
I then die cut the sentiment three times from the remaining pink cardstock and stacked it up with a bit of inking on the top level to give it some depth.
Love how this card came out especially seeing as the start of the crafting was such a disaster!
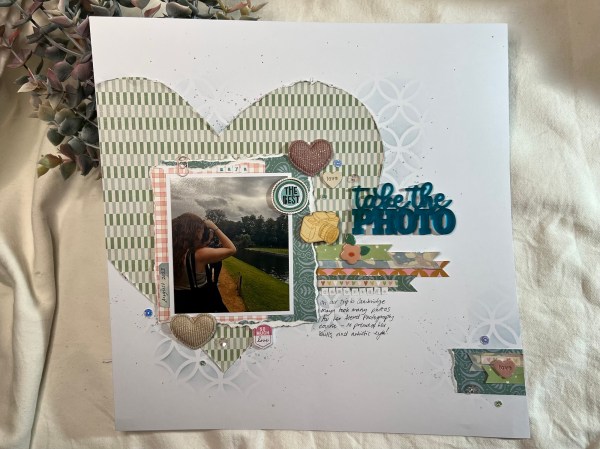
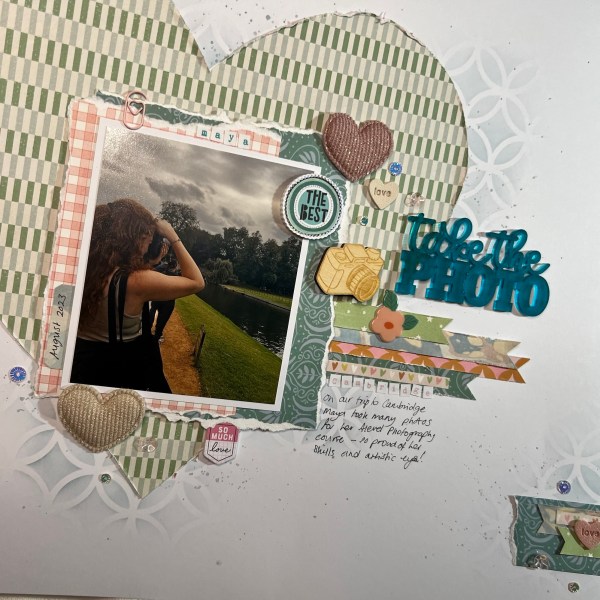
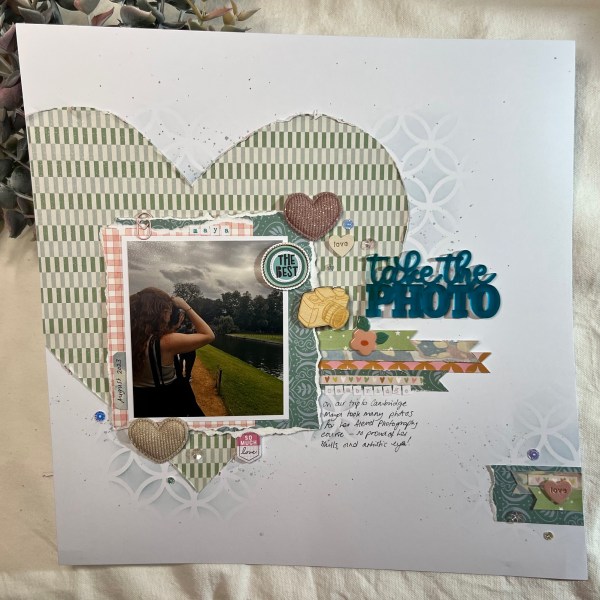
Back with a second post today because it is Saturday and so a Scrapping Saturday post!
This is the final page I made at the crop a couple of weekends ago using scraps left from a couple of page kits where I thought they still worked well together. I also used the template that Sarah had provided for one of the kits (that I had totally ignored on my version of that kit).
I used some embellishments that were in the February Hey Little Magpie embellishment kit.
I added some stencilling in the background before adding the heart shape and the banners.
I love all the puffy fabric hearts and wooden hearts I added from the kit and the mixed sequins.
I added the wooden camera and the perspective from Bramble Fox when I got home after the crop as I hadn’t taken them with me!