Indigo Blu patterned paper challenge

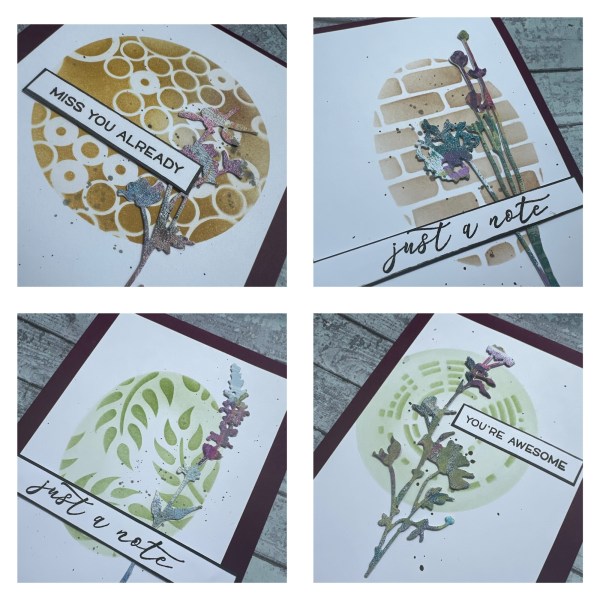
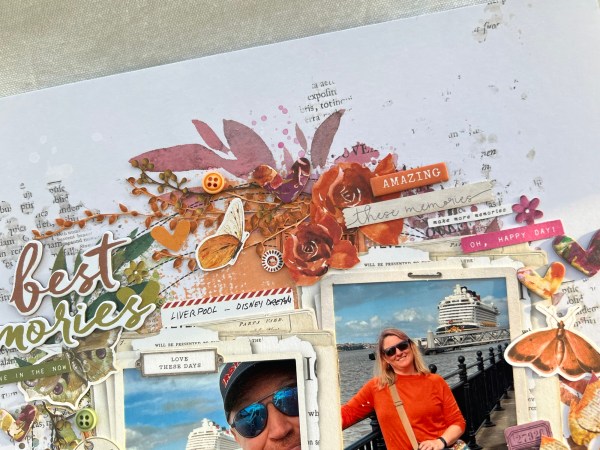
Hi – how is it November already? I think I blinked and missed most of October! Well as it’s the first of the month it’s time to play with patterned paper so I grabbed old magazine papers – in this case old Indigo Blu papers that came in one of those kit magazines. I decided to make two cards using mainly papers – although I did add in a little stamping, embossing and some splatter!

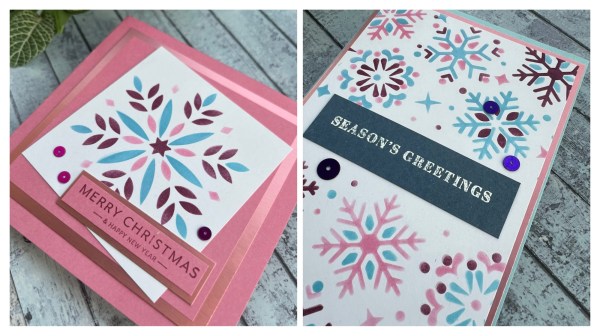
I also went for a new technique I had been wanting to try that Jennifer McGuire had shown in a video where your focal point pops up but folds flat in the envelope – and it worked nicely for these focal image panels. You just score a panel big enough to go behind the thing you are popping up with two score lines on each side of the panel and then fold back and forth and this creates a hinge. Just need the score lines to be same distance apart – I did mine 1cm between each. You can see the mechanism in the side views of the cards here…

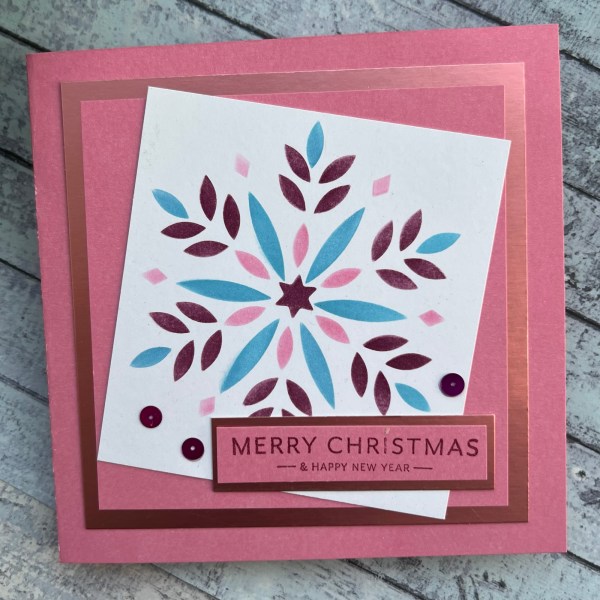
On the first card I added some inking in brown and then added some stamping which I embossed which gives some nice textural and shiny interest. I also splattered the card and elements with a gold paint.

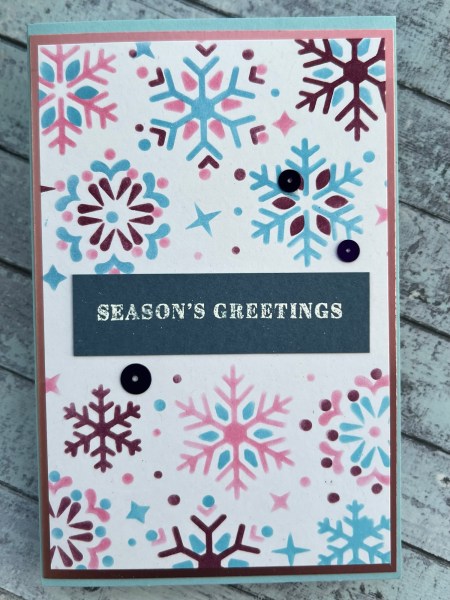
The second card I inked with a teal around the edges to make it different and added just a little stamping in teal too.

Both cards I added paper to the inside of the cards – and a little element that I had fussy cut as embellishments on the front – I repeated on the inside too.

I added twine bows for a different texture to both cards and left them both without gems or pearls as I just didn’t think I needed to add them.

Love how these came out. Such fun to play with these papers. I have so many left though so I imagine I need to either be ruthless and get rid or have a real season of getting all shabby and grungy! For now they’ve gone back in the pouch and onto the shelf – but really need to find myself using them to justify keeping them in the stash!

Happy crafting!

Catherine

DT: Addicted to stamps and more #480 Die cuts and stencils

Today’s blog post has an accompanying video too so please check that out on my YouTube channel. It’s my DT contribution for ATSM

For the theme of die cuts and stencils I created these four cards. I die cut some leftover scraps from gelli printing and then stencilled the backgrounds for them to sit in! Clean and simple!

Yes I went clean and simple for a change!

I chose four different stencils to create my backgrounds and two different colour schemes for the four cards.

I created my oval and circle shapes using scrap and dies so that only the shape was stencilled.

I stacked my die cuts up a couple of times as they are quite delicate and this helped to strengthen them and give a little dimension to my otherwise quite flat cards.

I chose a few different sentiments and edged each of them with black pen too avoid having to mat them.

I also added some black soot splatter because I felt it needed something to make it a little less clean!

This final one is my favourite – especially love the stencilling on this one.

I chose Blackberry Bliss for the card blanks to pick up the purples in the flower dies cuts – but this also meant I needed to create a panel for the inside – so I stencilled each of them lightly with the same patterns to bring the outside of the card to the inside.

Just love how they all turned out.

Which is your favourite I wonder?

Happy crafting!

Catherine

More Visible Image onto gelli prints

A while ago I made a few cards using the same stamp and some gelli print backgrounds – well I decided to do it again as it had been a scrapbook heavy week so it was definitely time to make some cards instead… this time added some sewing to just make them a little different from the previous set I made!

I made four cards in total but kept them all very similar with the same embossing powder and sentiment die cut but obviously the backgrounds and the sewing element (plus the bit of background stamping I did) make them a little different!

The first two were obviously cut from the same sheet of brayer wipe off …

This one I did a full frame of the sewing and kept it very simple.

This one I just did sewing on the corners but a mix of stitch types.

For each I used a stamped and die cut Altenew sentiment with a nest of the sewing thread underneath. Two of them I added little black banners underneath too.

I also added gems to each of the cards – sometimes the dark grey, sometimes the black. And then a thin mat of the black before mounting three of them on smoky slate and one onto white for the card bases.

All in all a lovely set of textural and fun patterned cards with that fabulous bird image embossed in the dark mahogany coloured powder.

Happy crafting!

Catherine

Festive Friday

Last weekend I bought a couple of card magazines and one had some stamps and a layering stencil so I made a couple of simple cards with the stencils as the main feature.

The clever thing about the stencils is that they are two images in one – well strictly speaking three in one as one does a panel with the top and the bottom so you could create two cards from that one!

I chopped down the two panels and then added some layers of cardstock underneath including some satin cardstock.

I then used the sentiment stamps that came from the magazine kit to finish off the cards.

I also added some flat sequins to embellish!

Loved how these both came out.

Happy crafting!

Catherine

Finishing off the 49th & market kit

Well I couldn’t put it away and just had to get another page done (although no title for this!)

Fiddled around with the page as per the kit suggested but with different sized photos and two rather than the one that was suggested for this page.

I added in additional elements that were leftovers!

Really enjoyed this – still got some leftovers so you never know I may end up making another page with it that are totally random!

So sorry it’s been a very scrapbook heavy week but that’s what I went with after the crop at the weekend!

Happy crafting!

Catherine

Another 49th & market page – Gather

So it turns out I hate putting away projects half started at a crop and so when I went to tidy my desk and put away the supplies I had in the bag from the crop I immediately got distracted and made another page from that gorgeous 49th and market kit!

This time I did separate out the supplies that the page kit requires but then ignore the picture completely and just put a page together using those bits and the photos I had chosen to go with the page and added in some extra bits that were ‘leftovers’. I knew they were leftovers as I had also put in a pouch all the bits for the final page example too – so knew I would be fine using the extras for this page.

So whilst the page still looks relatively similar with the background determining the colours of the elements I added the page is a bit different as I had a different number and proportion of photos.

I decided to use the pics from Mother’s Day in March to document family time – a far cry from the autumnal theme of the kit!

Again I love the beauty of this kit and now I’m not overwhelmed by looking at the design and thinking I have to follow it – I can still absolutely do my own thing with it – and it is so quick because everything coordinates and is diecut ready. So maybe I’m not saying no to buying another kit like this in the future like I was —- but only one more page to make – and then the good news is total freedom after that as there are loads of leftover bits to play with!

Happy crafting!

Catherine

Best memories – 49th & market page

I was tidying up my stash from the weekend I decided to make up another page from the Spice kit from 49th & market … and it was so easy to do because I had the perfect photos that fit the frames.

I chose to scrap pictures from our day in Liverpool where we got to see the Disney Dream that was docked for the day. It was a fun day!

I mainly followed the actual page layout and mainly added the same items as the kit suggested with just a couple of additions!

I did slightly twist the position of the photos but otherwise it was as per the example.

So once I had all the pieces punched out of the die cut panels (that took ages!) the page didn’t take long to put together at all.

Such beautiful artwork for these kits – and I have two more pages to make and then probably have some things leftover to play with on another page!

Fun to play with – but the prescriptive nature of the kits doesn’t really sit in my normal place for creativity – so not sure I would buy another – despite how incredibly pretty it is. Anyone else feel the same?

Happy crafting!

Catherine

Another kit page – Lovely Together

At the previous crop I went to I bought the Spice kit from 49th & market because the art work for these kits is superb – but I guess I hadn’t realised quite how they work as kits and I then got a little stuck in working out how to use it. I had at some point in the last few months chosen some photos that work with the colours in the kit but realised it was highly unlikely I would end up using the kit as it is designed as that just isn’t how I scrap! After all I never follow instructions!

At the crop on Saturday I did however make and stab at using the kit and managed one page! I started by choosing the page to work on and trying to find all the elements from the original page idea – after all this is what it was designed to do and didn’t want to mess up future pages by using the wrong elements!

So the original page idea is on one side of the printed paper and then I pulled out elements from the die cut and chipboard sheets that matched. Then I turned over the paper so it was just the background – loosely followed the idea of the colour matching but totally made it all up in terms of placement – because the photo I wanted to scrap was a single 6×4 not lots of little ones…

So my page finished up very different from the plan in the kit but I think worked well.

I did add to the kit with a bag of chipboard elements (still 49th & market but an add on!) so that helped with the title for the page.

Slightly later than these photos I did add in some journalling and added an extra rectangle chipboard for that just under that circle on the left hand side too – I just needed some more space to write the story of the picture and the one with the purple moth element wasn’t big enough!

After the crop (whilst watching strictly) I did separate out all the die cut elements for each of the other three pages in the kit (plus the leftover elements) to make my life easier in tackling these kits again – I was at the end of my patience level in trying to find the right elements and fitting die cut sheets back in the pouch neatly – so knew I had to do this otherwise I’d be ready to throw them out the window next time!

The kits are beautiful – I just don’t do well with being told what to do – so note to self – don’t buy the kit again – just buy things separately as it works better pretending there isn’t a plan for my brain!

Happy crafting!

Catherine

Second page from my Hey Little Magpie kit

So you should know if you are a regular visitor to my blog I like to make good use of any kits I get and often make something from the leftovers very quickly! So the page I shared yesterday I had quite a bit of the paper leftover so I immediately put it to good use!

This was the starting point – but I had very little with me at the crop that worked with the page and it needed both a title and some embellishments. Well handily enough Sarah had brought Hey Little Magpie shop with her to the crop!

I spotted some foam stickers that I thought would work well with the colours and help tell the story of the page so I bought them and then set to on finishing the page. I didn’t quite get around to the journalling at the crop though so has yet to be added.

I also added in some elements from the 49th & market kit I brought with me to play with at the crop (spoiler alert for tomorrows post because I did end up doing one page from this kit!)

So the leaves and the postage stamp elements were from that and the rest were the foam stickers I bought.

I had taken my pouch of scrap pieces of cardstock with me so was able to cluster those under the photo.

I distressed edges for the dimension and texture and other than the journaling this is a complete page – made from the scraps of one kit and the added bits of one set of foam stickers (and there are loads left of those for plenty more pages!)

Happy crafting!

Catherine

Crop crafting – Hello Us layout

Today I went to the crop that is held locally and hosted by the lovely Sarah at Hey Little Magpie. I bought a kit from her to play with and as usual I put my own spin on it!

I definitely stuck closer to the original than I normally do but moved the title and I added the stencilling and few other bits and pieces using stash I bought at the crop. I can’t see the kit yet on the website so can’t link it yet but here is a pic of the original layout…

… isn’t it so cute?!

Clearly I went a little mad with stencilling behind the papers and also because I chose to go wonky with the picture the big hello didn’t work vertically.

Everything else pretty much stayed the same though. I did see the Pom Pom trim into place which added some Fawn coloured thread and I also added the little bow using the same thread.

I added some chipboard elements too like the additional Us to the title and the two little subtitles…

And finished off with the enamel accents in threes around each cluster point on the page.

Loved how it finished up!

I also managed another two layouts but I’ve not got photos taken just yet so you will have to wait for me to share those!

Happy crafting!

Catherine